
Introduction:
Learn how to make an easy paper plate chicken with the help of our step-by-step instructions below. This project may look hard to do, but it is simple to make, thanks to the help of our printable.
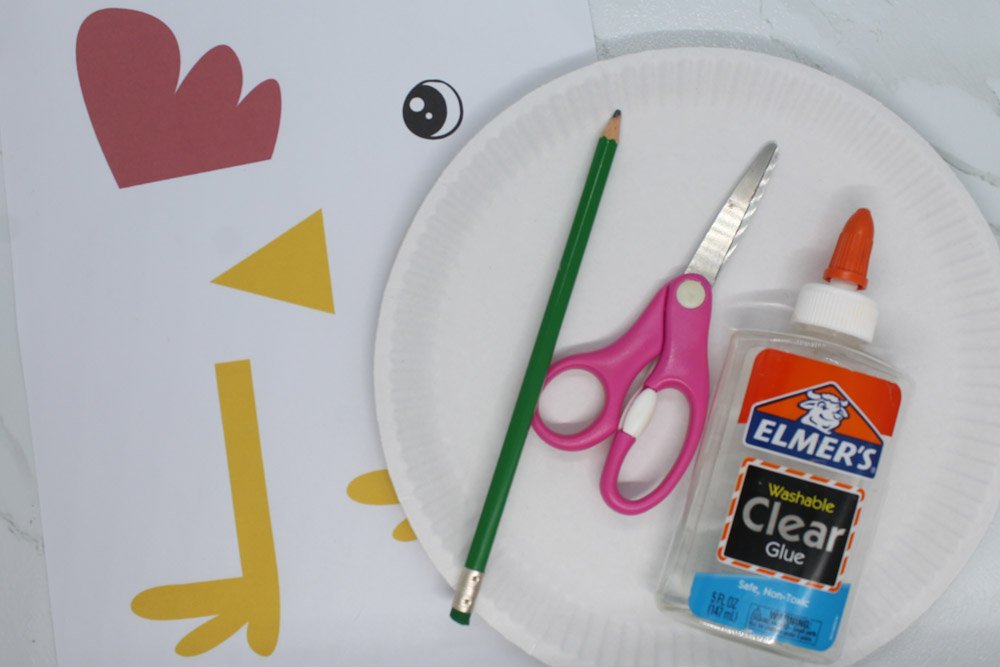
Tools
- Pencil
- Scissors
Supplies
- Paper Plate
- Glue
- Printable
- Printable We recommend downloading the printable in an A4 thick vellum board but a regular bond paper will do!
Download Area
Download TemplateMake the base of the paper plate chicken
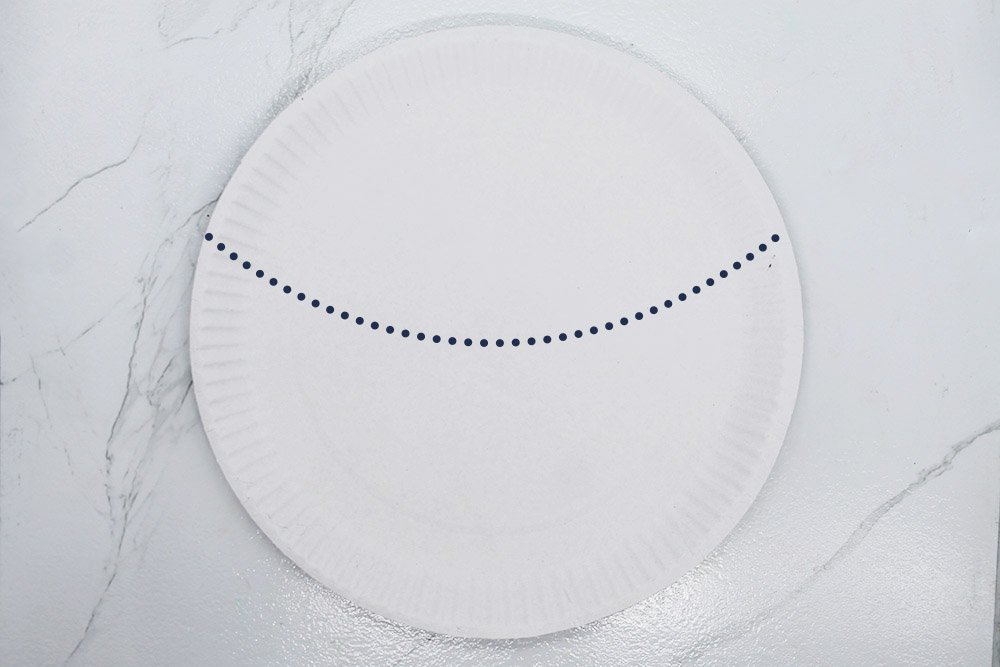
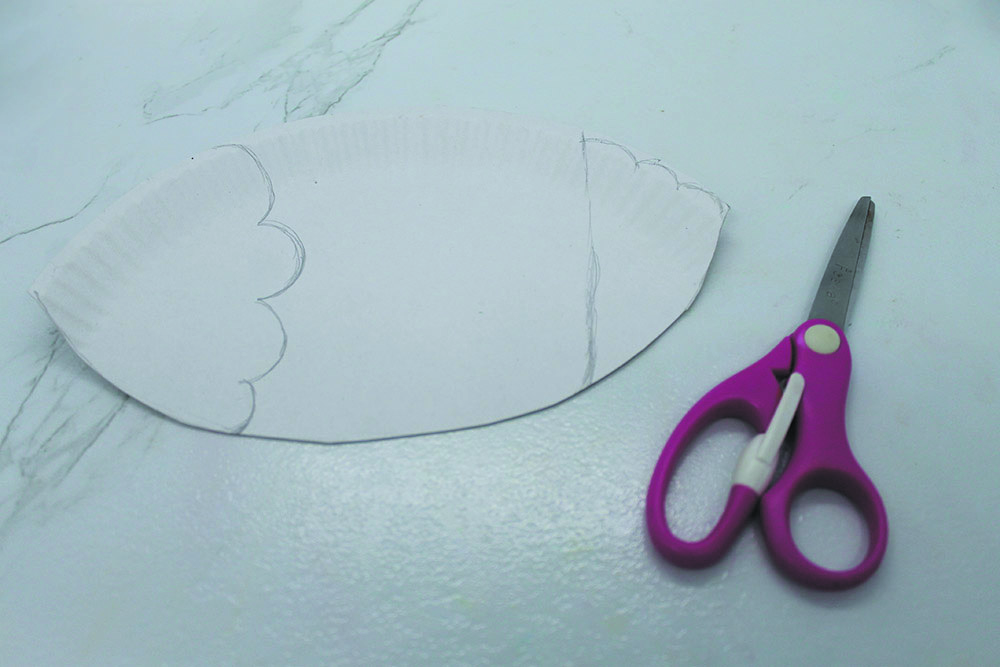
Using a pencil, draw a curved path along the top part of the paper plate.

Cut along the outline made.
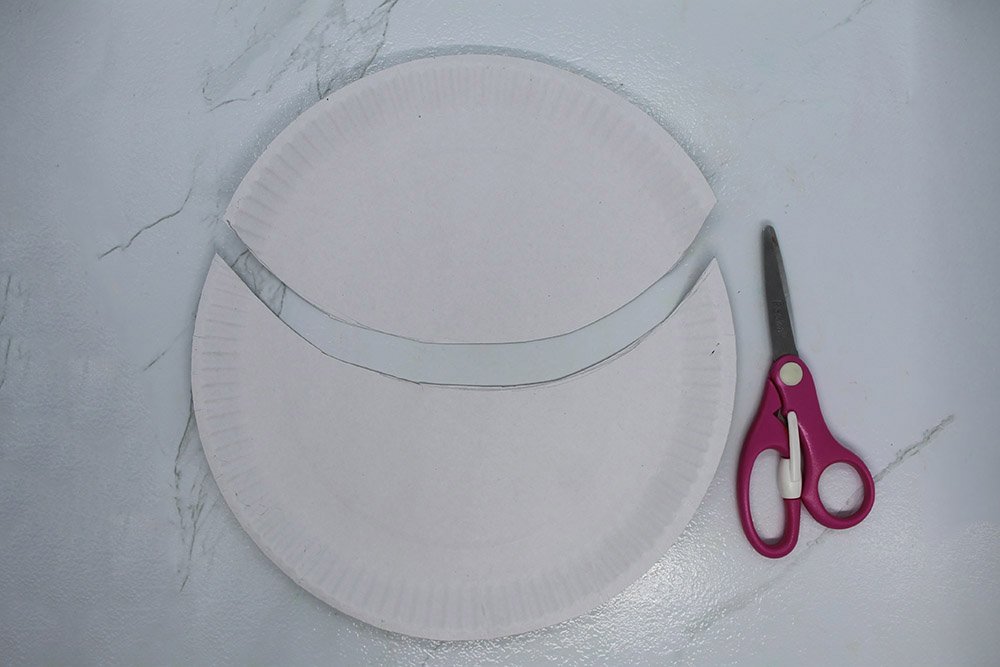
Once cut, the paper plate should be split into something like the sample image above. The smaller top part will be transformed into the wing and the tail of the chicken and the bottom part will be the bottom of the chicken.
Create a wing and the tail of the chicken
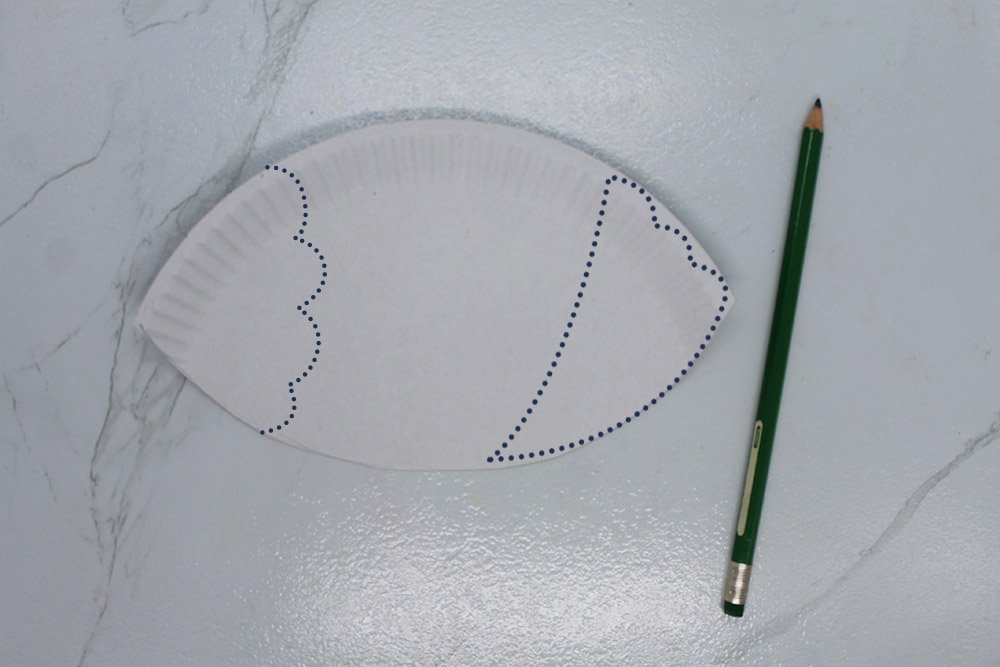
On the smaller part of the paper plate, draw along the plate to make the wing and the tail. Follow along the dotted lines on how to draw.
Cut along the outline made to make the tail and wing.
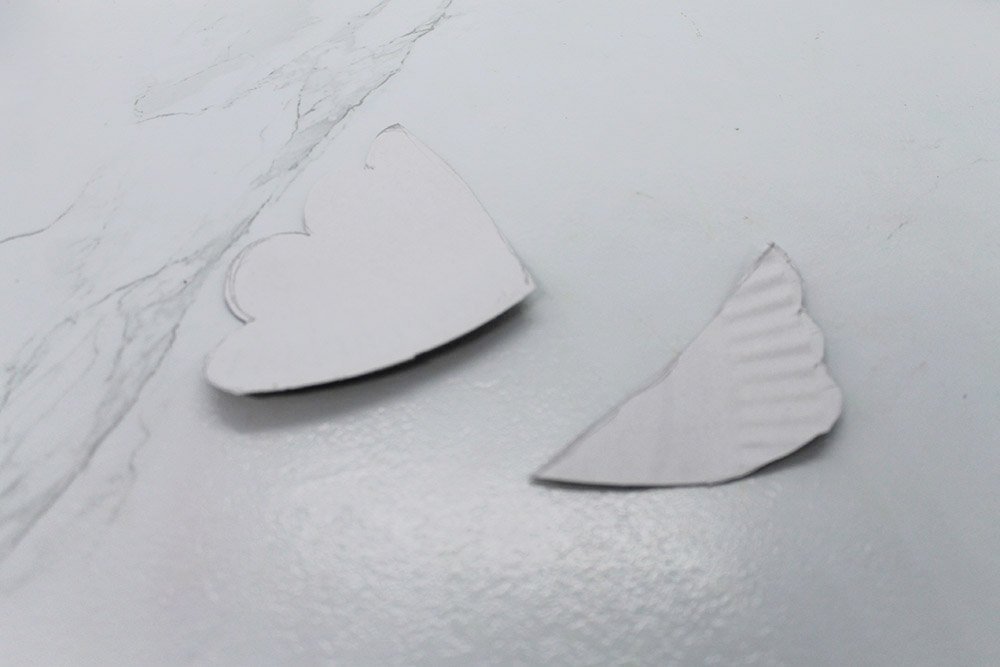
Once cut, you should now have a wing and a tail ready to be glued to the body of the chicken.
Assemble the paper plate body of the chicken
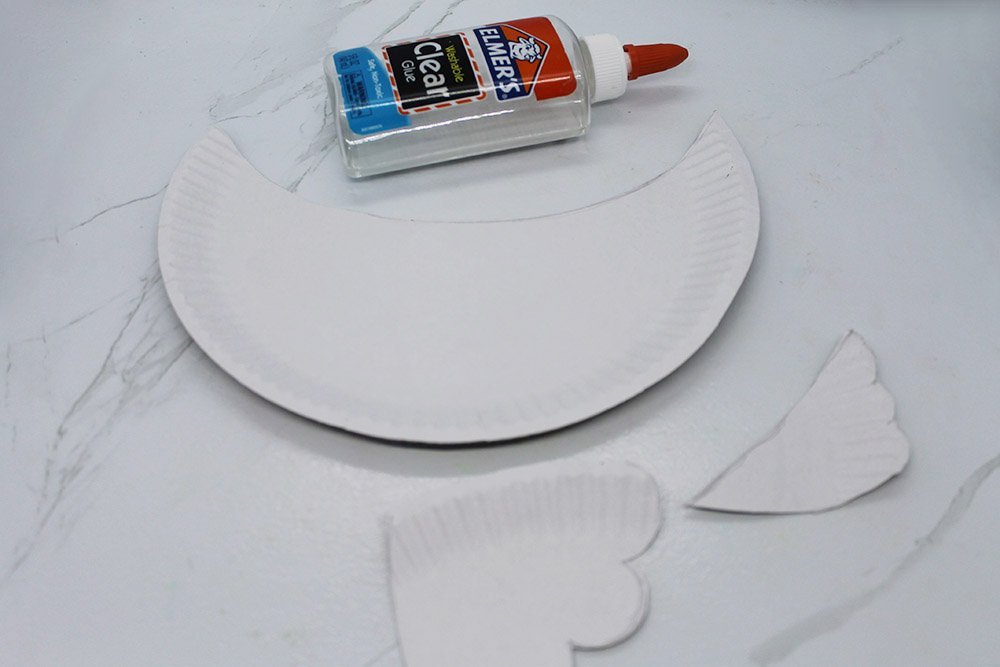
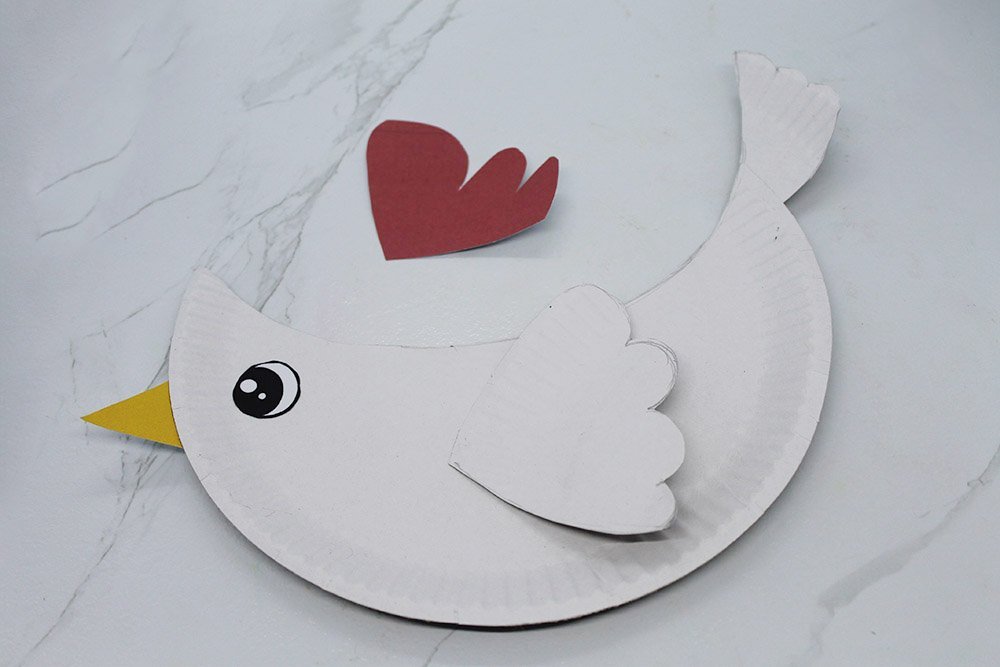
Get the bigger part of the paper plate and the wing cutout. Stick the wing at the center of the bigger paper plat
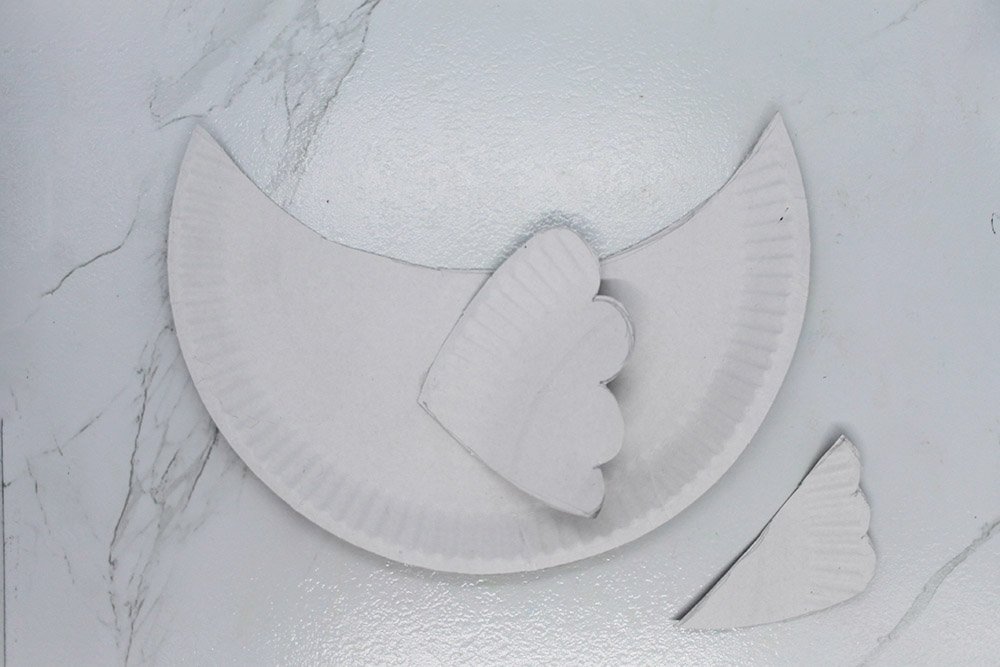
Stick the tail cutout at the right end of the bigger paper plate.
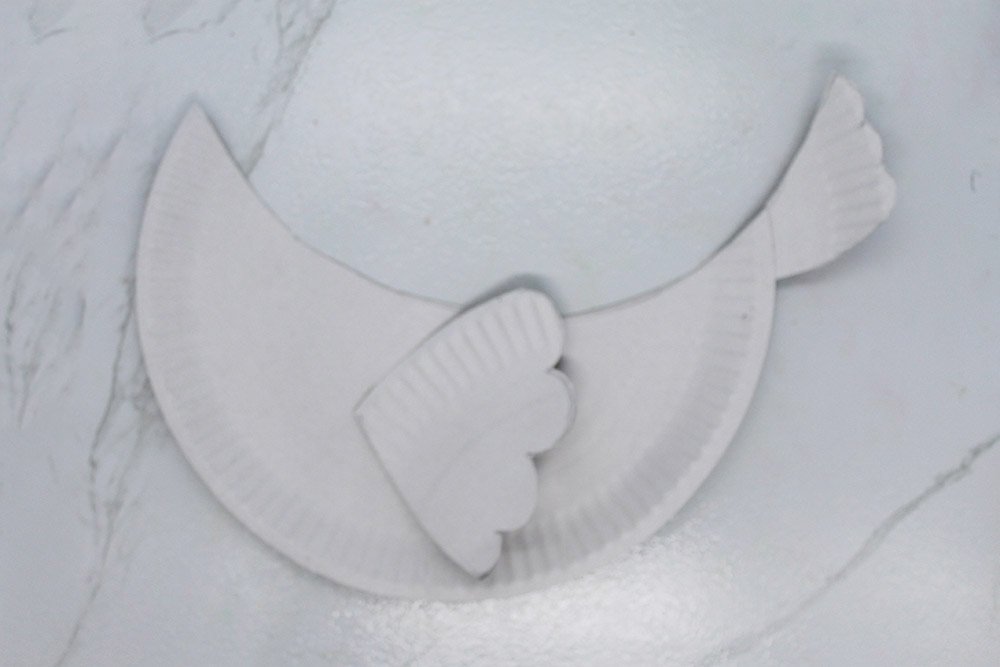
The base of the paper plate chicken is complete!
Prepare the paper plate chicken printable
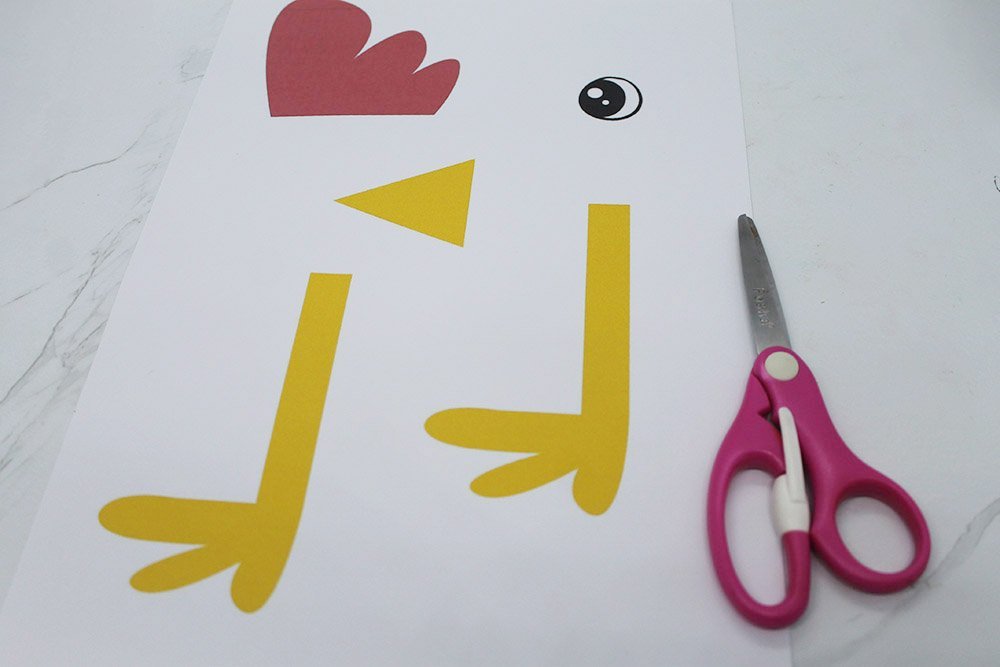
Print the free printable by clicking the yellow download button above.
Once cut, it should look something like this. The printable page consists of 5 cutouts.
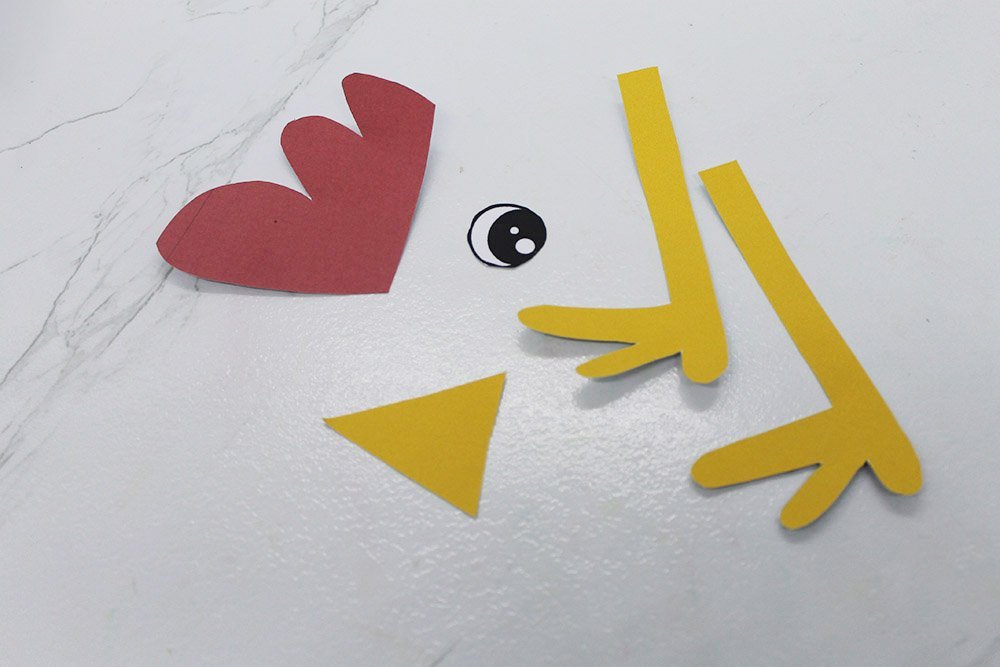
Once cut, it should look something like this. The printable page consists of 5 cutouts.
Attach the cutout to the paper plate body of the chicken

Stick the eye cutout to the left part of the paper plate.
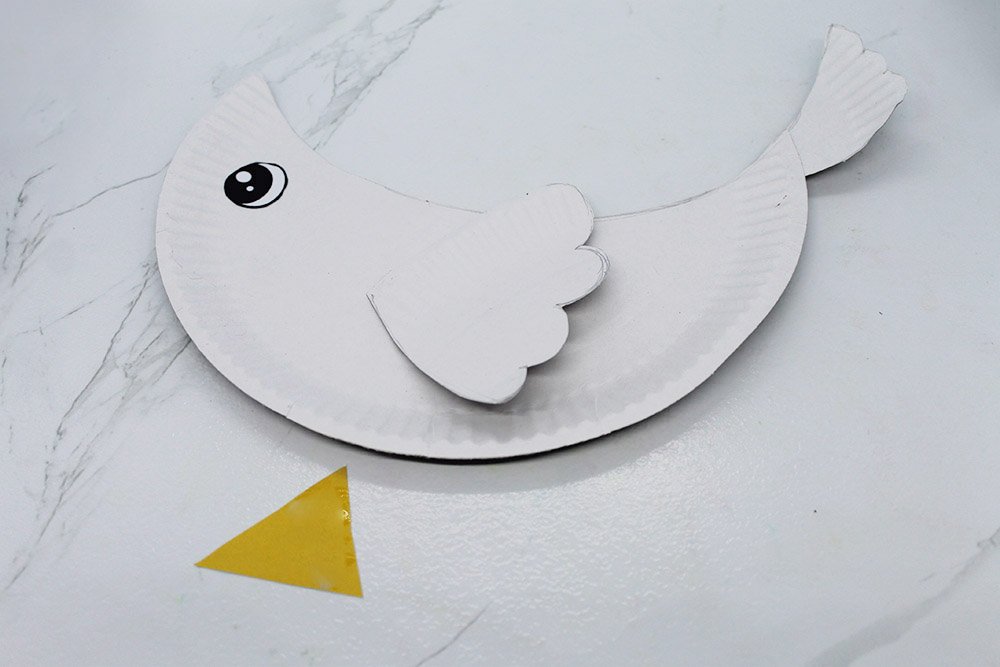
Stick the beak at the back. See the next image to know where to position the beak.
Stick the comb at the top left part at the back of the paper plate.
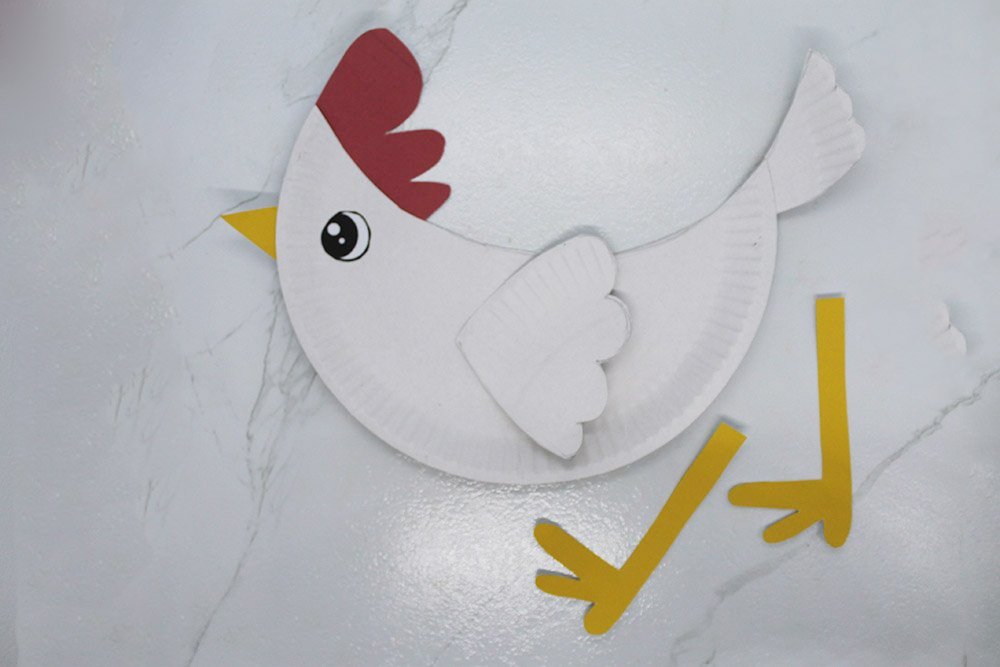
Lastly, stick the feet at the back of the paper plate body.
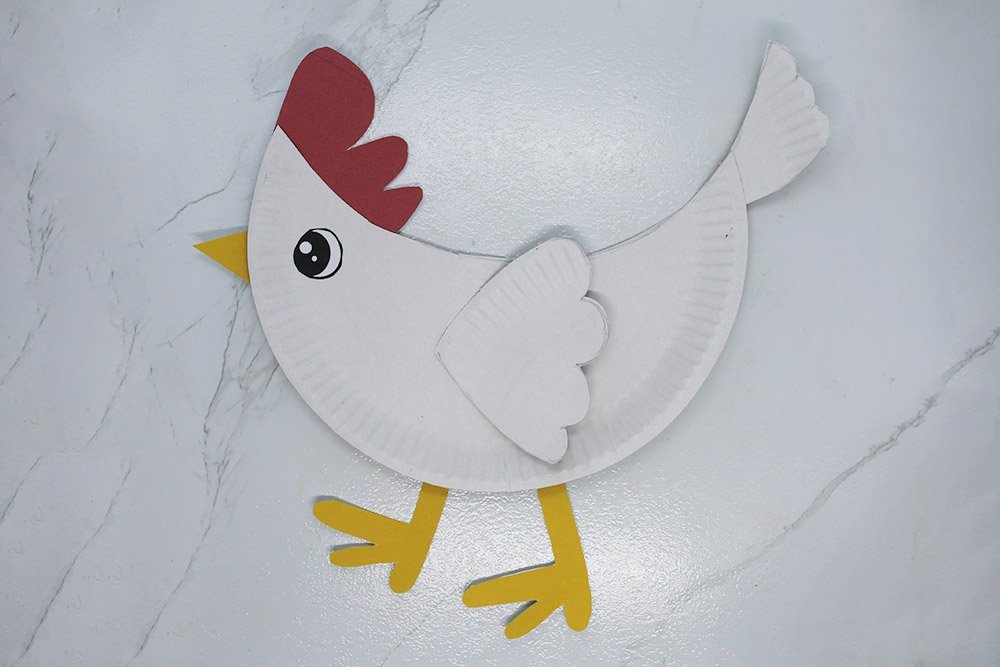
The paper plate chicken is done! Stick it on a wall to make an adorable farm-themed decoration!

