
Ever wanted to make your paper plate tree in the Christmas season? Look no more as DIY magazine got you covered with our detailed step-by-step instructions.
Grab a few art materials and supplies and you’ll have a cute DIY Christmas tree that you and your kid/s can make. The first step is to make the star then we form the body of the tree. After that, we add color and decorations.
Have fun making the craft.
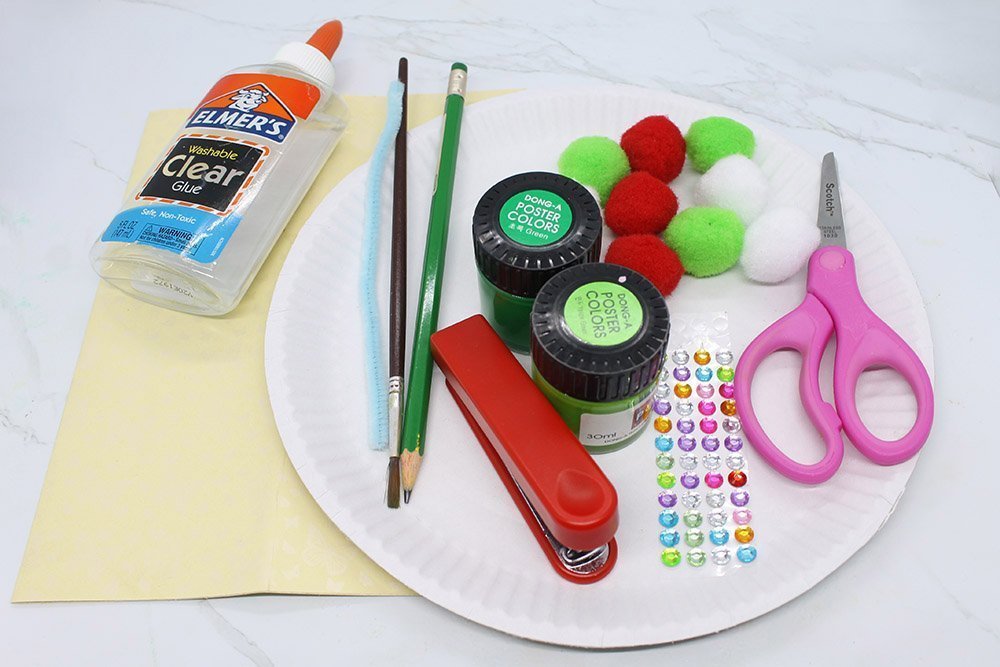
Tools
- Scissors
- Pencil
- Paint brush
- Puncher
Supplies
- Paper plate
- Construction paper (Cream)
- Colored pom-pom balls (Red, White, and Green)
- Poster color (Green, and Light Green)
- Jewel stickers
- Clear glue
- Pipe cleaner
Make the Star of Bethlehem of Your Paper Plate Christmas Tree
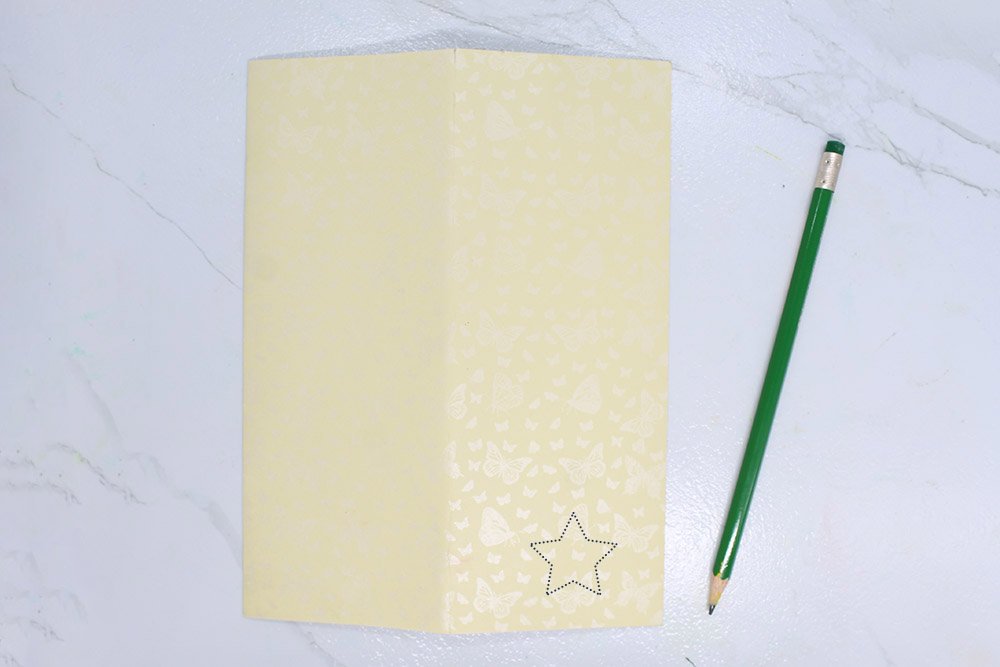
Draw a small star as shown in the image above. You could draw three extra stars just in case as a backup. Our goal is to cut out a nice star for our Christmas paper plate craft because what Christmas tree doesn't have a star, right?
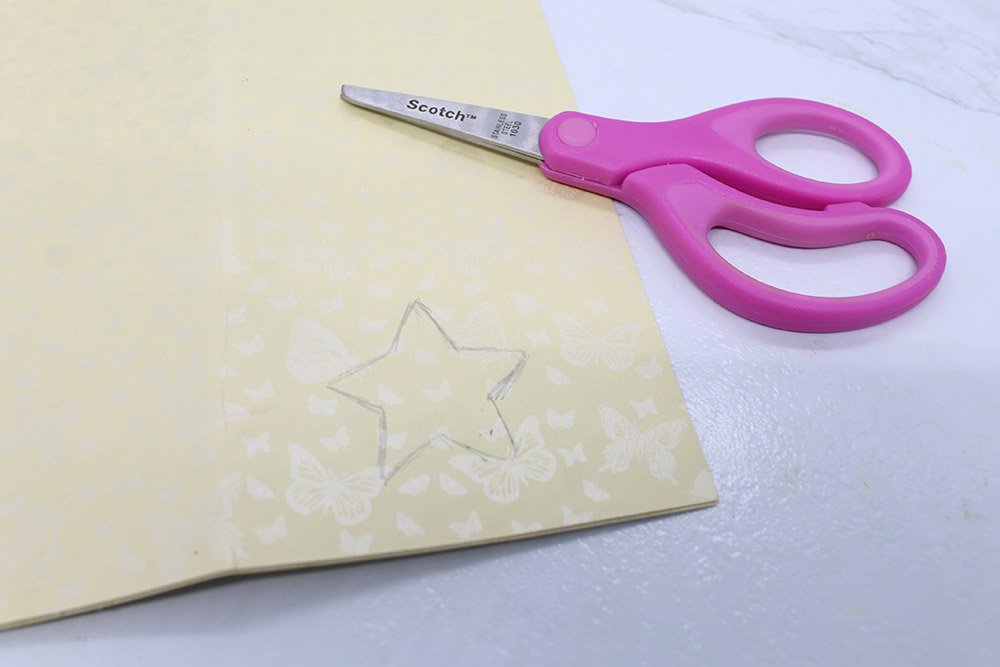
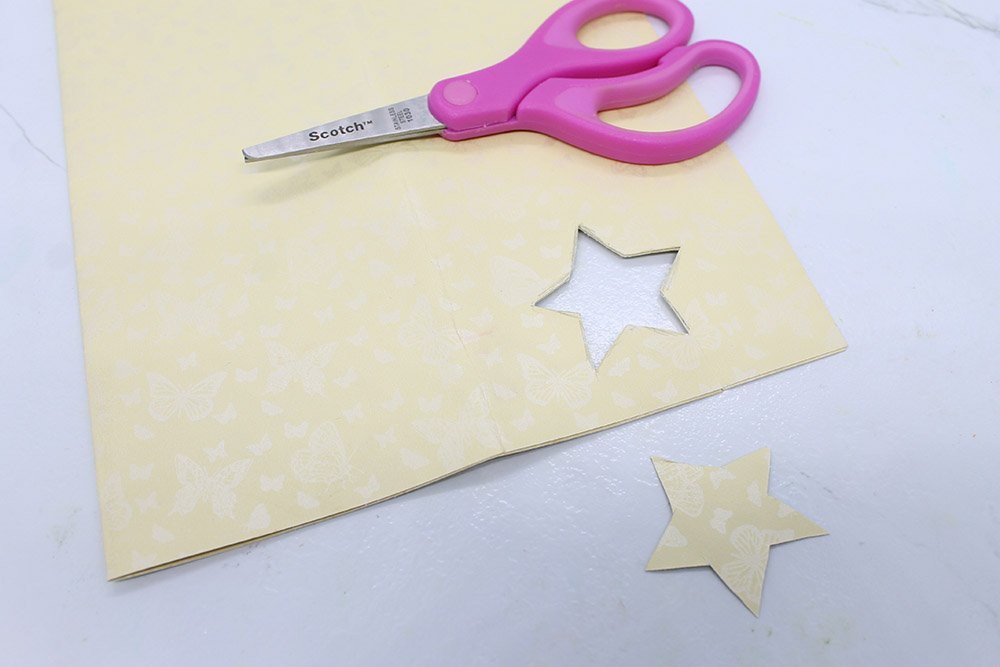
After drawing the star, check if it looks even on all sides. You don't want a funky-looking star. Then you could proceed to use the scissors to cut out the star. There's more than one way to do this and one of the easiest ways is to cut a rectangle that contains the star then proceed from there.
Use clear glue to attach the star to the pipe cleaner. And this is important as this allows the star to remain upright later on. You can also use two stars for this step by sticking another star at the back.
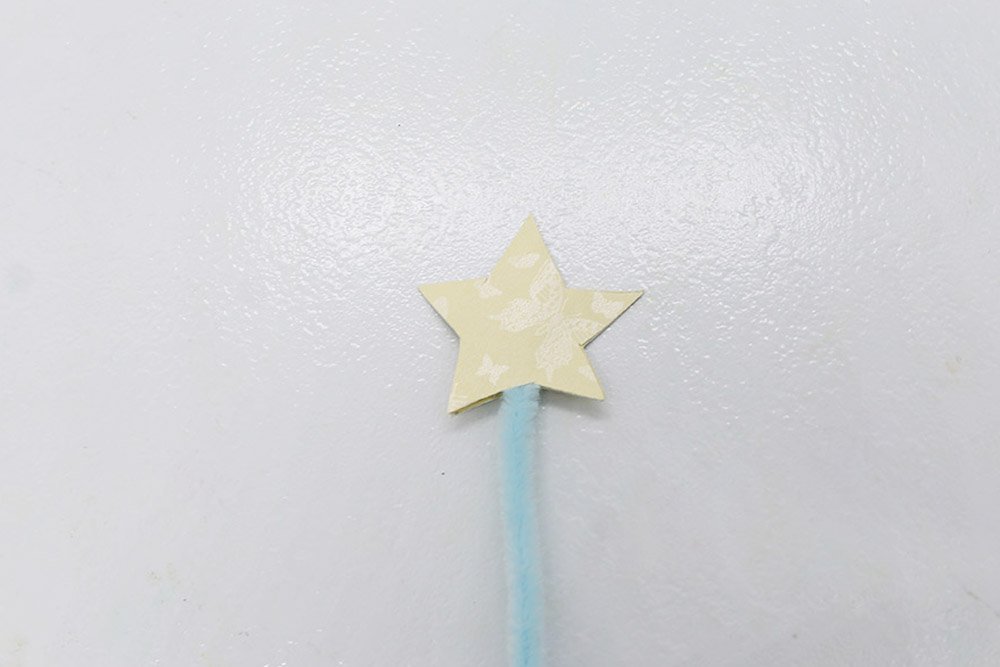
Great job! Our star is ready, and we can begin with forming the paper plate tree in the next steps.
Prepare Your Christmas Tree Plate Craft for Painting
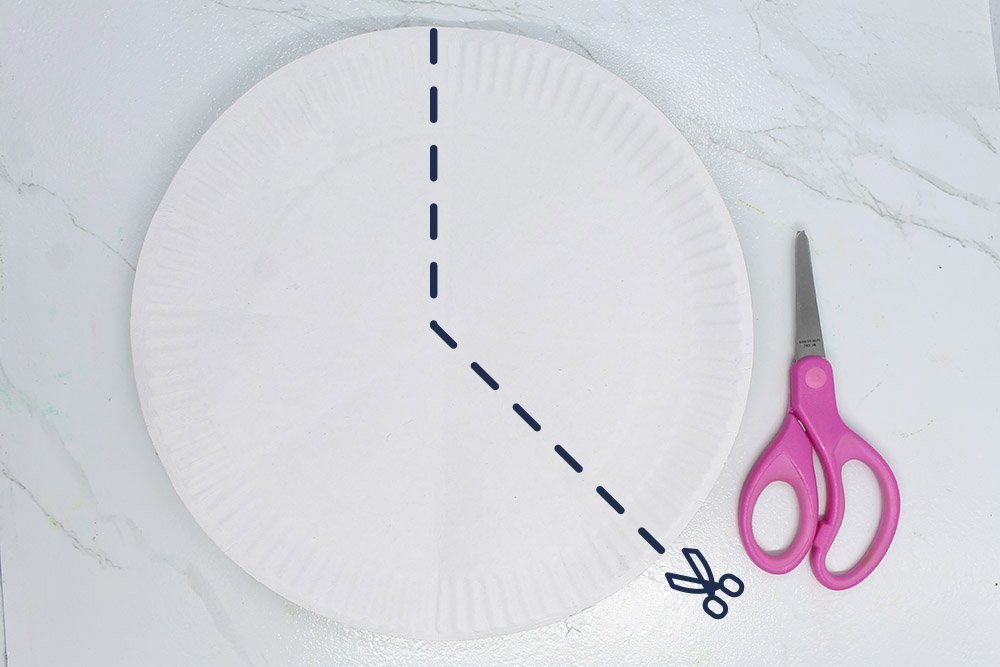
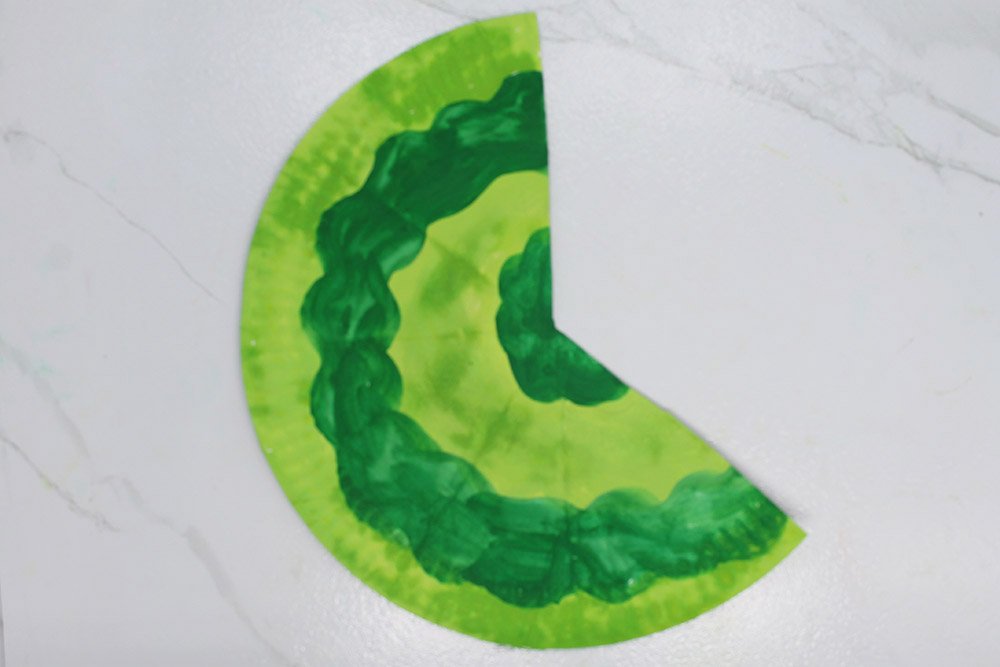
Cut the paper plate by following the dashed line. What you would want is to form the body of the tree, and the way to do that is to shape the paper plate like a cone. Now, this can be achieved if you cut the paper plate like shown above. Note: Always be careful when using a scissor.
Tip: It's better to mark with a pencil first before cutting as the lines will guide you to make those straight cuts.
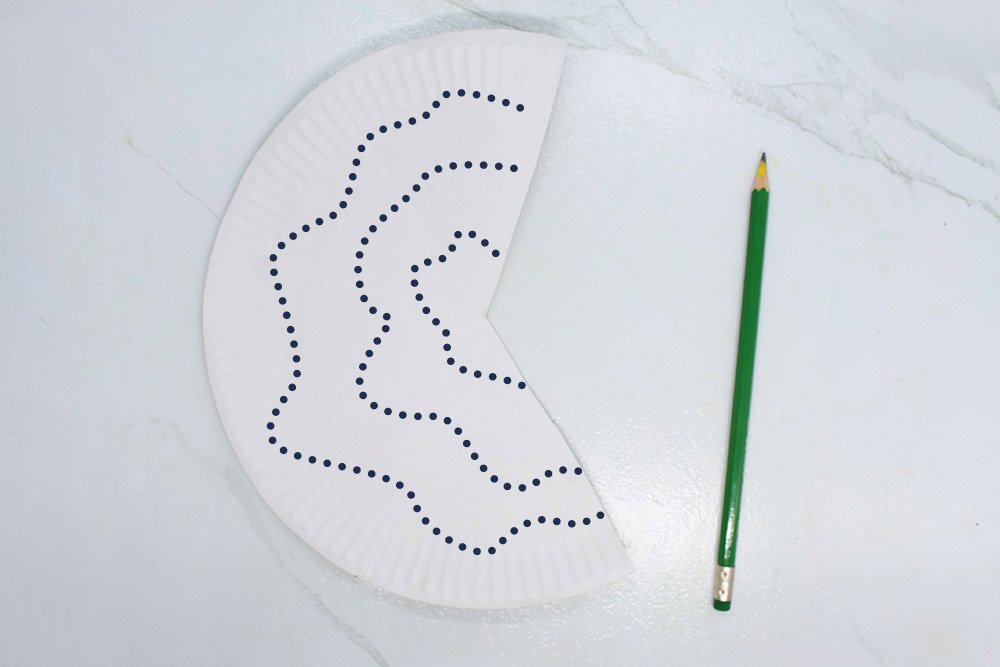
Then, you would proceed to draw wavy lines as shown in the image above. These lines will divide the paper plate into four layers. And you would have to paint these layers so these lines would prove useful.
Do know that you don't need to make the lines bold as they are more of a guide. But you could do that if you want to.
You and your kid could come up with your design in this step. Maybe you would like to use zigzag lines instead of curvy lines.
Paint the Body of the Christmas Paper Plate Tree
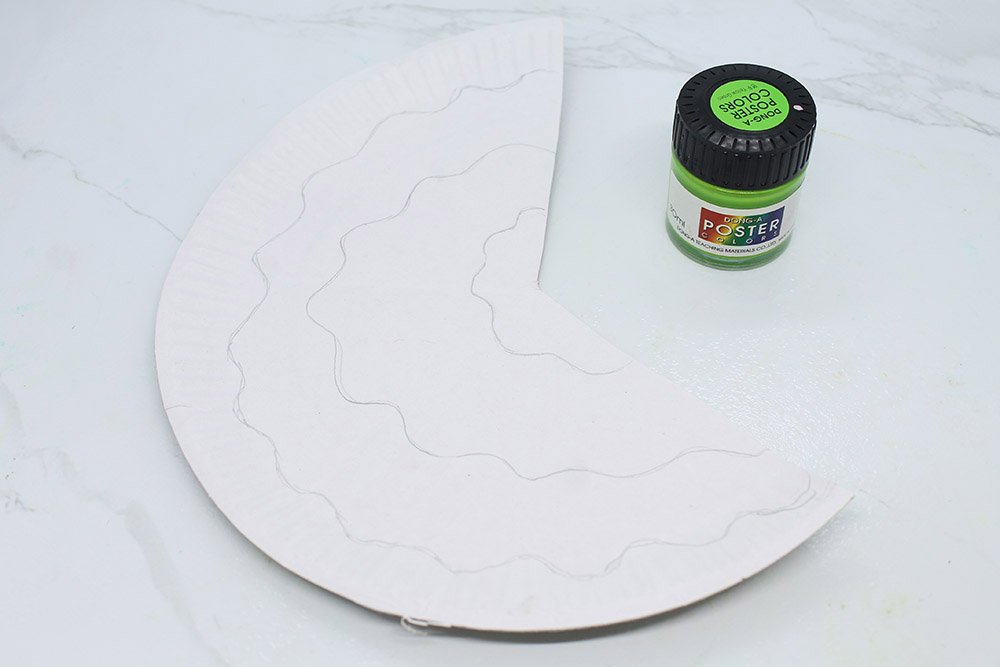
After drawing three separate lines start painting the third and first levels. I used light green in this example because I am going for a classic look.
TIp: Use an online tool like Canva's color wheel or any other reference to make sure you get your color combination right!

Then, paint the second and fourth layers. I choose to use dark green in my paper plate Christmas tree. Light green, and dark green were chosen in this example because they look good together.
You are almost finished with the Christmas tree. Good job. The next step is to bring the star and tree together.
Form the Final Shape of the Paper Plate Christmas Tree Craft
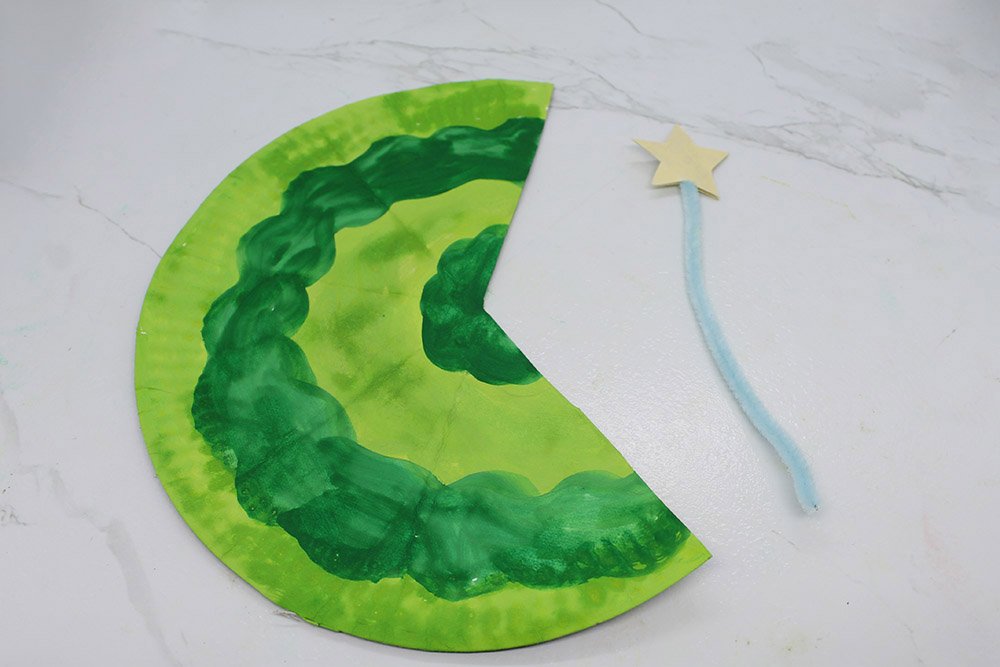
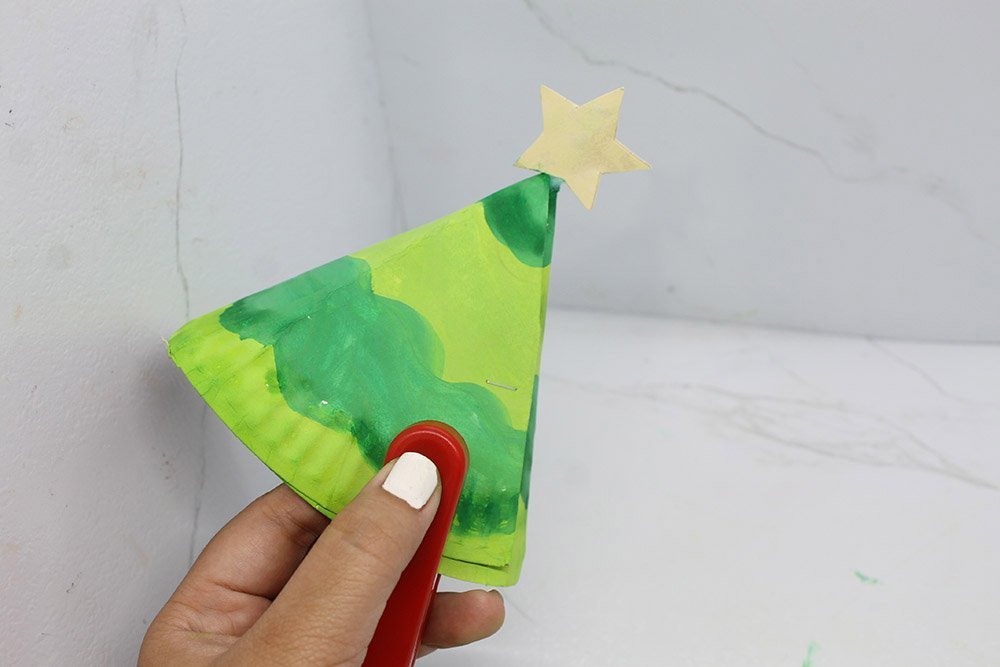
To join the two pieces together, we first tie a knot in the middle of the pipe cleaner. This will help secure the knot into the tree.
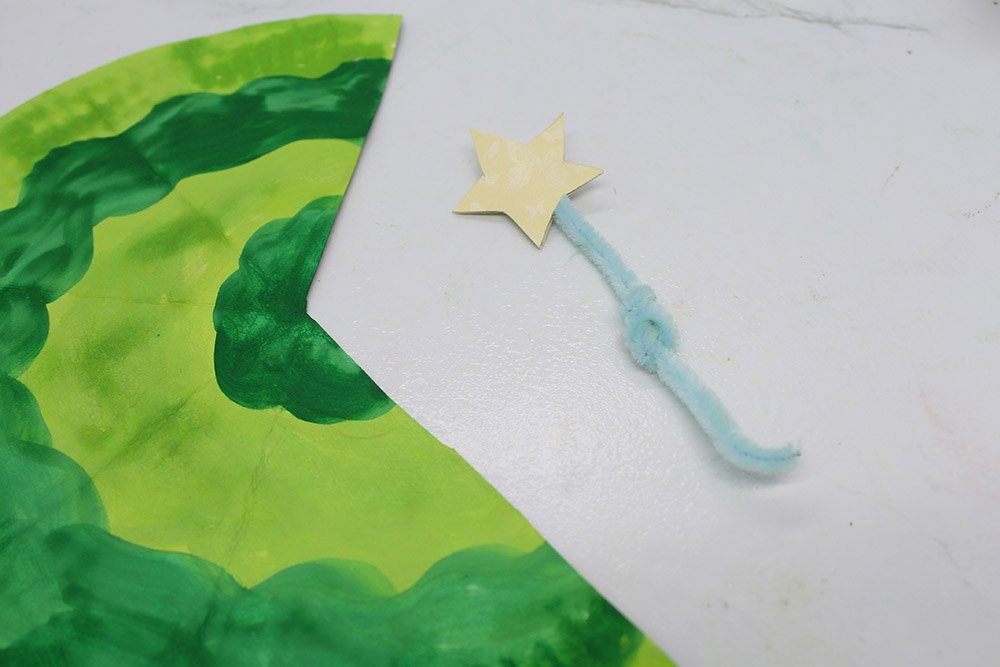
Then place the star and pipe cleaner near the center of the paper plate. The star should overlap the paper plate and be located a bit further up. Later on, you would want the pipe cleaner to be hidden.

Now, push down the star so that there will be no parts of the pipe cleaner that would be visible. Doing so would allow the paper plate to be formed into a Christmas tree. To complete the craft, you need to get the stapler.
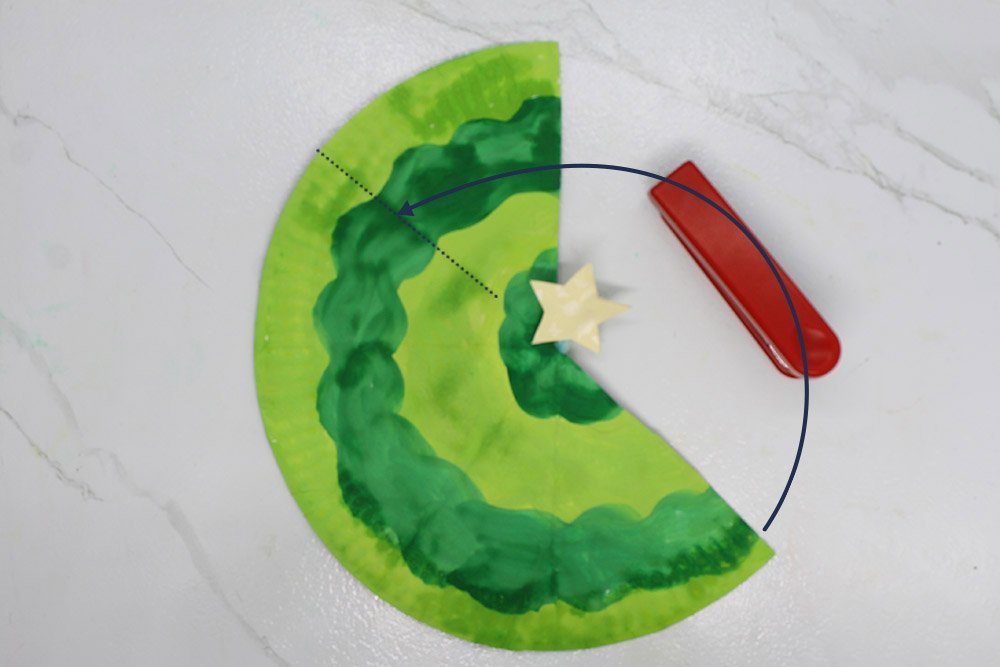
Lift the star as you make a cone out of the paper plate. Make sure that one side overlaps the other. Take note of the dotted lines as this might help.
After making the cone, staple once to secure the shape of the Christmas tree plate craft. After doing this step, you'll have a sturdy paper plate Christmas tree craft.
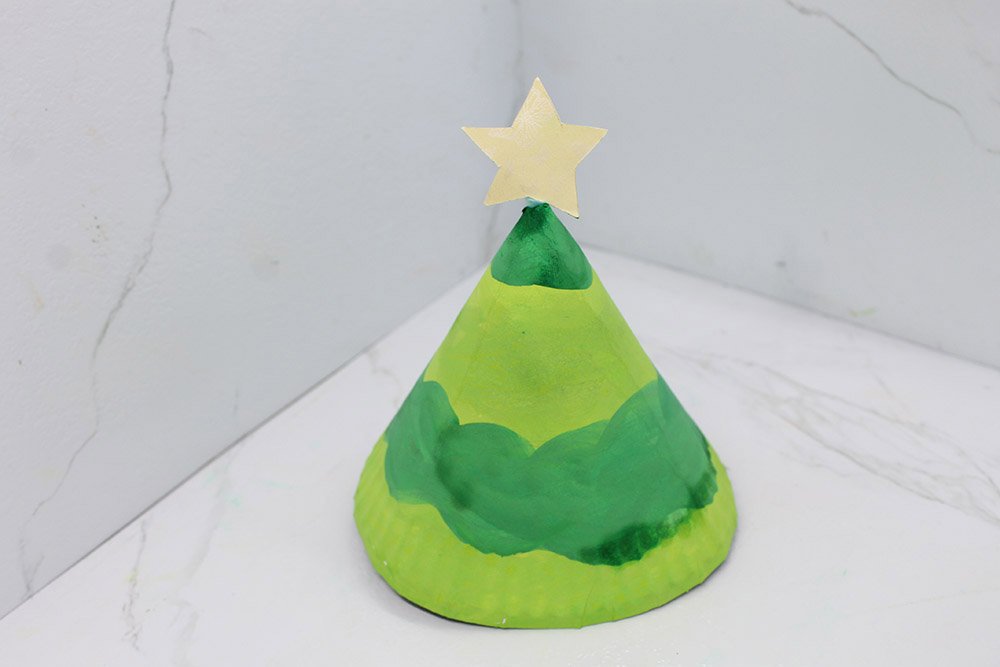
You have now made a free-standing Christmas tree from a paper plate. The next steps are the most satisfying. Good job!
Design Your Paper Plate Christmas Tree Craft
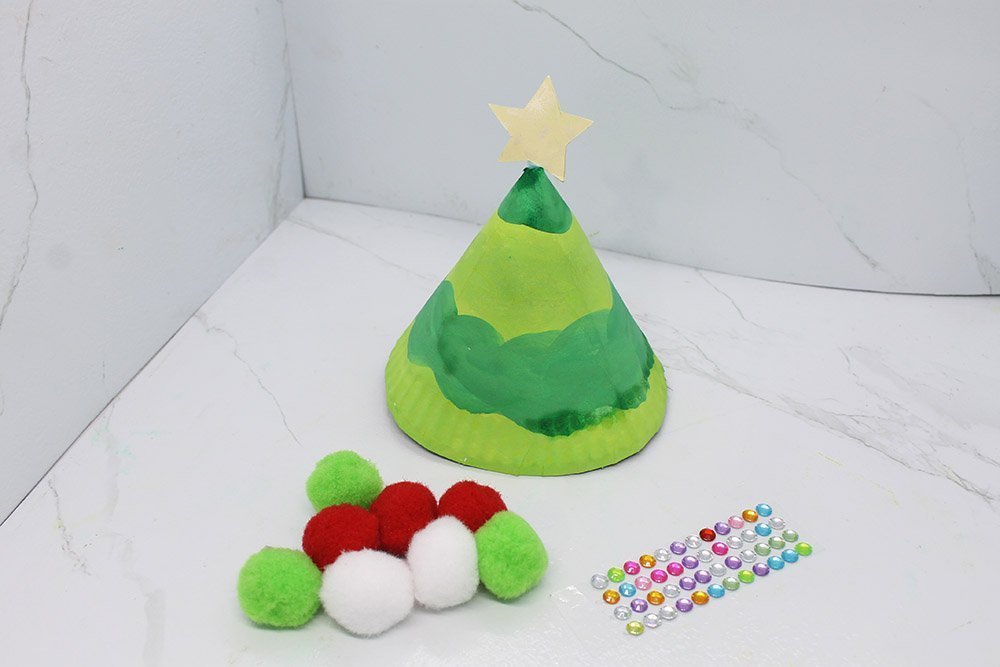
In my tree, I decided to go with stickers and pom-pom balls. These art supplies are easy to install and yet they provide a strong visual appeal. You could go with whatever art supply and style that you want in designing this craft.
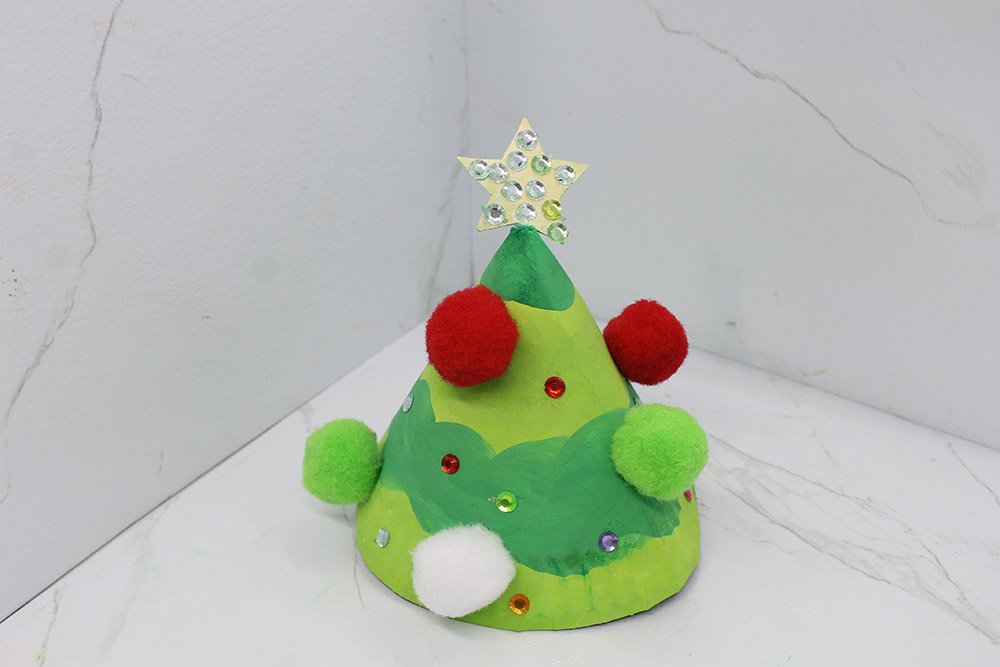
Decorate the paper plate tree in the way you want to. Have a lot of fun in this step. This DIY activity encourages creativity. This is how you should make a Christmas tree out of paper plates!
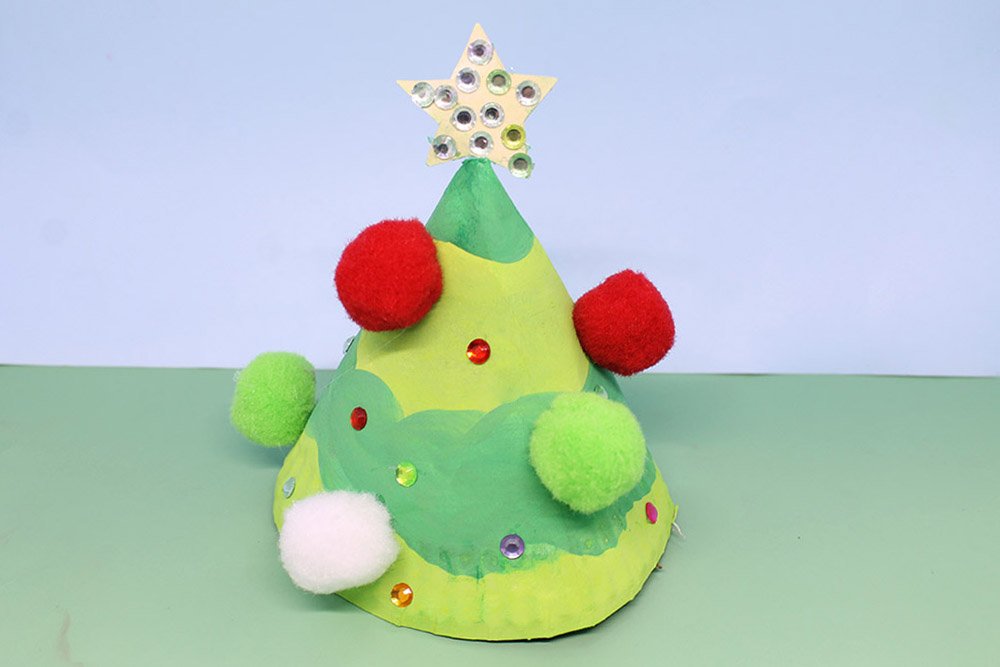
Congratulations! You have made a wonderful paper plate Christmas tree. Now, this could be a great decoration come the Holidays as it something you and your kid/s put time and care into.
Extra Tips
- Using the stapler two or more times might result in a less visual appeal but if you choose not to display that part then that would be alright. You could get a firmer paper plate Christmas tree by using the staple twice.
- While green is the classic color when it comes to Christmas trees, other color combinations can work as well. If you are not sure about which pair works best: white/red, white/brown, green/orange, and blue/purple are good examples.


