
Introduction
Welcome to our Christmas Star napkin fold guide! Make this elegant fold so you could add a wonderful piece of decoration to your table in the coming Holiday celebrations.
This fold somehow gives a Christmas feel even at first glance. Is it because it looks like a snowflake and the Star of Bethlehem at the same time?
If ever you would find this fold a bit tricky remember to have a napkin, cloth or paper, that’s stiff. If you have any question please comment down below, and we’ll give an answer ASAP.
Have fun making this star fold!
Make Vertical Creases
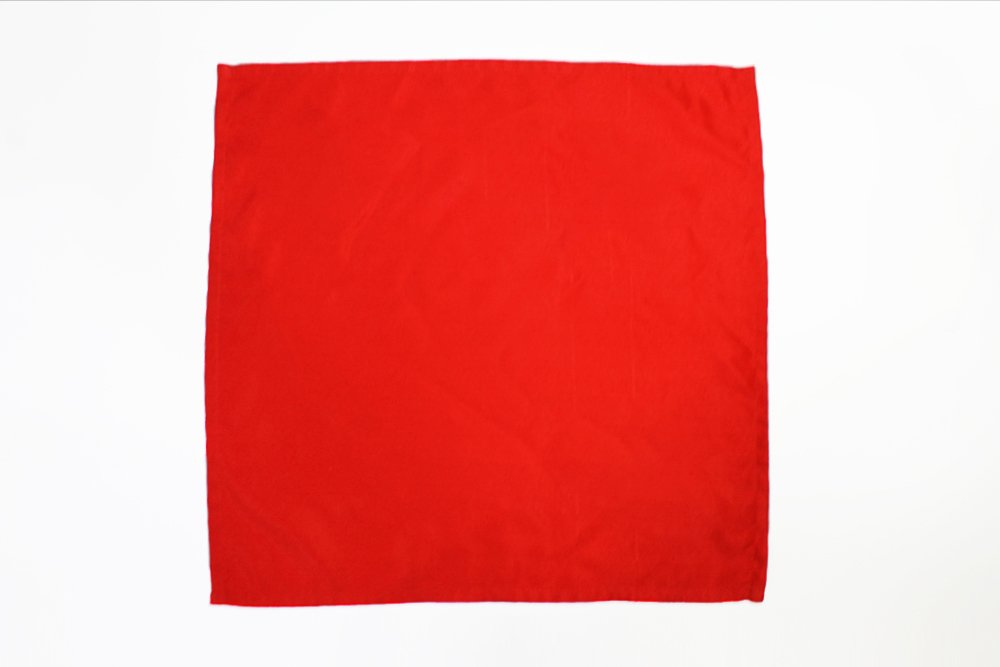
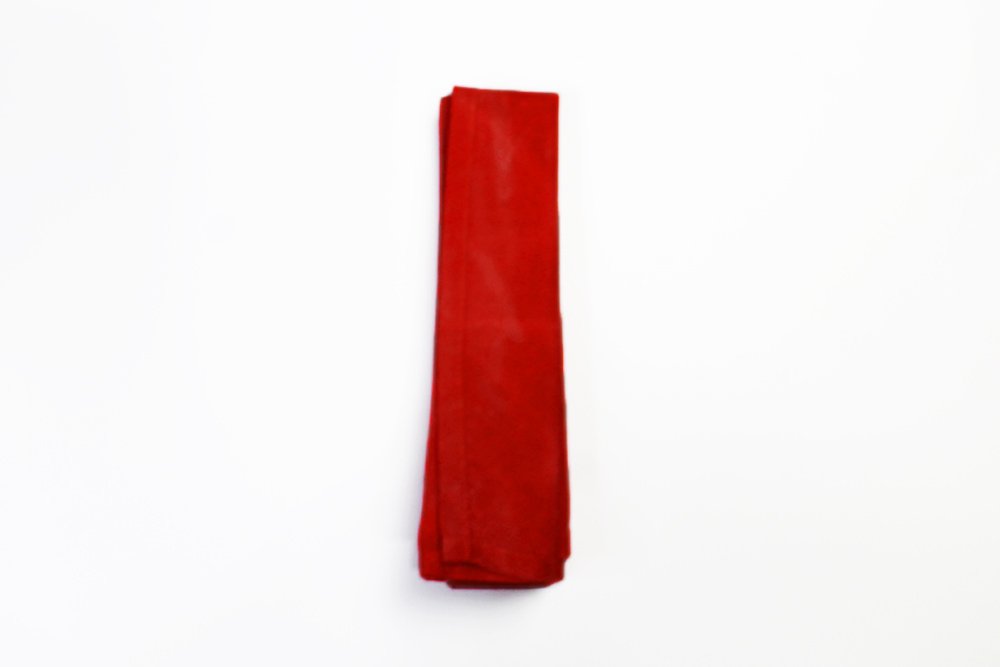
To make a Christmas napkin fold, lay the napkin on a flat surface.
Then, fold the napkin crosswise in half. These folds will become important later on as you will see.

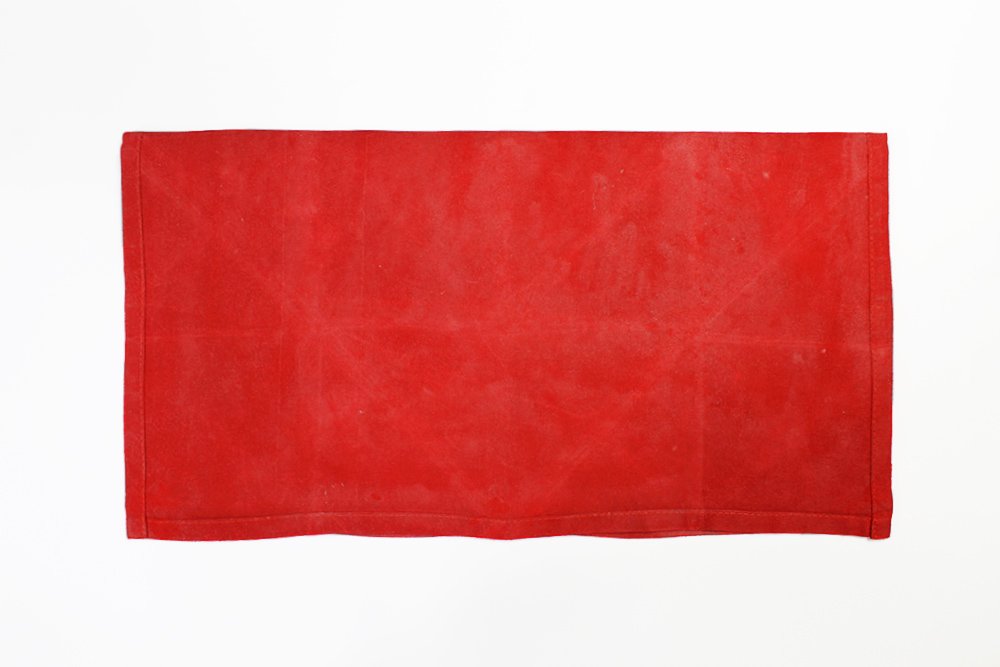
Fold the left edge towards the center. Crease the fold well.
Then, do the same for the right edge as well.
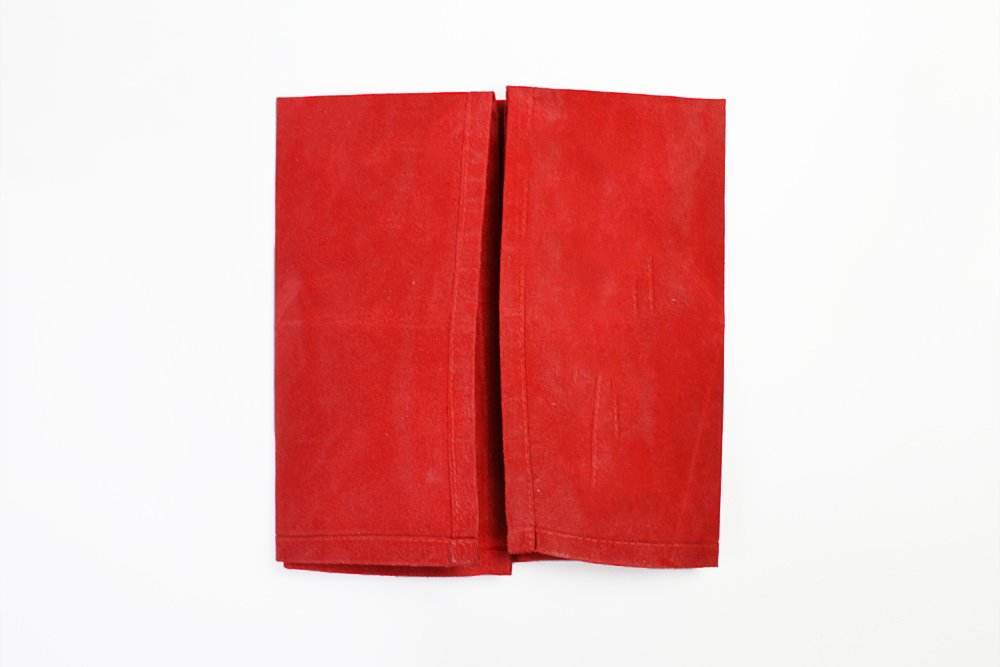
Fold the left edge one more time towards the center. Make sure to apply pressure so that the crease will be properly made.

Repeat the same for the right edge. Fold it towards the middle.

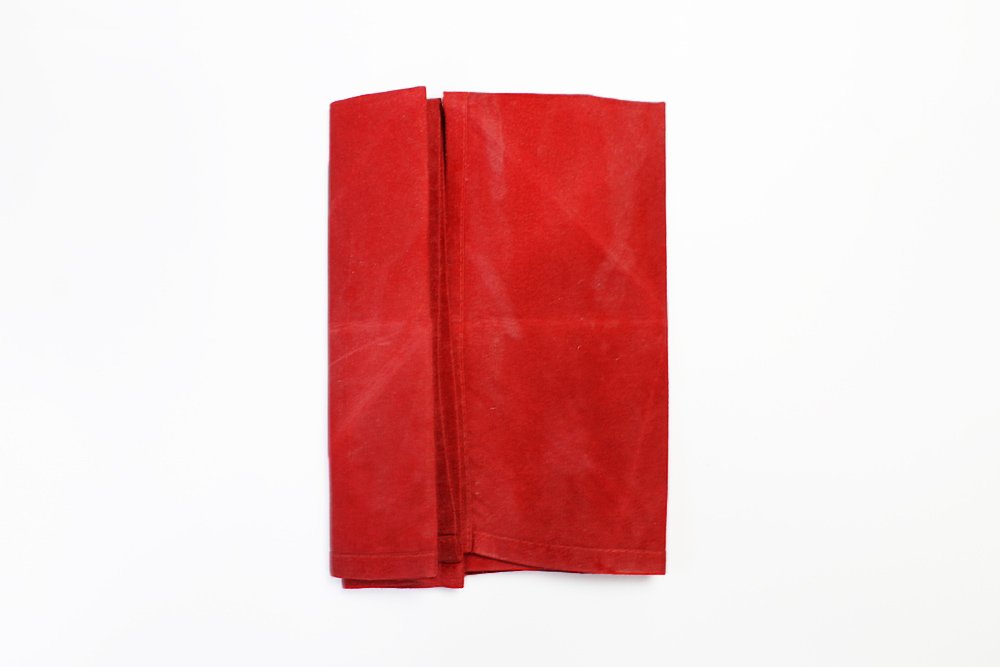
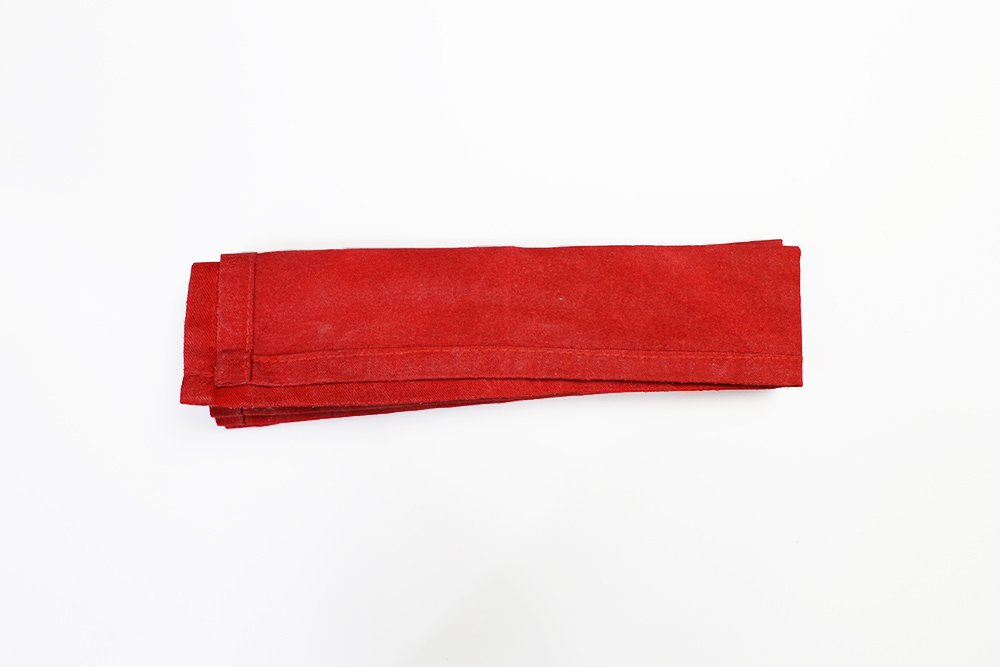
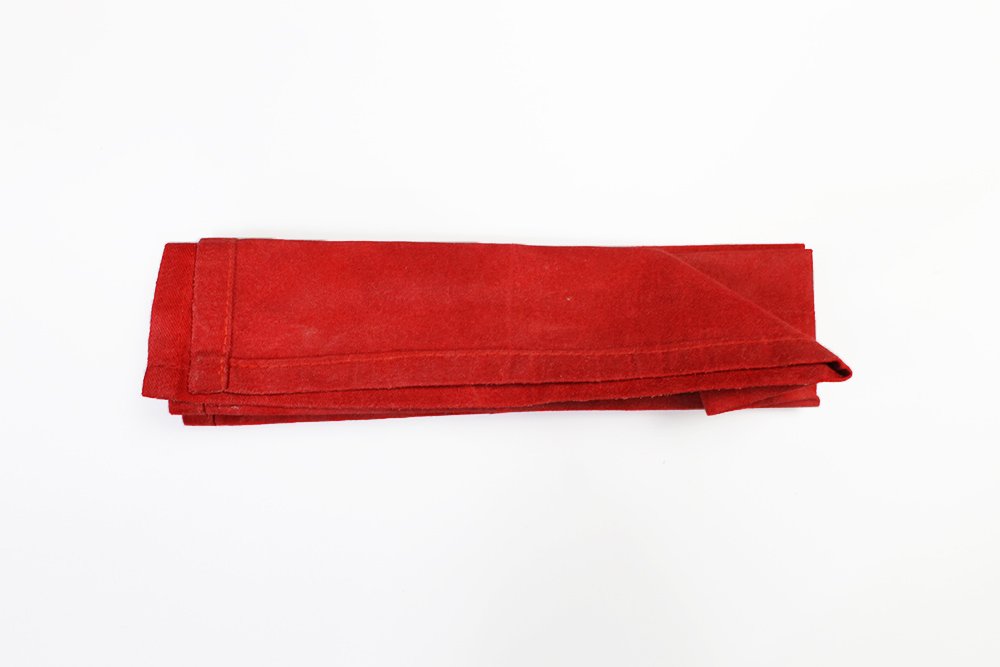
Unfold it gently without ruining the creases made. You should have a napkin that looks like the image above. Good job, now it's time to move on to the next steps.
Make the Points of the Christmas Star
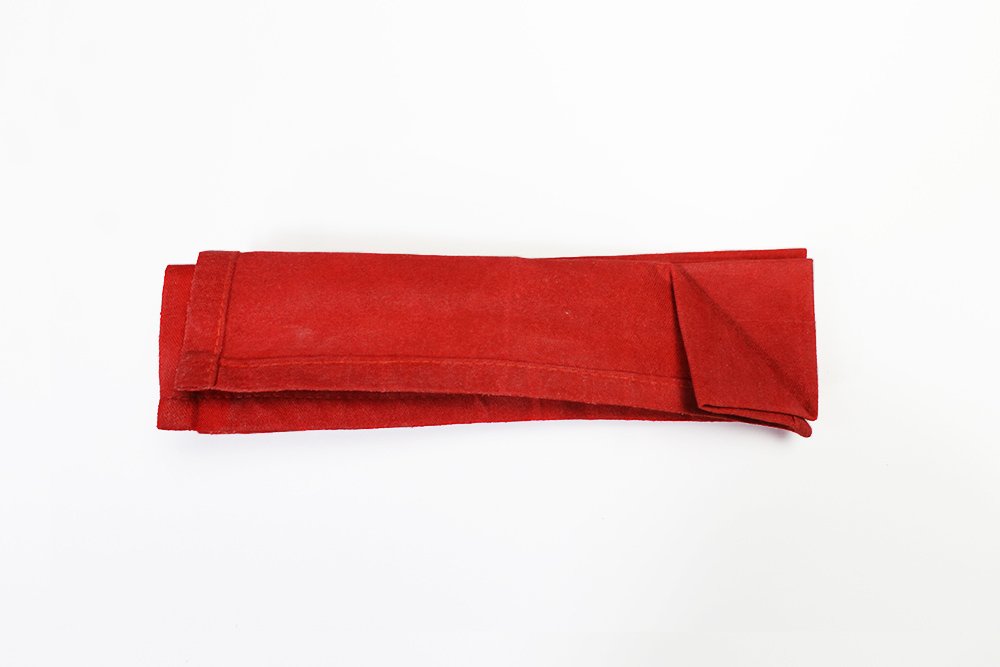
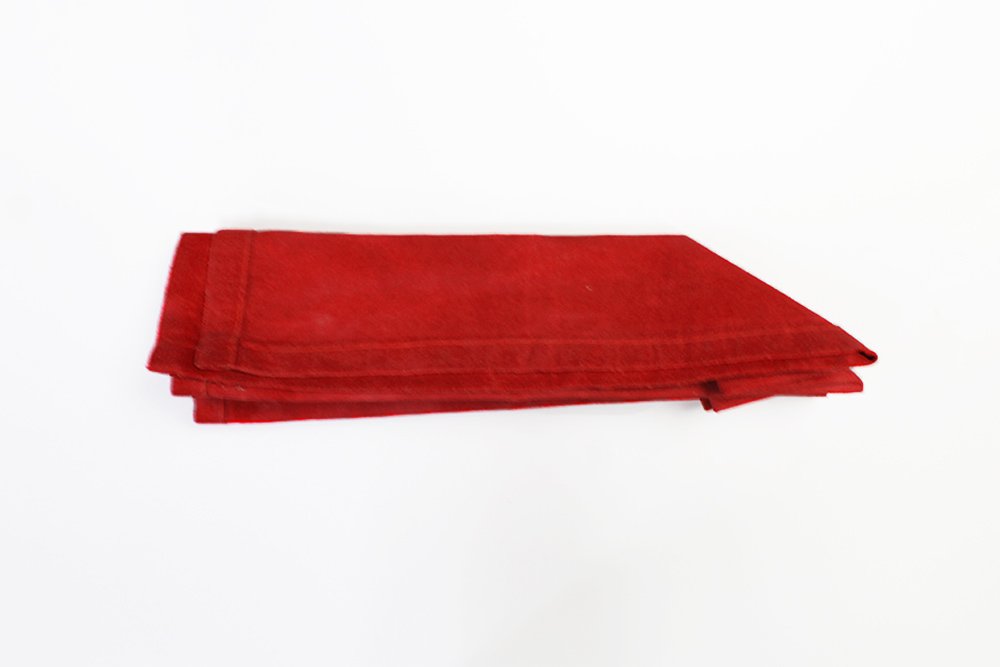
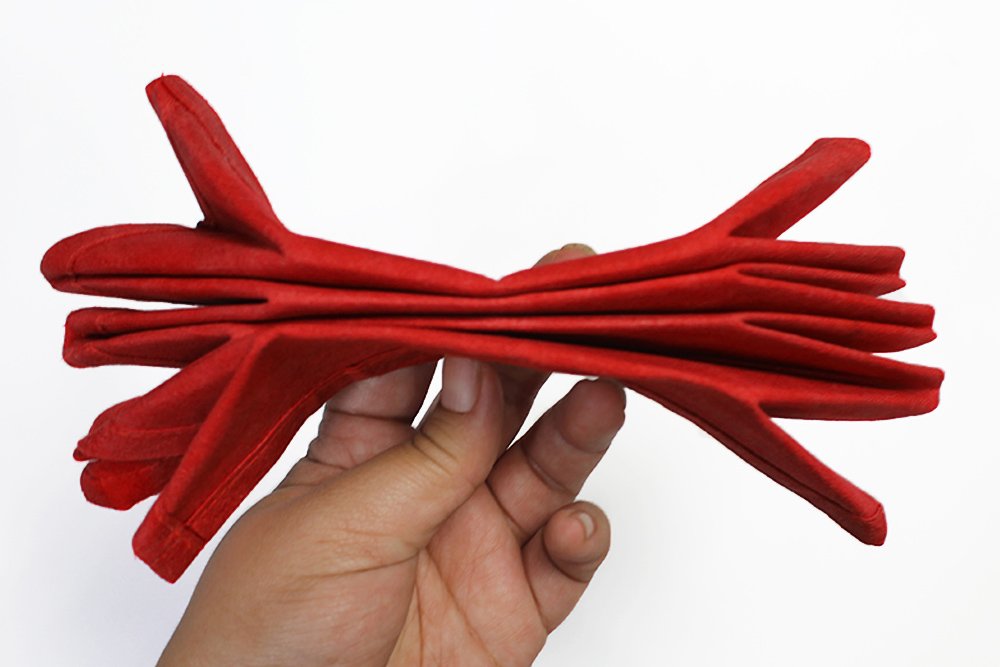
You have made the creases necessary to proceed to the next steps. Now you can begin making the ten points of the star. Your next step is to compress the napkin like an accordion so it should look like the image above.
To make an accordion, fold the napkin to the front and then to the back along the crease marks made in the first set of steps.
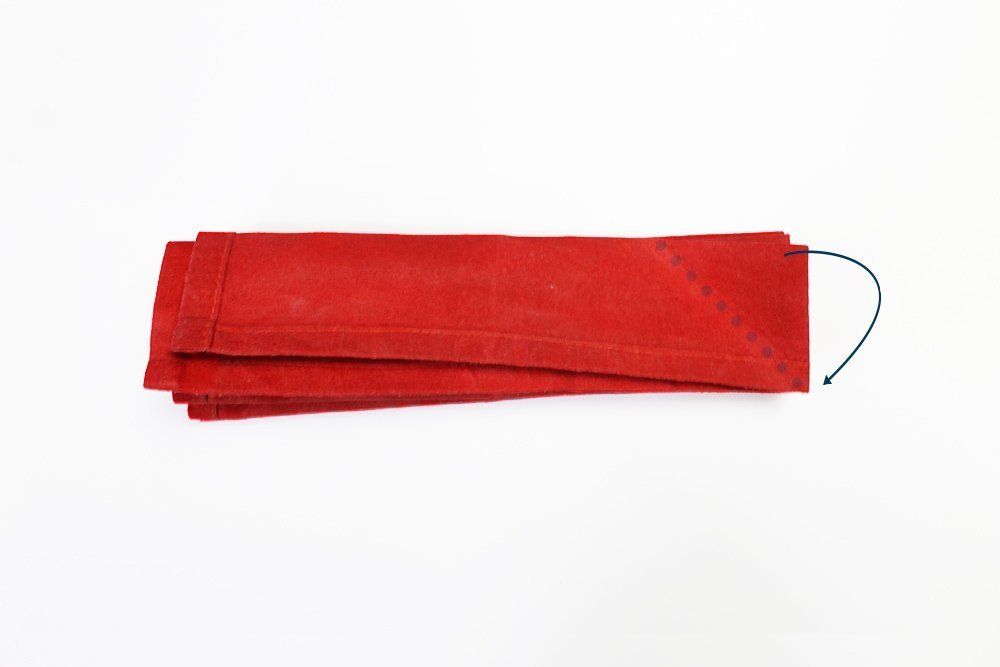
Now that you've compressed the napkin, rotate it 90 degrees to the right.
Fold the top right corner of the topmost layer towards the bottom right.
Unfold it and for the next step, you need to mountain fold along the crease line made in the previous step.
The fold should look something like the image above. The flap should be folded inwards.
The image above demonstrates what your first flap, or point, will look like at this stage in the process.
Move to the next layer and do what you previously did again. This step has to be repeated multiple times. If you got the hang of it already, then you will find it easy to continue. Just takes a bit of practice!
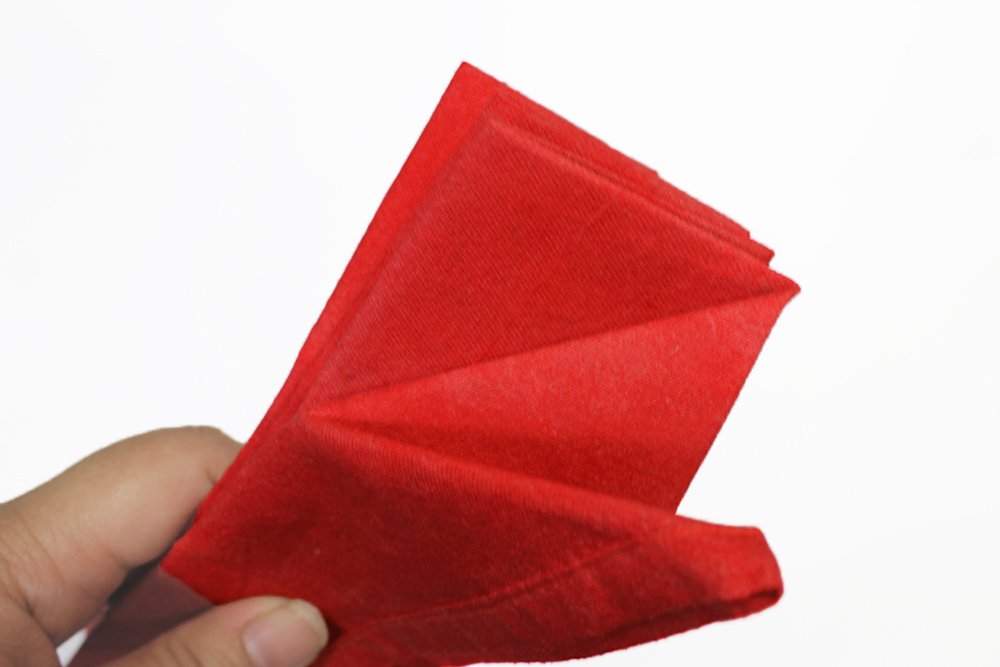
Fold the next layer, and if you spread it out a bit your napkin would look like the one from the image above. Don't drop it when you hold it like that - be careful in retaining the shape of the napkin.
Do the same steps for the other side. By the end of it, you will have ten points made from both sides. You're close to finishing the fold - good job!
Tie a string to shape the Christmas star napkin

The next step is to get a string. We will tie the string to the napkin.
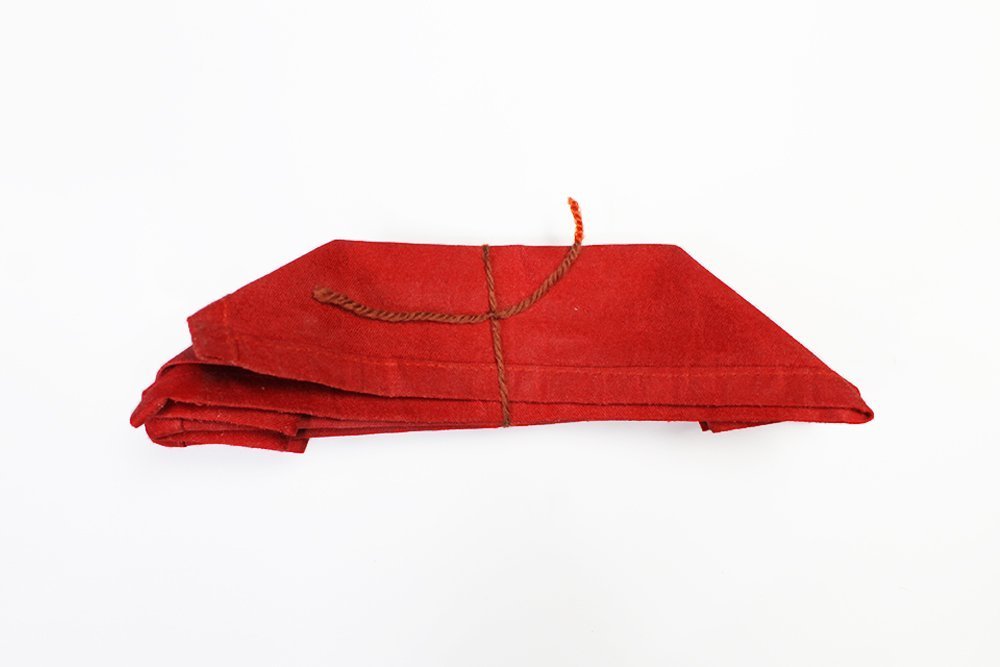
Position the napkin in such a way that it lies flat. Then place the center of the string beneath the napkin. Make a knot in the middle of the napkin in the top side.
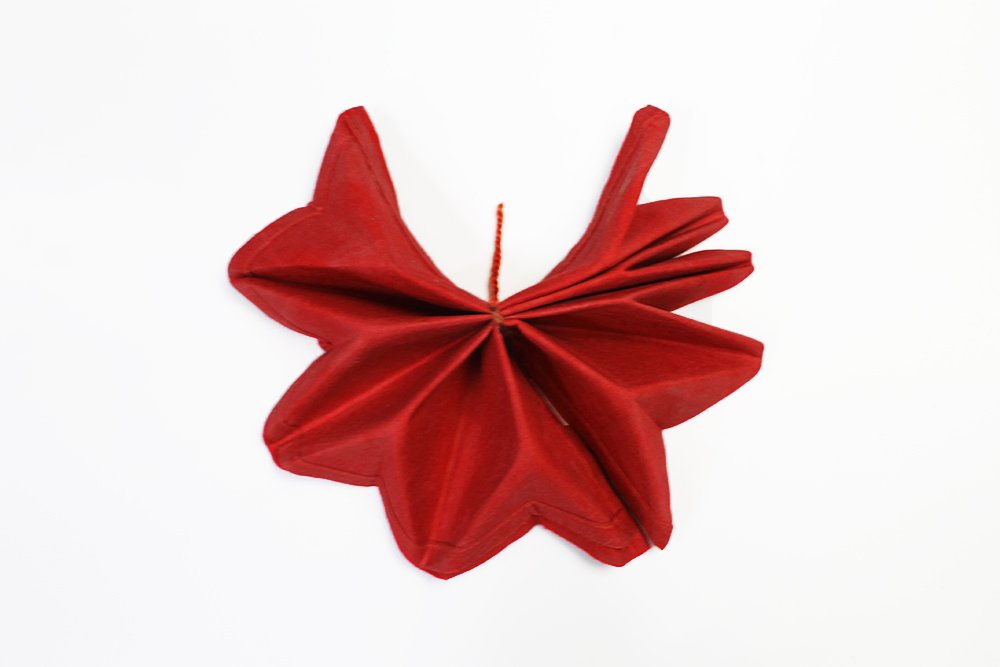
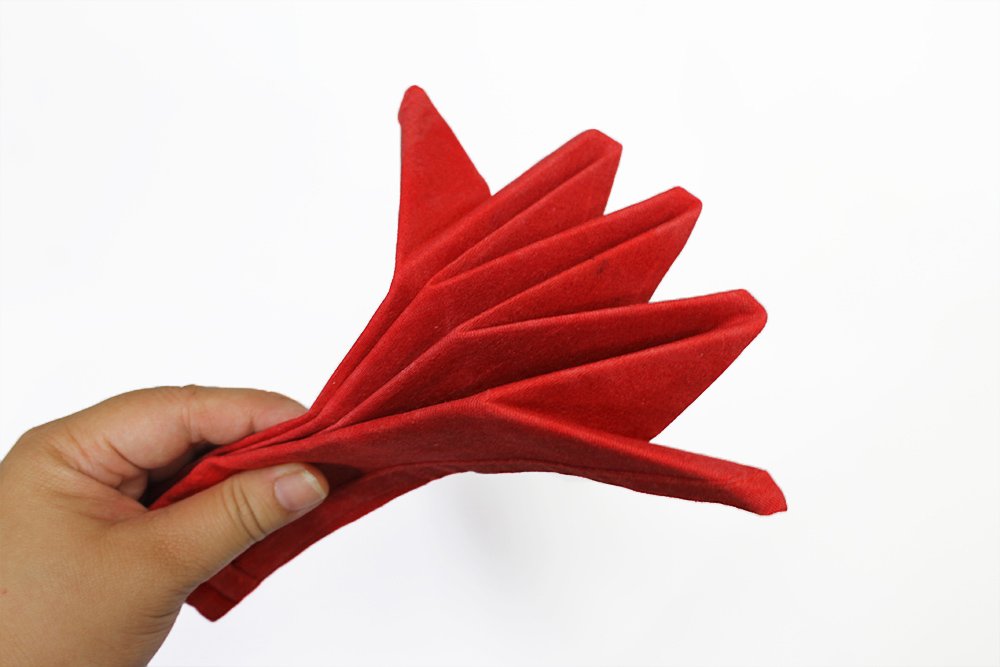
After you have made the knot, expand the napkin on one side. Extend it so that it will look like the image above with two ends meeting together. The knot will keep things in their proper place.
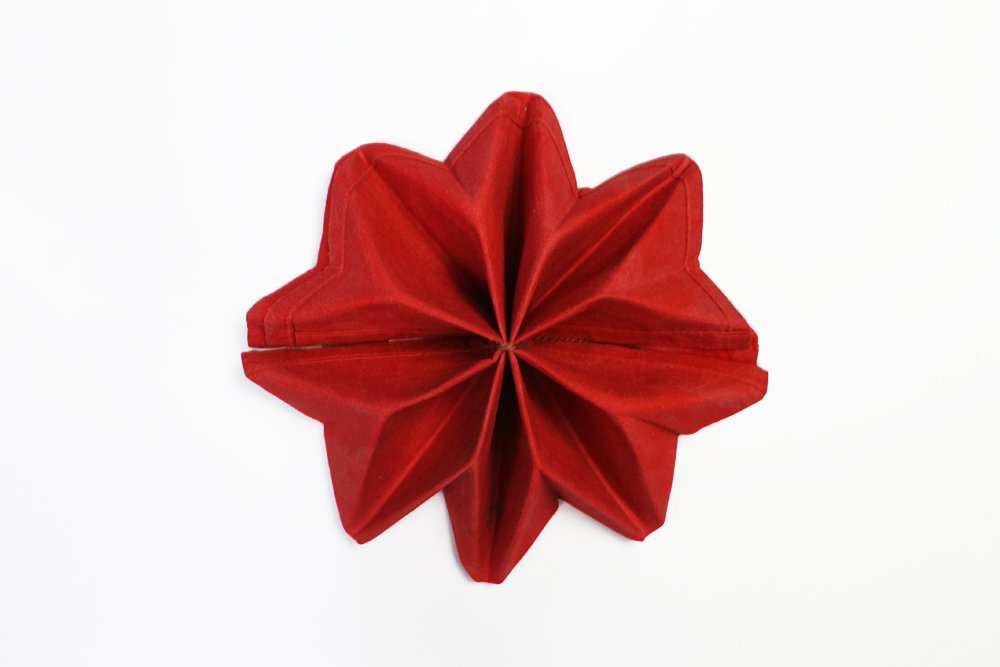
Make sure to make the left and right points meet at the center. Carefully make some adjustments if there's a need to do it. Congratulations you are done with the Christmas star napkin fold!
Extra Tips
- Don't forget to starch your cloth napkin if it is not stiff. Ironing might also get the job done but its main job is to do away the old crease marks, and such.
- DIY magazine has dozens of napkin tutorials, and we encourage you to check one of them out. If you have questions or a thought you want to share let us know.
- Red is a nice color for Christmas so as other colors like green, white, and gold. It depends on your theme. But the string must be the same color as the napkin.


