Cute Chestnut Crafts Tutorials for Kids- Chestnut Sheep

Introduction:
Make a cute chestnut sheep with materials that are usually available in your house. If you are looking for a handicraft idea that is great for the fall season, you and the kids will surely enjoy this “nutty” activity. Have fun crafting!
Tools
- Side cutters/pincers
- Permanent marker,
Supplies
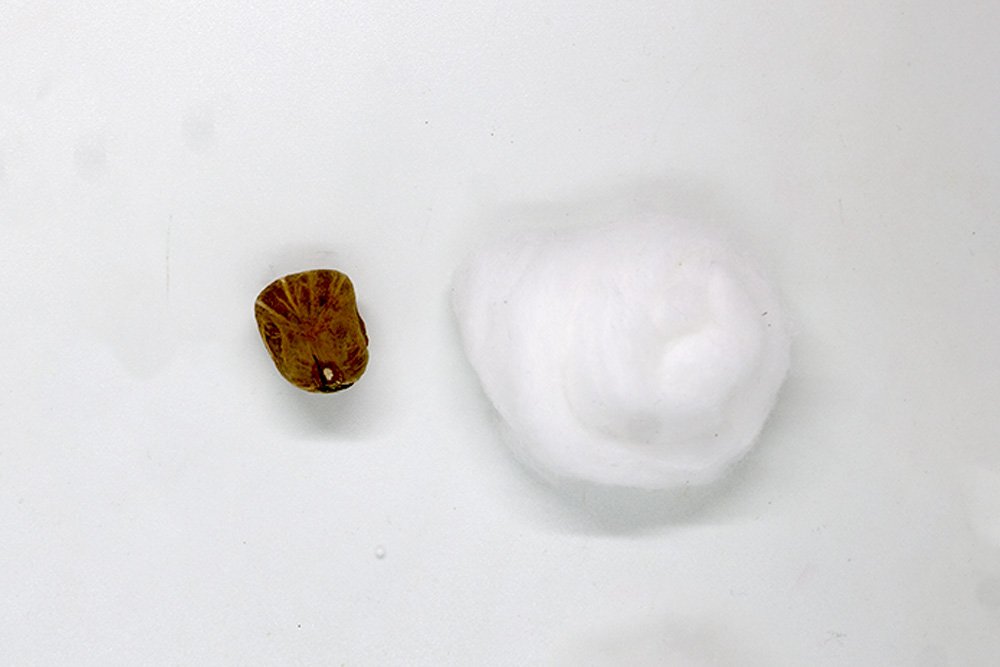
- A chestnut
- An acorn
- A little cotton wool/cotton wool pads,
- Opaque white paint
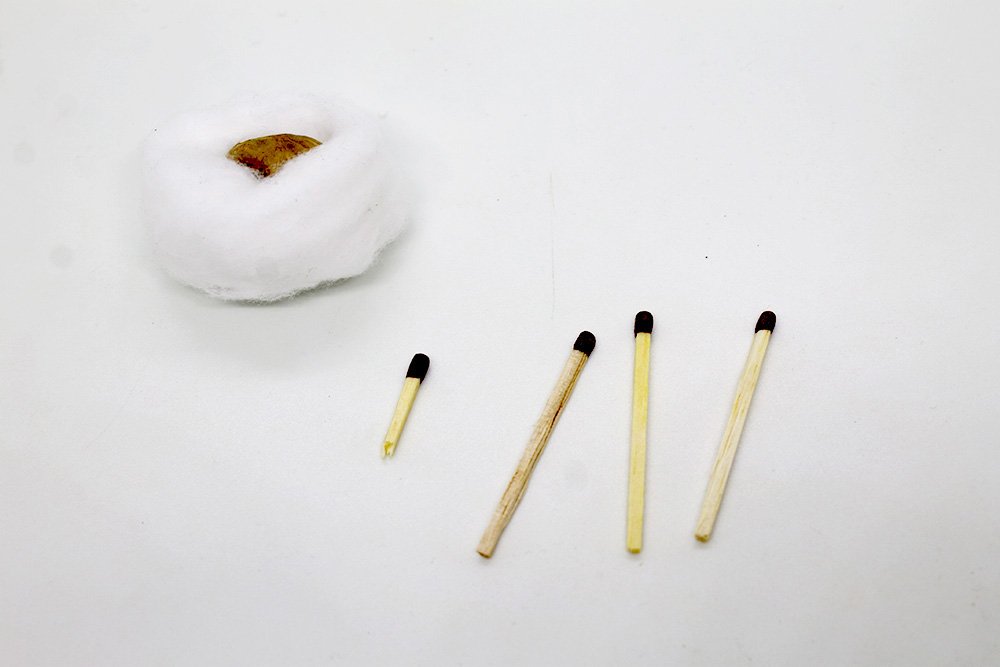
- 3 toothpicks
- Glue stick

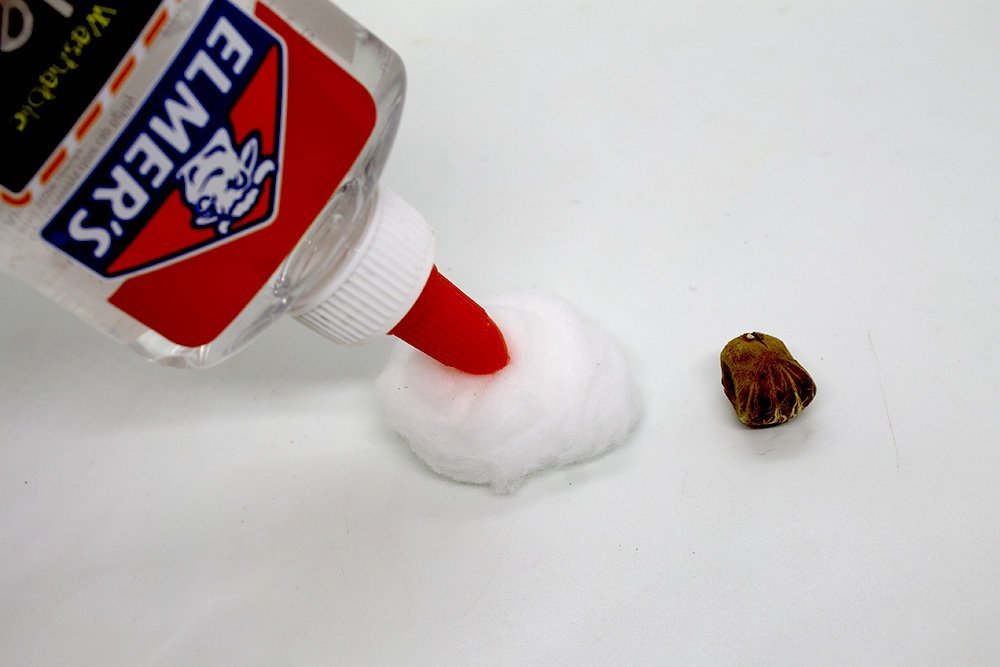
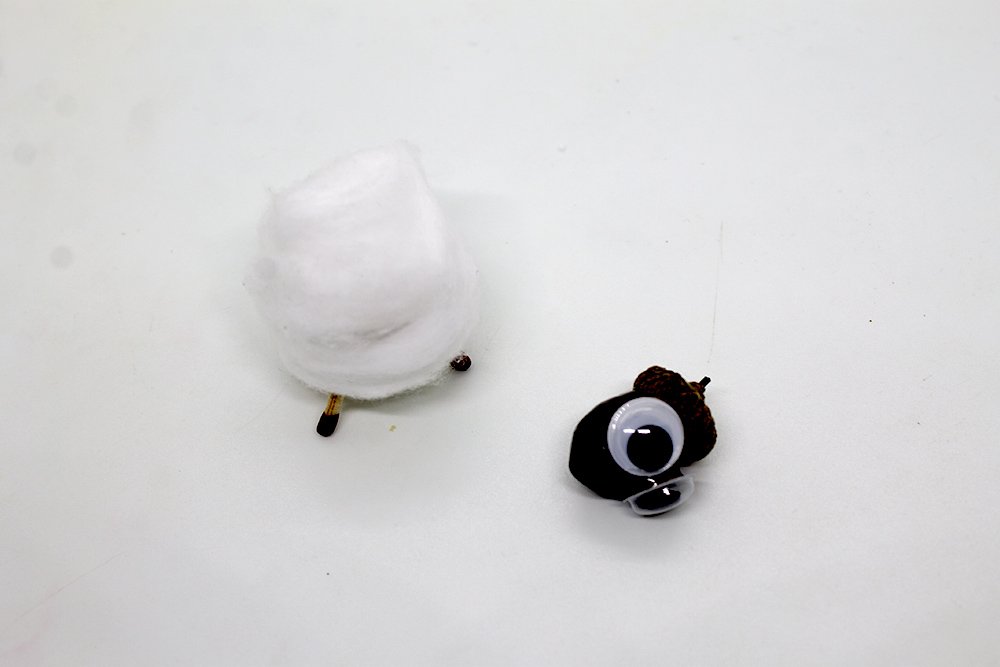
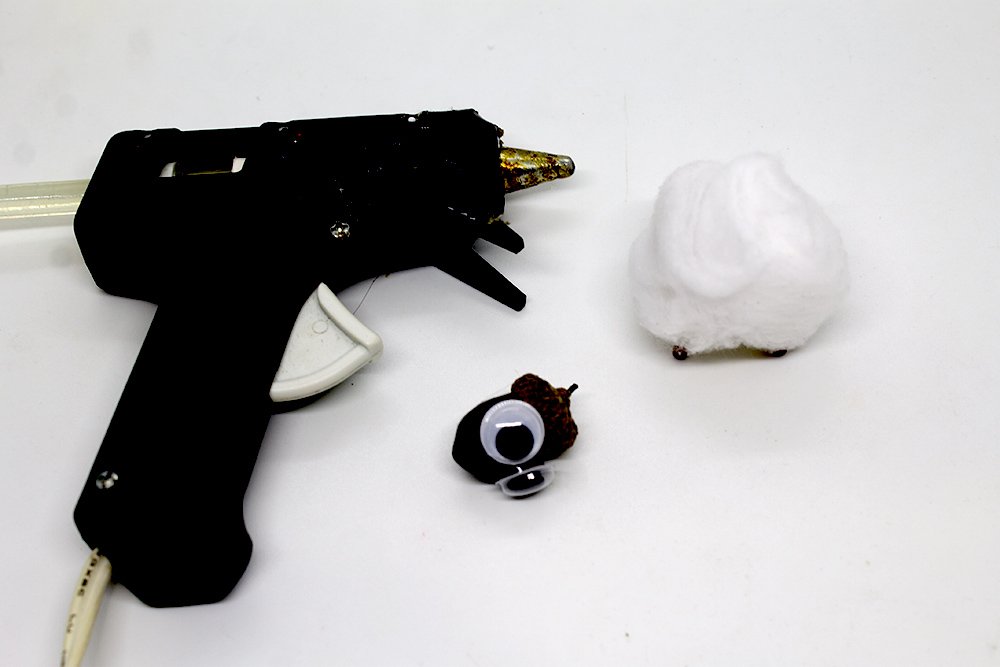
Put Some Wool on the Chestnut
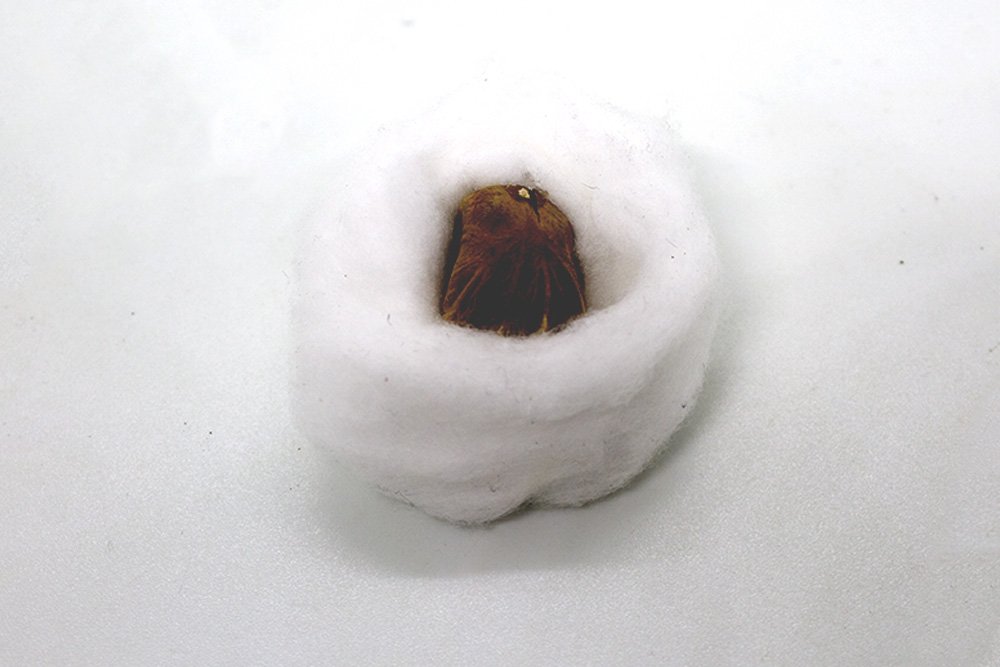
The first thing to do is to glue the wool to the chestnut. Apply some glue on the surface of the chestnut. Then stick the wool to where you applied the glue.
Stick some more wool on the top part as presented in the image above. If you want, stick some wool over the whole chestnut to make it look nicer.
Tip: When gluing the chestnut, you should make sure that you have dry hands and it has no glue residue. That way the wool will only stick on the chestnut and not in your hands.
Drill Holes
The toothpicks will be the legs of the sheep. To attach the legs you have to drill holes in the belly of the sheep. If you try to stick the toothpicks into the sheep without drilling some holes, the toothpicks break off quickly.
Tip: To drill holes in the body, you can use a drill bit of the same thickness or a thumbtack.
Poke or drill 4 holes in the underside of the chestnut. It is important that the holes are evenly spaced from one another and that they should be pierced into the body at a slight angle. That way, the legs stick out at an angle and the sheep stands better.
Attach Legs and Head
Break 2 toothpicks in half. Insert each of the toothpicks (that was split into half) into the drilled holes.
The neck of the sheep will be the remaining toothpick. Drill another hole on one side of the chestnut.
Insert the last toothpick on the drilled hole made in the previous step.
Your sheep’s body is done! To form the head of the sheep, get an acorn.
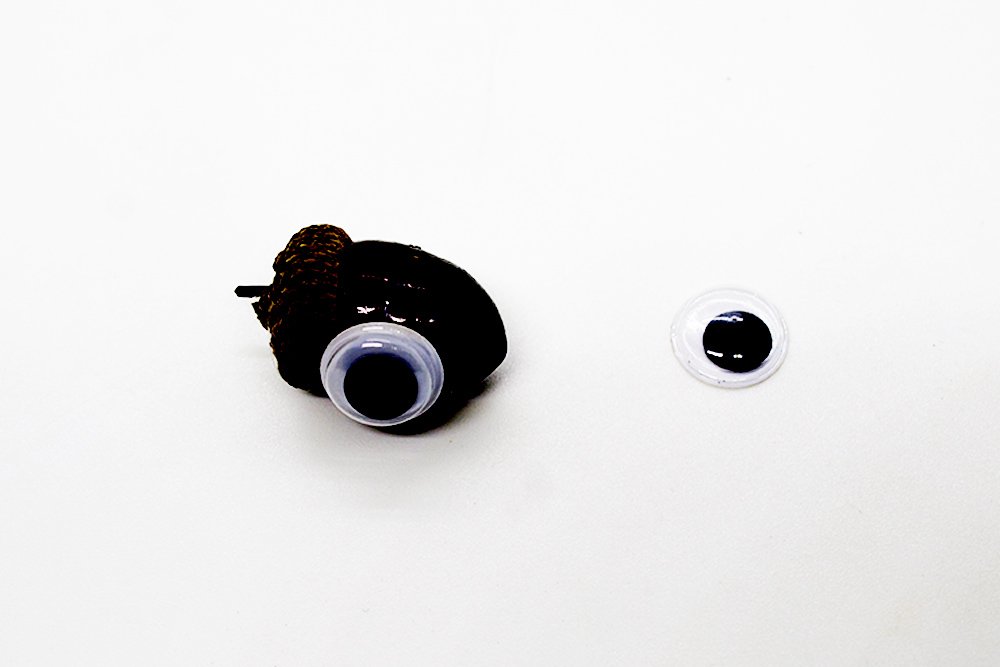
Drill a hole on the bottom part of the acorn. To attach the head, insert the acorn on the longer toothpick of the sheep’s body.
Now it’s starting to look like a sheep. The last step is to draw the face. Get your coloring materials and start decorating!
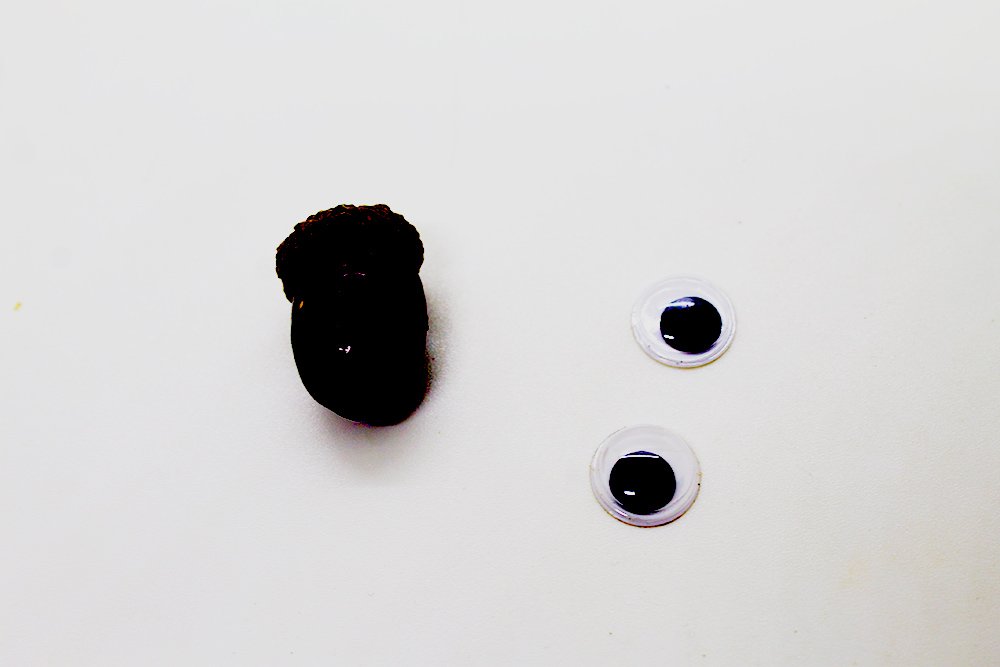
Add Eyes
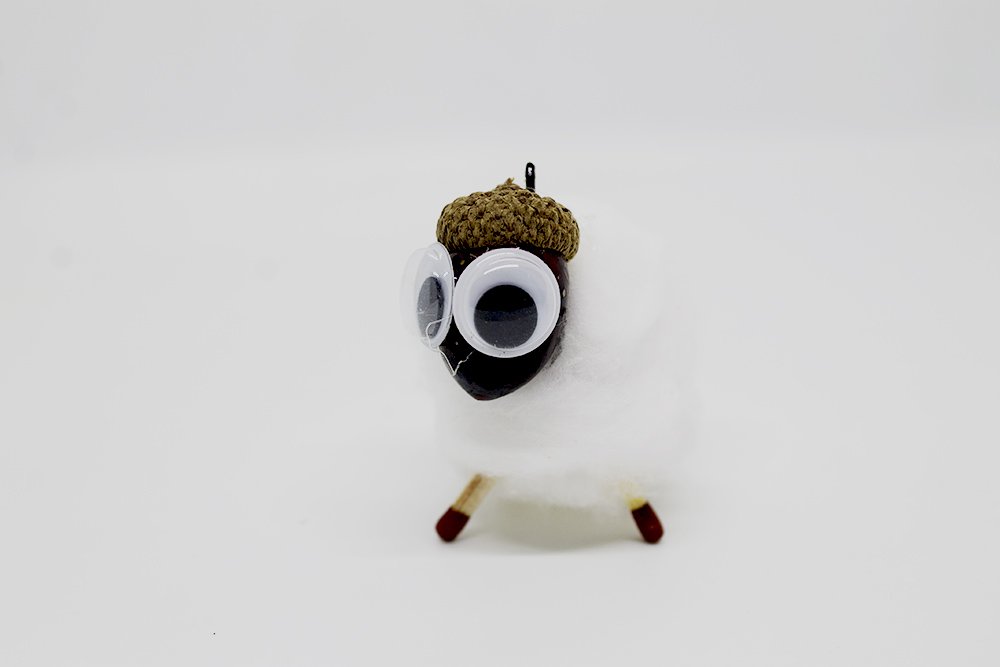
Lastly, make the eyes by painting two dots on the face using white paint. When the paint has dried, draw some pupils on the white dots with a marker or black paint.
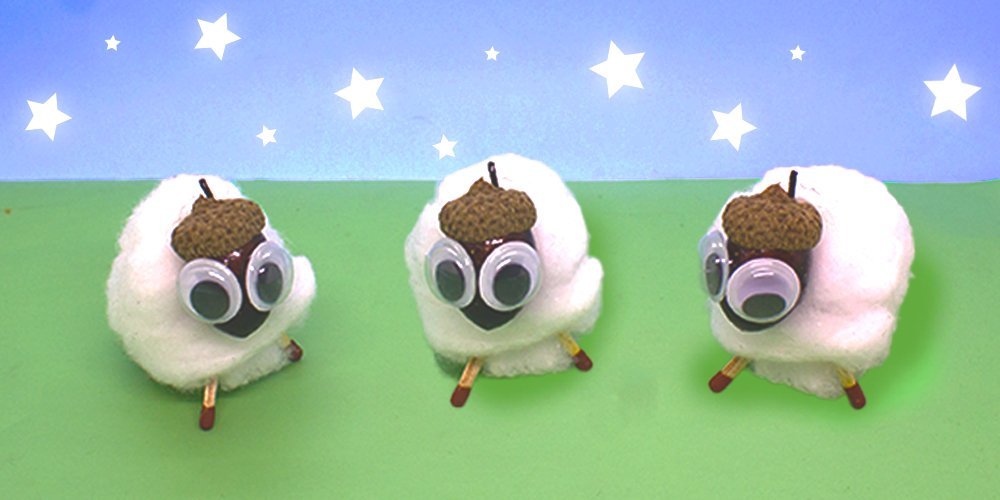
Your chestnut sheep is finished!
I hope you have fun making this adorable festive decoration.


Awesom Autumn Craft!
Very nice I shall try 👍
This is Wonderful 😀😀😀.
Thank you for teaching me how
Your art is mindblowing.
Keep it up❤