Paper Plate Turkey Thanksgiving Craft

Introduction:
Make a paper plate turkey for Thanksgiving! A great recyclable craft that kids and beginners can do is this easy paper bird craft. What’s great about this project is that it can stand on its own once finished. No need to hang with a string. Display it however you like anywhere in your house or at a party. Have fun crafting!
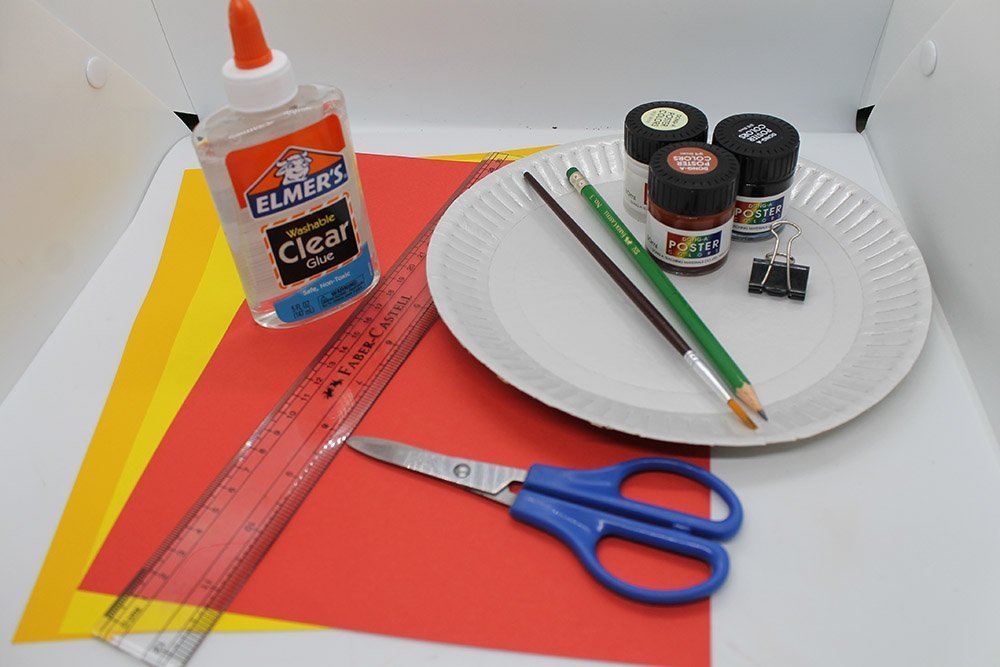
Tools
- Scissor
- Ruler
- Paintbrush
- Pencil
Supplies
- Paper Plate
- Glue
- Red, Orange, and Yellow Paper
- White and Black Paint for The Eyes ( you may also use googly eyes)
Create the base of the turkey
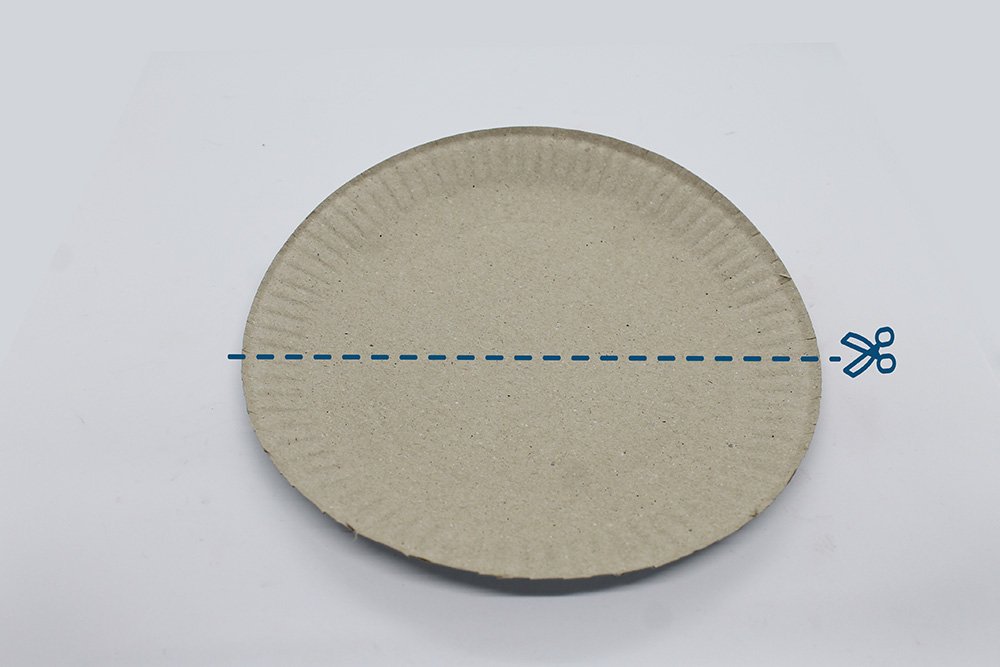
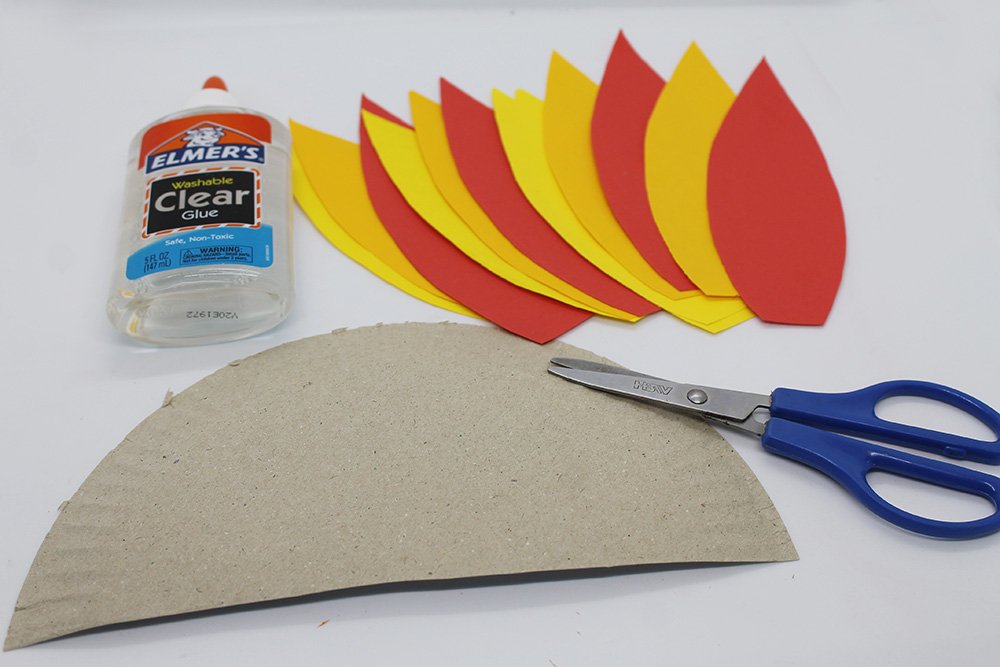
Get a paper plate for this project, we will be using the back of the paper plate. Cut the plate in half, as shown above.
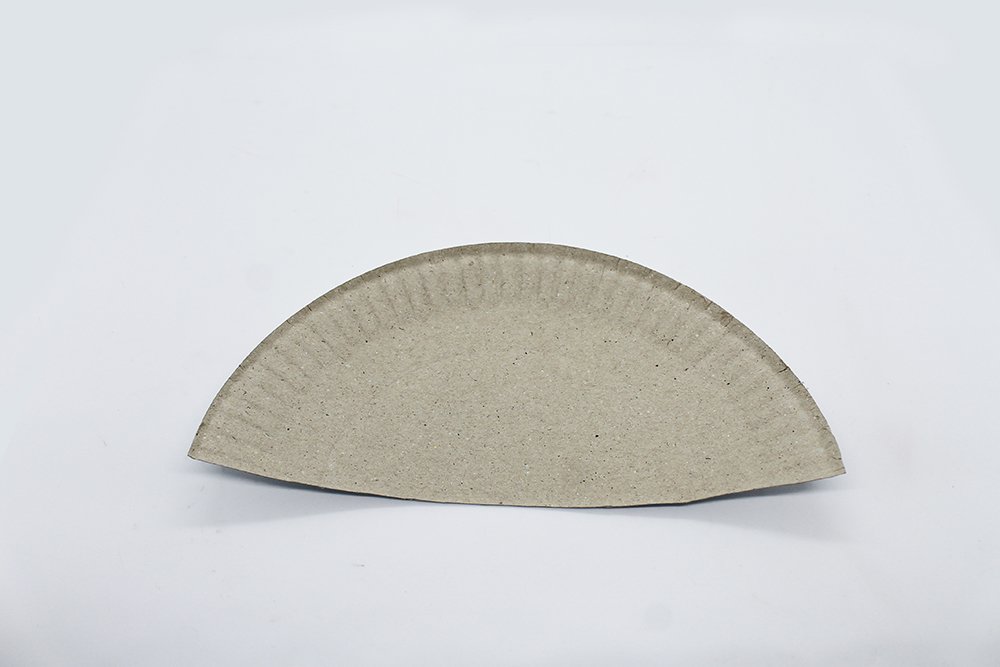
The top half will be the base of the turkey. The bottom half will be the body of the bird. Set the two half-moon plates aside for now.
Create the feathers
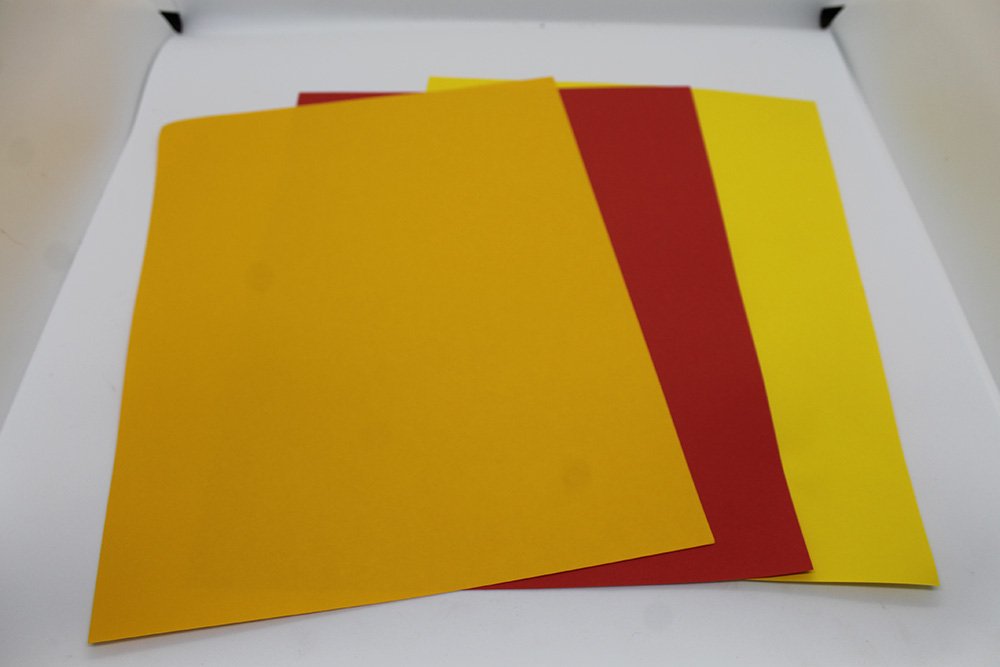
Get your yellow, red and orange paper. To make some feathers, cut these paper into strips using scissors, a ruler, and a pencil.

Let’s start with the orange paper first. The paper needs to be 6 inches in height or longer than the paper plate cut in half. Draw a line along with the paper on the 6-inch (or more) mark.
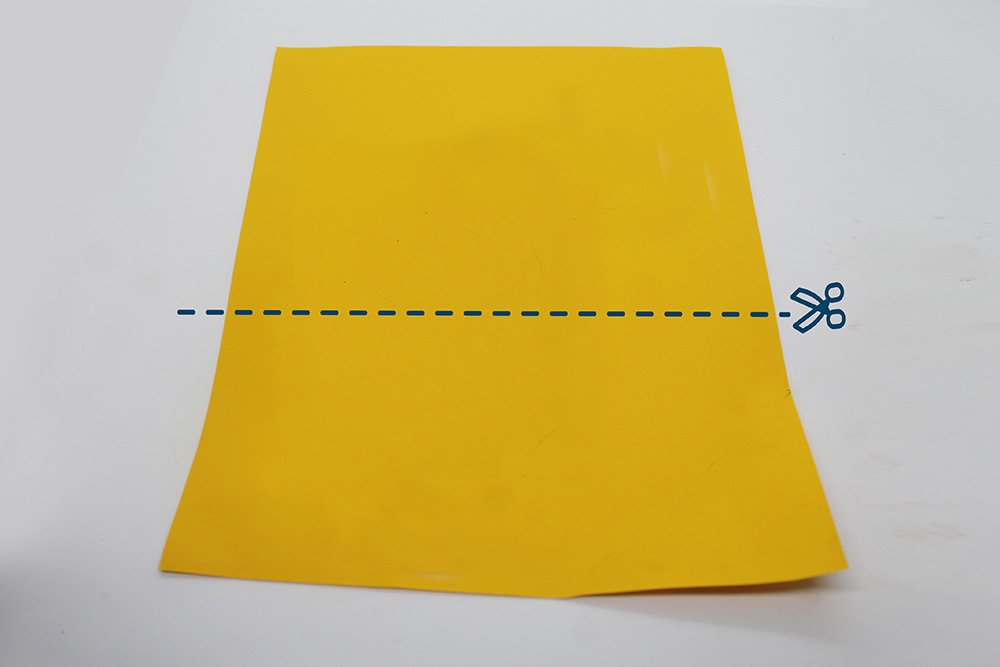
Cut it along the pencil mark made in the previous step.

Now that your paper is 6 inches (or more) in height, divide it into four parts. Do so by folding the paper lengthwise in half.
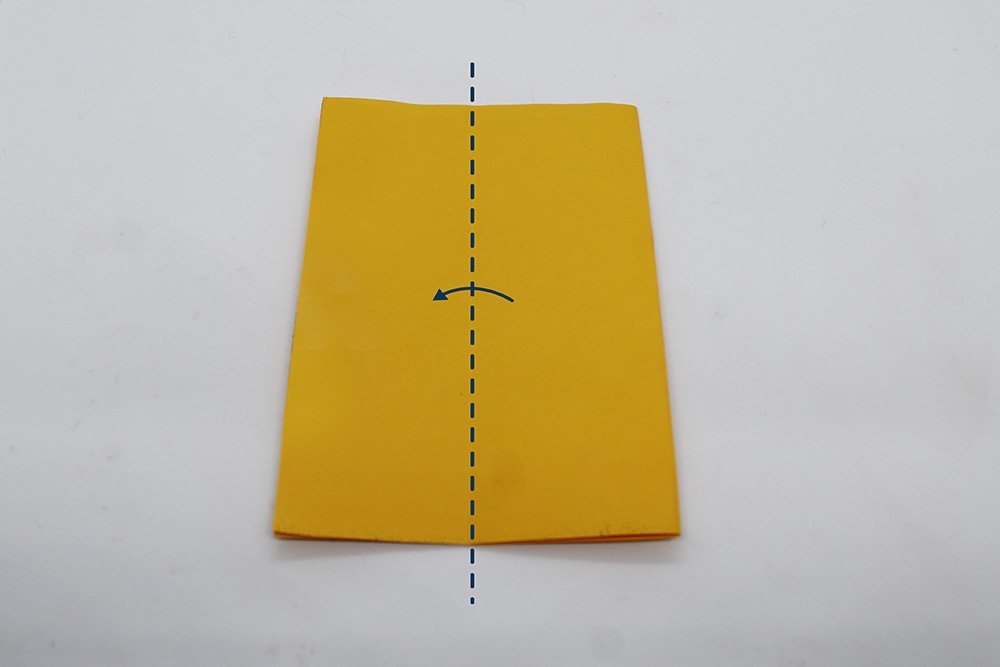
Fold it again in half.
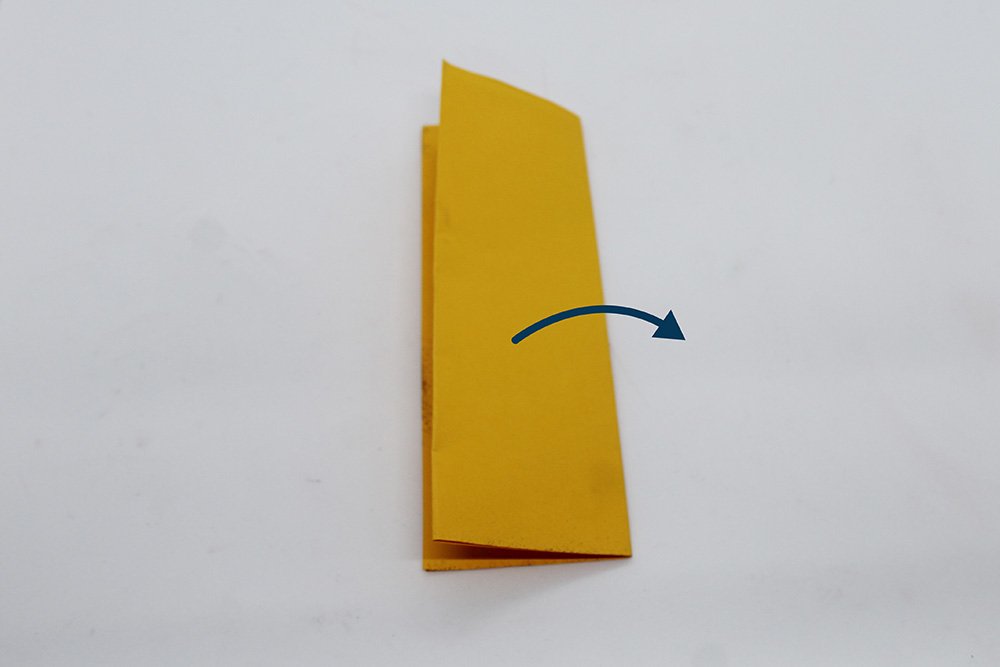
Unfold the paper.
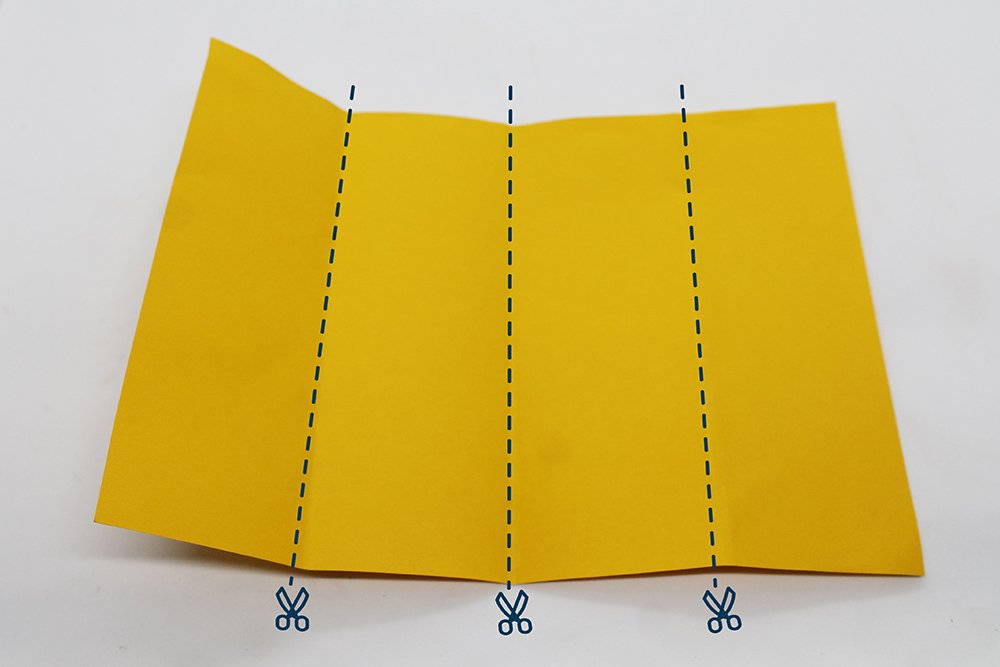
Now that you have divided the paper into 4 equal sections. Cut along the crease marks to make the strips

You have now made four strips of paper. Now repeat the process on the yellow and red paper.
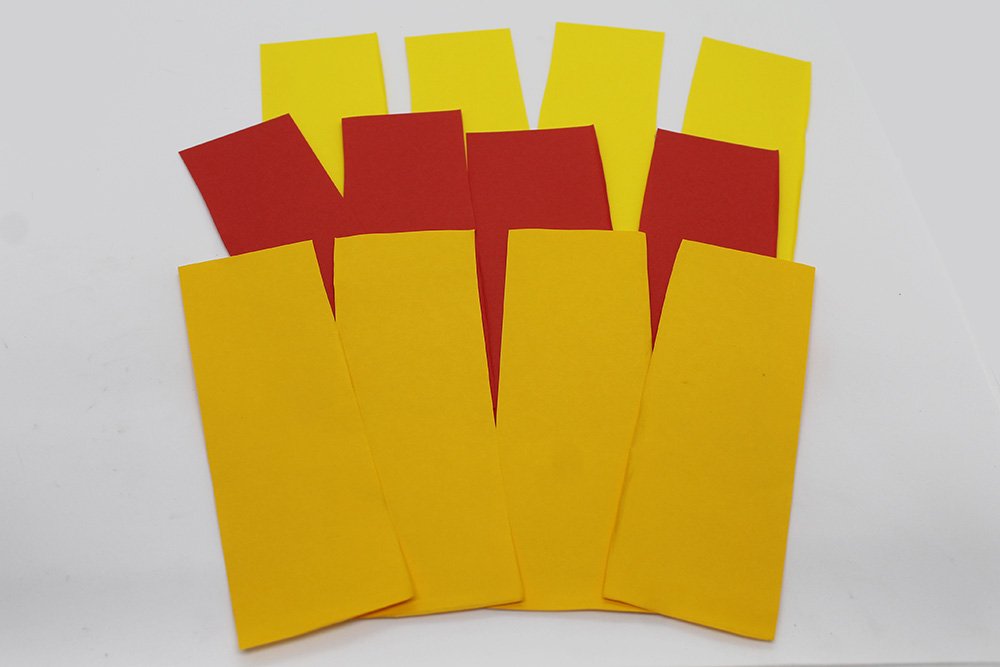
All in all, you should have twelve equal strips of paper made for red, yellow, and orange paper.
Shape the feathers
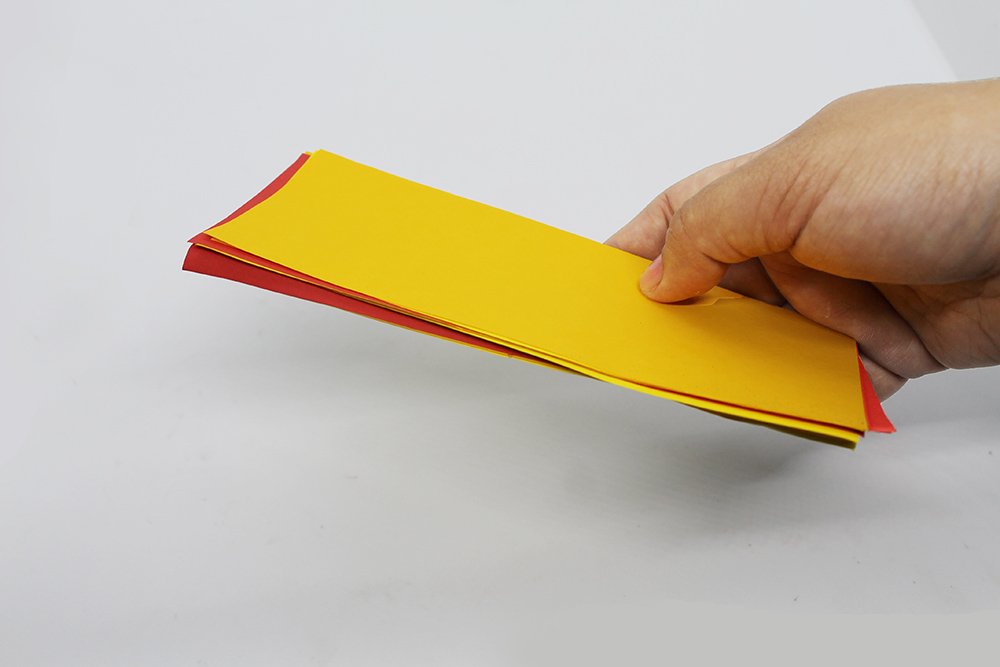
Stack the red, yellow, and orange strips of paper.
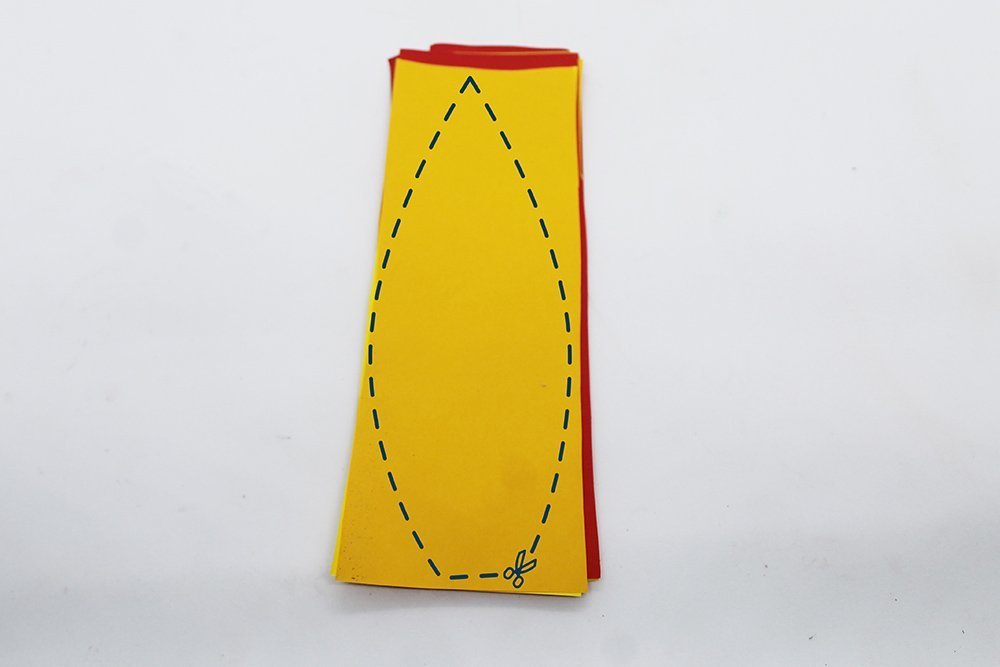
Once stacked, cut along the dashed line as illustrated above. Following the feather pattern doesn’t need to be exact. As long as it’s pointed like a feather, then you’re good!
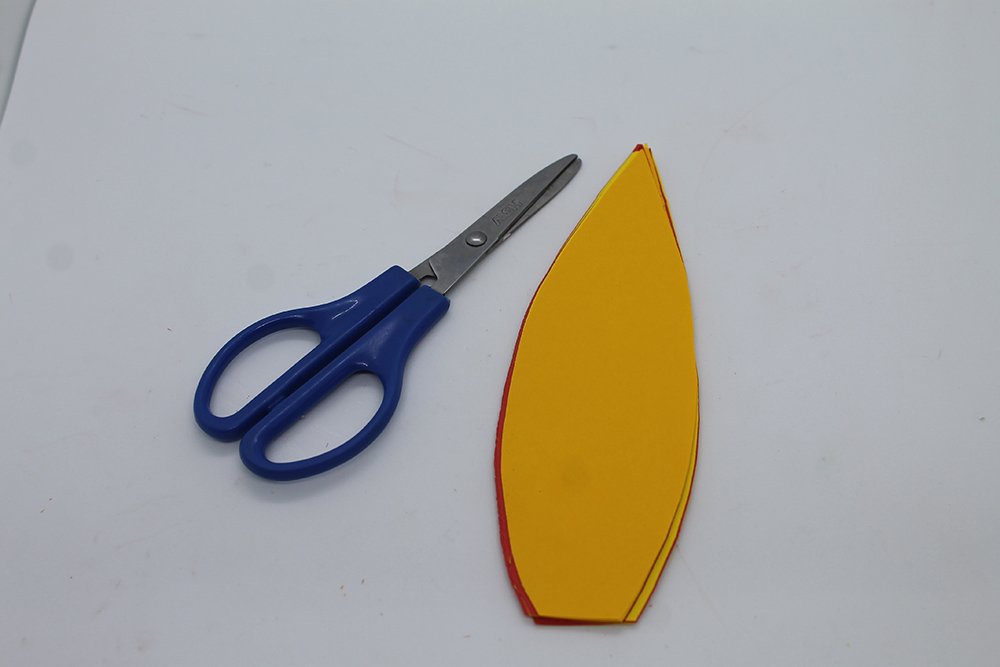
You now have different colors of feathers! Time to assemble the feather tail of the turkey!
Creating the feather tail of the turkey.
Grab the top part of your paper plate, the strips of paper feathers, a pair of scissors. The turkey’s tail looks like a fan, which is why we will use half of a paper plate to be the base of the turkey’s tail.
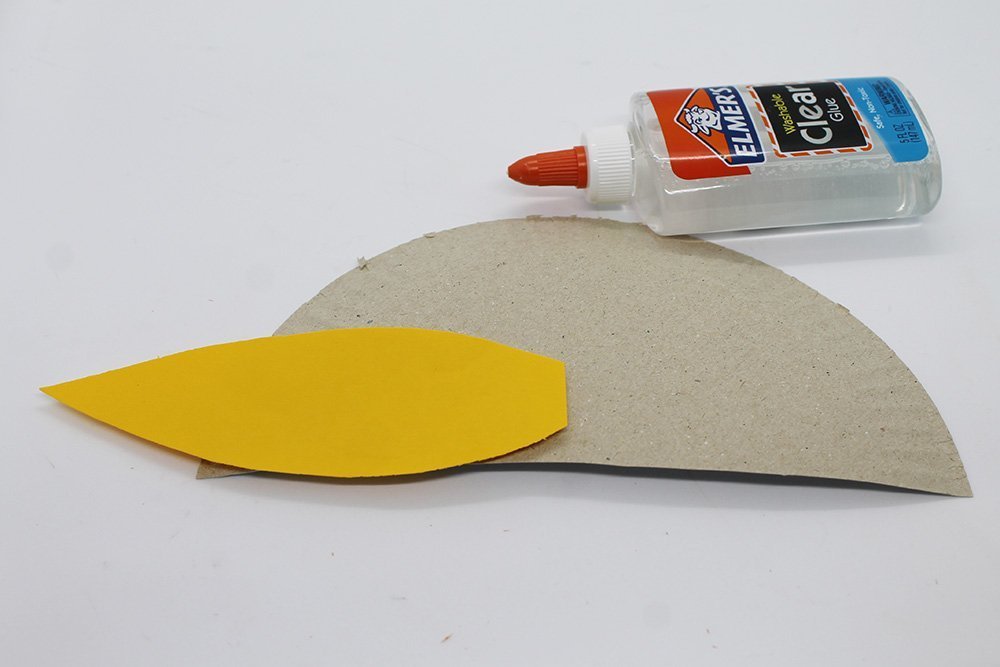
Paste the orange feather to the paper plate, as shown in the picture above.

Do the same for the red feather in a clockwise direction.
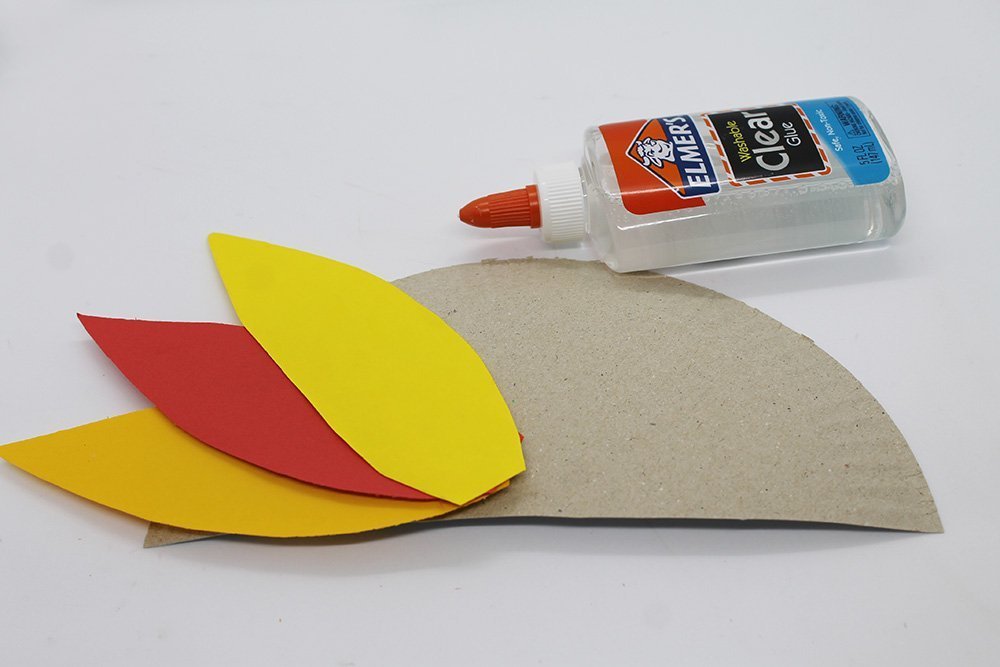
Now do the same for the yellow feather. Repeat the process (orange>red>yellow feathers) in a clockwise direction until you filled up all the space of the paper plate.

The tail of the feather is now complete! As you can see, we didn’t use all the feather strips. The rest will be used as the beak and the snood.
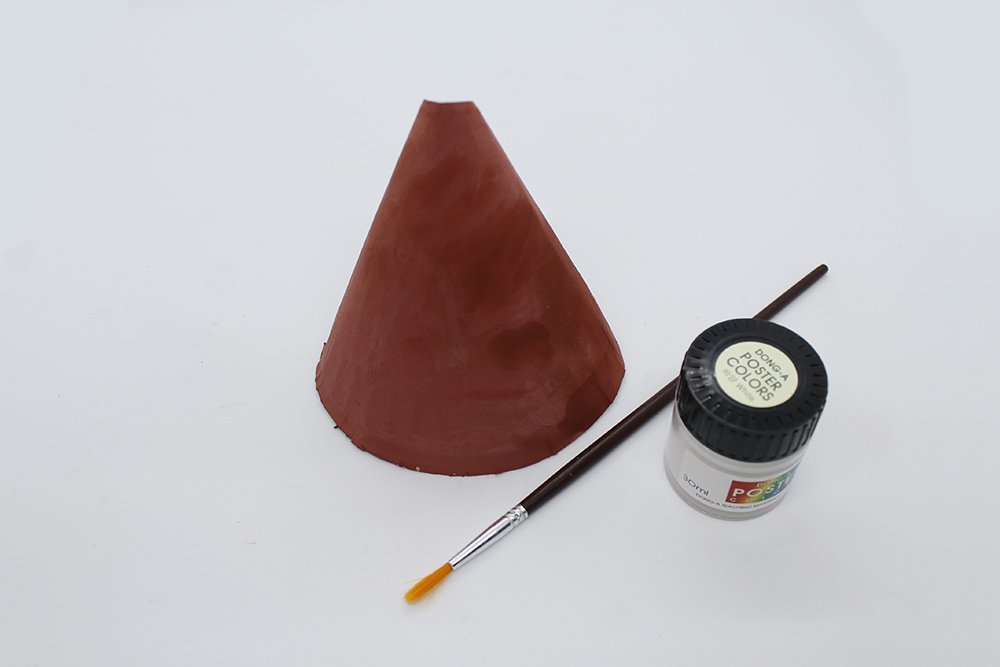
Paint the turkey’s head/body
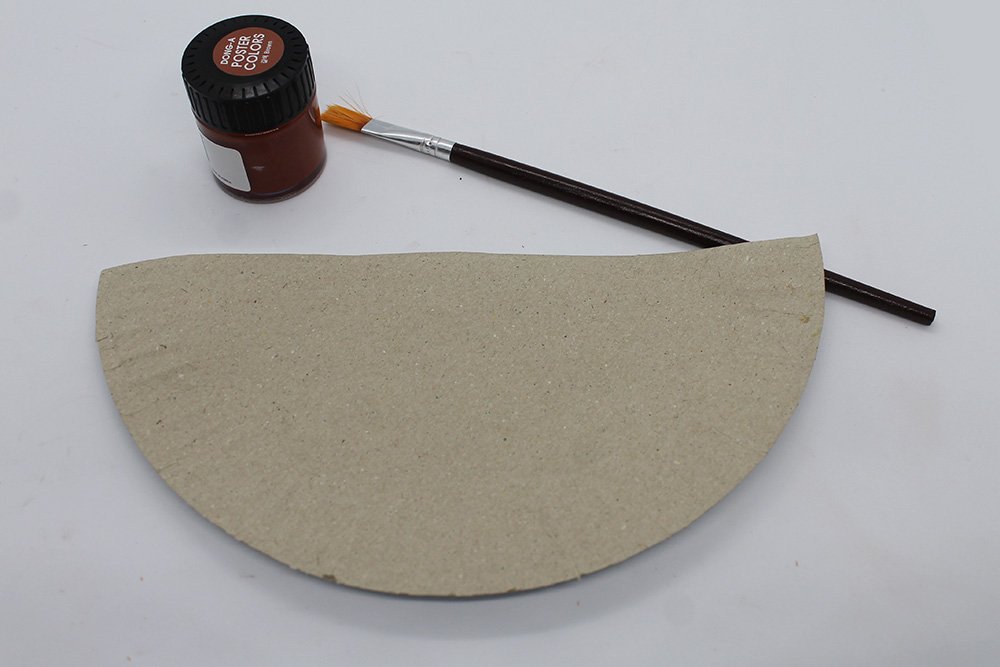
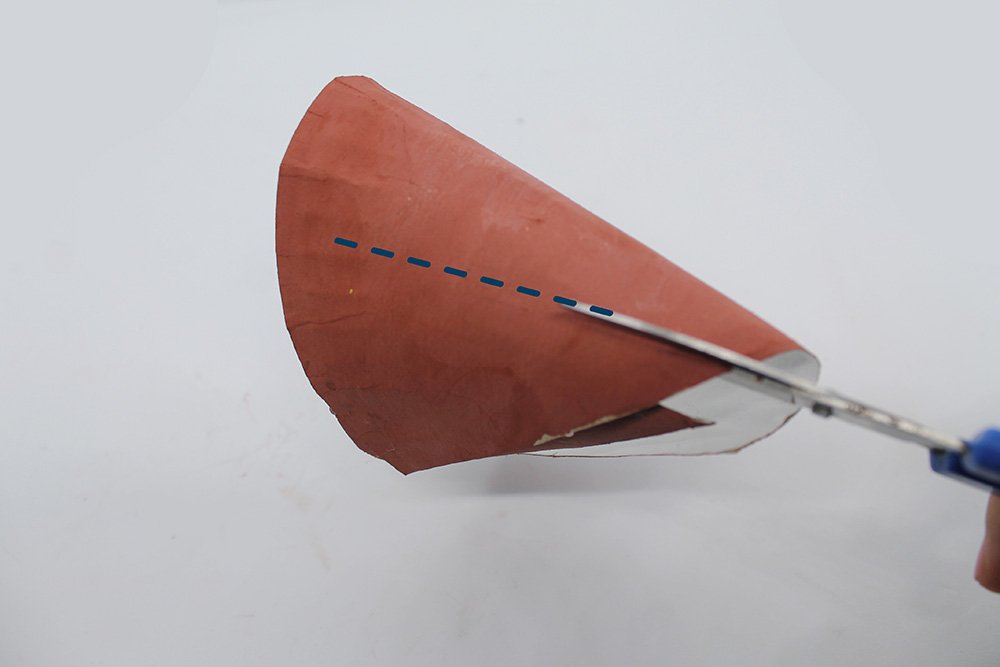
To make the head and body, get the remaining half of the paper plate and some paint. Use brown paint (or any color of paint you wish your turkey would be) to color the whole body of the turkey.
Shape the turkey’s head/body
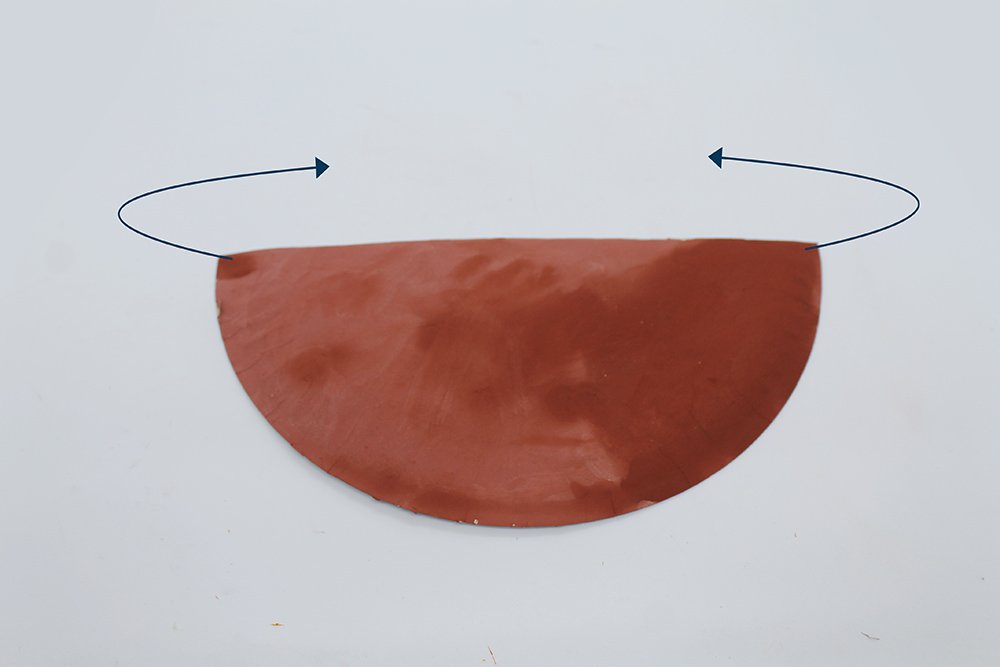
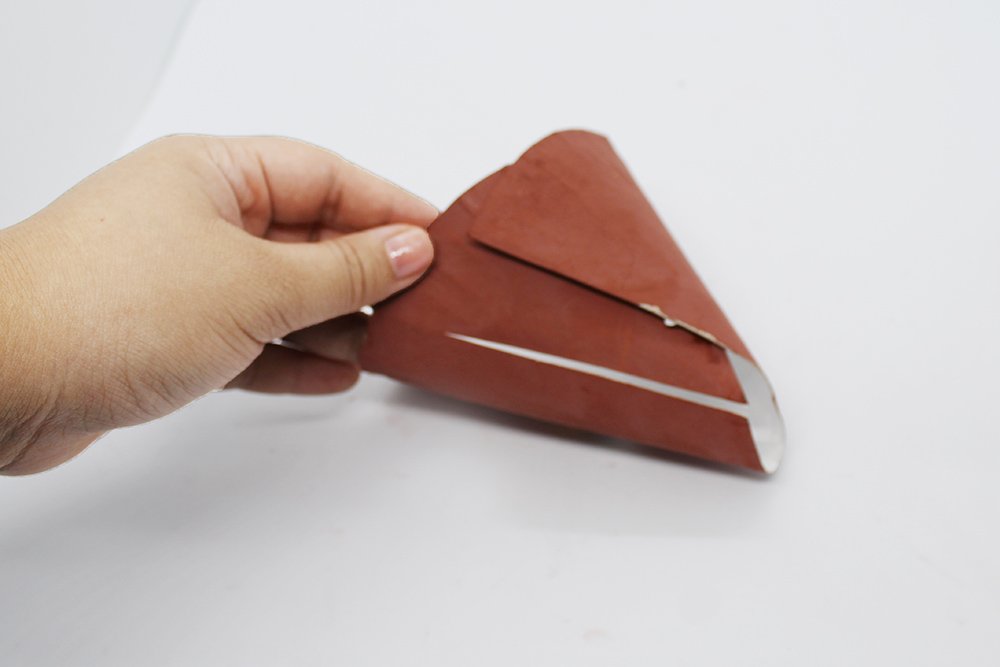
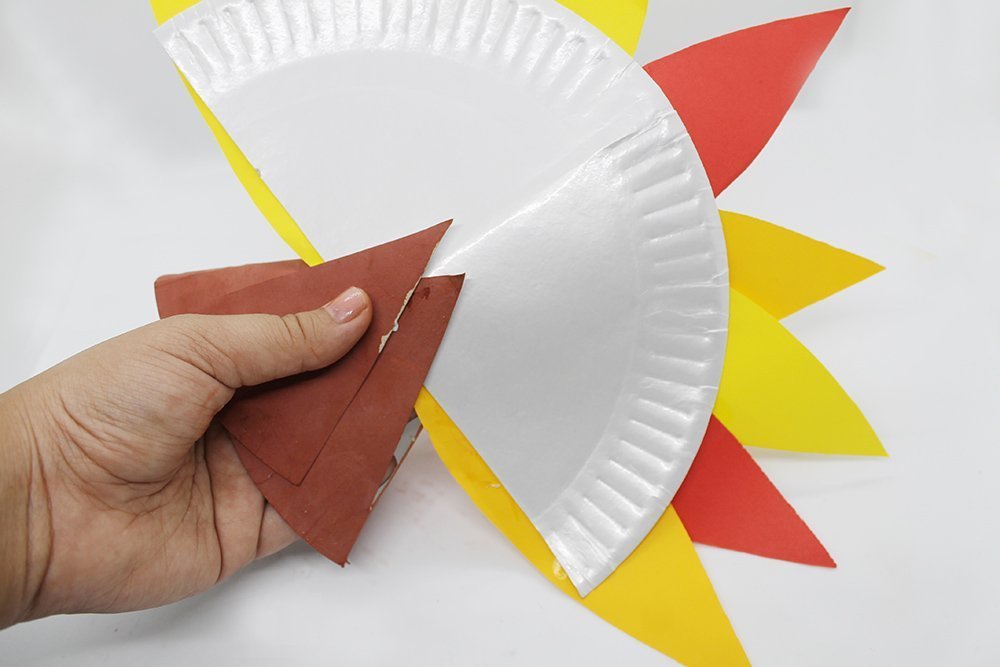
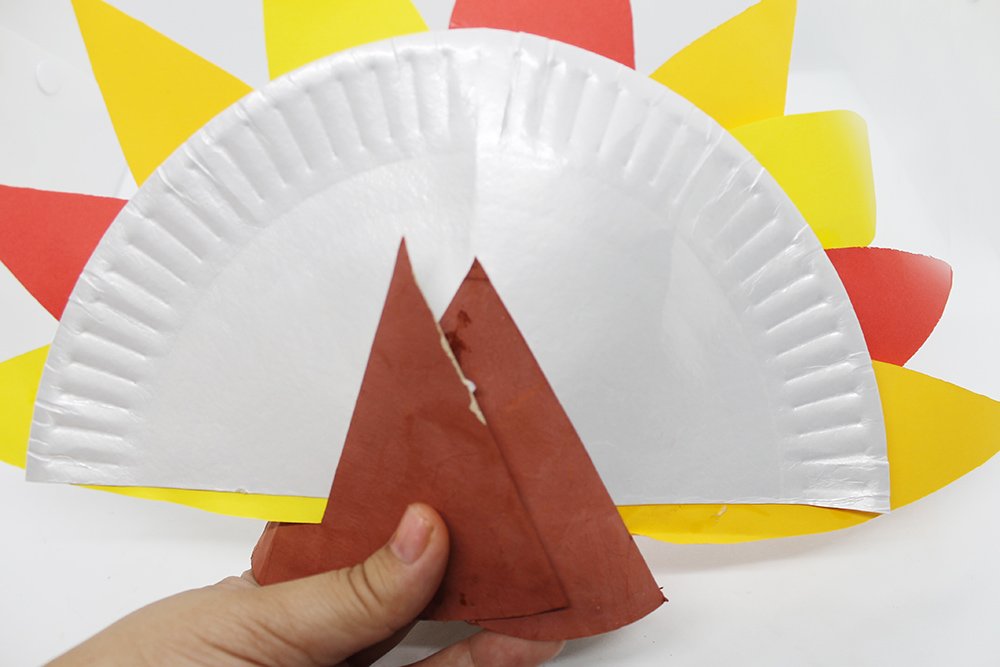
Bring the two corners of the paper plate together.
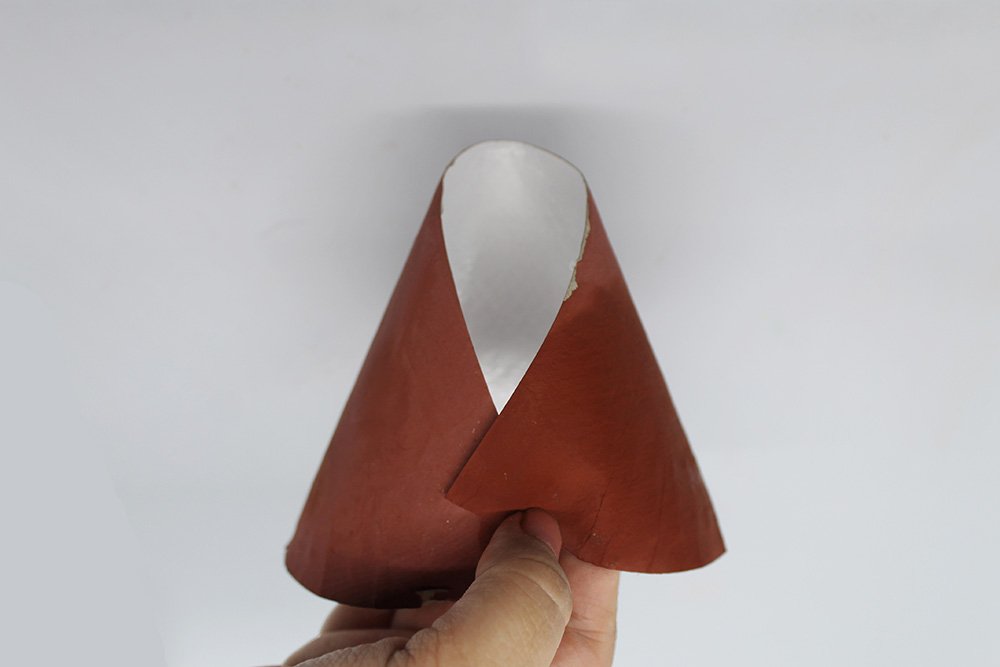
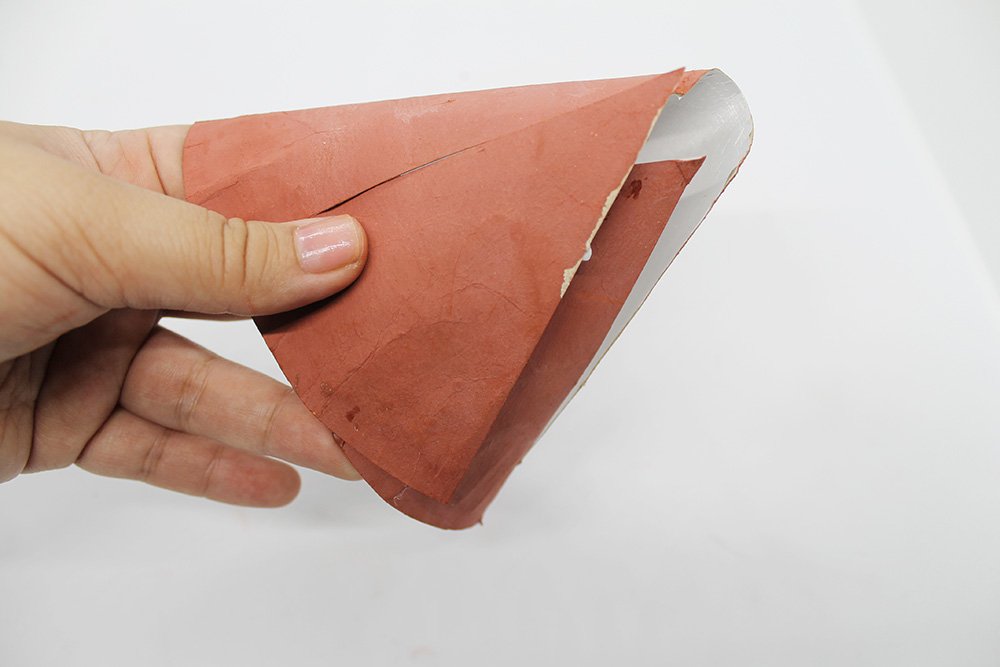
This is what it looks like at the back when the corners of the paper plate are brought together. It should naturally mold into a cone.
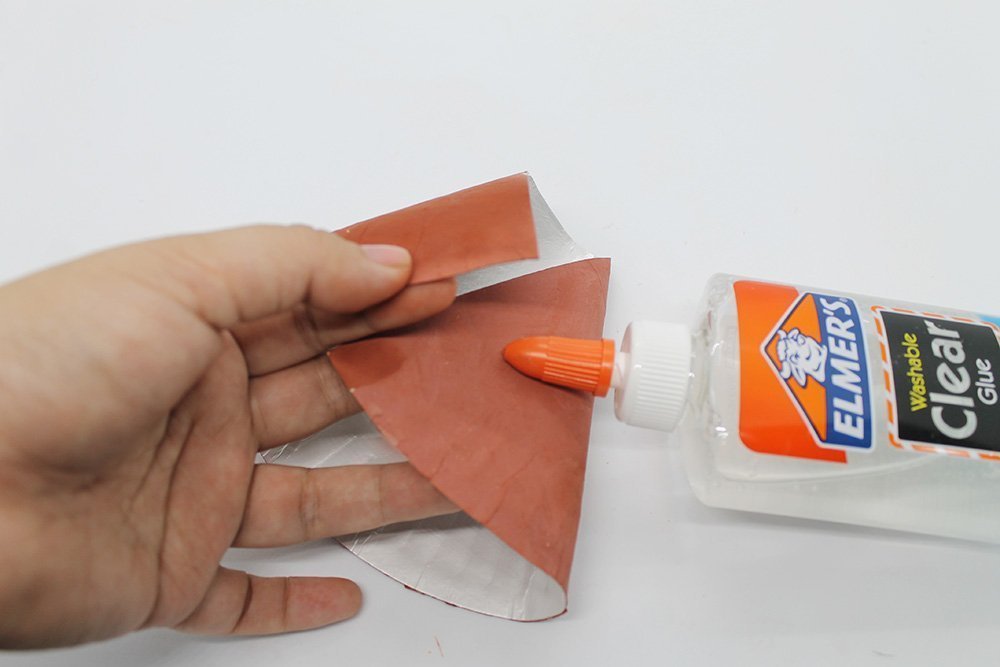
Secure the cone with some glue.
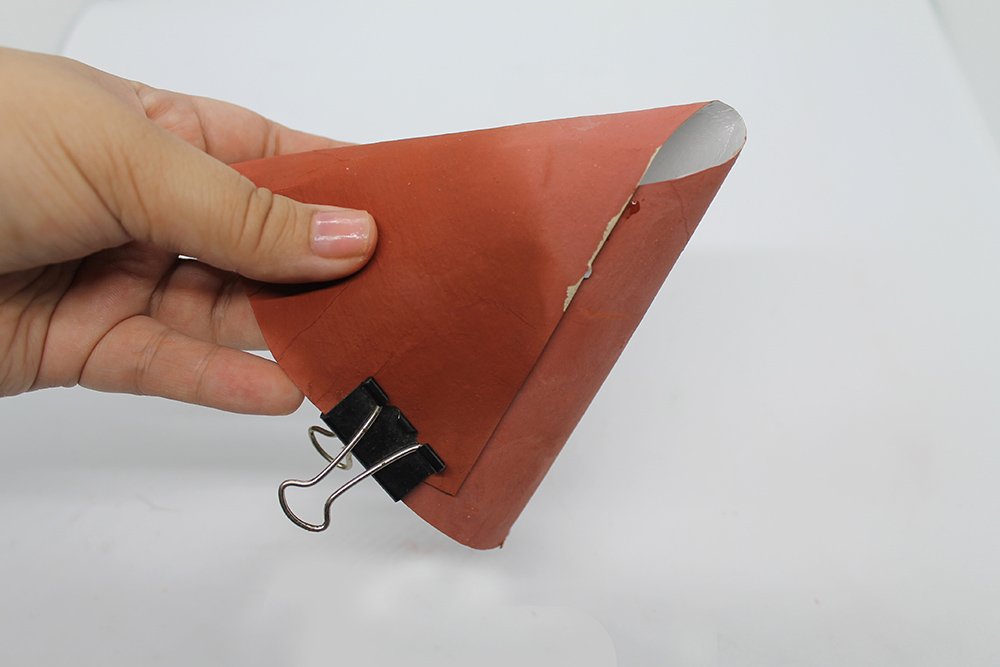
You may use tape or hot glue to hold the cone into position. While letting the glue dry, secure it with a binder clip to dry faster and better.
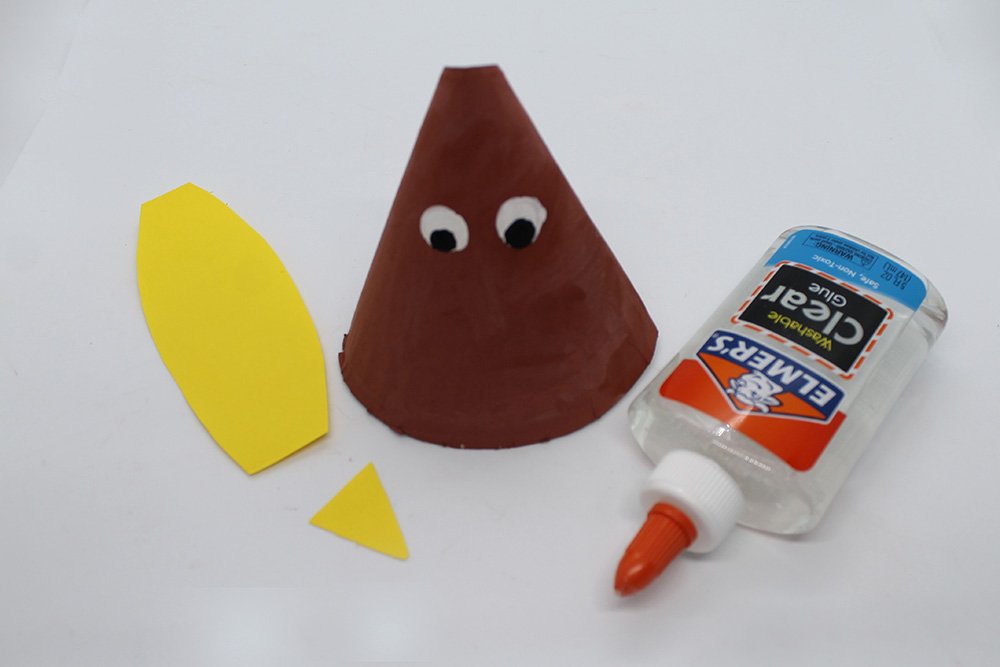
Make the eyes of the turkey.
With some white paint, paint two circles to make the eyes
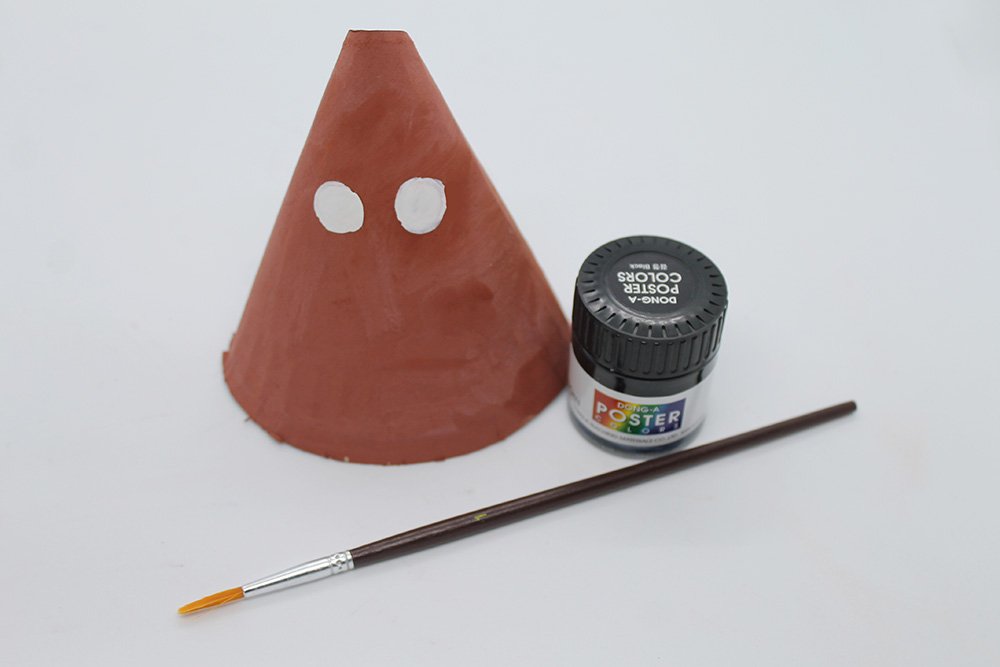
Paint the pupils using black paint. The turkey’s eyes are don
Create the mouth and snood of the turkey
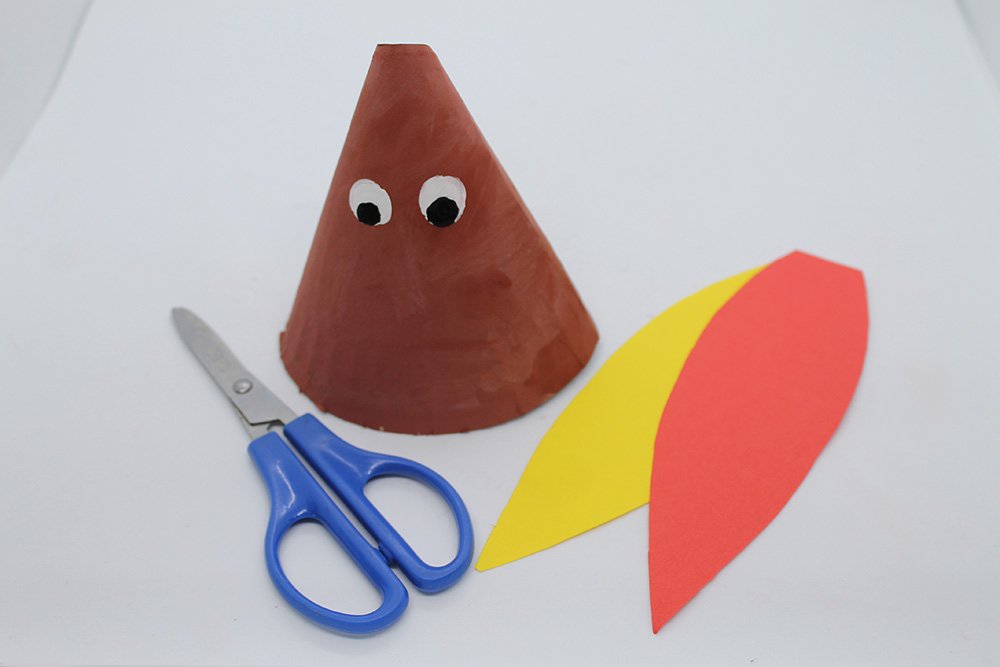
To make beak and snood, get the remaining yellow and red feather strips from earlier.
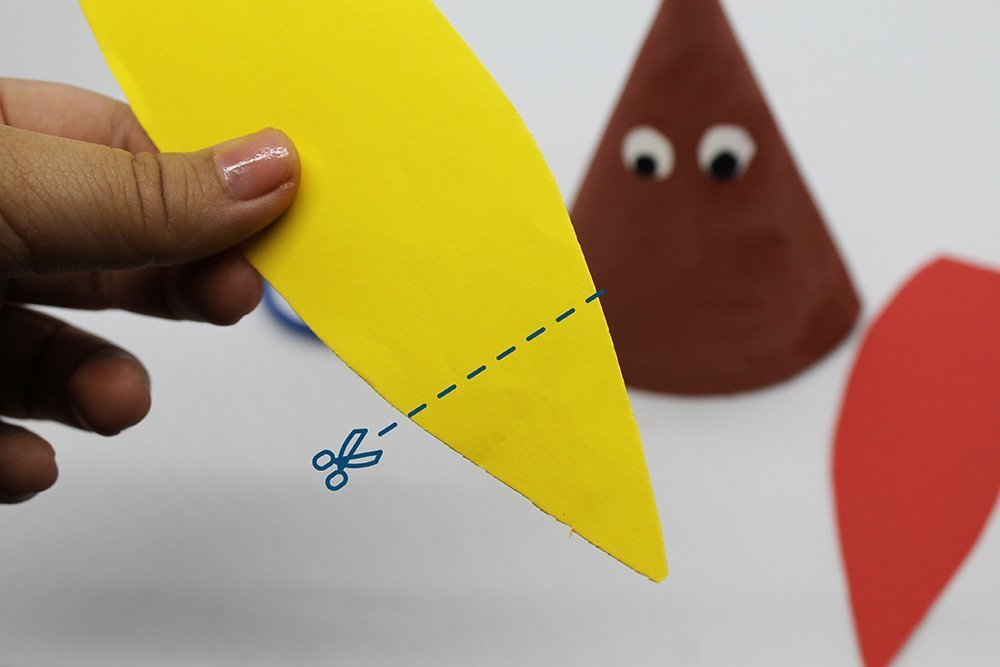
Cut along the dashed line on the pointy side of the yellow feather strip as shown above. It would be best if you had something like a triangular yellow shape once cut.
Paste the yellow triangle in the center of the brown paper plate cone. This will be the beak.
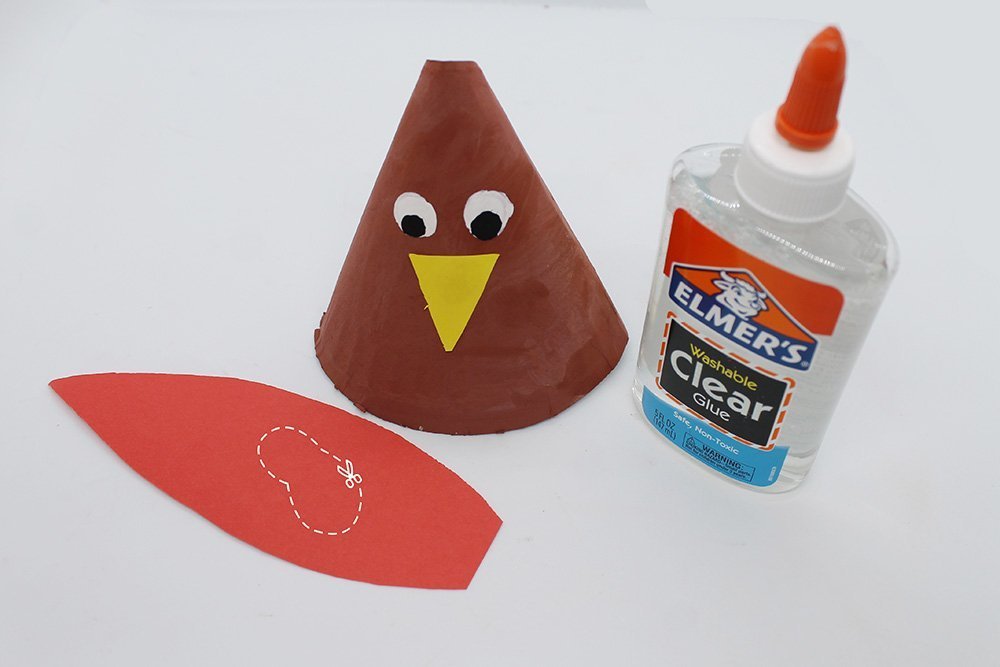
Create the red snood by cutting along the dashed lines on the red feather strip.
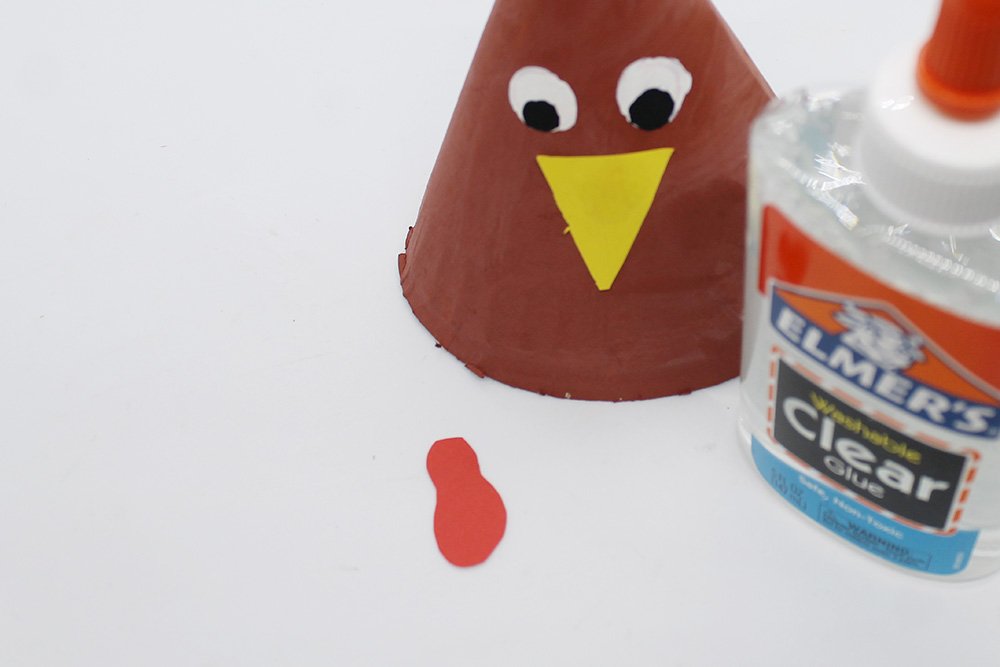
Paste it on the top left/right corner of the yellow beak.
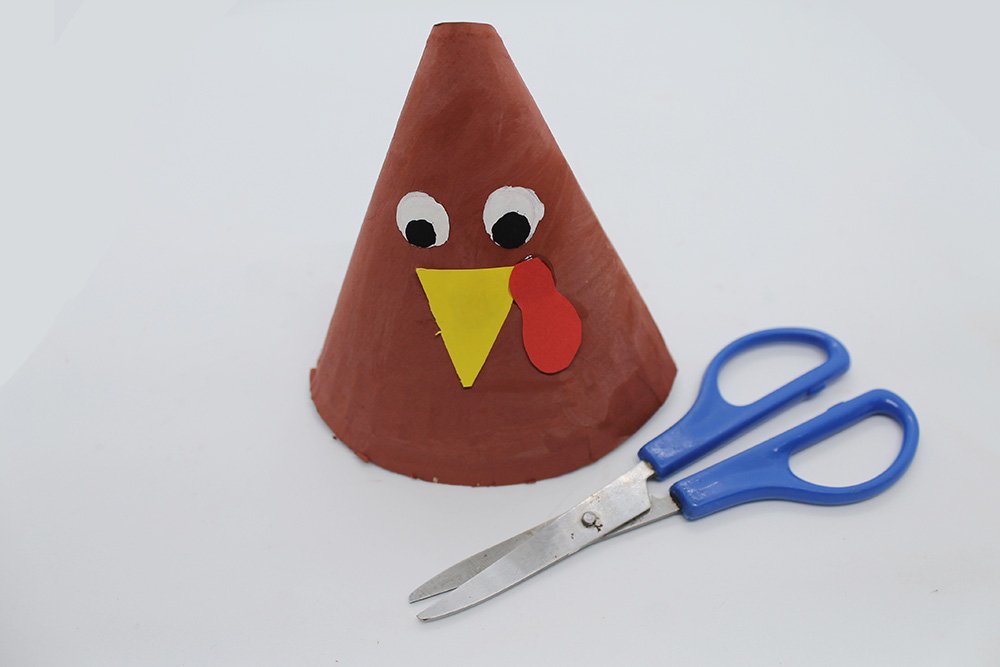
The turkey’s head/body is done!
Assemble the turkey’s body.
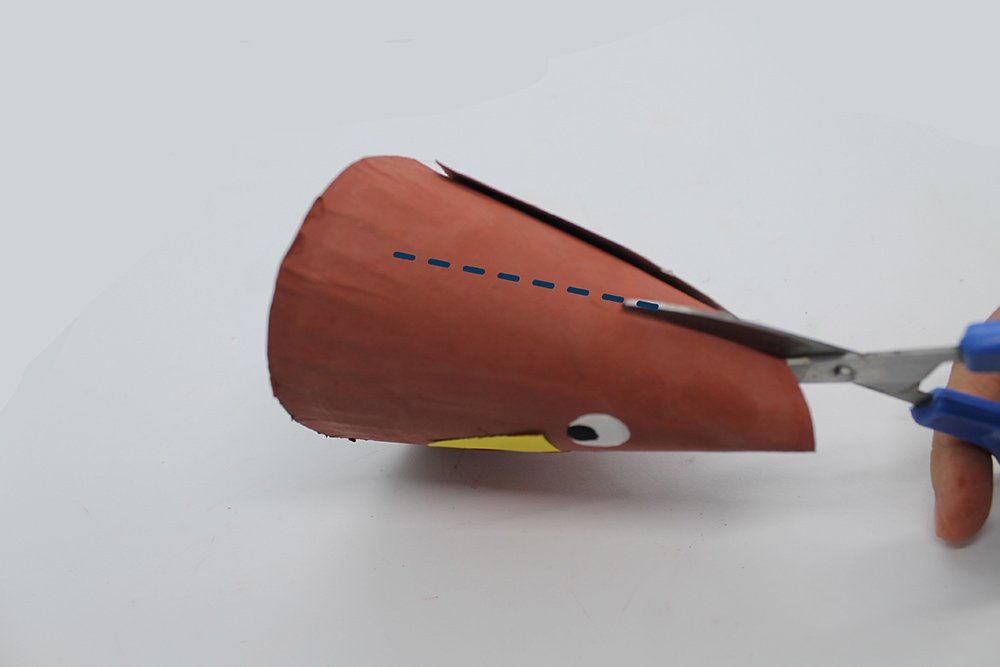
To assemble the body and tail. You need to make 2 slits at the body. Cut along the dashed line of the turkey’s side, as illustrated above.
The slit should look something like this on one side of the turkey. Make sure you do not cut fully. Leave some space bit at the bottom.
Now make another slit on the other side of the turkey. Make sure both slits on the side are of the same length.
This is what it should look like in the back. The “pockets” made by slitting both sides will hold the feathers down.

Get the turkey’s feathers and insert them into the pockets of the brown cone.
It should look like this when inserted from the back.
Insert the feathers way down to the end of the slits made.
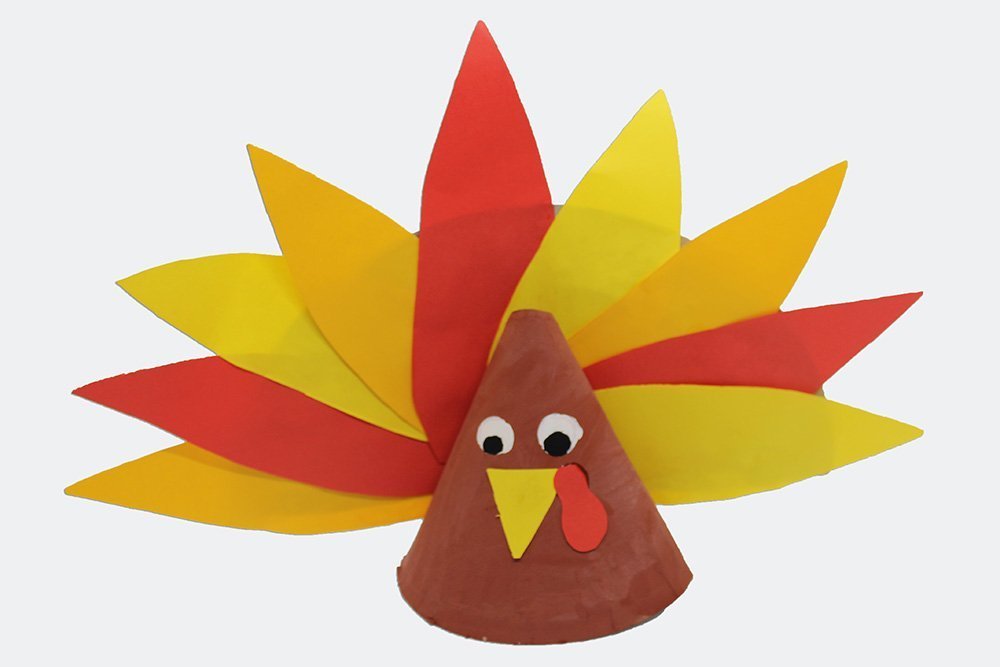
Turn it around, and your paper plate turkey is done!
Extra Tips
- If you don’t want to paint the eyes, you may use some googly eyes or buttons.
- To make sure that the body will hold down the feathers, use some glue or tape to hold them firmly.
- Besides the turkey, you use this crafting method to make a paper plate peacock. Make the feathers blue and green and make the body blue to make a beautiful paper plate bird.


I used glue and a stapler for the wings. Overall, I think it was a fun yet easy activity.D
How long did it take you? I feel like 20 min’s too long
I made this with my 5-year-old daughter and it took about close to an hour. But that was with snacks and playing around the house 😂
My son told me that he didn’t like turkeys being, you know. And so, come thanksgiving we won’t be having turkey but I will make him do this
what you should follow the main instruction but try to make it unique- ur own. I made superhero-themed paper plate turkeys and my kids loved it. They were also part of the process and they got to chose Hulk and Spidey. Satisfying!
Nice, thankss for making the guide 🙂