How to Craft a Cute Paper Plate Owl? – Easy Craft for Kids | (35 Minutes)
")
Introduction:
Create an awesome paper plate owl with stuff lying around your house. A great way to recycle paper plates that is readily available in the house is to turn them into animals such as owls. They are easy to do and are very customizable to suit your taste!
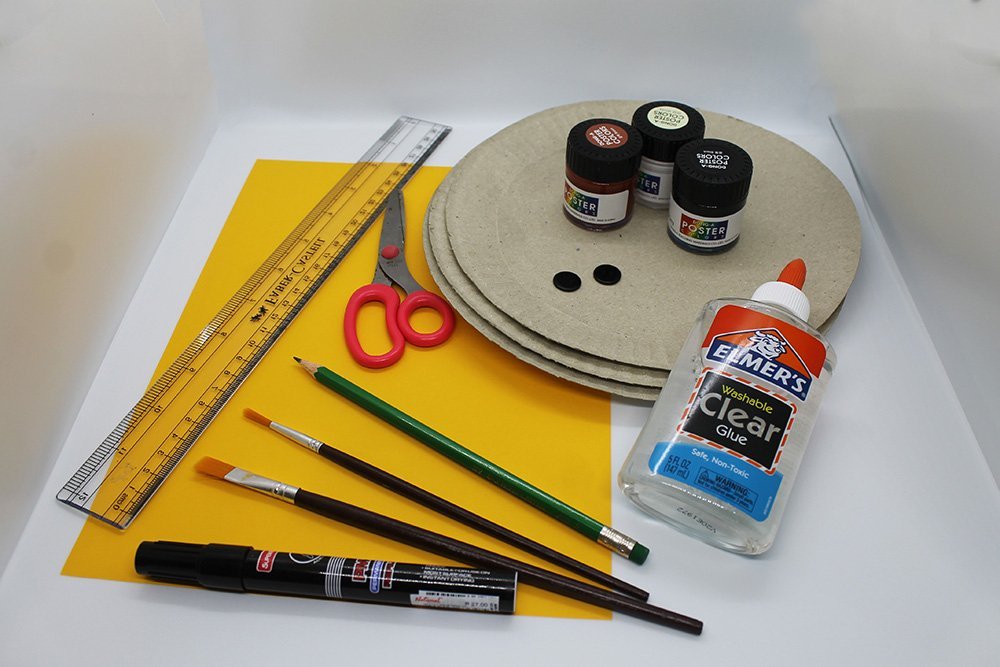
Tools
- Pencil
- Marker
- Ruler
- Paintbrush
- Scissors
Supplies
- Glue
- Poster Paint (preferably white, brown, and black)
- Yellow paper
- Buttons for the eyes(if you don't have one, you may use black paint or marker)
- Optional: Any string for hanging, preferably yarn
Instruction
Short and easy instruction on how to make a paper plate owl! Easy tutorial to craft with your kids at home!
Make a pair of wings for your paper plate owl
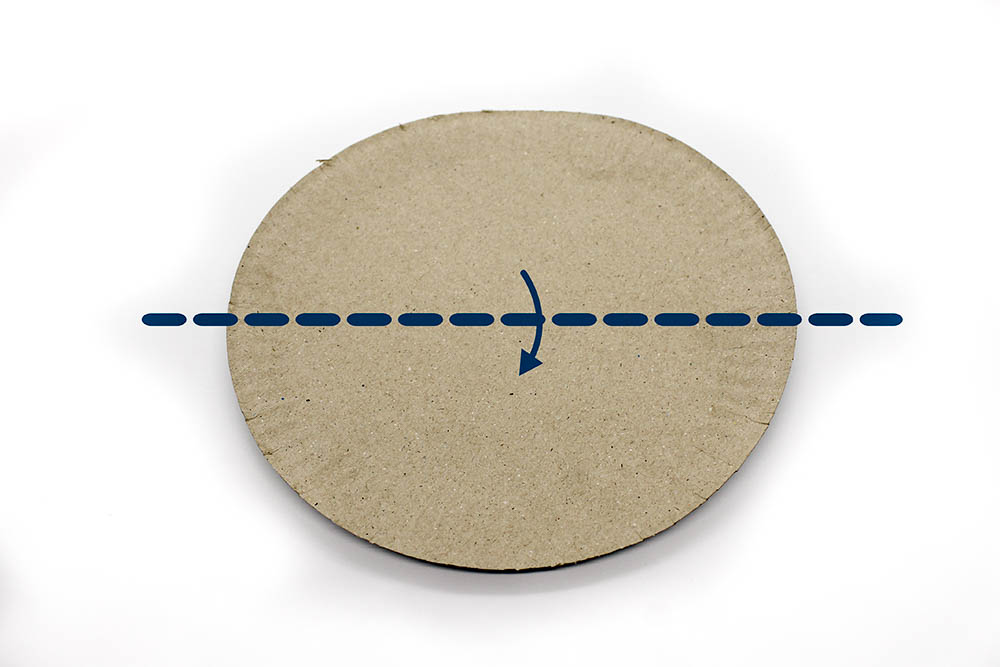
Get one paper plate an fold in half.
Crease it well, then unfold.
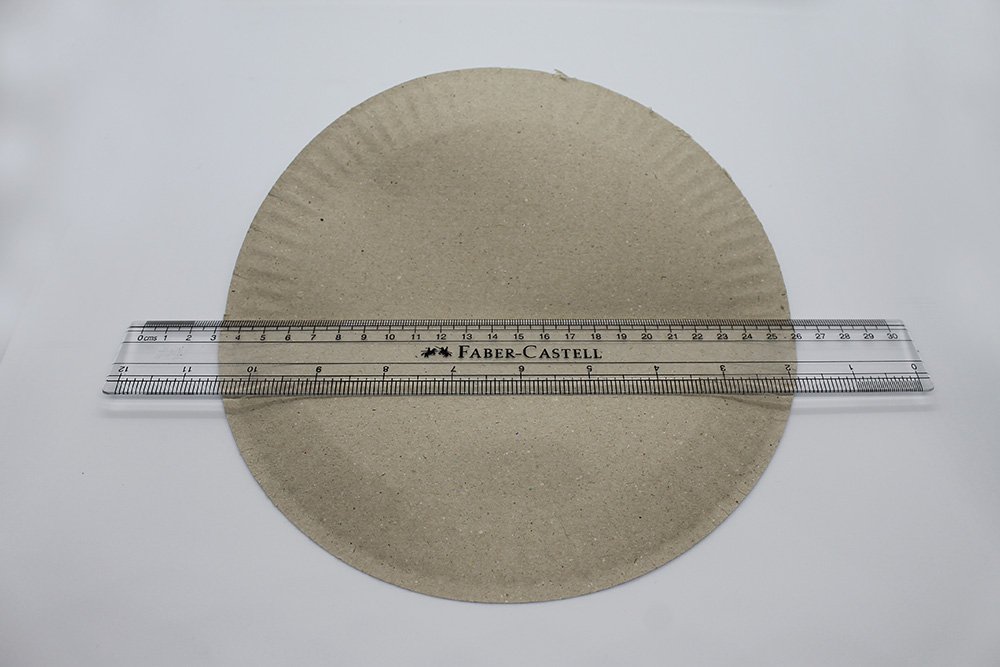
Grab a ruler and align it on the crease made on the first step.
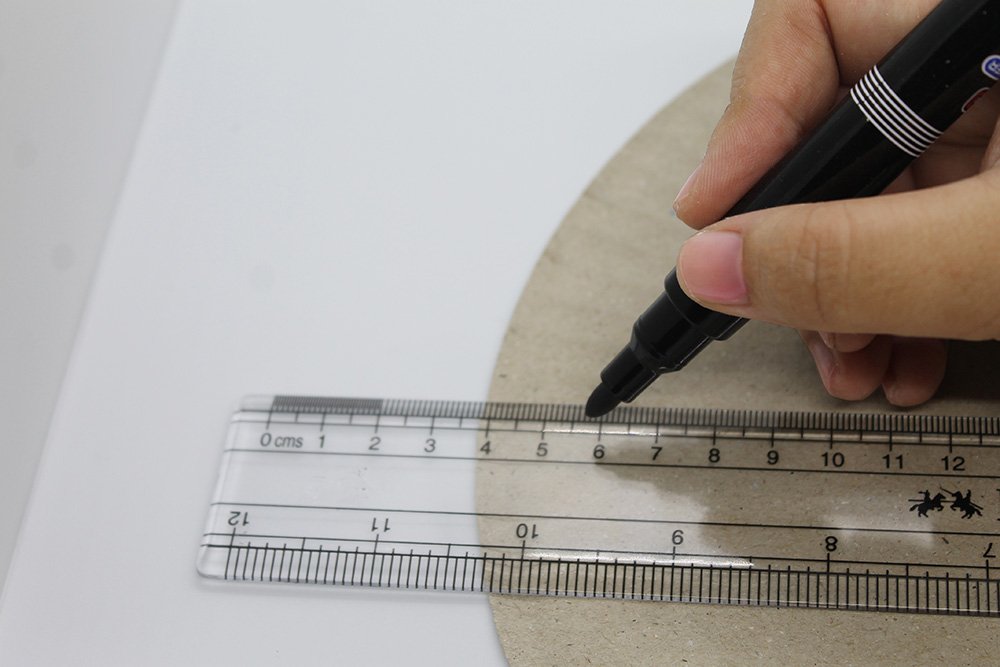
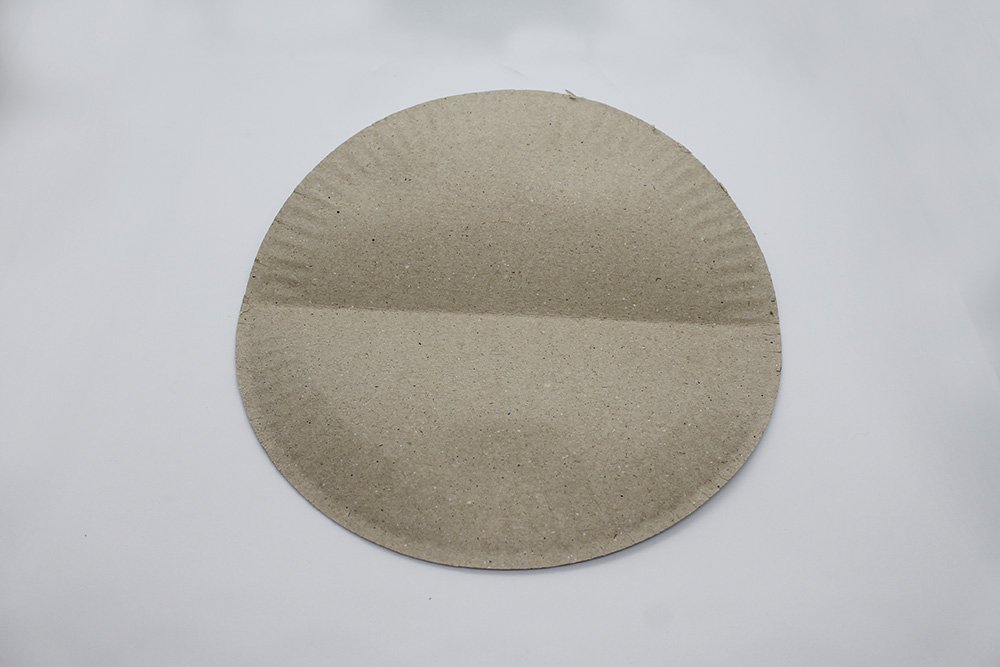
Mark the crease line with a marker or pencil. A marker was used here so that you can see the cut marks clearly. But, you may use a pencil so that the pencil marks will not be visible when painted over.
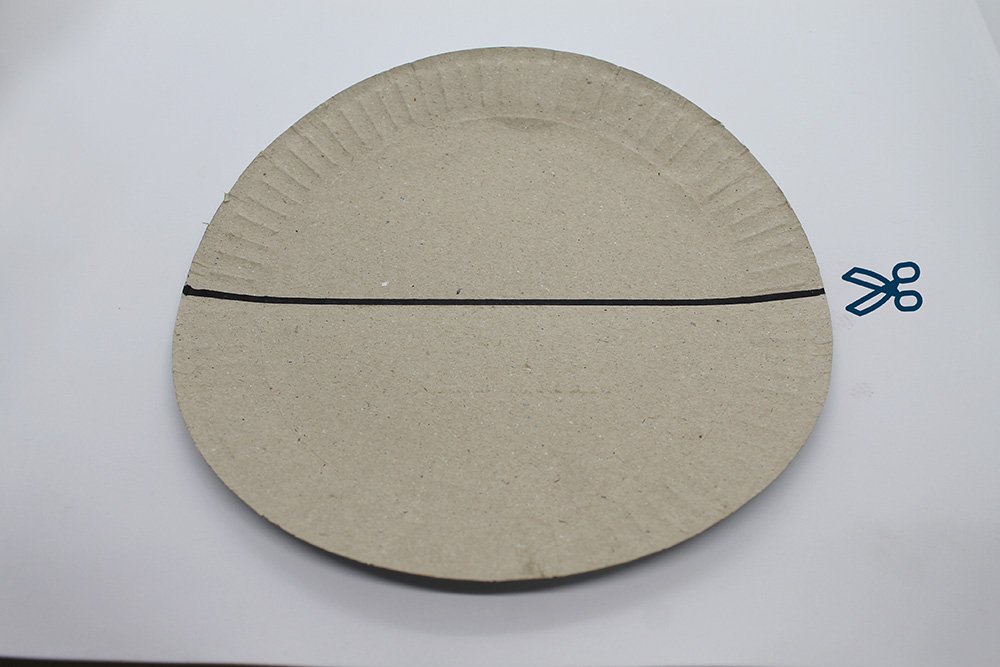
Cut along the marker line with a pair of scissors. Make sure that they are similarly sized so that the wings of the owl are even.
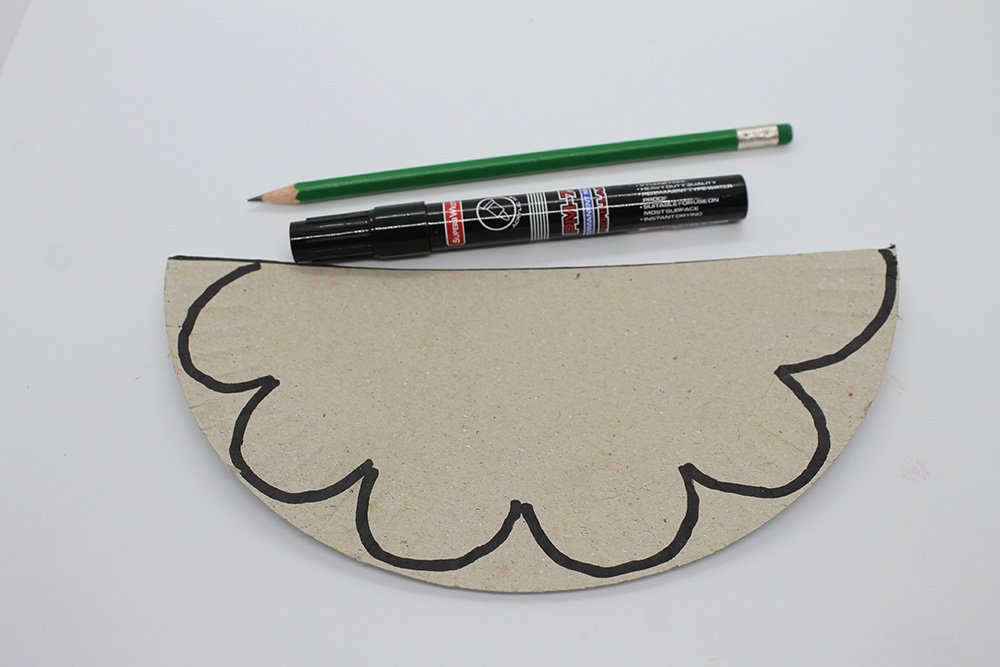
Get 1 of the half-moon paper plates and draw the pattern on it like the picture above. To mimic the appearance of wings, draw a pattern as illustrated above. It doesn’t have to be soft and curvy like the pattern above. You may draw the wings however you like to give your owl some personality. Make it jagged or leave it as a half-moon shape.
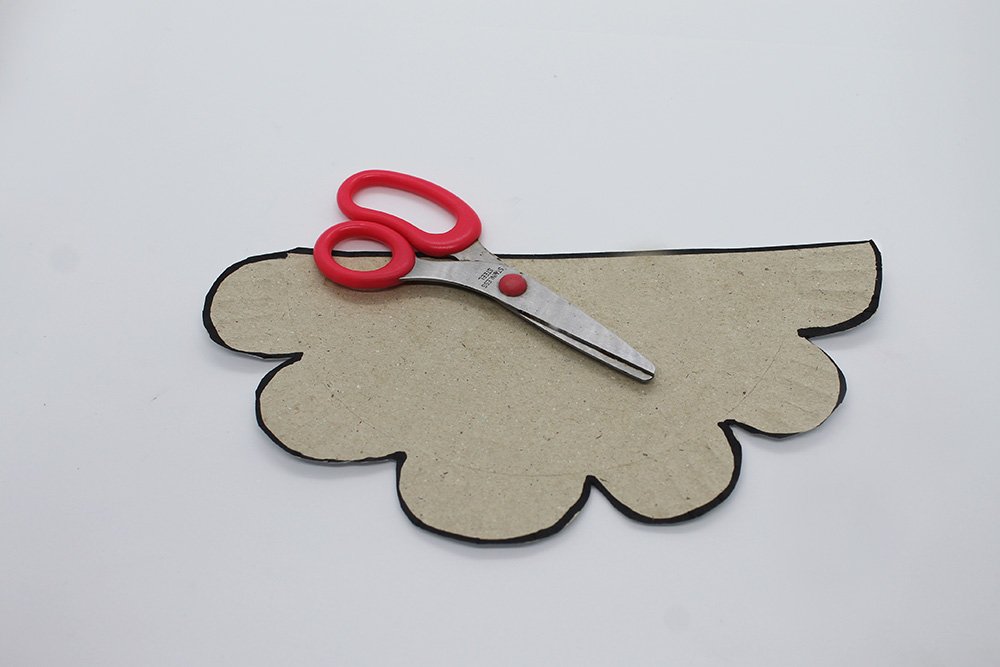
Cut the wing pattern that you’ve drawn with a pair of scissors.

Make 3 more of these from the half-moon paper plates. You should now have 4 wings made from paper plates. The wings don’t have to be exact from one another, but they have to be similar.
Color the wings
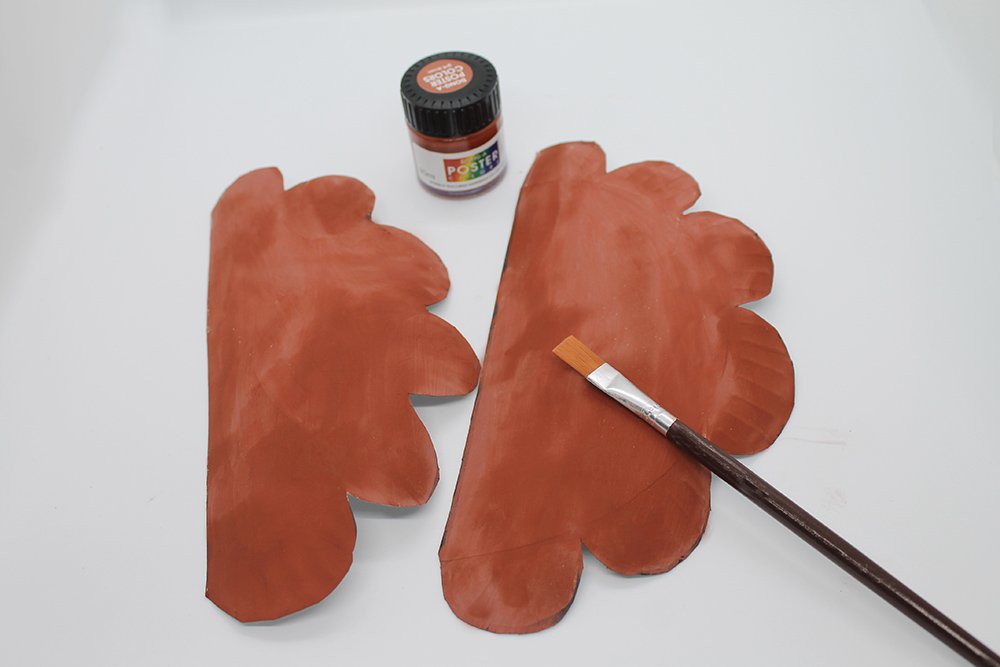
Paint 2 paper wings over with brown. You may also use another color if you want something else for your owl.
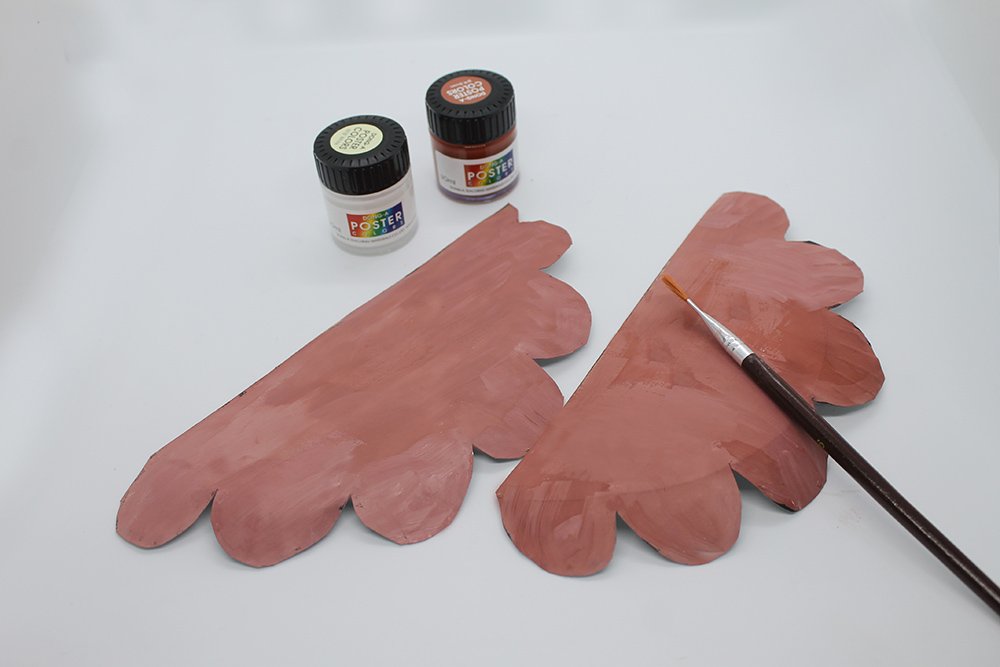
For the remaining 2 wings, use a different color or shade of paint. In this project, we mixed brown and white to make a different shade of brown.
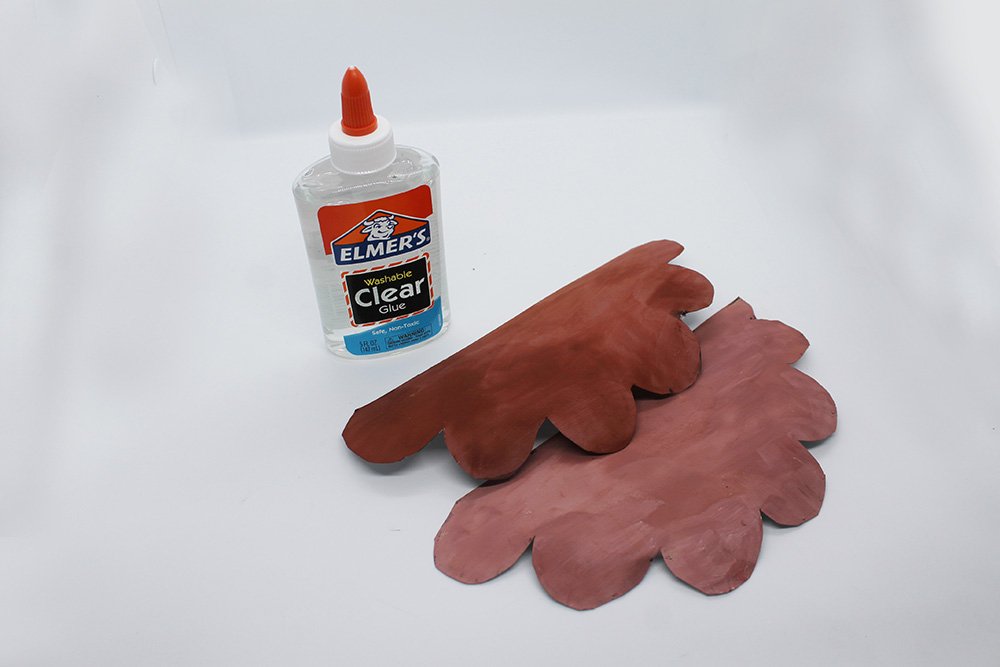
Slightly place the top wing in a slanted position so that the wing looks spread out. The lowest point should be on the left side for the top wing, and the highest point should be on the right side. Glue them together.
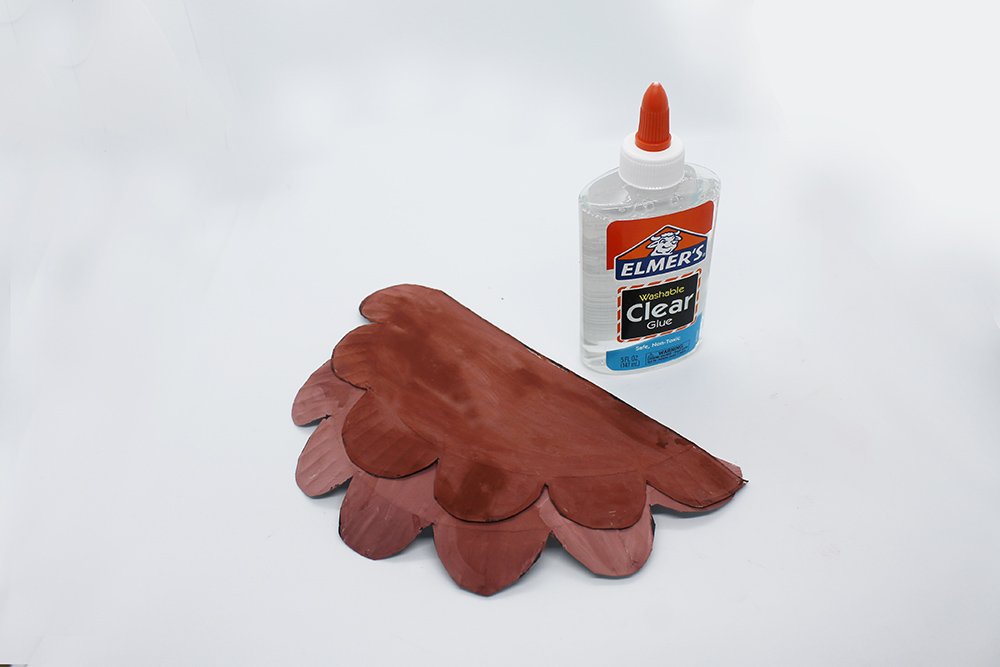
Repeat the previous step to make the other wing. But now, the lowest point should be on the right side, and the highest point should be on the left side for the top wing. Glue them together.
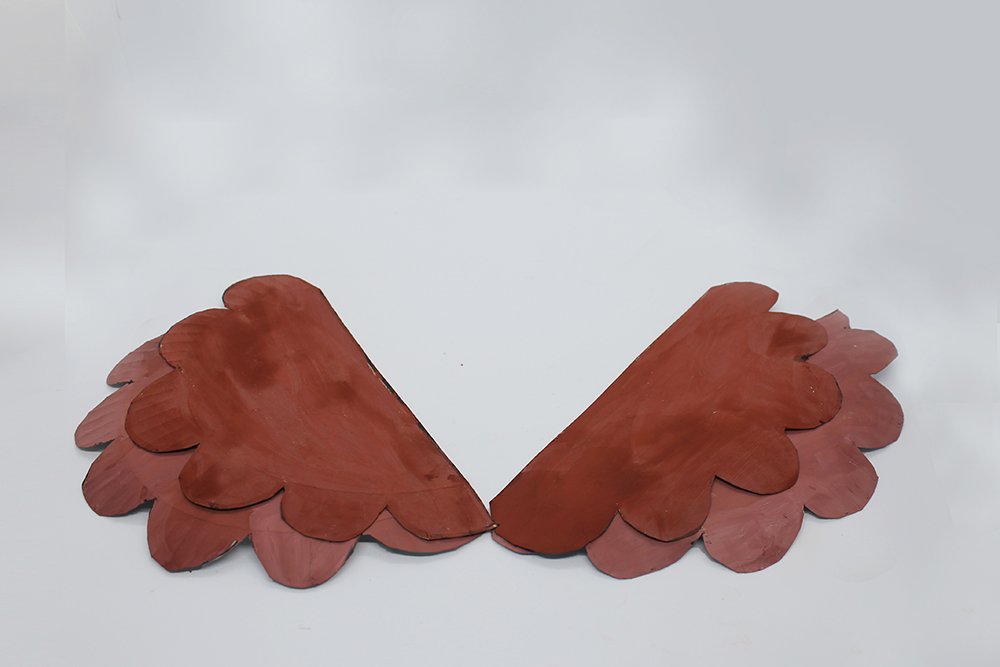
Voila! You now have a beautiful pair of wings for your paper plate owl! Now it’s time to make the body.
Create the body of the owl

Grab another paper plate, paintbrush, and your chosen paint. Here we used brown to match the colors of the wings!
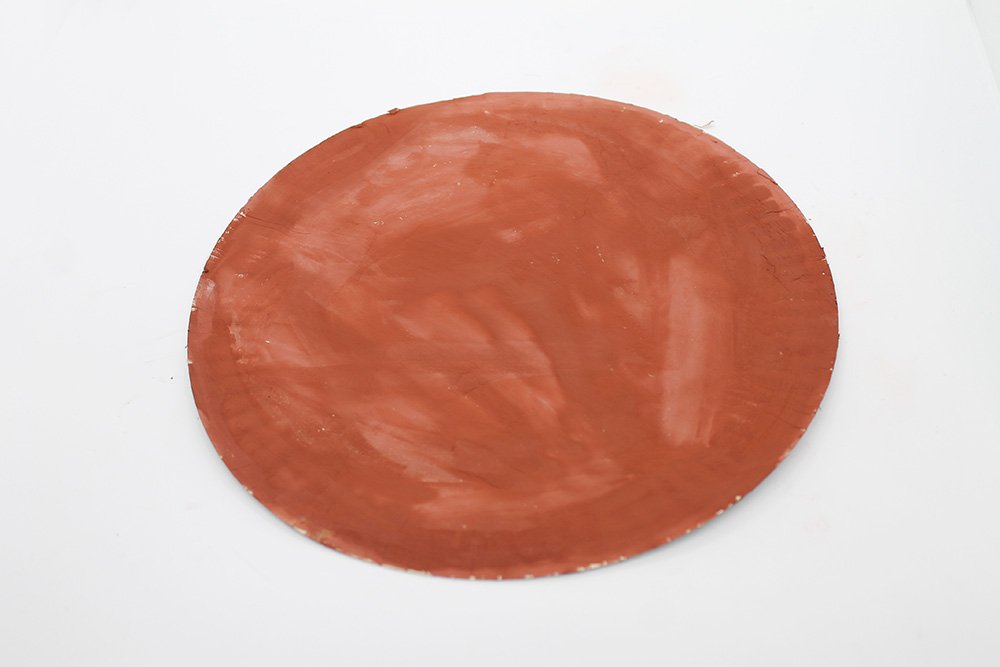
Paint it over like the picture above.
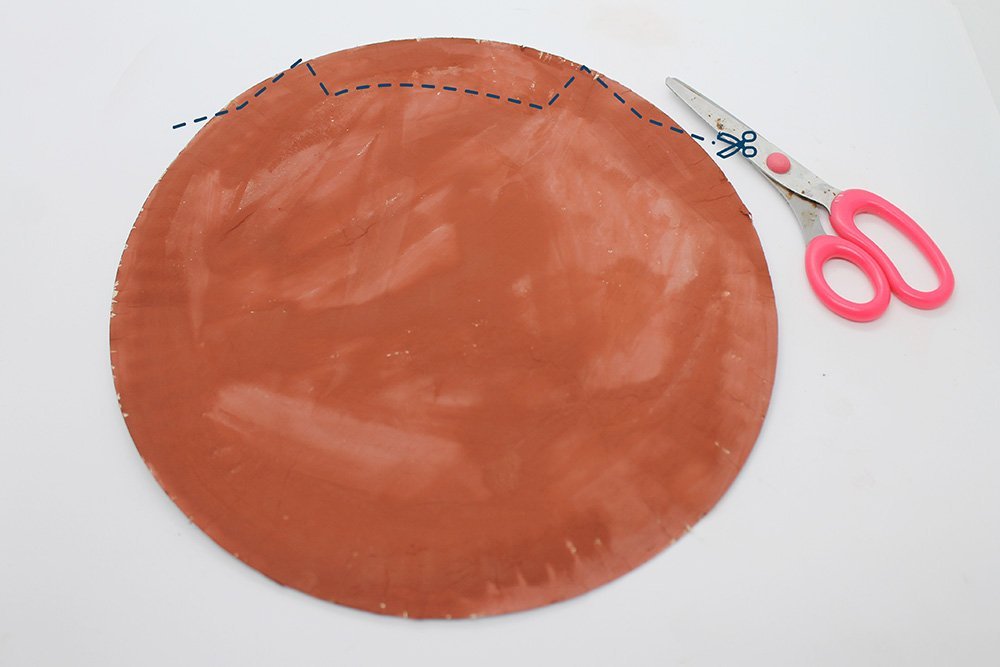
Create the “horns” (ears) by cutting along the dashed line, as illustrated above.
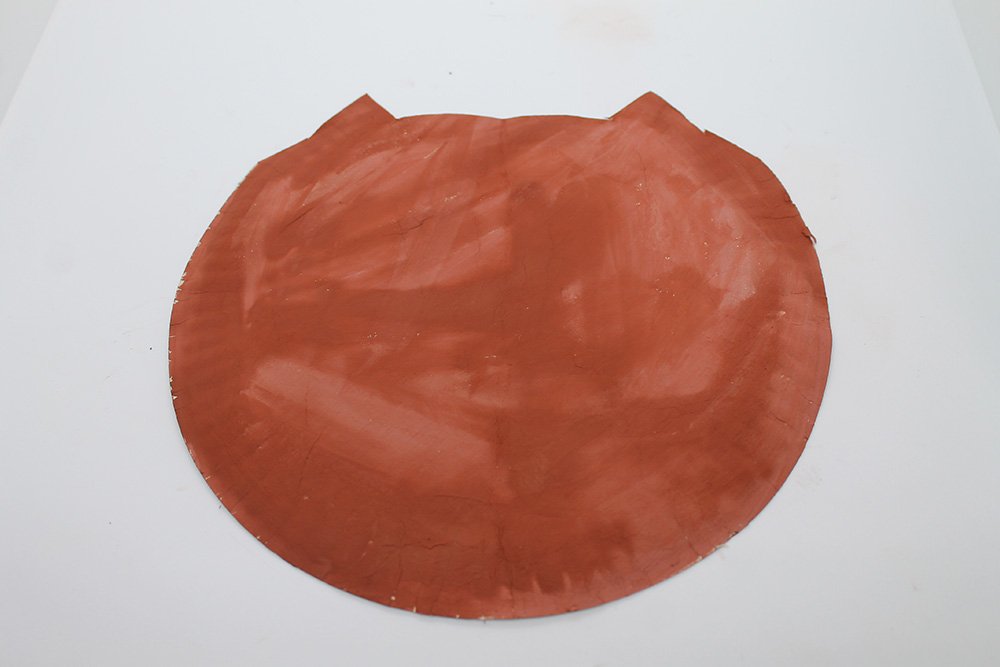
The body of your owl is done! Now let’s make a face.
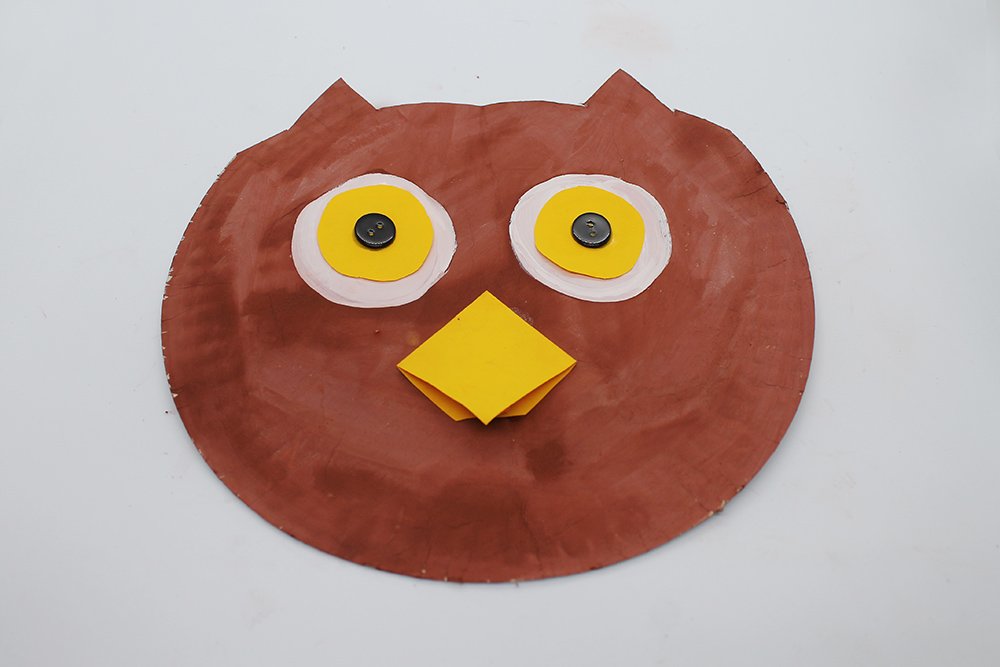
Make the eyes and the beak.
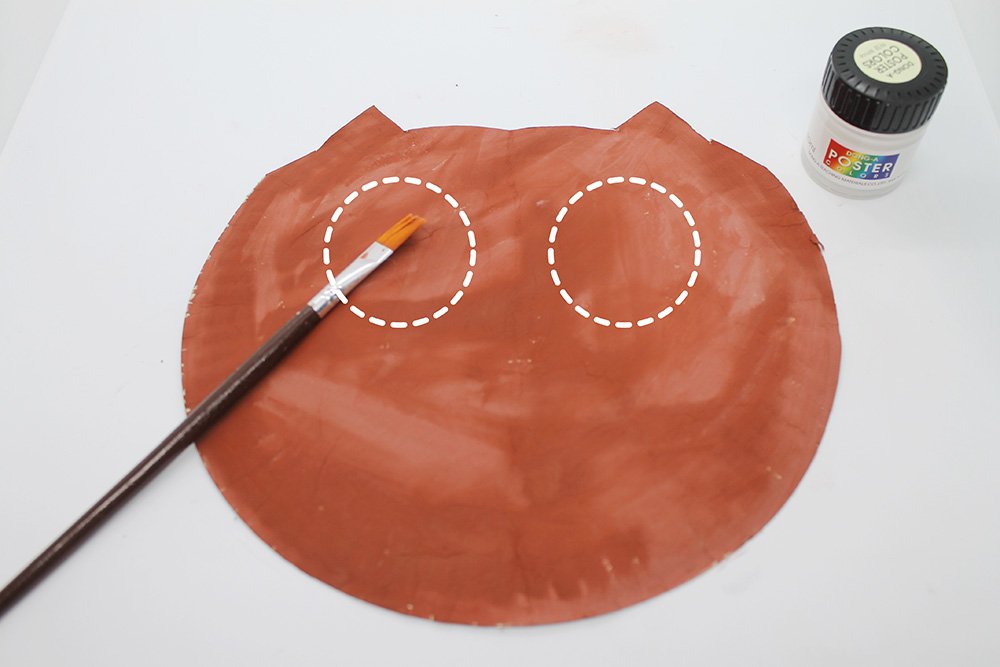
Grab a paintbrush and your white poster paint. Paint along the circular dashed lines as shown.
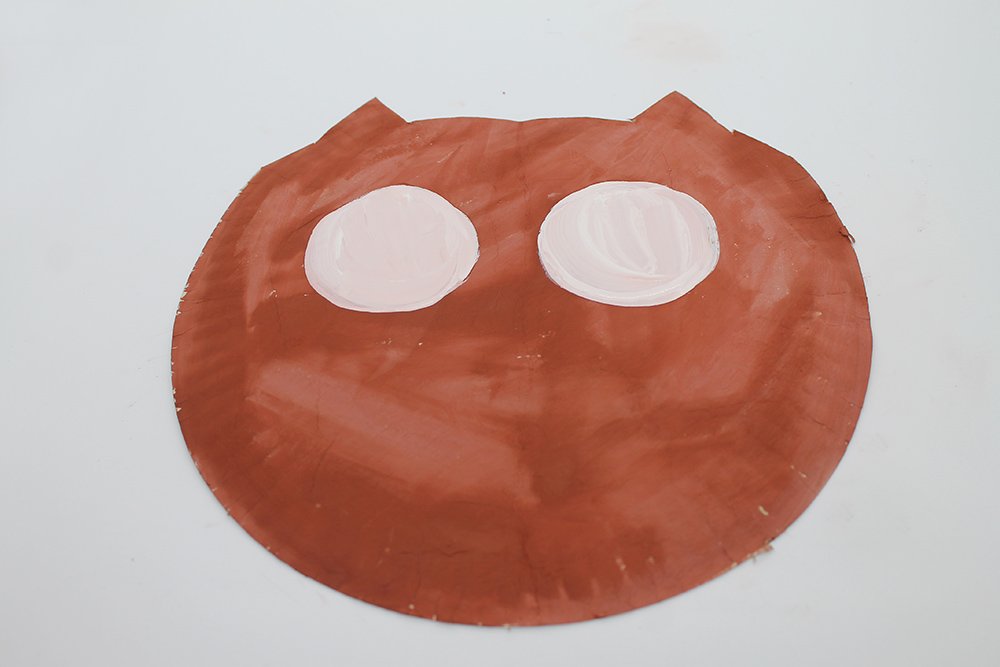
This will be the eye part (sclera) of your owl. If you don’t have or don’t want to use paint, you may use plain white paper and cut it out into a circle.
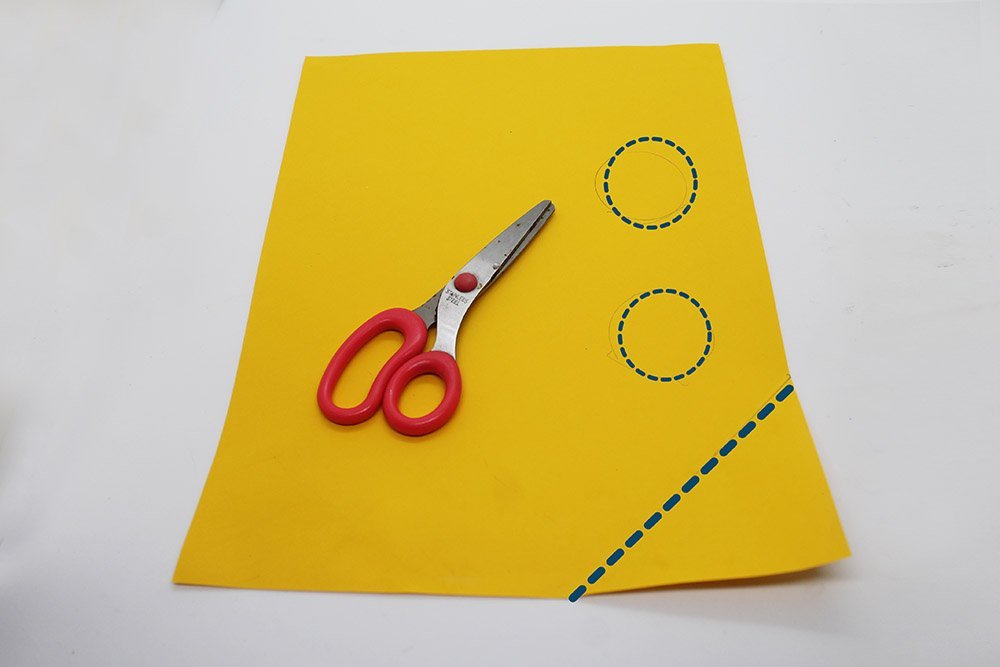
To make the iris and the beak, cut 2 circles and one triangle as illustrated in the picture above. Use a pencil or marker to guide you when cutting.
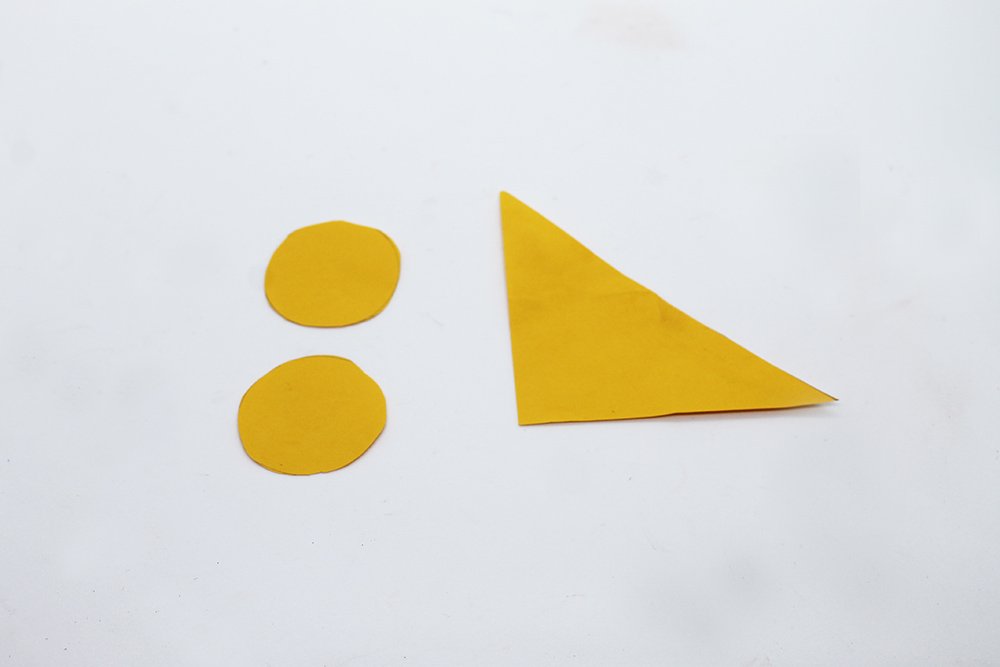
You should now have these shapes -two circles for the iris and one for the beak.

To make the big. Fold the left and right corners of the yellow triangle.
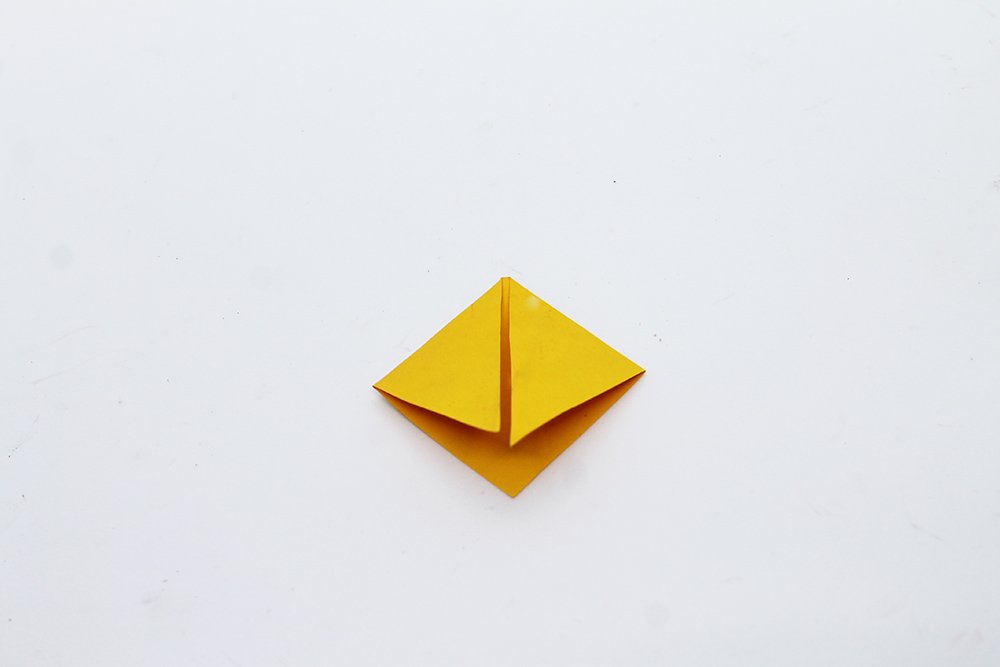
These two top flaps will be the side that you’ll paste some glue with when it’s time to assemble the body. Doing this will make the owl’s beak three-dimensional.
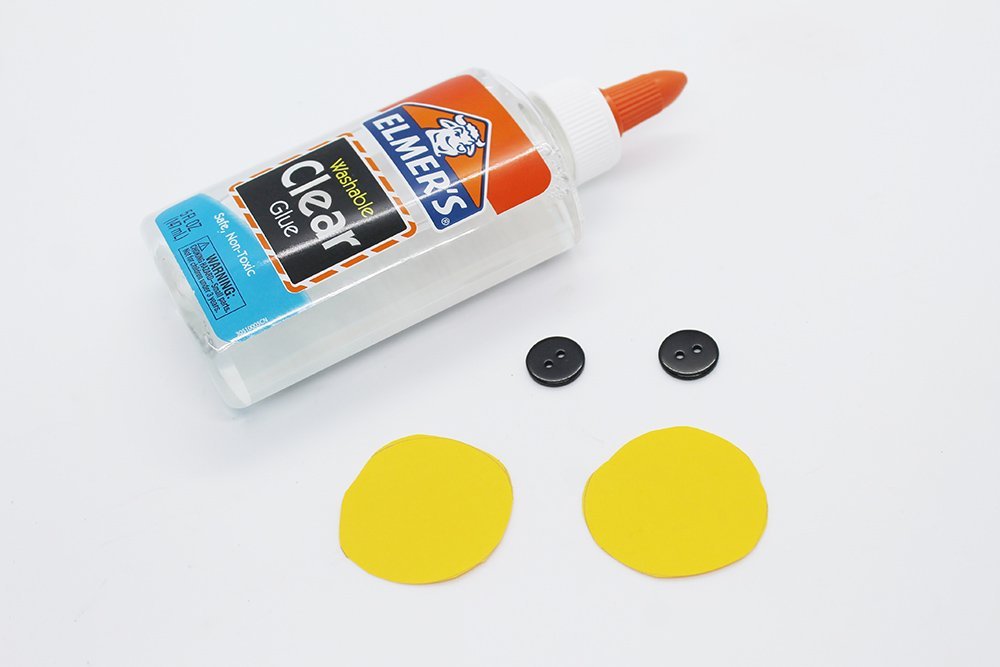
To make the owl’s eyes, stick a black button on each of the yellow circles. The buttons will be the pupils of the owls.
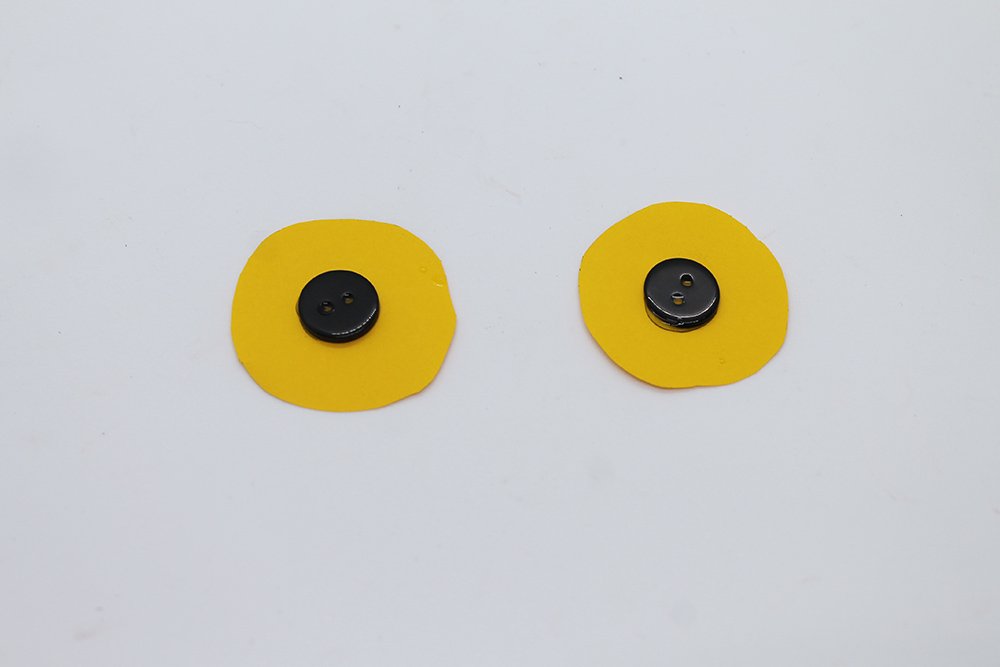
Position the yes in whatever you like. Make it look to the left or the right, upwards or downwards.
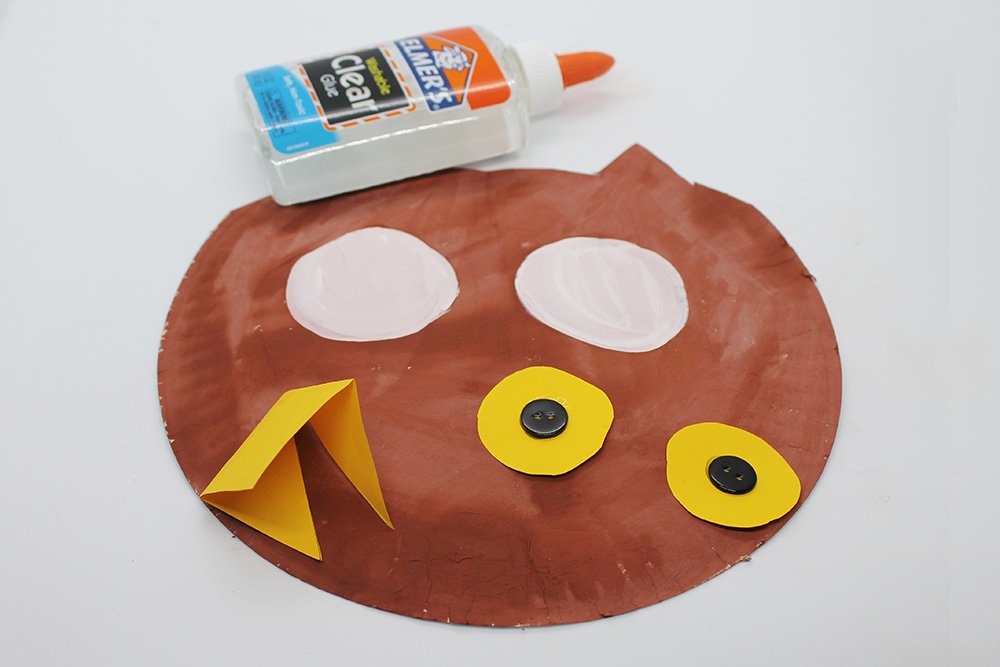
Now that we’ve made the paper plate owl’s eyes and mouth stick them to the paper plate body. Lift the top flap of the beak to make it stick out. Your owl’s face and body are done!
Assemble the wings and beak of your paper plate owl
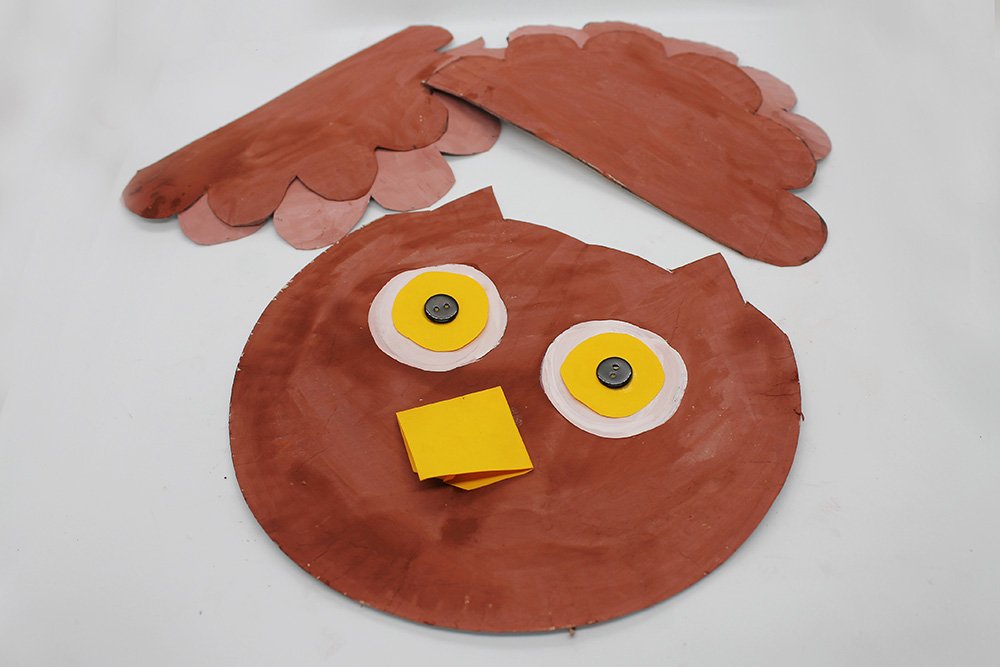
Time to assemble! Lastly, stick the wings at the back of the owl’s body!

And your paper plate owl is done! Use a string if you want to hang it!
Extra Tips
- It’s okay if you don’t have black buttons, you may use any buttons lying around, or you may use black paper or paint! Use a pair of googly eyes to make it oh so cute! Use anything you want and get crafty! Here you can put in some bold text
- To make your paper plate sturdier, use hot glue instead of ordinary glue. Just make sure you have adult supervision when using a glue gun!
- It’s not easy painting a paper plate evenly. Use a sponge to paint over the plate to make the paint finish neater.


Cute Owl… Easy to do!
fantastic work!
Amazing bird !!!!
cute!
You are right about that!
Cute, needs improvement though