DIY Paper Plate Dreamcatcher for Kids and Teenagers

Introduction:
Create a stunning paper plate dreamcatcher using some yarn and some paper. If you want some sweet dreams or looking for some amazing decoration to add to your bedroom, try making a dreamcatcher from scratch. Dreamcatchers back then were used as charms for protection when sleeping in some native American culture. Now it’s widely marketed as a decoration. Try making one for yourself or a loved one!
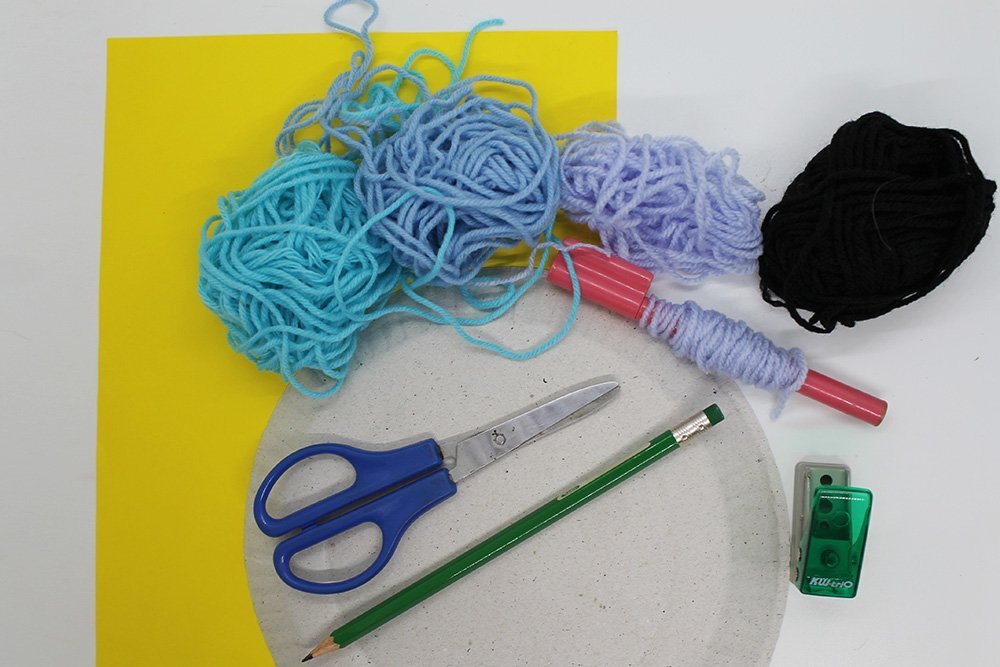
Tools
- Pencil
- Paper
- Puncher
- A crochet hook or any form of stick ( We use a marker pen)
Supplies
- A paper plate
- Yarn (the color/s you can use vary depending on your taste)
- Any colered paper
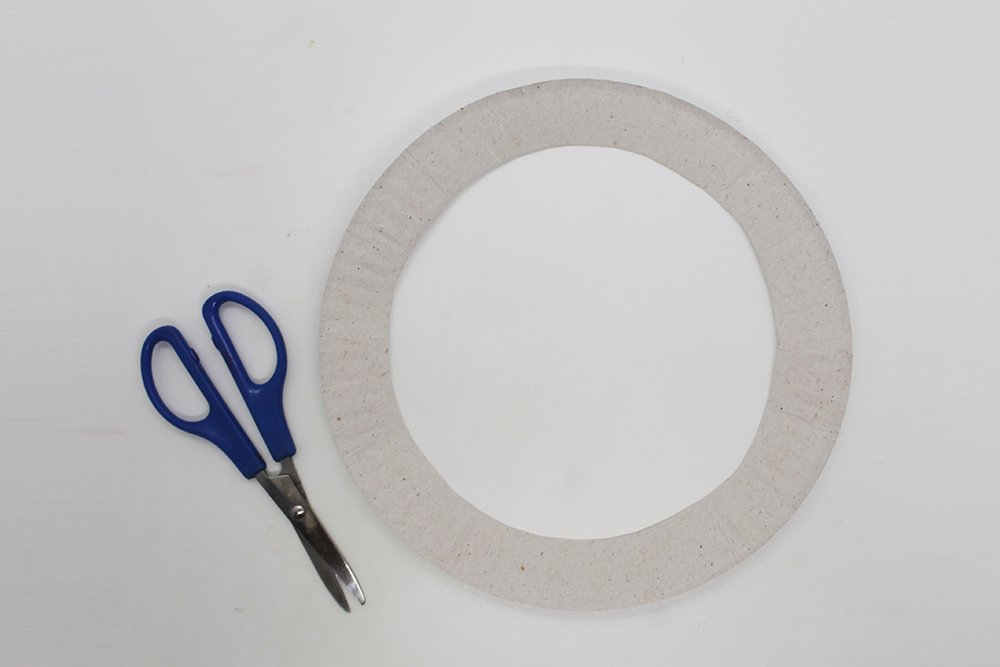
Create the ring of your paper plate
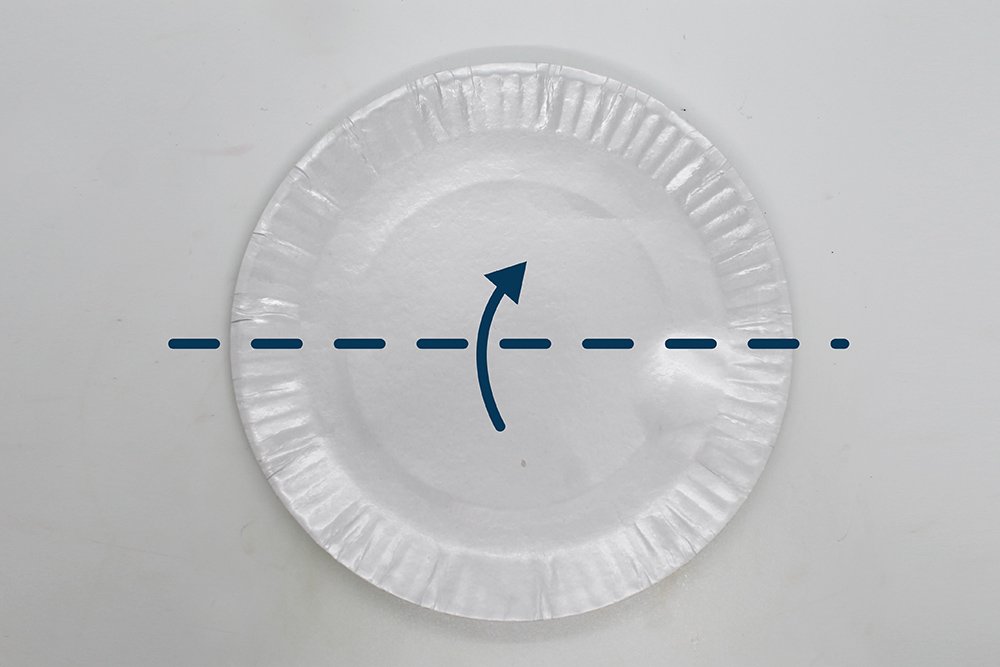
Fold a paper plate in half.
Any side of the paper plate is as fine as the front. We’re going to cover it with yarn anyway!
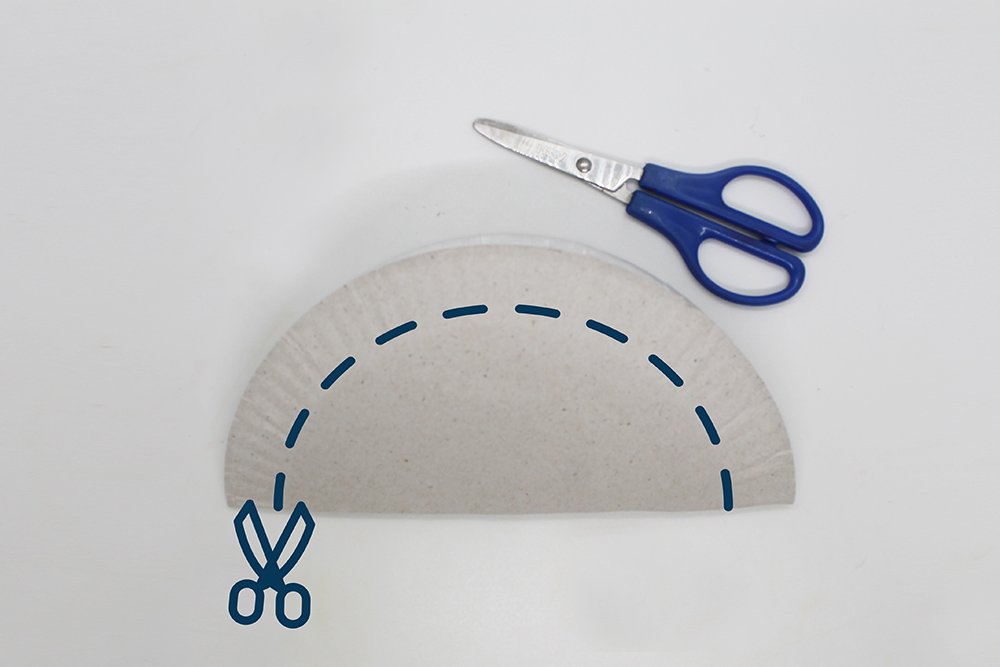
Cut along the dashed line as shown.
It should now look like the picture above. You can cut the dome smaller or larger depending on how thick you want the ring to be.
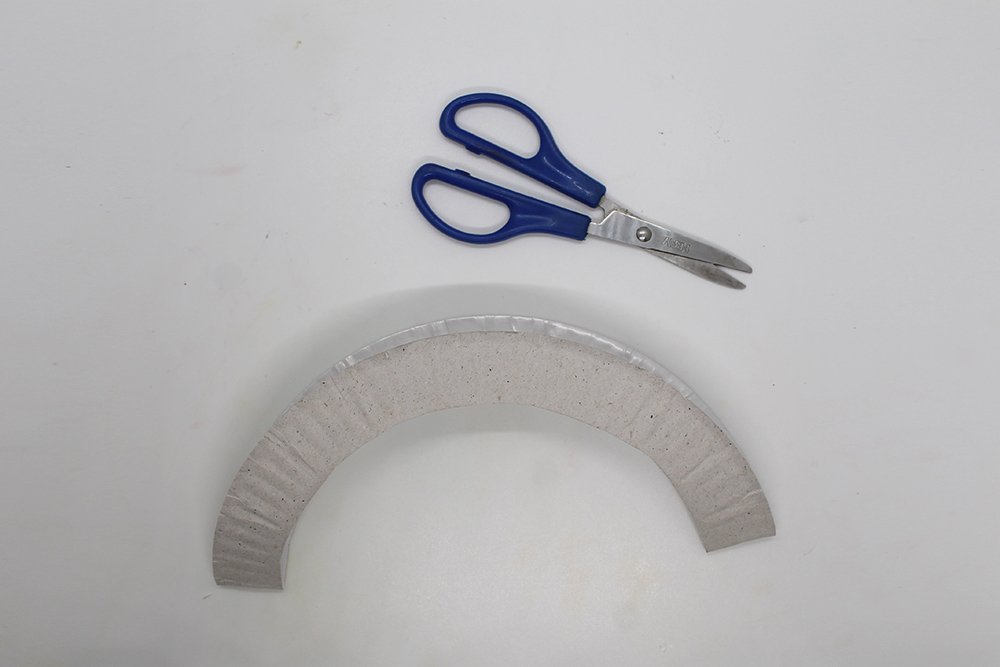
Now unfold your paper plate.
Create the web of your dreamcatcher
Fun fact: dreamcatchers mimic the patterns of spiderwebs
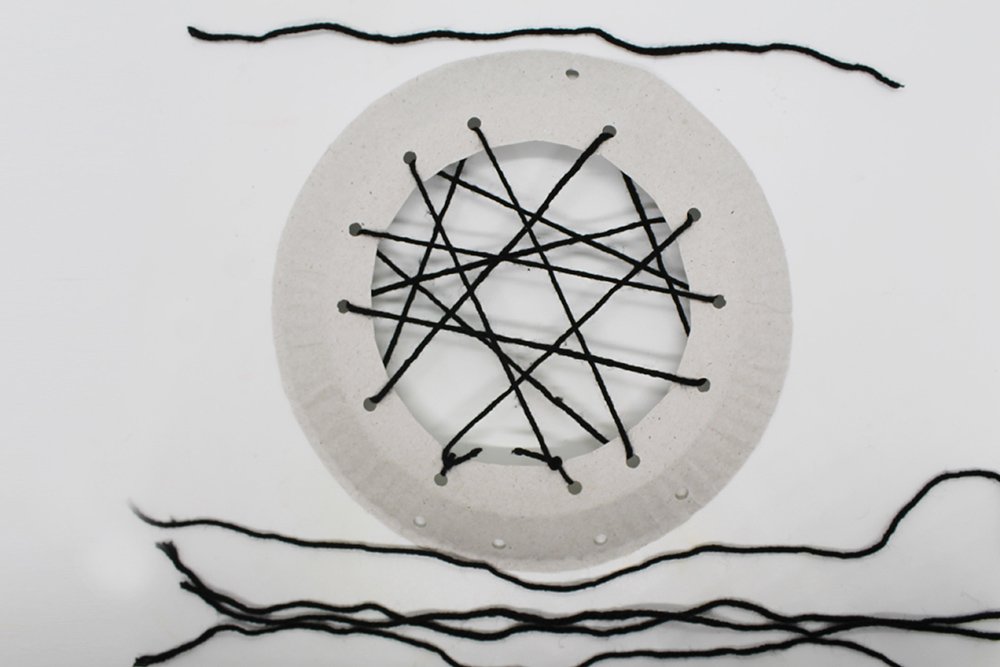
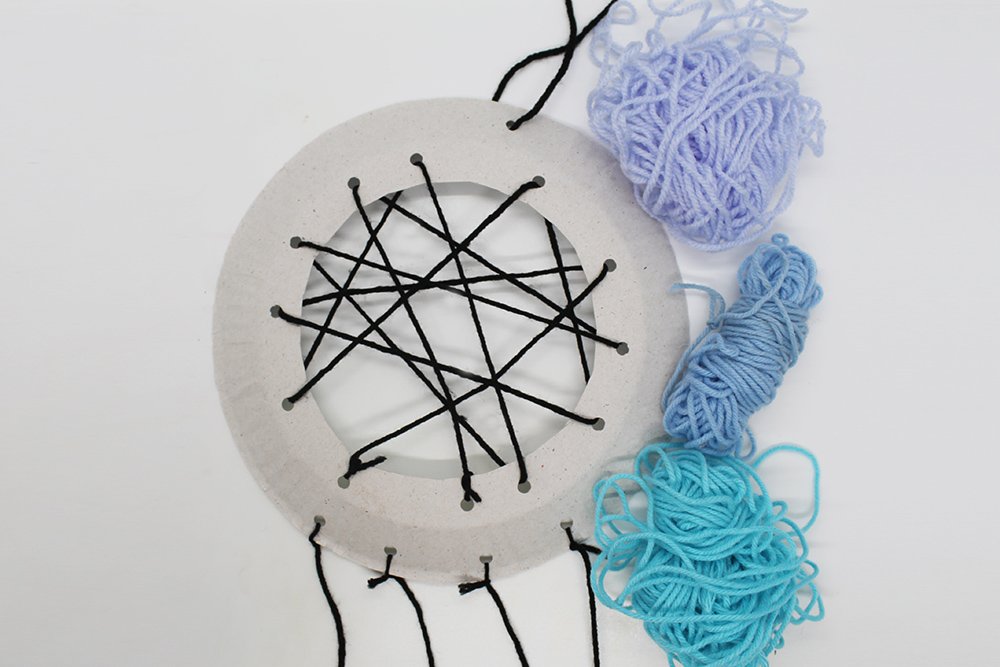
To make the web, grab your paper plate ring made from the previous step, a puncher, and your yarn.
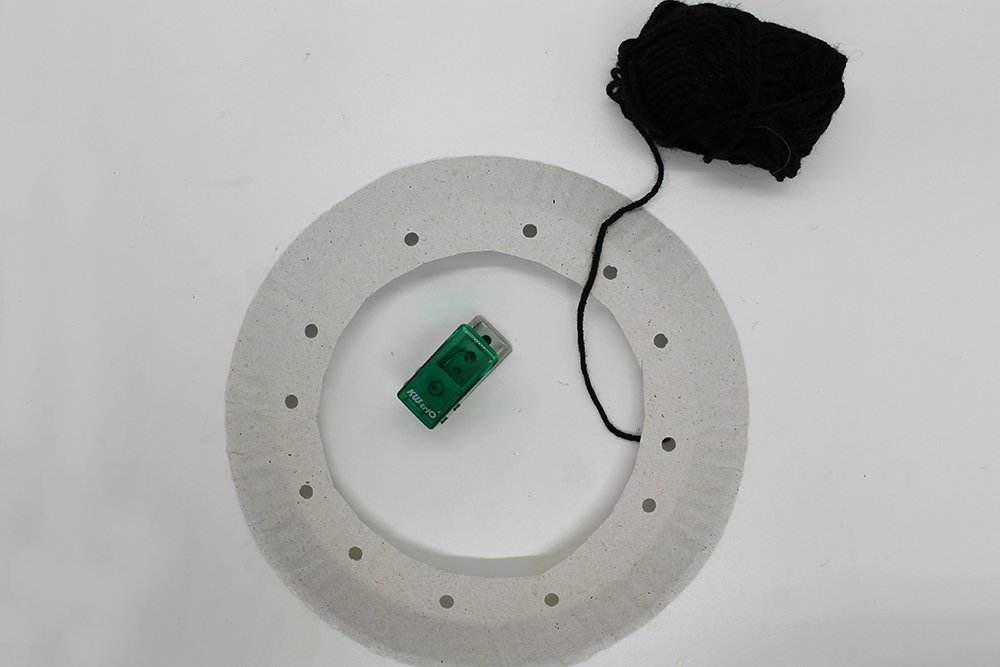
With a puncher, punch some holes on the inner sides of the ring.
For this project, we punched the holes in no specific pattern. It will be an irregularly patterned spiderweb.
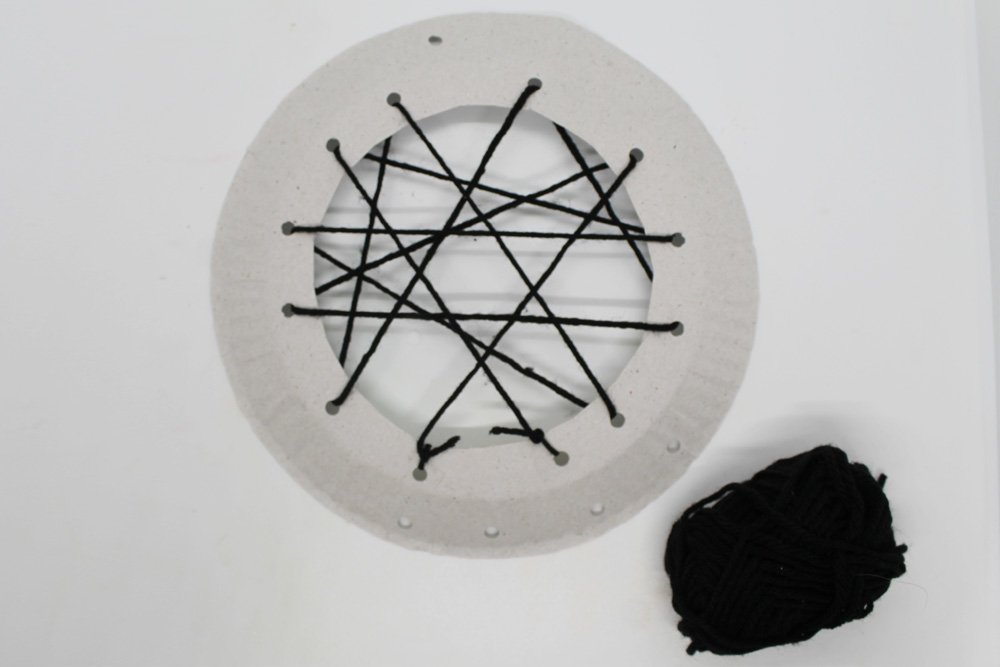
With a string of yarn ( we used black), insert one end inside one of the holes.

Secure it by tying a knot. Then let then the yarn run through another hole. Keep running the yarn through different holes until you form a spiderweb. Secure the pattern by tying a knot on the last hole.
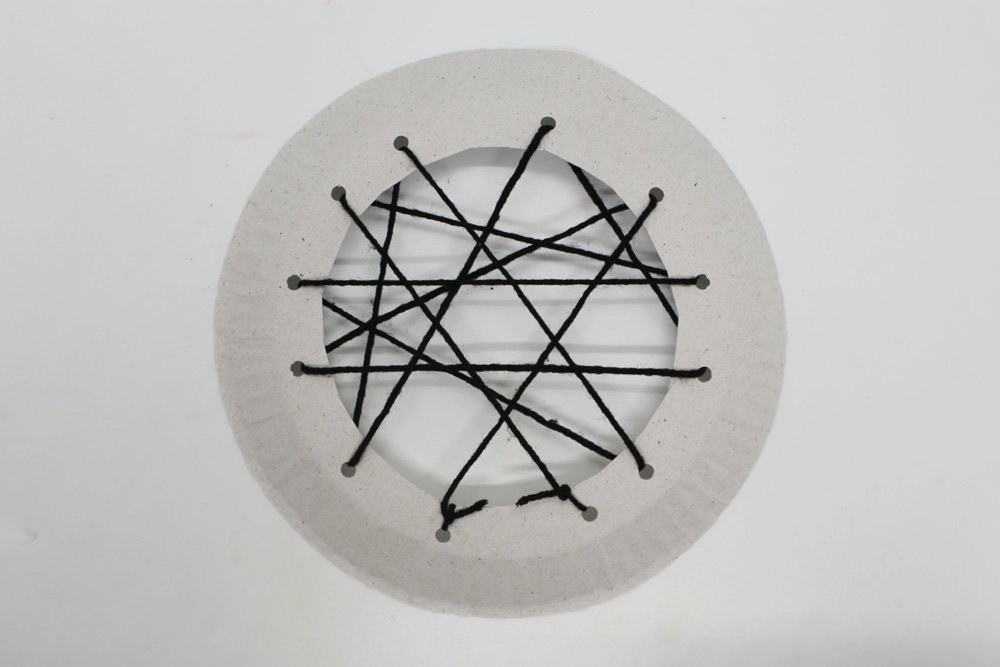
Once finished, secure the last end by tying a knot.
You can make a beautiful pattern of spiderwebs by following these guides here on making a beautiful pattern for your dreamcatcher!
Attach the handle and strings for the feathers

Punch a hole on the location of the x marks. This is where the strings will be attached.
Get some string/ yarn.
Cut 5 pieces of string around 1 foot each.
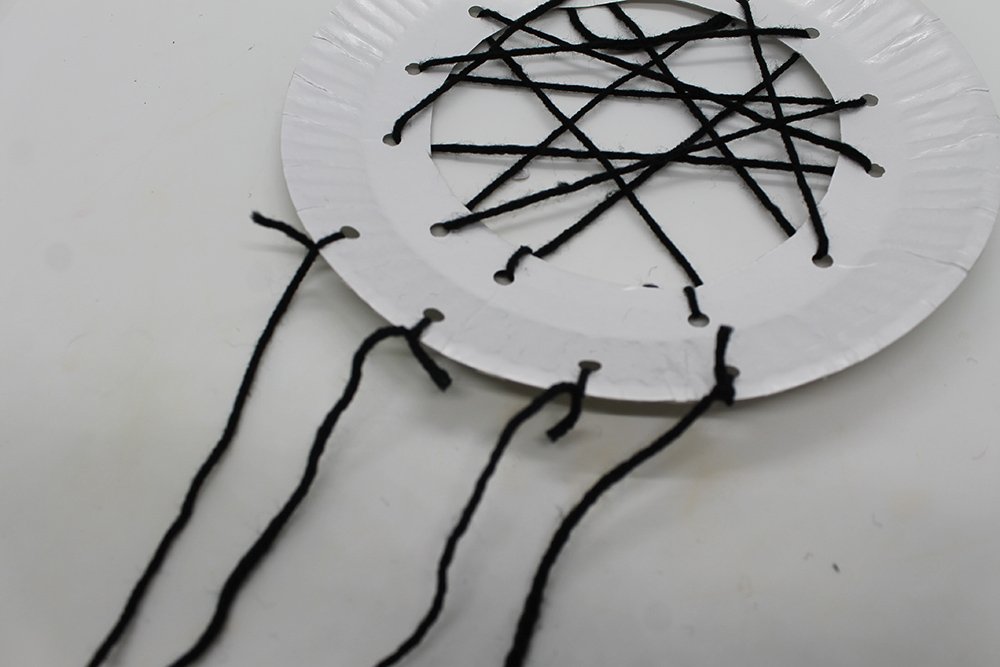
Tie four strings at the bottom side. You may cut the strings at the bottom so that they vary in length.
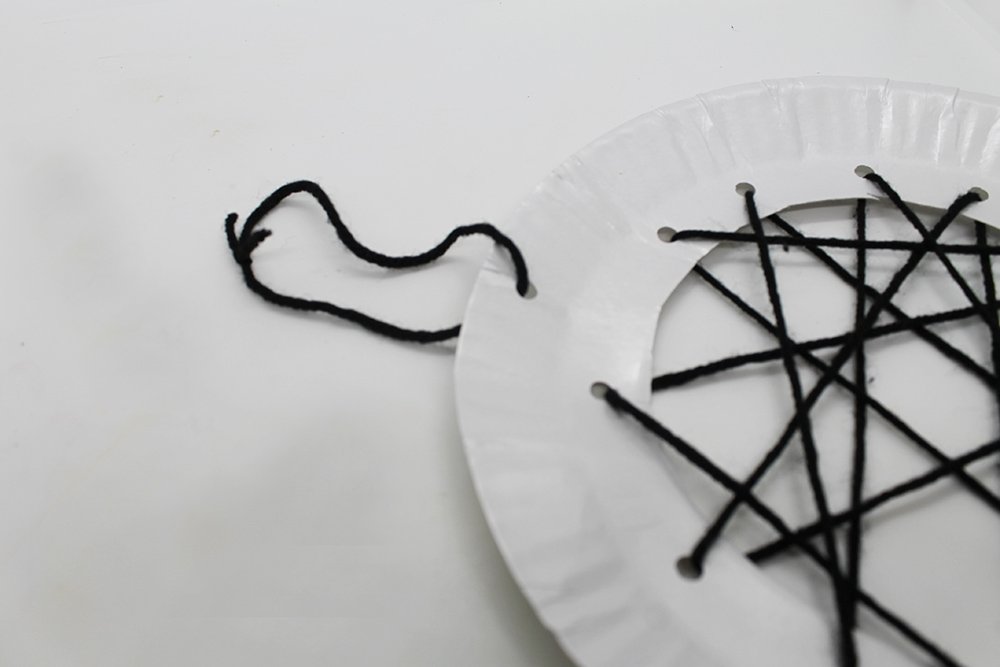
Now tie a loop on the top side. Trim off the excess string.
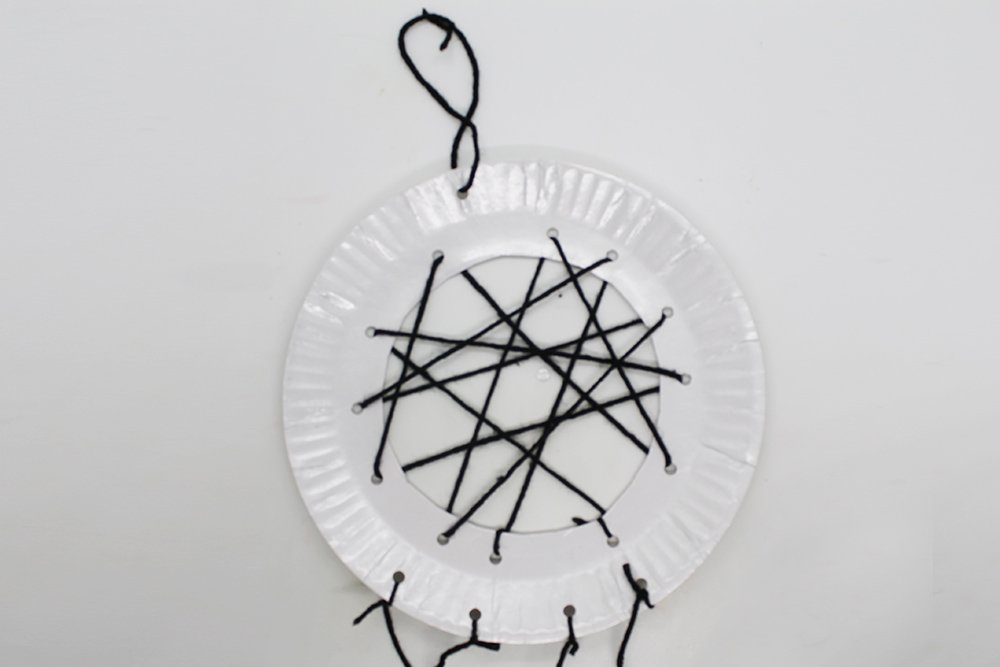
It doesn’t look aesthetically nice now, which is why we will cover the ring with yarn.
Cover the ring with yarn
So that the dreamcatcher looks nice, cover the whole ring with colored yarn.
You may use a single-colored yarn to cover everything or various colors to make it look nicer.
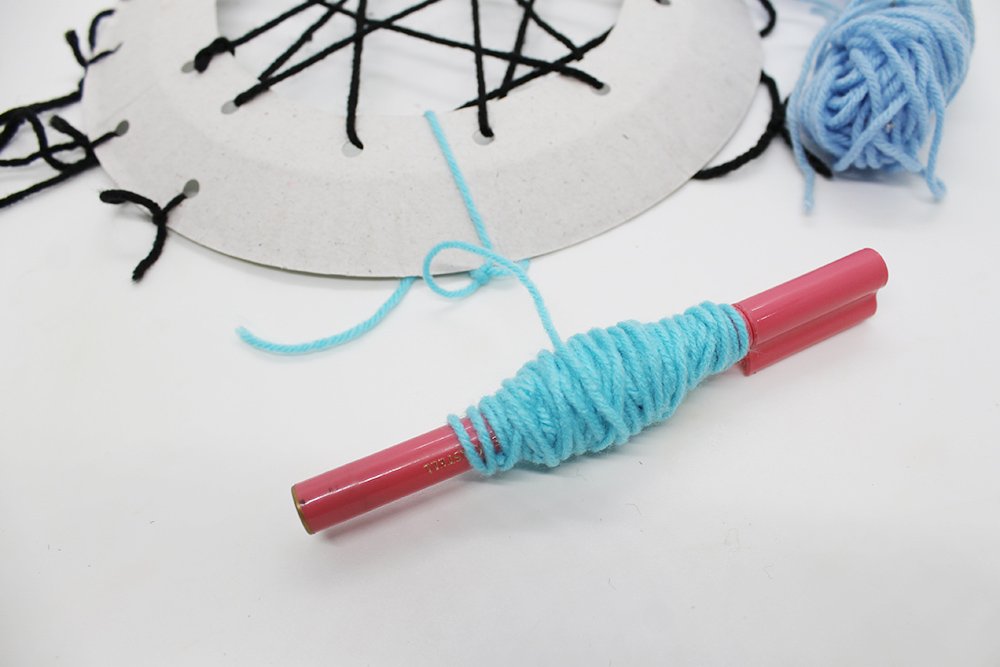
To wrap the wool around the paper plate ring, use a crochet hook to wind the yarn on it. You can also use a pen or something similar to the marker I used. Tie the yarn around the circle, then knot it.
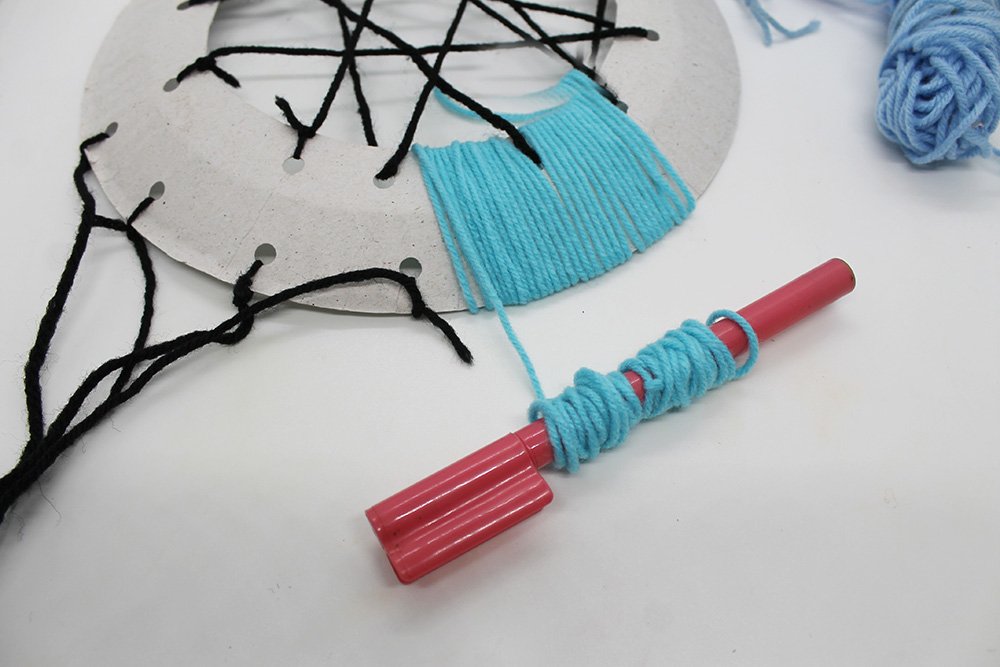
Keep wrapping around the ring and make sure that the yarn is close-knit to each other.
Once you’re at the end of your string, secure the yarn warp by tying a knot at the end.

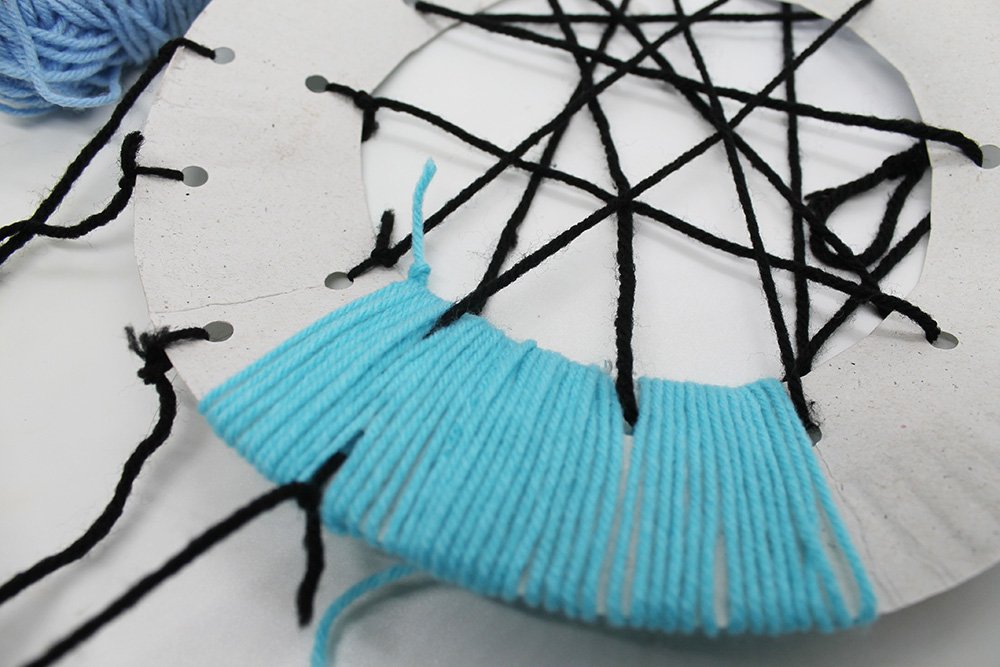
Wrap around another string to the paper plate ring. Make sure to tie it around with a firm knot.

Here we used a different colored string. You may use a different colored one or use the same color of yarn you used before.
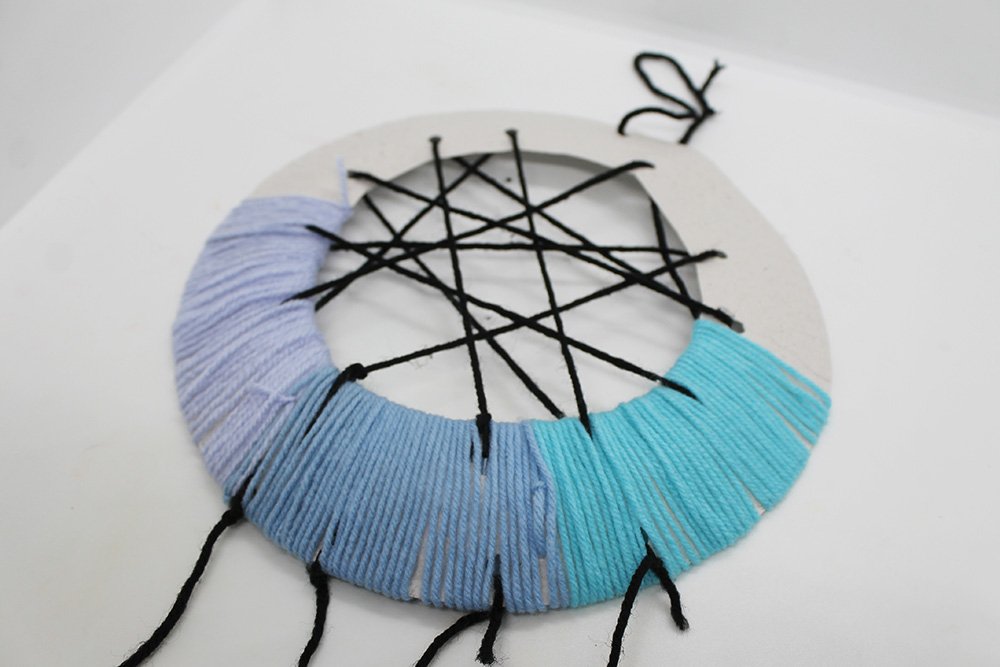
Secure the end again with a tight knot once you’re at the end.

Again, wrap another string until you cover a part of the ring, and when you’re at the end, tie a knot, so the yarn stays in place. I used a different colored yarn again here. It’s up to you what color/s you want for your dreamcatcher.
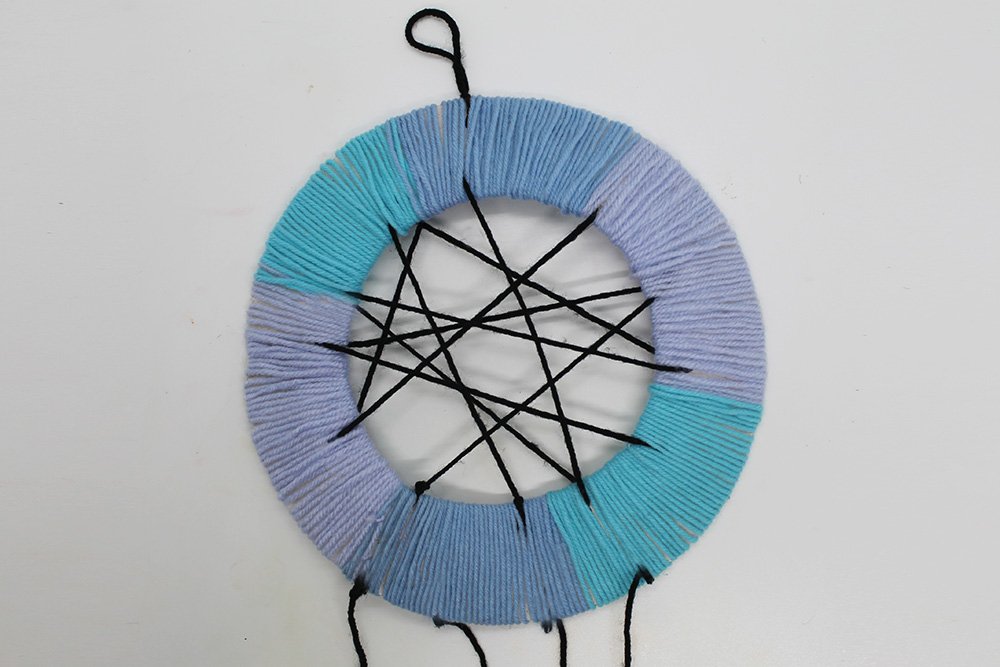
Keep repeating the cycle until you have covered the entire ring like the picture above. Set the ring aside for now.
Create the feathers
If you want to use actual craft feathers, then you may skip this step.

Get a colored paper and fold it in half.
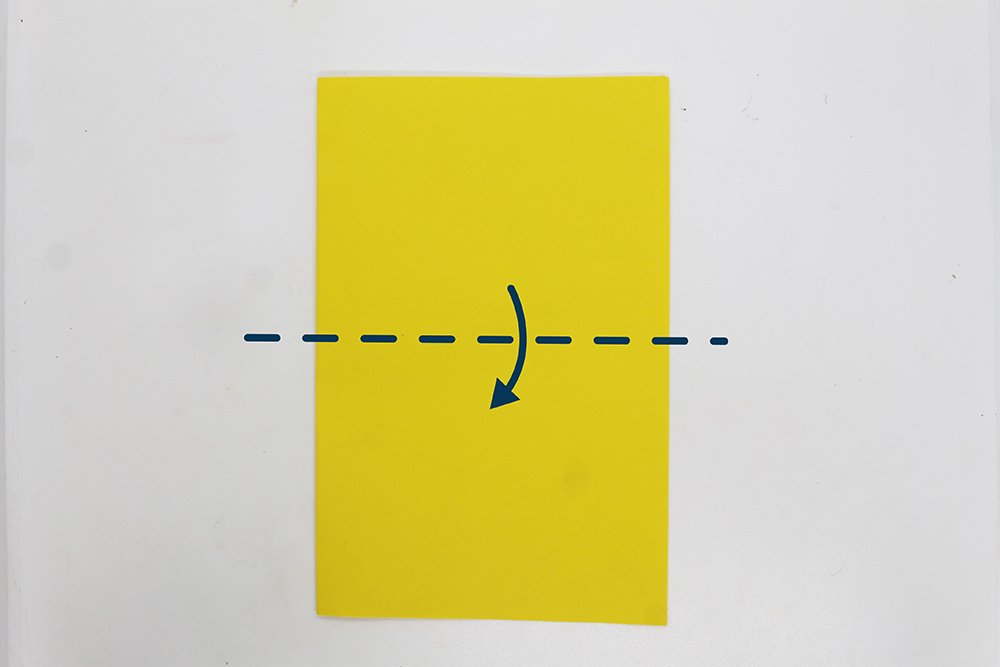
Fold it again in half, as illustrated above.
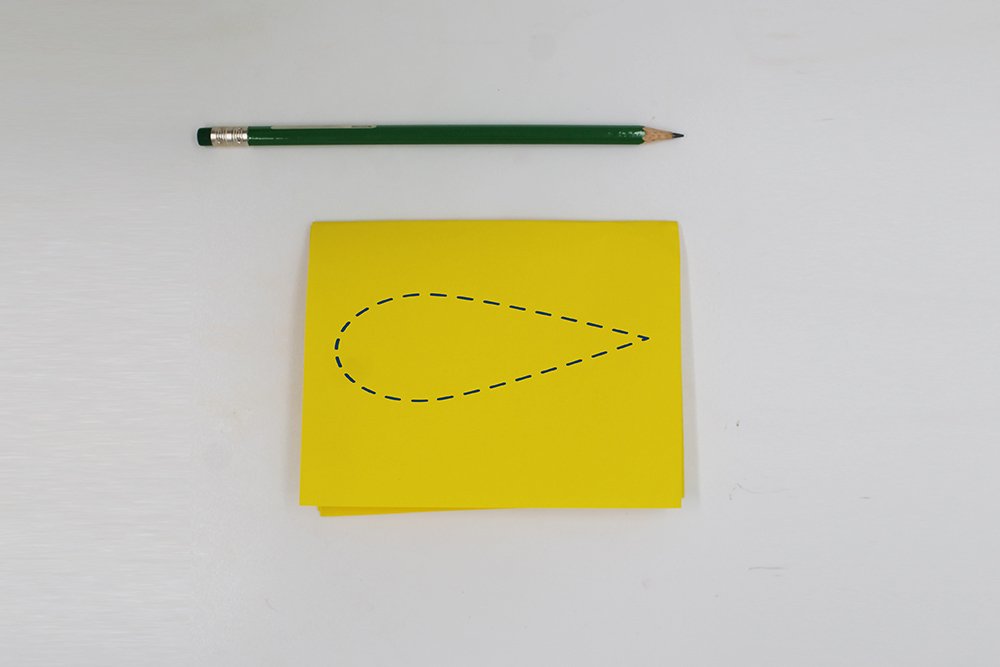
Now draw a leaf/feather-shaped pattern.
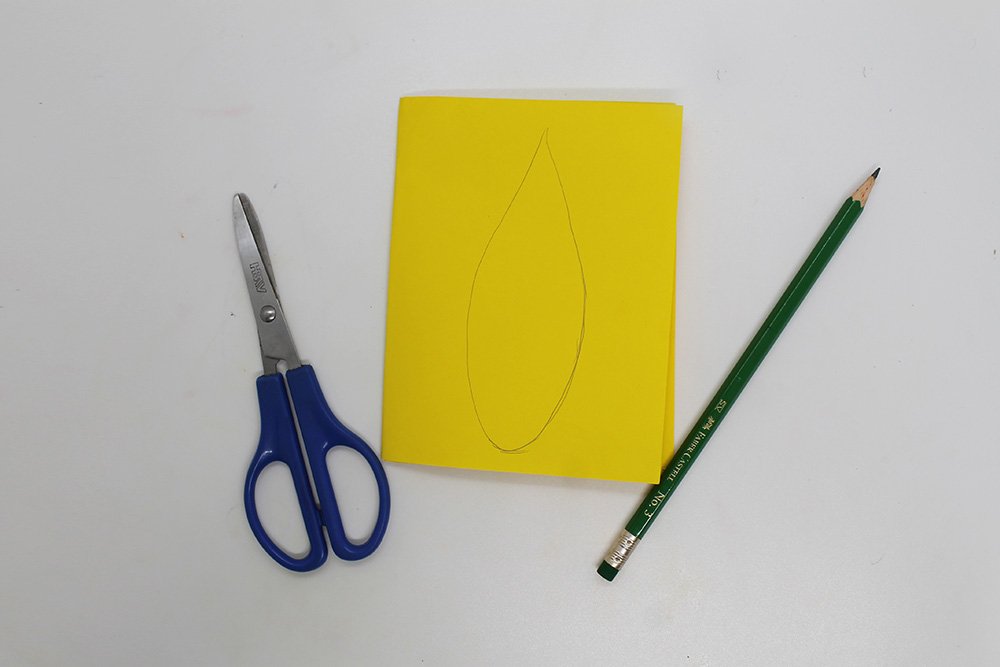
Cut the pattern with a pair of scissors. Through this method, you have efficiently made 4 exact paper feathers. Snip the edges of each paper to mimic feathers.
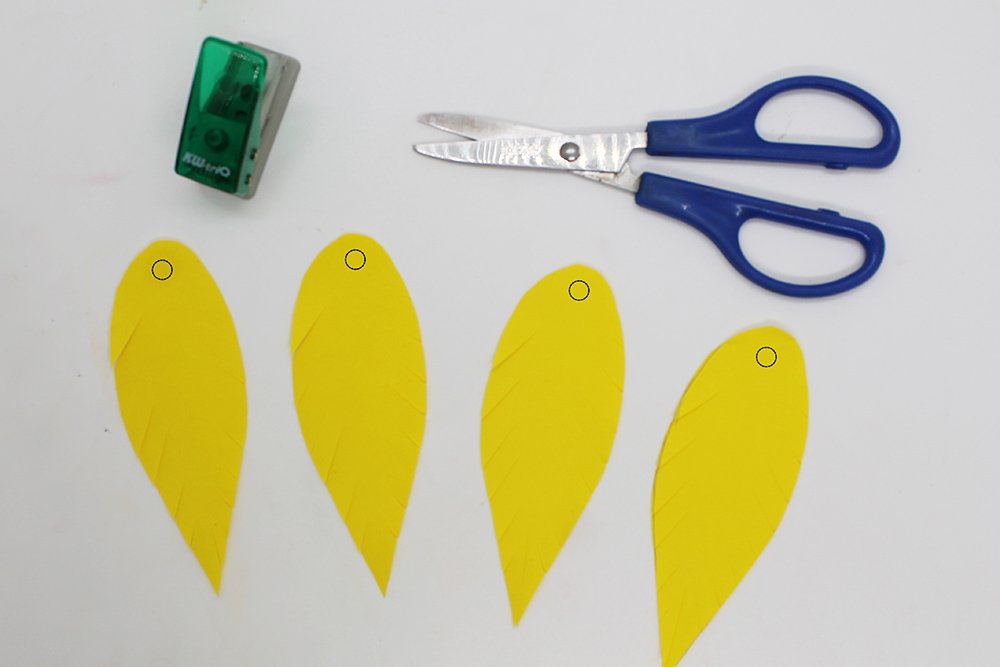
Punch a hole on the top end. You may snip the edges of the feathers to make a texture.
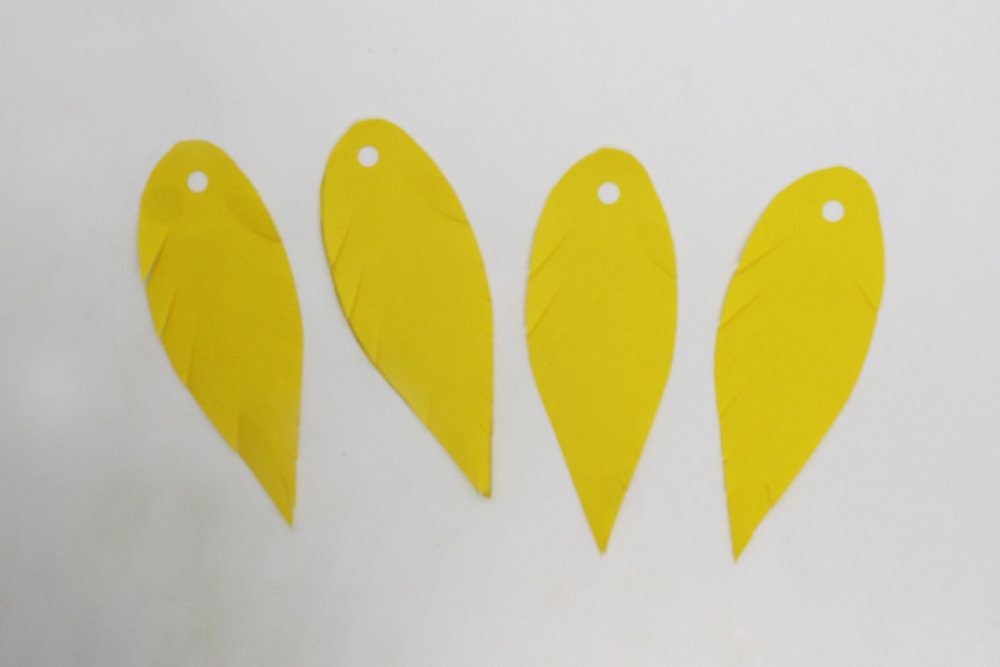
You now have 4 feathers made from paper.
Attach the feathers to the paper plate dreamcatcher

Get your paper plate ring
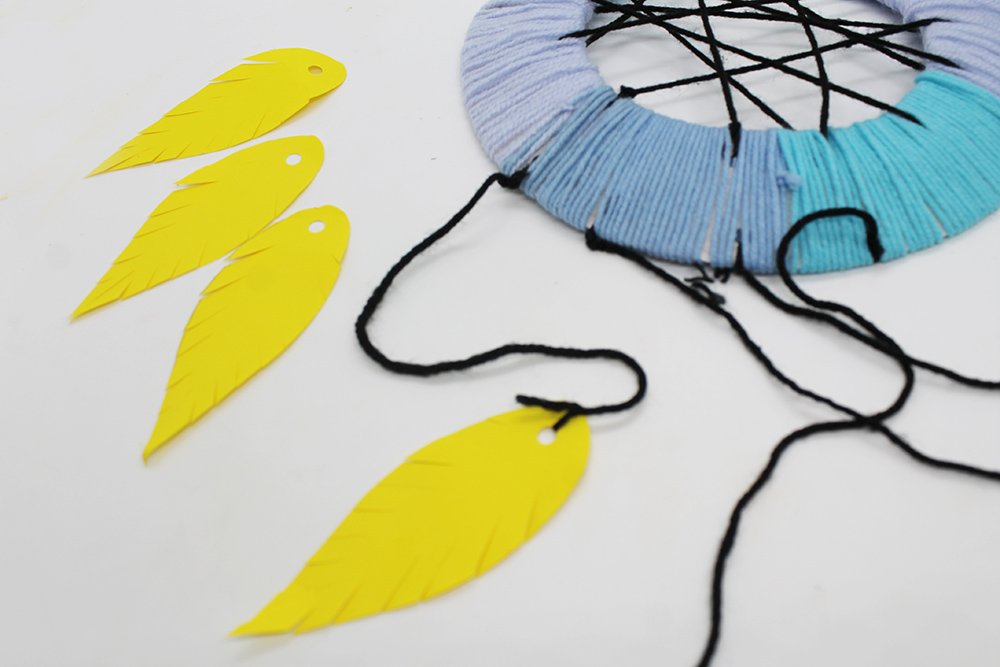
Tie each of the feathers on the 4 bottom strings.
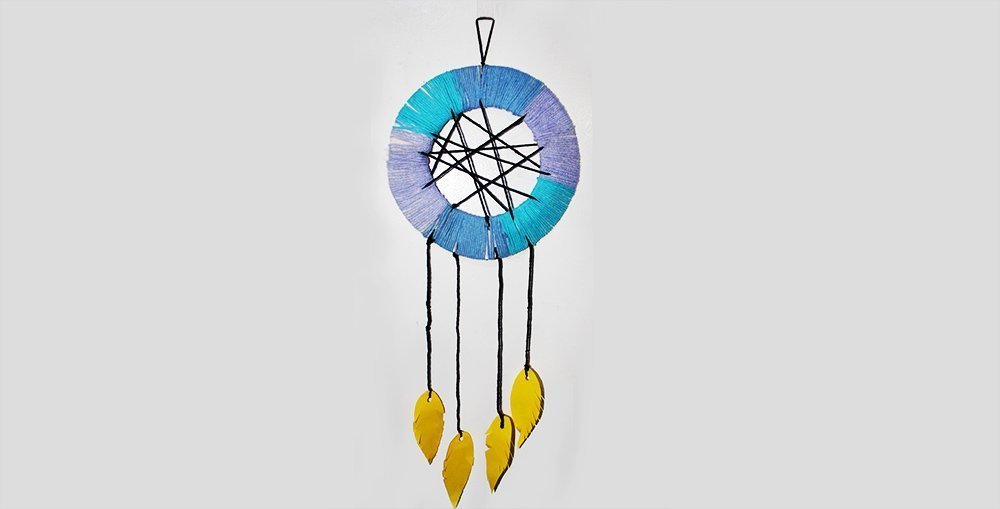
Your paper plate dreamcatcher is done! We hope you have pleasant dreams with this craft!
Extra Tips
- Be creative with your colors and shapes!


Pretty sure IF I make this then my parents would buy me a dreamcatcher 🙏
Ahaha I hope they do, mine turned out perfect so even if i get another one i wouldn’t replace it
My younger girl made this while his older brother couldn’t huhu- just like his father his afraid of anything having to di with yarn or threads
One of the best dream catchers out there. Good job!
I used shades of Red and Yellow – Gryffindor alright!!