Introduction:
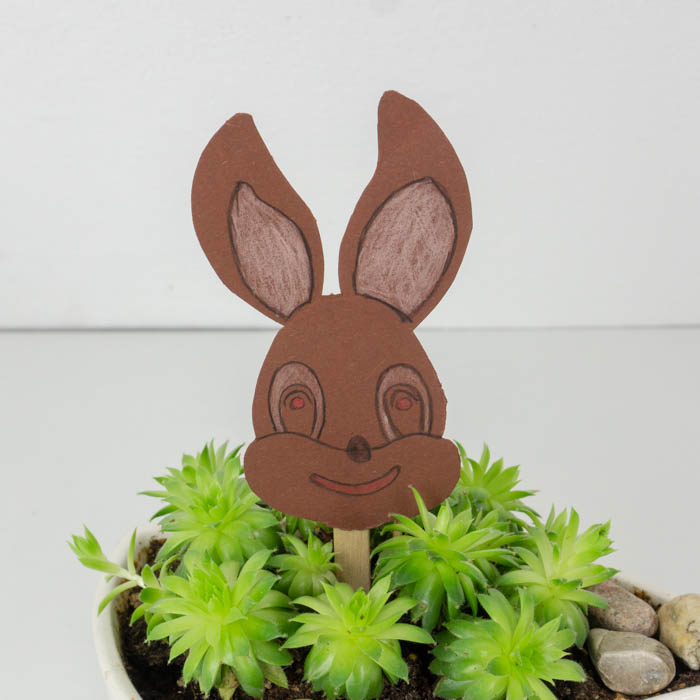
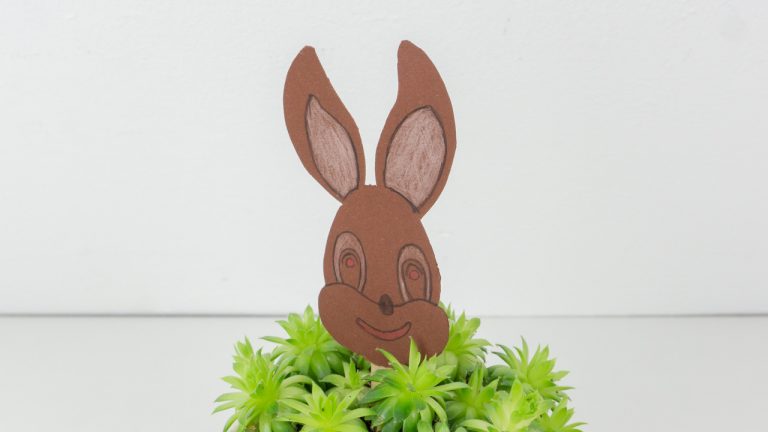
A great decoration that you can make for the Easter festivities is an Easter bunny. By downloading the free printable template below, you can effortlessly create your own bunny decor. It’s great to stick this rabbit decor on a flower pot or you may also hang it on the wall with the help of a string. Have fun doing this craft with the kids.

Tools
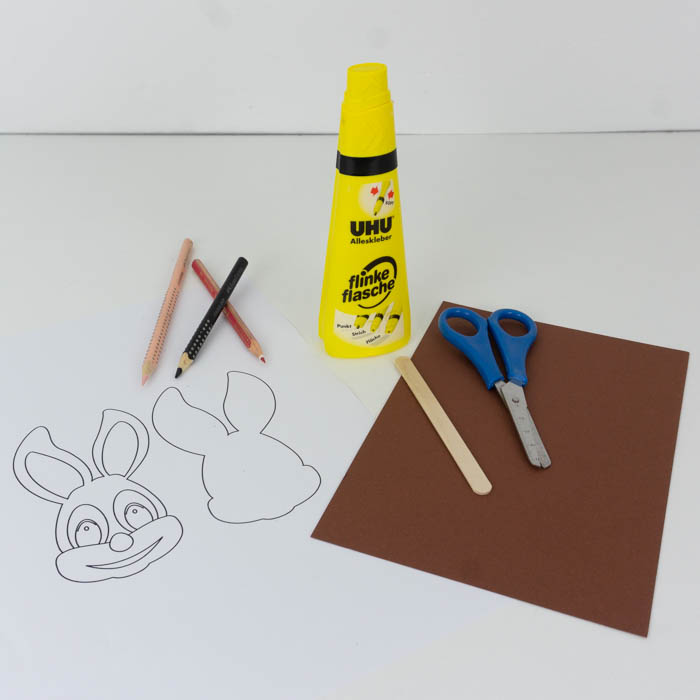
- Scissors
- Coloring materials
Supplies
- Take your Easter festivities to the next level with this easy easter bunny tutorial. The how to instructions illustrate and explain each step. Have fun.
- Popsicle stick or a barbeque stick
- Brown colored paper
- Glue

Download Area
Download TemplatePrint and Cut the Template
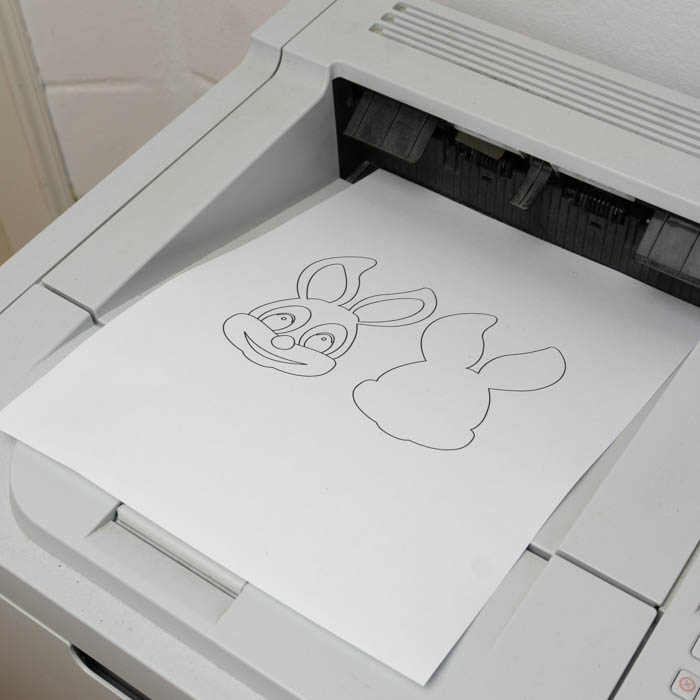
The first thing to do is to print out the template of the Easter bunny. The left template serves as a suggestion on how you can paint the Easter bunny with your kids.
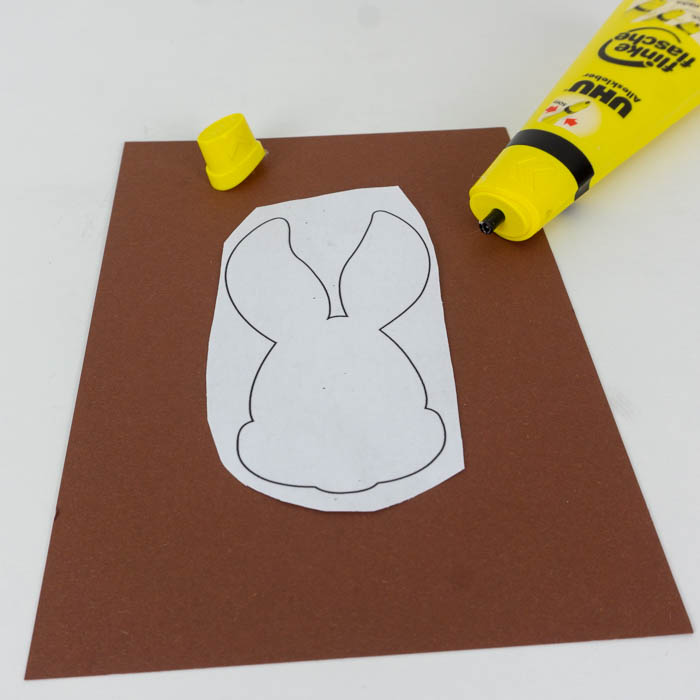
Paste the outline of the rabbit (right image) to the brown paper. Then, cut it along the dashed lines.
Tip: If you want to avoid glue residues on the Easter bunny, it is recommended to glue the outside area of the template only.
Design the Face
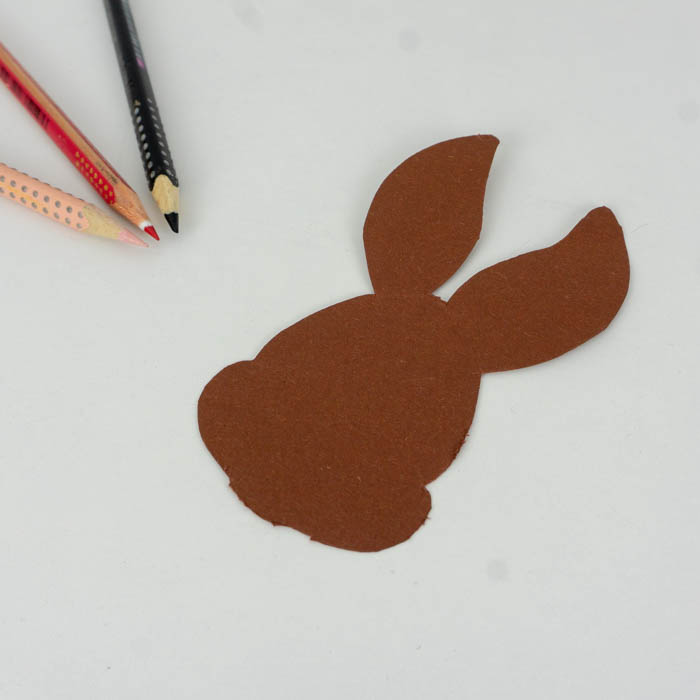
Once you have cut it out, design the face of the bunny however you like!
You may follow the template as a guide or can draw the face in any emotion or facial features of your liking.
Finish Making the Easter Bunny
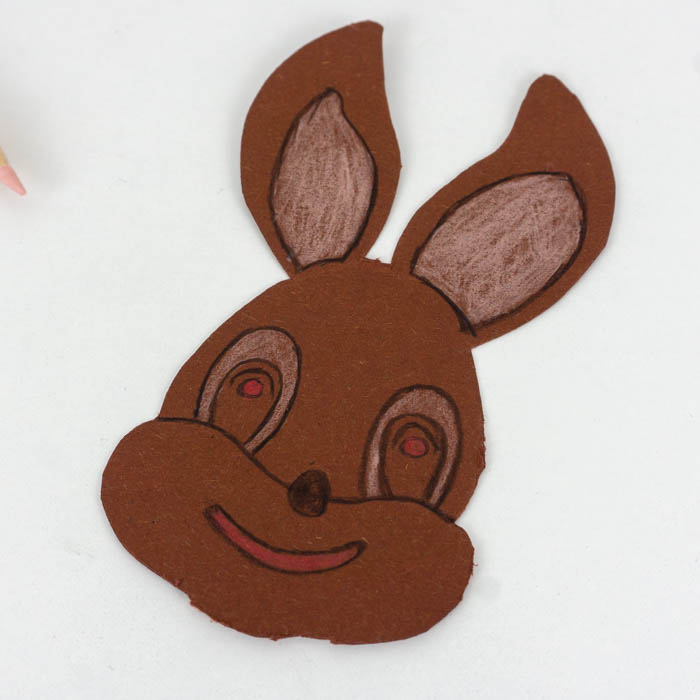
Once the rabbit has been painted, you now have two options: Either you take a thread and attach it to the ears with scotch tape to hang it around the house. Or, you may take a popsicle stick and stick it on the back of the Easter bunny.
For this tutorial, we’ll proceed to the second option.
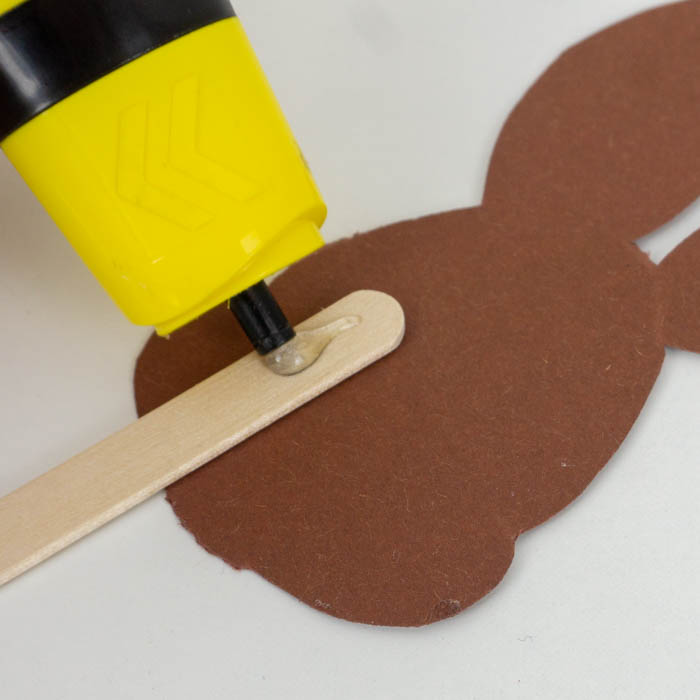
Glue one end of the popsicle to the back of the Easter bunny by using hot glue or any strong glue.
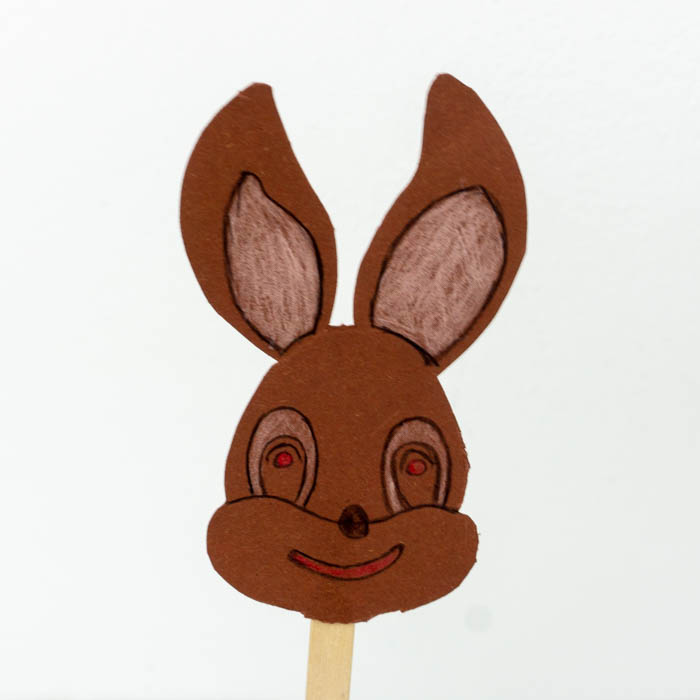
…And you’re done!
Congratulations!
Your Easter bunny is finally ready! It is best to stick the rabbit in a flower pot so that you can place it on the table. Hope you and the kids have fun!
