Learn How To Make a Recycled DIY Binoculars For Kids at Home

Introduction:
Making these lovely binoculars is a great activity for little explorers. What’s great about this DIY arts and crafts is that kids can choose the color and design of the binoculars themselves. It enhances their creativity as well as develops their choice-making activities.
It’s a fun activity for them to do, and the activity requires only a few stuff. It’s also easy to make. You put all this together, and what have you? A perfect activity for kids that have an adventurous spirit.
We hope that you’ll enjoy this guide. And be sure to get creative with the design of your binoculars.
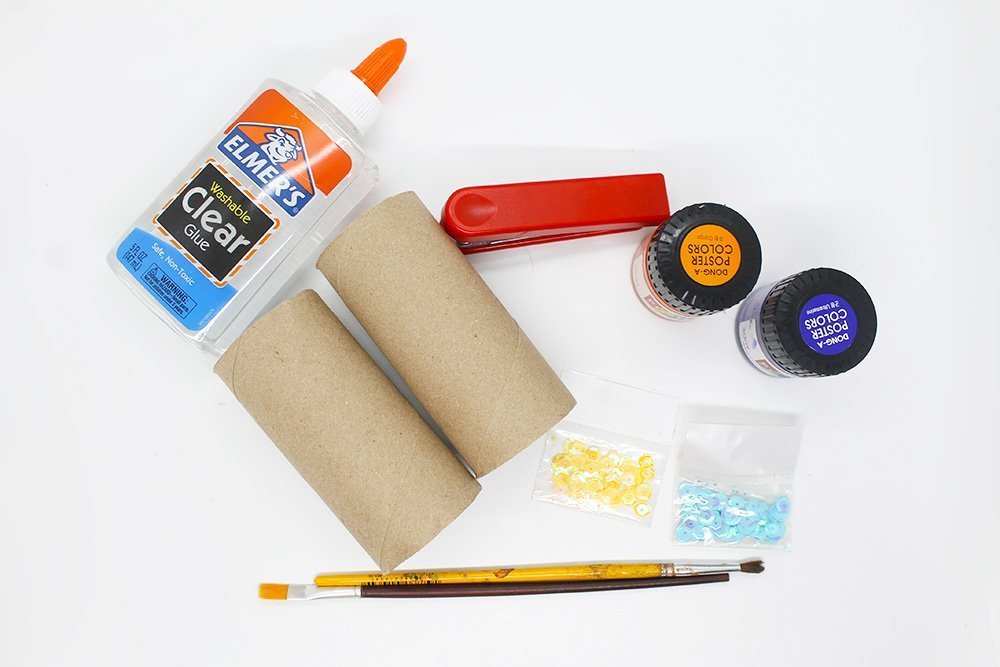
Tools
- Stapler/Glue
- Brushes
Supplies
- Two pieces of toilet paper rolls
- Poster paint or any art medium available
- Optional: decorative art supplies (jewels beads, sequins, stickers, etc. )
Paint the base first to make the DIY binoculars
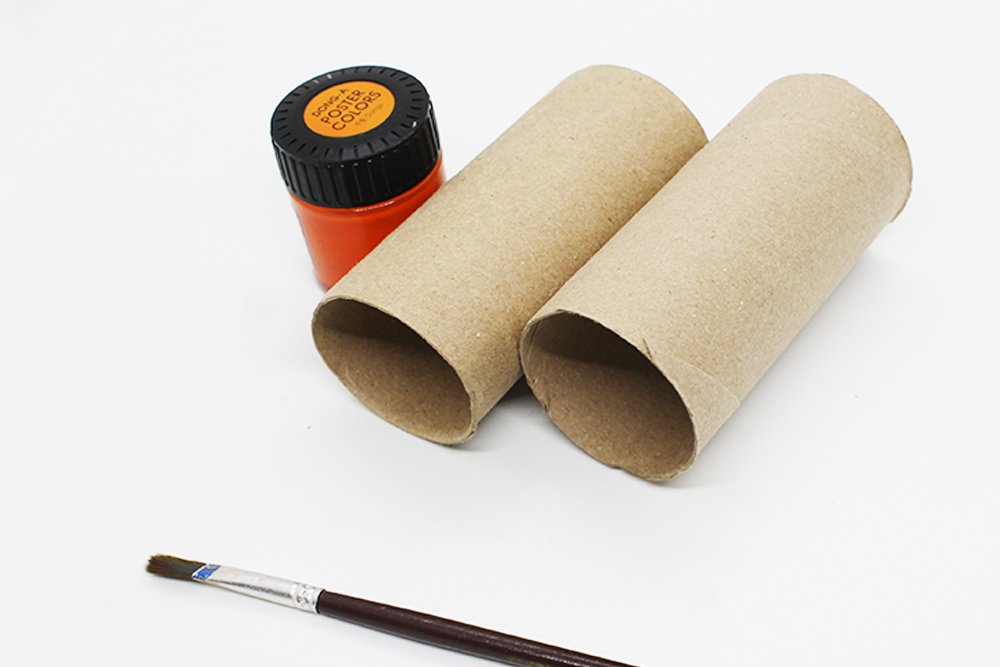
The first step is to get a brush, paint(orange in this case), and toilet rolls. You can choose a base color other than orange if you'd like.
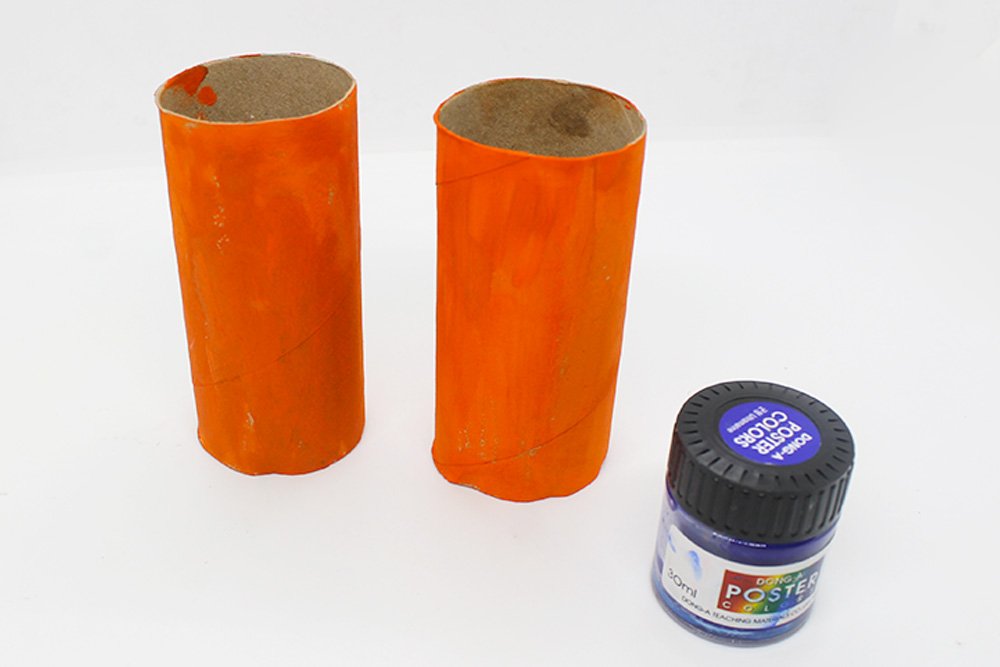
Paint both toilet rolls with your chosen base color. Then select another poster paint color. Add some design by painting/ drawing the toilet paper cardboards with a different color. This is an optional step. If your happy with your choice of base color then skip this.
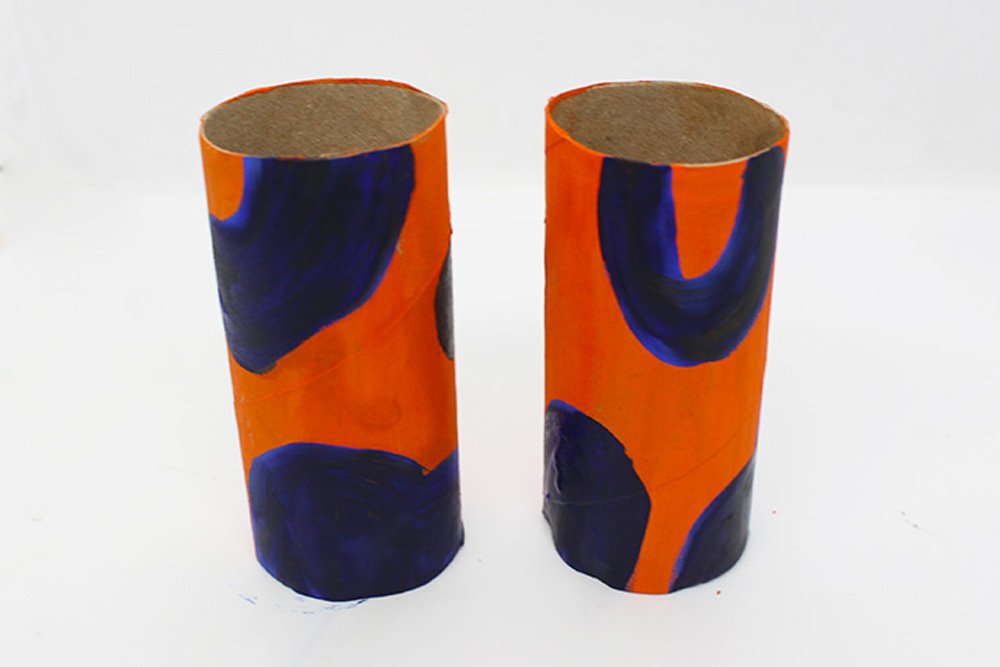
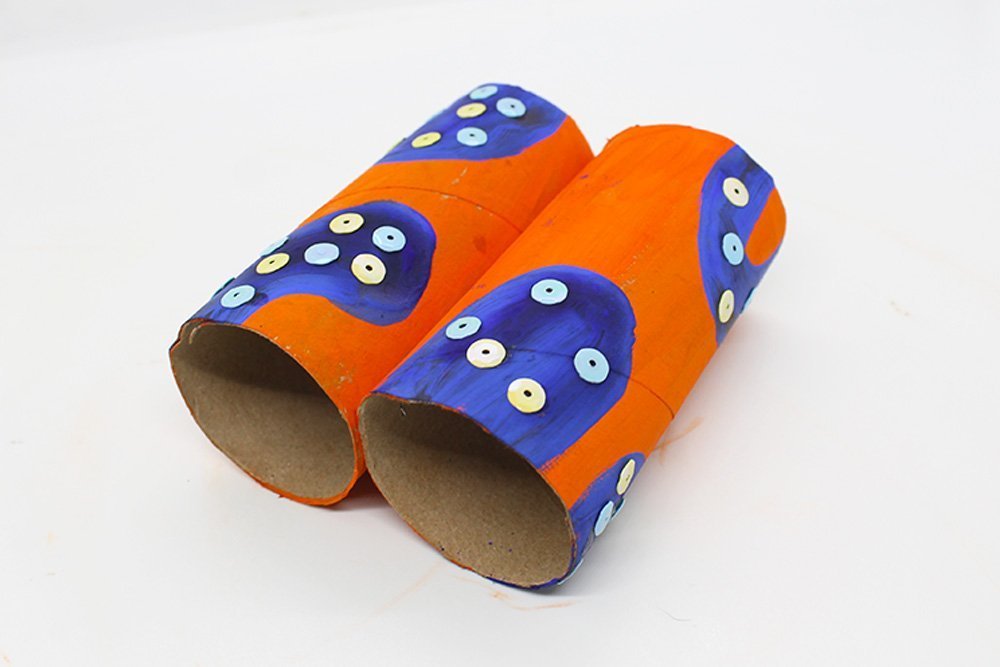
Color the tubes blue(or whatever color you prefer) however you like. You could do it like in the example above or you could go with your pattern/design.
Let the paint dry before proceeding to the next step. Make sure that you Once dried, it's time for the next steps of this DIY binoculars guide for kids.
Optional: Add some more details to your DIY cardboard binoculars

It's all about aesthetics and personalizing it more for this step! What can you add to make your binoculars look better? In this case, we went with some sparkly sequins. If you like how we designed our paper binoculars, then follow the next steps.
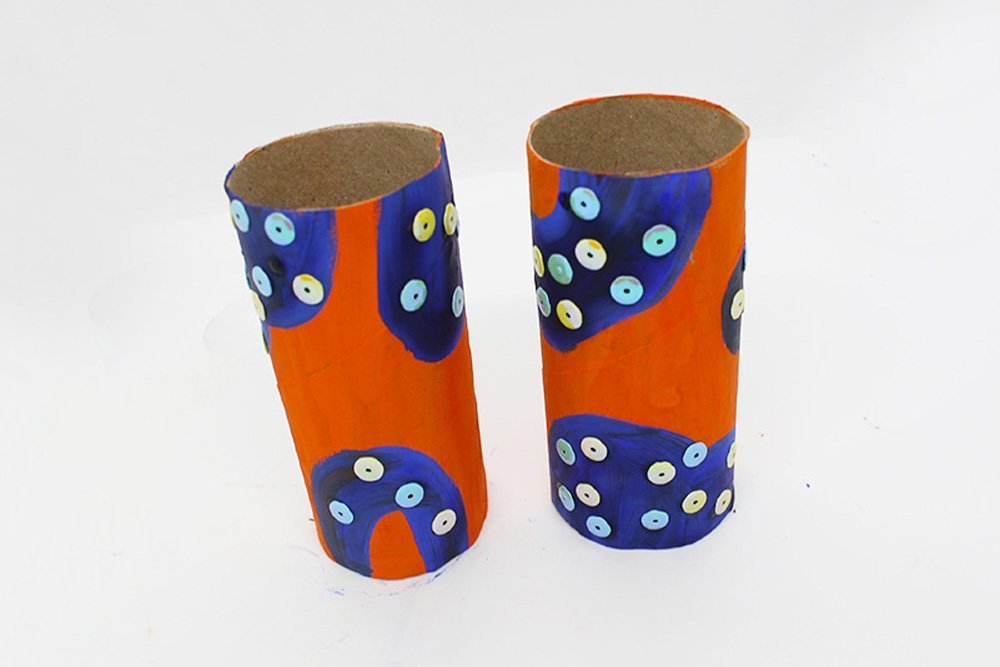
Paste the sequins on the areas that are covered in blue paint. Your design could be different from our example. For example, you can stick some glitters, beads and stickers all around the toilet paper cardboard.
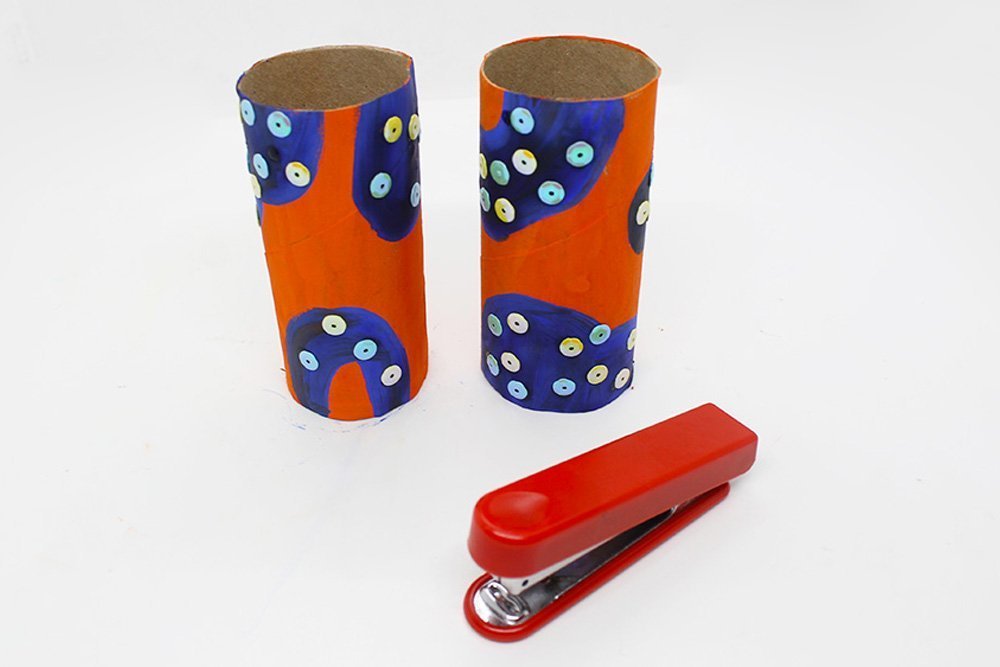
Let the adhesive (if you used one) to dry. After decorating, get your stapler. We are close to finishing this fun kids' craft. Excellent job so far!
Connect both toilet roll cardboard to finish the DIY binoculars for kids
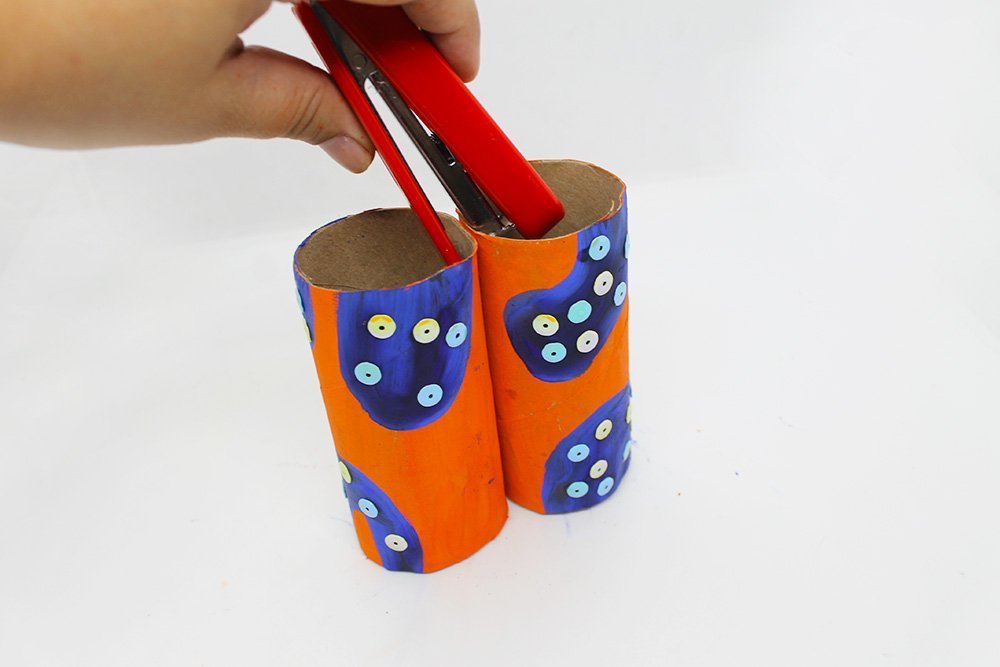
Place your two toilet rolls together and make them stand. Then staple the top parts together. If you want it to be extra vital, staple both ends twice.
Lastly, staple the other side. This should make your binoculars secure and strong.
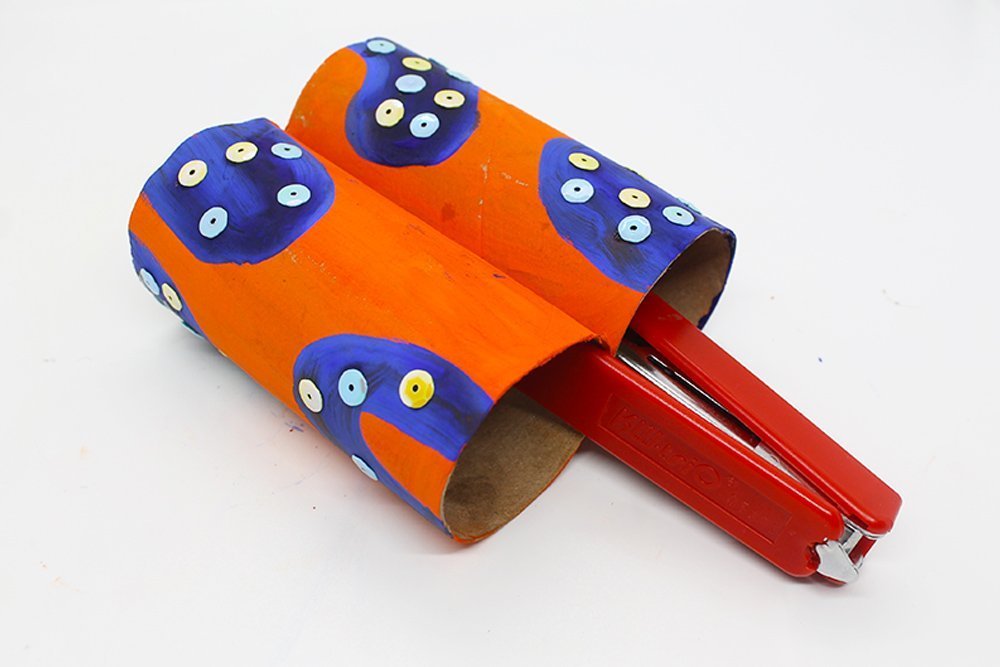
Congratulations! You have finished making this craft, and we hope you had a good time. Do drop a comment below because we would love to hear from you. And don't forget our other unique crafts for kids!
Extra Tips
- What can you add to make your binoculars look better? There are other things you could maybe add like sheen paint. Or perhaps some camo for that cool look.
- Are you afraid to let small kids use a stapler? Supervise them. Be the one who will staple the toilet paper rolls together. Another option is using glue in place of a stapler. Just make sure that you allow the glue to dry first before letting the kids play with the binoculars.
- One cool trick you could do is to mix the base paint with some glitters, that way you could have a super sparkly binoculars.
- You could put a strap on your binoculars. Get some yarn, make some holes and knots, and have it there! Your little explorer is ready to face the outdoors!


Me likey likey this!
I made mine glow in the dark, and it’s awesome
Awesome instruction sirs
thankss 👌👌
Thanks for giving the idea. It’s basically a free for all once you get the process. I still haven’t mde mine cause i am collecting art supplies first
if you dont have tp carton use hard paper and roll it up.