Create an Index Card Holder DIY Craft- Step by Step Instructions

Introduction:
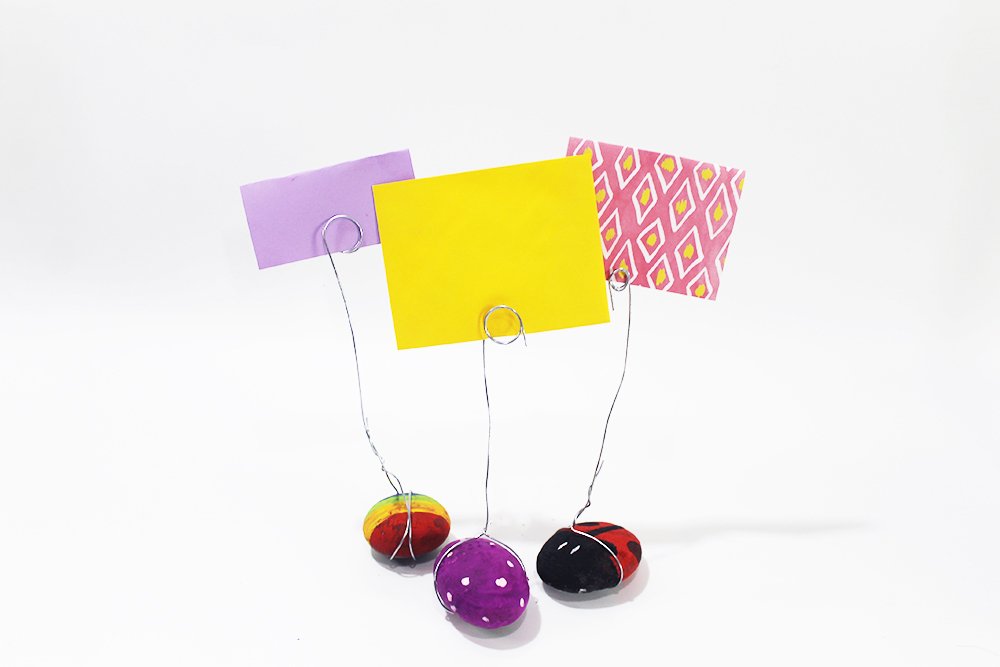
A great DIY craft idea that looks great on a desk or shelf is a note holder. In this post, We’ll show you a quick and easy way on how you can make these three beautiful photo holders. What’s great about this DIY project is that you most likely have all the things you need in the house and outside your backyard.
Get some stones, wires, and paint. You’ll have a DIY index holders in time! You are encourage to be creative and come with your own unique design while having fun with the activity.
Another thing that make this craft cool is that it promotes the idea of using simple things to create something functional and beautiful at the same time.
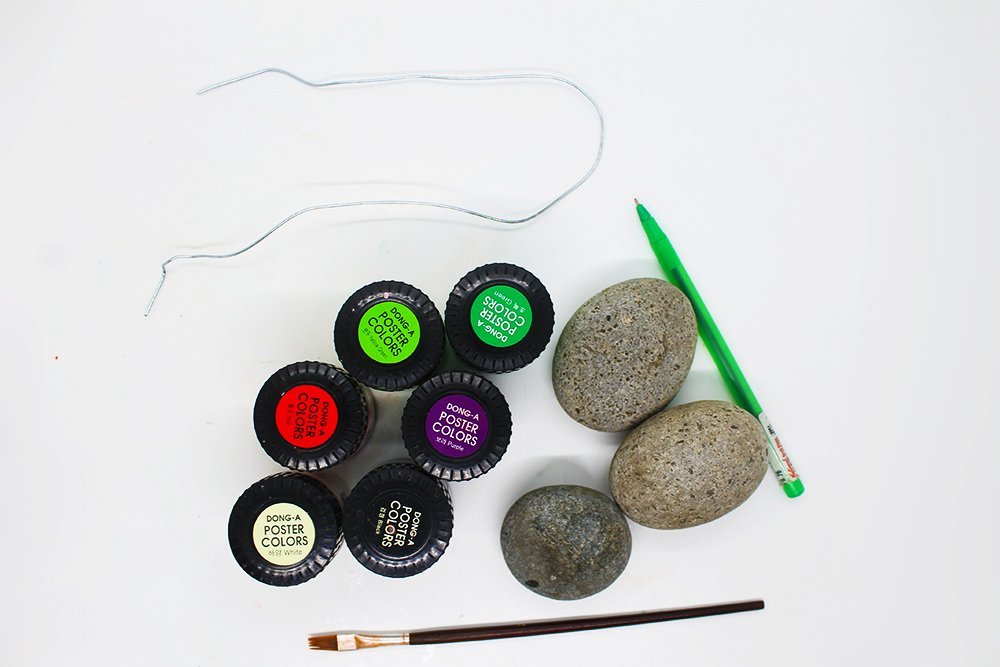
Tools
- Brush and water
- Scissors or wire cutter (optional)
- Pen or any thin stick
Supplies
- Opaque paints (e.g. Acrylic, Poster)
- Some small round stones (depends how many you want to make)
- A thin piece of copper or steel wire (around a foot per wire)
Paint the rock for your DIY index card organizer
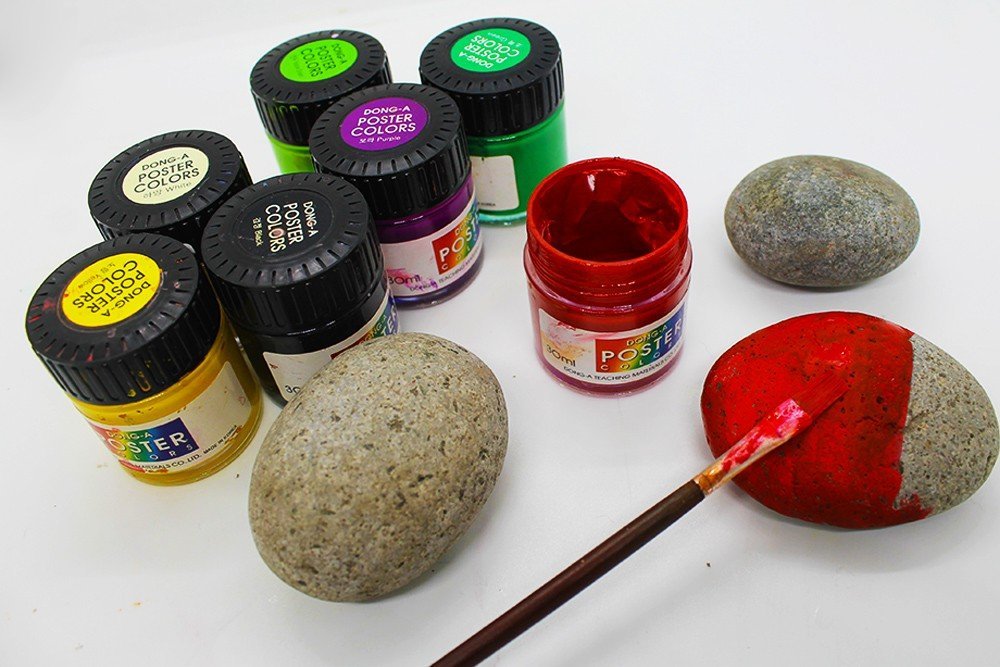
The first thing you need to do is paint each stone however you like. Decide first what designs you want to go for. Before painting, clean the rock first, so the paint covers it smoothly.
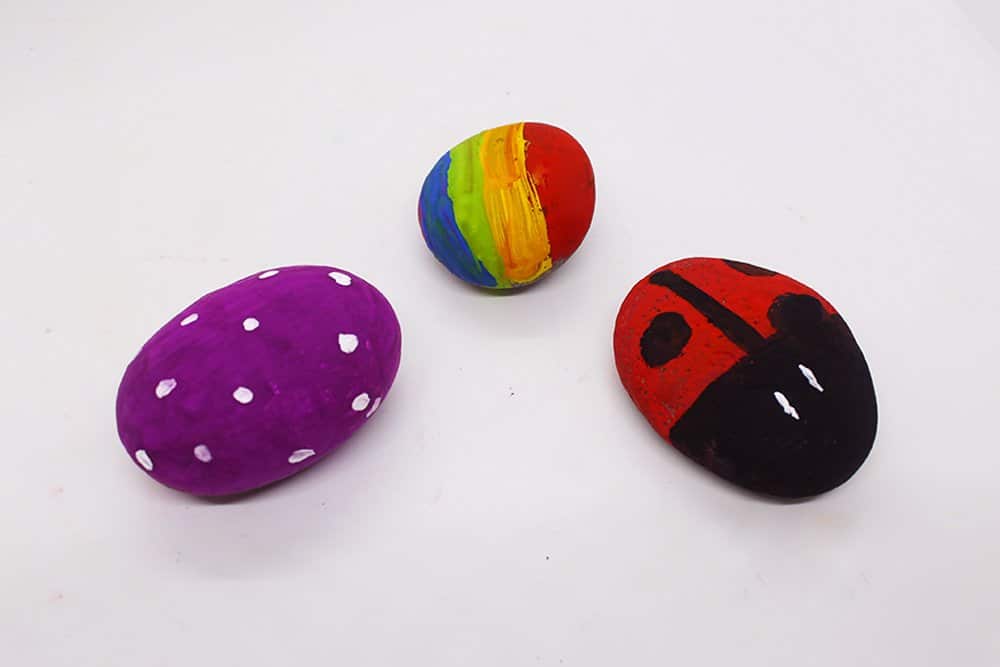
It's up to you how you want to decorate the rocks. Here are some ideas that can inspire you to make a wonderfully decorated rock:
Ladybug rock: Paint half of the rock red and the half with black paint. Let the base paint dry, and add black polka dots on the red base and a pair of eyes on the black side of the rock to make a cute ladybird.
Rainbow rock : Paint a stripe of each color of the rainbow until you have fully covered the rock
Polka dot rock: A quick and easy way to decorate a rock. Paint any base color all over the stone. Let it dry, and dab some dots using the end of the paintbrush.
Now that the rocks are painted nicely, let them dry before and grab a pen and a wire before proceeding to the next step.
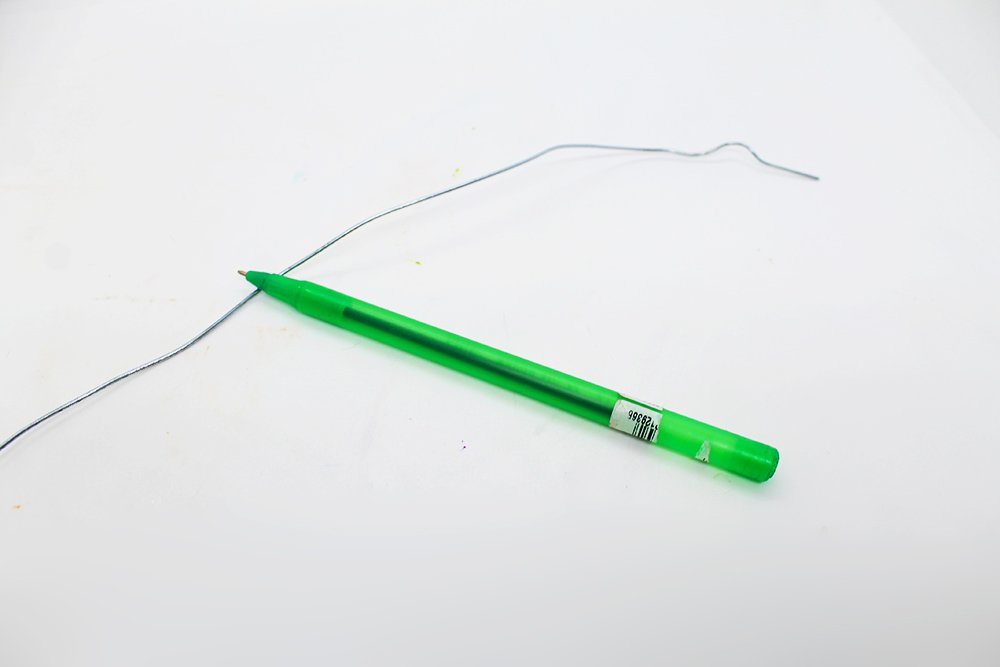
Create the holder for the index card organizer
Get your pen and wire. Around a foot of a wire is enough to wrap the stone nicely. If not, then you should use pliers to cut the wires.

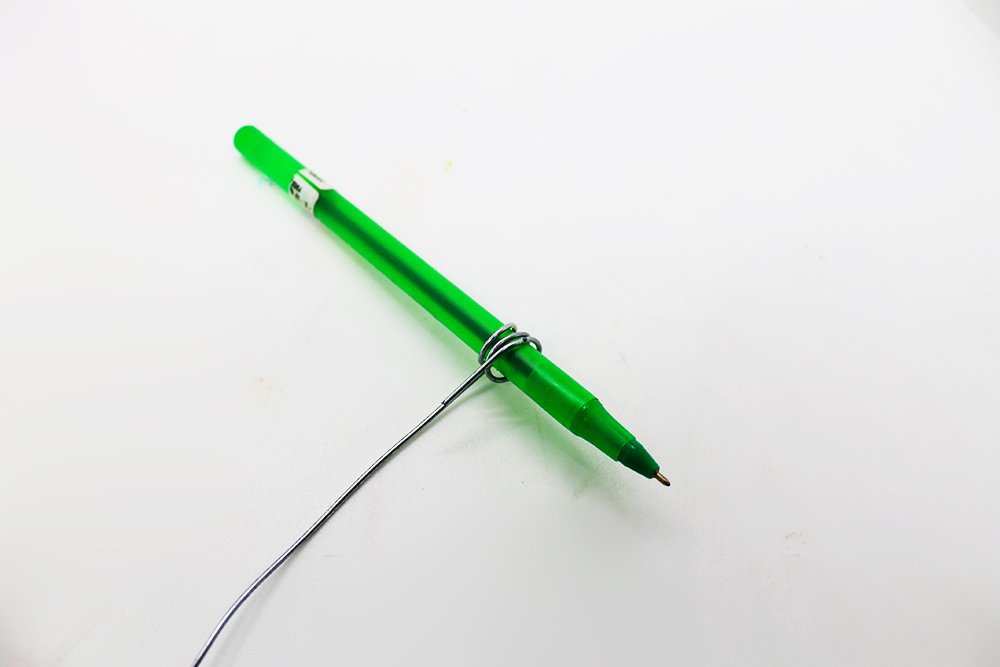
The goal is to make a loop. Take the ballpoint pen or a round stick and wrap the wire around the ballpoint pen at least 2-3 times. When wrapping the ballpoint pen, make sure that the wires are tight together. If this is not the case, the photos and notes fall out of the holder.
Wrap a wire around the stone/s for the flashcard holder

The next thing to do is get the rocks and begin working on one. Put a stone on top of a wire. And fold the wire's end towards the loop you made, just like in the picture above.
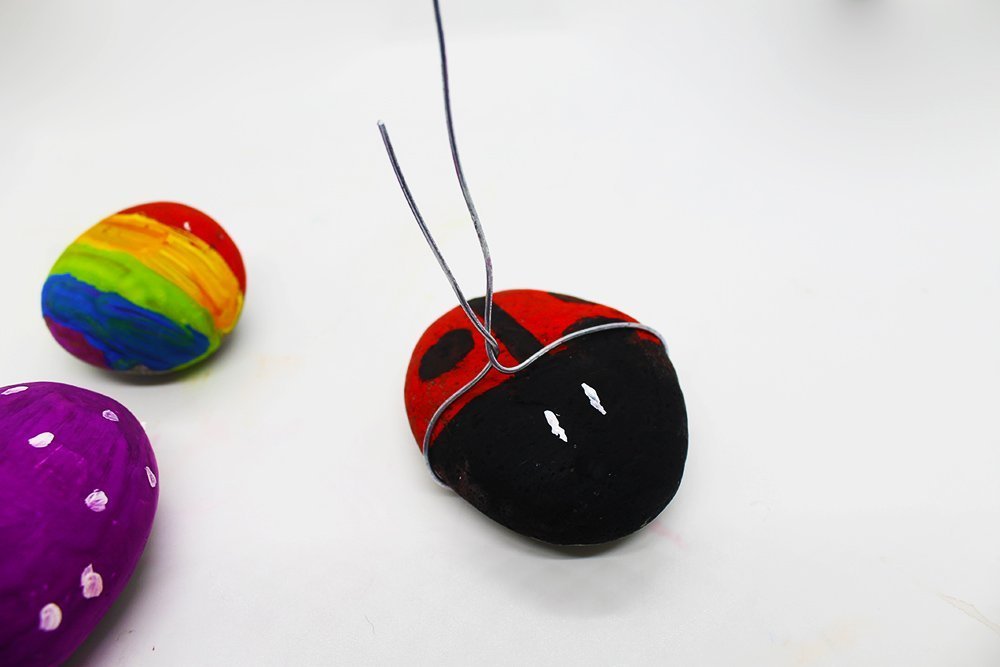
Bend the wire around one stone like in the picture above. Wrap it once or twice, then tie a knot or wrap the end to the top to secure.
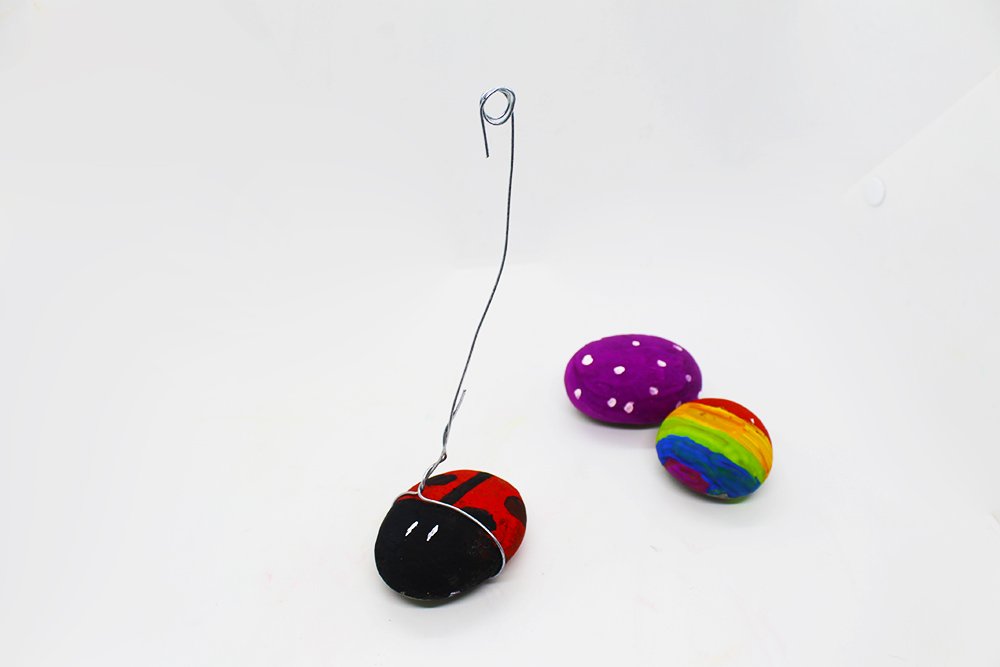
Make sure that the end of the wire where the index card holder stands upright like the sample image above.
Don't forget to attach your notes!
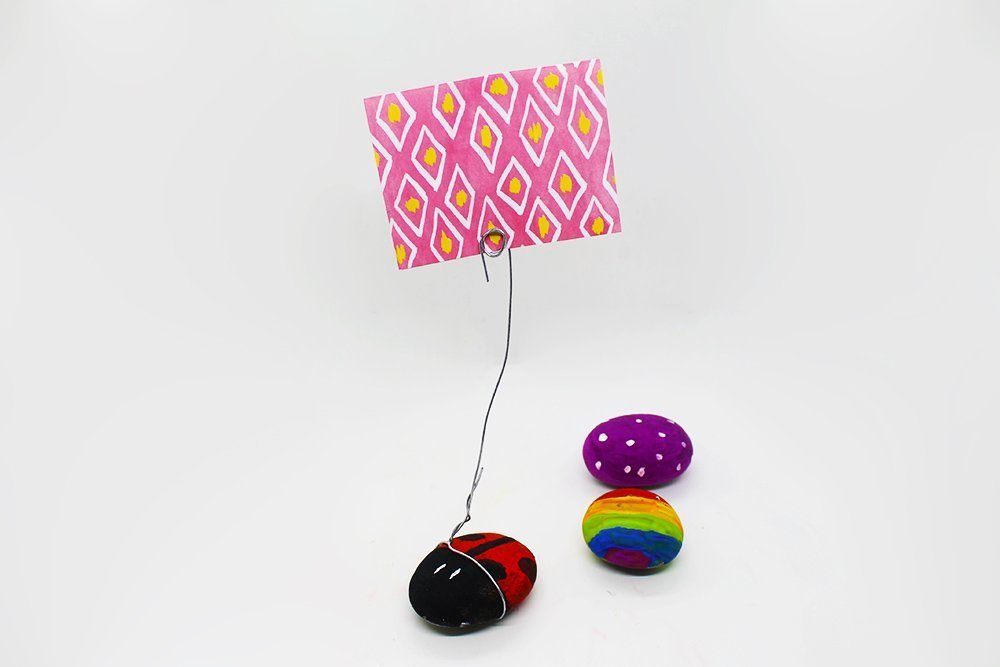
Attach the wires on the other rocks, and it's time to put the DIY index card holder to use! You can place any paper on the holder: a picture, a note, flashcards, or a menu/guide.
That's it - the photo holder is ready! Have fun decorating yours at home. Now comment down below on how you think of this activity! That way, others can see whether it is worth making the note holder.
Extra Tips
- Be careful not to hurt your fingers when dealing with the wires!
- Take inspiration from nature or other man made art. You could even harness your emotions to create something truly unique.
- There are lots of stones out there. Some are better suited to be displayed because of the shape and texture.


cute <3
Thanks for the awesome guide. I could put it in my office at home
Good job making this guide easy, my daughters and I enjoyed making
Mine looks very nice – i didn’t use paint but i just polished the rocks. forgot the name of the rock though
interested to know what rock is that
i was able to make it quickly 🙂