An Easy Origami Craft Guide on How to Make a DIY Gift Bag

Introduction:
This guide will teach you all you need to know to create your gift bag using a piece of paper. It’s a simple process, and you’ll be able to make one quickly with little to no problem.
A great idea for this project is to make 24 gift bags and use them as an advent calendar. You may also use it to wrap presents for birthdays, Easter, Valentine’s, or even a treat bag for Halloween. All you need to do is change the color of the paper to suit the event, and add different decals.
Gift bags, especially handmade, are wonderful as it tells the receiver that you care. So, the next time you offer someone a gift, make a gift bag for it! Another reason why this gift bag craft for kids, and adults too, is fantastic is that they are affordable, genuine, and customizable.
Enjoy making your bag for gifts, and make someone happy.
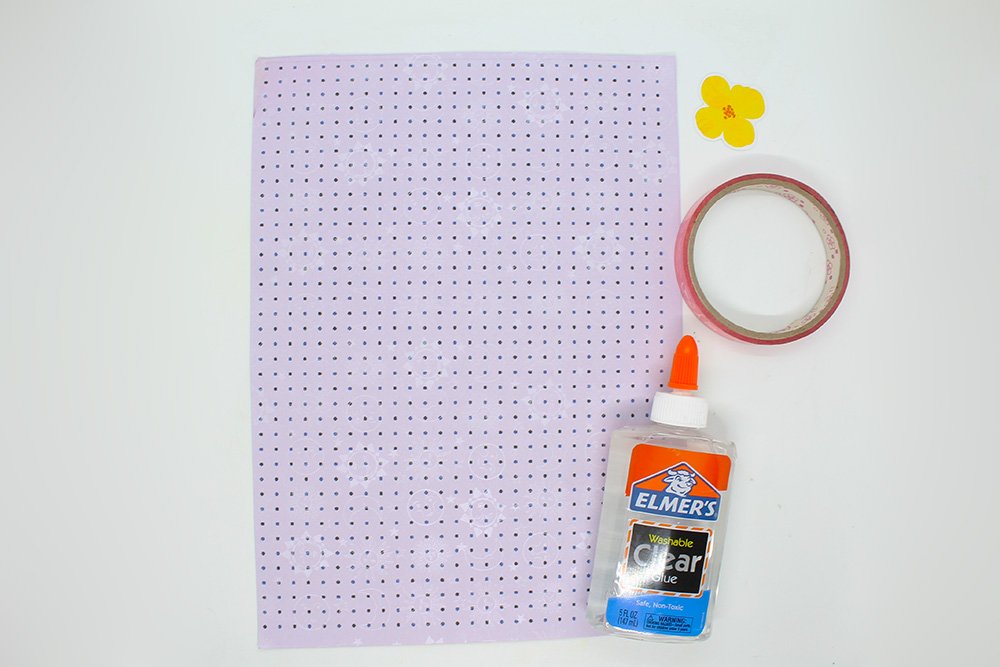
Tools
- Scissors (optional for cutting)
Supplies
- A4 paper
- Glue
- A ribbon or another decorative add-on
- Clear tape
Shape the paper Into a gift box
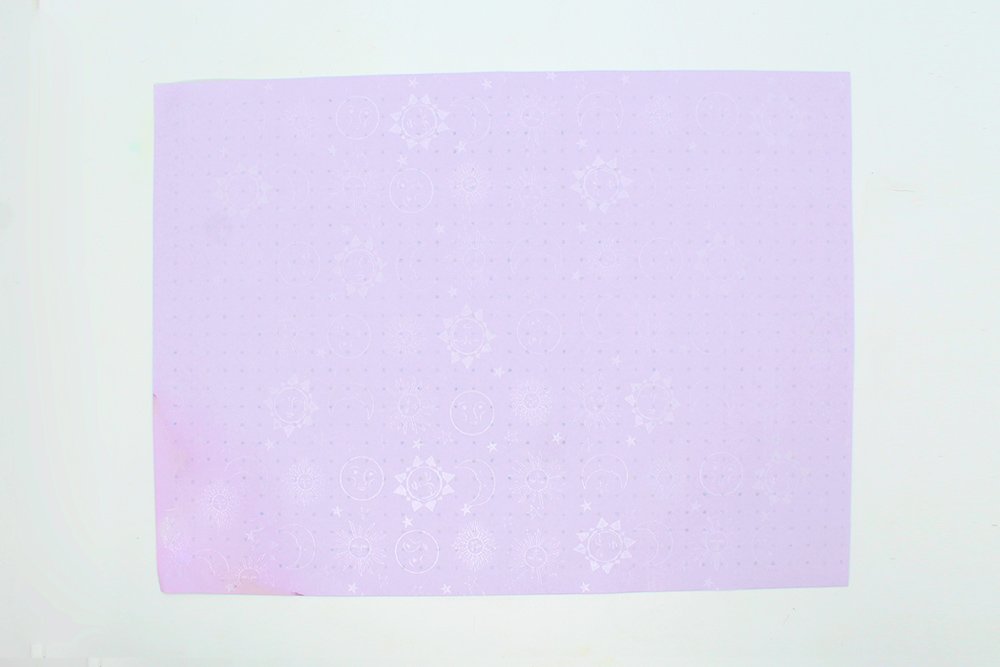
Lay a paper in front of you. A stiff paper is good as it would make a stronger gift bag. It doesn't have to be a white paper as there are construction papers of different colors.
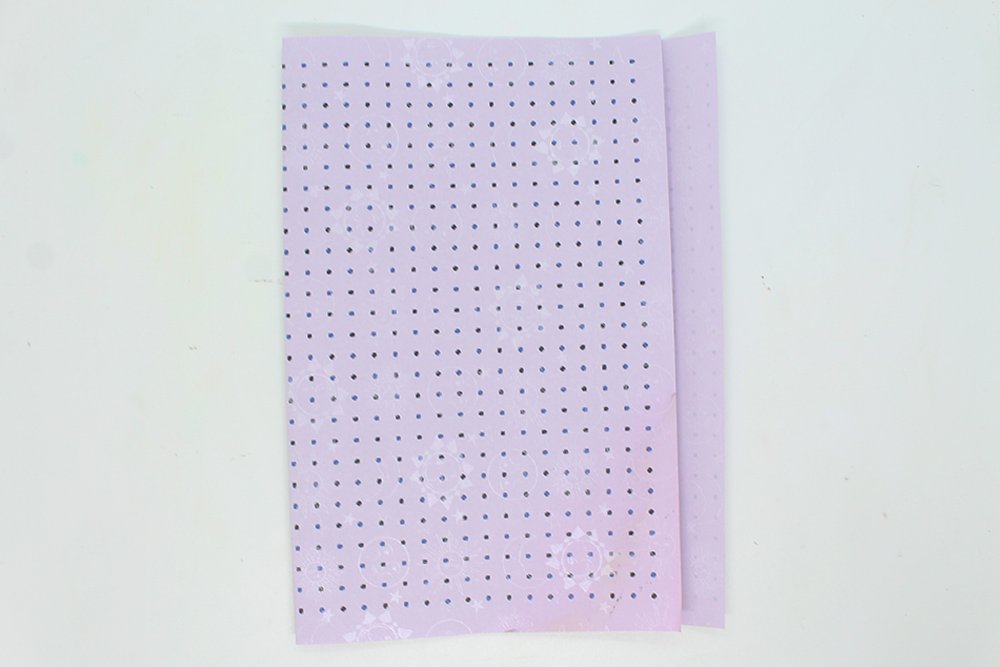
Fold the paper lengthwise to the left. Make sure that both sides are not exactly on top of each other. Leave a margin of about an inch, then crease the paper. This will be the adhesive part of the gift bag.
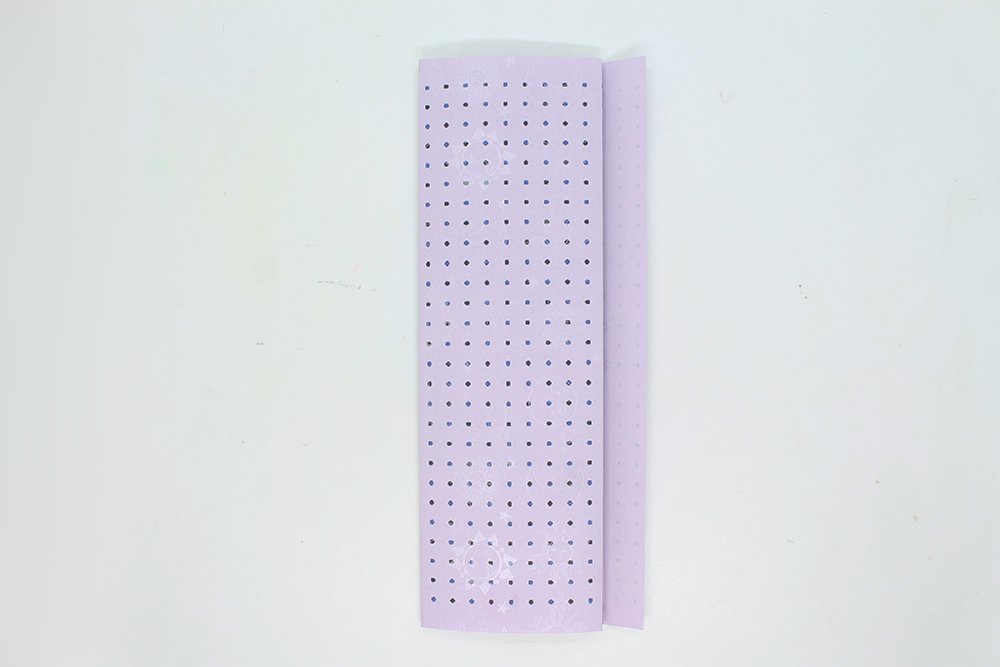
Fold the left side in half again. Do not fold it all the way through the adhesive part.
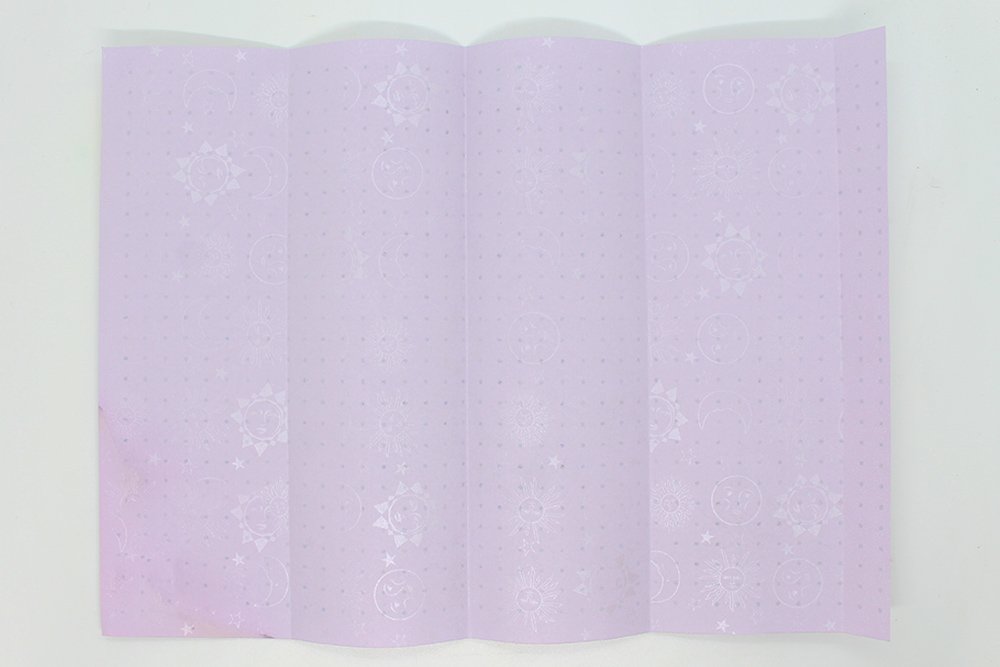
Unfold the paper. And you should have five rectangular sections (4 equal sized rectangles and one adhesive strip side). By doing the previous steps you have paved the way to make a rectangular tube.
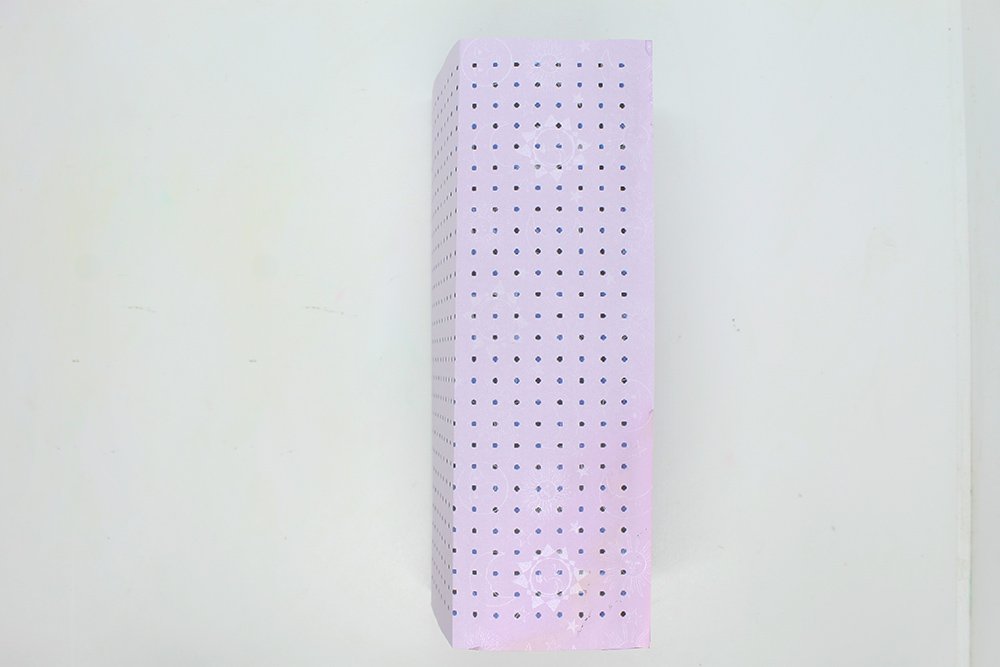
Form the paper into a rectangular tube. And use the adhesive space on the right side to secure the tube. You can do that by adding glue to that part of the paper, and wait for the glue to dry after.
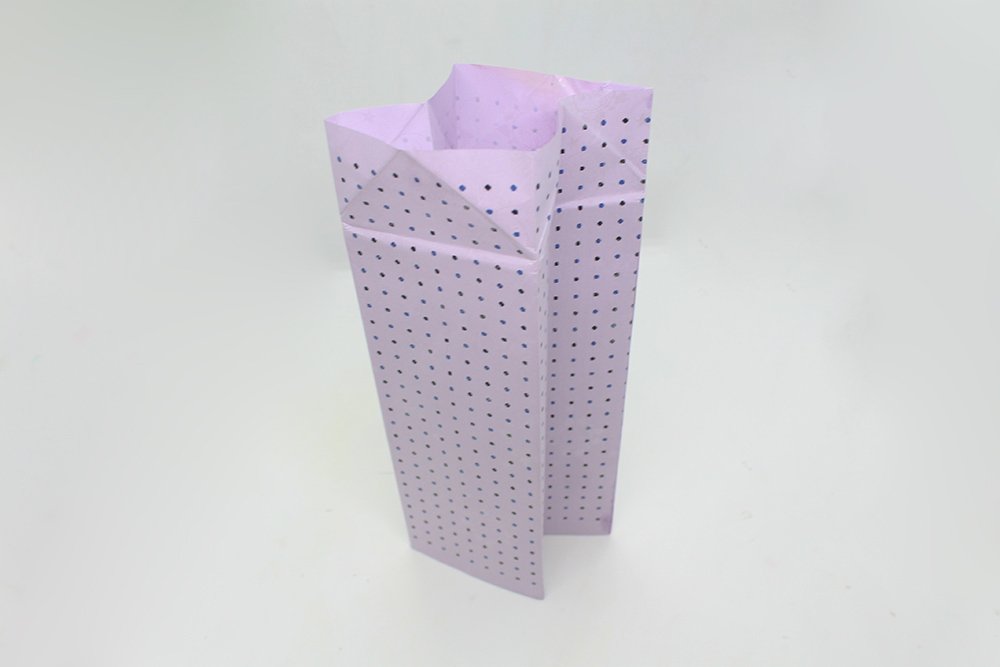
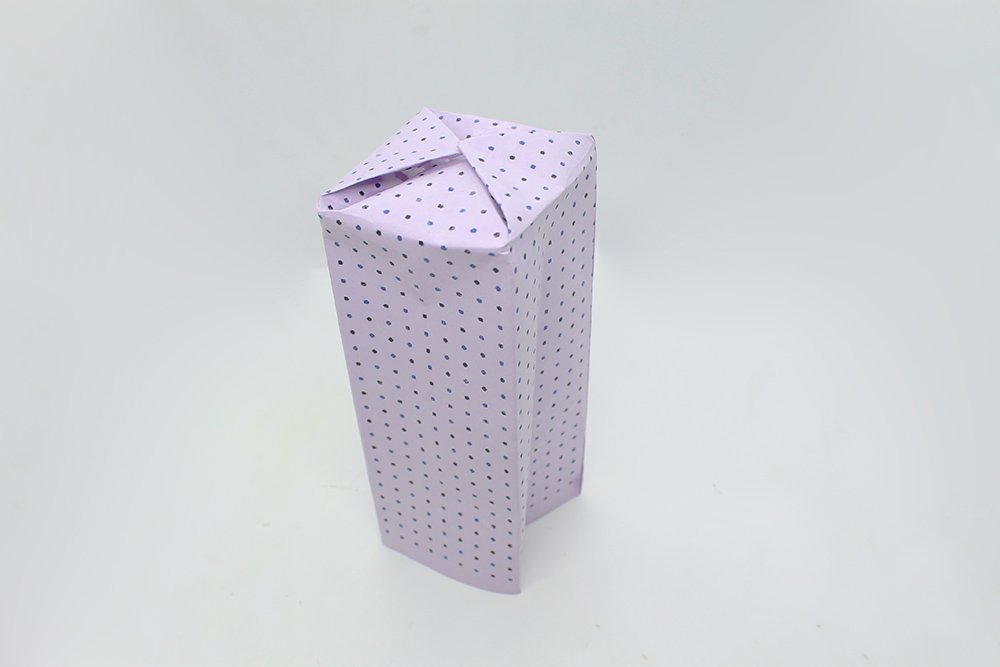
After waiting for a minute or so, let the paper stand on its own. It's easier to do this before doing the next fold.
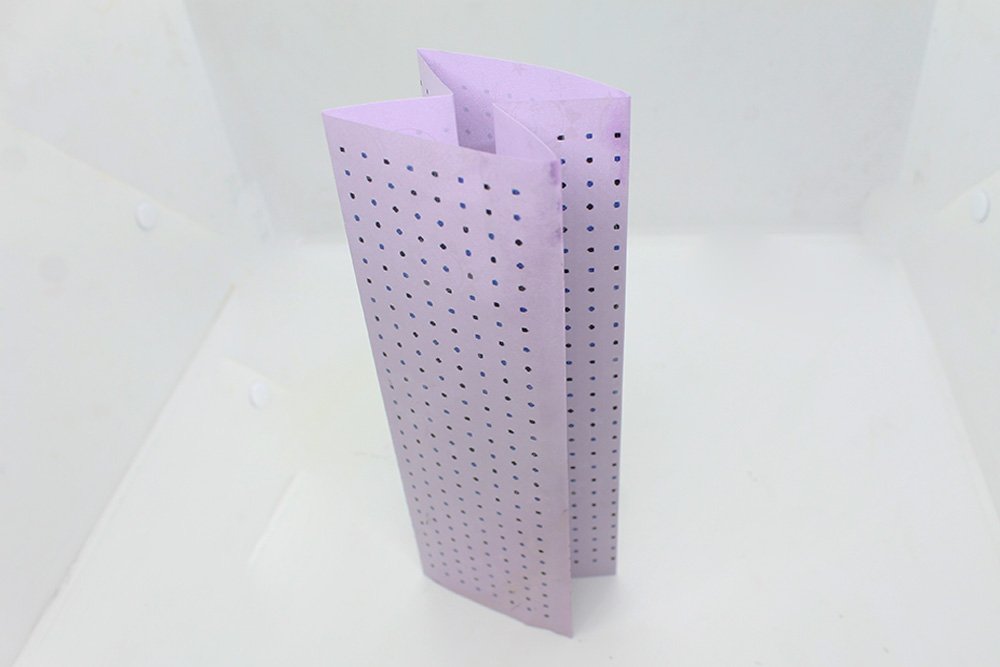
Then compress the left and right sides of the paper tube. Flatten it so your paper tube will look like the image above. Great job! Your paper tube will turn into a paper gift bag in no time.
Make some creases to make the bottom part of the gift bag

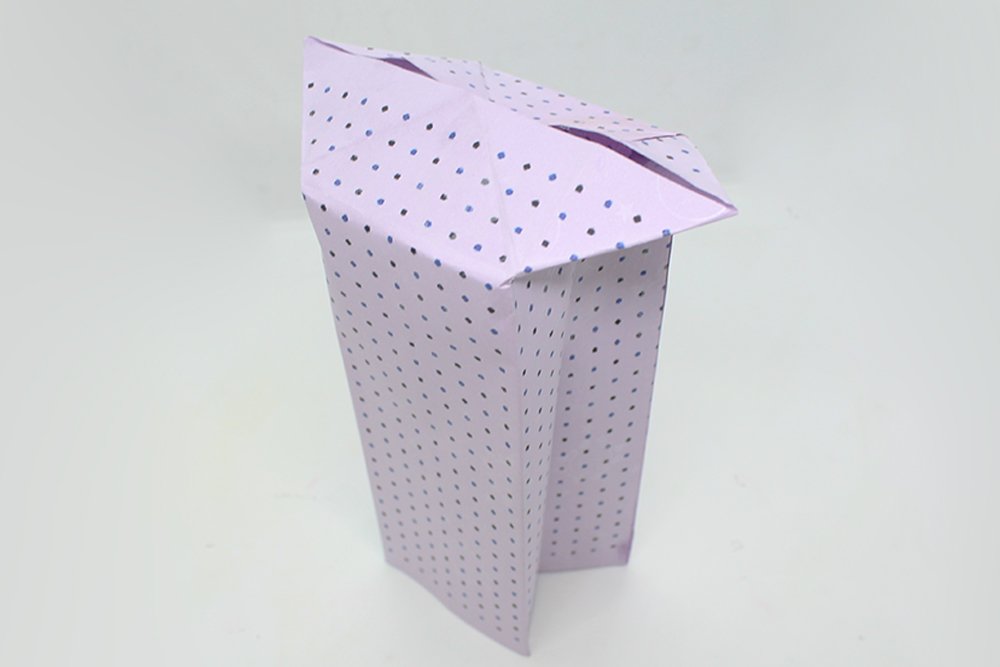
In this part we are going to make some folds that will enable us to make the bag's bottom part. This is a lengthy process so we divided the step into two parts. Lay the paper tube flat on the table first.
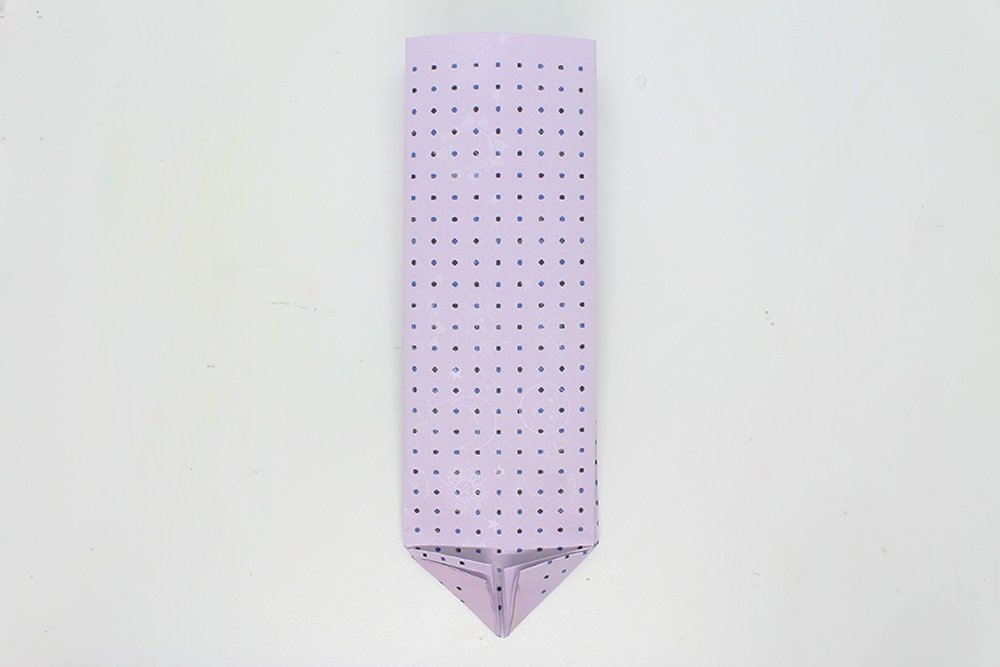
Fold the right and left bottom corners to the middle.
Fold the bottom tip up and crease the fold of the tip well.
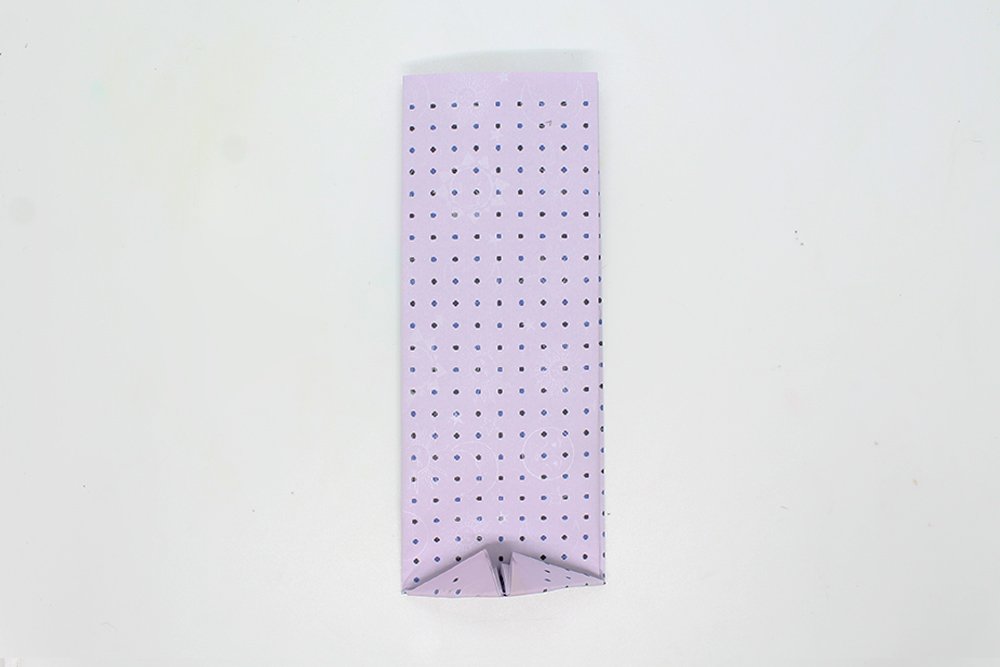
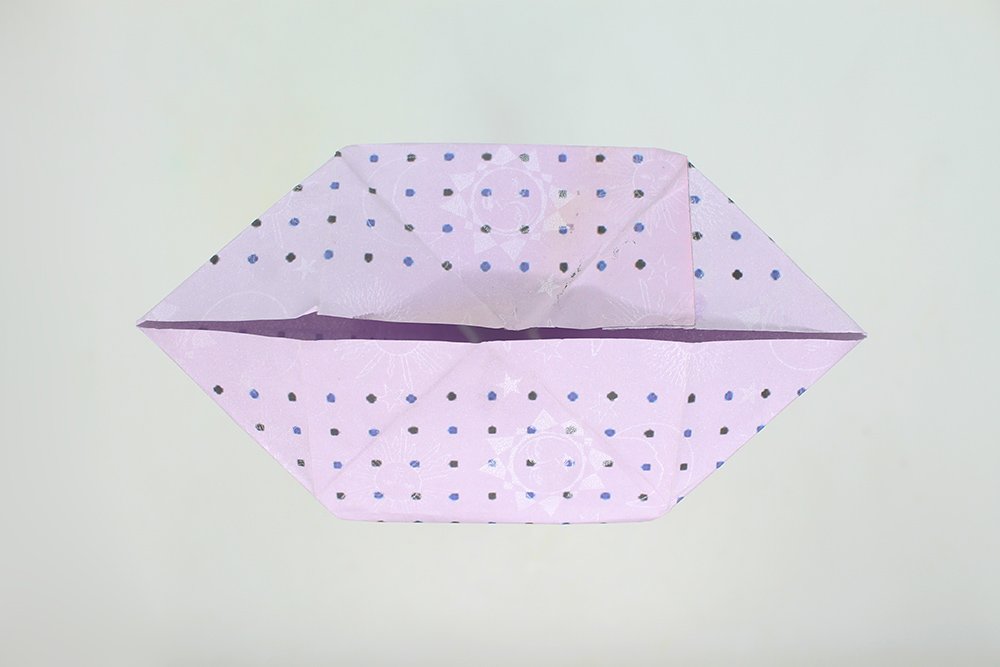
After you creased the folds well, so that they are clearly visible, unfold the paper plate bag.
Then flip the paper over and work the creases on that side as well. That is, you must then fold the bottom corners to the middle. Then to the top.

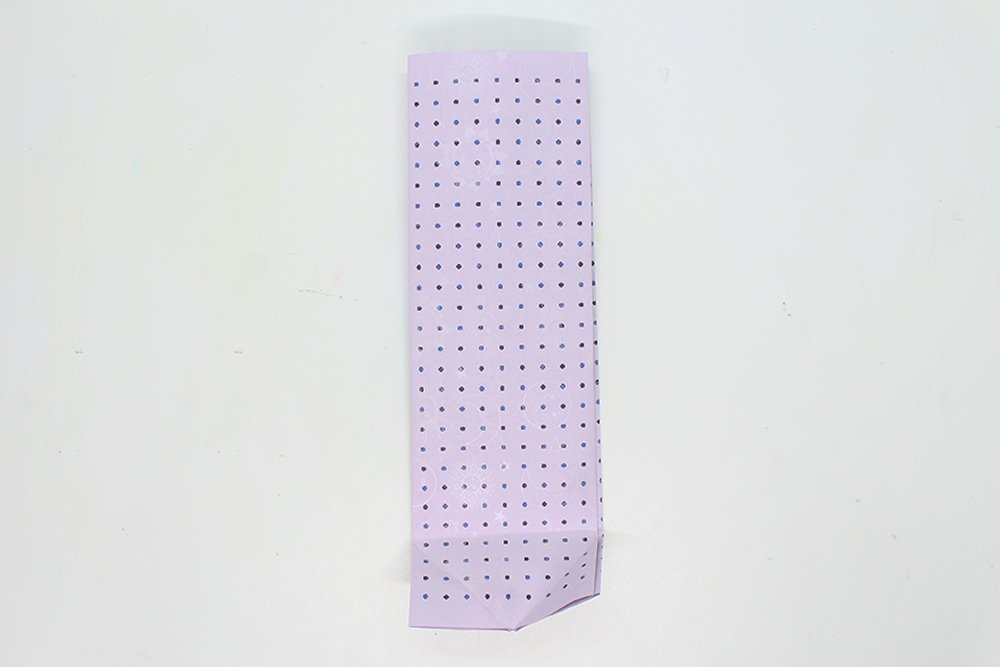
And then finish by unfolding the paper.
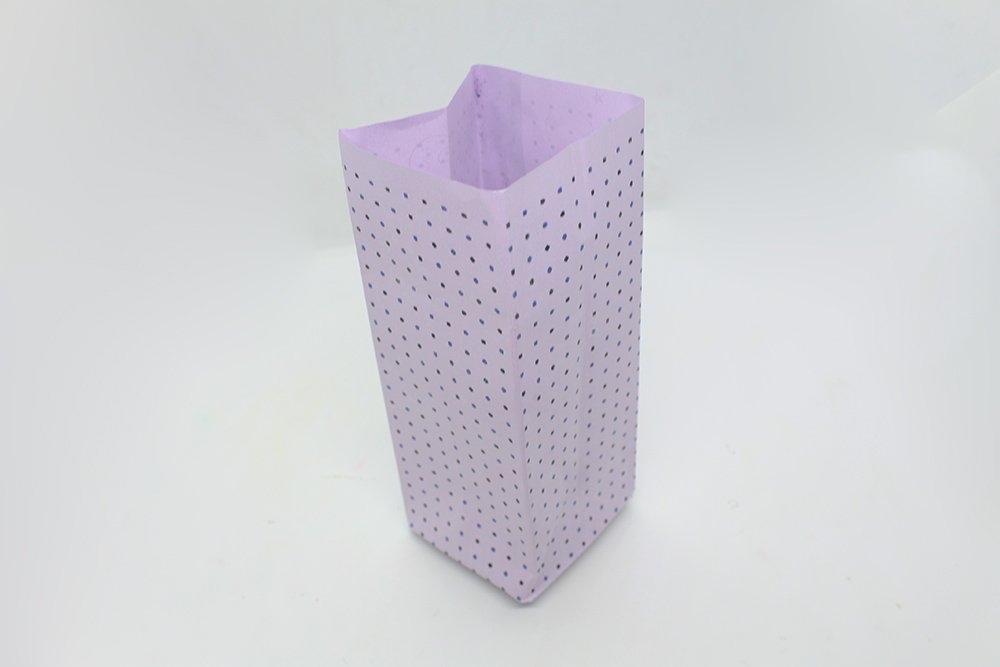
Secure the Bottom Base
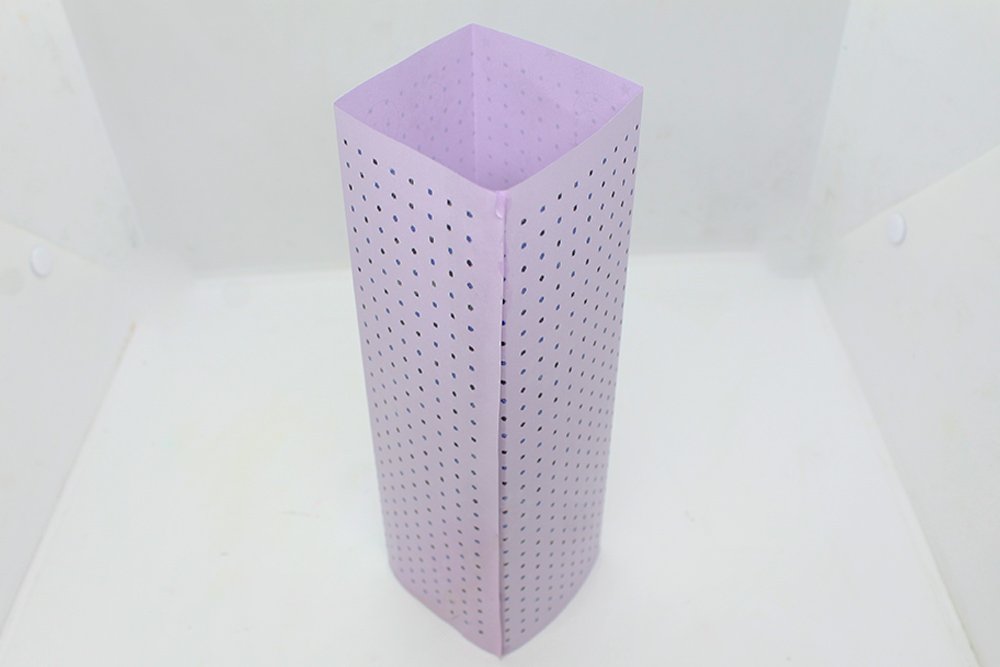
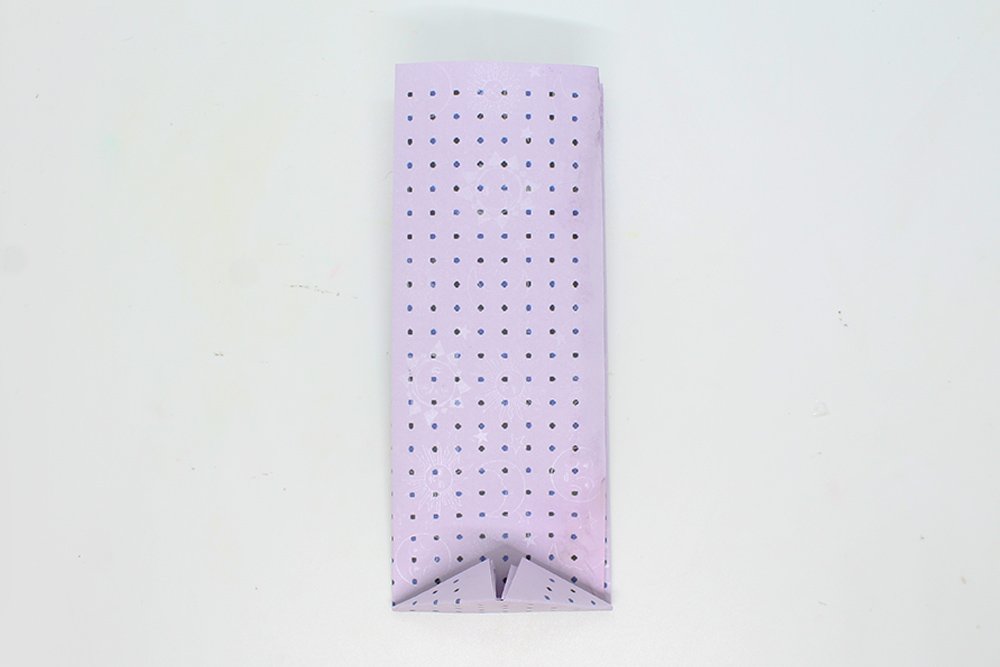
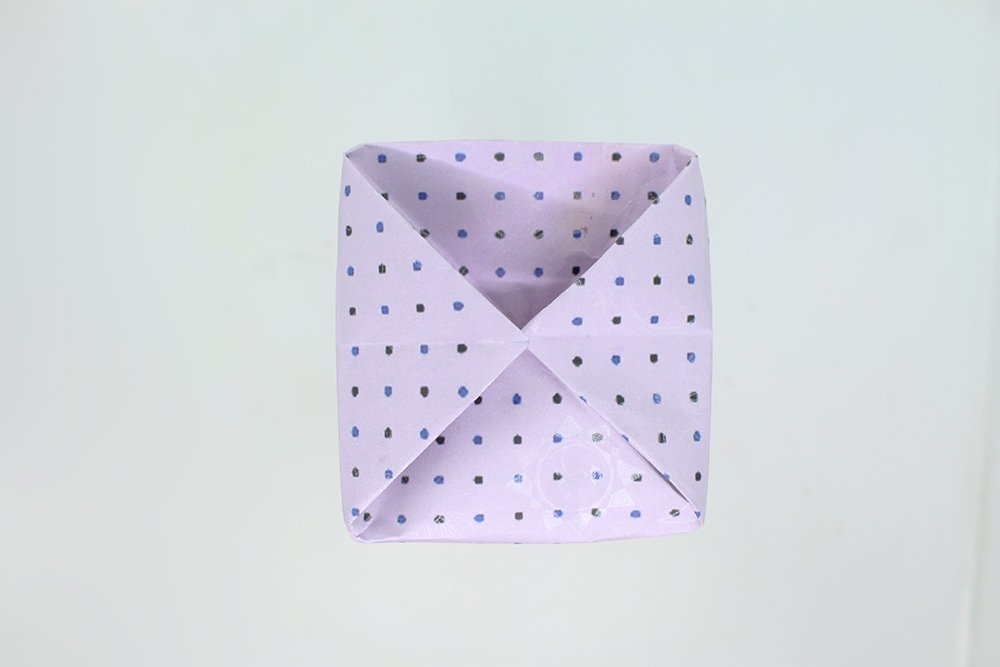
This step will focus on creating the bottom base. The first thing that you got to do is open up the paper and make it stand upright. The part of the paper that we did the previous folds should be closest to the ceiling.
Pull the middle point of both sides to turn into something like the image above. Because of the previous crease marks, the paper will naturally form into the shape you want.
This is what the paper should be like in aerial. Take note of the left and right points.
Now, fold the left and right points towards the middle. Be gentle so as not to damage the paper bag. Also, secure the bottom by applying glue to the flaps.
Hooray! The bag's bottom is secured and ready to carry some weight. There's still a little work to be done, but you are close to finishing the bag.
Make the opening flap of the DIY origami bag
For this final step, the goal is to create a flap that will open and close. Flip the bottom side over the paper bag, as shown in the image above.
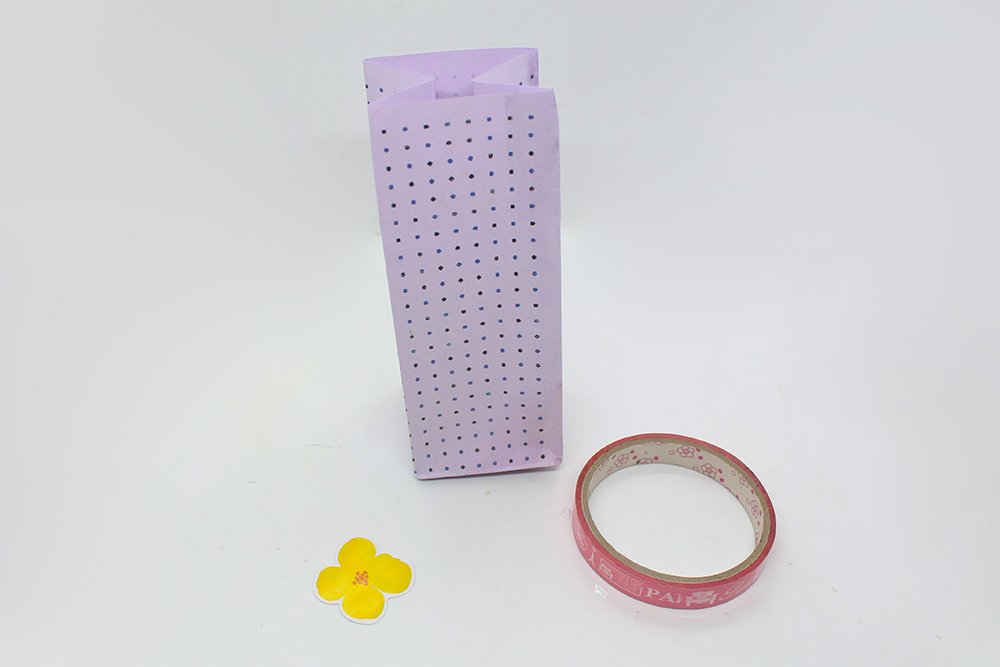
You could create the flap however you want. Roll it or fold the flap downwards. Try to brainstorm some ideas you could implement in this craft.
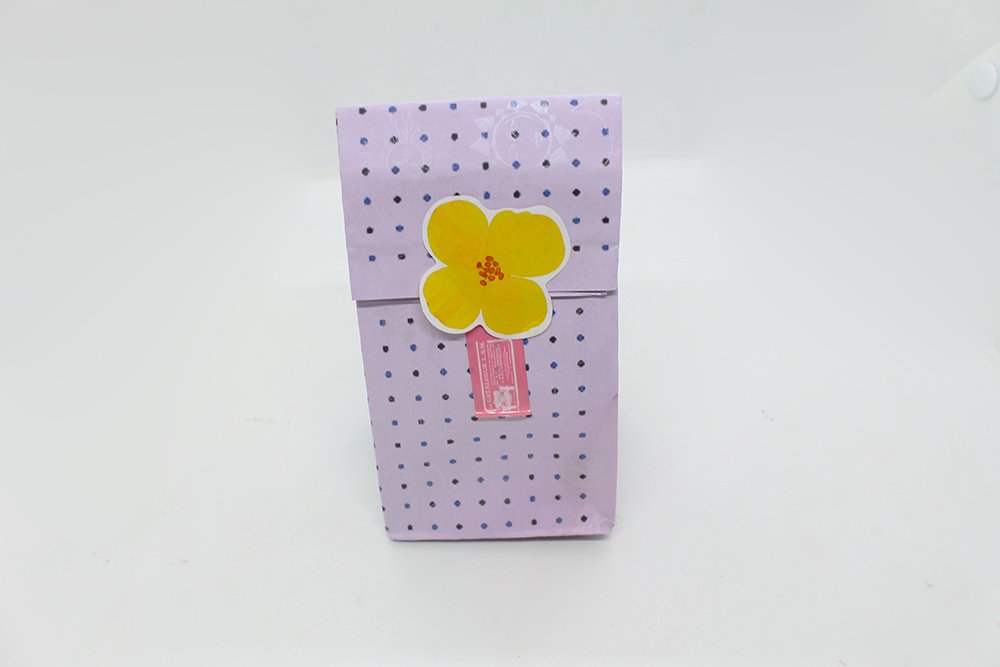
Seal the flap with glue or any adhesive you have. Be creative! A washi tape and a decorative flower sticker were used for this example..
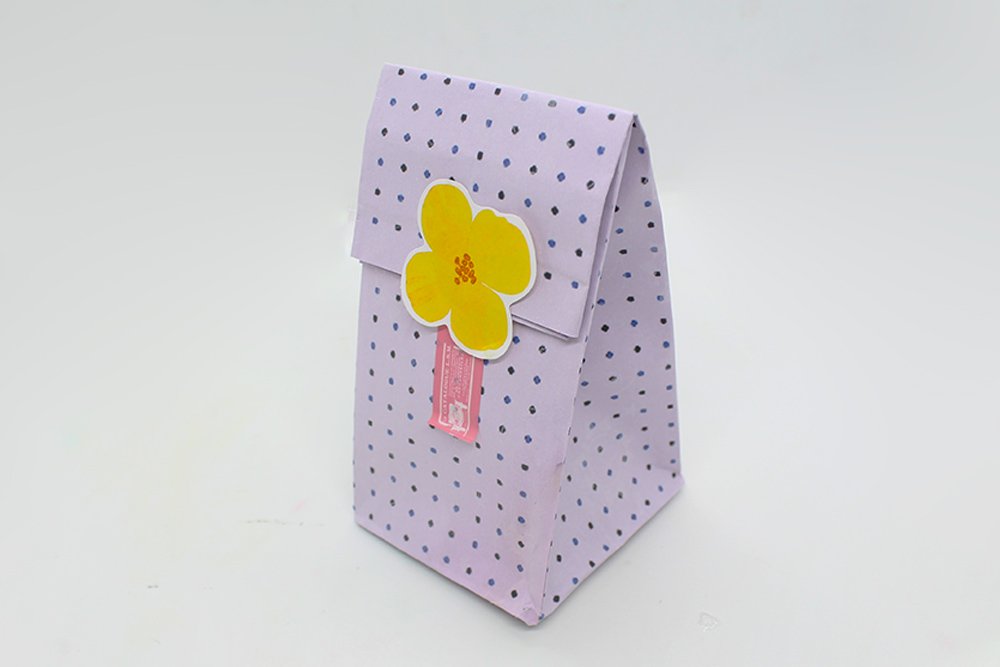
The paper gift bag is done! We hope you had fun making this craft. Remember that we have plenty of fun tutorials on crafts for kids, so be sure to check them out!
Extra Tips
- There's a lot of decorative materials that you could incorporate in this craft. So be creative, and let your ideas shine forth!
- You could place a rectangular cardboard inside the gift bag before placing your gifts.
- Another great addition is to make a short, and sweet letter to the receiver. Whoever gets your gift bag will surely have their heart warmed by your thoughtfulness.


Nice bag guide – thankkss
had a bit of trouble following through, or is it just me? I made a paper gift bag successfully though so 🙂
I wish I made something like this for mom. Gosh I miss her so much. Will make this gift bag instead to my siblings and girlfriend
Nice guide. i already made something like this before but i needed a refresher
hehe me tto!
nice paper gift bag!