How to Make Mason Jar Lanterns in 4 Steps – DIY Tutorial

Introduction:
One of the best ways to make a DIY Lantern is from a jar. Simply because it is the best way to attractively set up tea lights without looking at a glowing aluminum shell all the time. This lantern is intended to be used indoors.
If you want it as a decoration outside, then it’s best to use stronger adhesive glue that is waterproof. That way the lantern is a lot more durable to withstand the harsh winds and rain when placed outdoors.
In this guide, we’ll take you through each step so that you could quickly and easily make your mason jar DIY lantern.
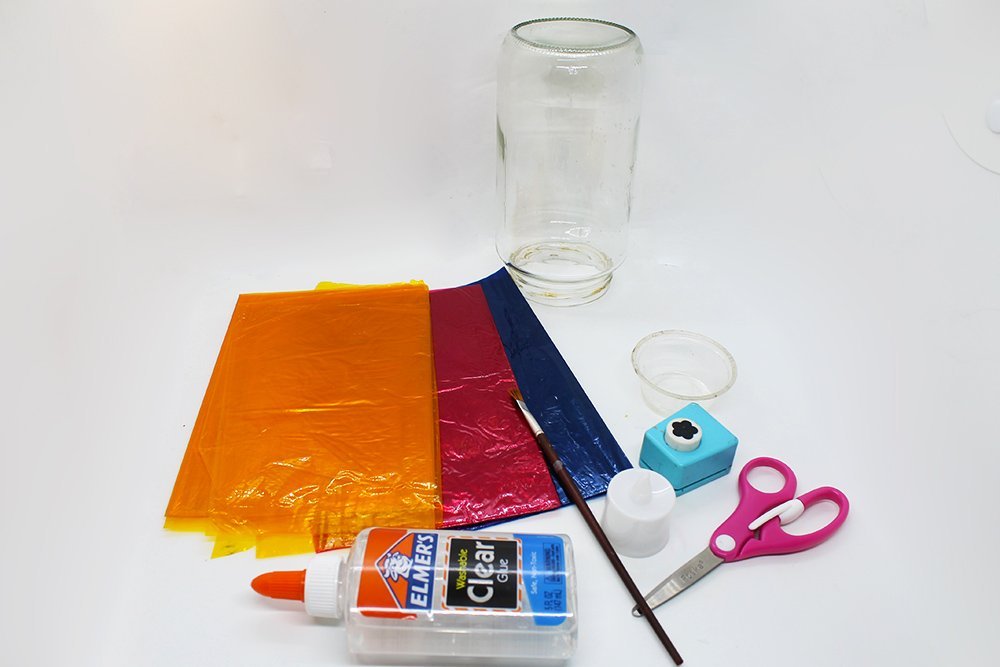
Tools
- Small cup
- Electric candle
- Brush
- Scissors
- Flower-shaped puncher
Supplies
- Jar
- Cellophane paper (orange, pink, and blue)
- Clear glue
Make Cutouts for the Mason Jar
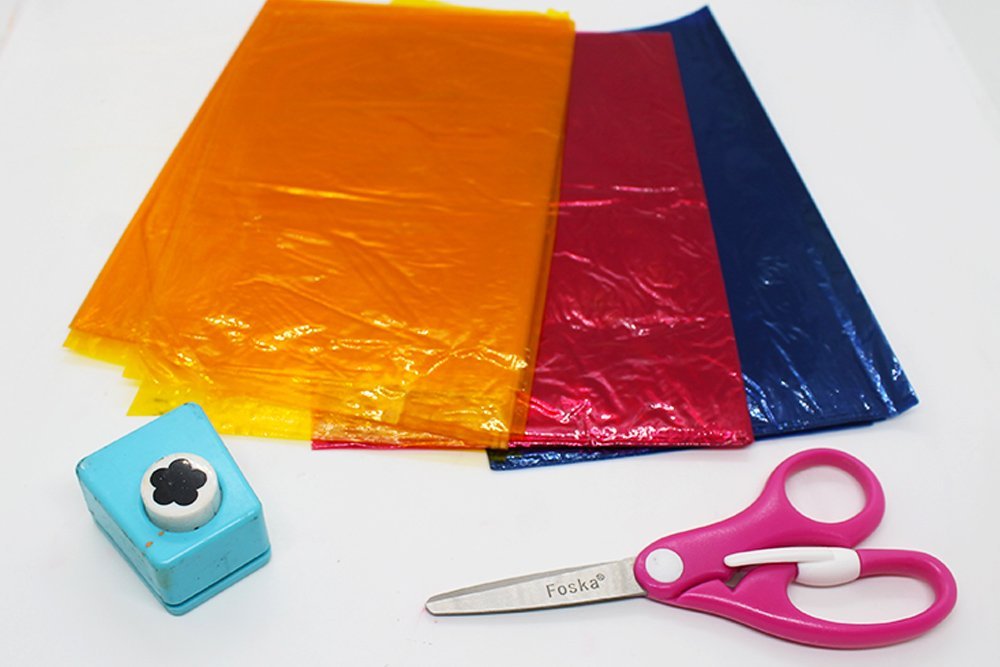
The first step is to gather all the things you need to make shapes. This would be the scissors, flower-shaped punch hole, and your three sheets of cellophane paper. It's important to know that you could choose the colors you want, and the shapes that you like.
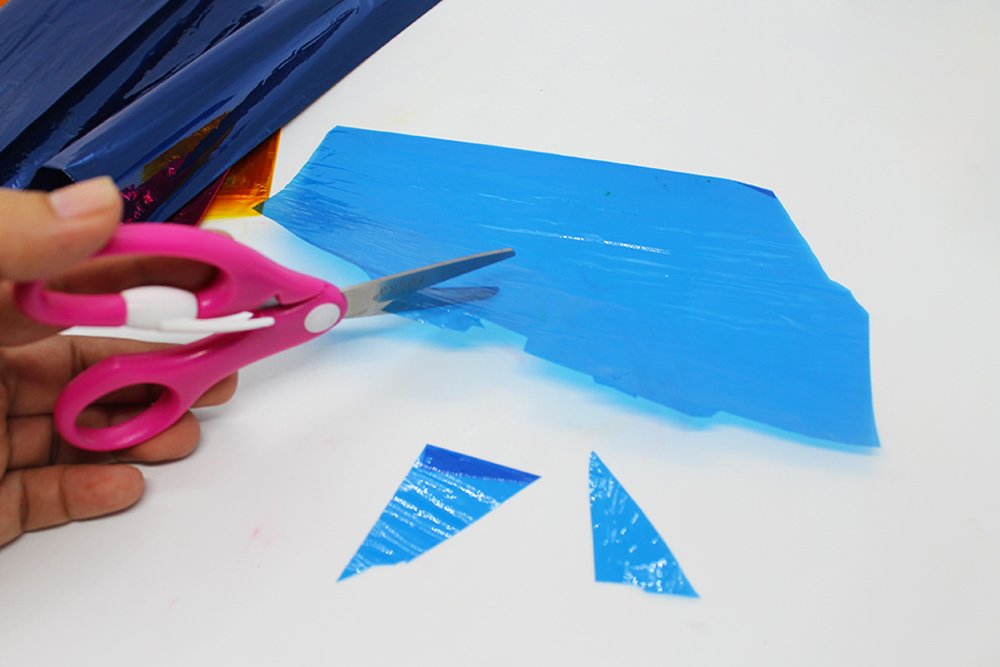
There are three options on how you could cut your shapes. And you could use all three to make the decoration. The first option is to get your scissors and start making some random shapes!
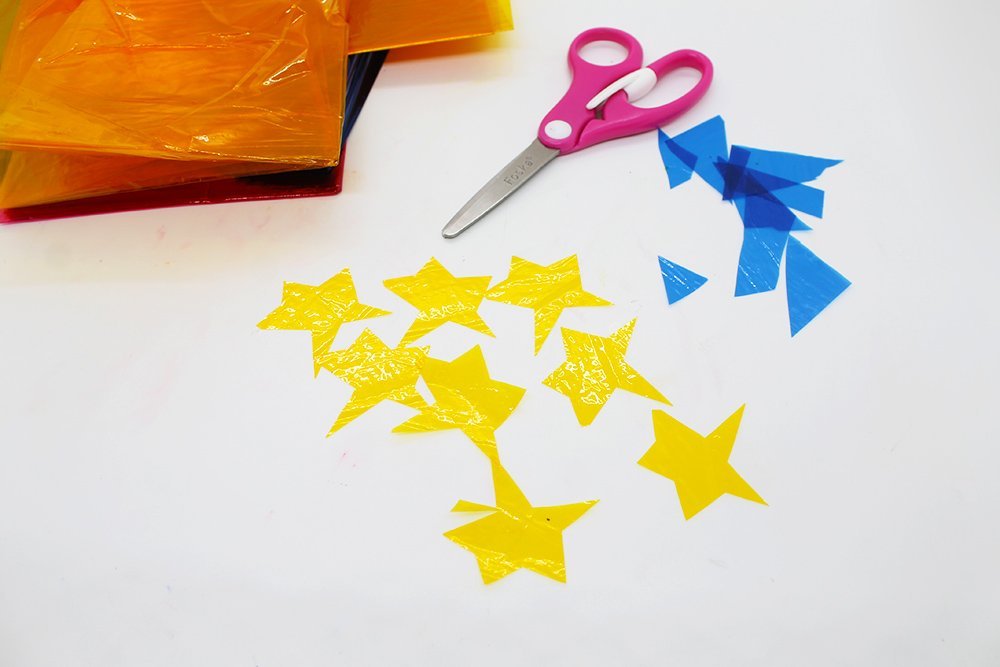
The second option is to use your scissors to make identical shapes this time. Cut stars out of the yellow cellophane paper.
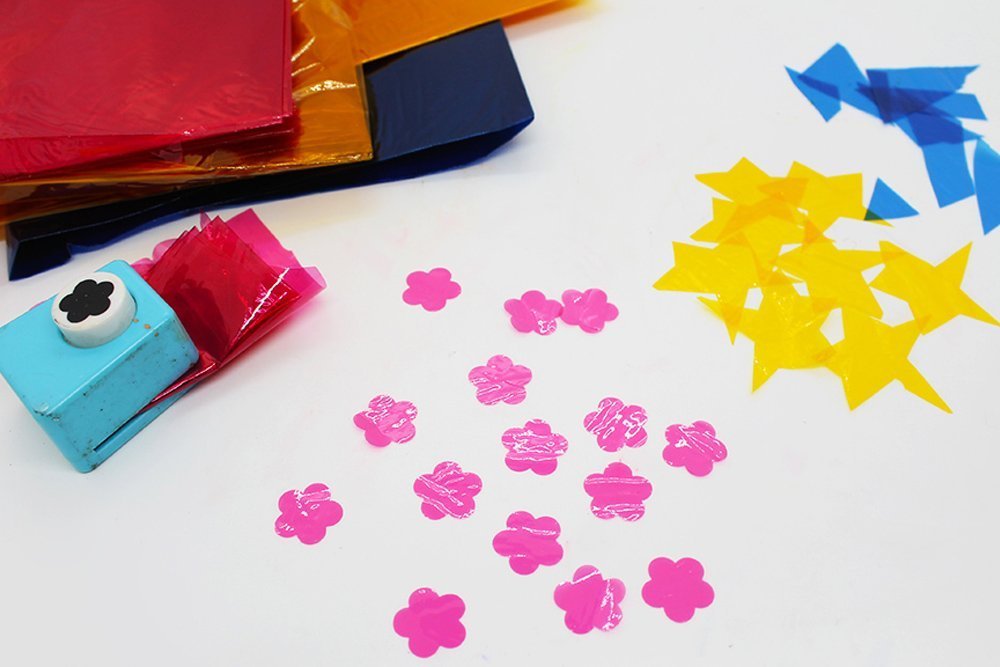
To end the first part of our craft, get your craft puncher. This method is the easiest, and quickest. Make around fifteen flower shapes. Great job, you're now ready to proceed into the next step.
Note that you don't have to create the same shapes or colors. In this guide, we made use of pink, yellow, and blue paper to make three types of shapes. For example, you could three different craft punchers for your mason jar.
Prepare the Adhesive and Surface
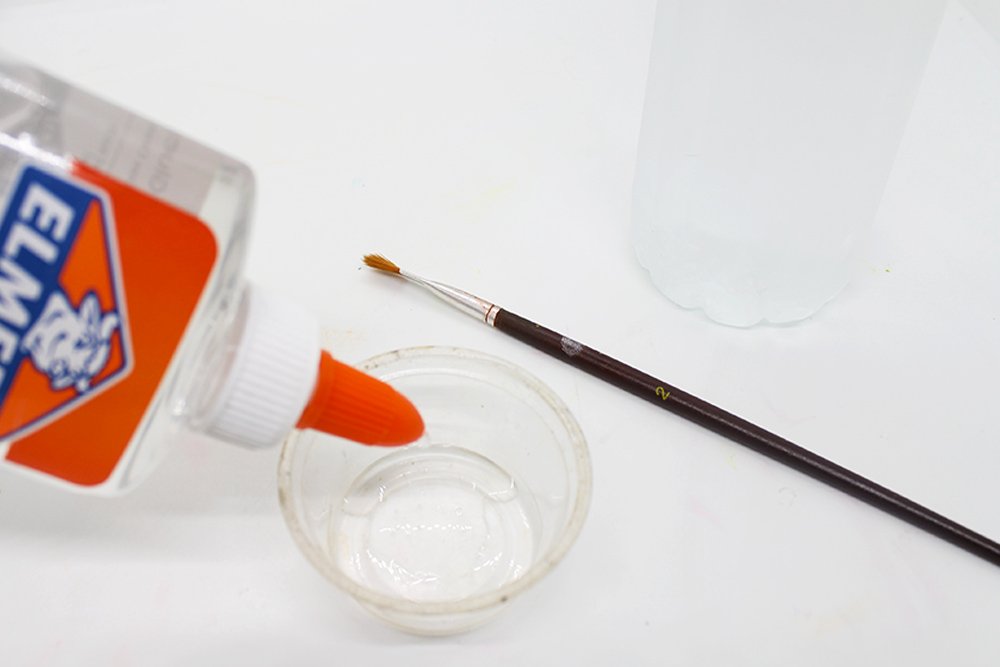
For this step, you will be preparing the mixture that will be used to attach the shapes you made to the jar. Start by pouring clear glue to the cup.

Then add an equal amount of water because it's better this way. Not too much nor too little though. But just enough for the mixture to be easy to apply while being strong at the same time.
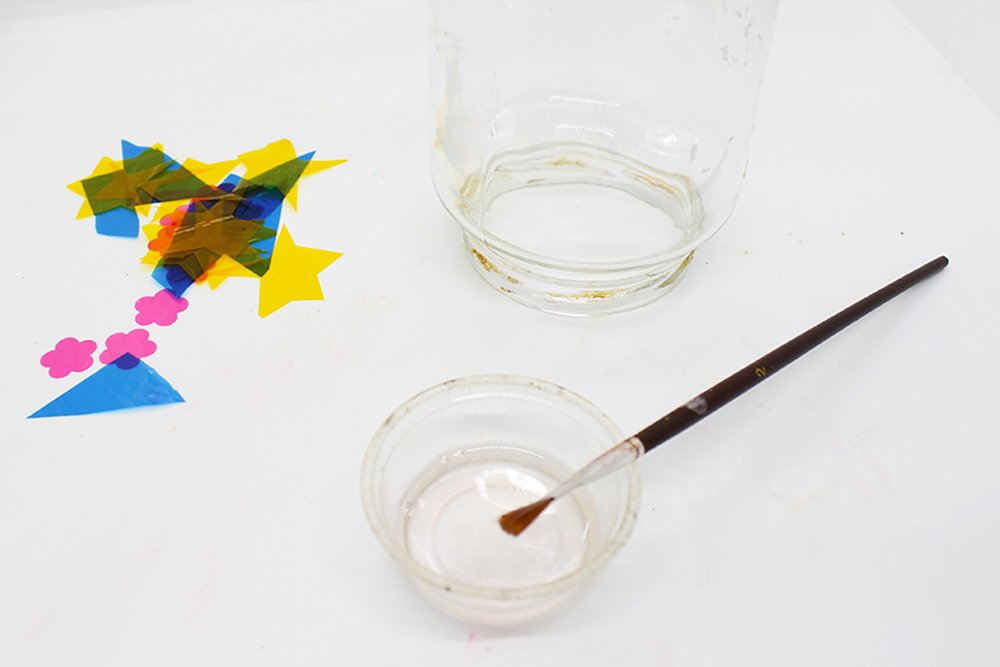
Dip the brush onto the cup. Don't be afraid of getting too much glue on your brush. When applying the glue be generous and make sure to cover all areas.
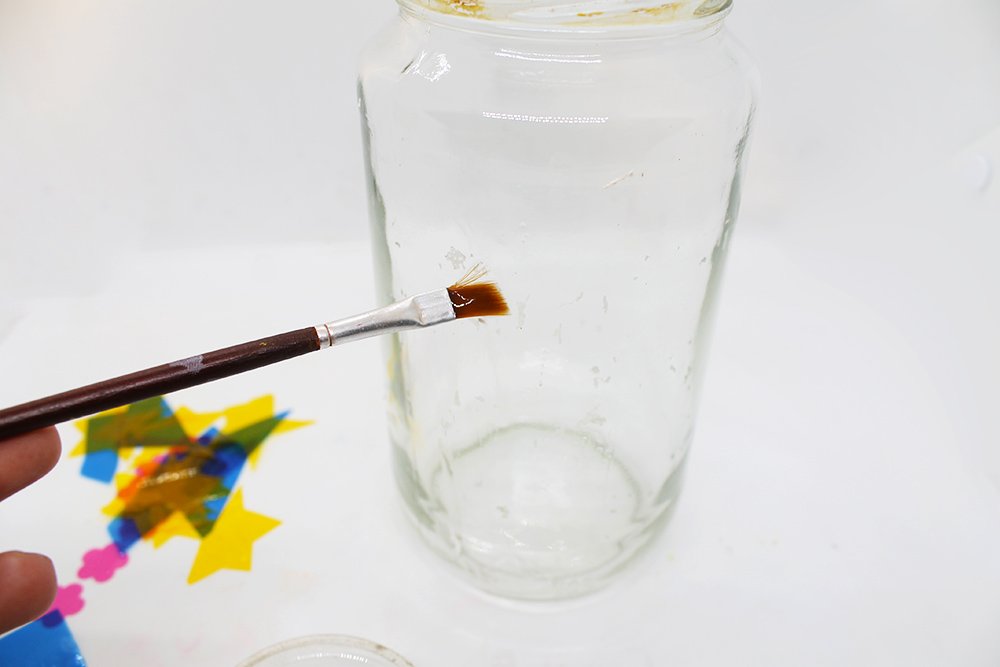
And coat the mason jar with glue. It's advised to stroke in an up and down motion. You could go fast but make sure to cover all the surface.
Good job in putting the glue mixture all over the jar. Now it's time to move on to the next step: pasting the cutouts.
Design the Mason Jar Lantern
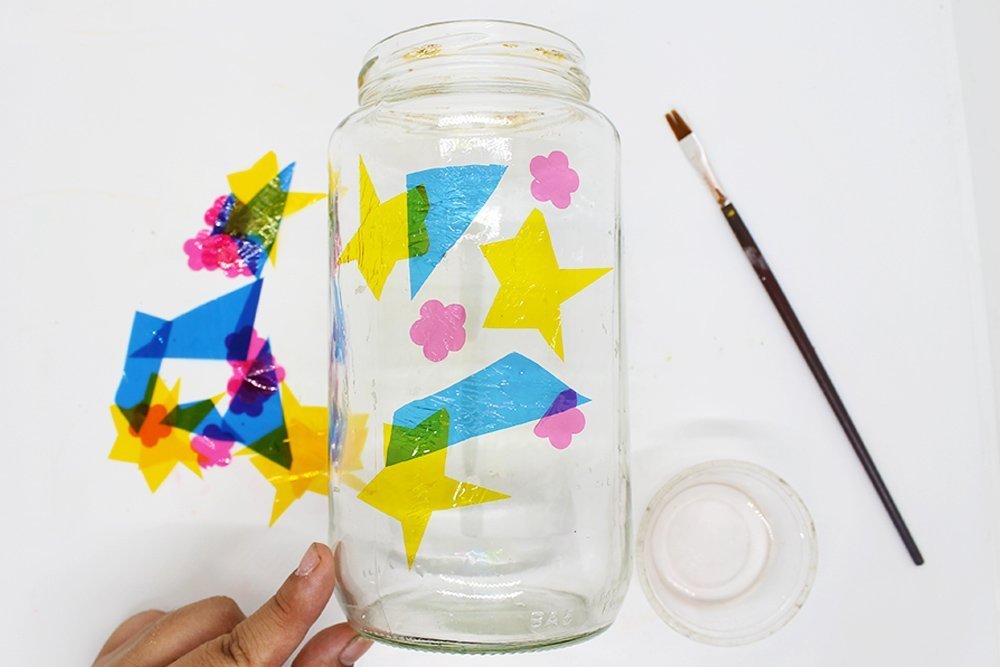
Take a pause and decide how you want your shapes to be arranged. You can go about randomly or follow a pattern. It depends on you. But remember to have fun in this part! Start putting some shapes into the glass container.
Continue adding more shapes until most of the jar is covered by cellophane paper. Don't be afraid to get your hands messy.
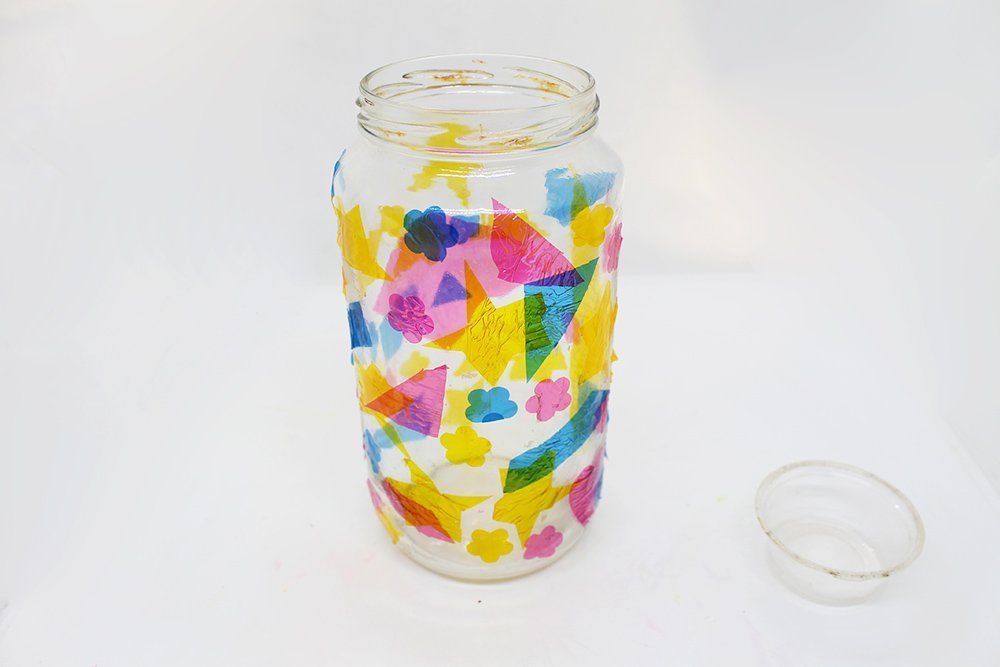
Dip the brush again into the cup again. And start applying the adhesive to the jar and paper. This way you could overlap some shapes over the cutouts if you want
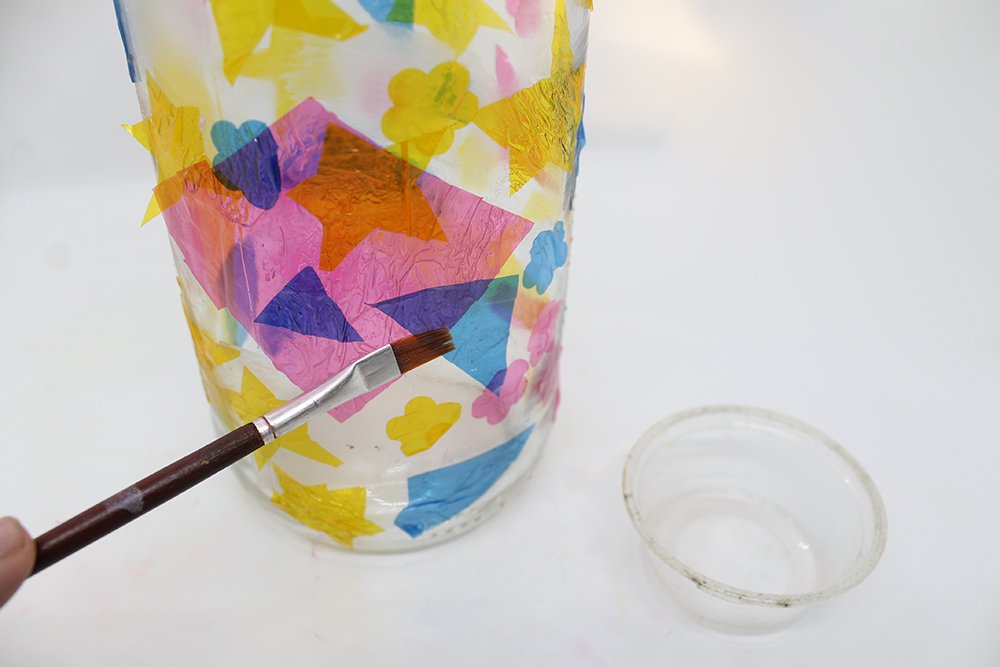
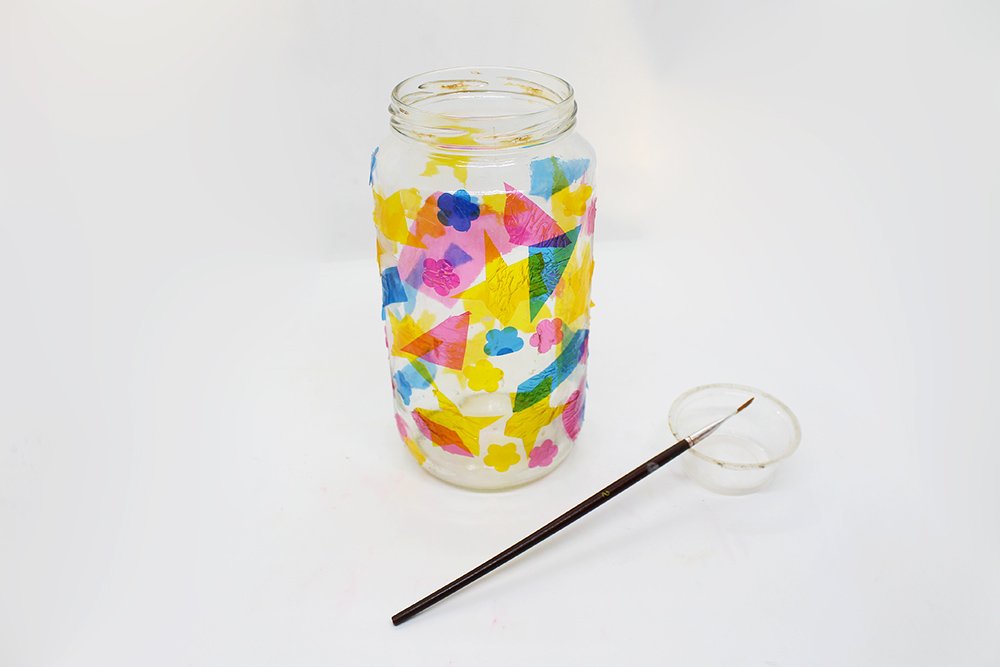
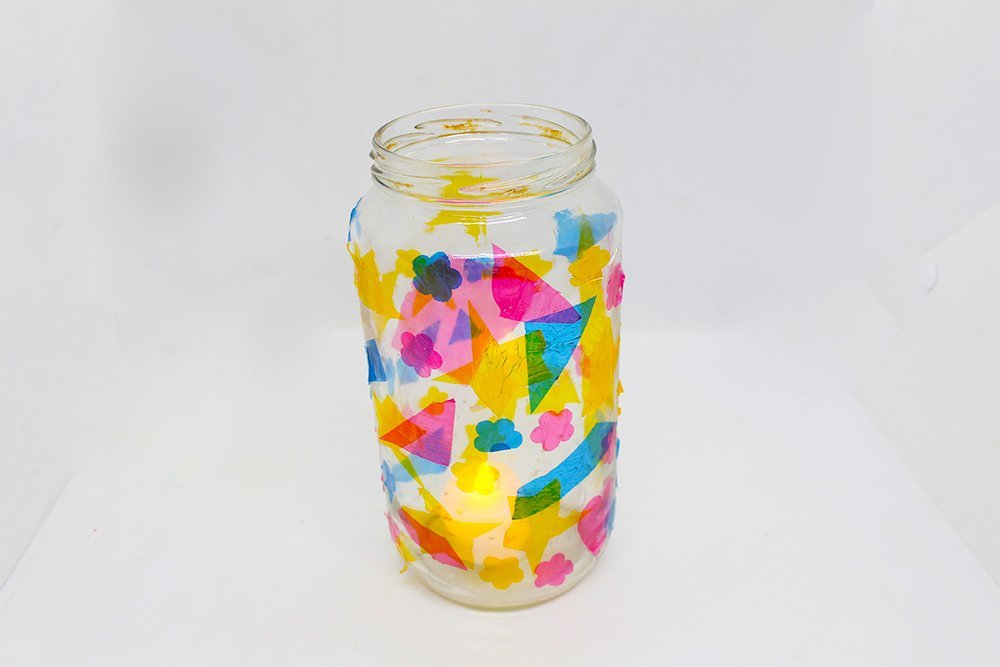
Seal the paper in place on the glass's surface by applying the mixture again. That's it for the design part - good job! Now head over to the last step of this tutorial.
Add the Candle to the Jar
You've made it this far and it's a breeze from here on out. Speaking of breeze, in this guide an electric candle was chosen. So wind is no problem.
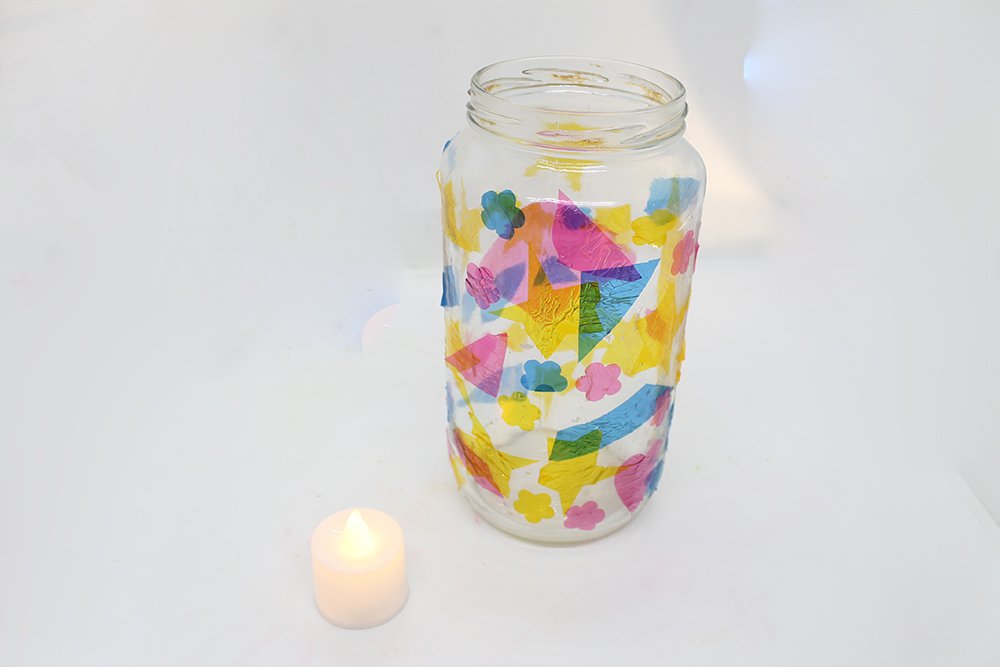
Put the candle beneath the jar, and there you have it, a mason jar lantern made at home.
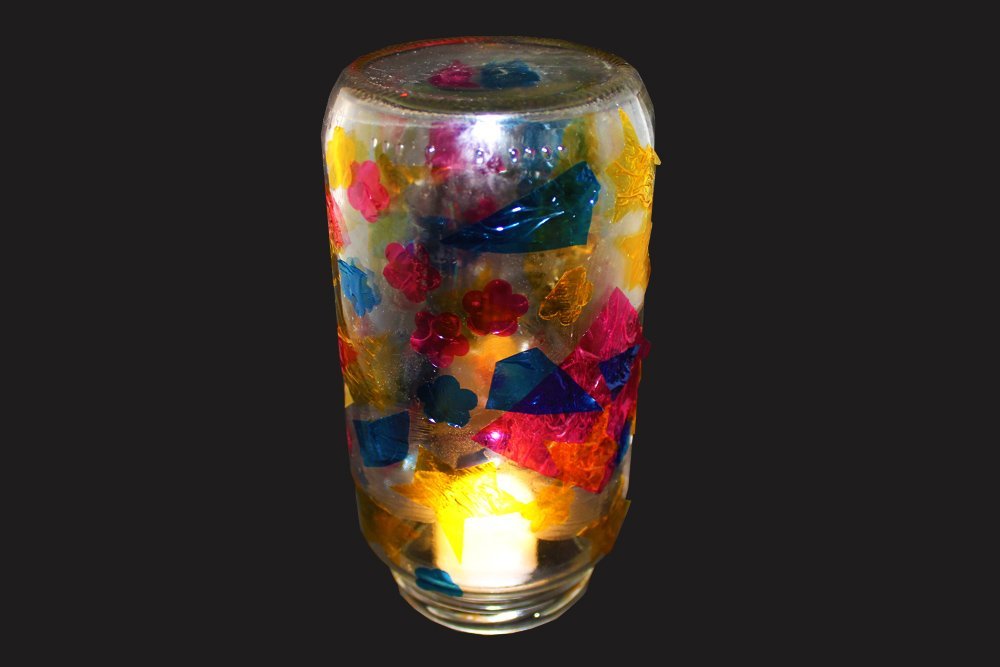
Congratulations! This lantern looks cool in the dark, does it? You could also use a trading candle but you'll need a shallow candle holder plus a suitable lighter. And the candle has to be in the jar with the open side of the jar facing towards the ceiling.
Don't forget to check out some of our awesome guides about crafts for kids. We have plenty of fun activities for you.
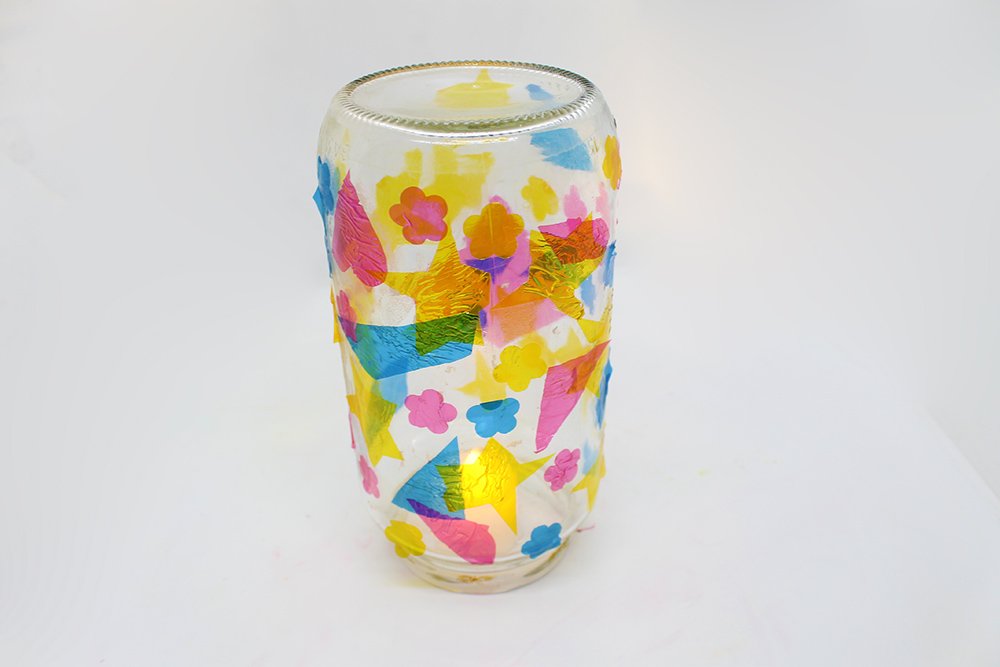
You could also place and use the jar in this position. Fairy lights are also an option.
Extra Tips
- There are many shapes, and color combinations you could choose from. If you plan to buy some cellophane paper for this activity try to think in advance what you want,
- If you can't find an electric candle a regular tea candle will do just fine.
- If you are wondering about those punchers that make shapes, you could look them up on Amazon. They are called craft punches and they come in different forms, and sizes.


Made three of these for the nights I just want to unwind in my bathtub. Good guide so thanks!
OMG so nice!!
I like this guide👍
didn’t expect it would look so good in the dark
Woahhh, awesome tutorial guys – keep it up