Easy Paper Plate Monkey Toy with Free Printable

Introduction:
Create a paper plate monkey that you can color on your own. If you or your kids are looking for a craft and coloring activity, then this project might be the one you’re looking. It’s hard to cut out a monkey from scratch, which is why we made it easier with the help of our free-to-color printable.
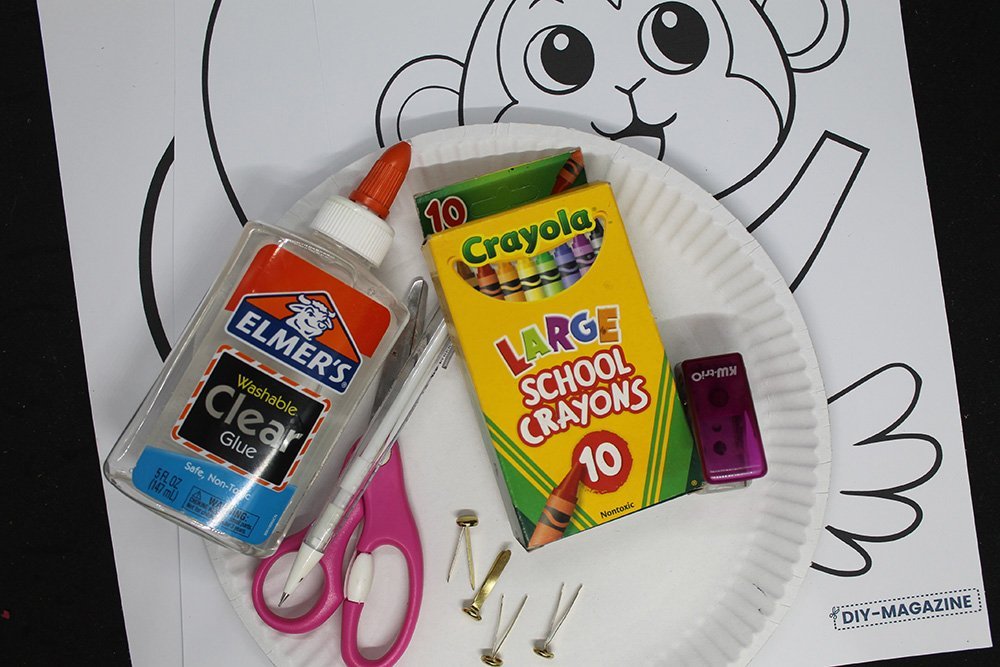
Tools
- Scissors
- Black marker
- Puncher
- Crayons or your choice of coloring materials
- Pencil
Supplies
- Paper Plate
- Glue
- 4 pieces split pin/split rivet
- Printable (Click Download button below)
Download Area
Download TemplateMake the body of the monkey using paper plates
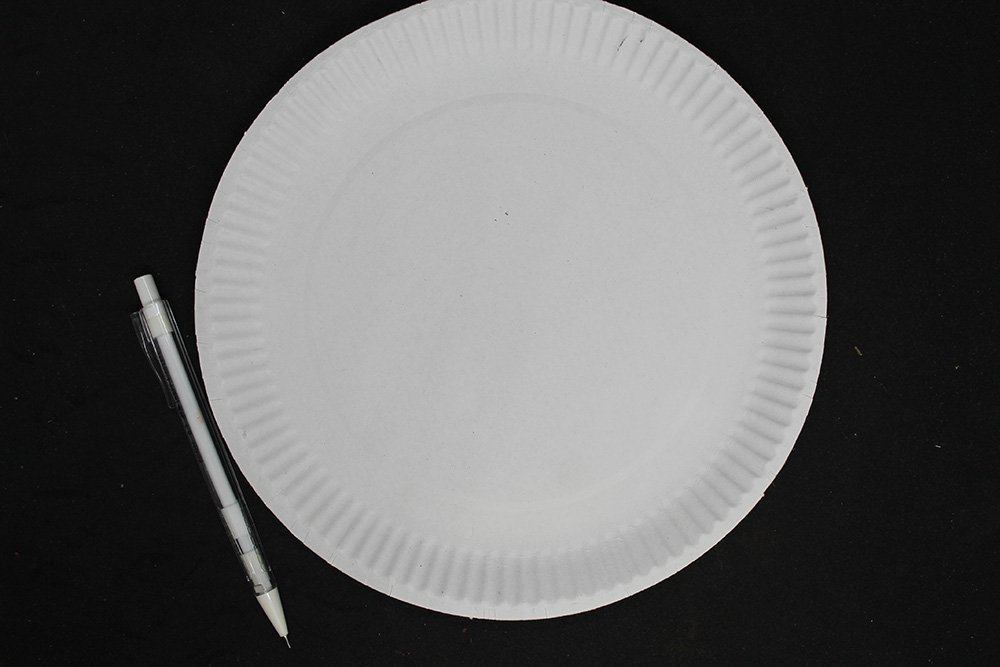
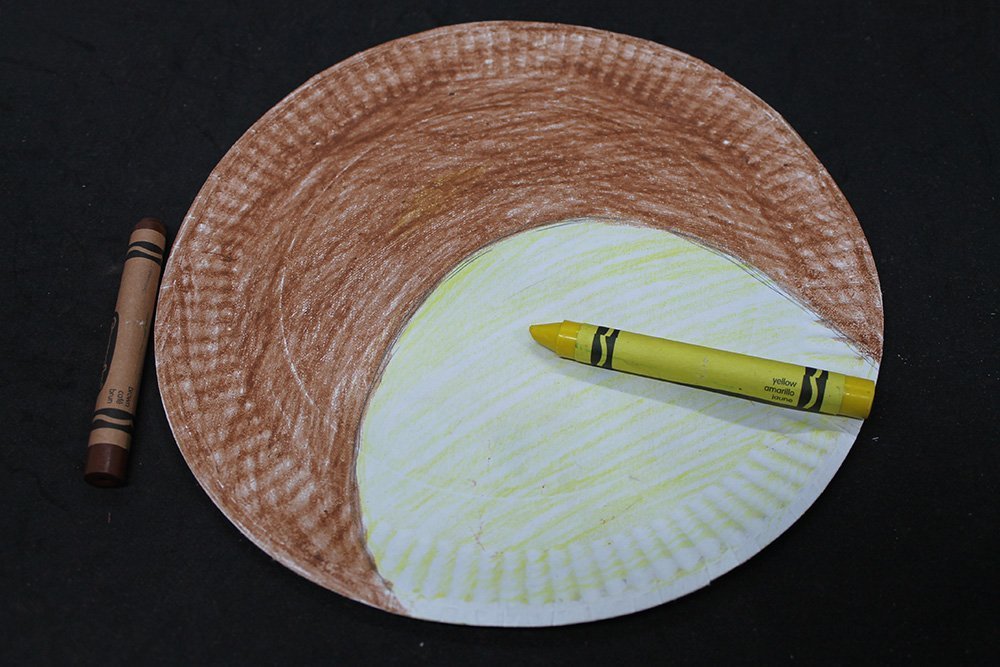
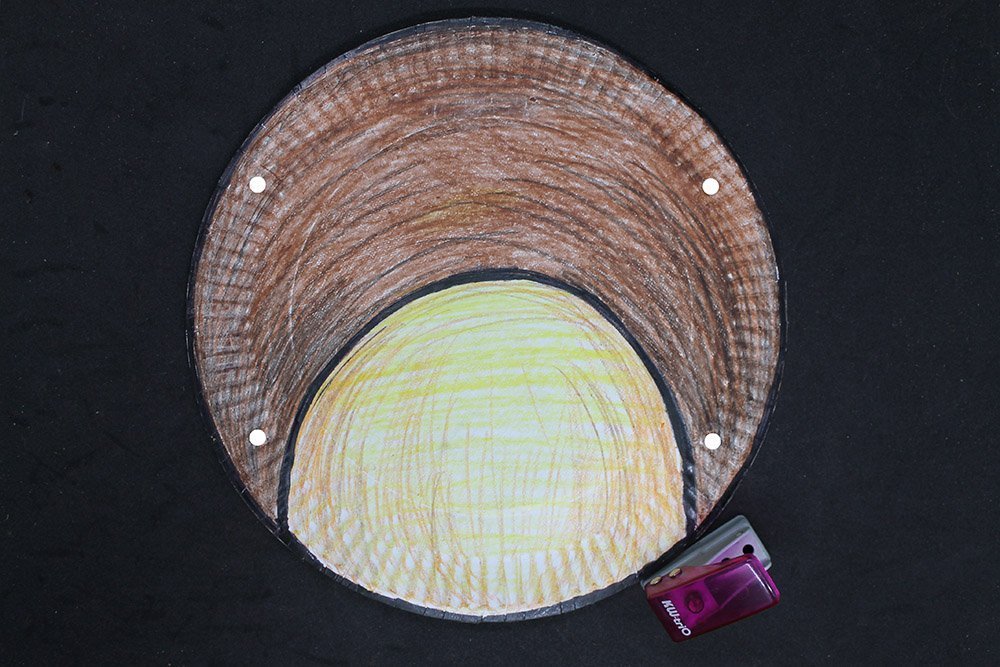
Draw a semi-circle on a piece of the paper plate using a pencil.
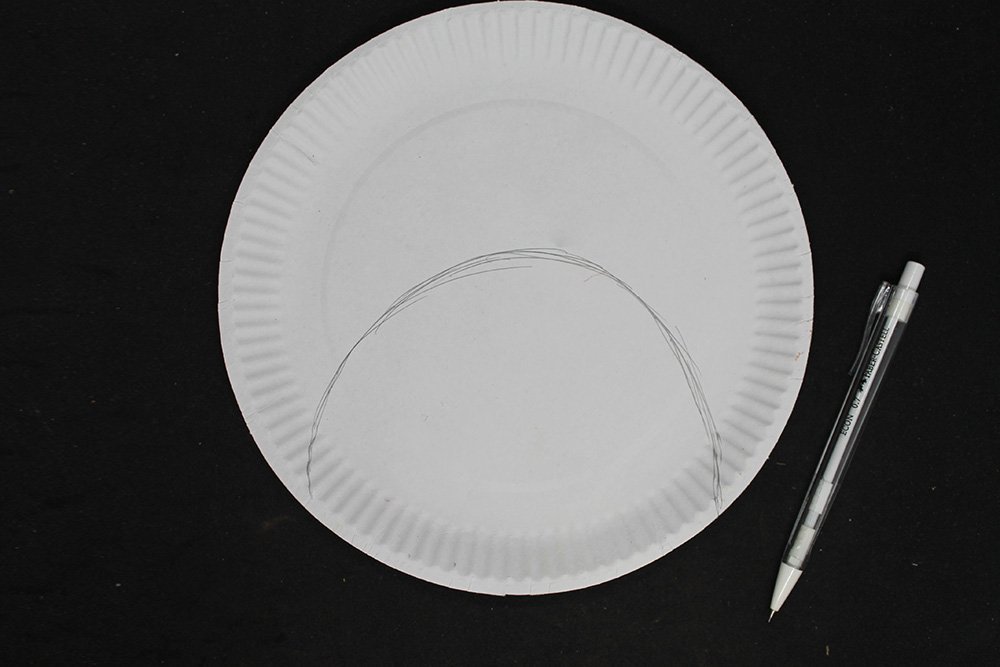
It should look similar to something like this. It is not necessary to copy the sample image above. Draw how you think the chest and tummy of the monkey should look like
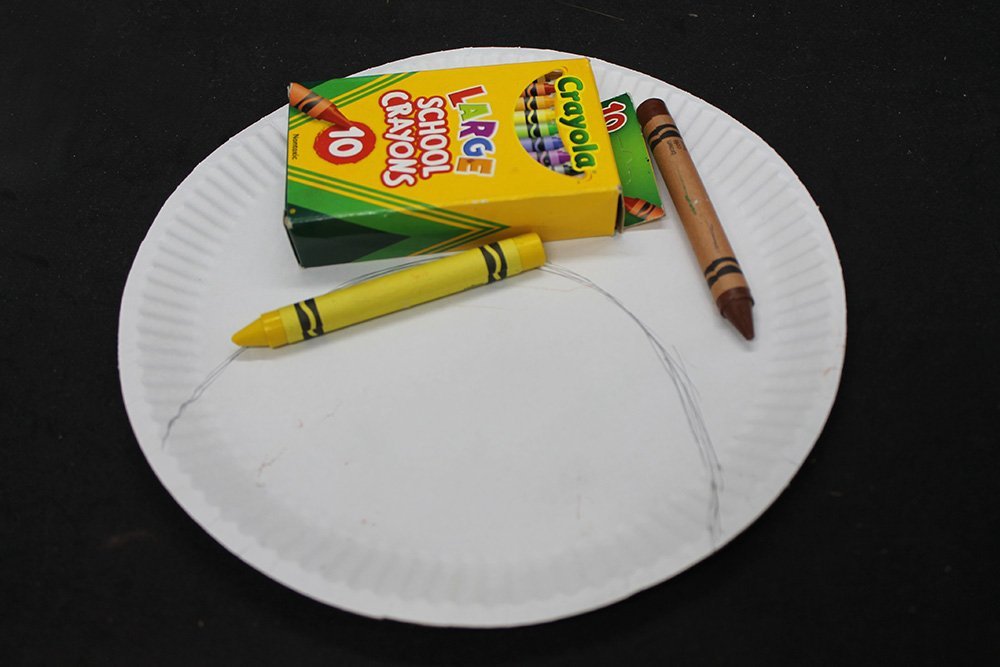
Using a brown crayon, color the chest of the monkey with that color. Then use a yellow crayon to color the tummy of the monkey.
It should look something like this. Use the sample image as to how to color the paper plate.
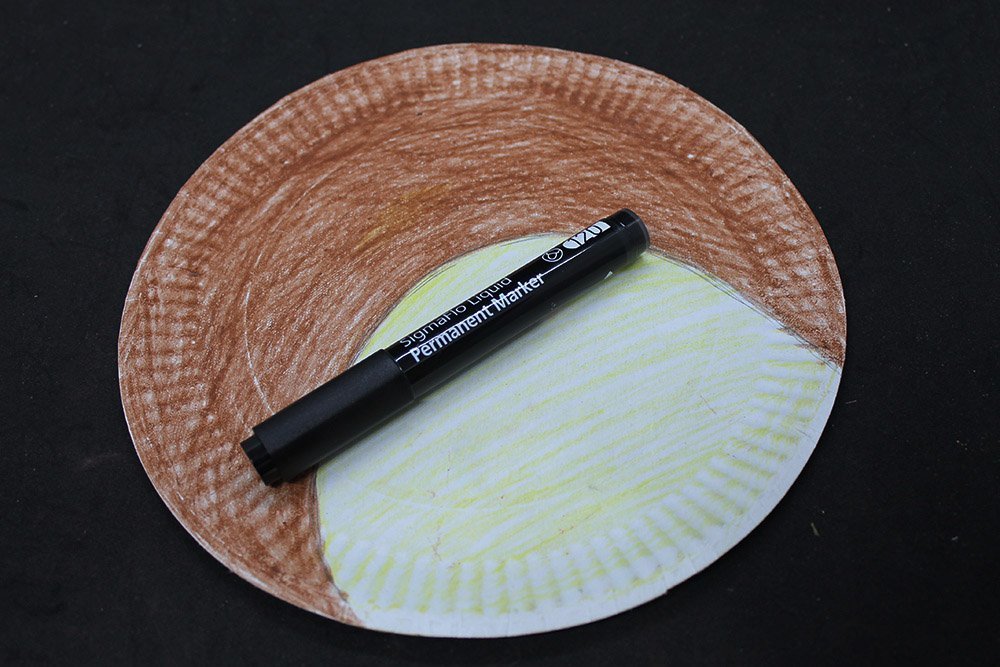
To make it nicer, outline the paper plate to separate the chest and tummy.
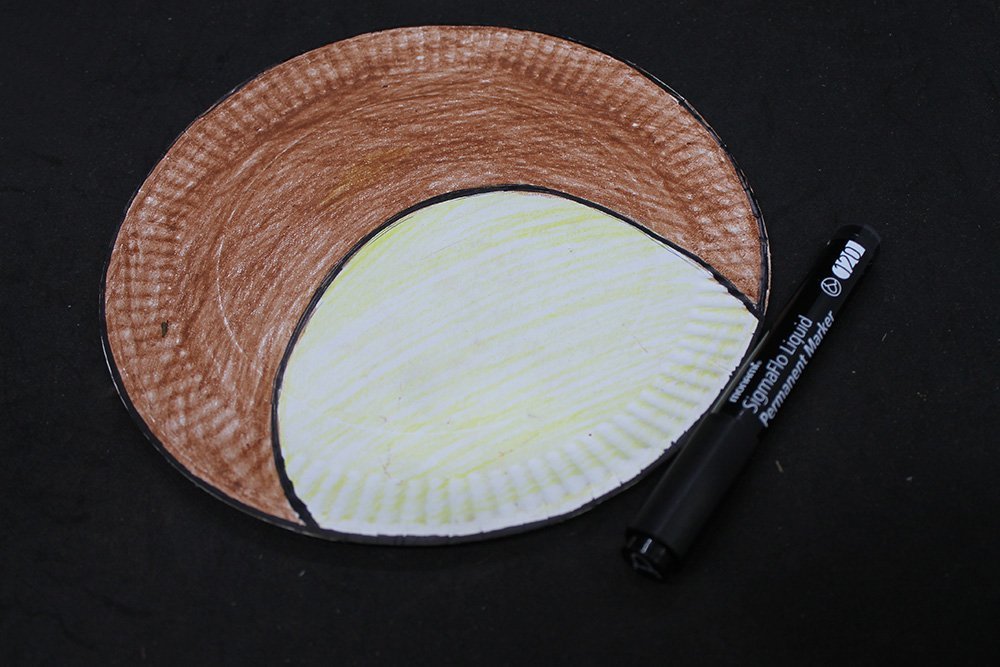
Use the sample image above as to how to outline the paper plate. A black marker also outlined the edge of the paper plate to give the body some definition.
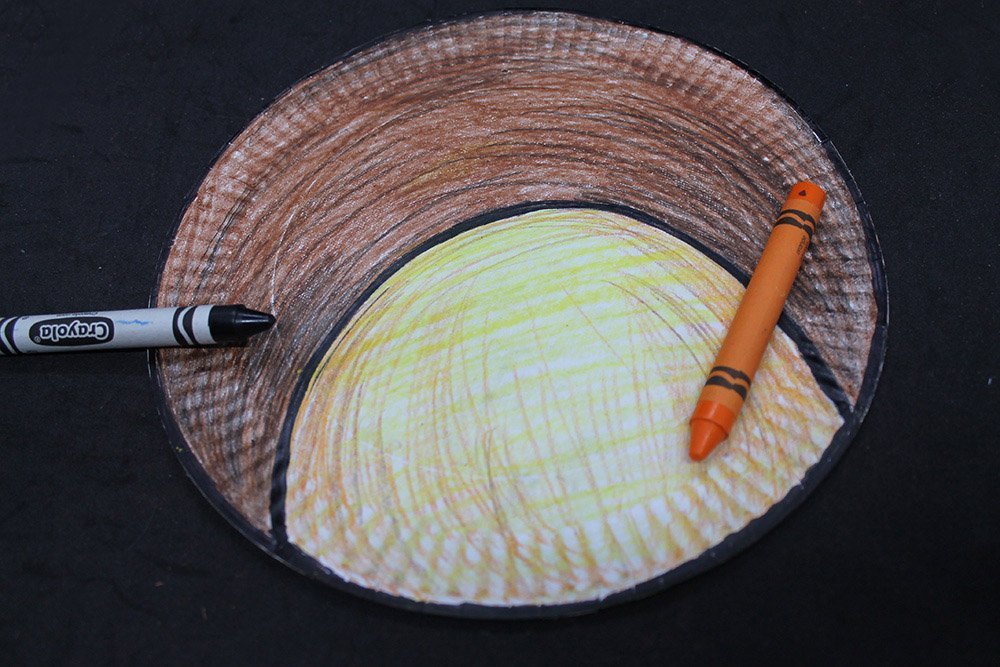
Here’s a way to level up your coloring skills using crayons: Use black strokes on the brown part to mimic fur, then use an orange crayon to create fur strokes on the tummy area. That way, the monkey will look more detailed.
Color the paper plate monkey printable
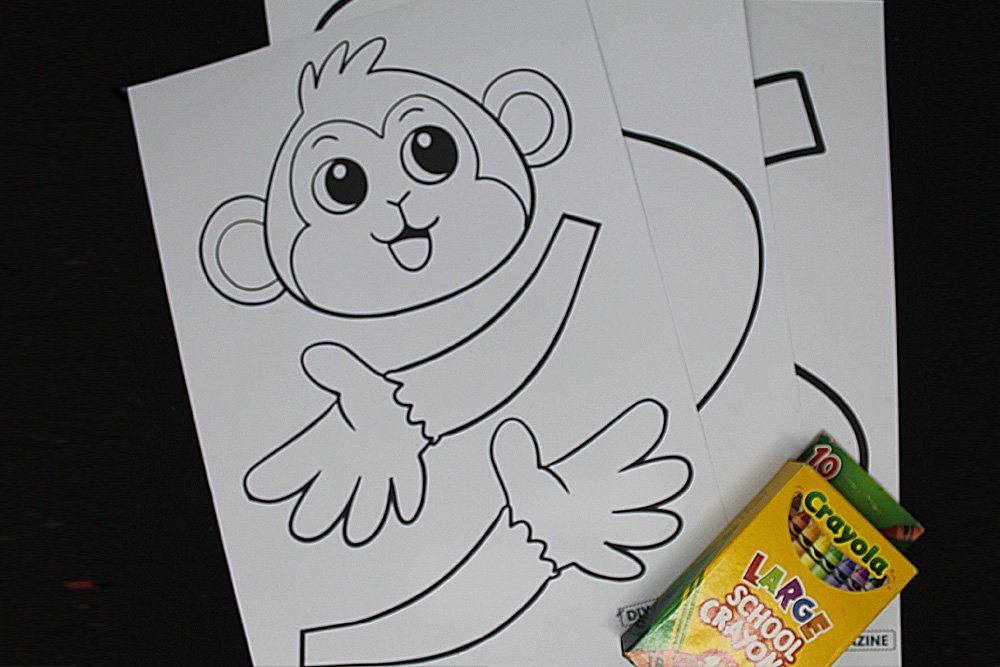
Print the monkey printable on an a4 piece of paper. The thicker the paper (like cardstock), the better. Just make sure that the paper you’re going to use works well with crayons.
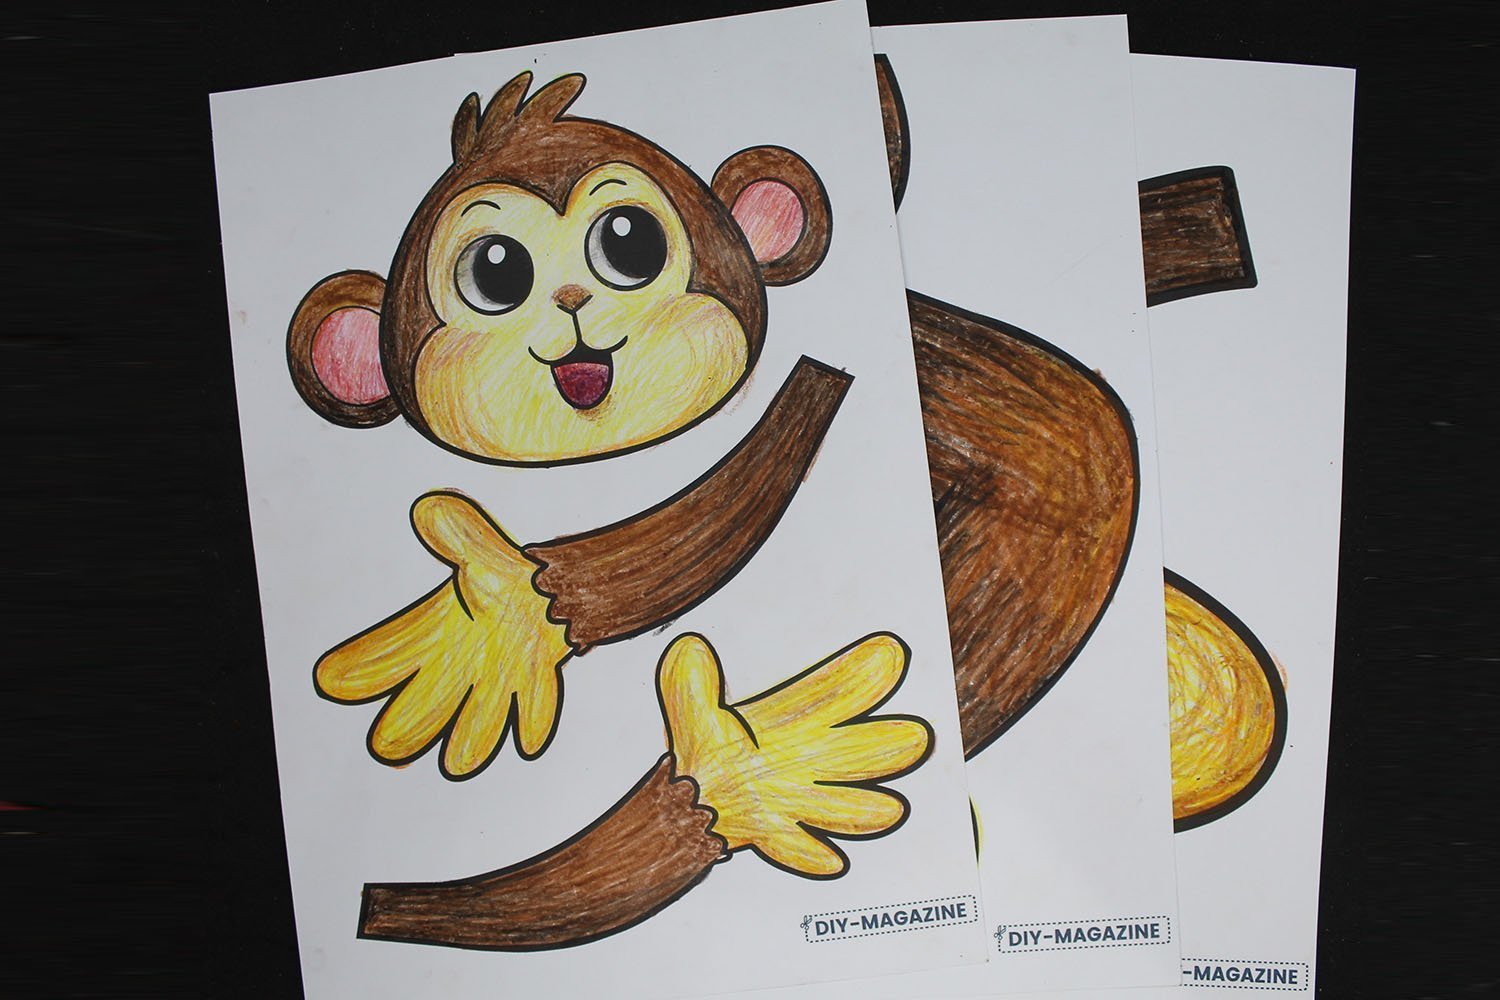
Once printed, color the printable with the same color as the paper plate body.

For the inner ears and tongue, pink was used as the color of the base. Use red as a shade color to add some more definition. Use a pink crayon to give the monkey a light blush.
Color the printable the same way the paper plate body was colored.
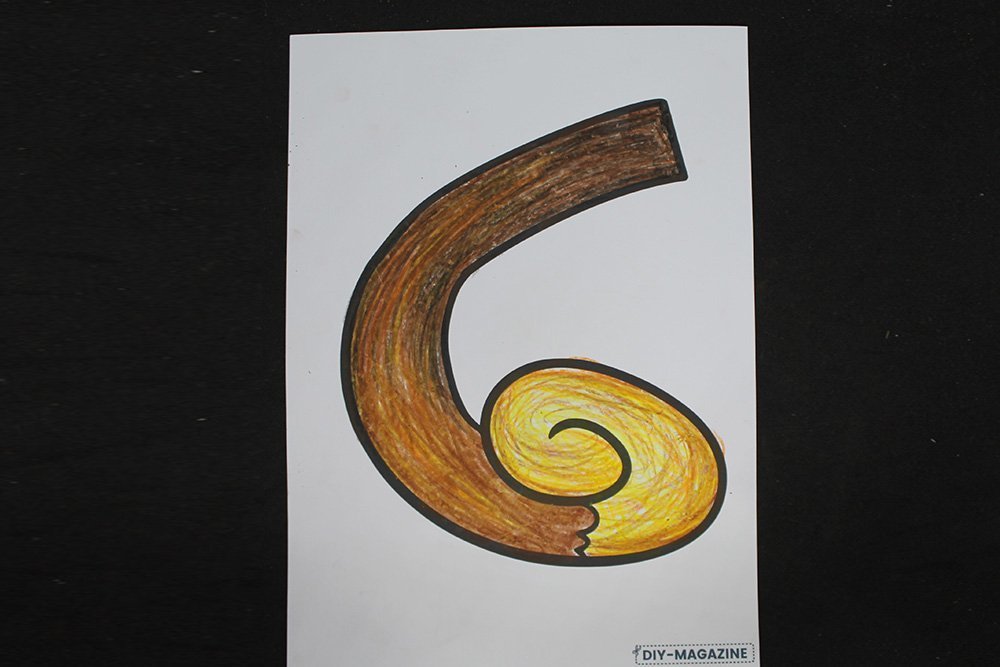
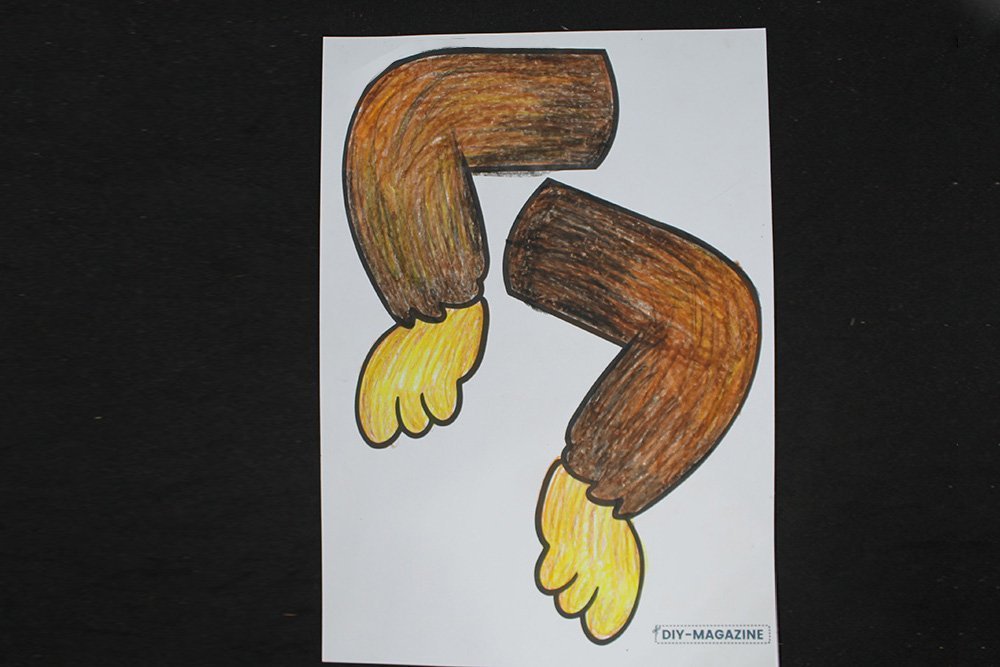
Repeat the same way the rest of the body part was colored
Cut out each sheet of the printable monkey.
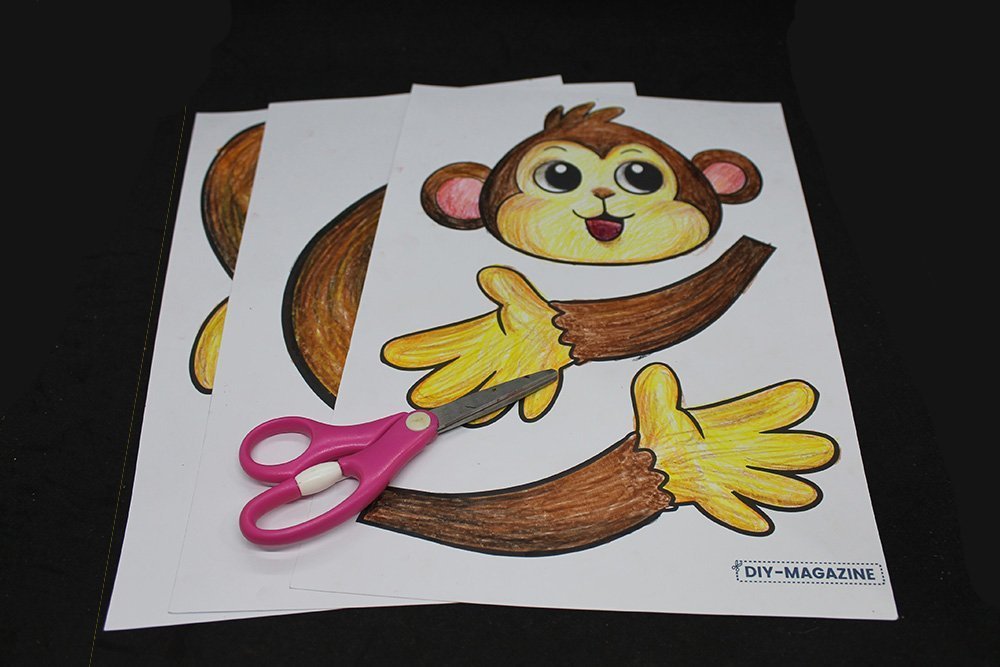
Cut each of the printable sheets. Make sure to cut along the outer outline ONLY.
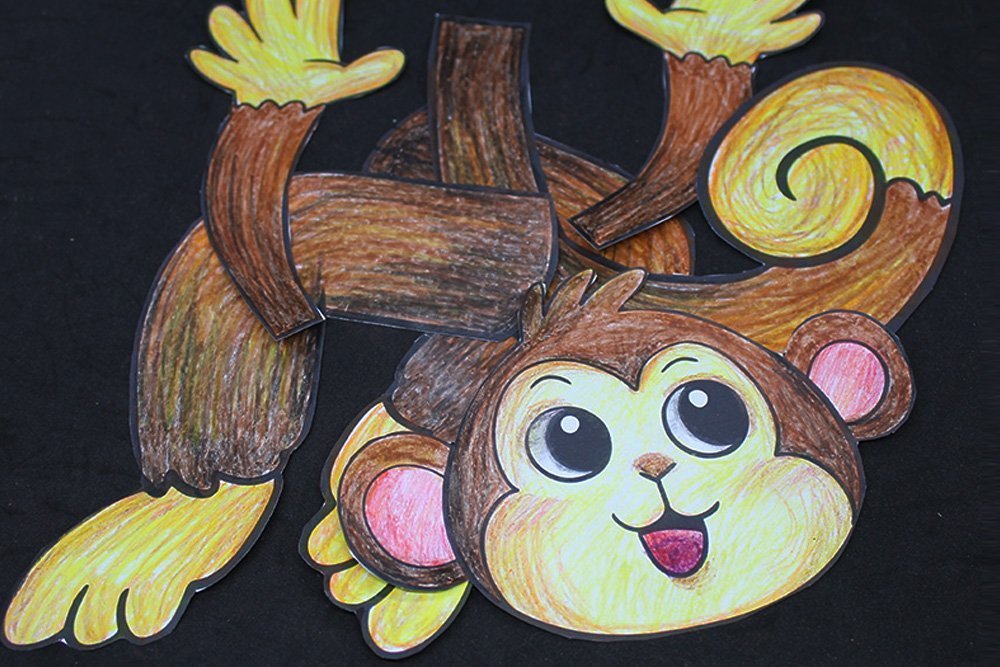
Once cut out, it’s time to assemble!
Assemble the paper plate monkey
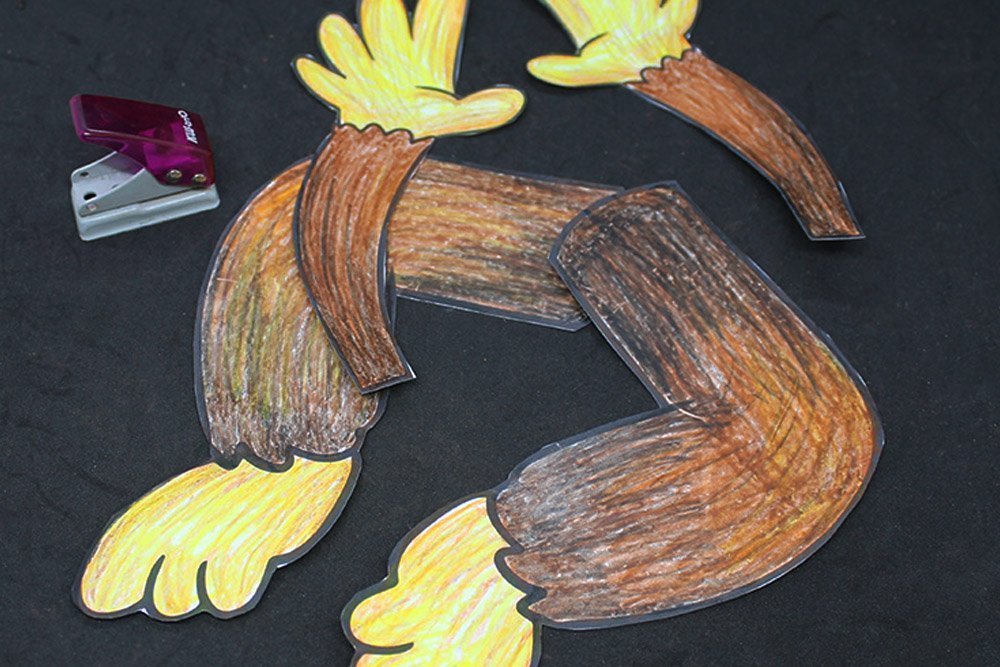
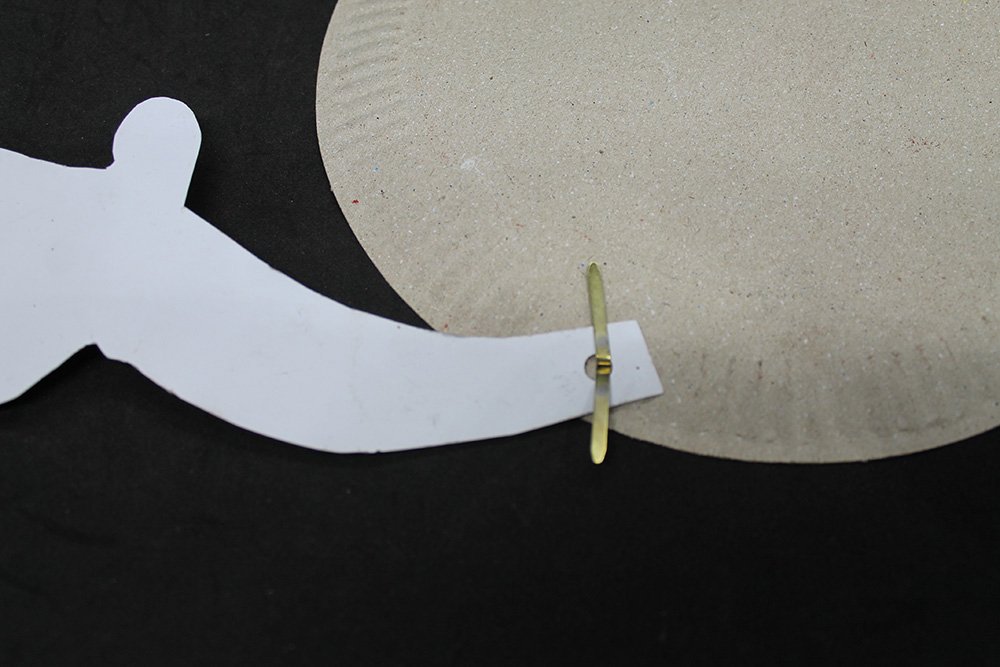
Grab a puncher and the arms and legs of the paper plate monkey cutout.

Punch a hole on the inner end of each limb.
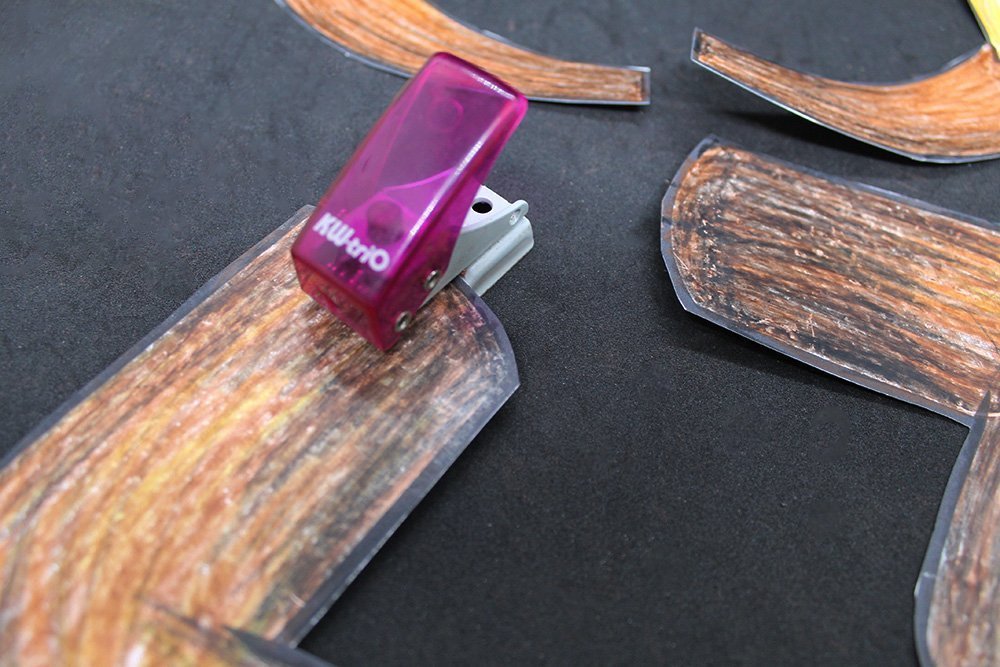
Do not punch a hole in the hands and feet.
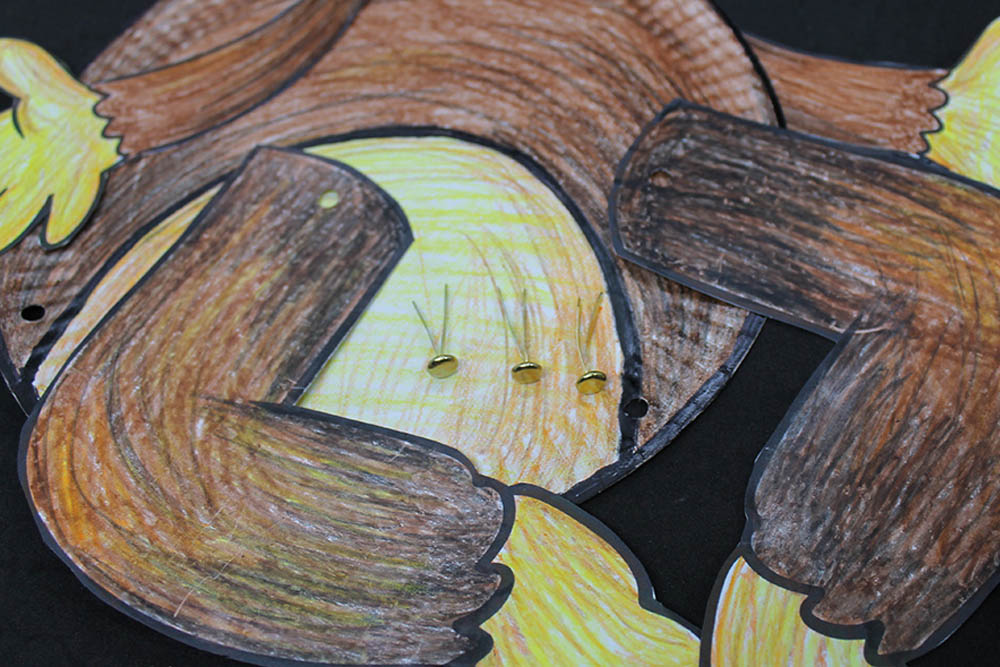
Make 4 punch holes on the white circle illustrated in the image above. These holes will be where each of the limbs will be attached.
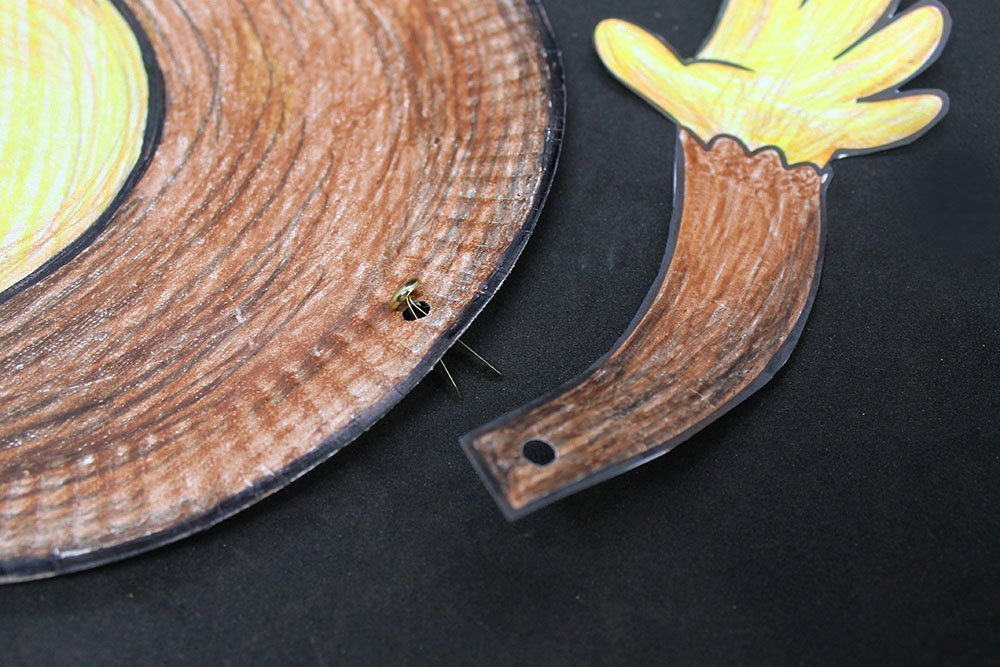
Once you have punched a hole on each limb, use a split pin to attach a limb.
In the image above, the right arm was attached to the top right hole of the plate using a split pin.
Secure the split pin by splitting the “legs” apart from each other at the back.
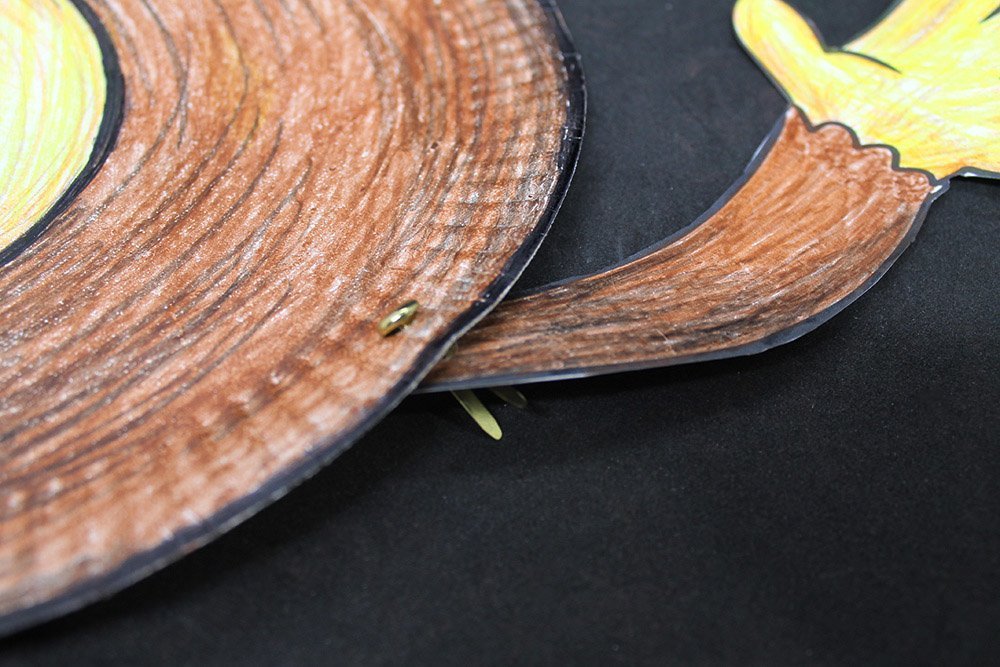
Secure the other limbs with a split rivet.
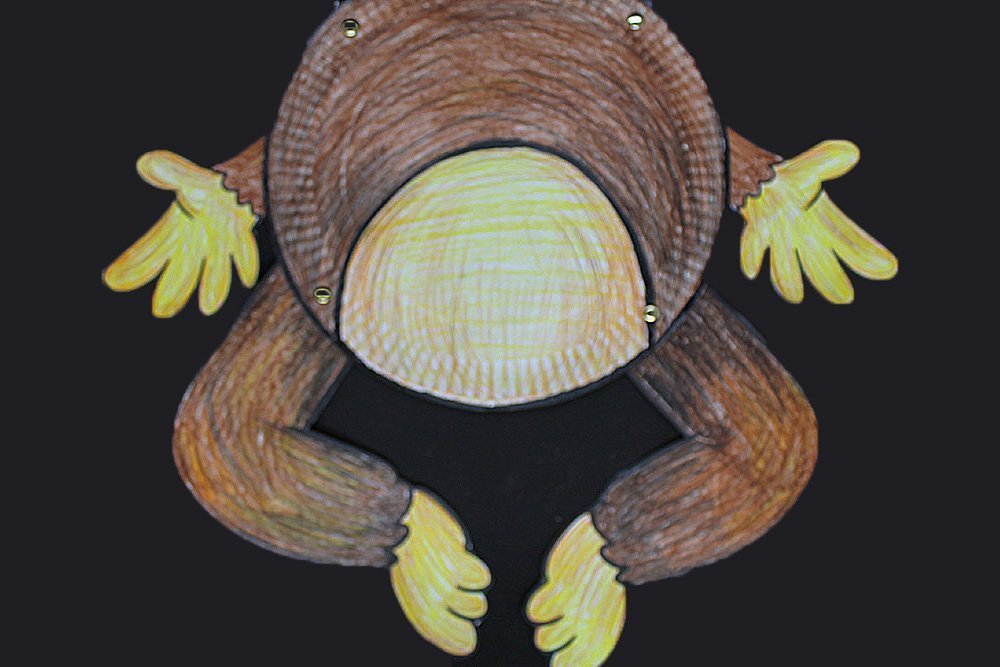
The body of the paper plate monkey should now look like this.
Attach the head and tail of the paper plate monkey
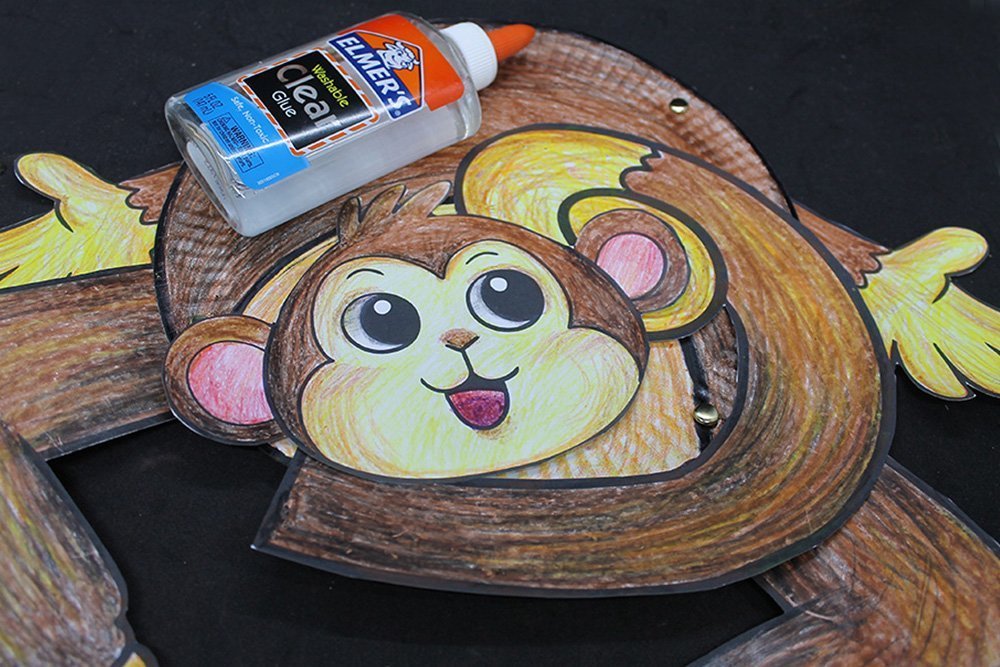
Use glue to attach the head of the monkey.
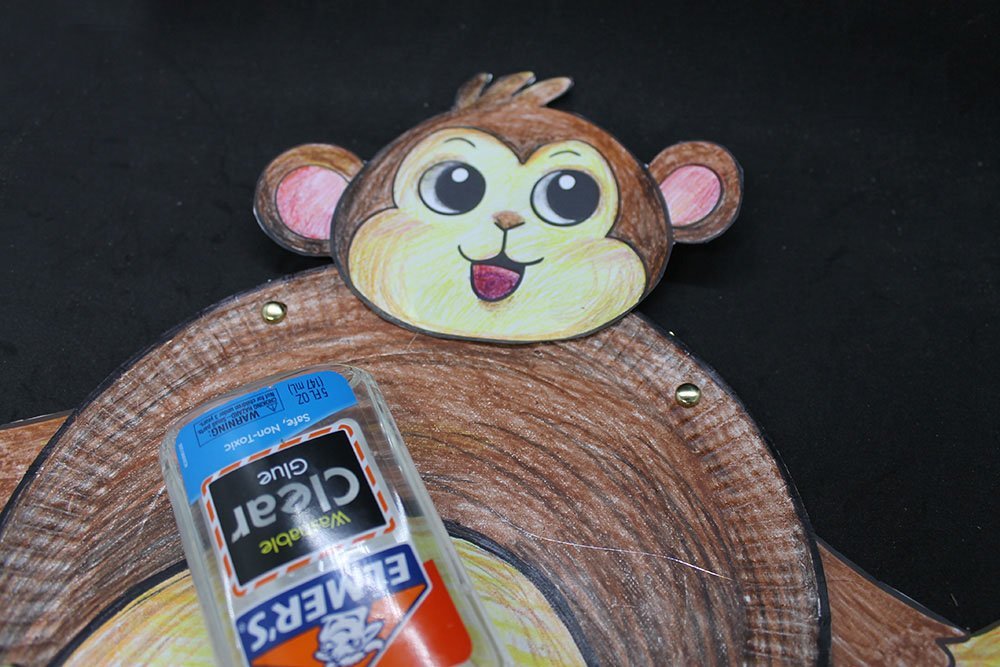
Position the head at the top of the paper plate. Flip the monkey over.

Stick the tail at the back using glue.
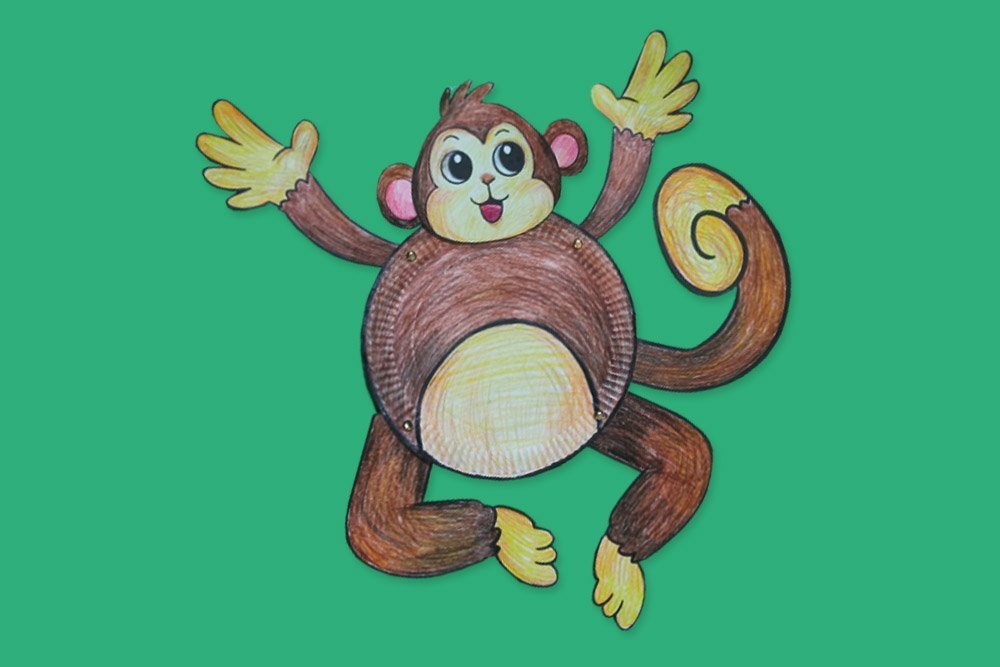
The paper plate monkey is now done! The split pins used allow the arms and legs to move.
Found another one, alright!
Hehe, what were you looking for exactly?
Oh, paper plate animals with printables because that’s what my son wants
The shape is weird but my kid’s okay with it so goo 😚😅
I find it cute and adorable <3
Amazingly I finished the craft in 21 minutes. Nice