How to Make an Origami Kimono 12 steps

Introduction:
If you’re exploring various cultures, then this dollar bill origami may be right for you. Inspired by Japan’s traditional clothing, a kimono is an elegant T-shaped garment that is still worn and depicted in various art forms. One way is by forming the distinct shape of the kimono from a piece of a dollar bill.
You could still use another type of paper but the ratio of the dimensions must be the same as the dollar bill. If the ratio of the length to the width is off, then your rectangular piece of paper is not suitable.
Anyways, have fun learning how to make the origami kimono!
Divide the paper into 3 parts
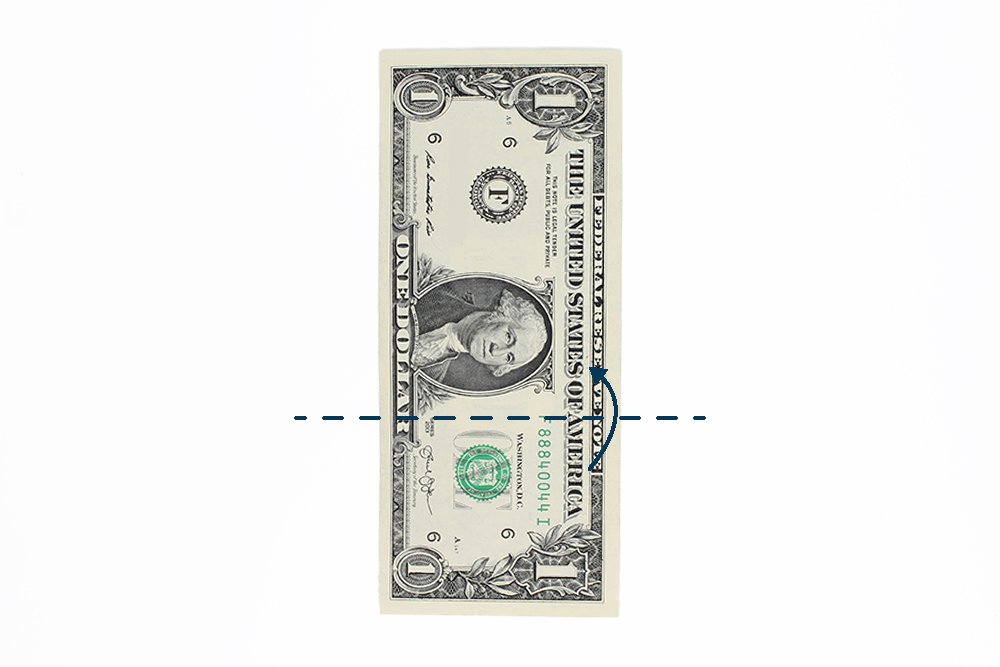
The first thing you need to do is to prepare your dollar bill. Find a flat surface like a table to start folding. Orient the rectangular piece of paper in portrait.
Then, fold 1/3 of the bottom part upwards.
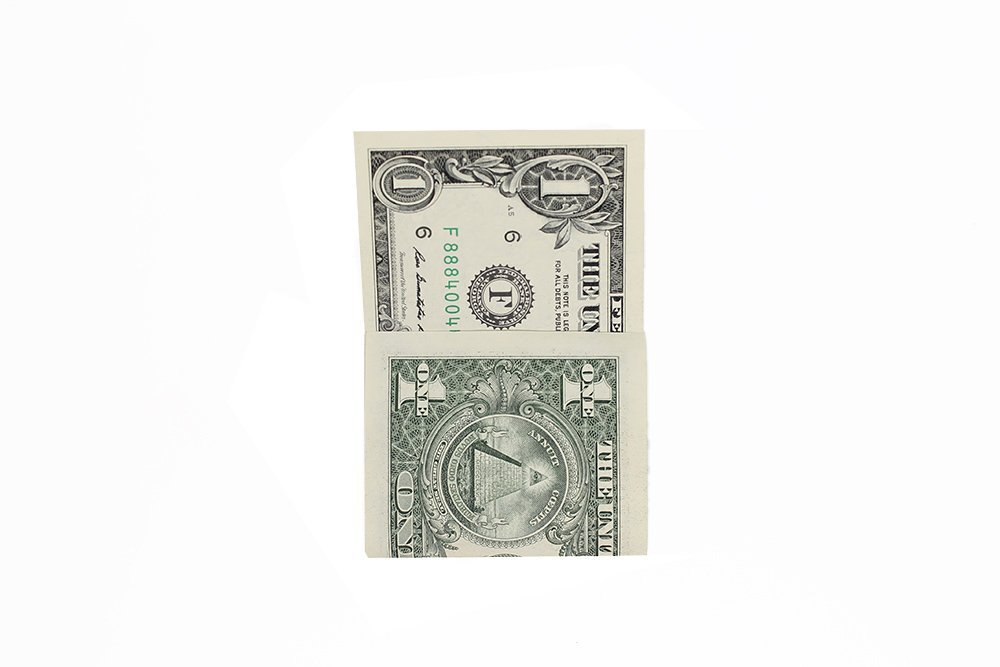
Flip the dollar bill to the other side.
Then fold 1/3 of the upper part towards the middle.
Flip the paper over again. At this point, the bill is divided into three layers.
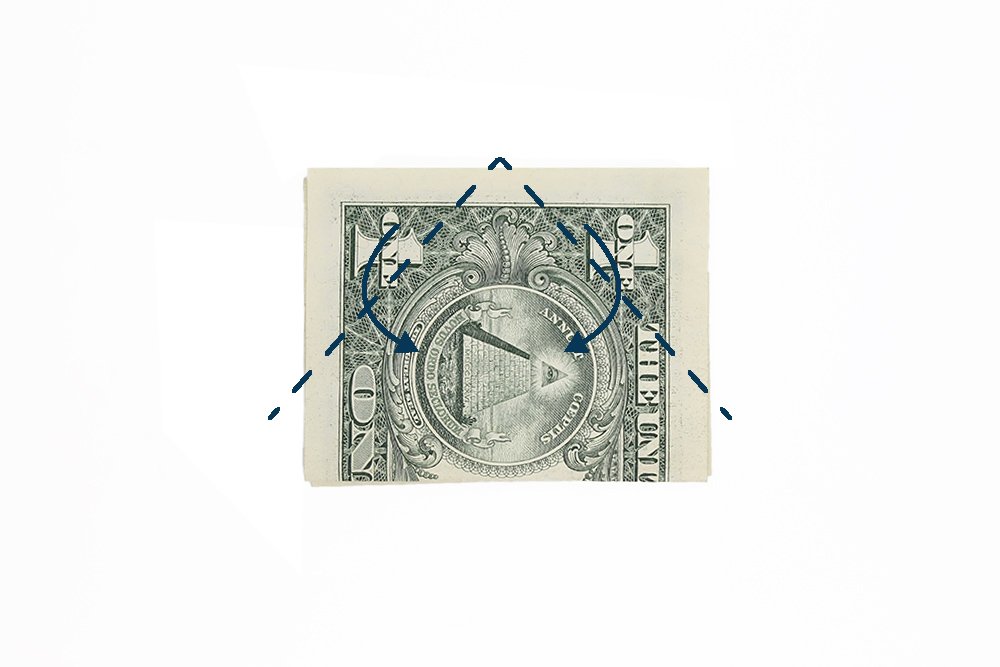
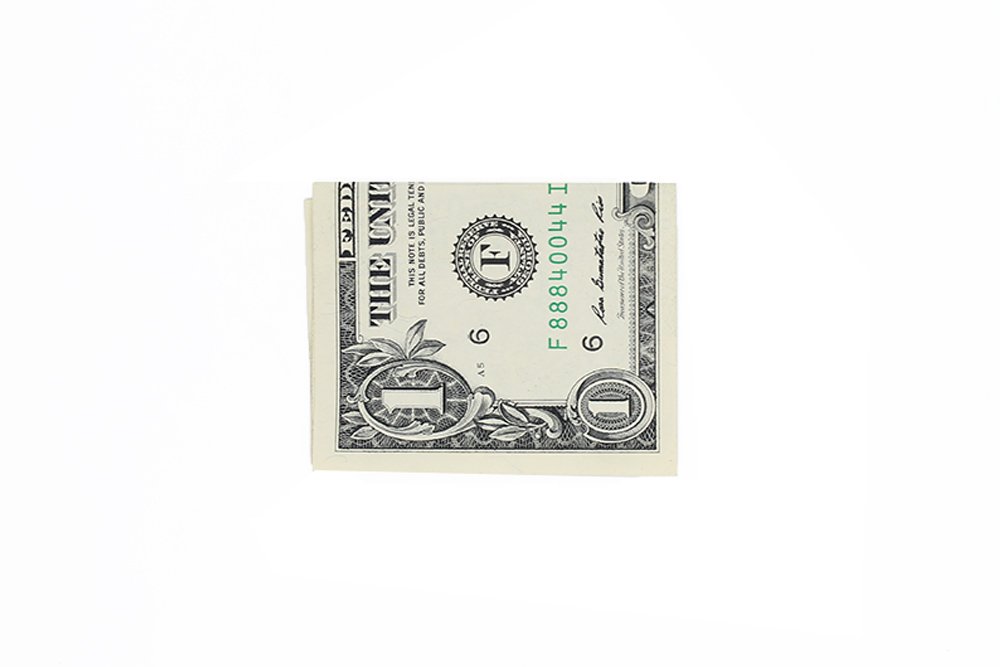
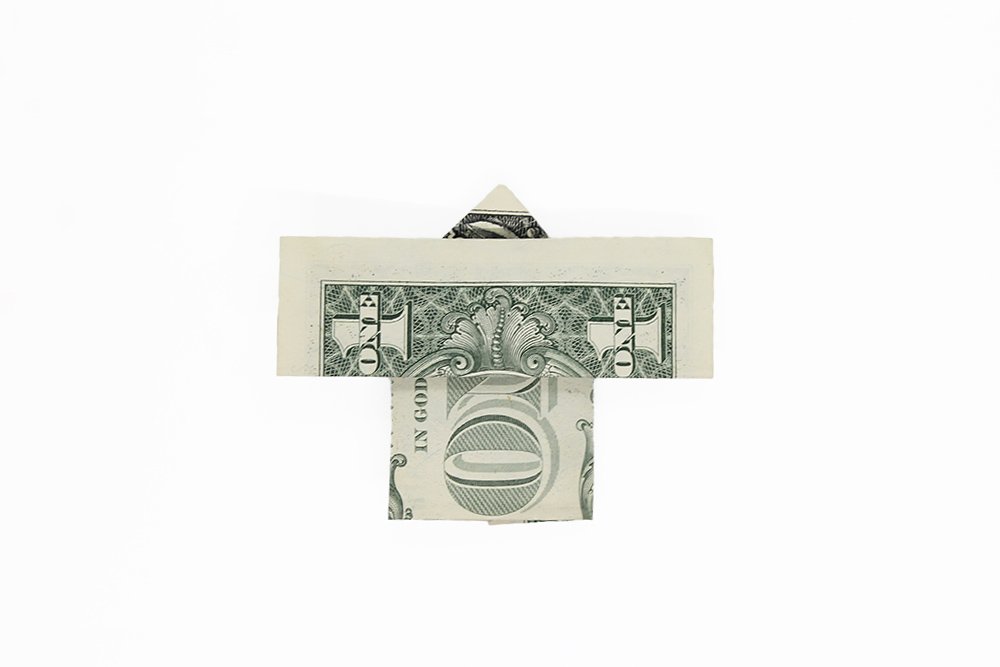
Good job - this kimono is on a fast track to be completed. Fold the top right and left corner towards the middle. Follow the next set of step for guide.
Make the collar of the money kimono
Fold the top right corner towards the middle. Only do so for the top layer. Then do the same for the left corner.
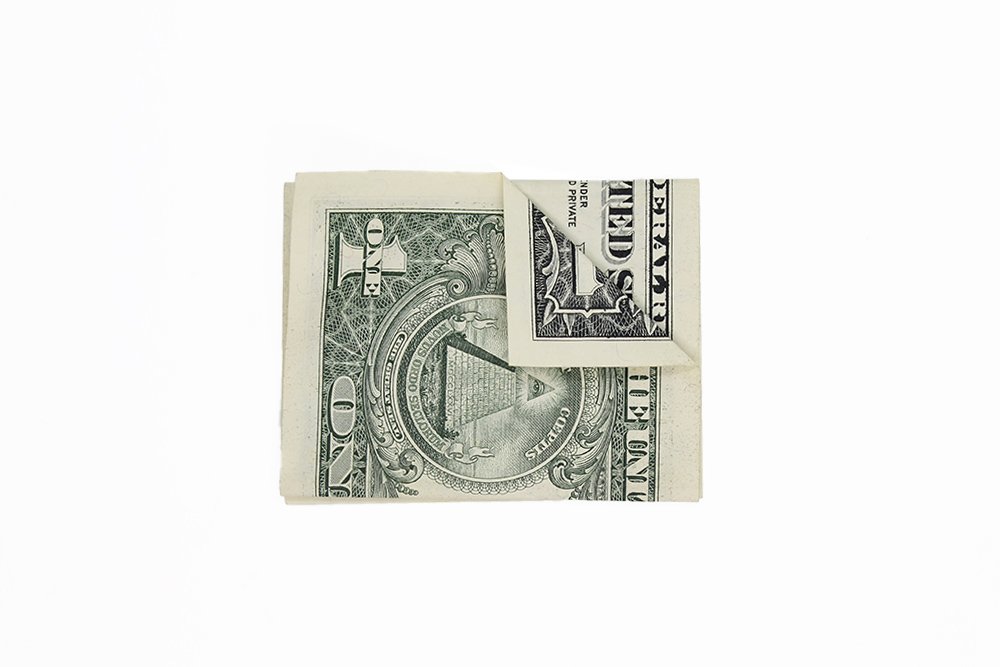
This part can be a bit tricky. Bring the right edge of the middle layer to the center.
Make sure to lift the middle layer of the dollar bill ONLY. Once you have lifted the middle layer on the right side, squash down the top right corner part.
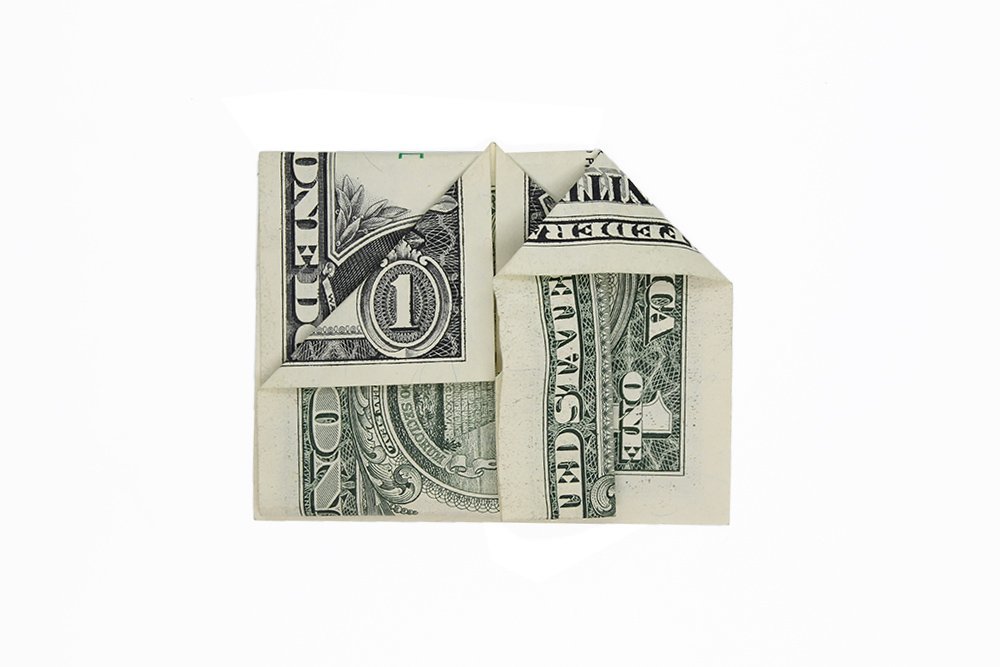
It should now look like some form of collar once squashed.
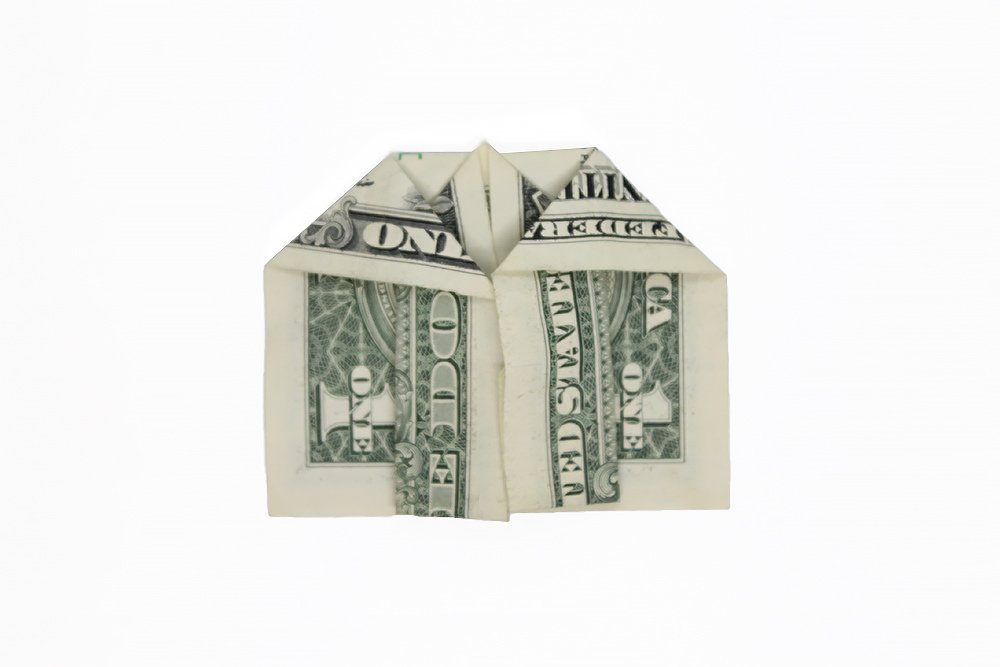
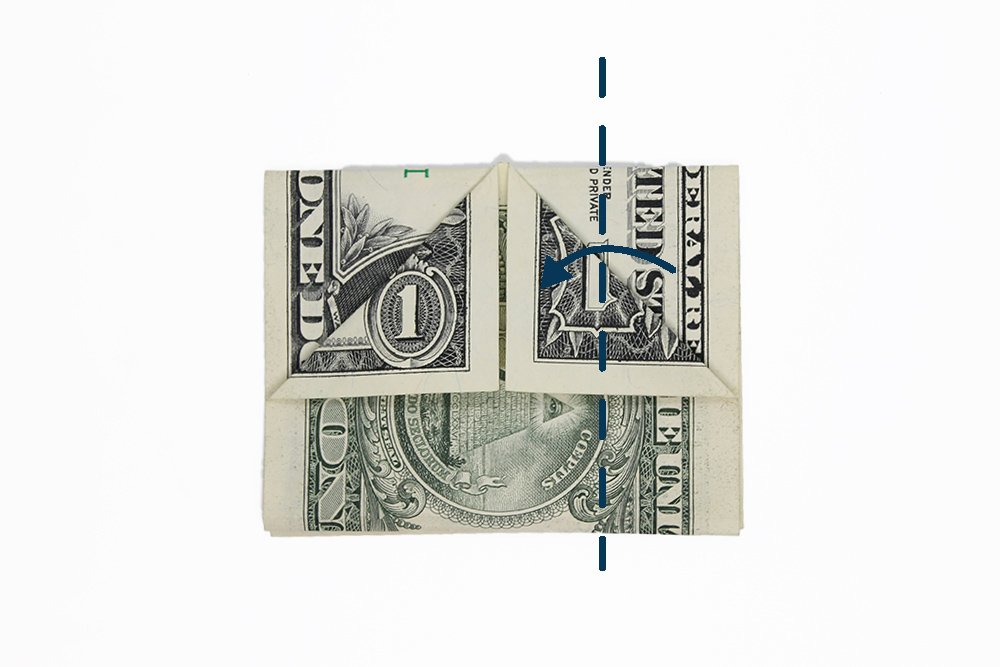
Do the exact steps for the left side to create the left collar. Nice job, and it's time for the last steps.
Make the sleeves of the kimono origami
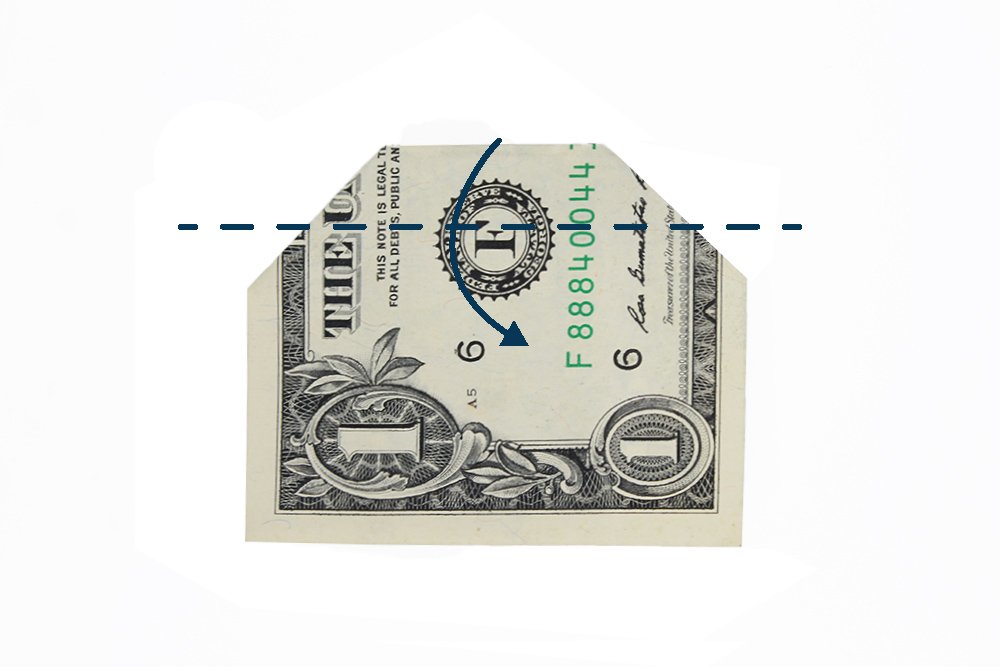
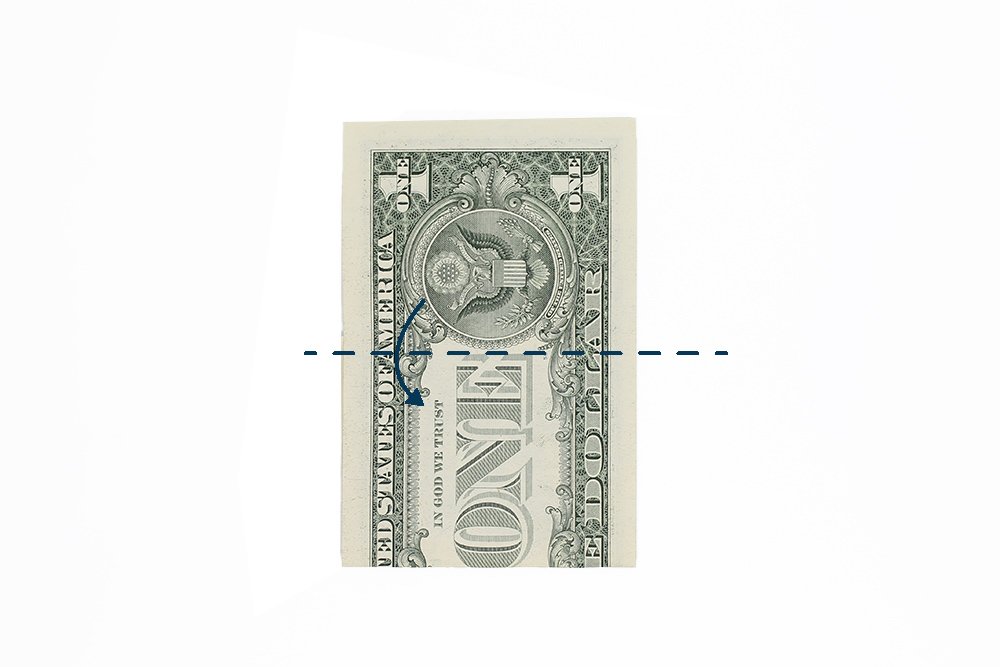
Turn the paper so you could work on the other side. Bring the top part downwards. Fold only a small part of the top part or you may follow along the dashed lines.
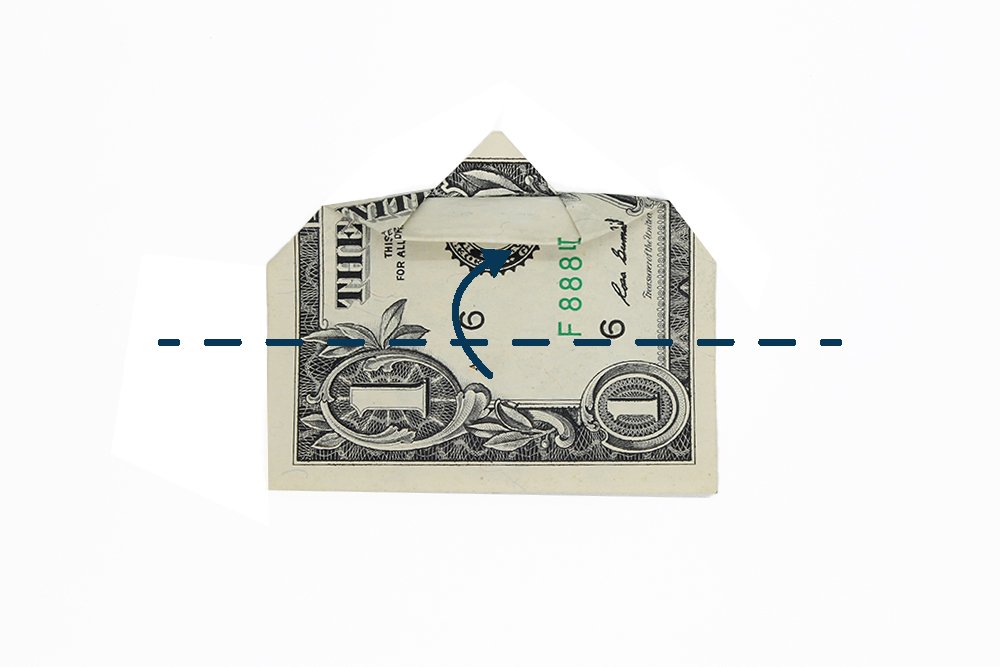
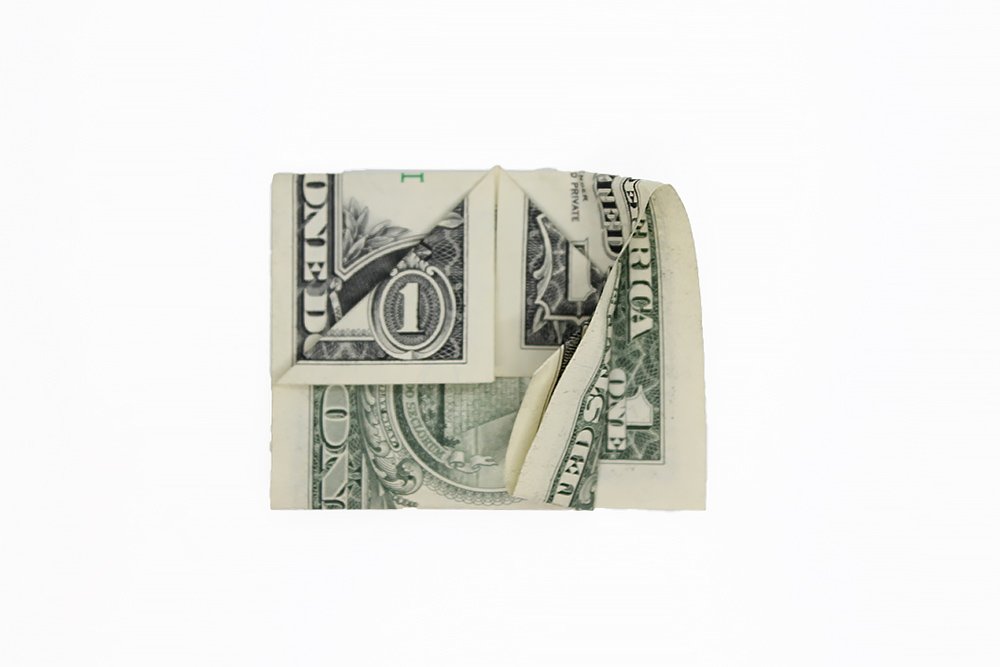
Make the sleeves of the kimono by folding the bottom part upwards.
Make sure to fold the topmost layer only. Flip it over once done you have made the sleeves.
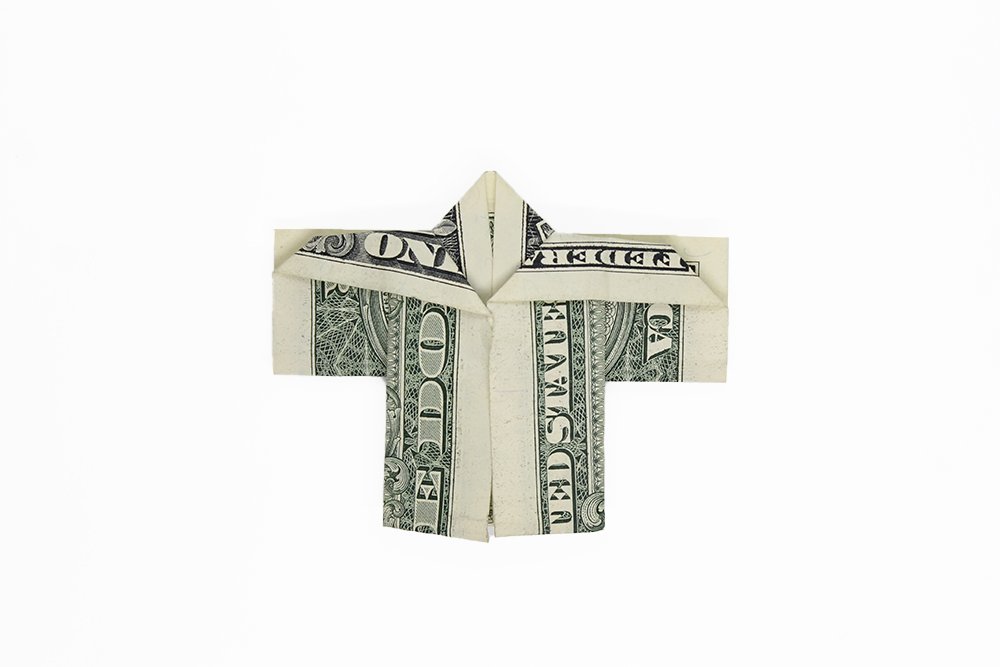
Congratulations! Your kimono origami is done. Check out our other cool dollar origami guides below, and don't forget to drop us a comment.
Extra Tips
- Be sure to apply enough pressure when making crease lines.
- People usually wear this robe on special occasions. If you are planning to give a gift to someone special then this would make a great gift idea to give on special events.
- Money does not tear easily but it is prone to get crumpled. Practice with fake money or a rectangular piece of paper first if you're planning to give the bill/s as a gift.
- Remember, it is highly advisable that you should not cut, burn, staple, and/or iron banknotes. Handle it with care.


wow, this looks really beautiful
Imma give this to them waiters at a my local japanese resto
if you’re giving tips then it must mean you are old… why are u learning origami bro
My kimono looked okay – thanks for the quick guide 🙂
nice! origami never ceases to amaze me