Origami Money Christmas Tree Tutorial with Pictures

Introduction:
It’s also a great idea for those that like to give money to their nephews or nieces, or grandchildren. I’m sure the children would be surprised to see a hundred-dollar bill folded into a Christmas tree!
Have fun learning the fold.
Build the base of the Money Christmas Tree
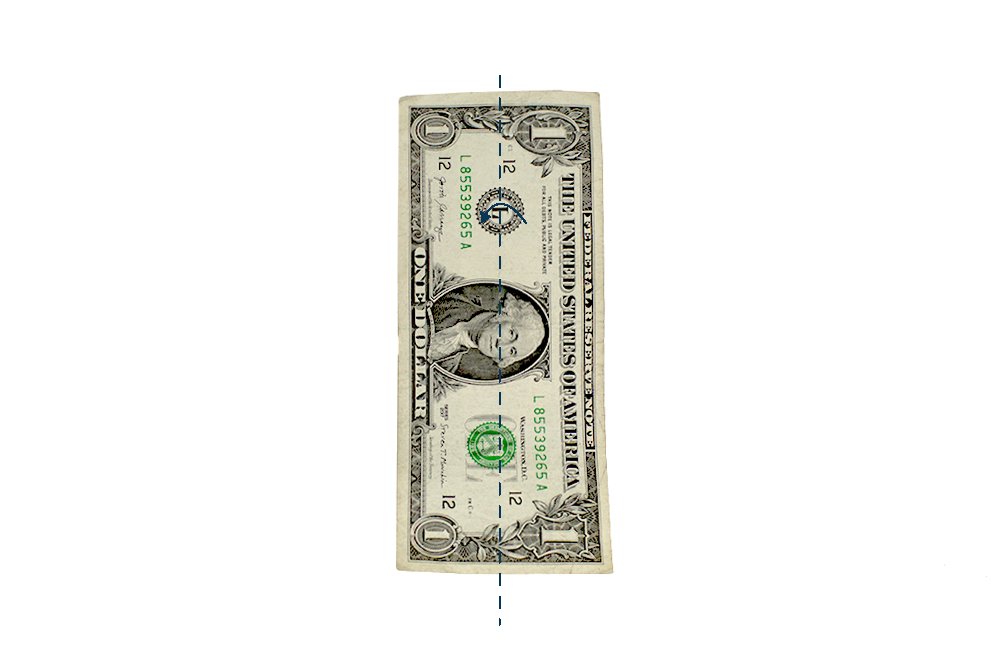
The first thing you need to do to make this money Christmas tree is lay a dollar bill flat on a table in a vertical position.
The first step is to fold the dollar bill lengthwise in half.
Crease it well and then unfold.
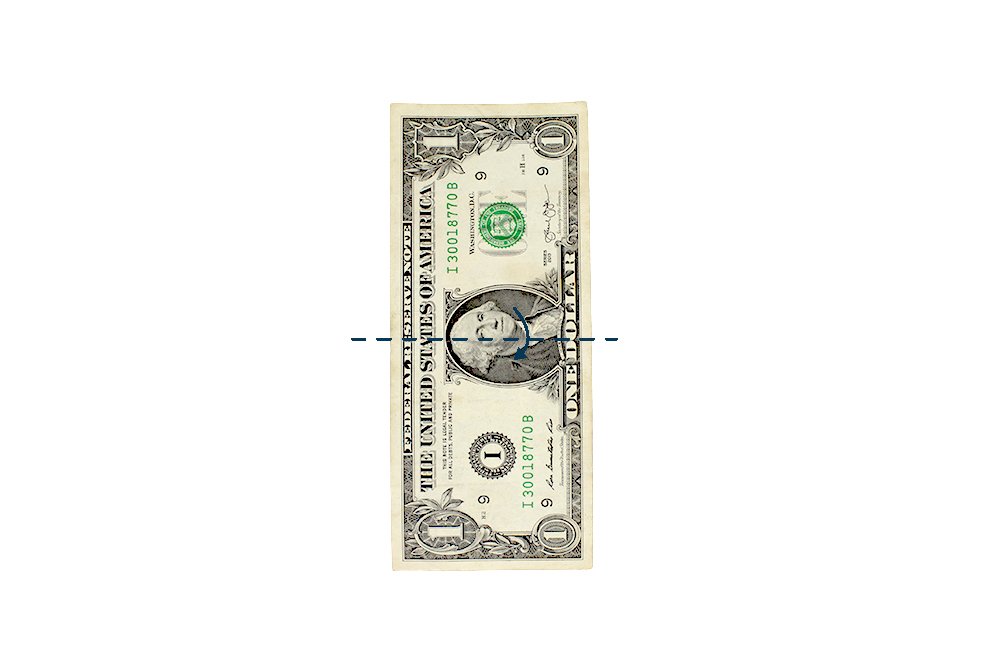
Now this time, fold the dollar bill crosswise in half.
Then unfold the dollar bill again.
Great, you have just made two middle crease lines. Time for the next set of steps to make this cash Christmas tree
Form the diamond base of the tree

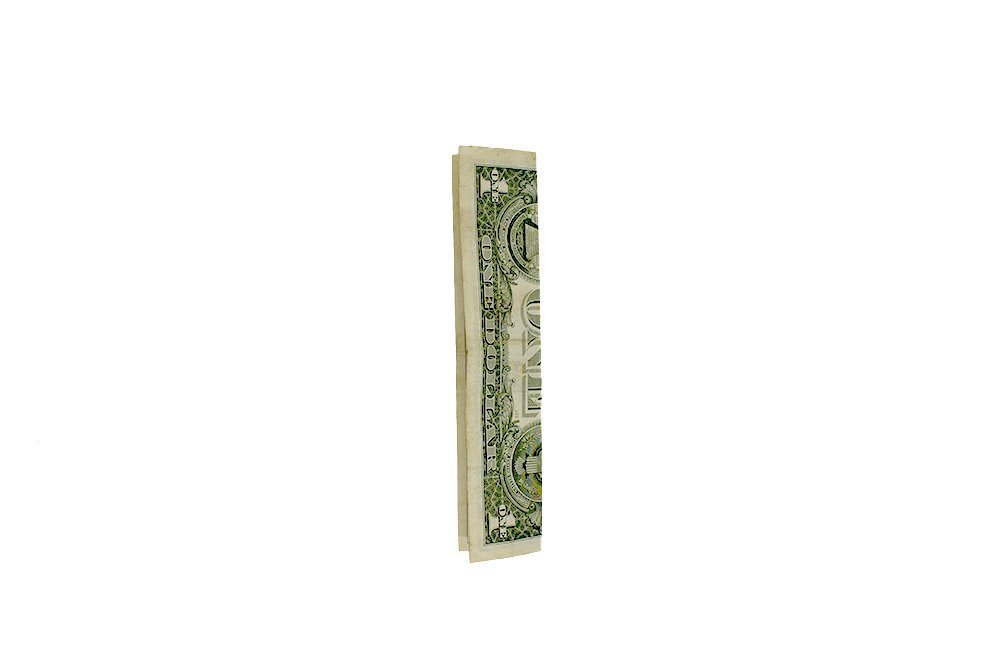
Diagonally fold the bottom right corner. The right corner should touch the left edge.
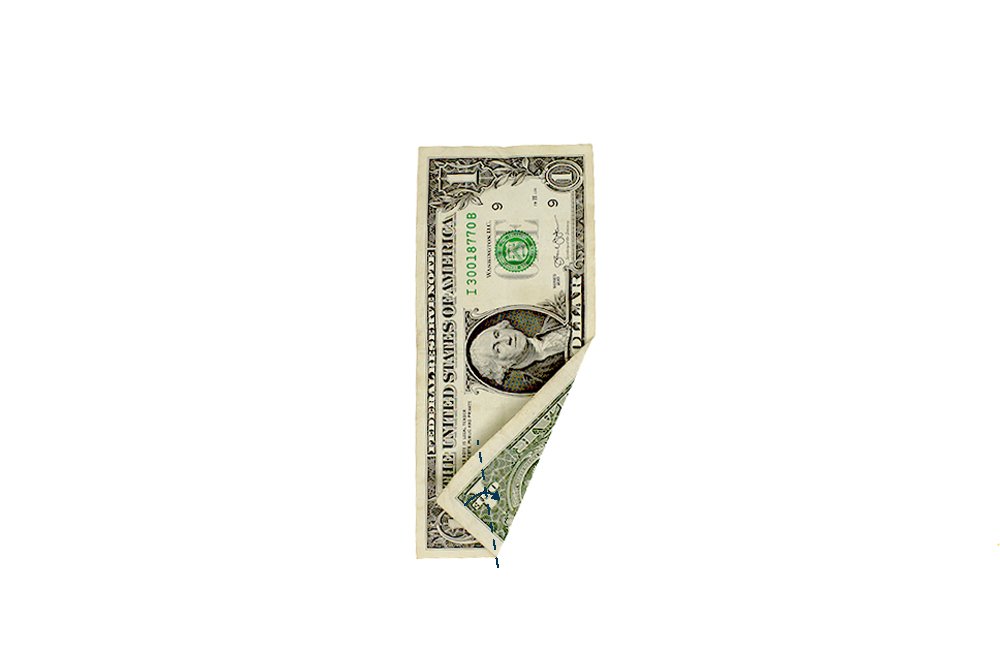
Fold the corner of the bottom right flap to the right. See the sample image above for guide.
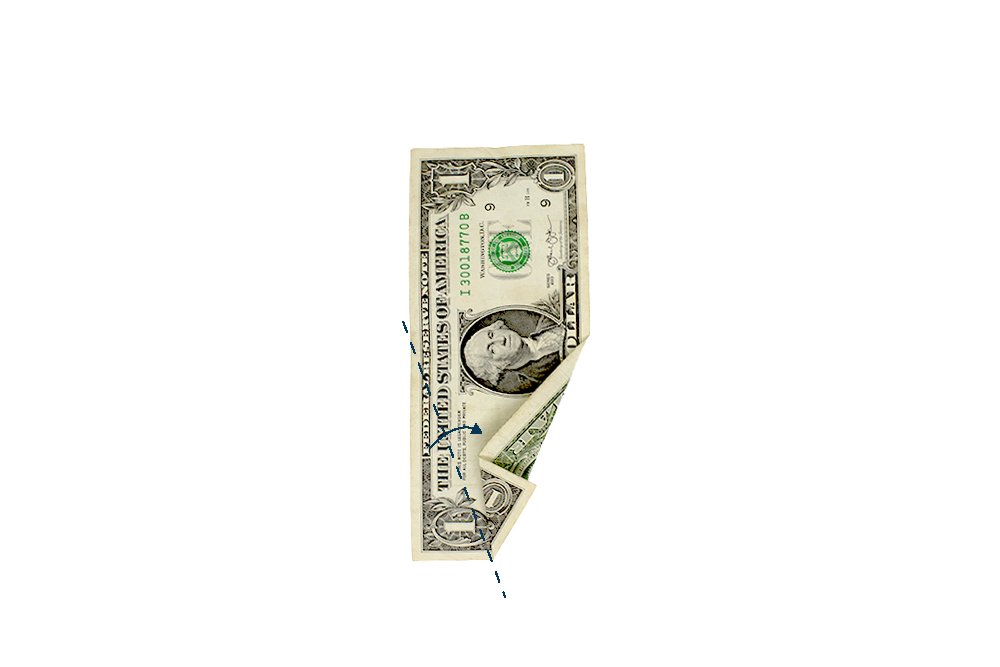
Repeat on the left side and diagonally fold the bottom left corner like what we did in the previous step.

Fold the same bottom left flap from the previous step to the left.
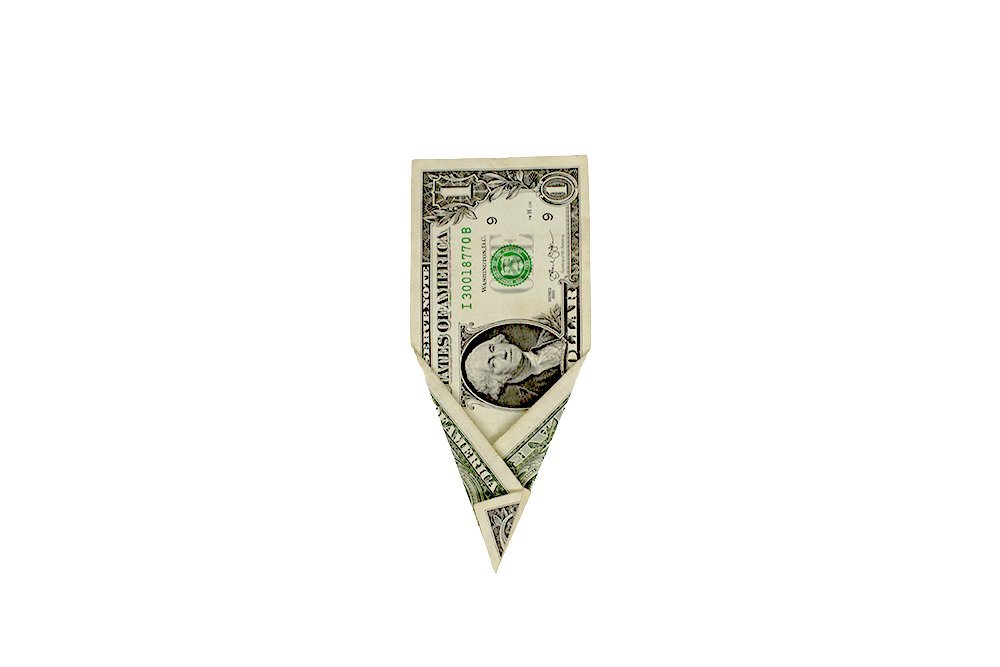
Do the same for the top right corners. See the next step on how it should look like.

Lastly, do the same for the top left corner. This will shape the trunk and foliage of the origami dollar Christmas tree.
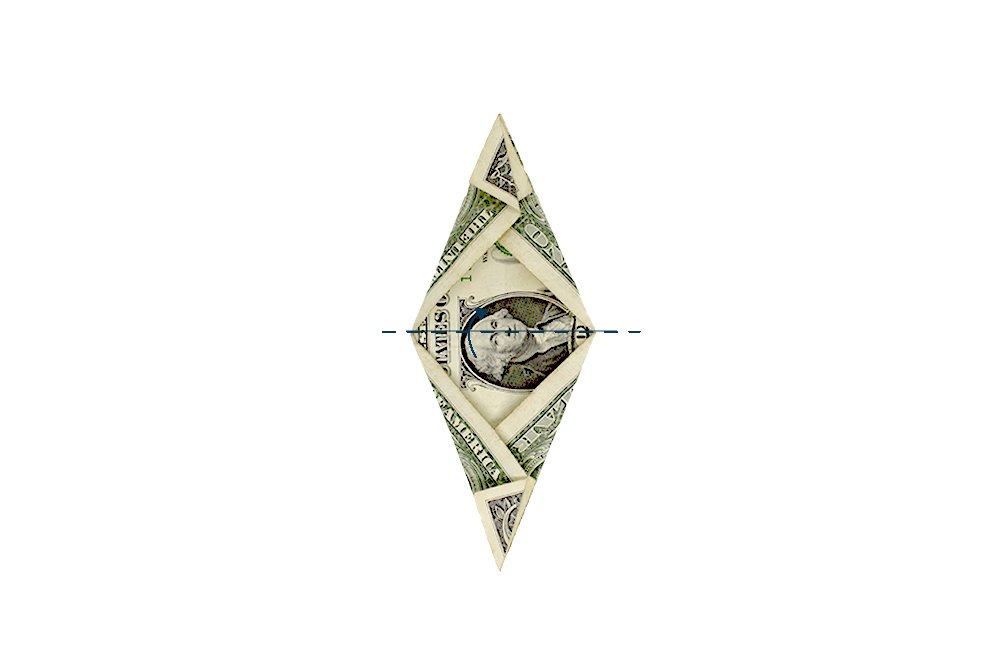
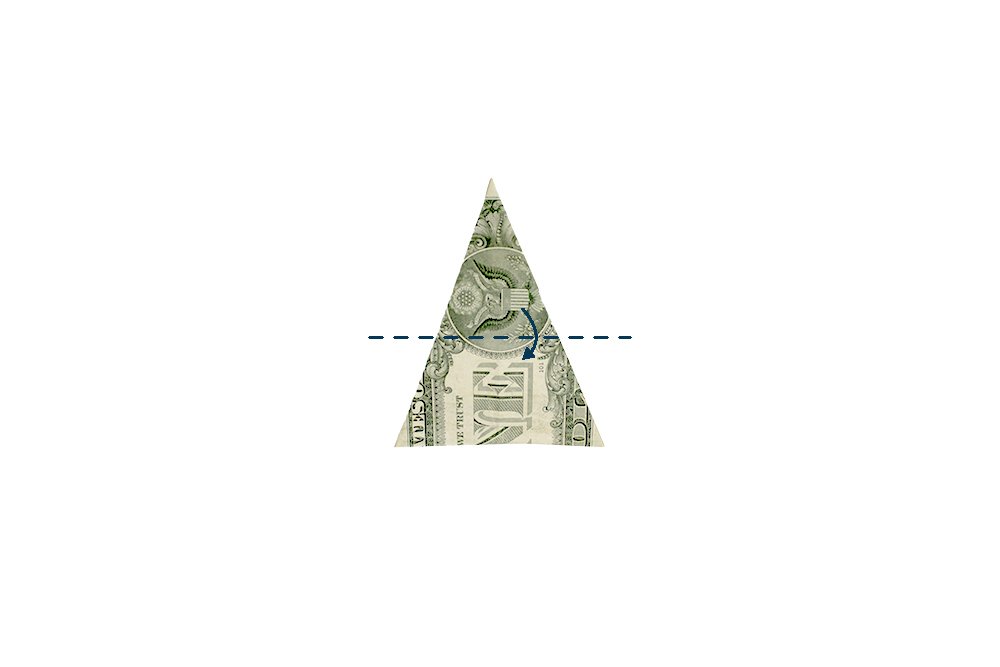
Fold the dollar tree cross in half. Do so by bringing the bottom corner upwards to the top corner.
Shape the dollar bill into a tree
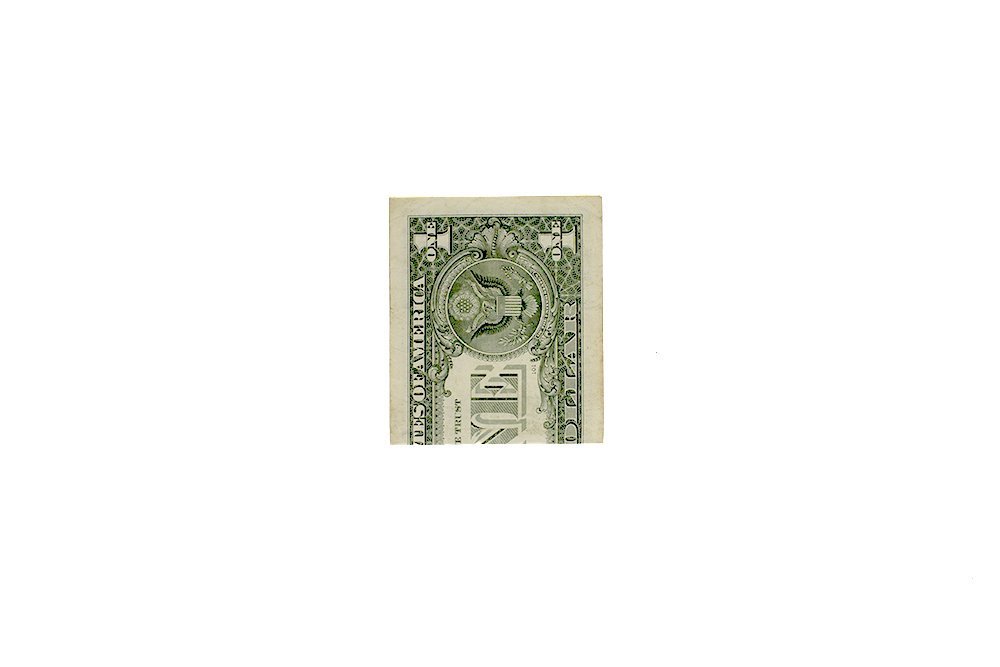
Fold the top layer downwards crosswise in half. Make sure to fold the top layer ONLY.
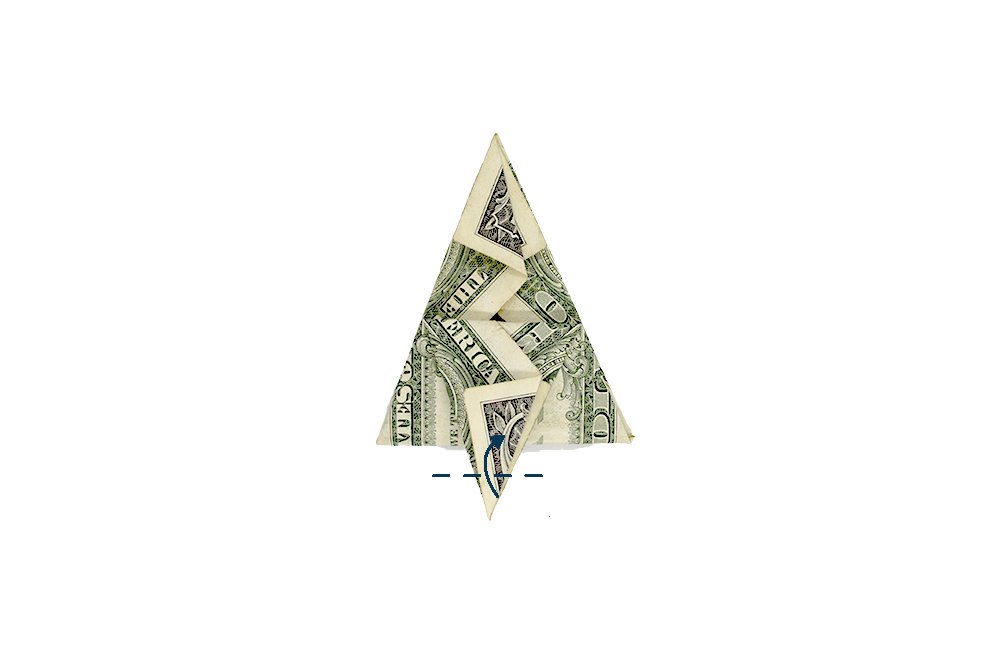
Bring the bottom corner upwards. It's up to you how long or short the trunk of the dollar tree you want it to be.

Turn the dollar bill to the other side.
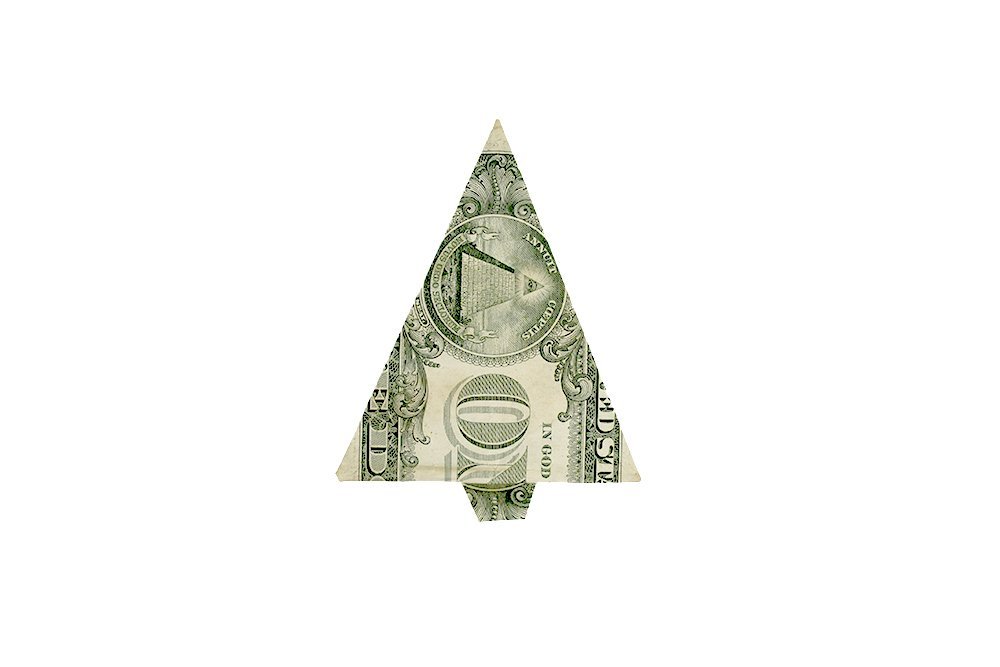
Your Origami Dollar Bill Tree is done. Decorate it however you like like a Christmas Tree.
Extra Tips
- Don't have a dollar bill on hand? No worries! You can use any paper bill currency you have or available in your country. What's great about most paper money is that it's durable to be folded and turned into anything.
- Besides paper money, you may do this on origami paper or any paper that can withstand folding multiple times. Cut a piece of paper with a 1:2.35 ratio and you're good to go! Have fun folding!


Lovely Tree!!!!
Nice one!
Nice! will insert this with a card!
Thank you, what an informative hassle-free guide 😁
Been wanting to learn this since i was a kid, kinda shove it back but now i got you!! wahaha
shove it back?
wonderful!