Introduction:
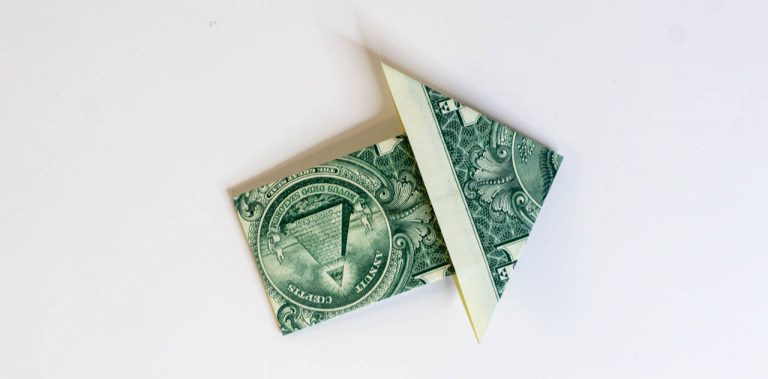
In this tutorial, we’ll learn how to make an origami arrow from a dollar bill. This is a quick and easy paper activity for kids and beginners, this instruction is short and simple.
If you are just starting out with origami then the arrow dollar bill fold is recommended because it’s easy and quick to make. So what are you waiting for? Go grab a dollar bill or a piece of rectangular paper and let’s start folding.
Make Creases In the Dollar Bill
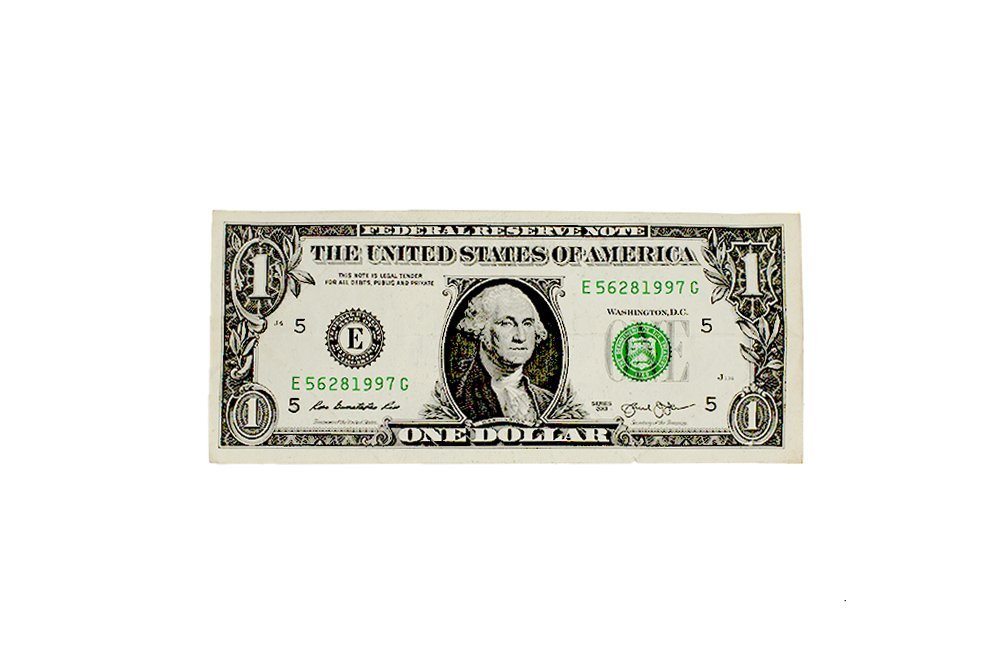
Get a dollar bill or a piece of paper with the same dimensions of a dollar bill. Lay it flat on a table.
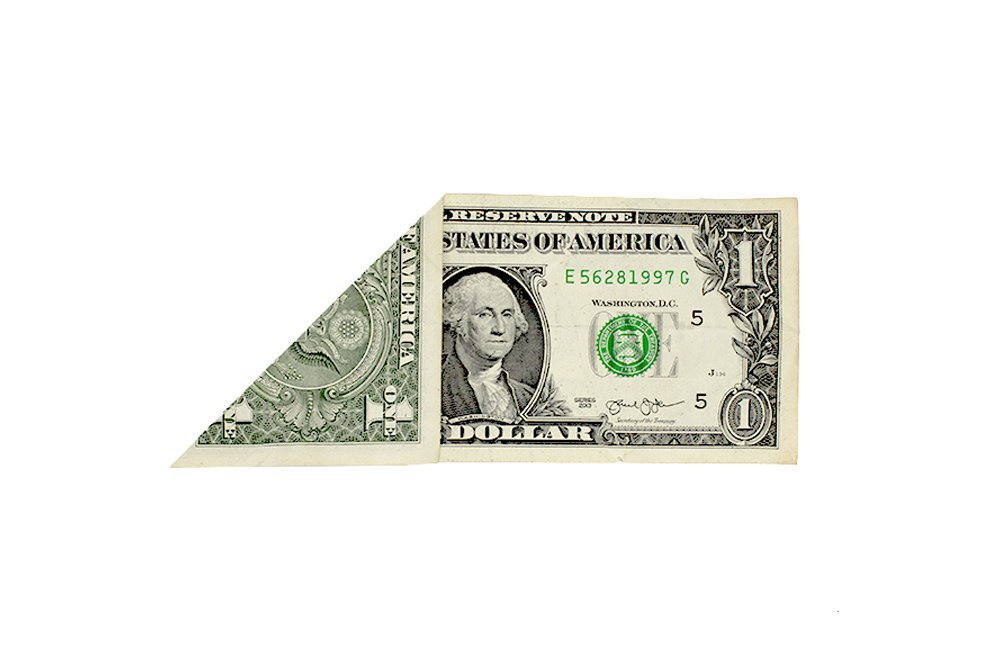
Then fold the left corner towards the bottom edge. Apply enough pressure so that you can leave a nice crease mark.
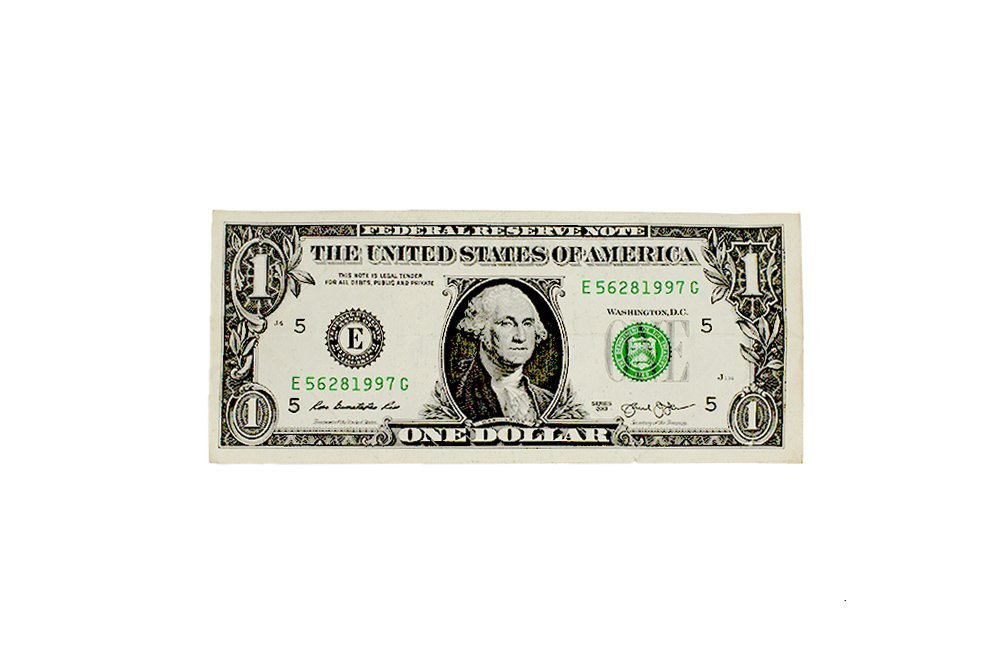
And then unfold the dollar bill.
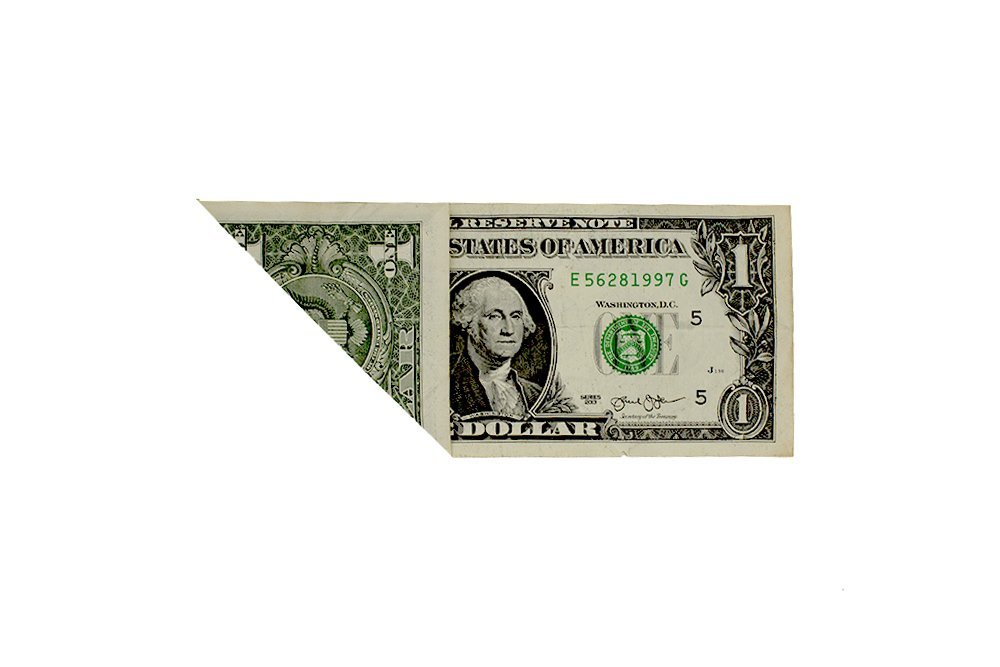
After unfolding, your next step is to work on the bottom left corner. Fold it towards the top.
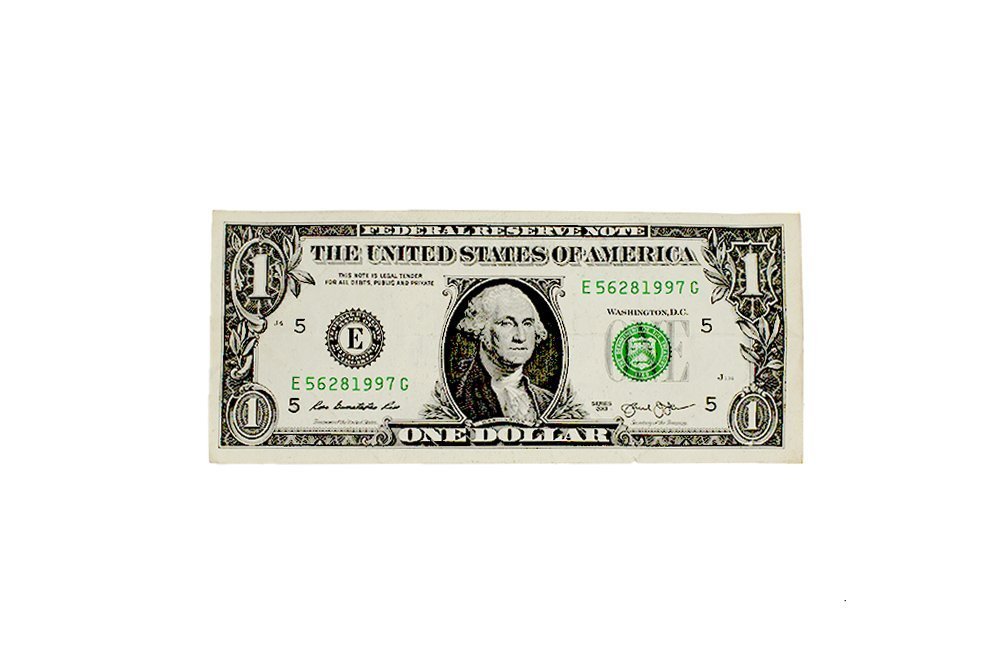
And just like last time, unfold it.
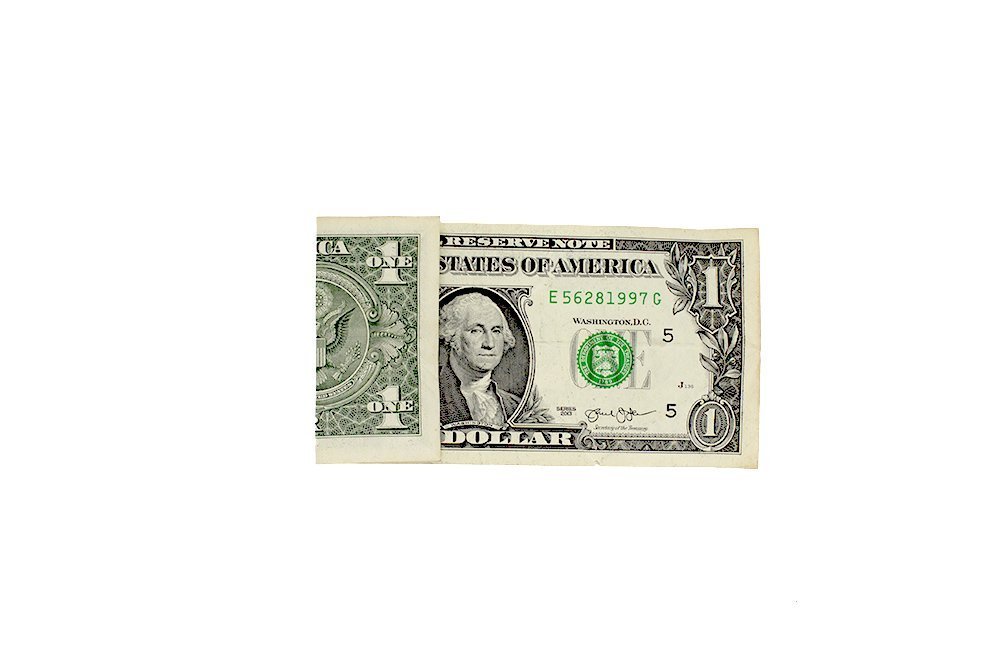
You now have two intersecting diagonal crease marks. Fold the left edge towards the right and fold it in the intersection between the diagonal lines.
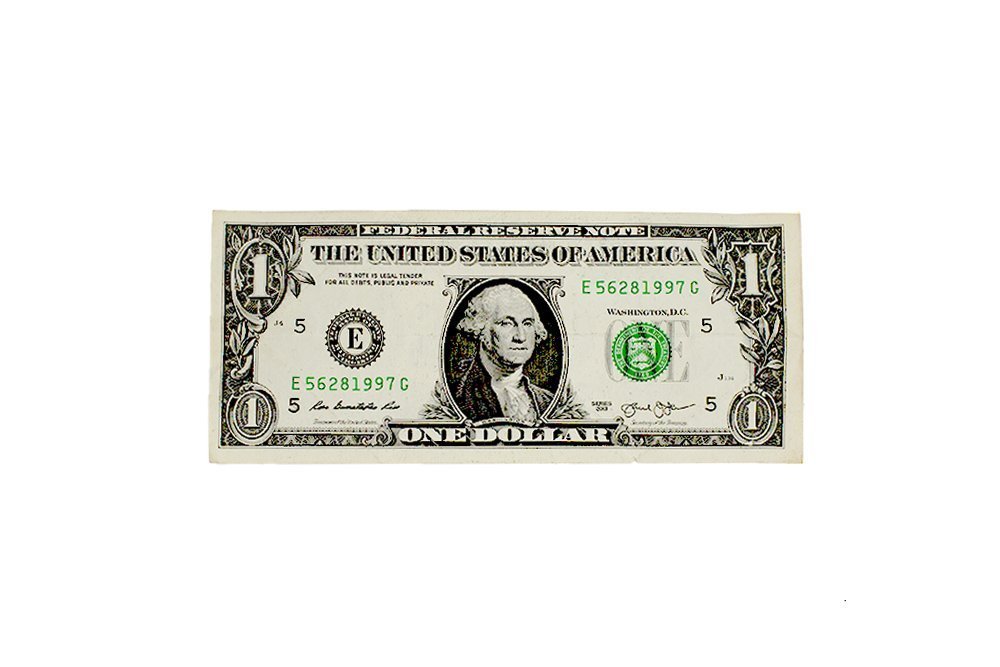
Lastly, unfold the paper again. You have now made the necessary crease lines to proceed to the next steps.
Make a Triangle on the Left
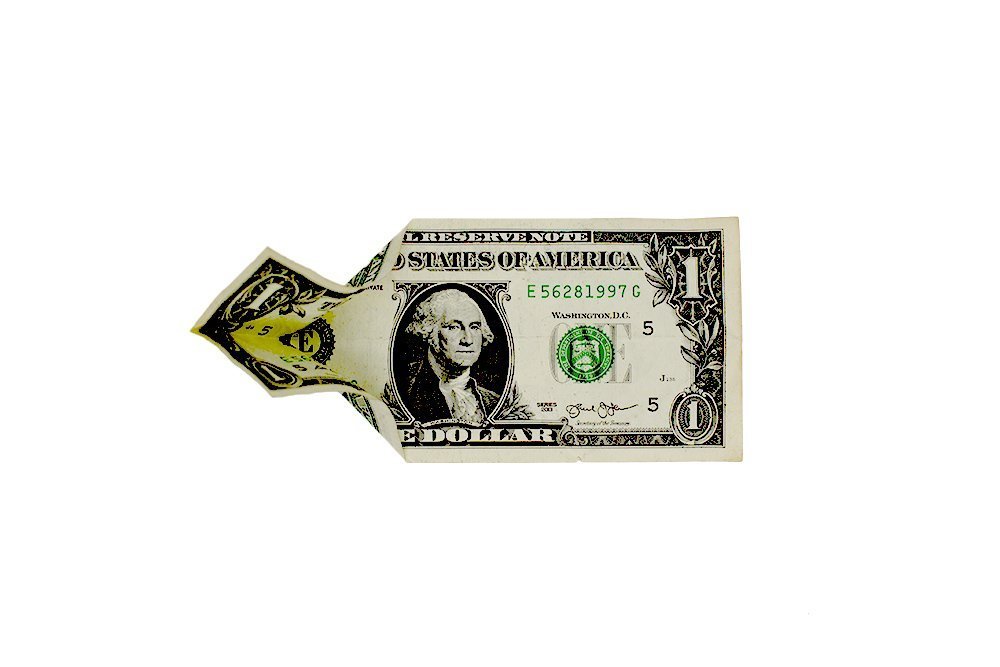
Now, what you are going to do would be easy if you've done it before. Lift the left side of the paper and pinch that part towards the middle horizontal line.
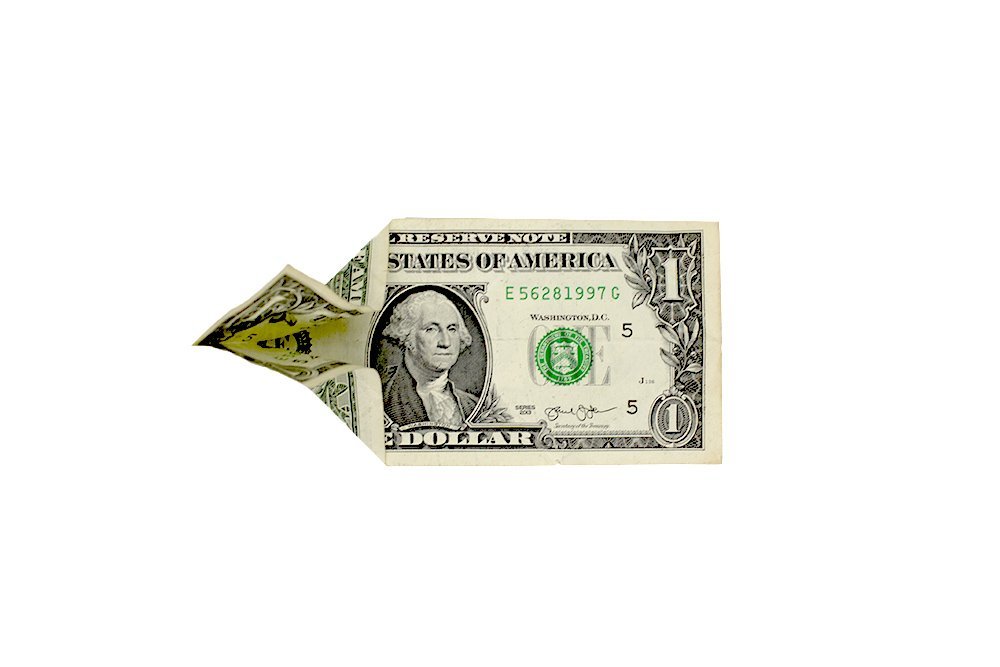
And bring it towards the right side while utilizing the natural inclination of the paper to be folded in a certain way.
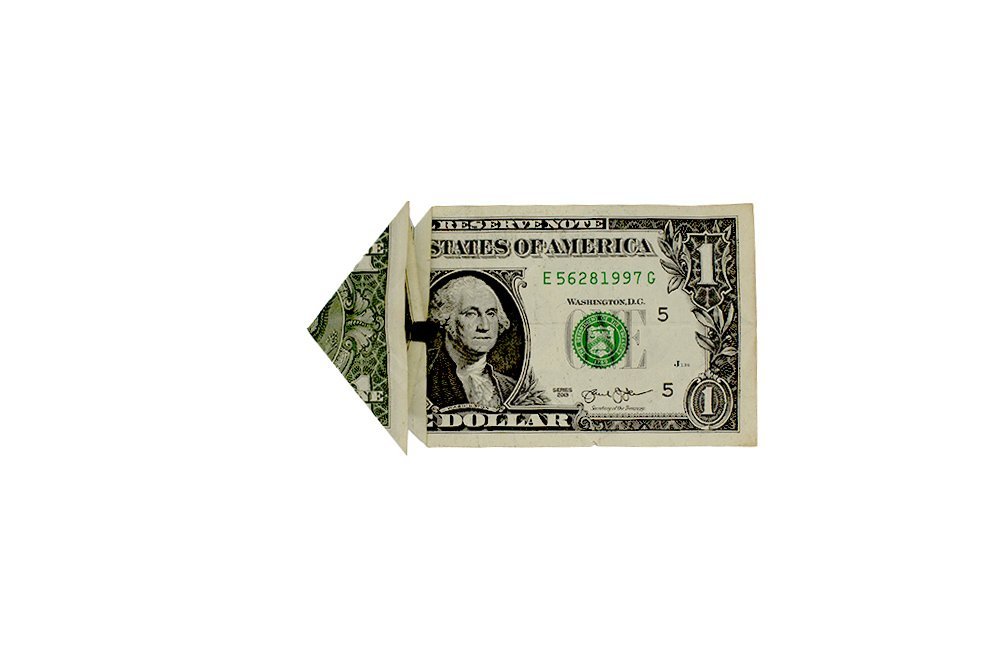
Because of the crease marks, it will be easy to flatten the left side. You've effectively made a waterbomb base at this point. Now, it is time to move on to the next set of steps.
Finally Fold the Bill into an Arrow
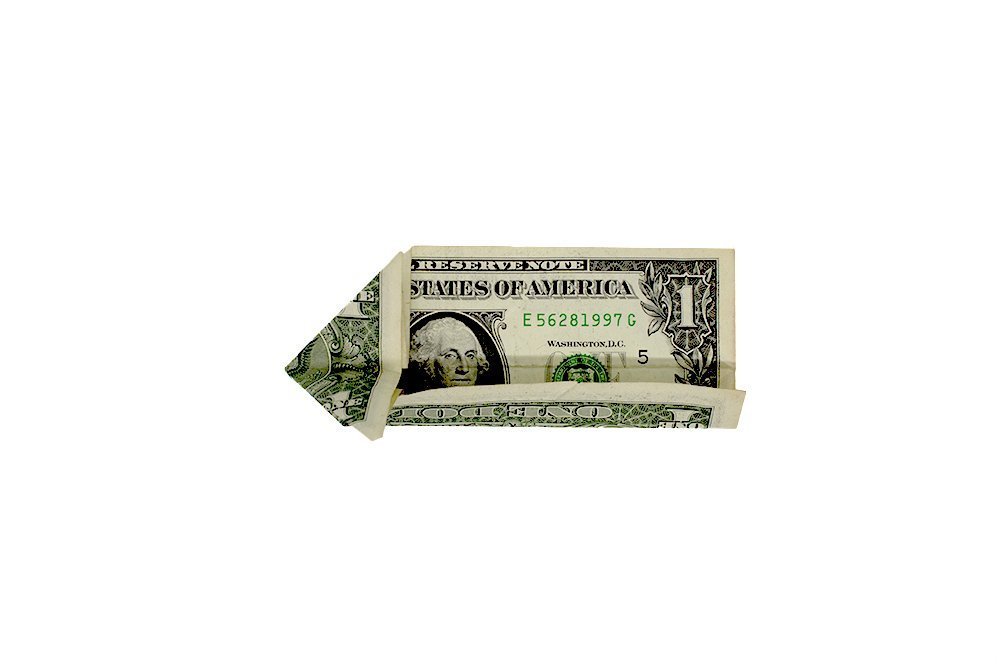
Then what you have to do is make the arrow narrower. Lift up the bottom triangle and start to fold the bottom edge of the arrow.
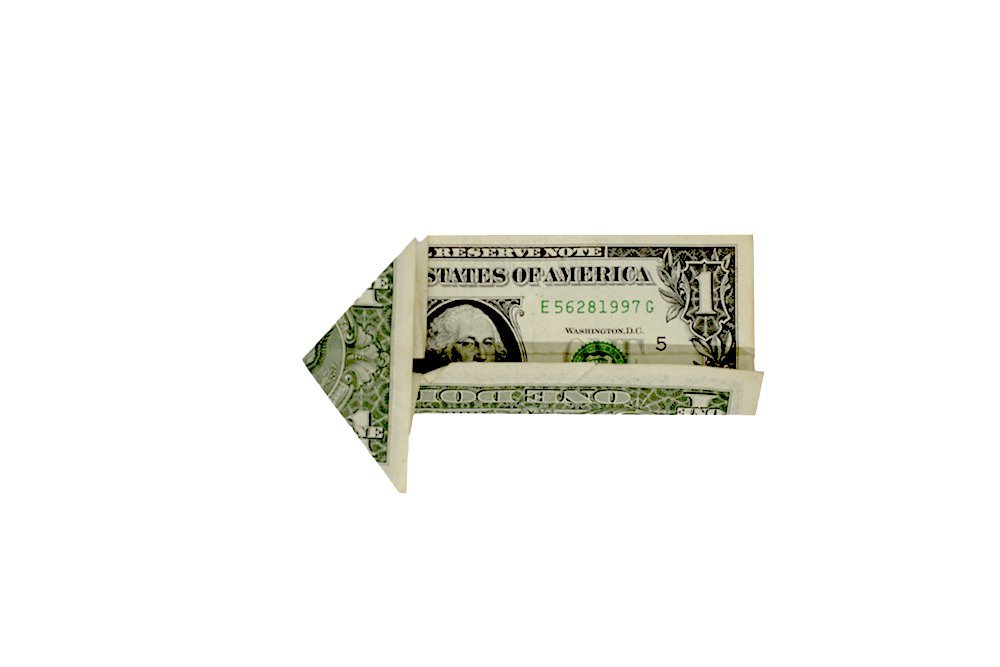
And restore the arrow head to its original position.
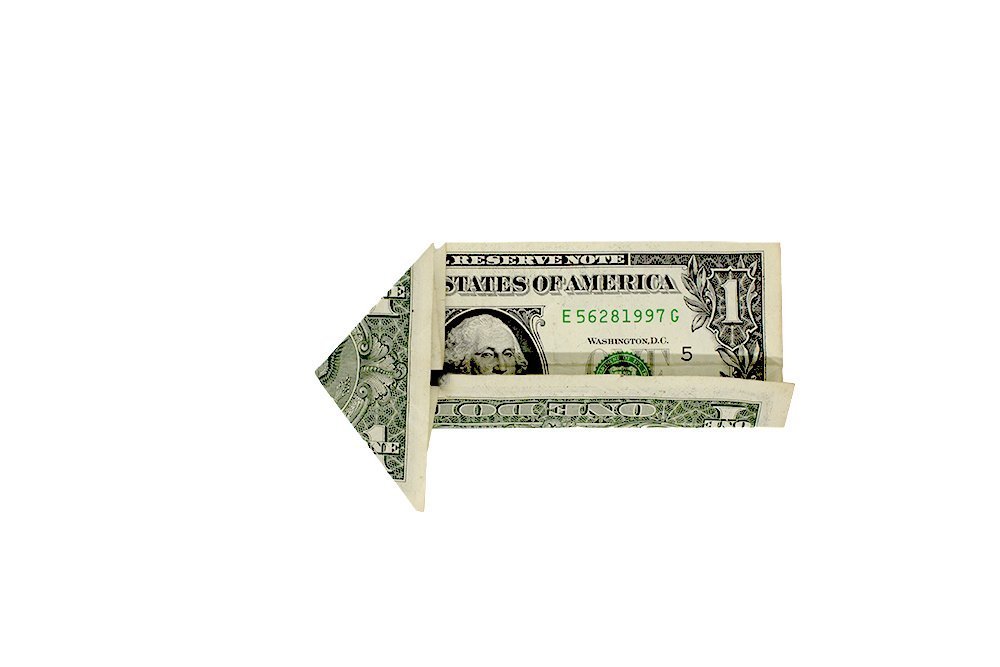
Then full fold the bottom edge fully
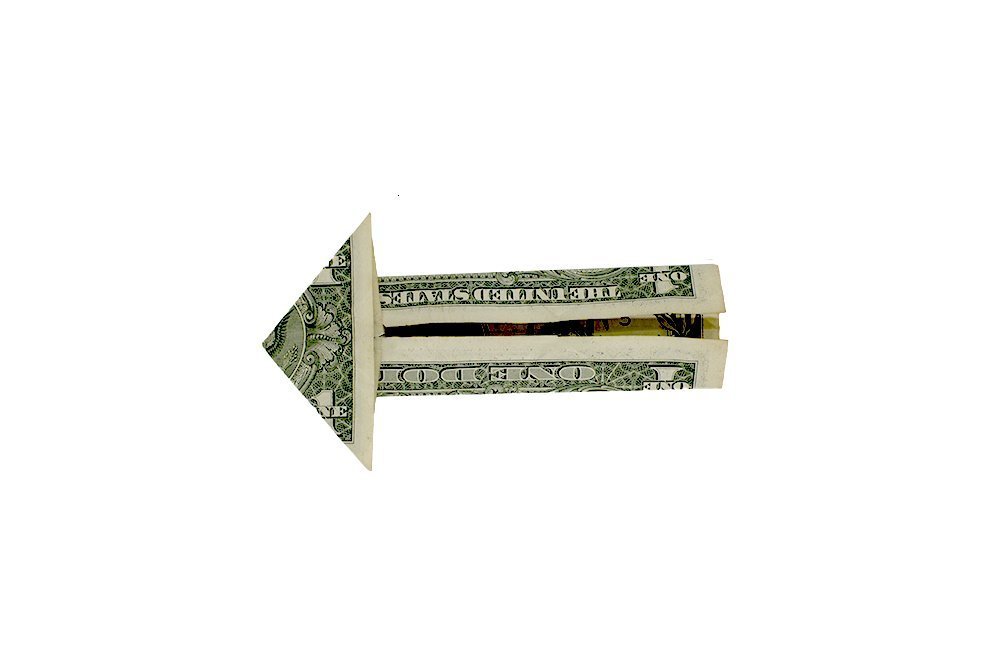
Then do the exact same process for the upper edge.
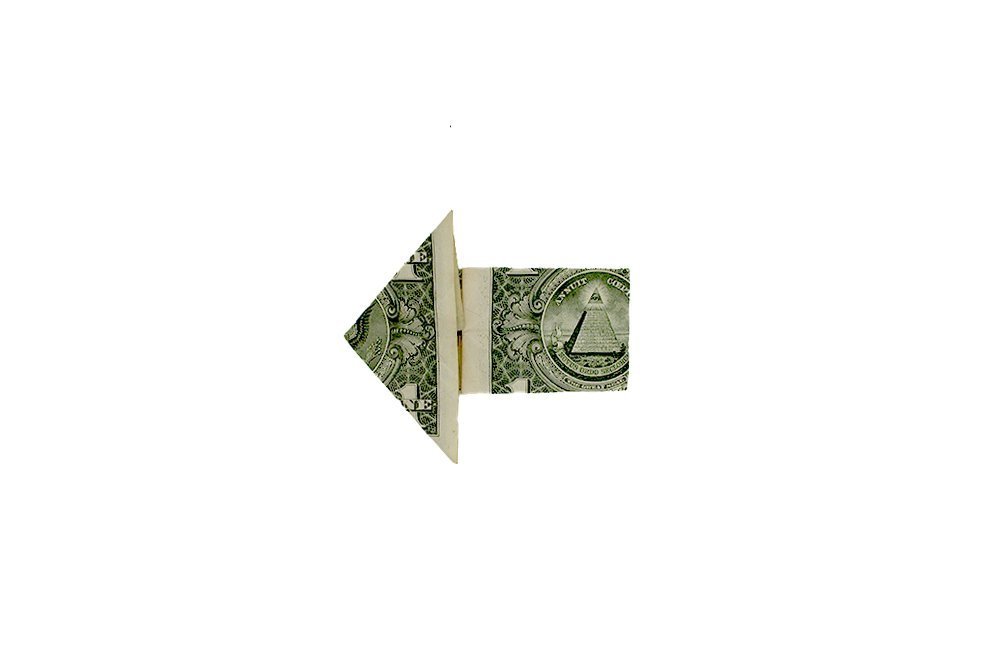
Next, fold the right edge towards the base of the left arrow.
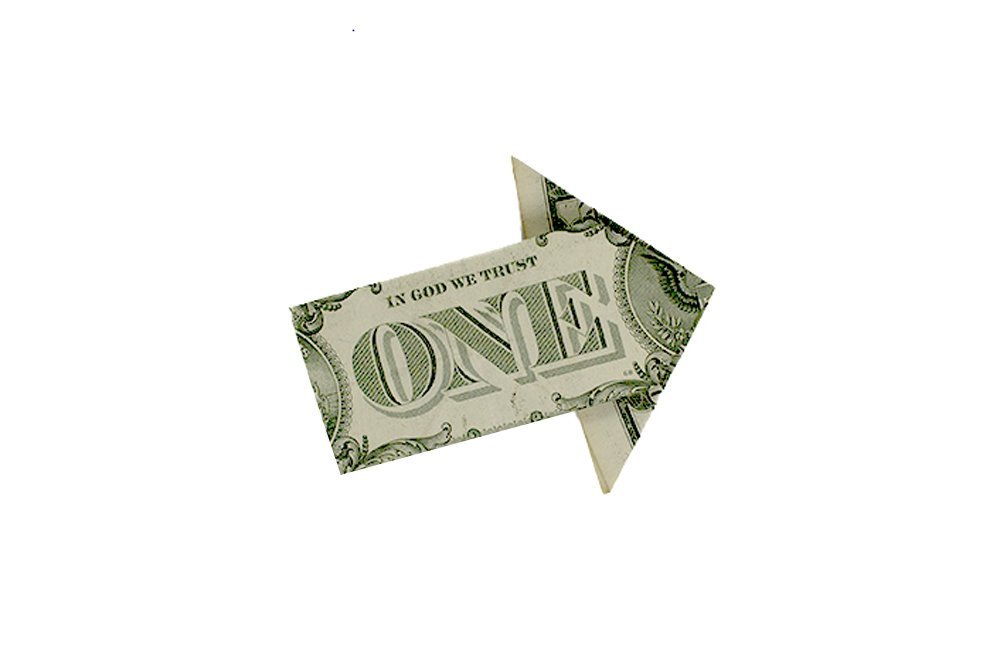
And you are done! Congratulations on making your first origami arrow. For more awesome dollar folding instructions, check out the guide below.
Extra Tips
- Make sure to crease everything properly.
- Disinfect your hands after folding the bill.
- A wrinkly bill won't look good but you can iron it first.

