Introduction:
Creating a cross from a dollar bill can be easy. By following the tutorial below, you can have a unique version of an origami cross. If you don’t want to use a dollar bill for this activity, then it’s fine. You may use any piece of rectangular paper that you prefer.
The origami, once mastered, can be completed in less than two minutes. It’s easy to make too. And if you want a different type of dollar bill cross, you can check out our inscription cross fold.
Have fun reading!
Make some crease marks on the dollar bill
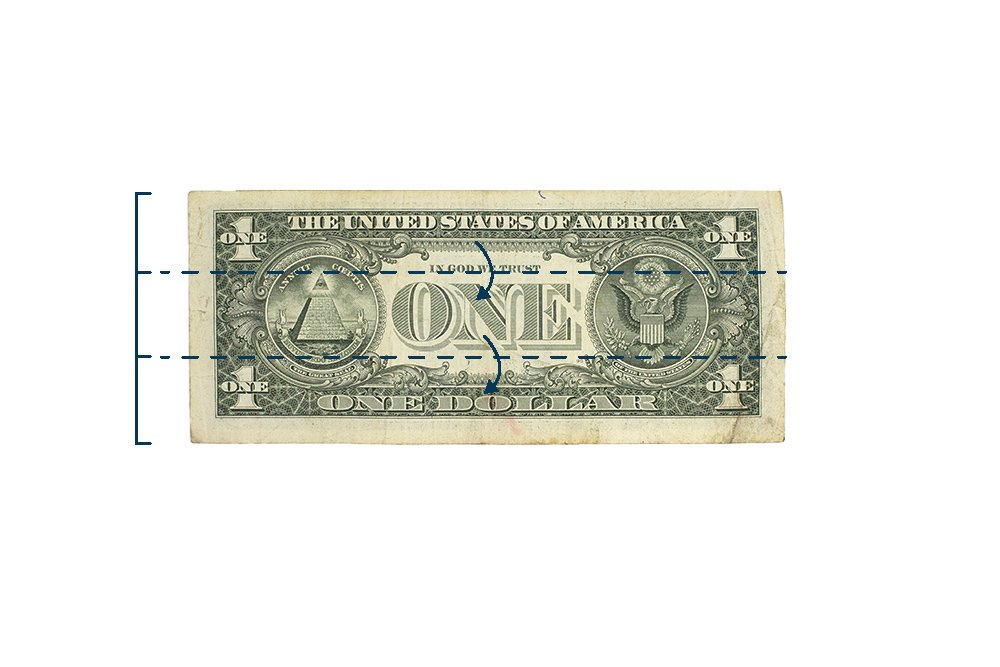
Lay a crisp dollar bill in front of you on a table in front of you. The first thing you need to do is to make two creases by folding along the dashed lines.
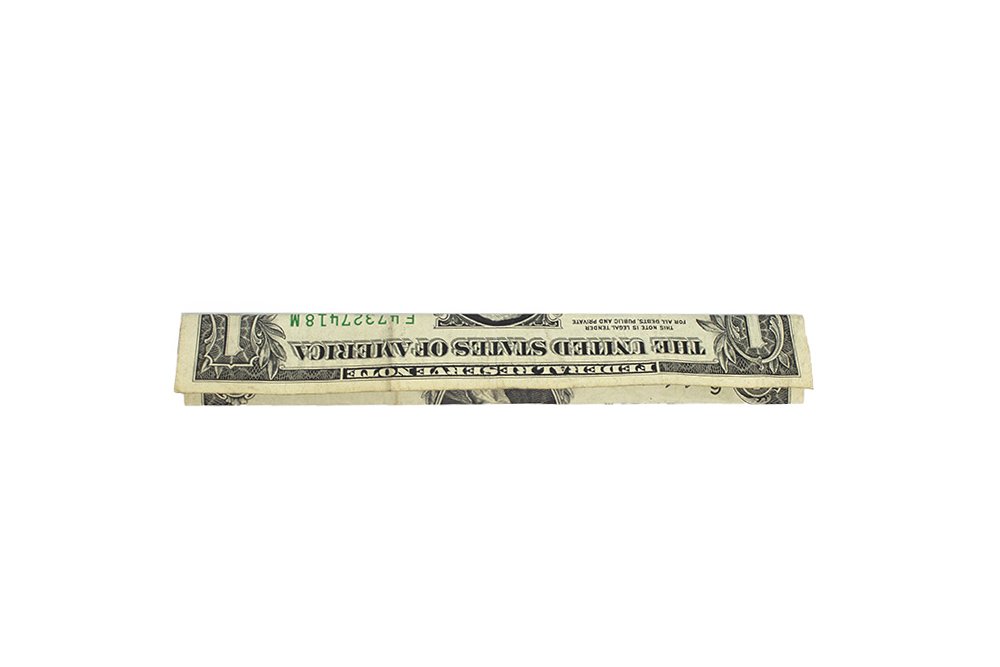
Crease the dollar bill and then unfold.
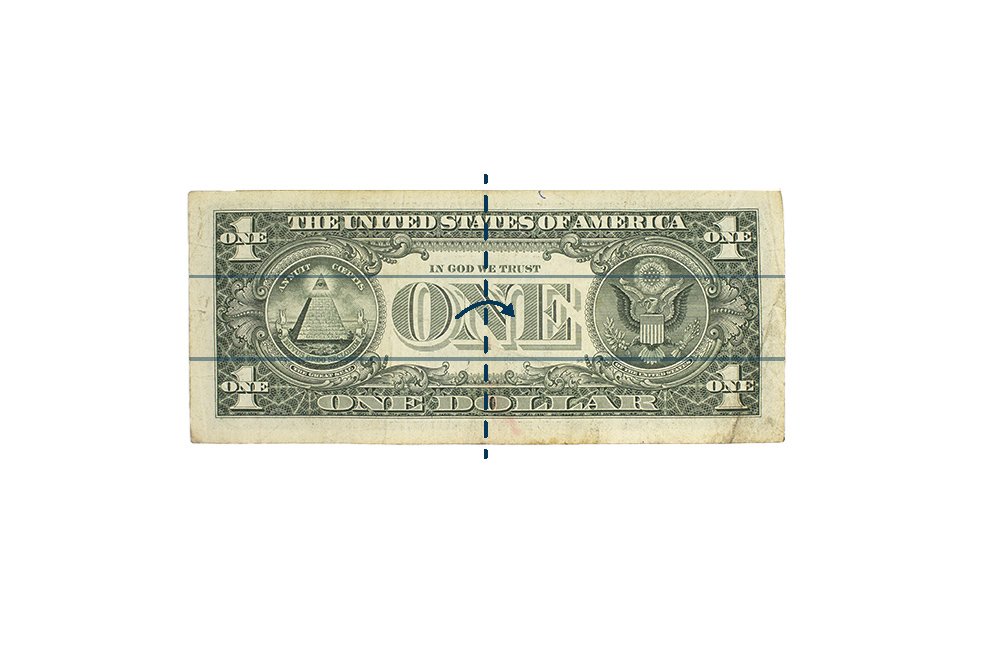
Bring the left side to the right side of the dollar bill.
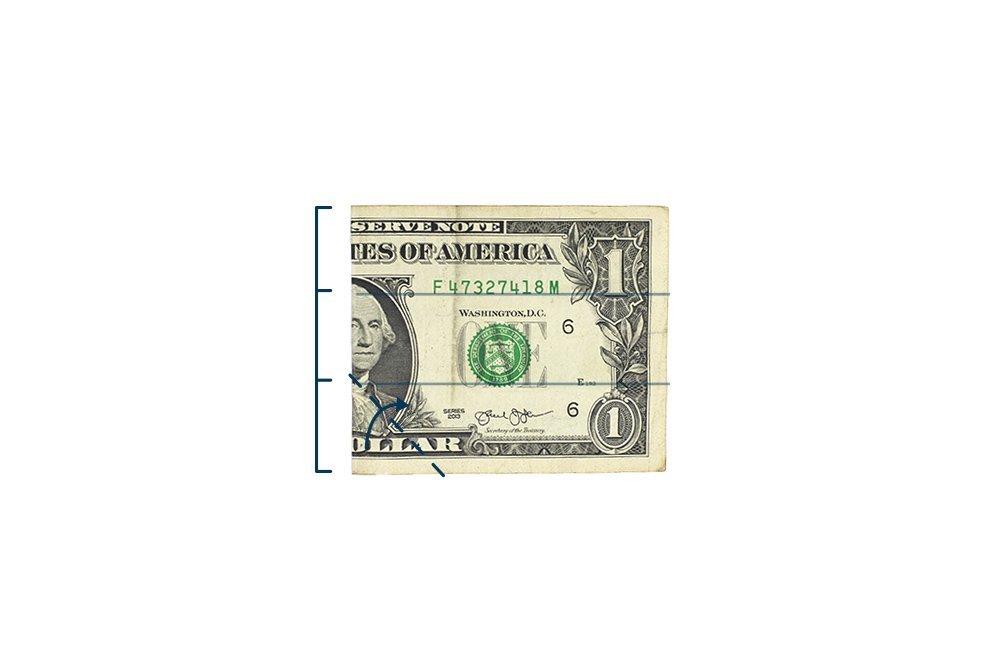
Diagonally fold the left bottom right corner along the dashed line. Keep in mind that the length of the dashed line is 1/3 the height of the dollar bill.
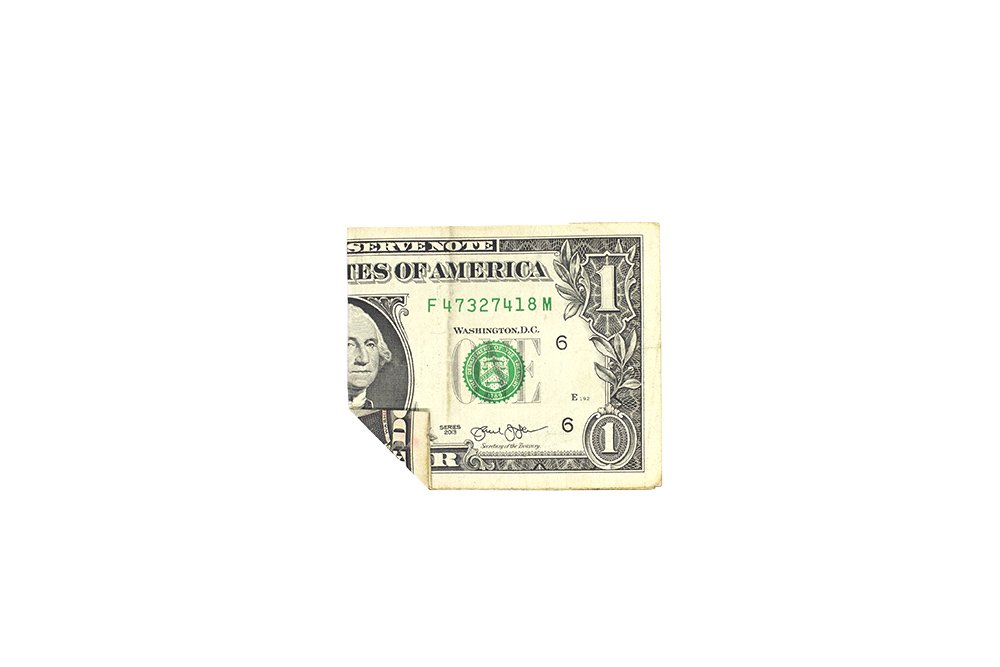
Unfold the diagonal fold that you made. Good, you now have made a few creases so it's time to move to the next set of steps.
Fold the dollar bill into a smaller rectangle
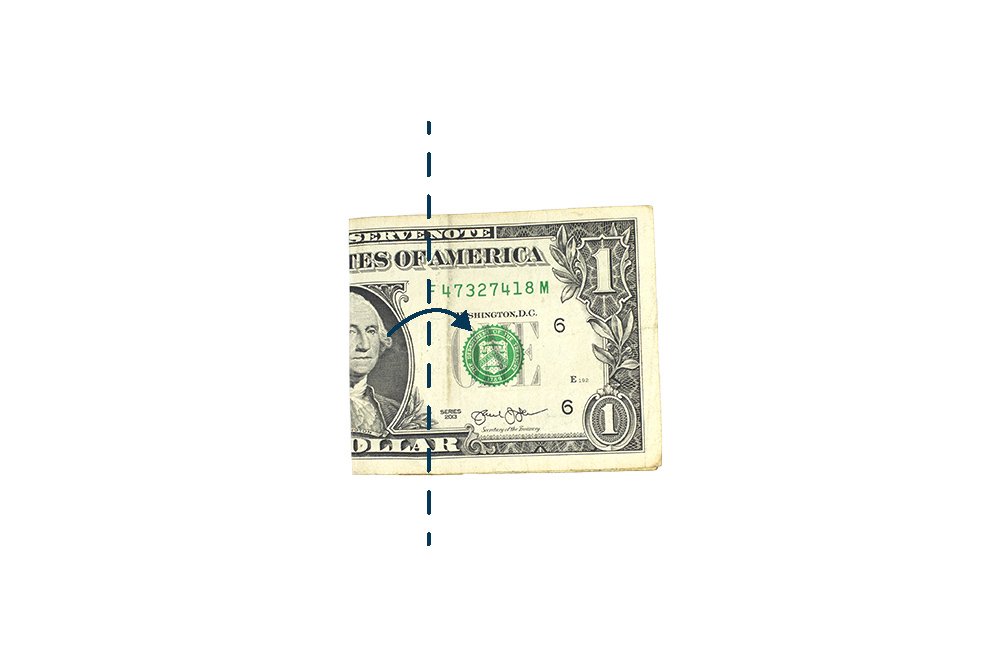
Fold in the left side of the model. The width should be the same with the width of the triangle.
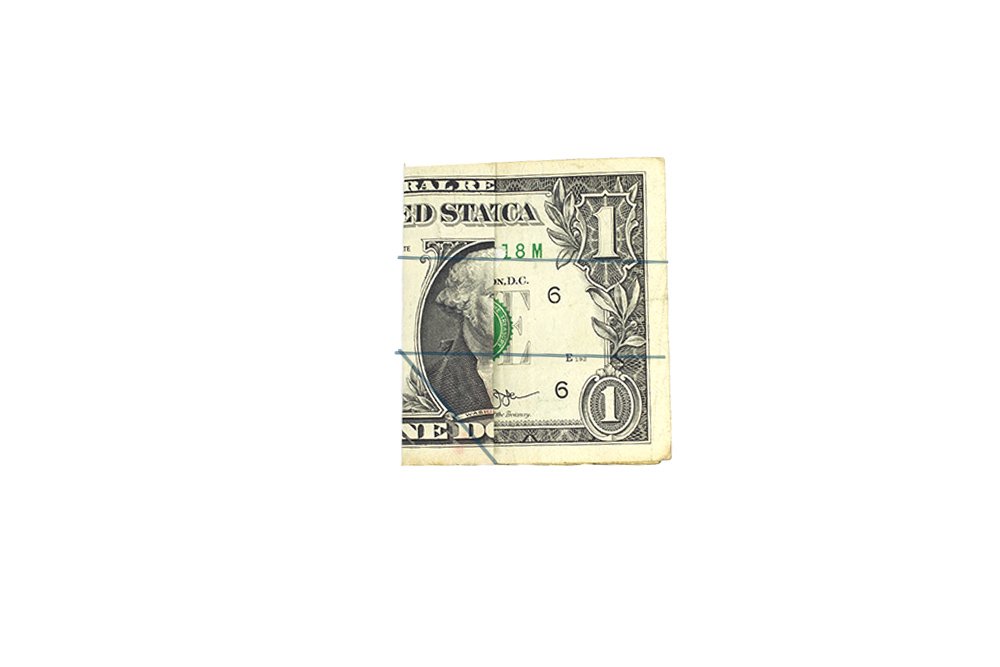
Turn the model over.
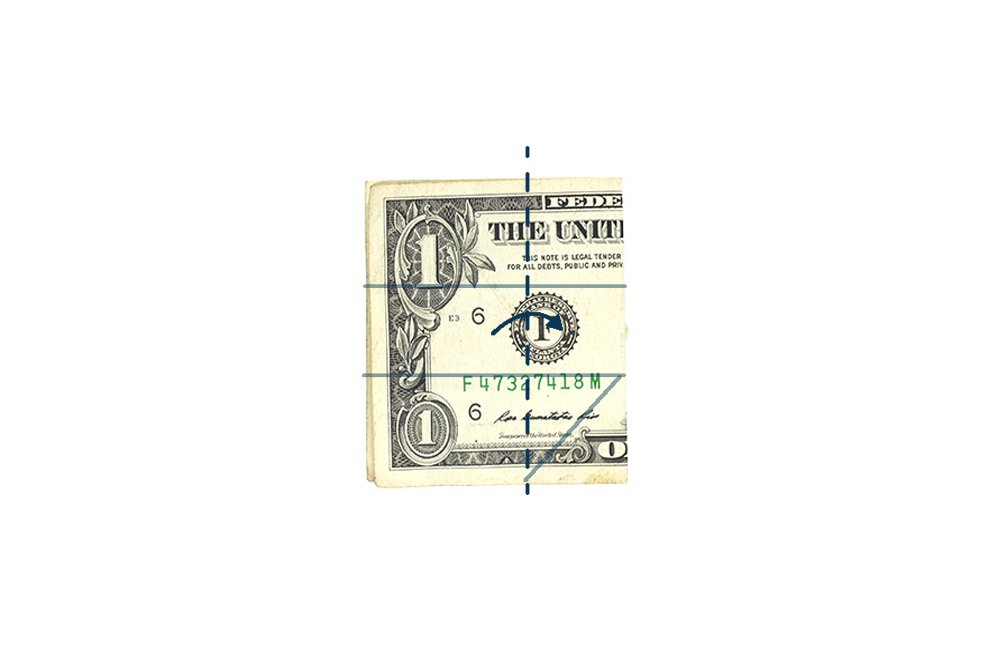
Fold the topmost layer to the right along the dashed line.
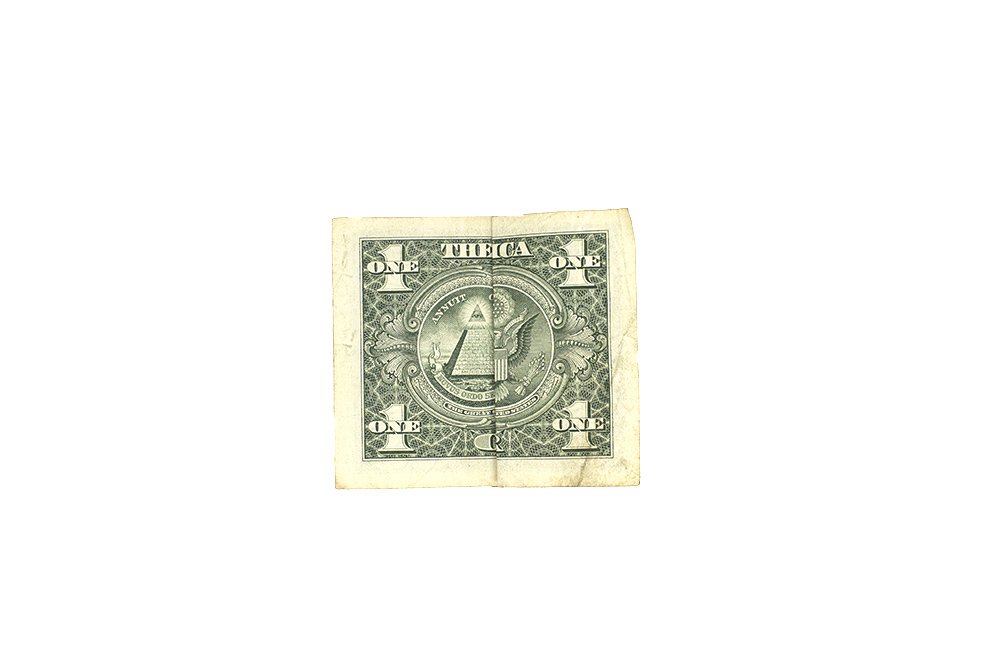
Rotate the dollar bill 90 degrees counterclockwise.
Shape the top part of the money origami cross
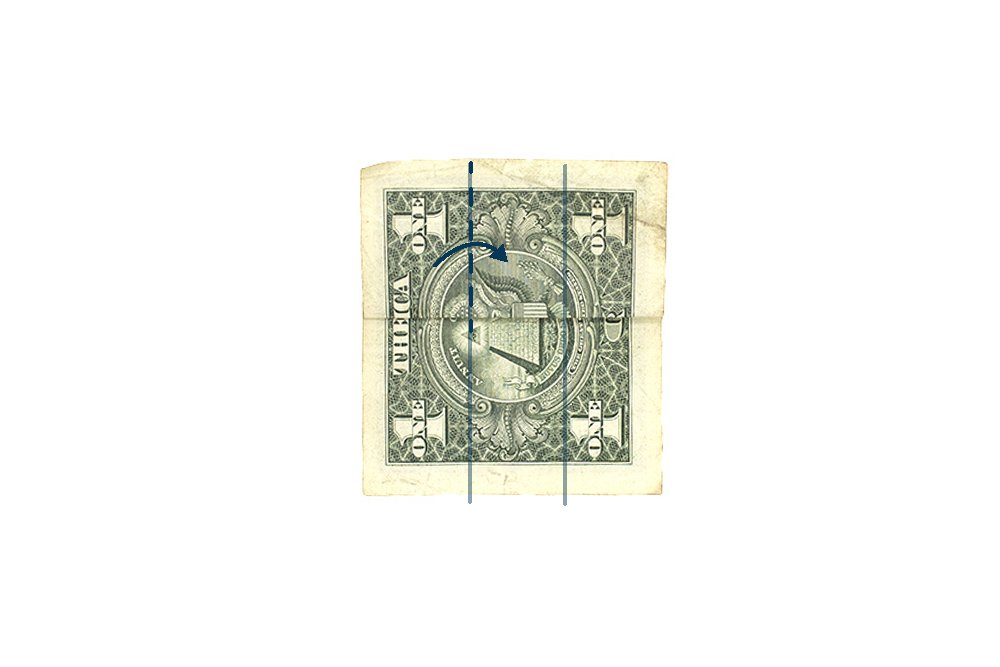
Fold the top left corner of the dollar bill towards the right side. Again, use the crease marks you made earlier as a guide.
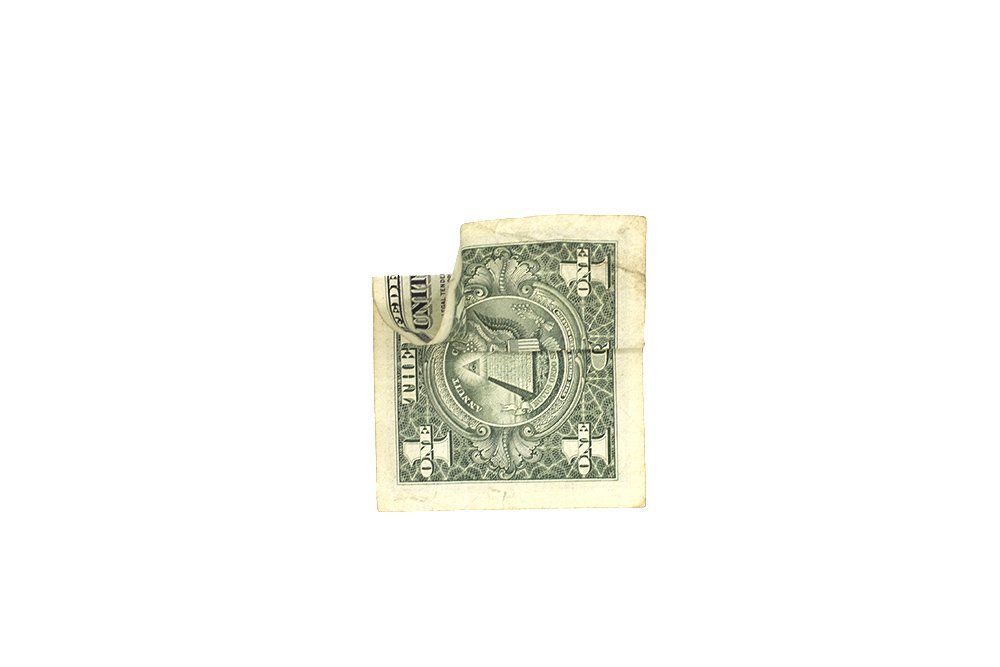
In transition, it looks like this. Keep bringing it to the right and then squash it down.
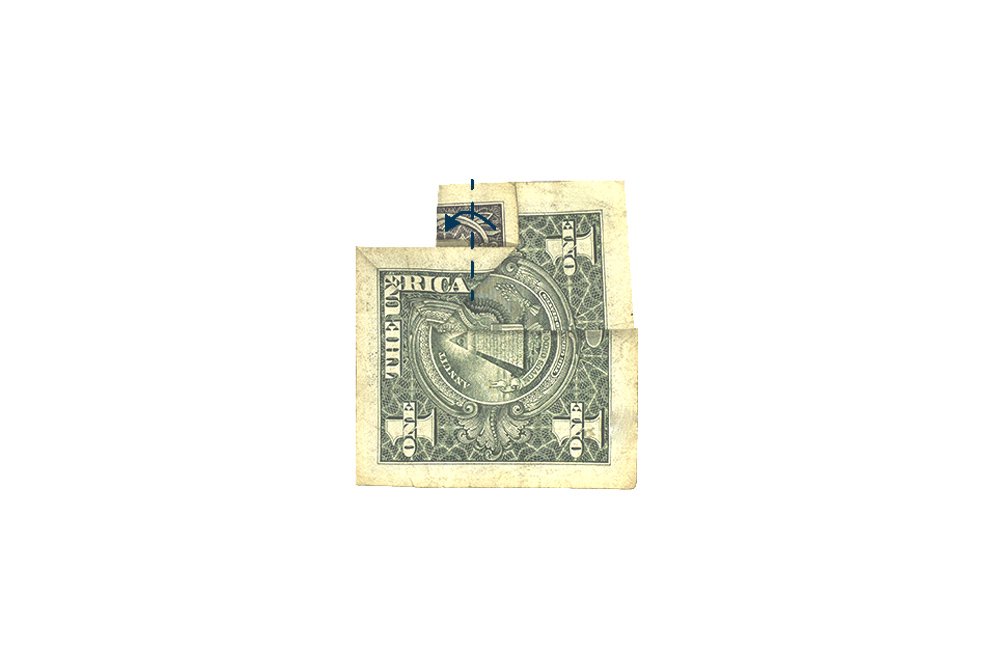
Fold the topmost left flap of the dollar bill towards the right side.

Once squashed, fold the right edge of the top flap along the dashed line.
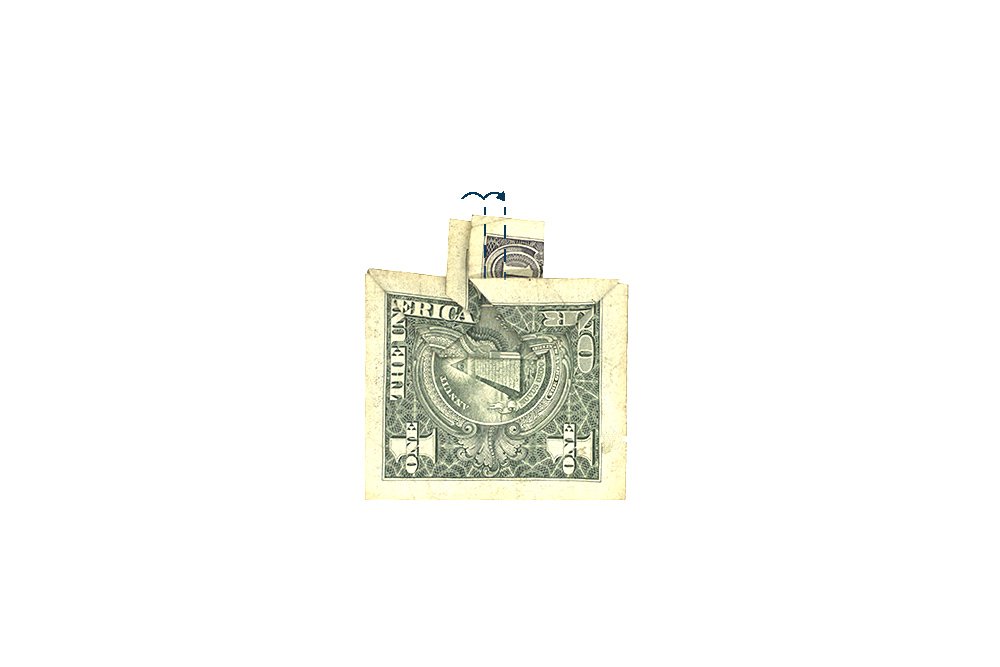
Fold the top and second layer (from the top) twice to the right. This will secure the top part of the cross.
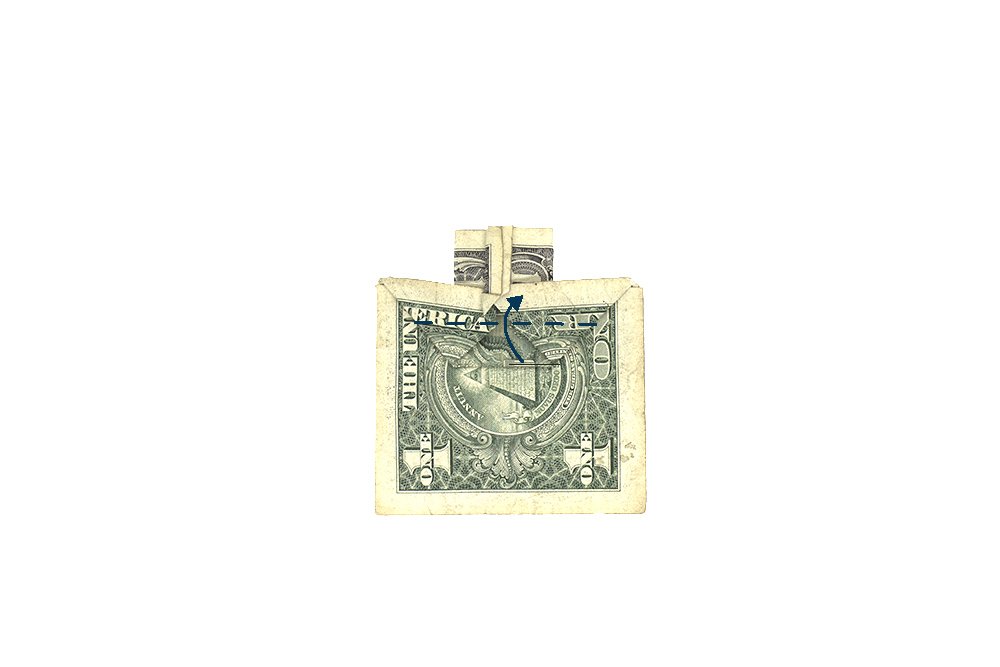
Fold upwards along the dashed line. Make sure to fold the flap only.

There’s an extra flap on the inside. Lift the flap up and pull outwards the extra flap.

Bring that extra flap to the front. That flap should now be the top layer.
Create the bottom part of the dollar bill cross
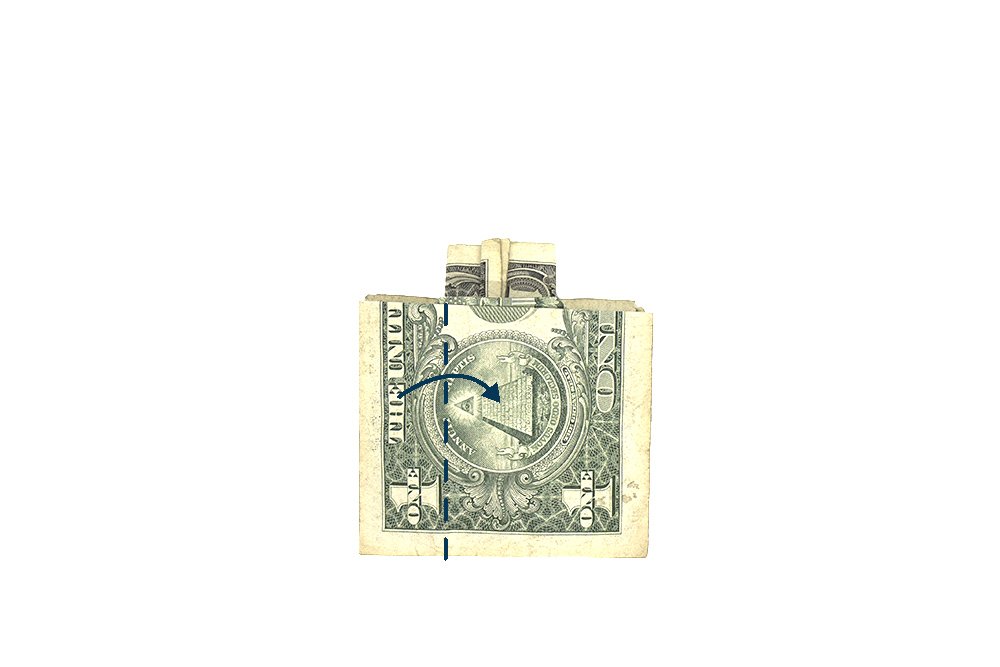
Bring the left edge to the right along the dashed line. As you bring it to the right, squash it.
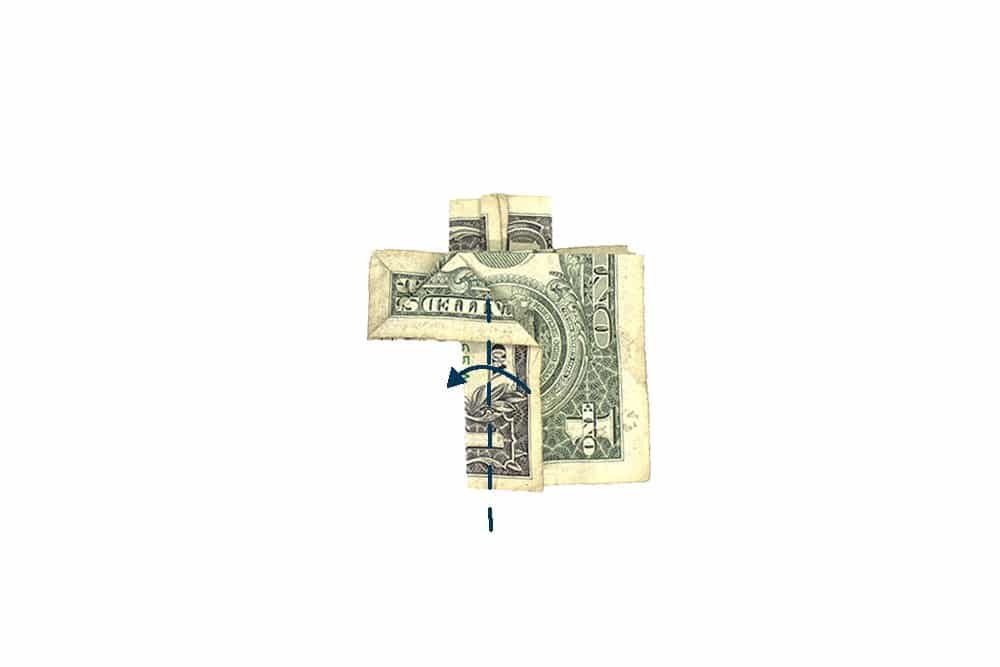
Fold the topmost left flap of the dollar bill towards the right side.
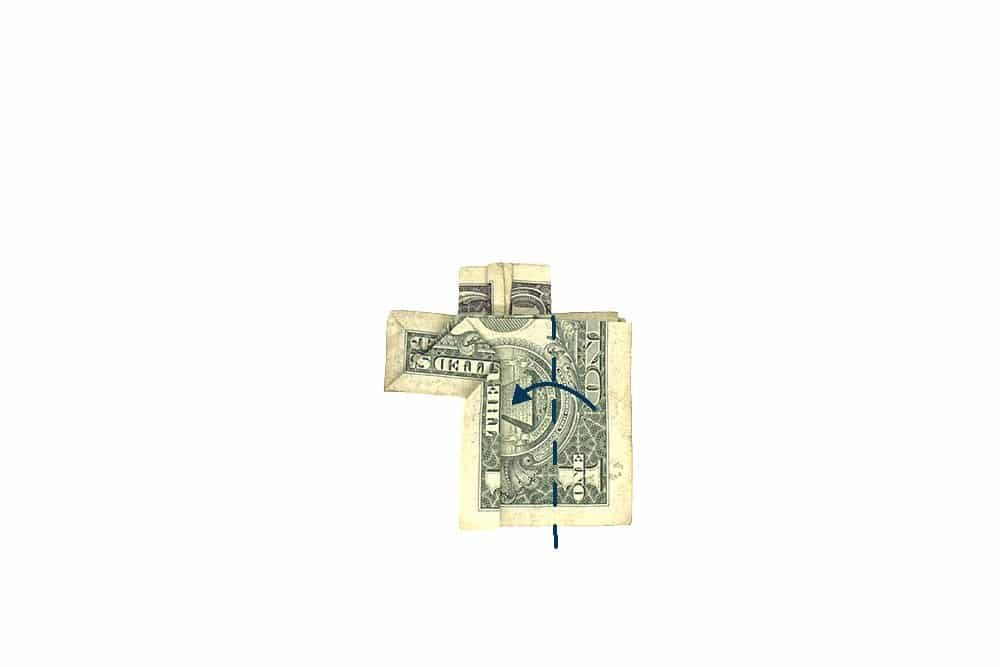
Do the same on the right edge as well.
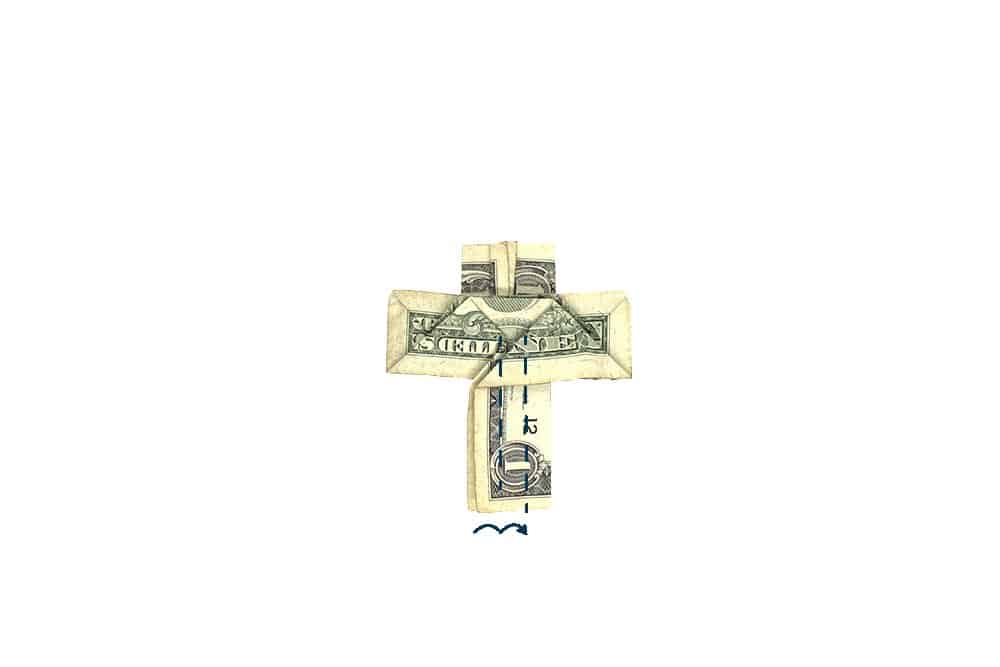
Secure the bottom part of the cross by folding the top and second layer (from the top) twice to the right.

Secure the middle top flap by folding it downwards twice.
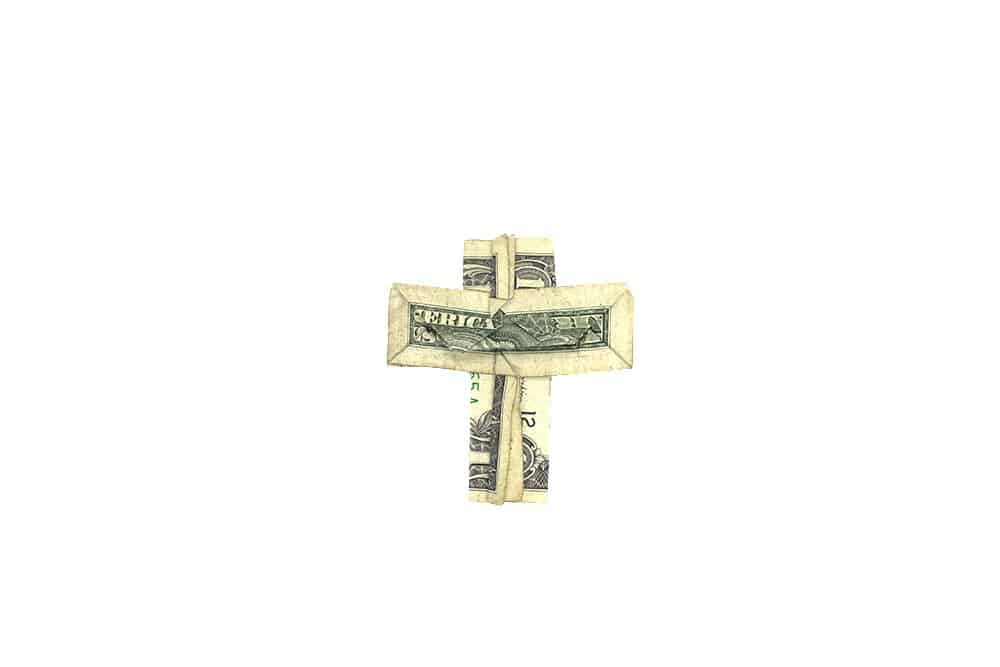
Flip the dollar cross to the other side.
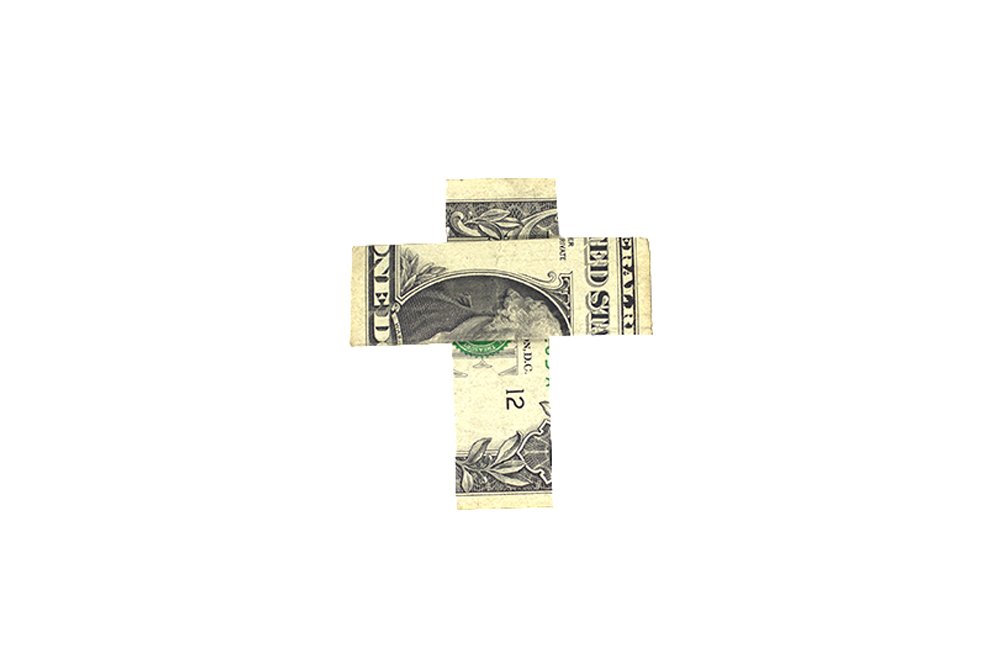
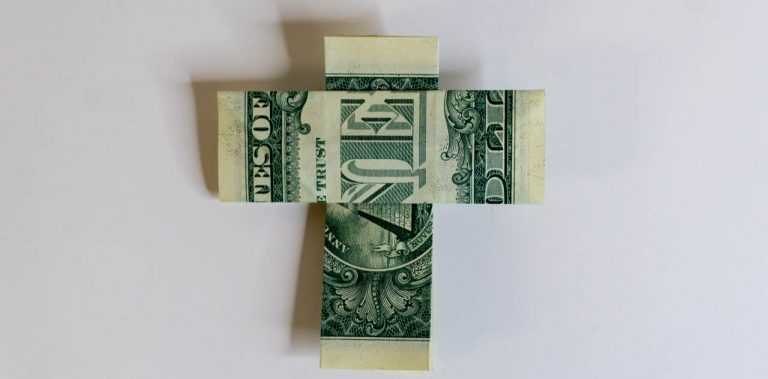
Your origami croos made from a dollar bill is done!
Extra Tips
- It's important to make the creases properly. Apply enough pressure.

