Simple Paper Airplane Tutorial With Pictures- Dollie

Introduction:
The Dollie is a glider that is based on the standard glider. For this paper, however, the snout is bent over which makes the plane glide much better. The bent snout ensures a more top-heavy flight, which can prevent the plane from drifting too much upwards and not flying straight ahead. The instructions are just as simple as those of the standard glider and should easily be understood by everyone.
Make a Triangle at the Top Edge
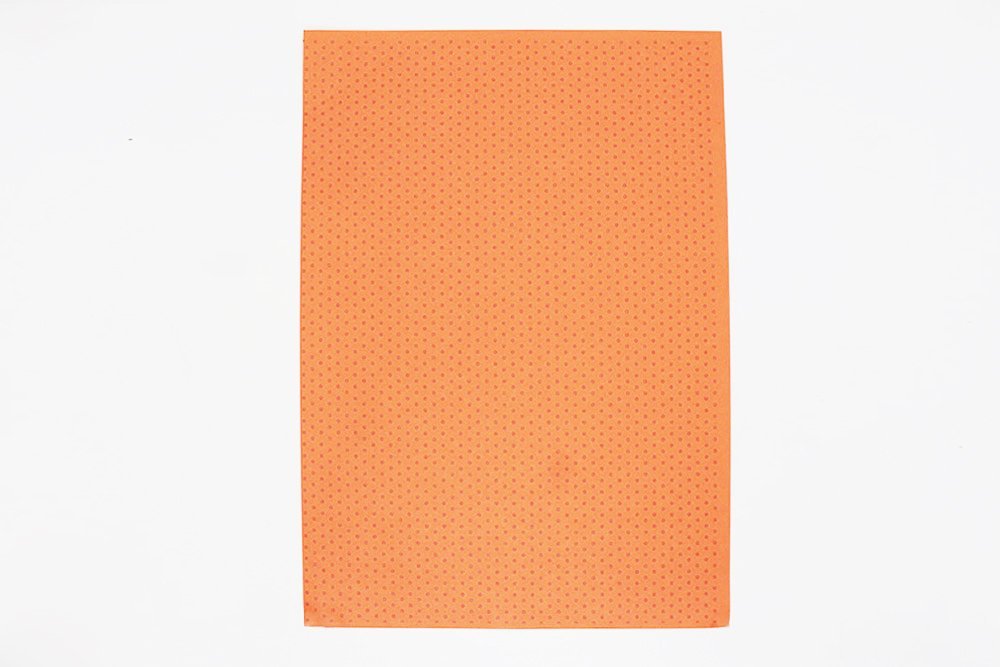
Lay the paper upright in front of you in a portrait position.
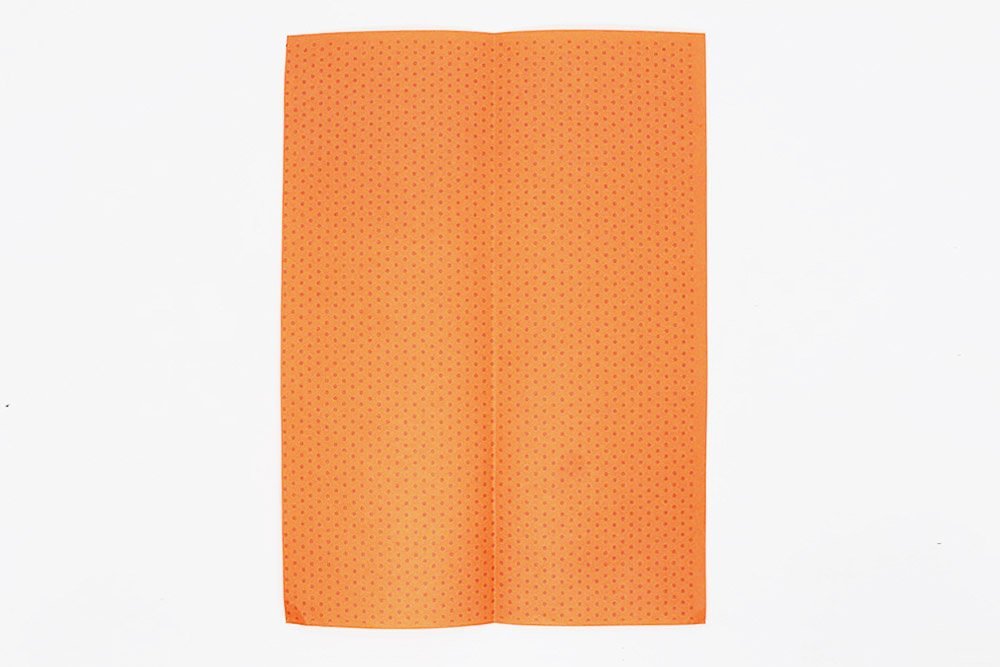
. And fold it in half. Crease the paper well and unfold.
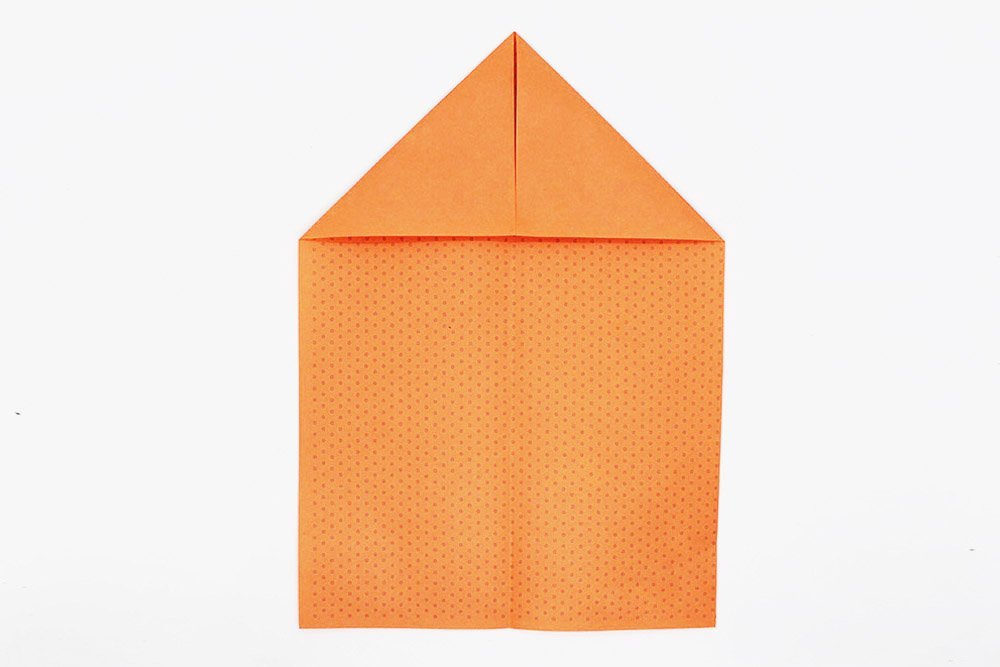
Fold the top corners to the middle crease line.
Fold the Edges and Corner
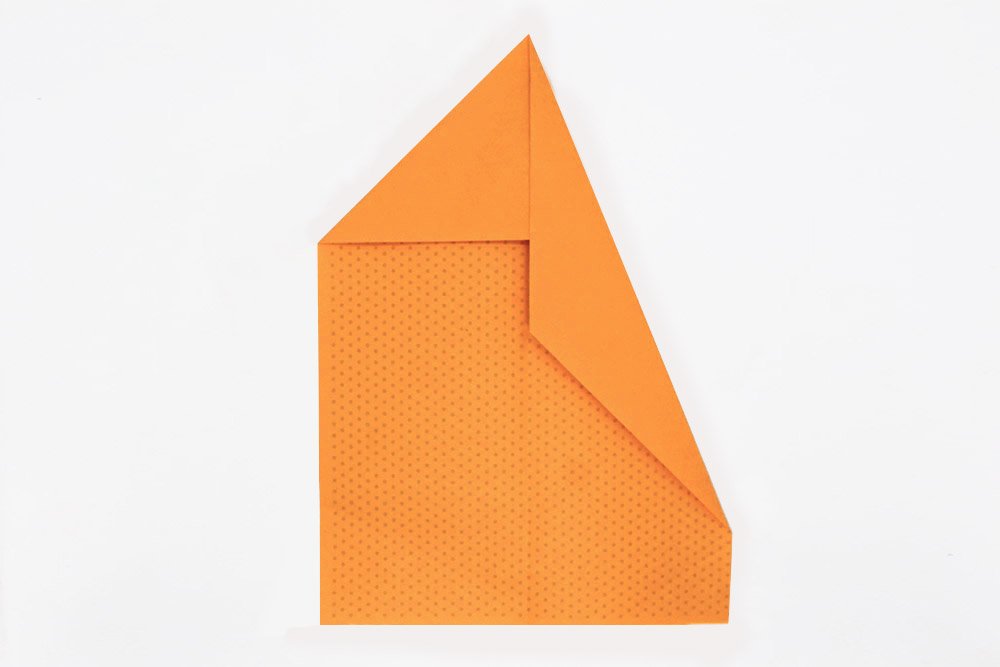
Bring the top right corner to the middle crease line.
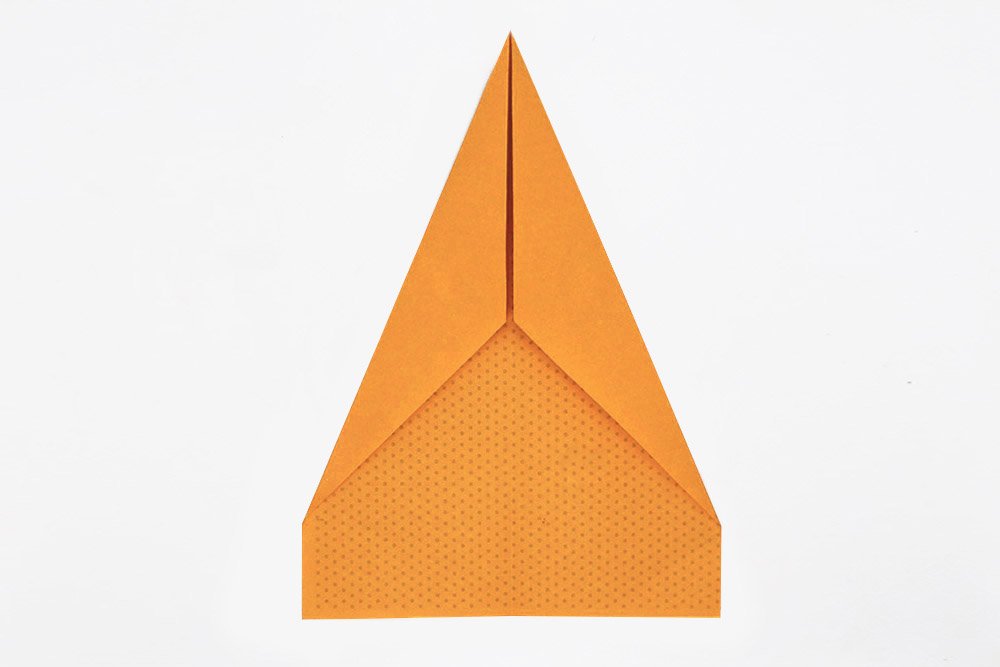
Repeat the previous step on the left side.
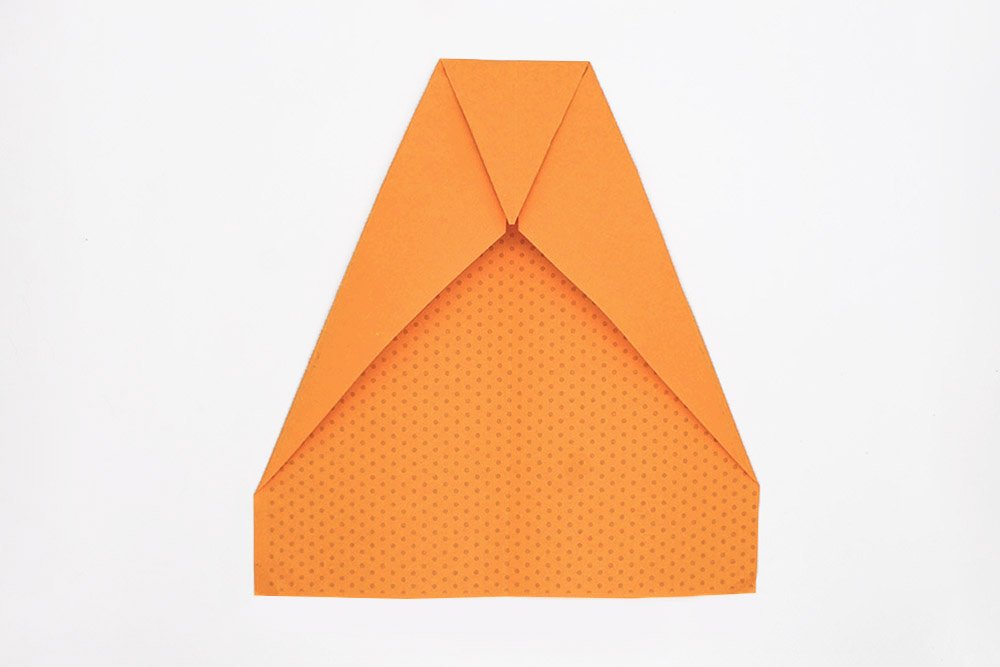
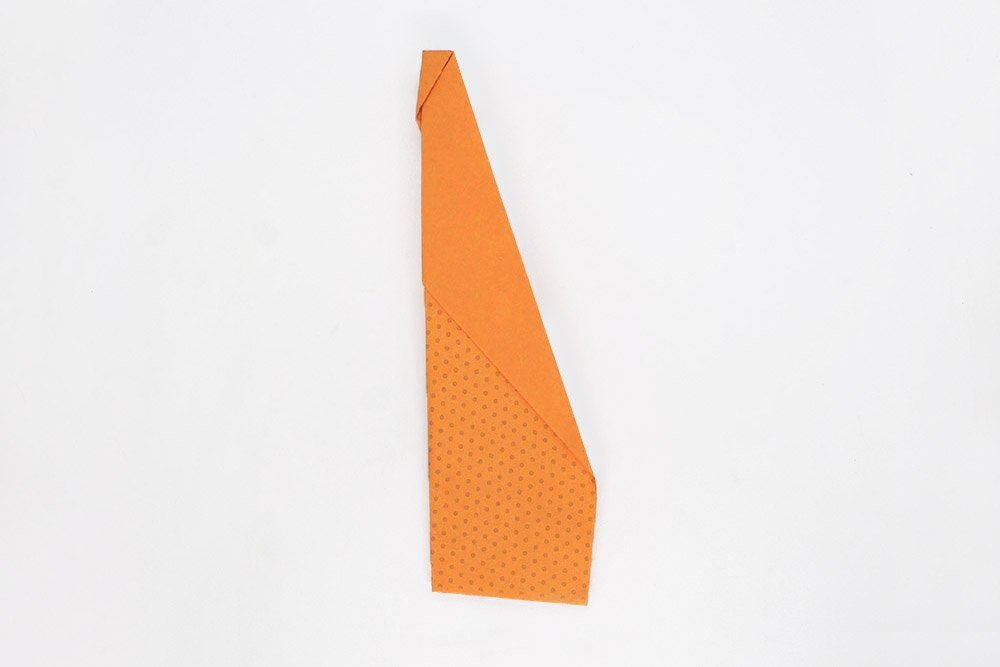
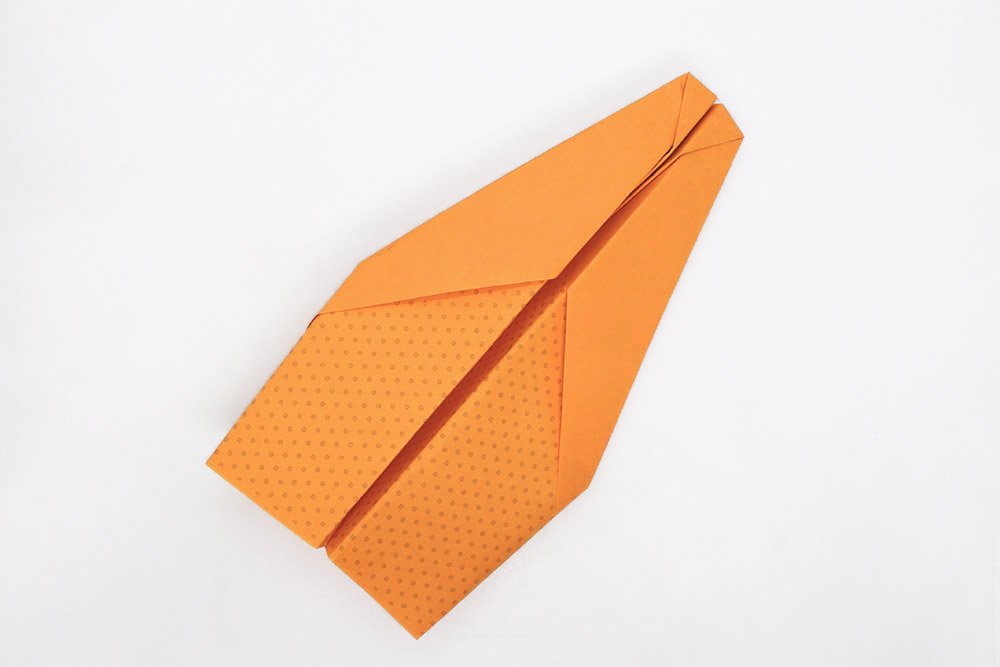
Take the top tip of the paper plane and fold it down to the point where both the second layers meet each other.
Make the Wings and Body
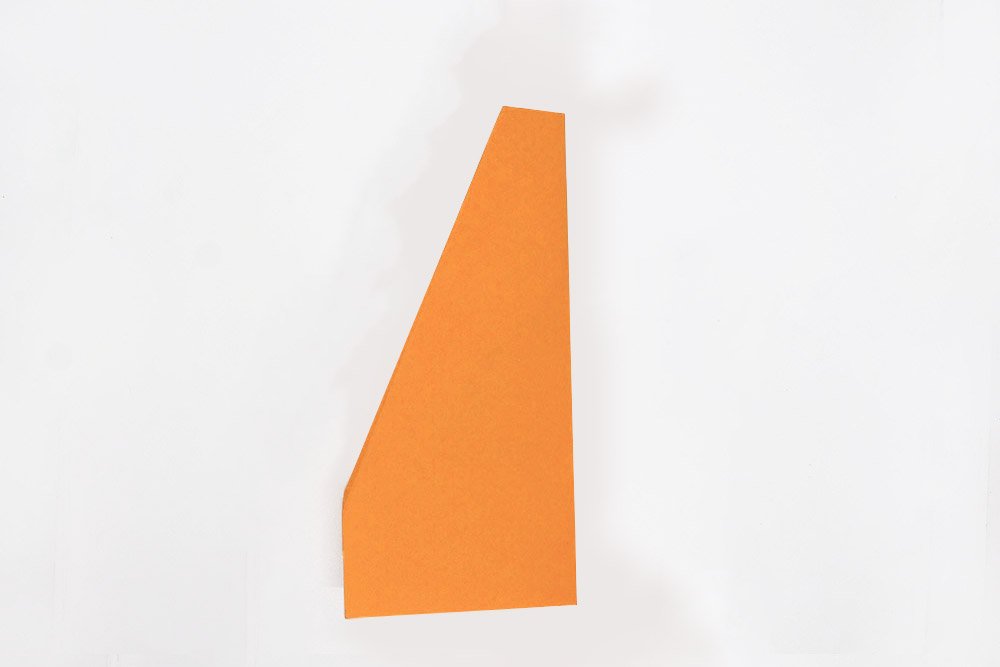
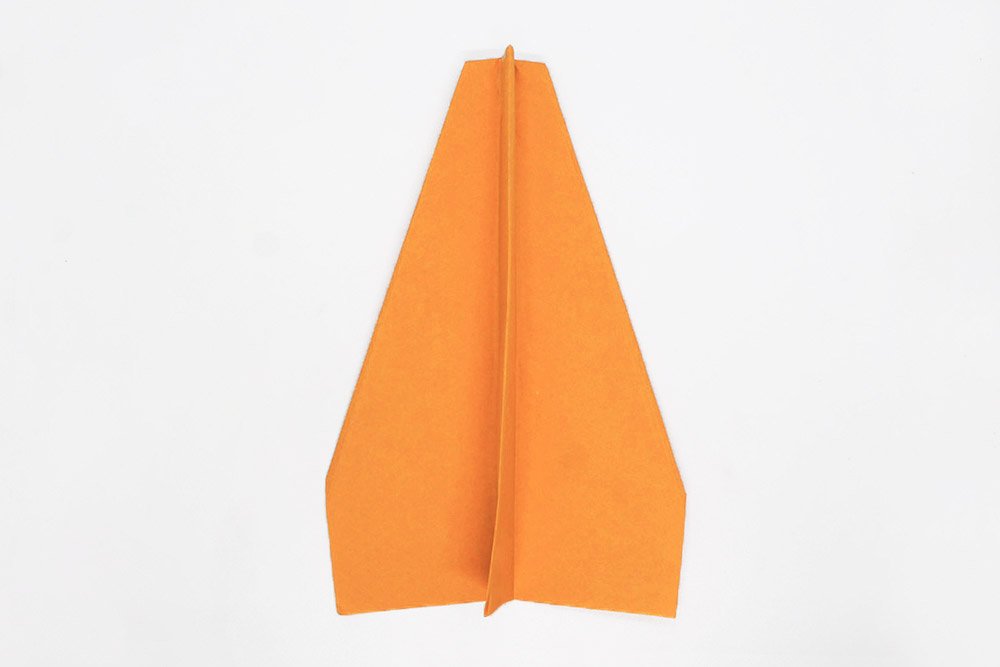
Now fold the paper plane in half along the vertical crease line.
Make a wing by folding a portion of the top layer to the right.
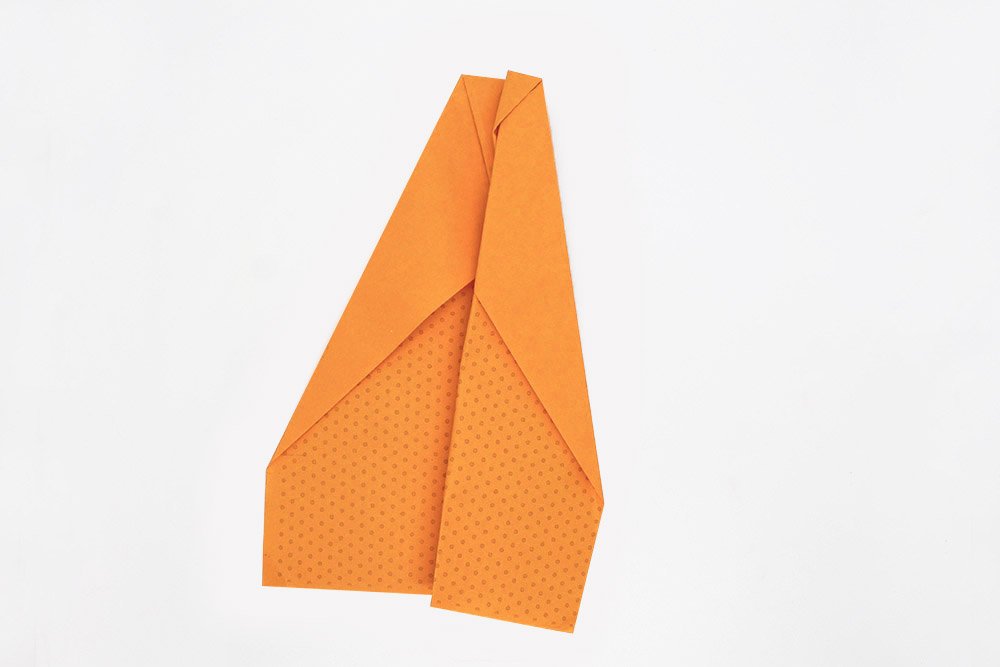
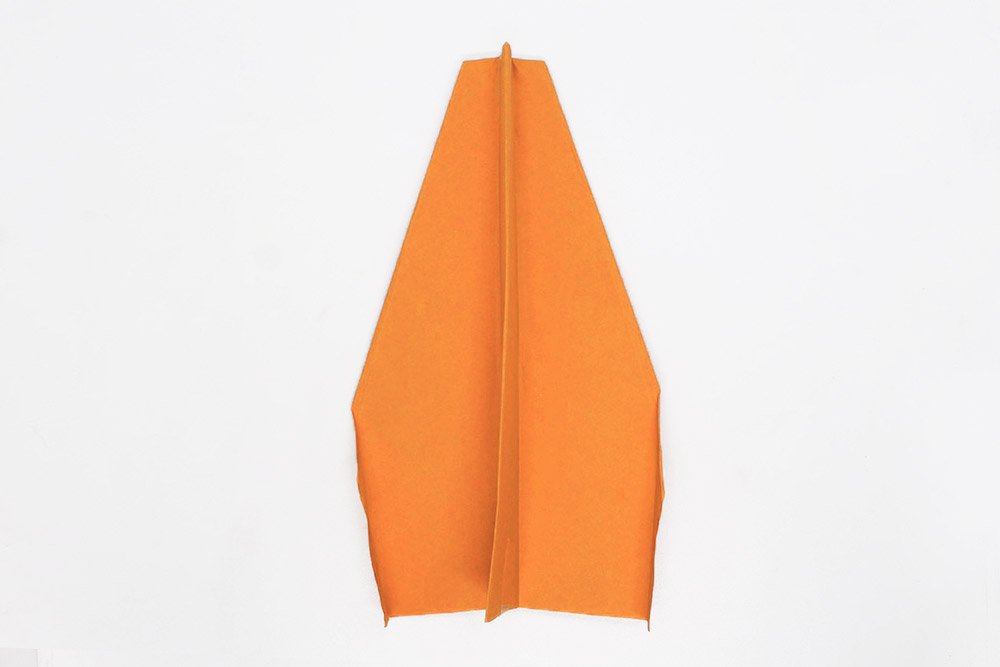
Fold a portion of the left layer at the back. This will be the other wing. Now, orient the paper airplane such that you will face one flat side of the wings. The wings should point towards the right side.
Flare out the wings of the paper plane.
And then bend the outer sides of the wing. Your paper plane is ready. Have fun flying!
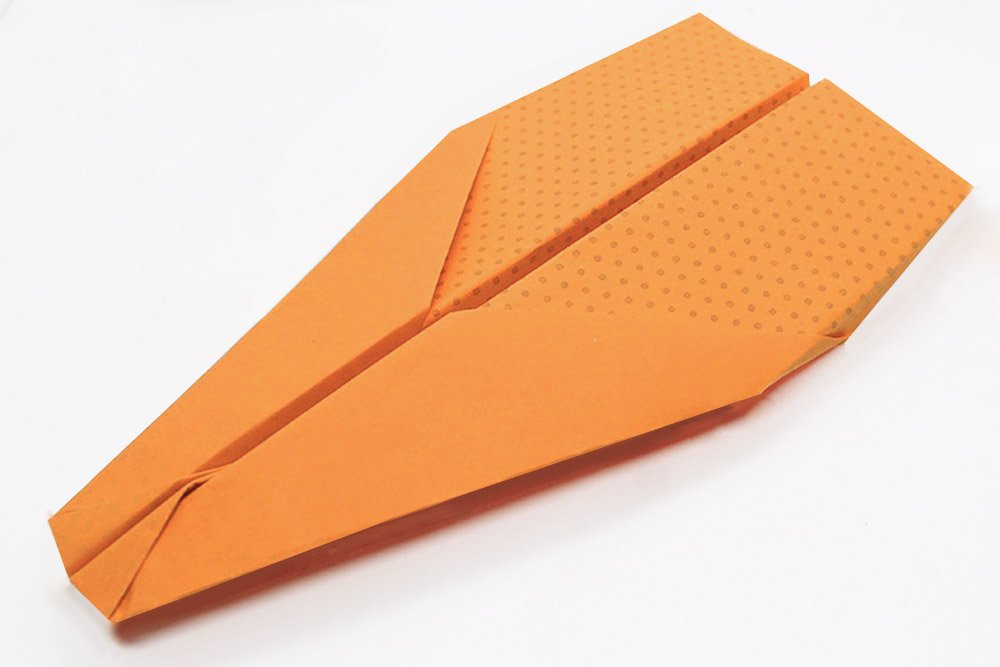
Your paper plane is ready. Have fun flying! The image below is the Dollie paper airplane shown in a different angle.
DIY magazine has a lot more guides to offer so do come back whenever you want to make a different paper airplane. Have fun reading our instructions!
Extra Tips
- Use a long strip of scotch tape and stick it under the fuselage of the paper airplane.
- Paint your plane with cool details like stars on the wings, a flight number plate, and a cockpit.
- If you want your paper airplane to fly even better, use another strip of scotch tape. Connect both wings with the strip so that they stay together in flight. If the wings stop falling apart, the air resistance is lower, and the arrow flies faster through the air.


Mine flew only 4 feet 😂😂😂
Ahaha, that’s kinda short
Smooth flight. thanks for the idea
I can feel my childhood slowly coming back into focus.
Love that plane. I have also made one
that’s a good one! congratulations