Long distance paper airplane Instructions – Kite Flyer

Introduction:
In this post, we’ll show you how you can fold a glider. Thanks to the special shape of the wings and its sleek design, the plane flies smoothly. Now let’s start folding!
Make a Triangle on the Left Side
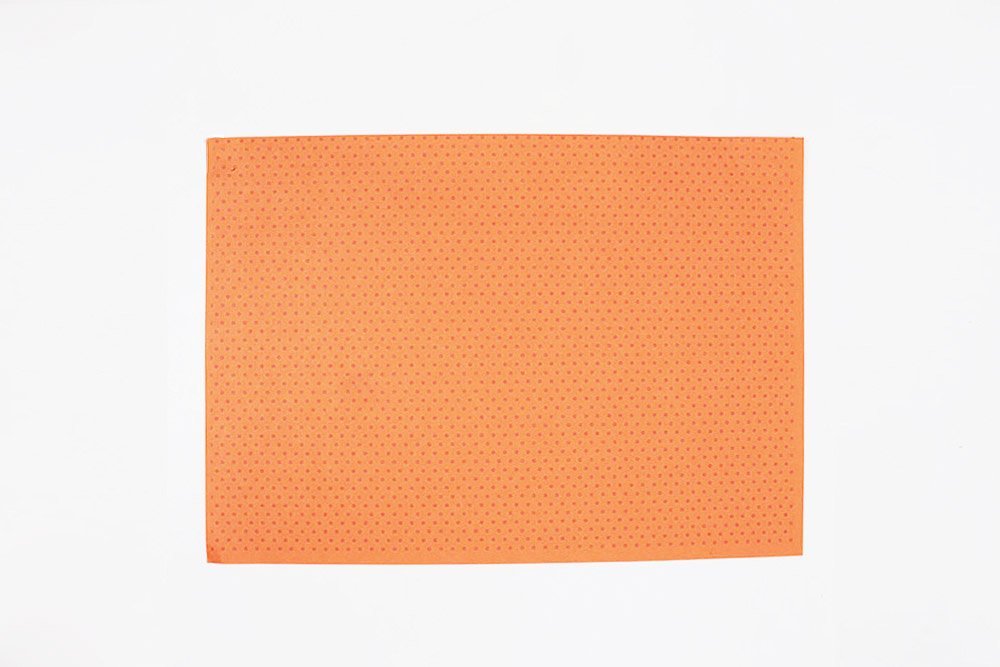
Take a DIN A4 paper then lay it in front of you in landscape orientation.
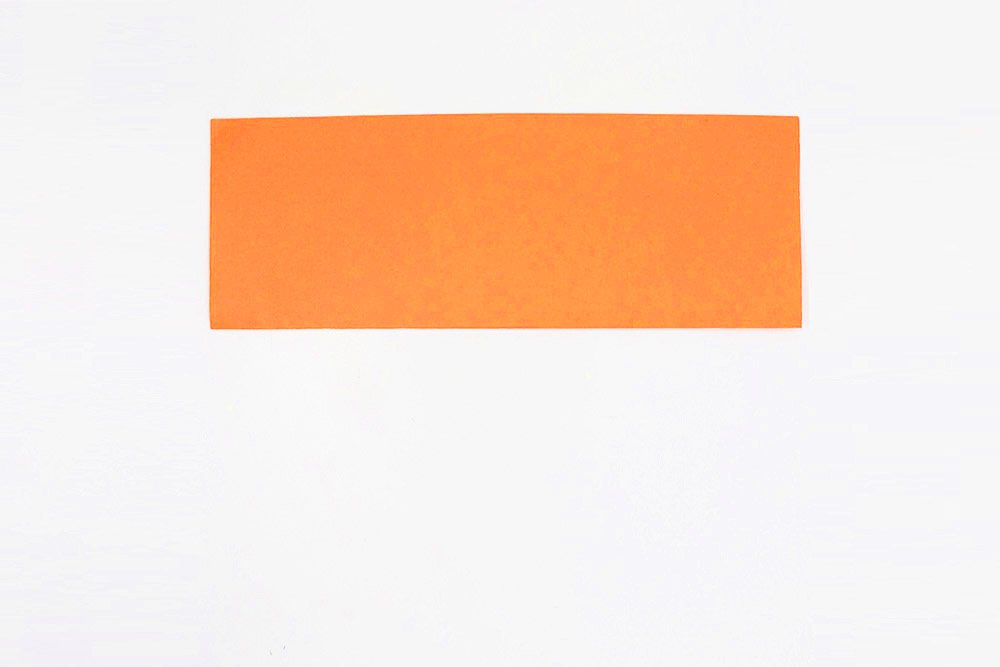
And fold it crosswise in half.
Crease it well then unfold.
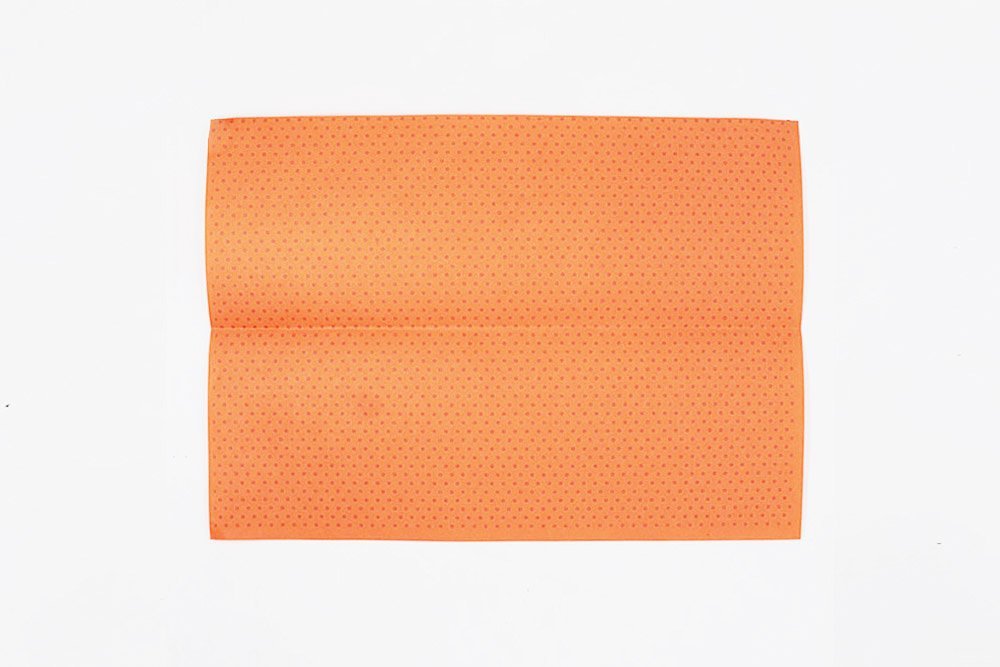
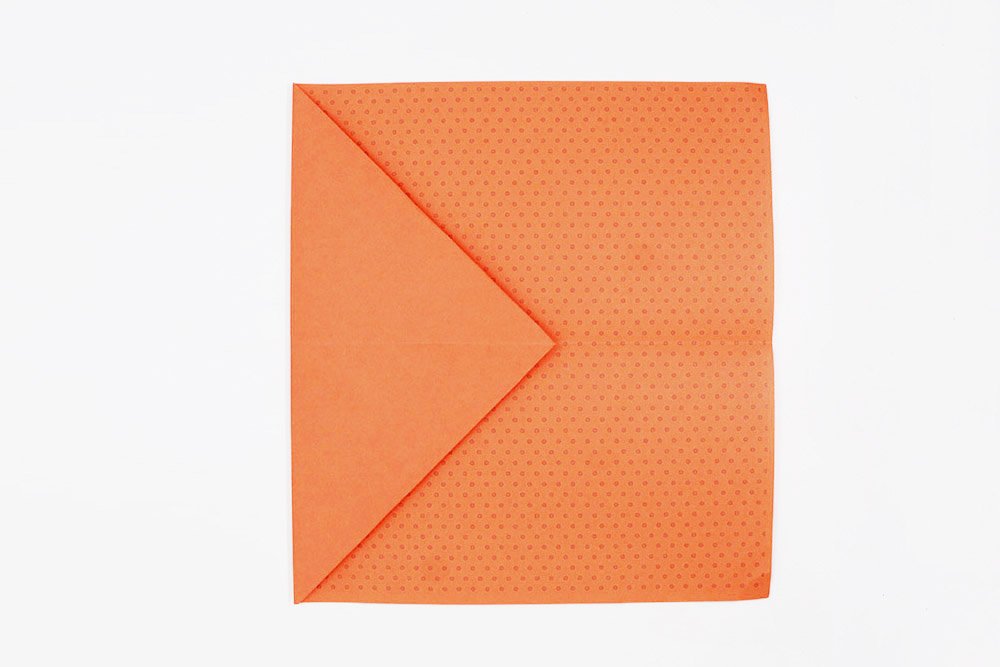
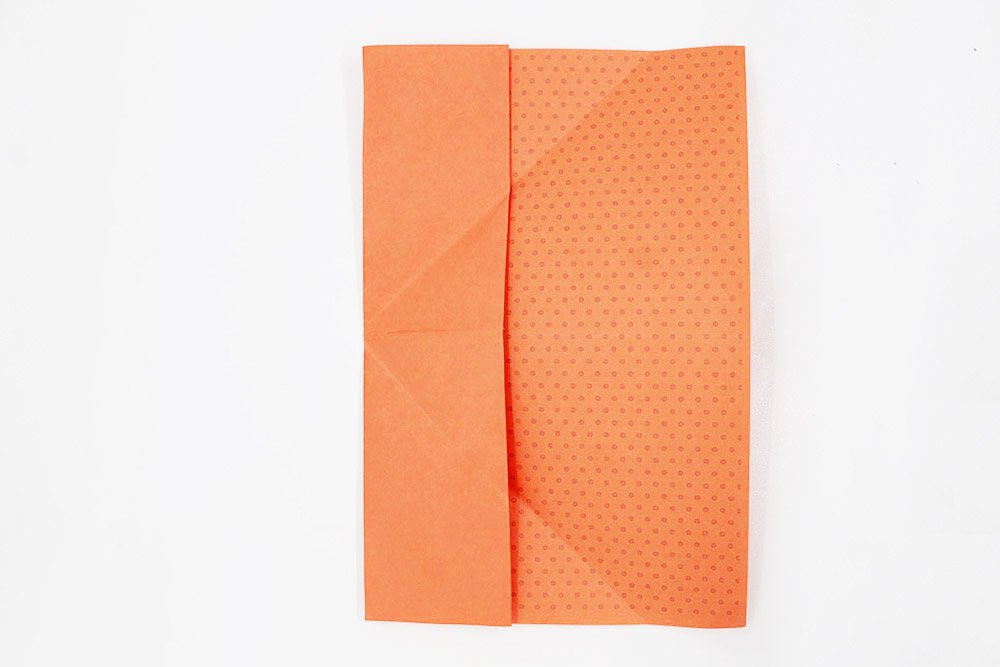
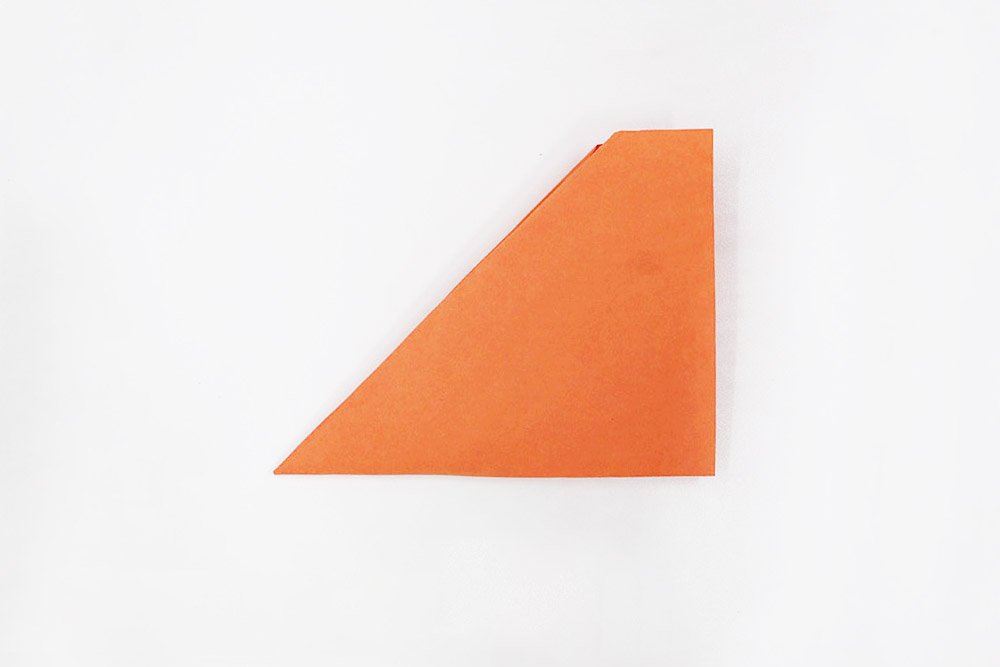
Bring the top and bottom corners of the left side to the middle crease line.
Make the Body of the Plane
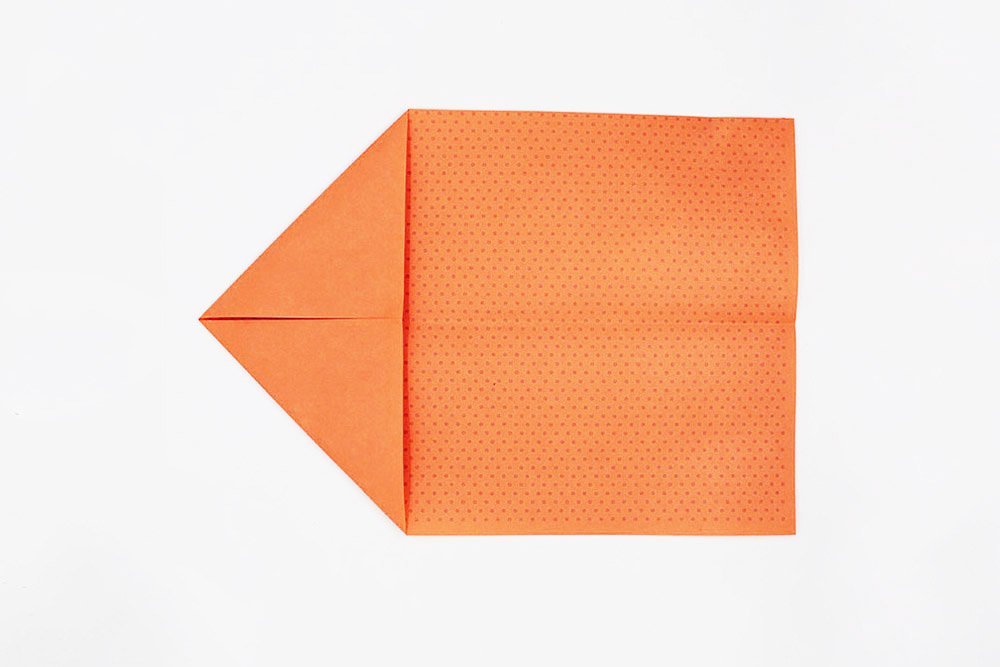
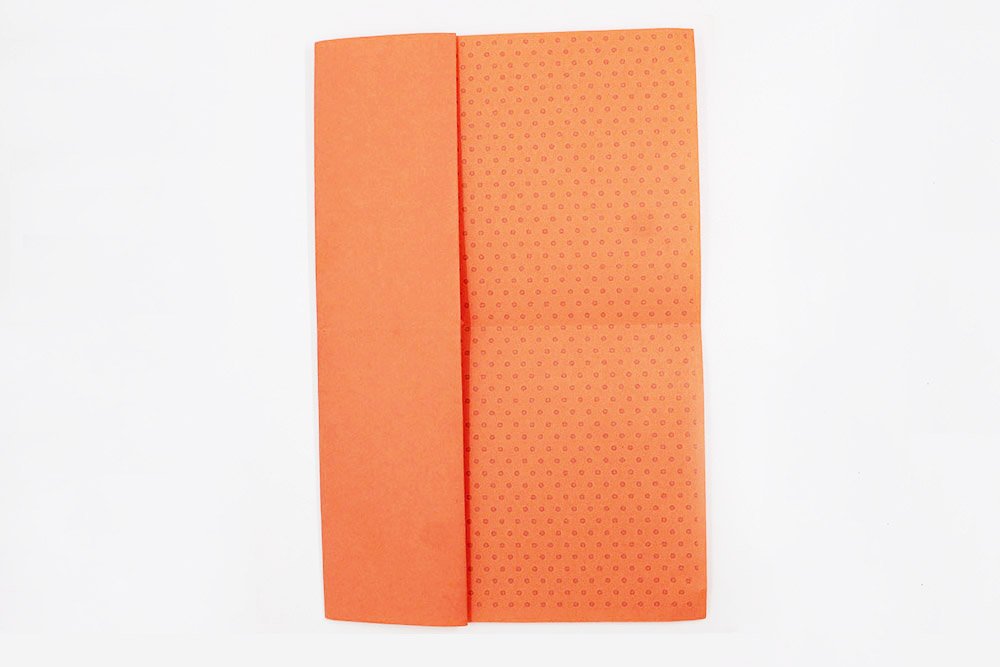
Fold the left corner to the right.
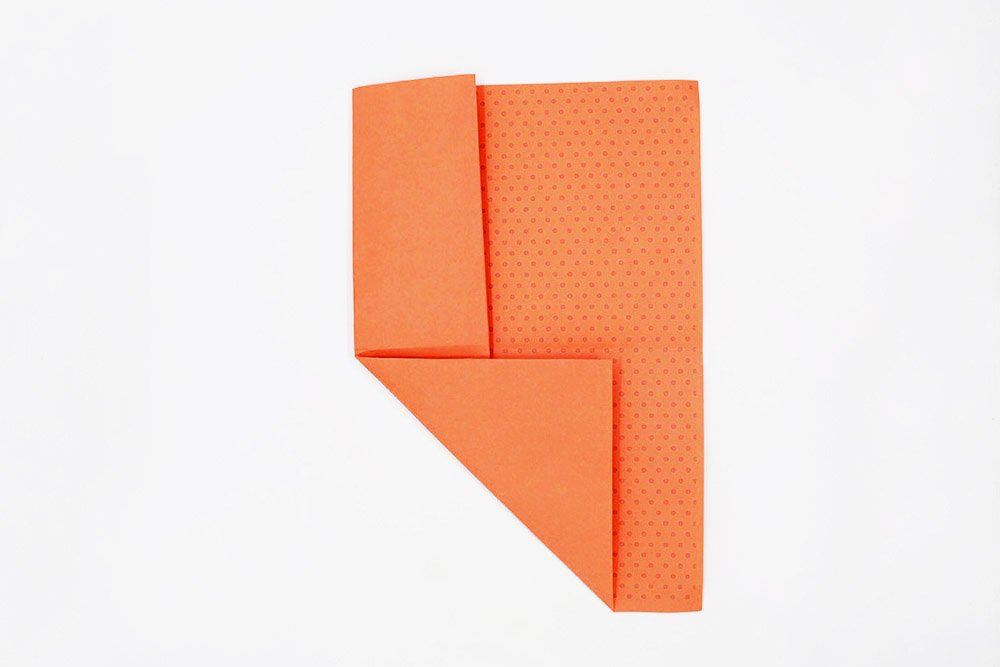
Once the tip of your paper plane is folded over, take the left edge and fold it to the tip of the top layer.
Diagonally fold the bottom left corner to the center.
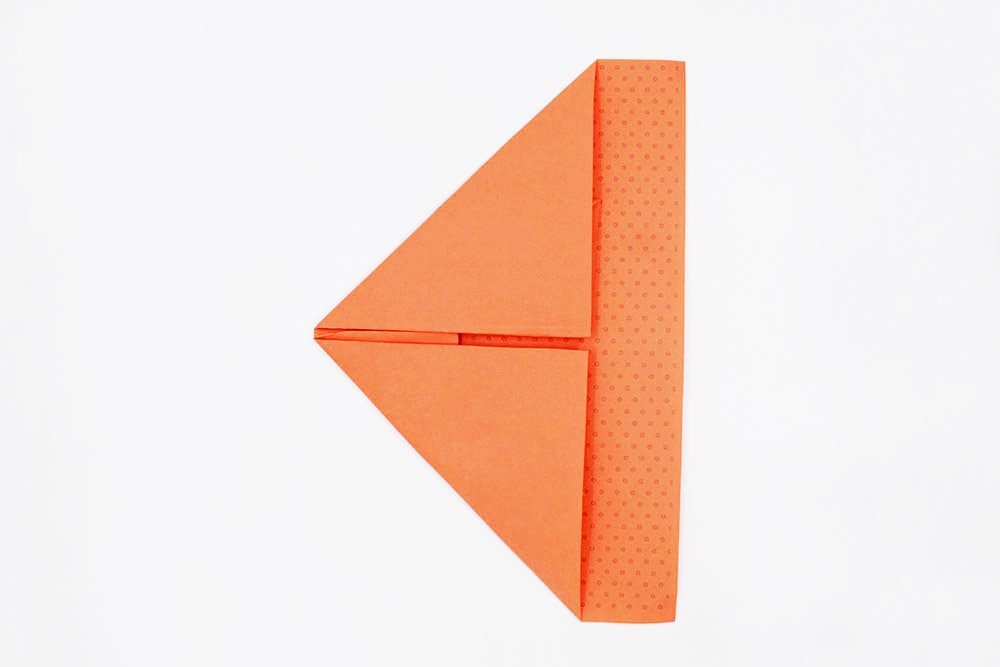
Fold the top corner to the middle as well.
Unfold the top flaps.
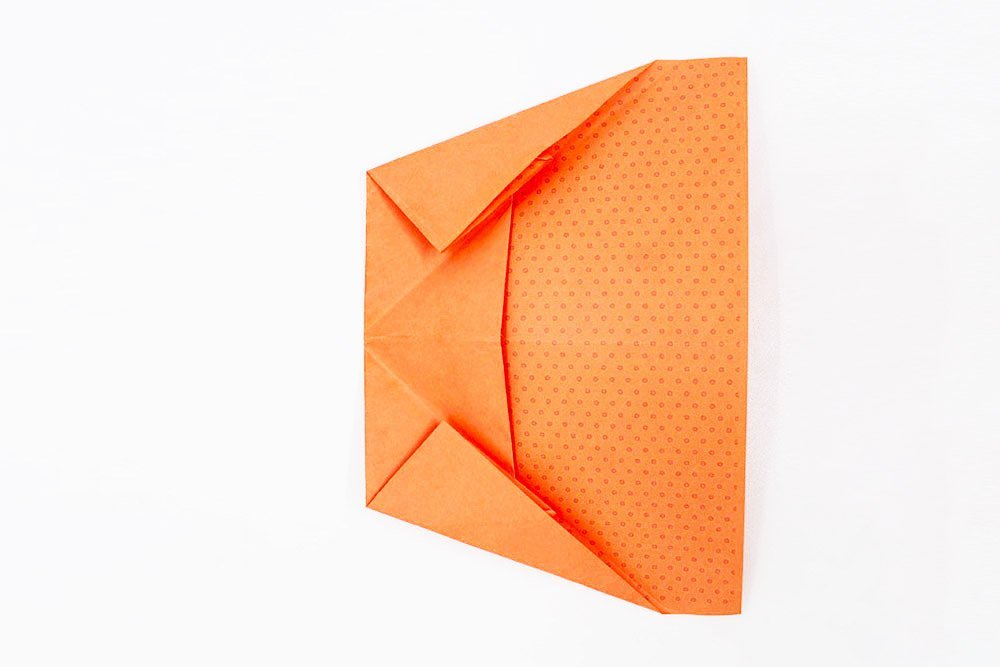
Fold the upper and lower corners of the left side to the new crease lines.
Note:In the next step, you can see how the bottom corner is tucked under the second layer of the flyer. You now have to repeat this step with the other side as well. You will notice that the two sides no longer stick out from the plane.
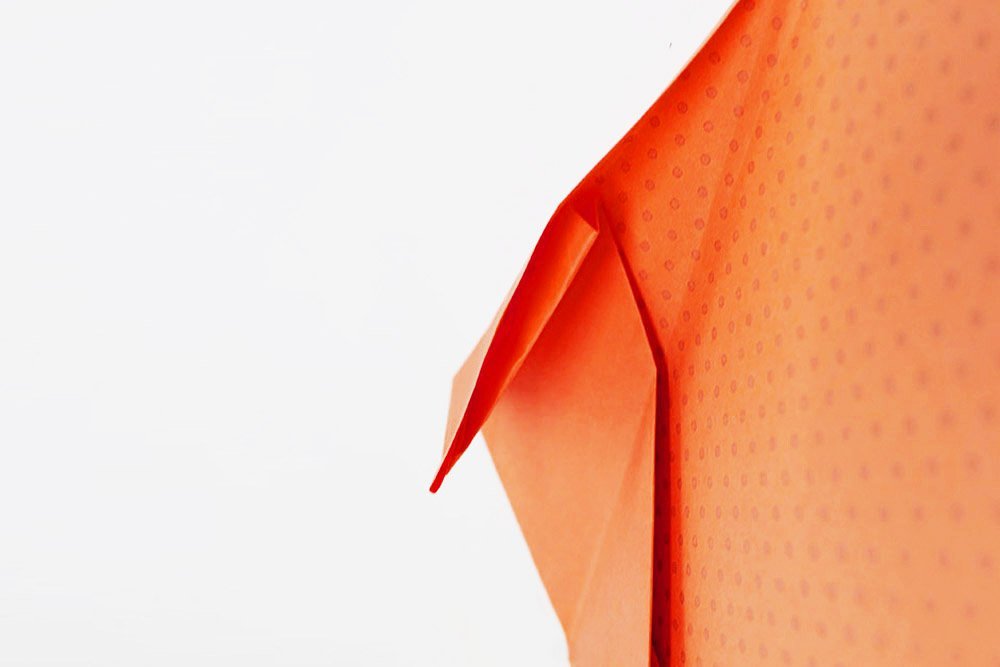
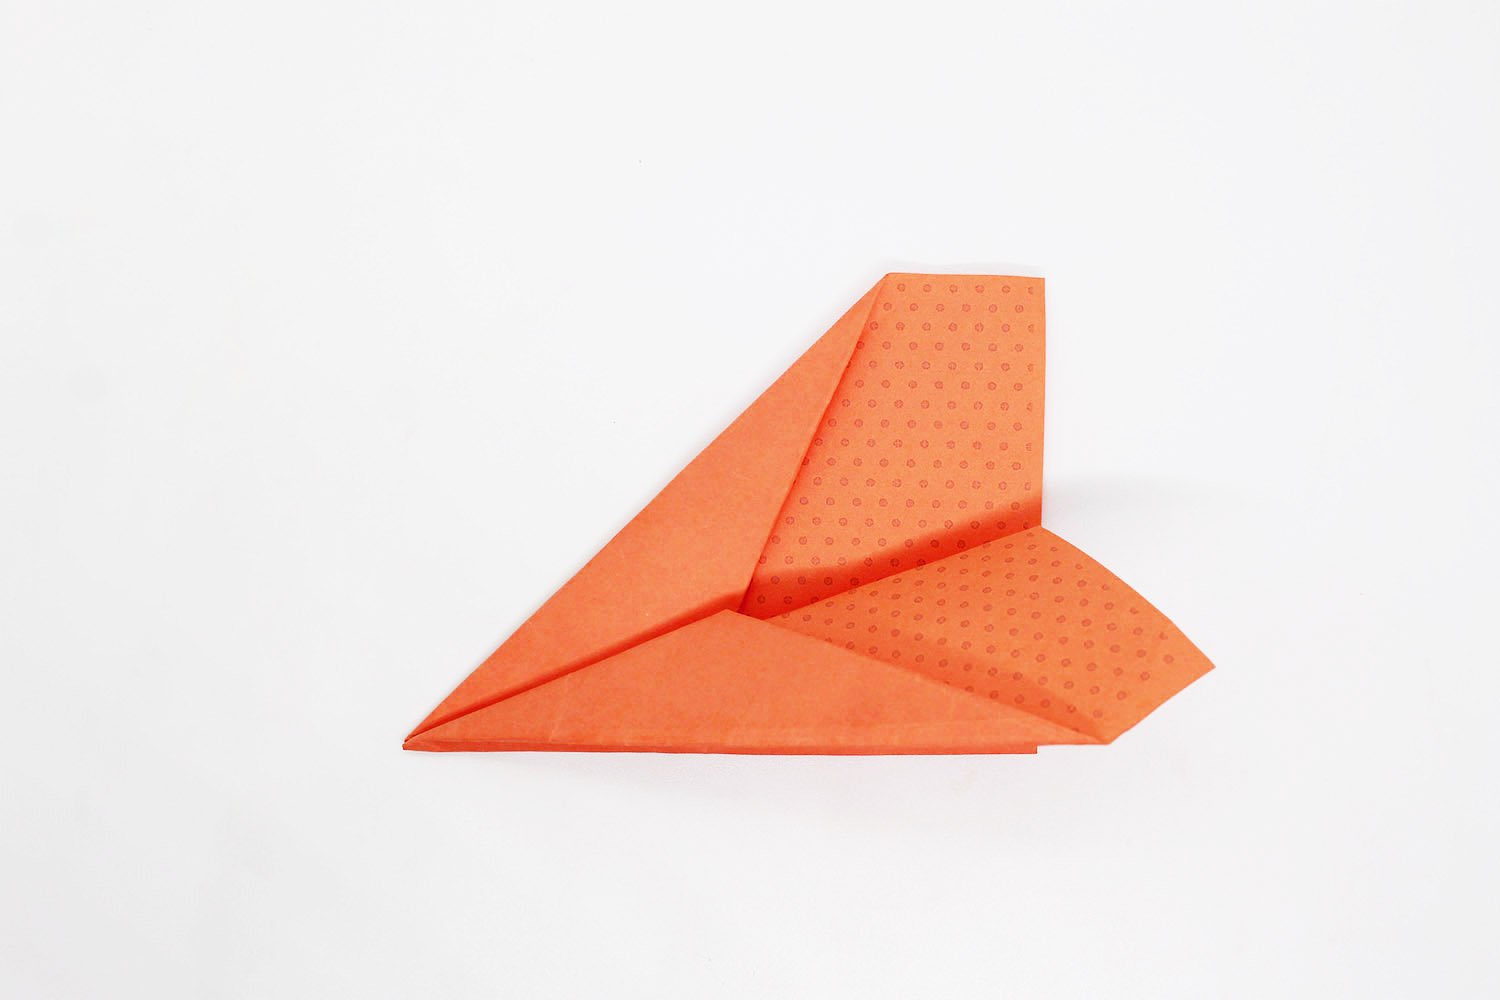
Now you have folded the corners, fold it over under the second layer.
See the next image for a guide on what the plane should look like next.
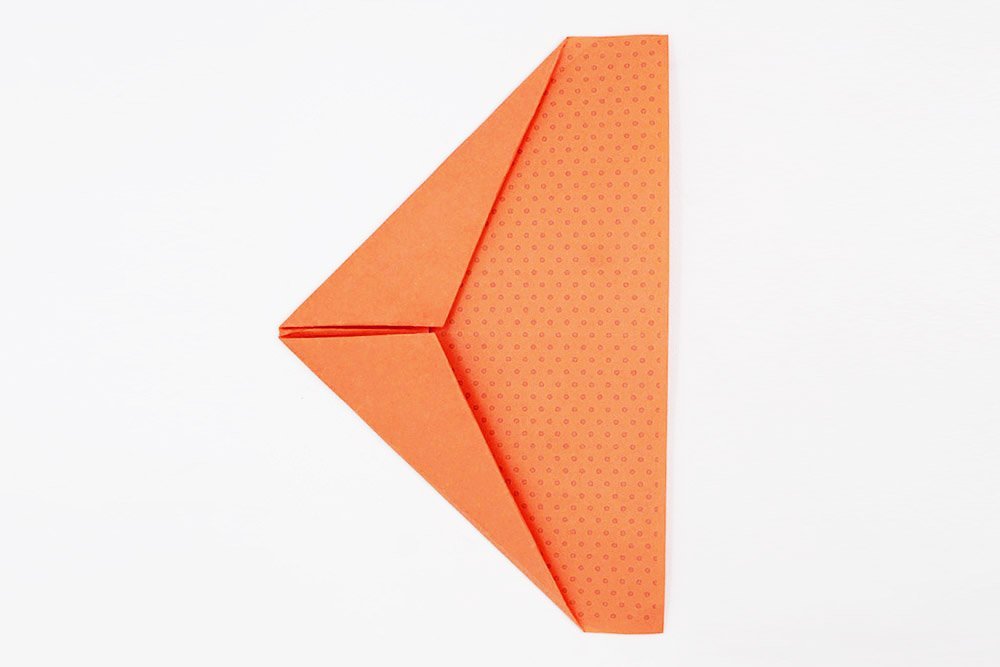
Make the Wings of the Kite Flyer
Fold the paper crosswise in half.
Make one of the wings by folding a big portion of the top layer downwards in half.
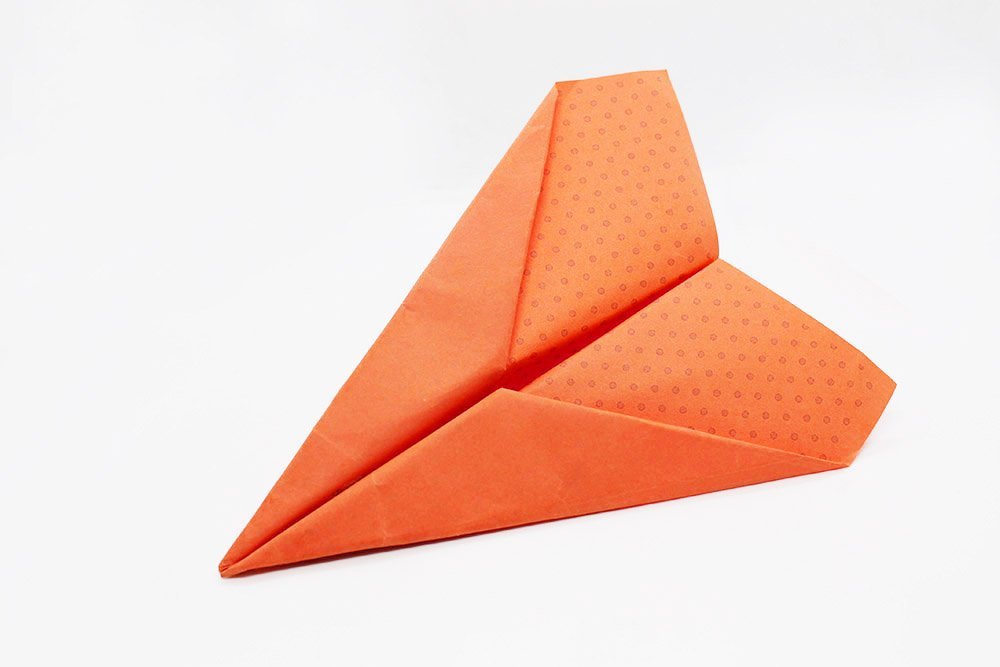
Do the same on the bottom layer but fold it downwards to the back.
Congratulations, your plane is now ready! Comment down below on how far your paper airplane has flown! Have fun flying!
Extra Tips
- It might be possible that the body of the glider keeps opening up and does not stay together. This might affect how well they can glide in the air. As it is usually a problem with some paper planes such as this glider, the best thing to do is to take a strip of scotch tape and stick it over the two halves of the body. Your hang glider should now be able to fly better
- If you want to fly the glider outside, I recommend the following: Take a long strip of scotch tape and place it on the bottom edge of the aircraft.
- If you feel like it, you can paint your with a marker pen. At the end of the fuselage, I drew a flight registration number and other details like struts in capital letters. Have fun trying out and implementing the tips and tricks.


Why a Kite flyer?
SAME question ahaha
looks enticing. gonna fly mine outside to test if its long distance
Pov your here bc your little sibling wants a paper airplane 🙄✋🏼
it flyes well and goes a bit high tysm!!
This is so cool
I already made this plane some time ago, I’m here because I forgot how to make it