Star Wars Tie Fighter – Paper Airplane Tutorial

Introduction:
Challenge yourself with this one-of-a-kind aircraft. This extraordinary paper airplane resembles a spaceship from a science fiction film. To make this cool paper airplane, the tutorial below will teach you how to make it.
Here’s a Tip!: Make sure that you fold the plane properly so that it flies well in the end!.
The TIE in the star wars universe means Twin Ion Engine although Lucas gave that name to that space fighter simply because he thought it looked liked a bow tie.
Make Creases
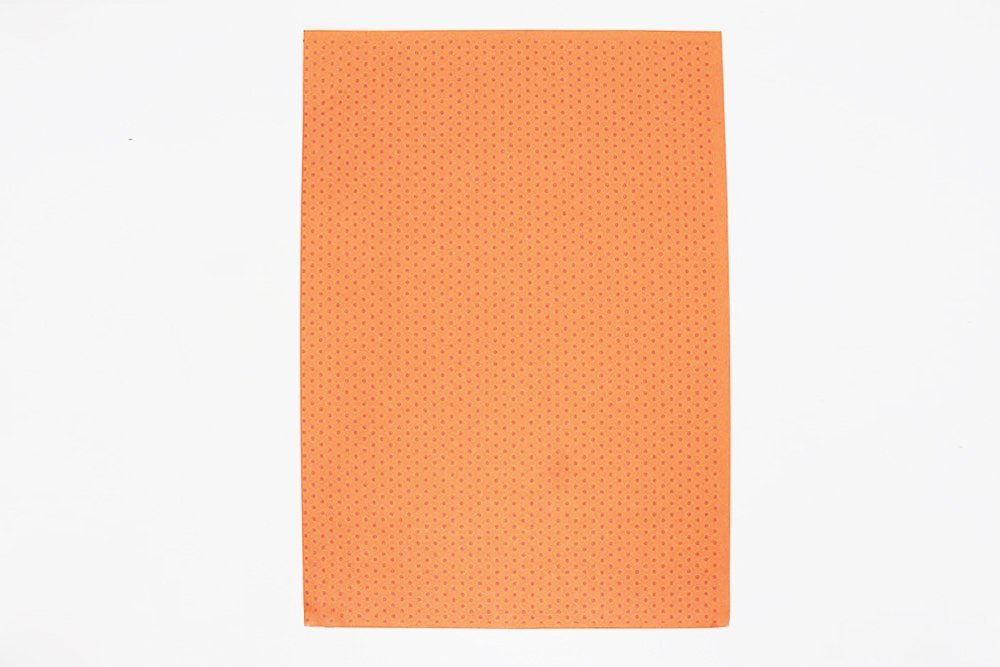
Face the paper upright.
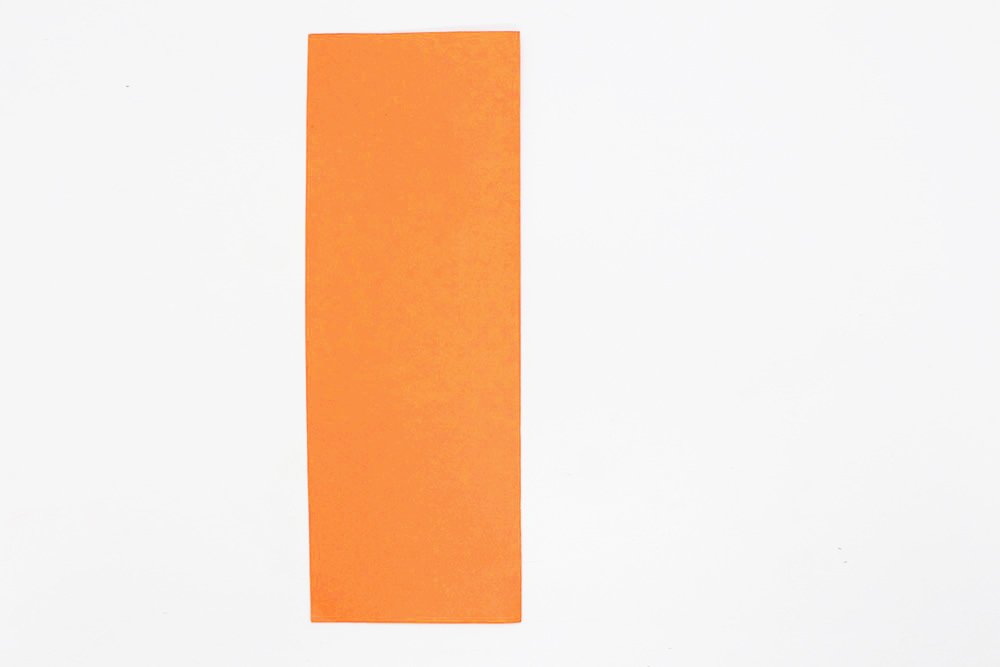
Fold the paper lengthwise in half.
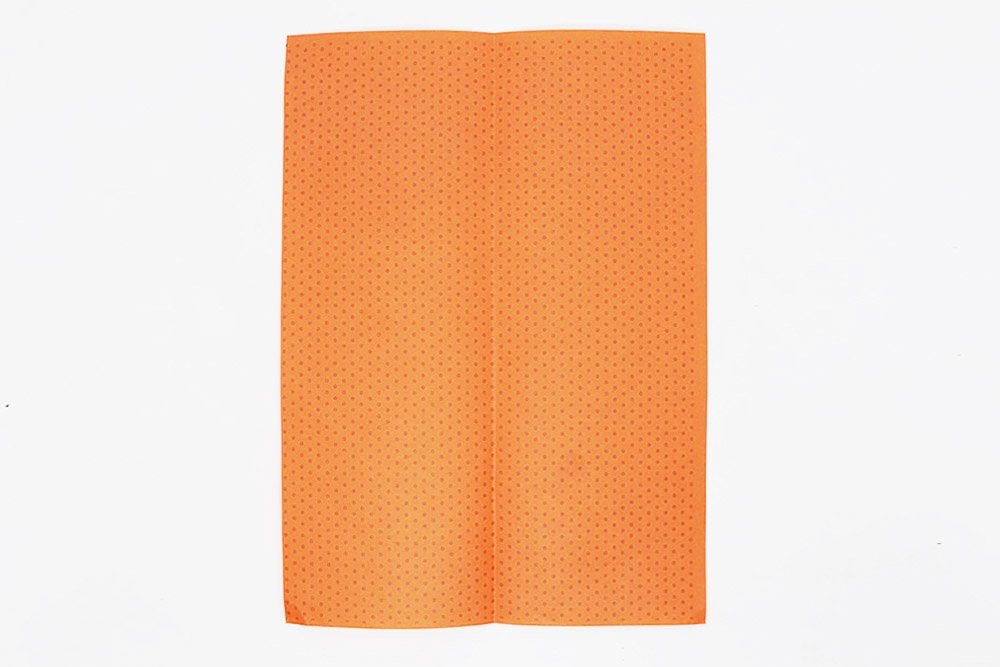
Unfold the paper.
And then fold it crosswise in half.
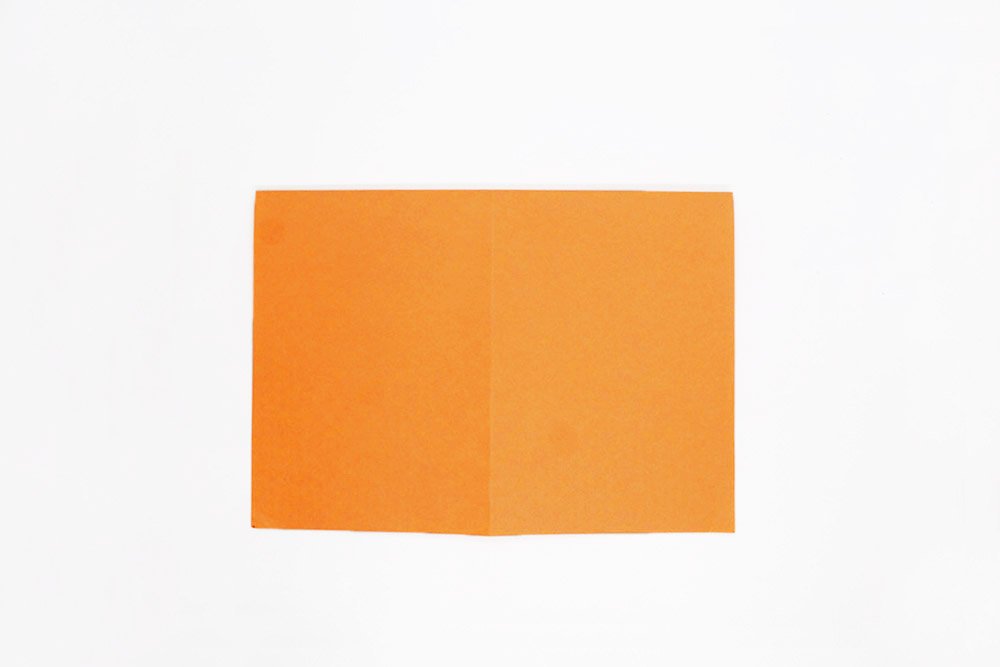
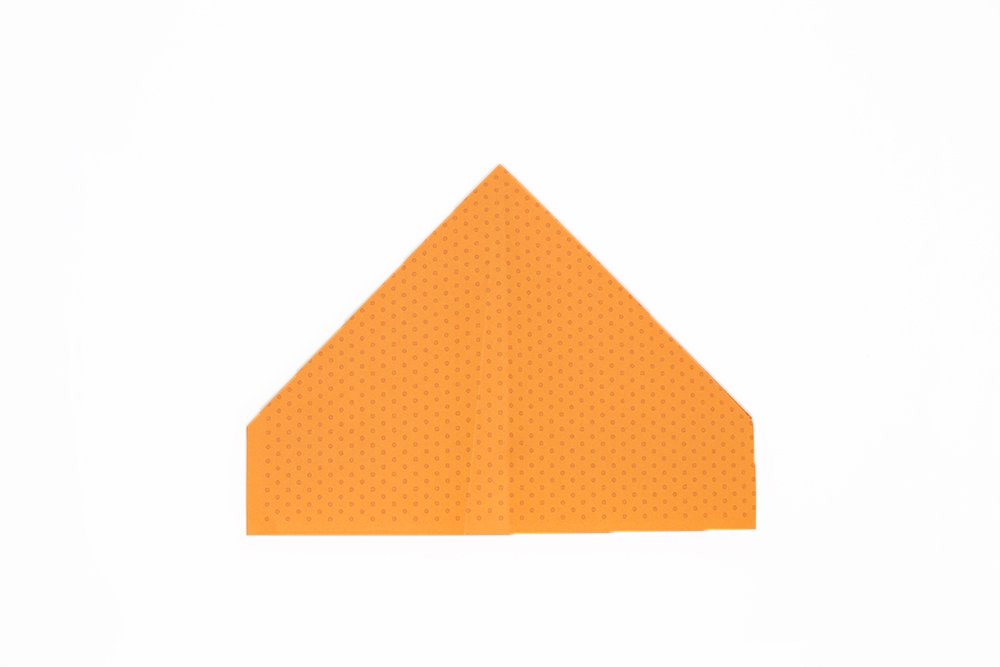
Bring the top left and right corner to the middle crease line.
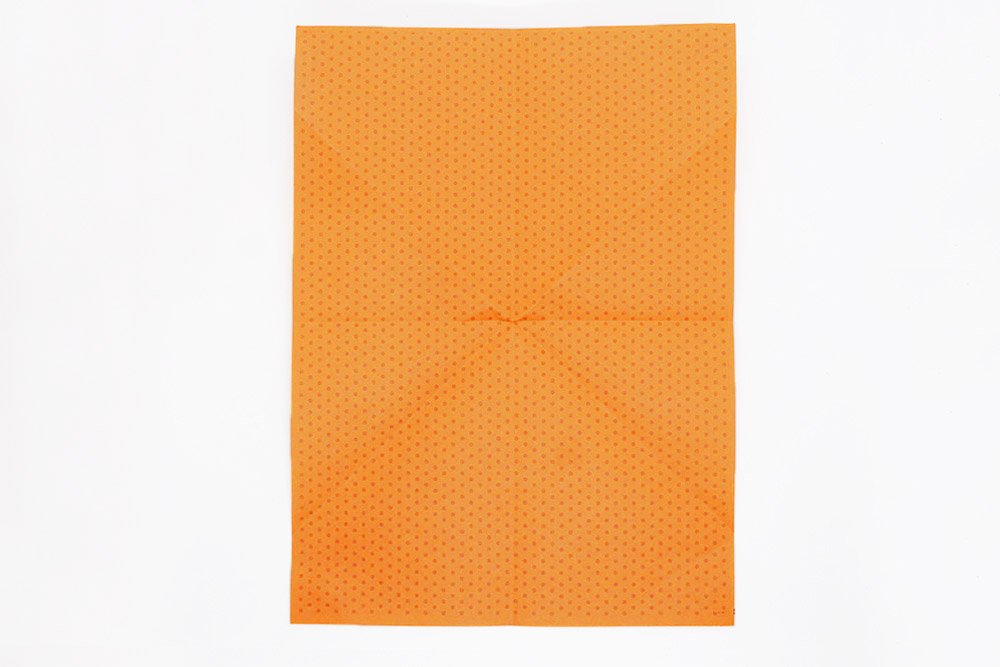
Unfold your paper airplane again. The paper should now have crease marks as the image illustrated above.
Make the Body of the Paper Airplane
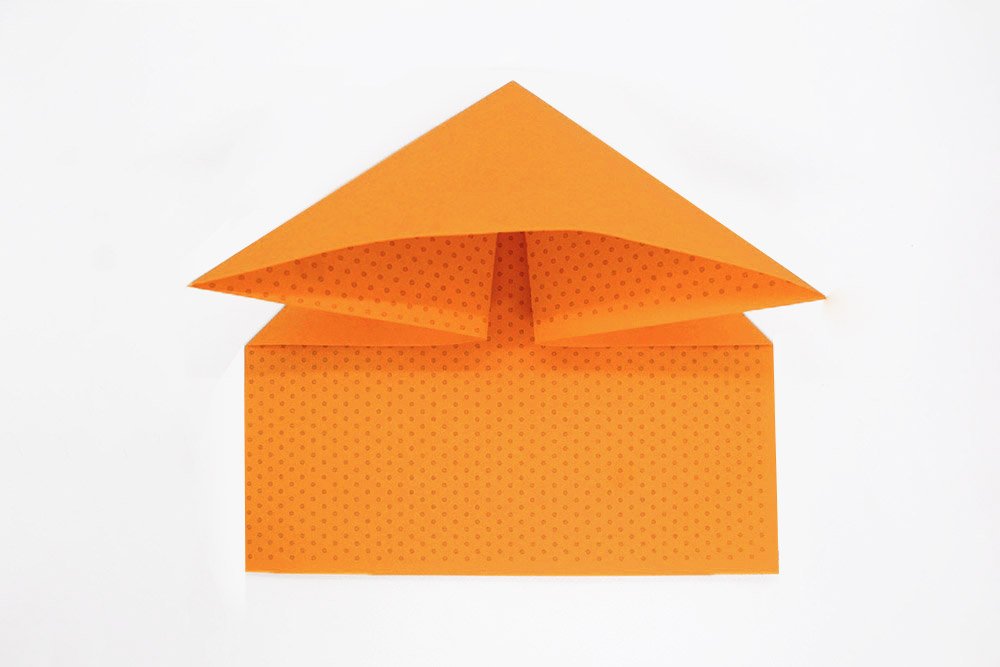
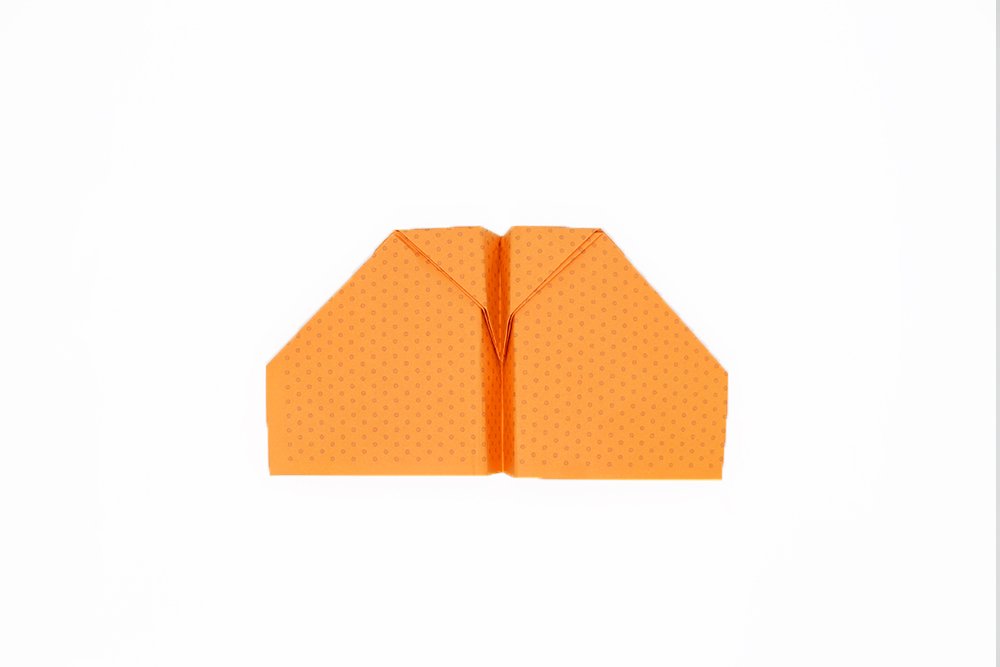
Bring the top edge to the middle bottom. It should start to form like the image above.
Make sure to flatten the top layer so that that you would create a nice triangle. .
Flip the paper to other side.
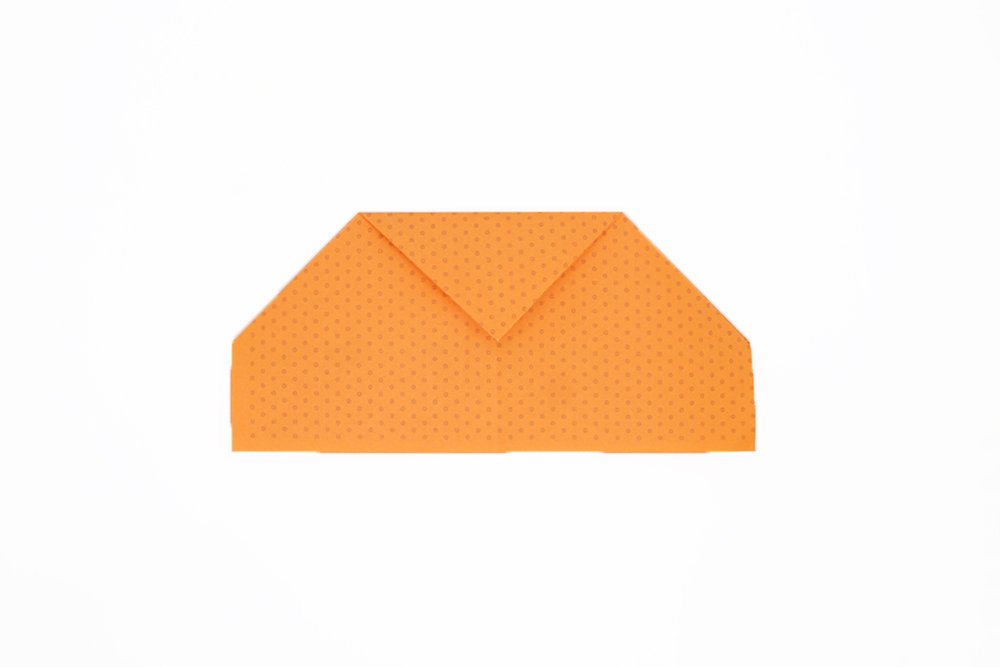
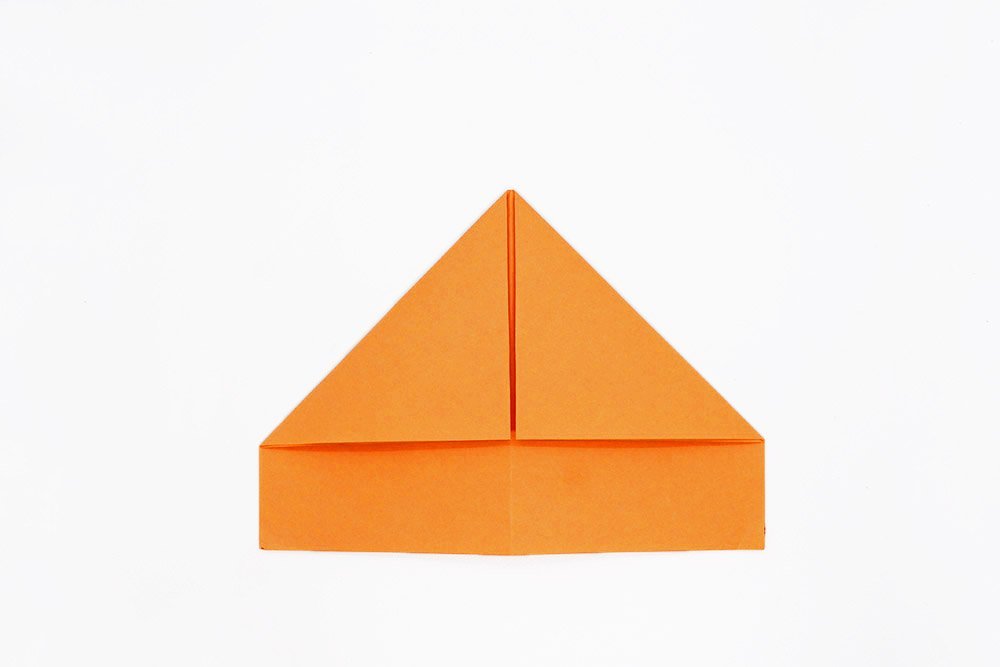
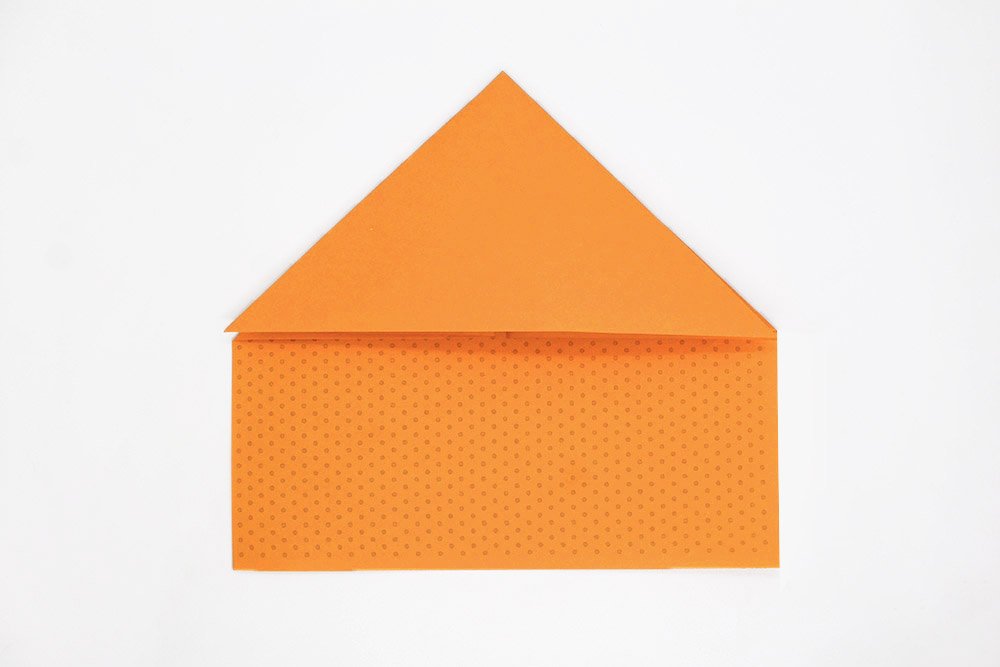
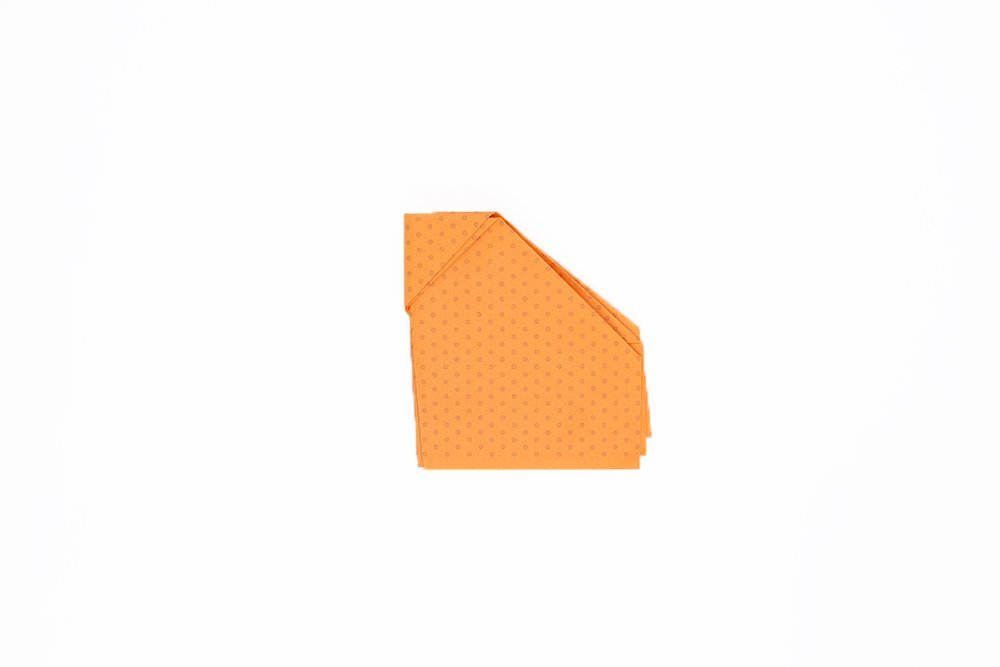
Fold the top corner downwards. The top corner should be directly on top of the middle crease line. Now the plane is already taking shape.
Make the Wings of the Star Wars Fighter
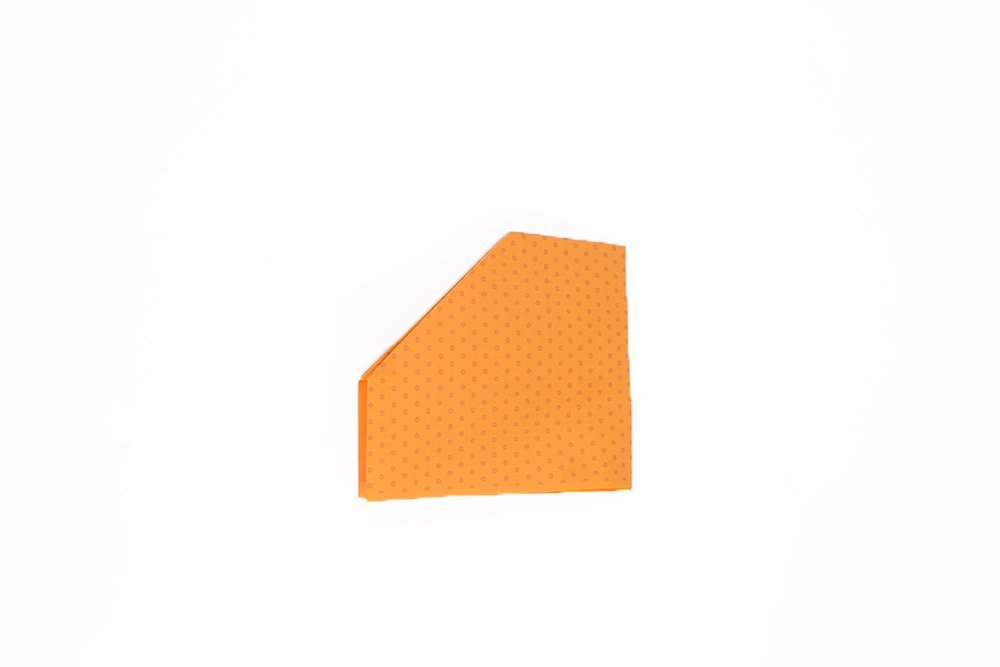
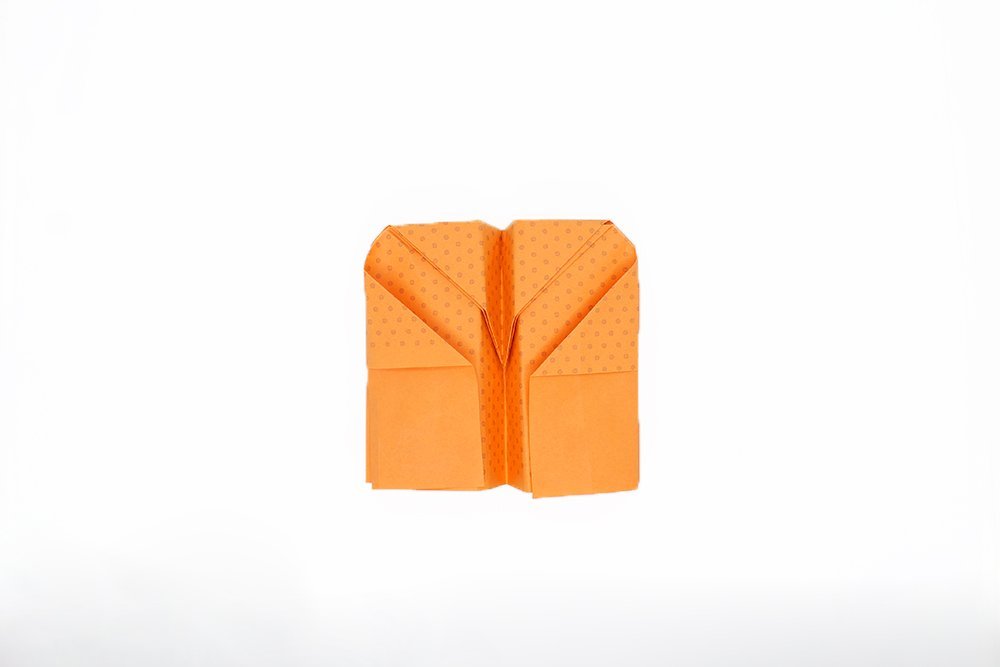
Fold the paper airplane lengthwise.
Fold the top layer towards the right. This will be one of the wings of the plane.
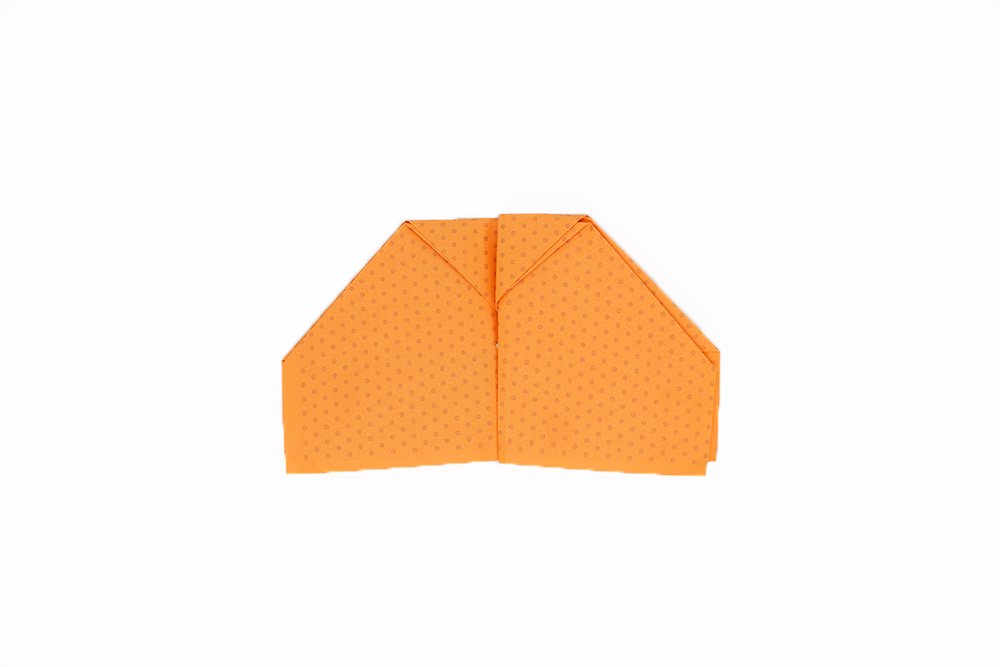
Do the same for the other side to create the other wing. These wings need some work though before they are finished.
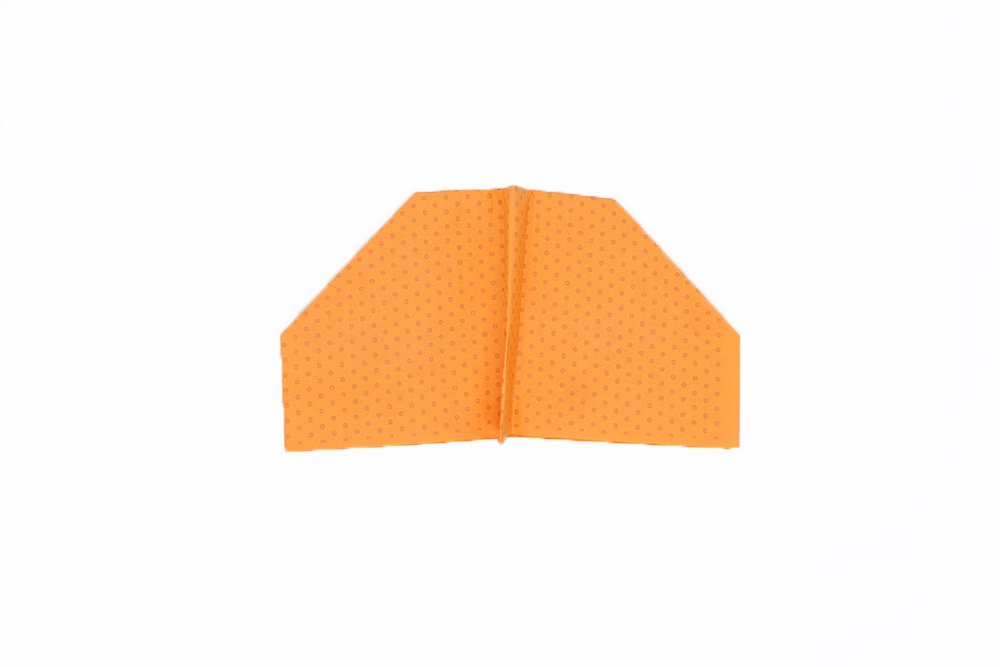
Unfold the paper fighter.
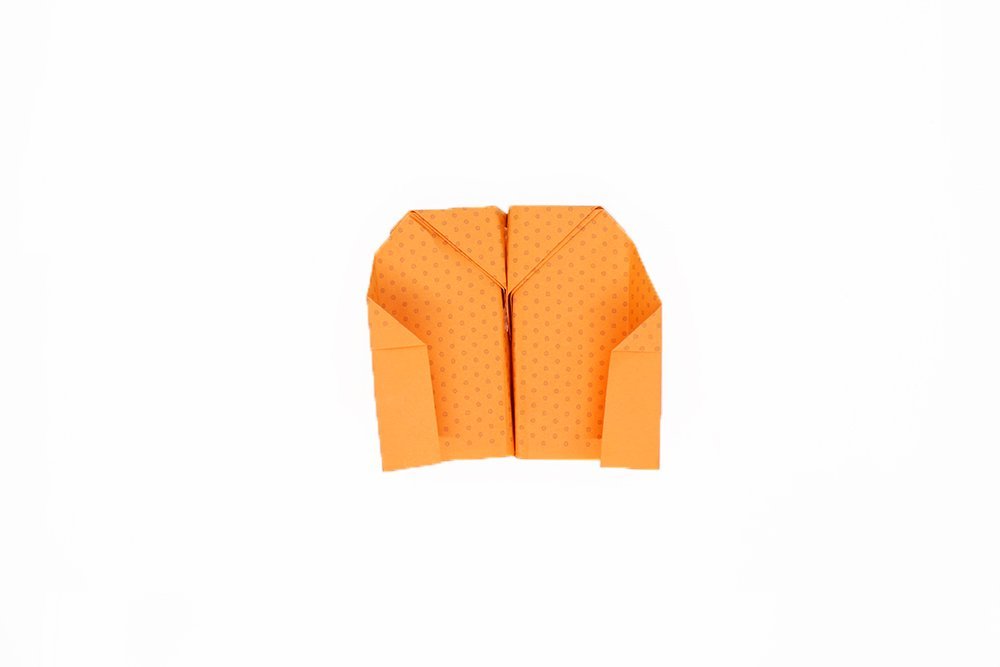
Fold the the top layer towards the middle. Do these for both flaps.
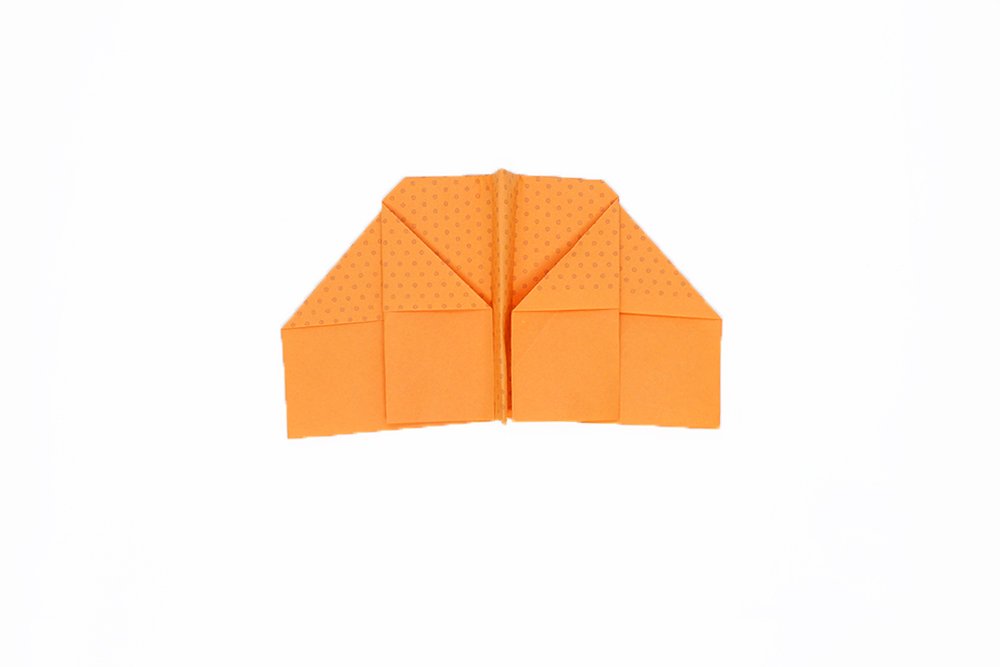
Create the first wing of your flyer by folding the first side (double-layered) downwards at a distance of about 1.5 centimeters from the lower edge.Repeat this step on the other side of the paper plane as well.
Flip the star wars paper airplane over.
Fold the top layer towards the middle just like what you did last time.
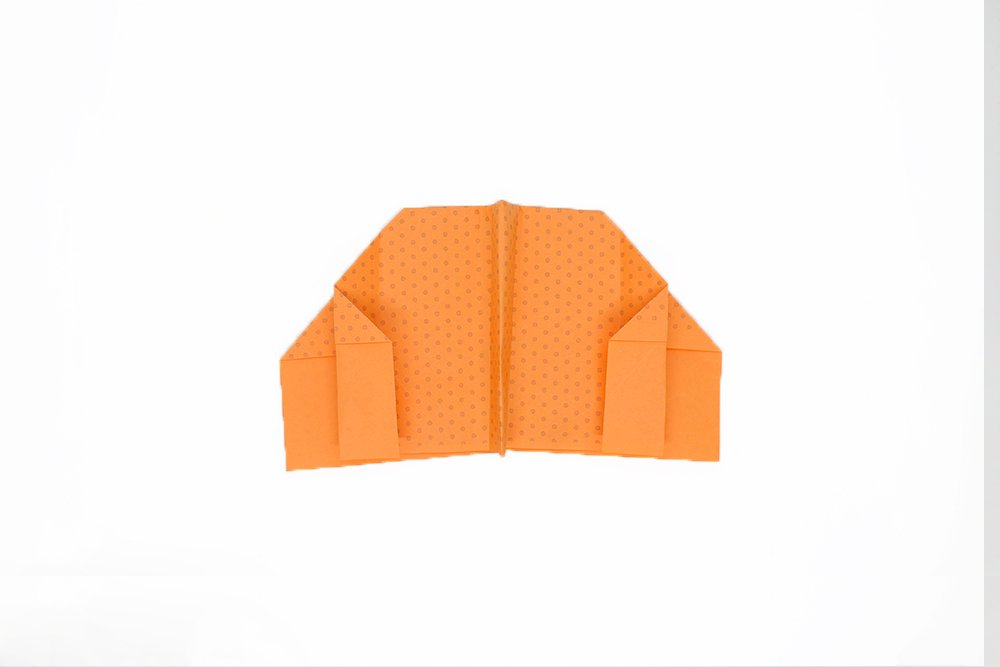
Open the folded wings again and fold the outer sides towards the folded edge.
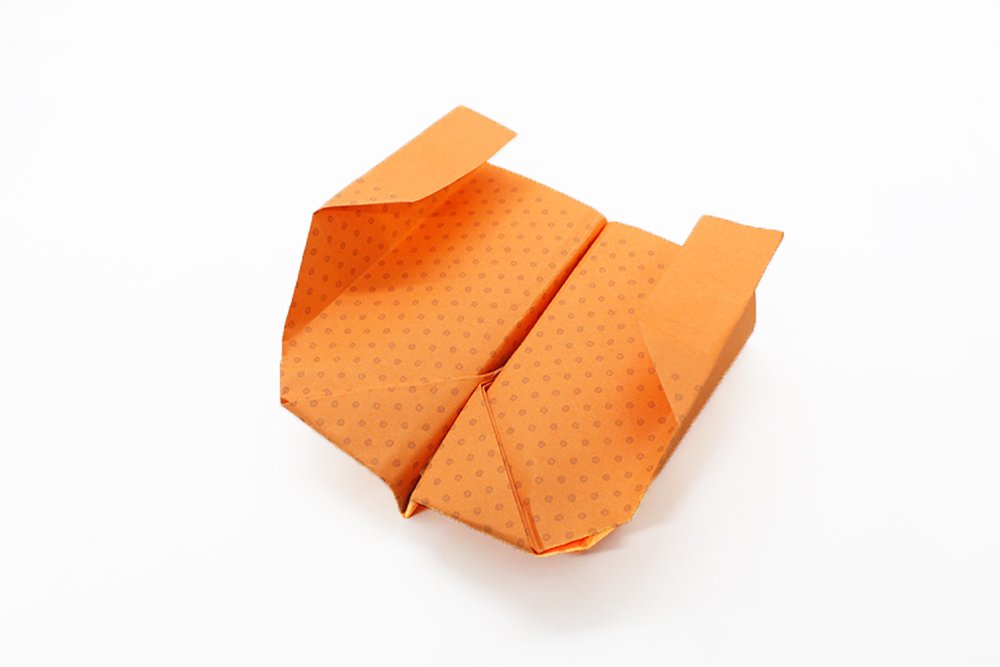
Now you have finished folding the winglets of the paper plane. All that remains is to align these so that they look something like this. Congratulations! Now, have fun flying it.
Extra Tips
- Paint your plane with cool details like stars on the wings, a flight number plate, and a cockpit.
- Use a long strip of scotch tape and stick it under the fuselage of the paper airplane.
- f you want your paper airplane to fly even better, use another strip of scotch tape. Connect both wings with the strip so that they stay together in flight. If the wings stop falling apart, the air resistance is lower, and the arrow flies faster through the air.


Mine just fell flat 😫😂
mine flew pretty well. around 10 feet. try with not so much force
Am here after my sister’s kid asked me to make him one..but then I forgot how they are made..I don’t want to let him down. Thanks for the video,am now his hero😊
With corona virus this was very fun to make
IT LOOKS SO COOL. it’s hard to make it but totally worth it