Cool Paper Plane Instructions with Pictures – The Wizard

Introduction:
If you want a challenge, then this paper airplane is right for you! The wizard airplane has a distinct design. When viewed from the top, it has a silhouette of a wizard’s cloak. What’s cool about this paper plane is that it’s the advanced version of a normal glider. Equipped with two more wings on the nose, this plane is more stable in the air and looks aesthetically better than a regular paper plane.
Hope you enjoy folding this paper plane!
Make Creases
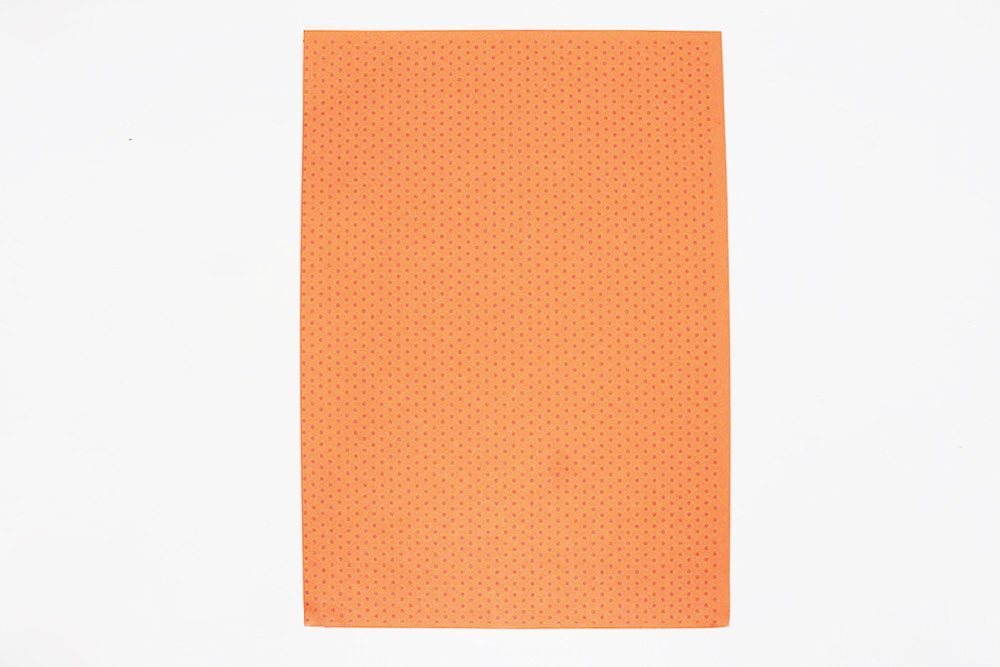
Put the paper upright in front of you.
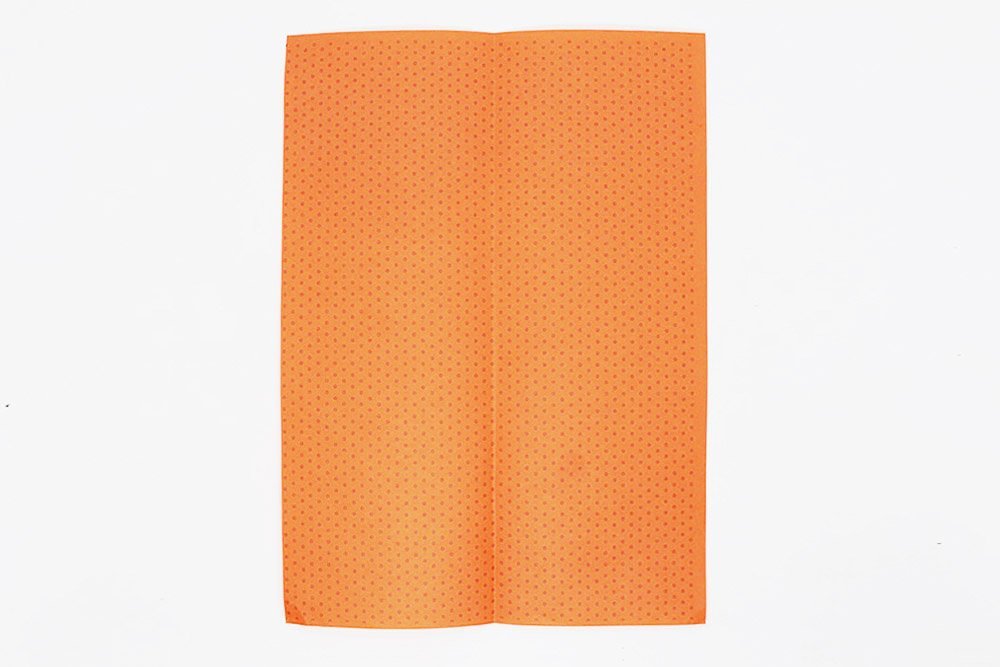
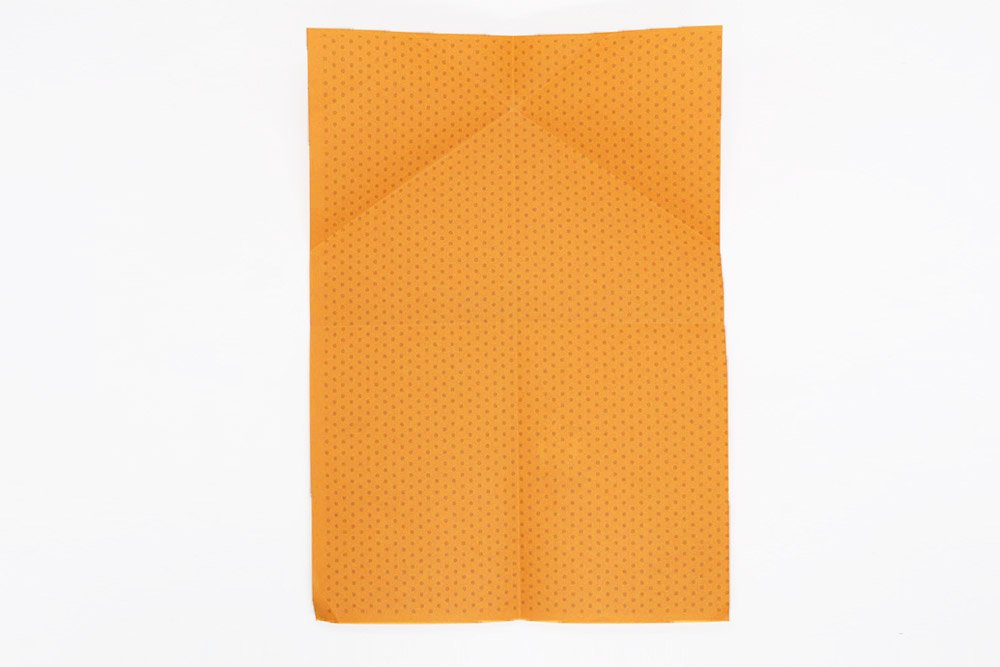
Fold it lengthwise in half. Crease it well then unfold.
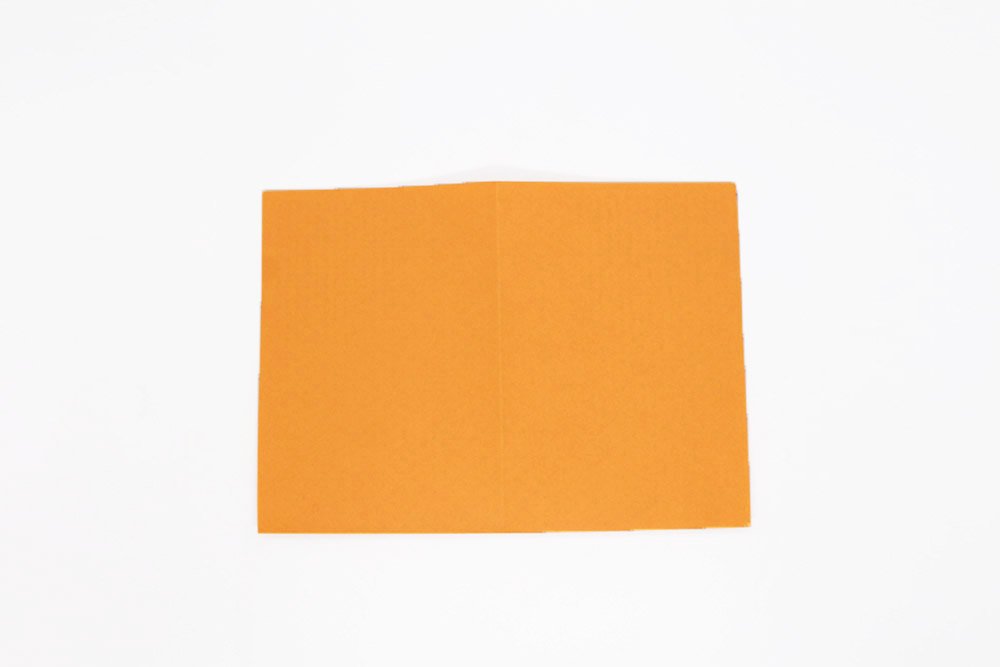
Now fold the paper crosswise in half.
Crease it well and then unfold.

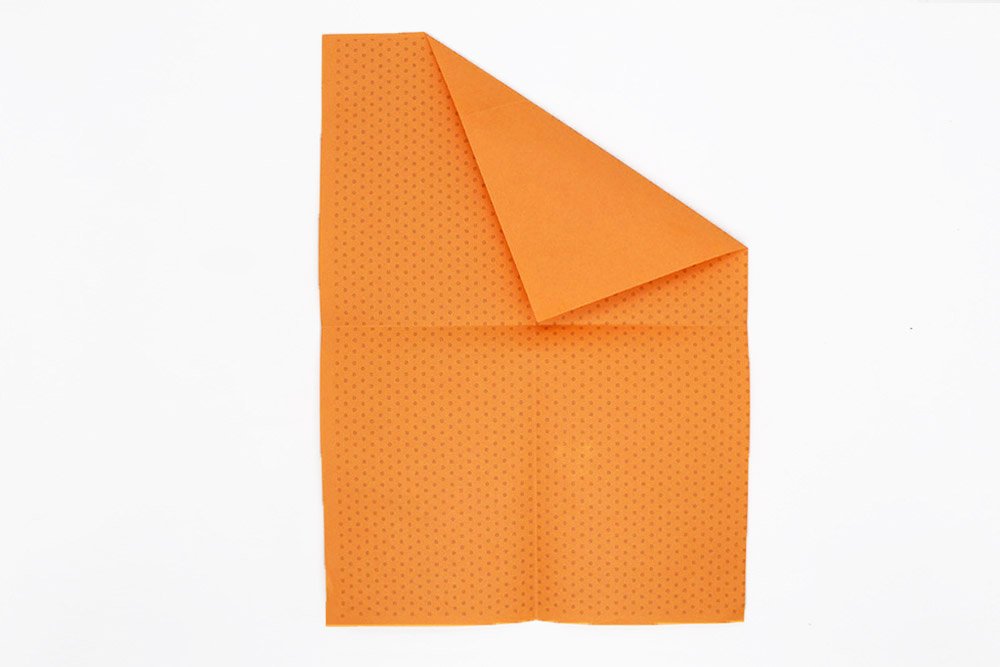
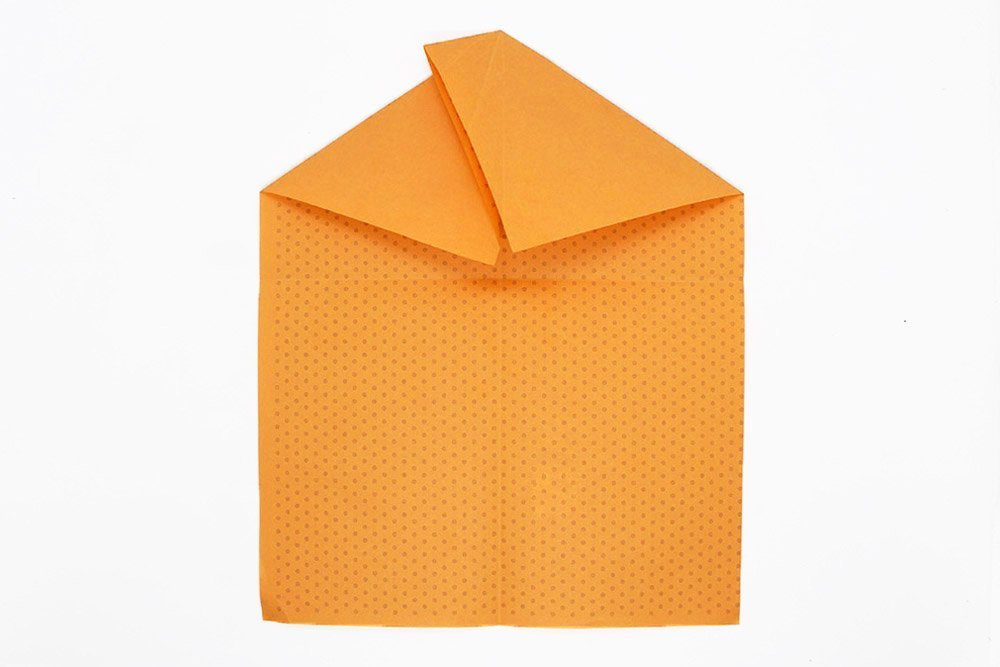
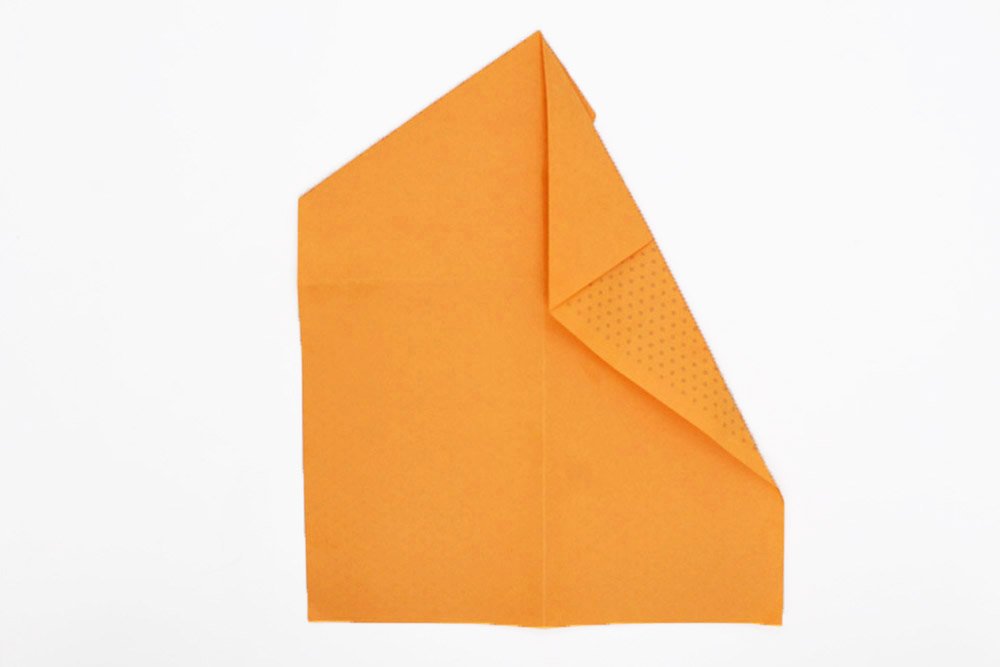
Bring the right top corner to the center of the paper. The center point is where the horizontal and vertical crease mark intersects one another.
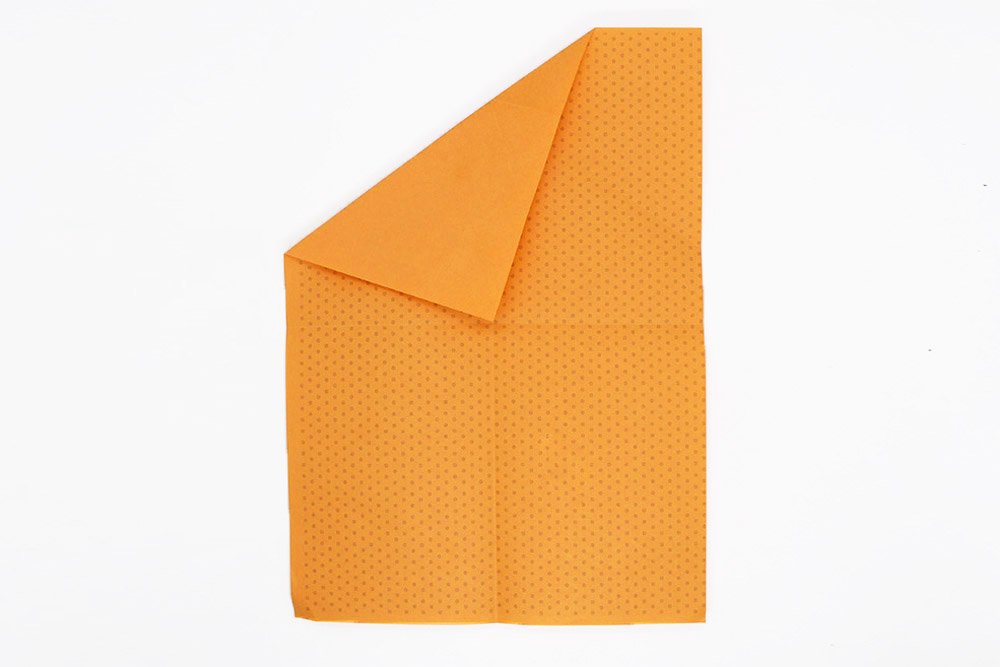
Unfold the fold made in the previous step. Now fold the left top corner to the center point.
Crease the paper well and then unfold.
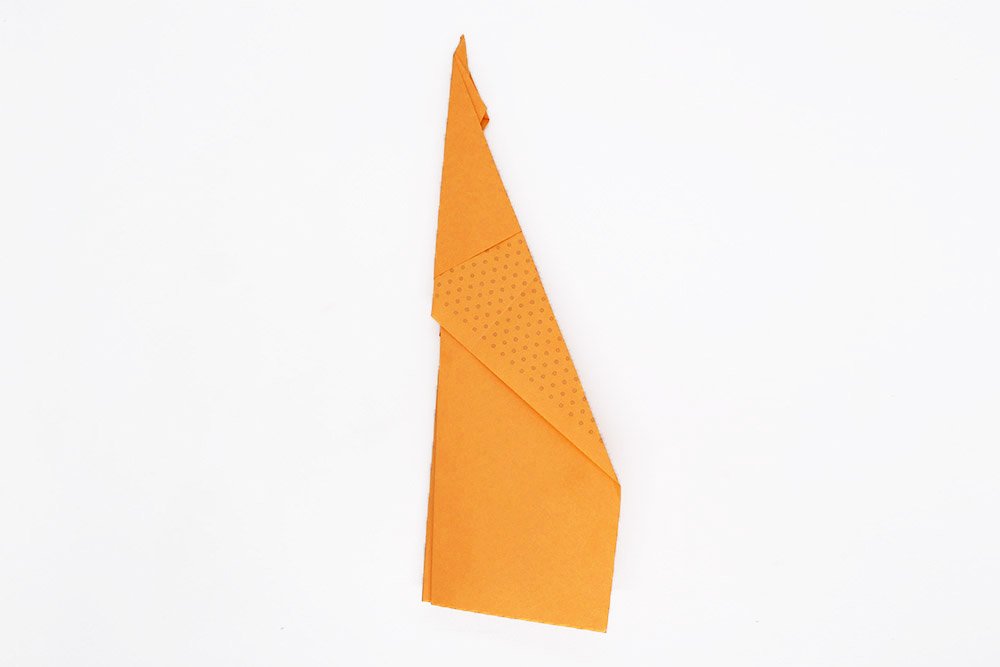
Make the Tip of the Wizard
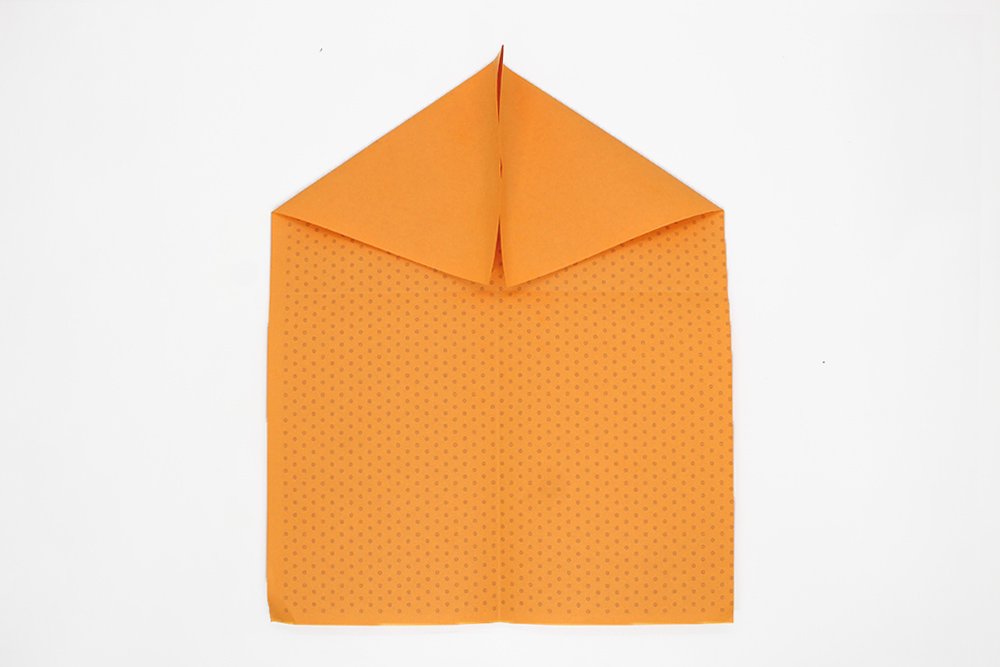
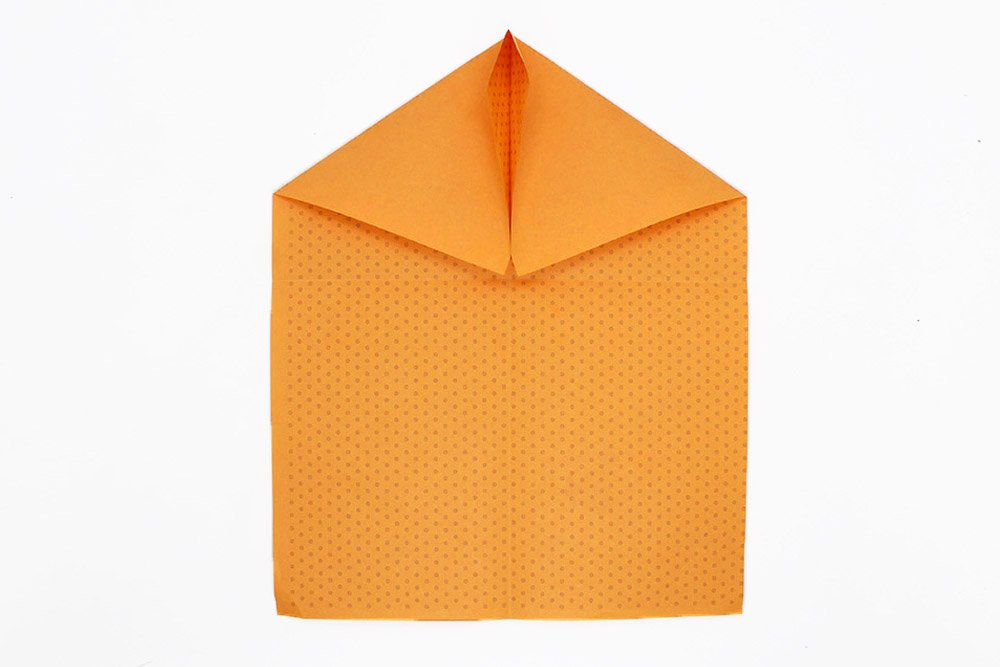
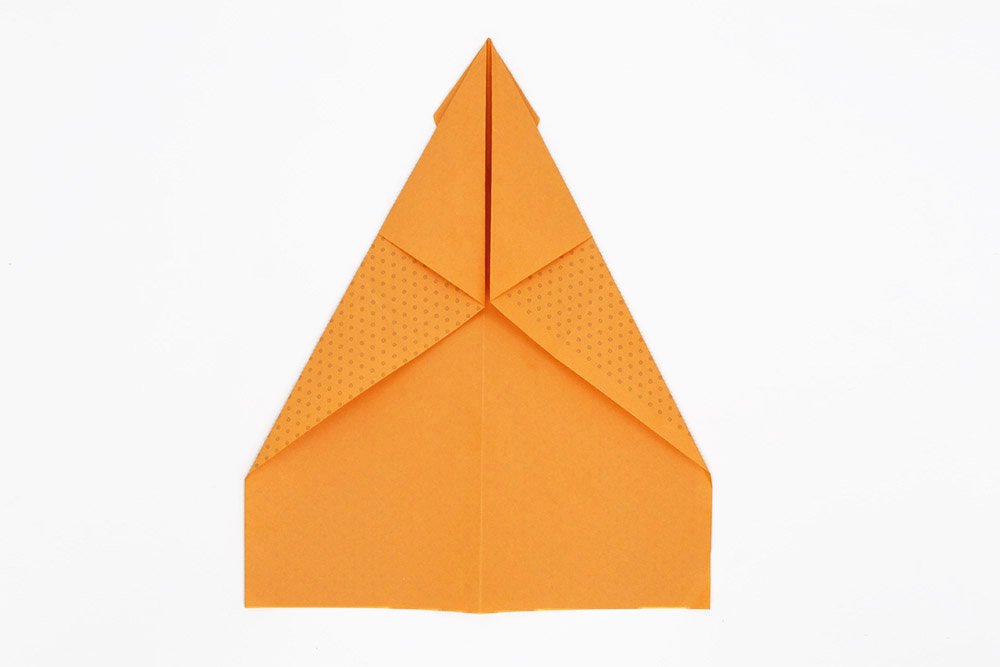
Bring the left and right corners inward again to the center point.
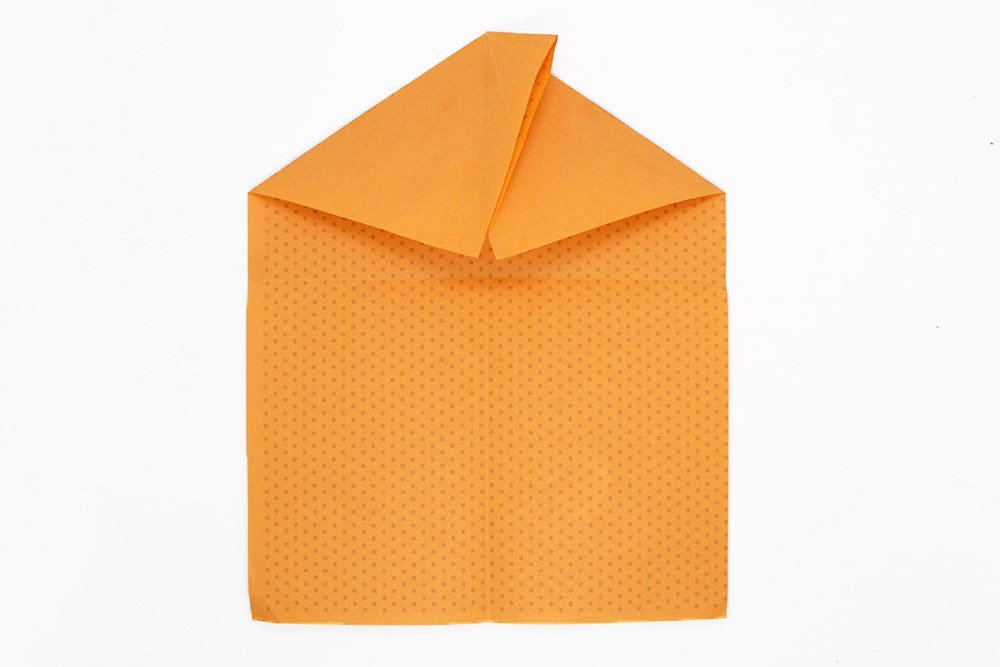
Fold the excess flap to the right.
Unfold the protruding flap then fold it to the left.
Bring the protruding flap into the middle of the line.
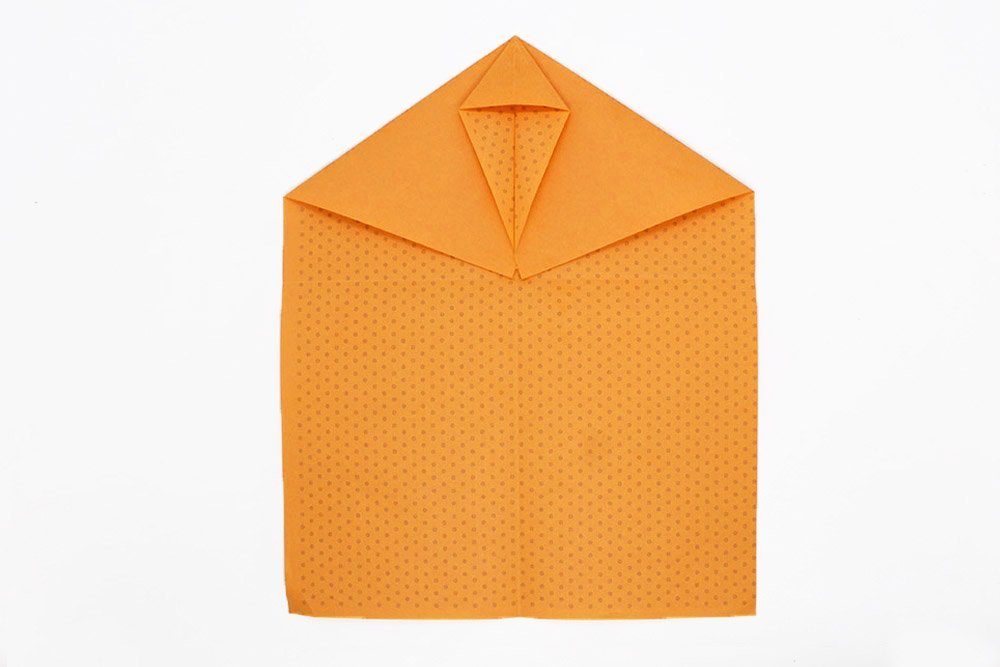
Do a squash fold to flatten it. A squash fold is when you pry open the paper then press and flatten the paper to make a fold.
You have now made a squash fold. Flip the paper to the other side.
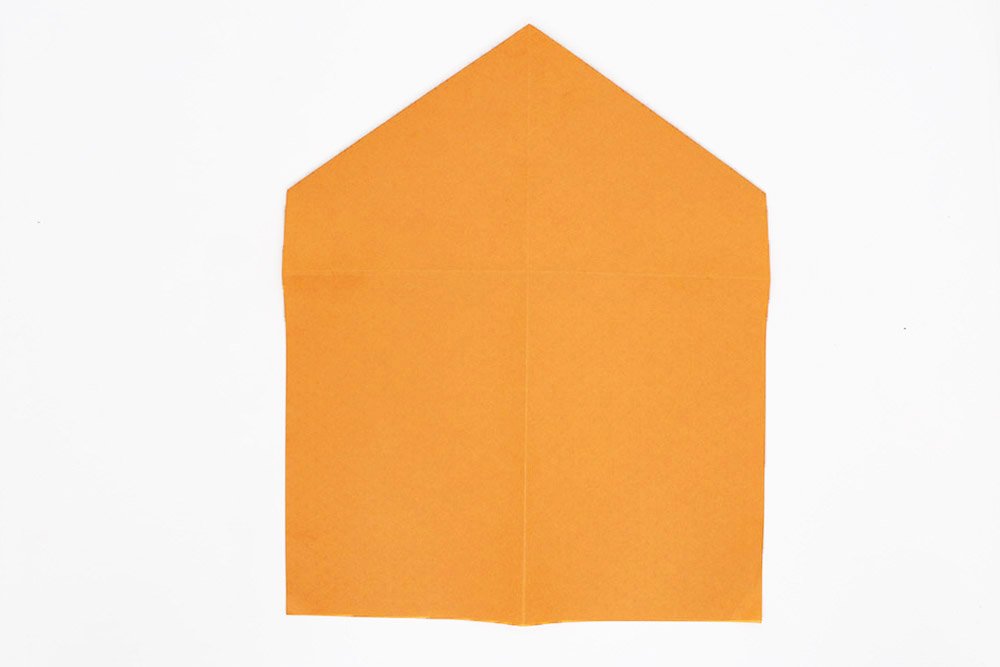
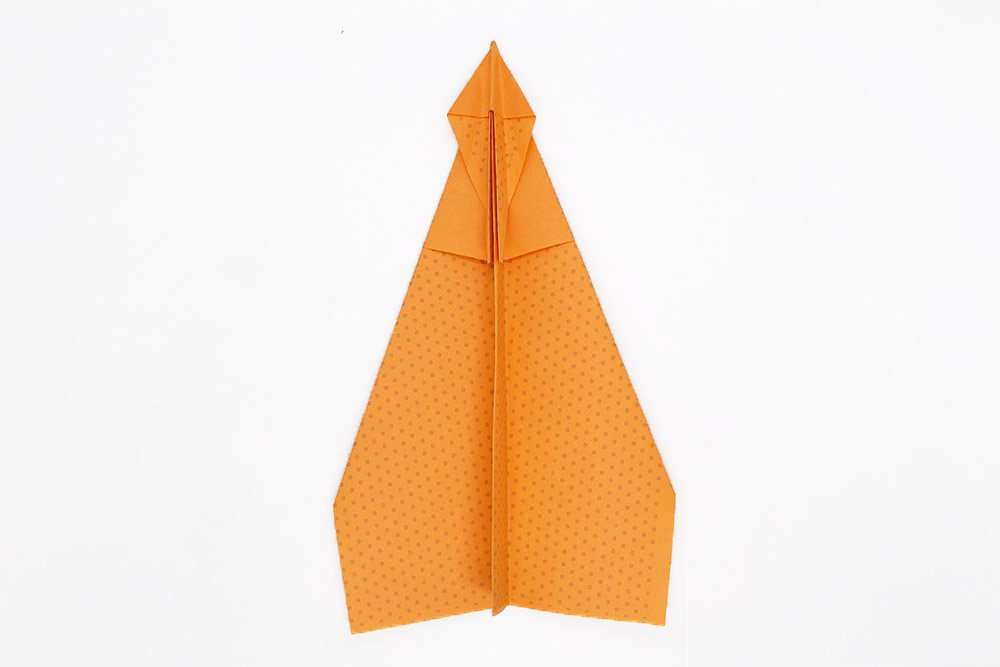
Create the Body and Wing of the Airplane
Good job. Now we will start to fold the airplane along the vertical line. Fold the top right corner to the center point first.
Then, diagonally fold the left corner to the center point.
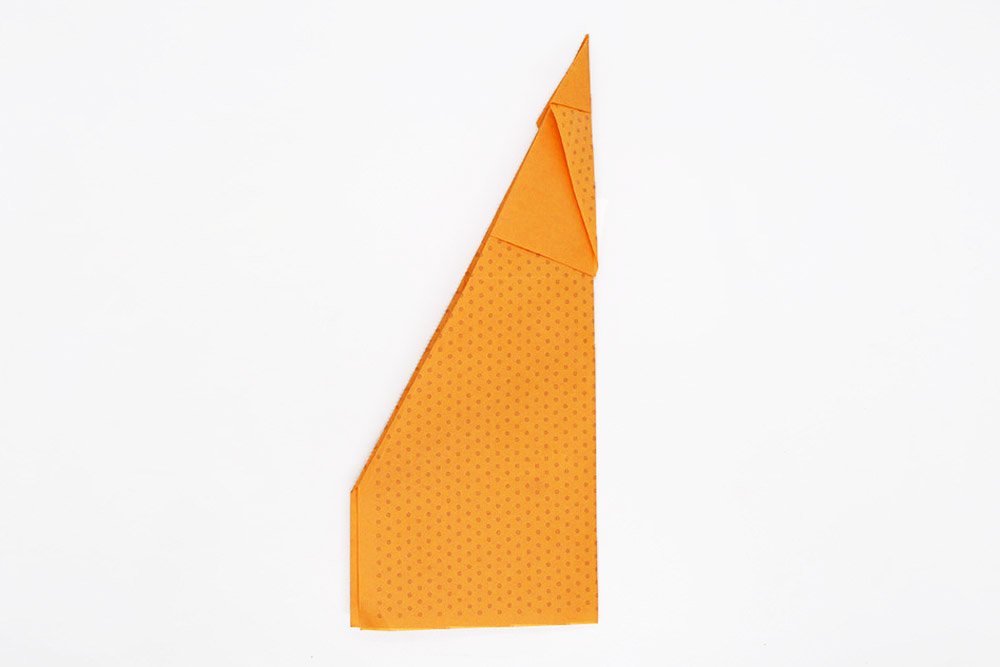
Bring the right edge to the left edge.
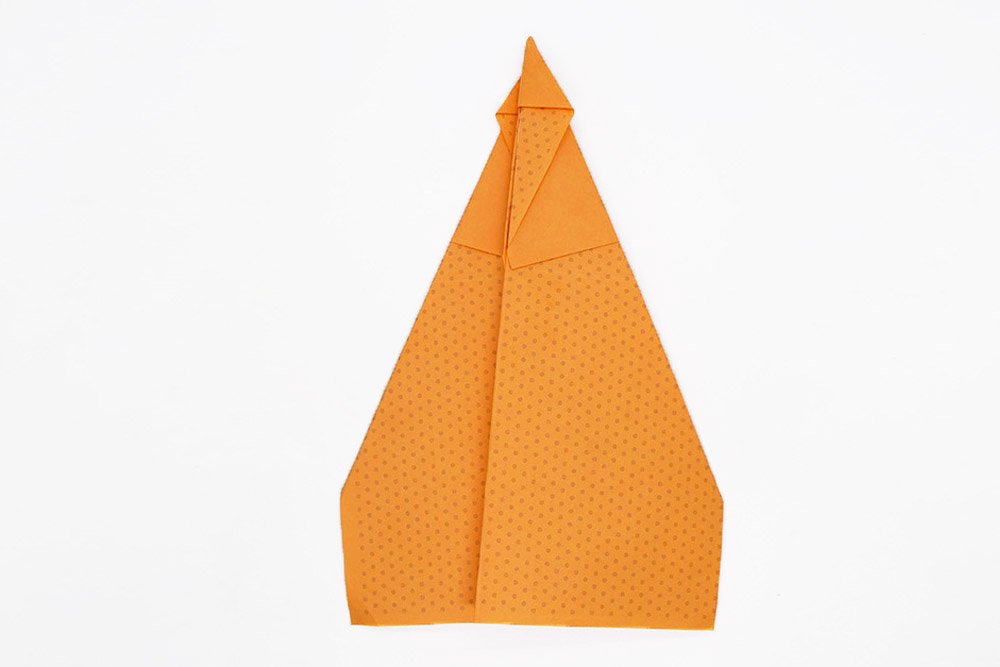
Fold a big portion of the top layer to the right side. This will be a wing of the Wizard paper plane.
Mountain fold the bottom layer of the paper plane. This will be the other wing.
Flare out the wings at a 90-degree angle.
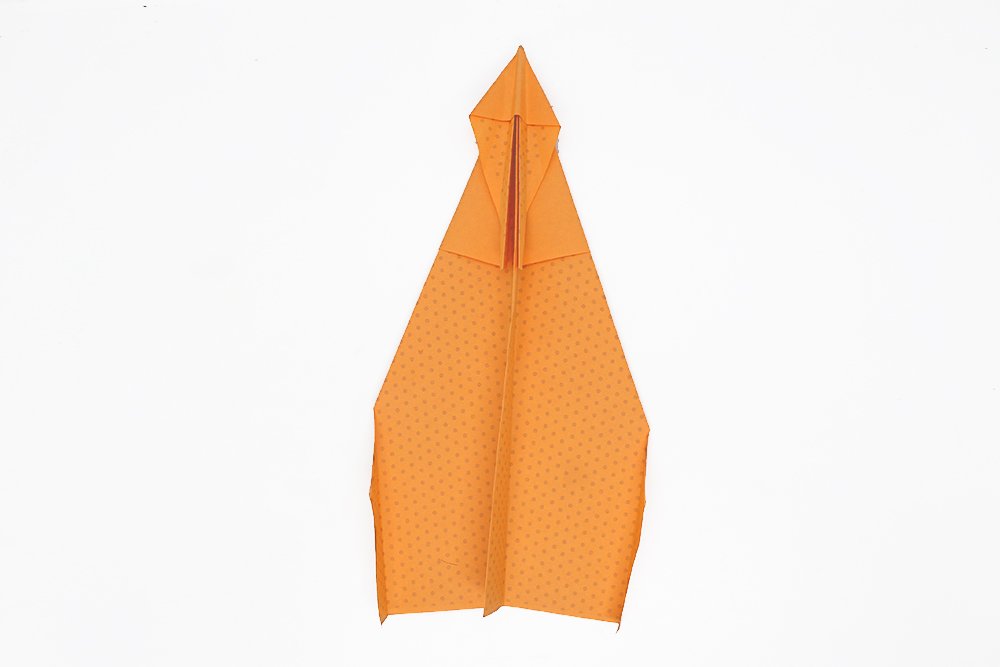
Make winglets by folding the outer edge of the wings of the plane inwards.
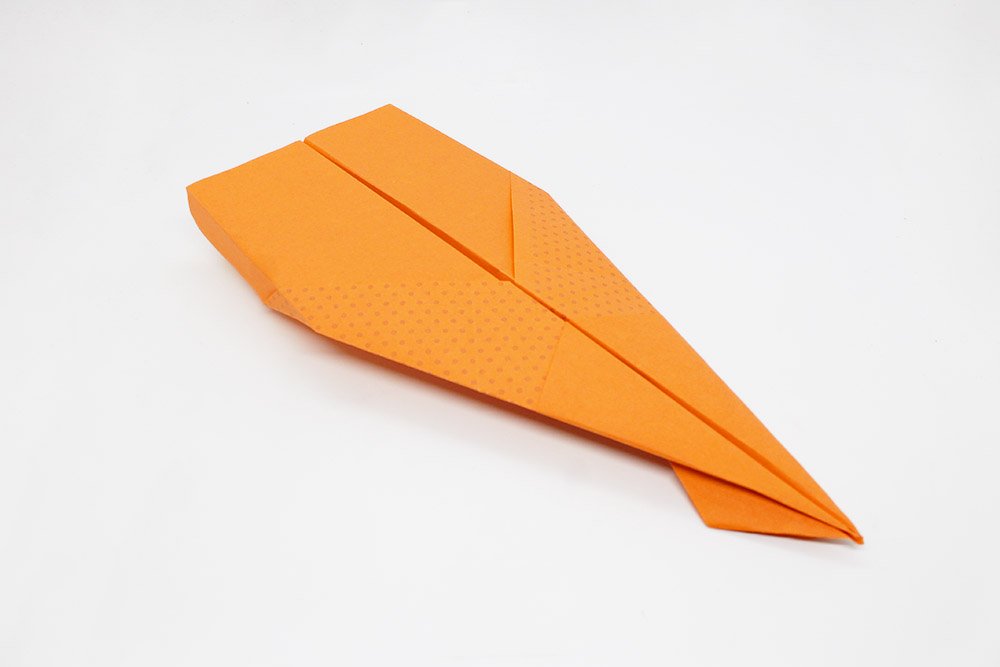
The Paper Airplane Wizard is done. Have fun flying!
Extra Tips
- If you want to fly your paper airplane outside, then try this: Use a long strip of scotch tape and stick it under the fuselage of the paper airplane.
- Paint your plane with cool details like stars on the wings, a flight number plate, and a cockpit.
- If you want your paper airplane to fly even better, use another strip of scotch tape. Connect both wings with the strip so that they stay together in flight. If the wings stop falling apart, the air resistance is lower, and the arrow flies faster through the air.

This was one was a challenge! Mine flew far, about 60-80 feet. Did only three test and I don’t think the conditions were that favorable
I think that’s it’s the prettiest paper plane but it’s not meant to be the best is it? It never once reached 100 ft in my case. Still, it’s pretty good. Good guide. Me and my brothers had fun
the first step was kinda hard to get right 🥲
Mine flew to over 40 meters_it was high ground though so don’t be upset ahaha
Awesome guide. Englishs not my first language but it was no problem