Introduction
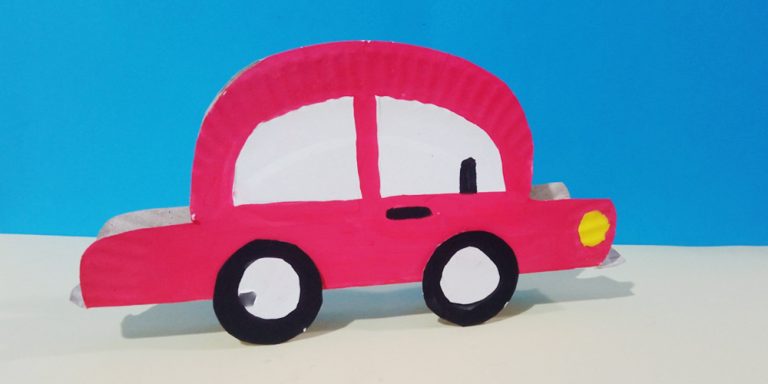
Making a paper plate car is easy, and you don’t have to settle for something other than excellent. This tutorial will steer you in the right direction.
This is a quick and simple activity. All the materials are easily found and it is a straightforward instruction. You need only to cut, fold, and paint.
Unleashing your creativity in this project is a good way to go. What designs will you make? Using this guide as a base, you can make other designs like a paper plate police car.

Tools
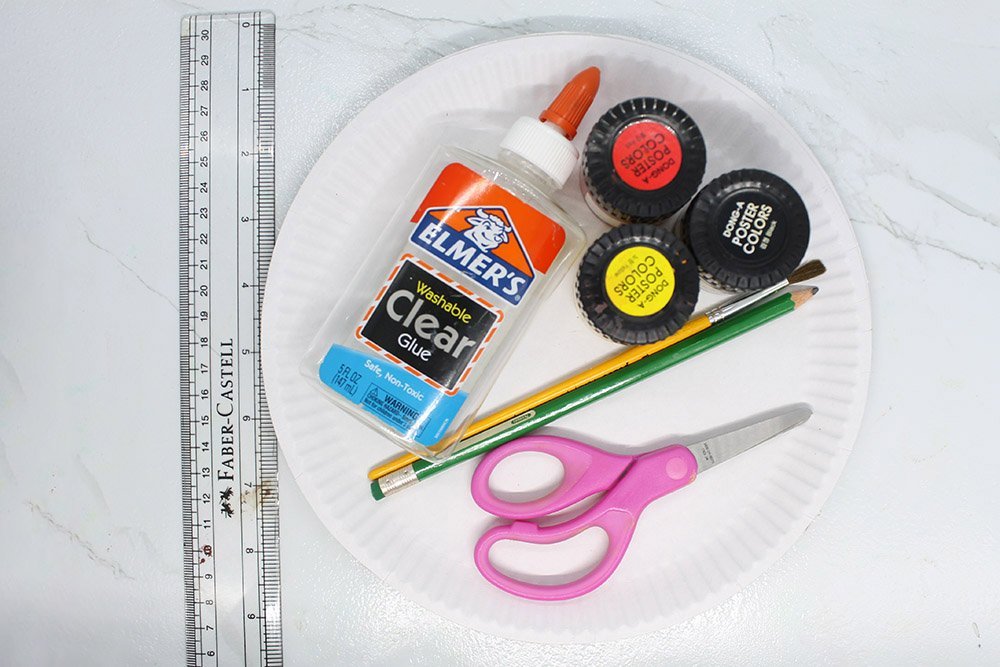
- Ruler
- Pencil
- Paint brush
Supplies
- Paper plate
- Glue
- Poster color (Red, Yellow, and Black)

Make the Shape of the Plate Car

Face the white side of the plate. Then fold the paper plate horizontally. You want to be seeing the grey side of the paper plate next.
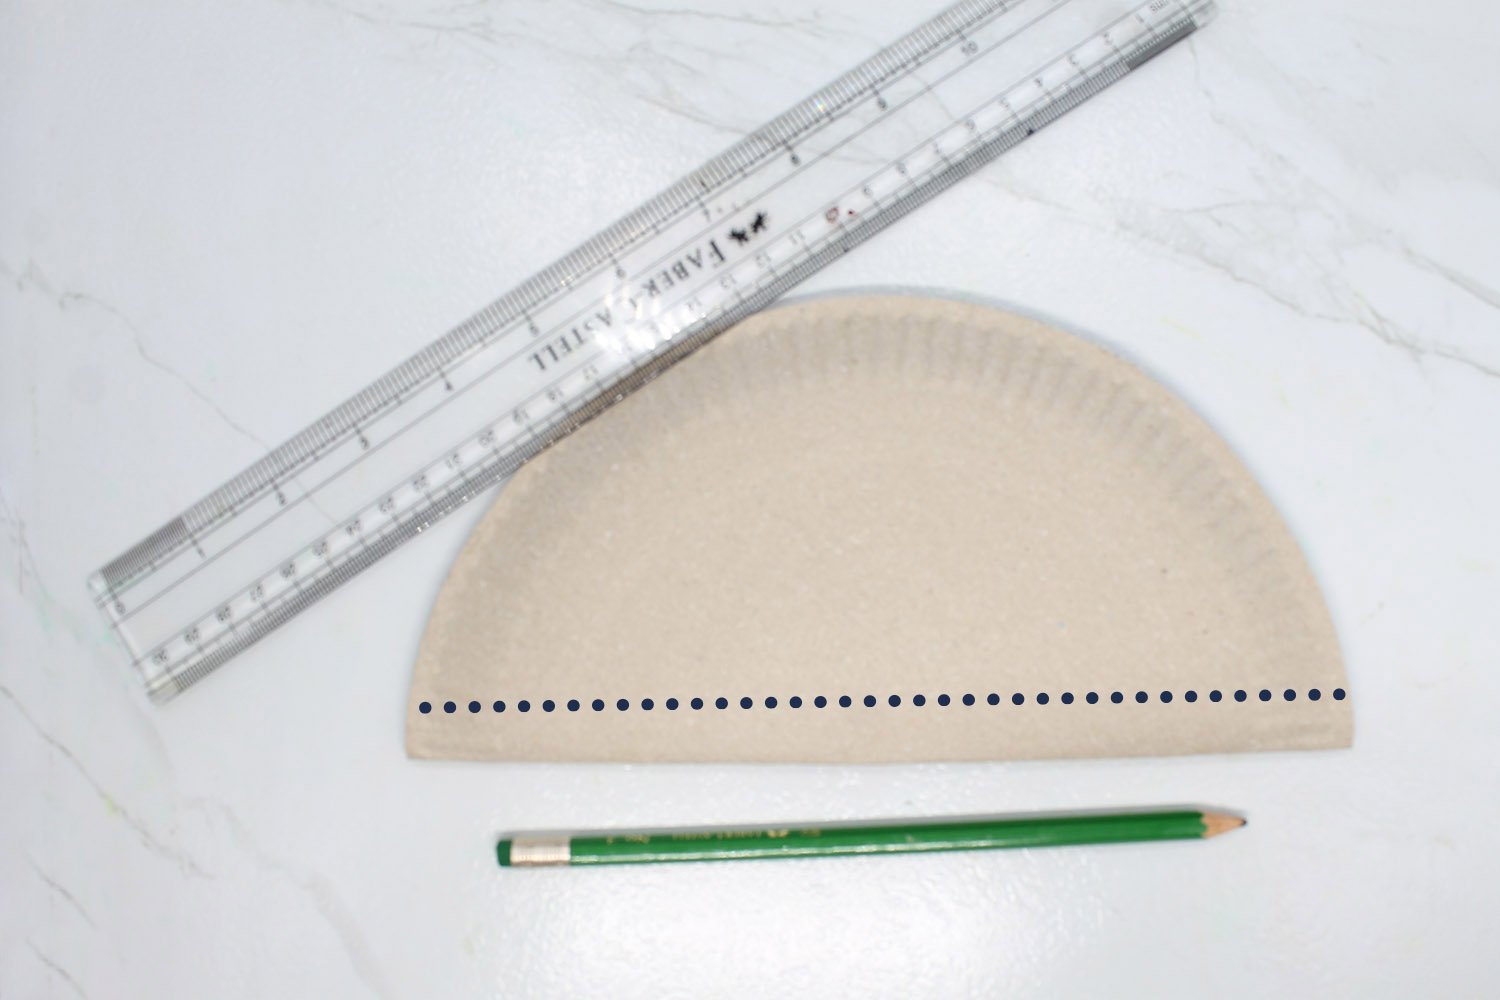
Make a light but visible straight line as shown in the image above. These lines are important because they help shape the outline of the car.
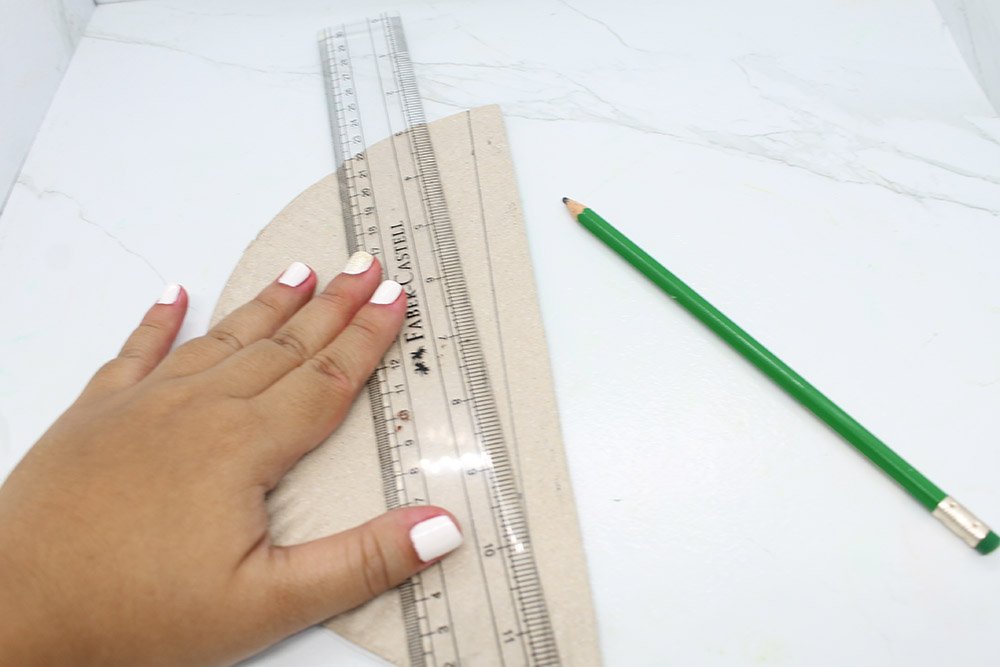
If you're line is not straight we can go back and do it again.
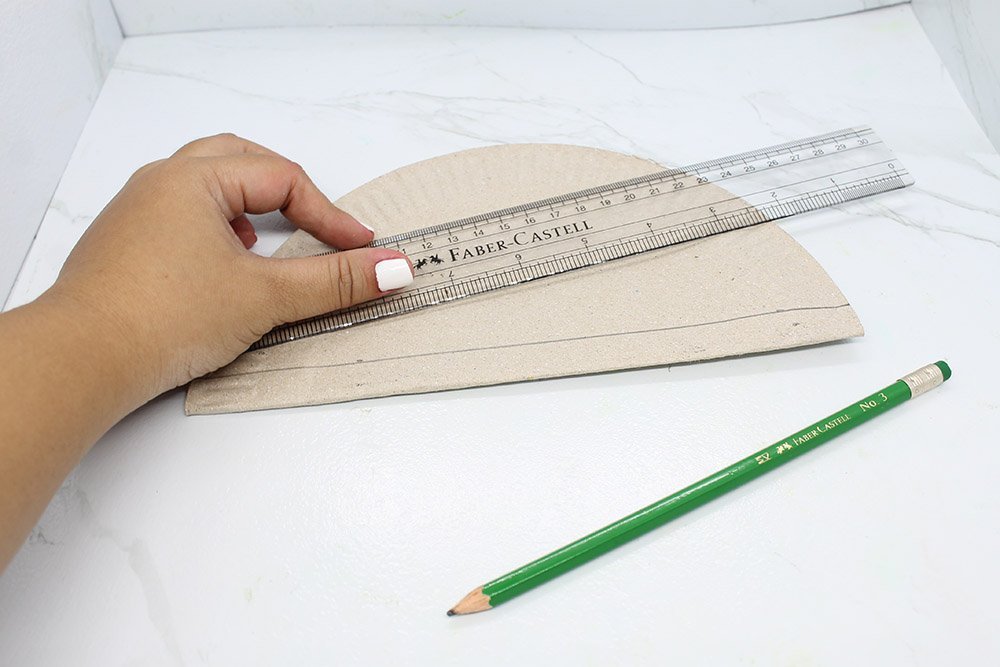
Next, we want to move up about a an inch or so above the last line.

We will be making another straight line. Again, this line would be useful later on as you would try to make the shape of the car with the help of these straight lines.
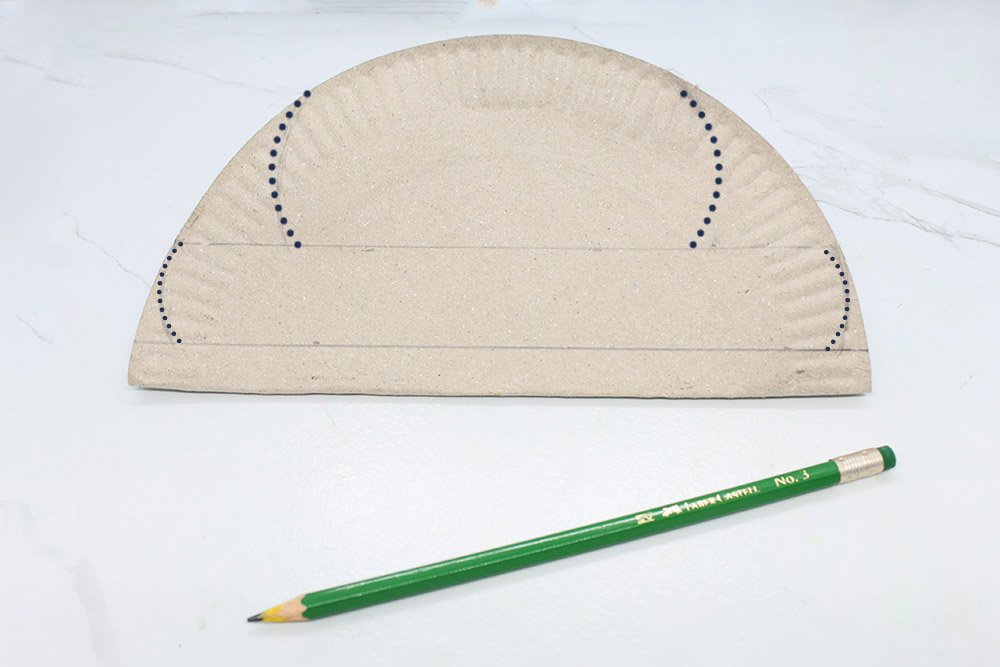
Then draw curves. The top curves will form the shape of walls of the car while the curves below will form the bumpers.
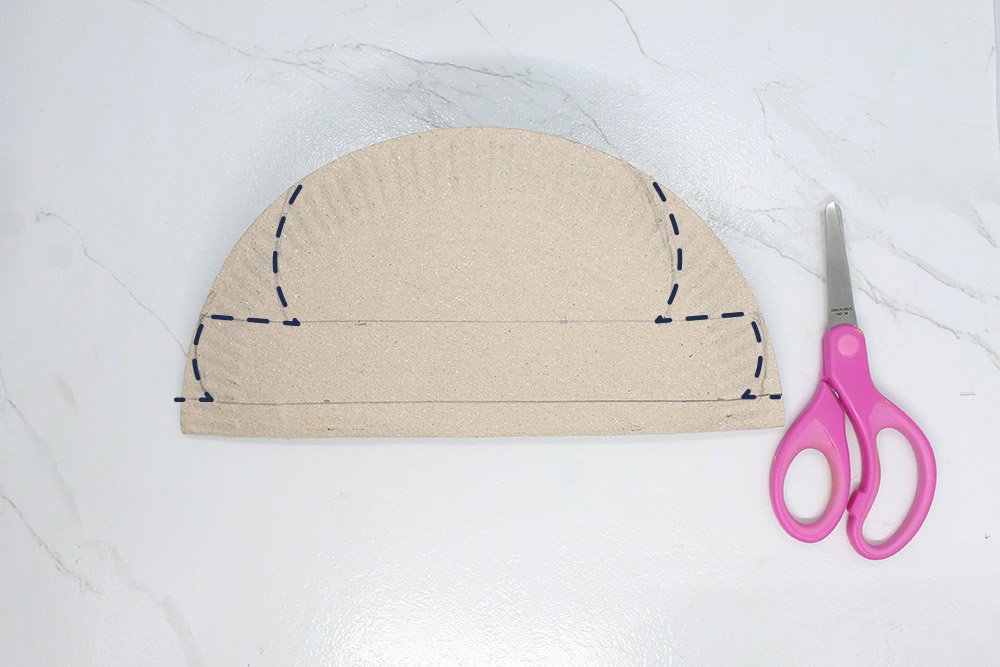
Make four horizontal lines such that the shape of the paper plate car will be finished. We are almost done with shaping our car. And cut.
Cut the along the lines made to finalize the shape of the car. But we still need to do some folding first.
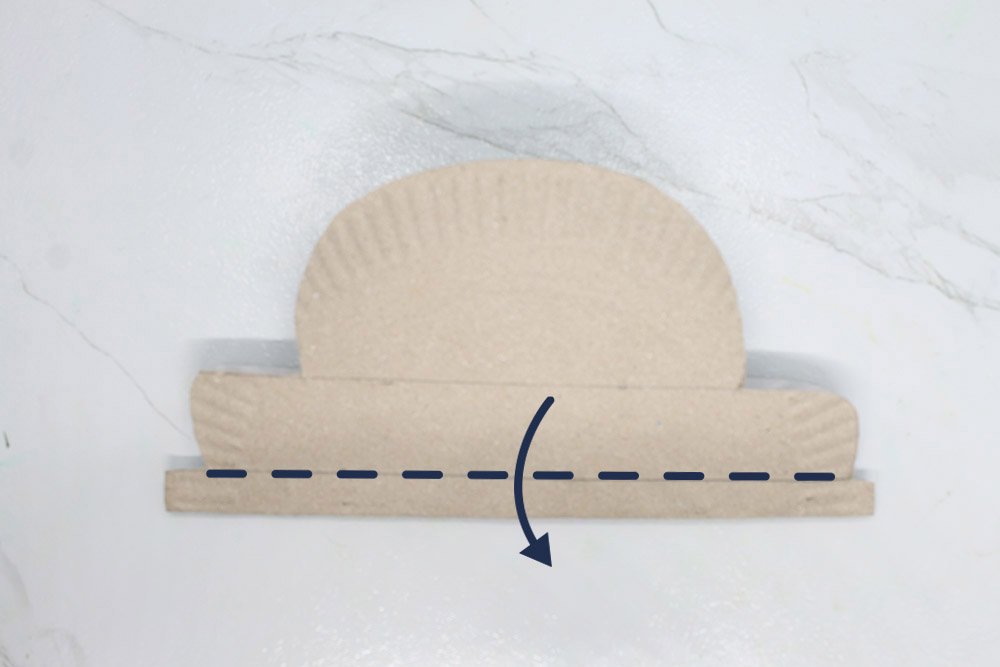
After cutting the curves, fold along the first horizontal line that you made. This is the line at the bottom.
Make Some Folds to the Car Paper plate
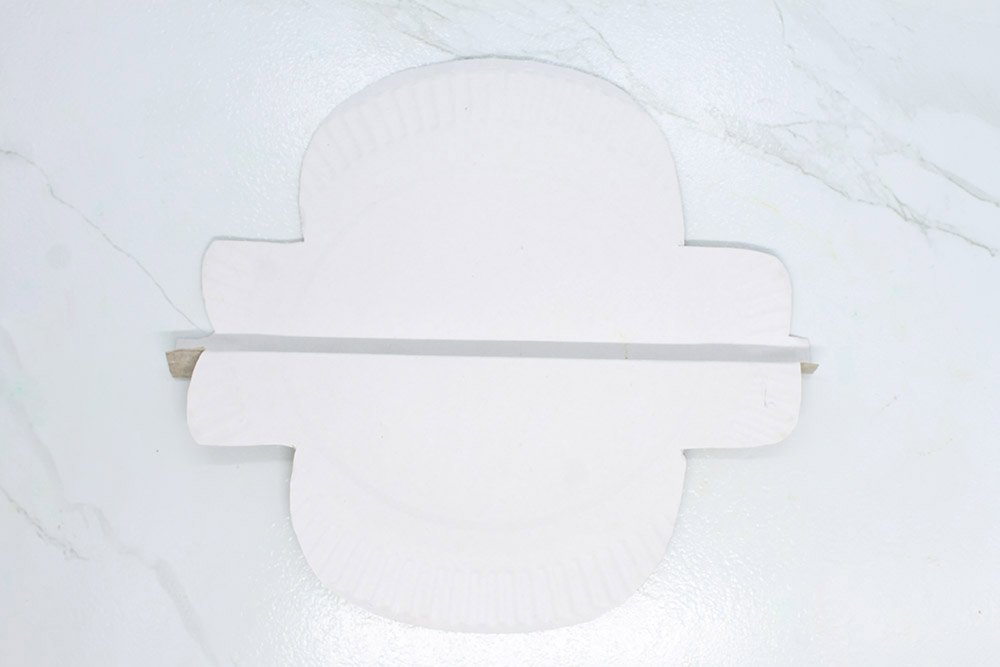
After performing the last fold your paper plate car should look like the image above. Now, turn it around so that you would be facing the brown side of the plate.
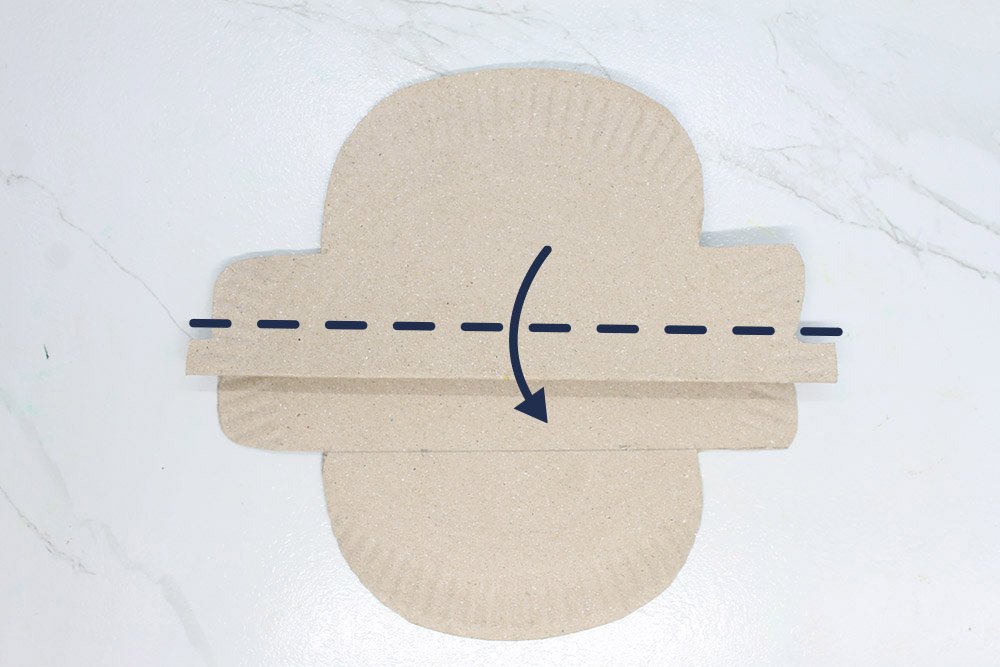
You must then fold along the dashed line as indicated by the picture. above.
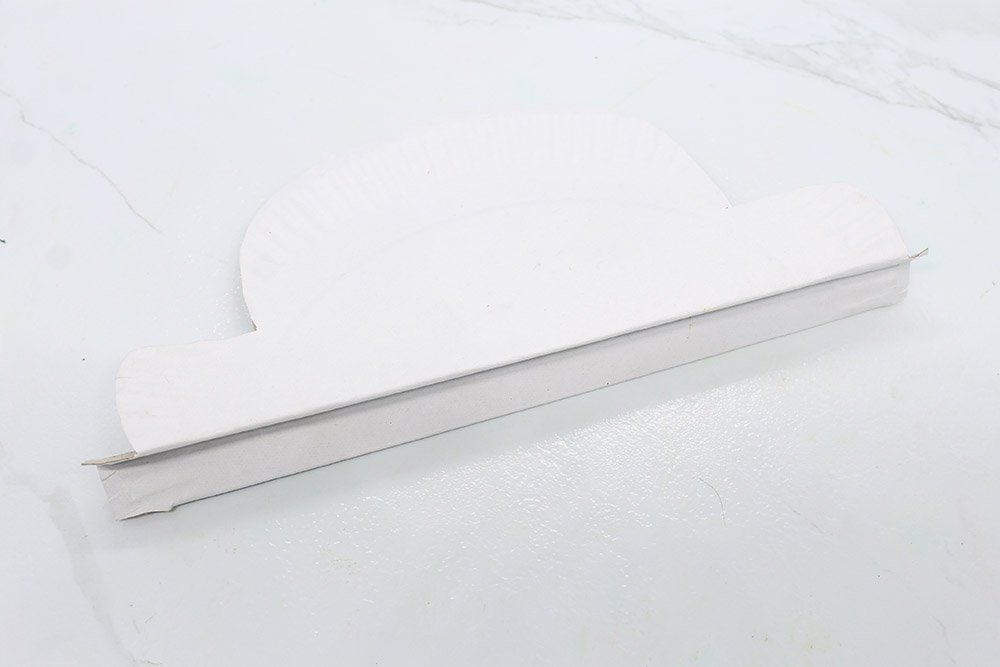
Good job! You now have a floor and two walls in your car. This allows the car to be able to stand up on its own.
Paint the Paper Plate Car
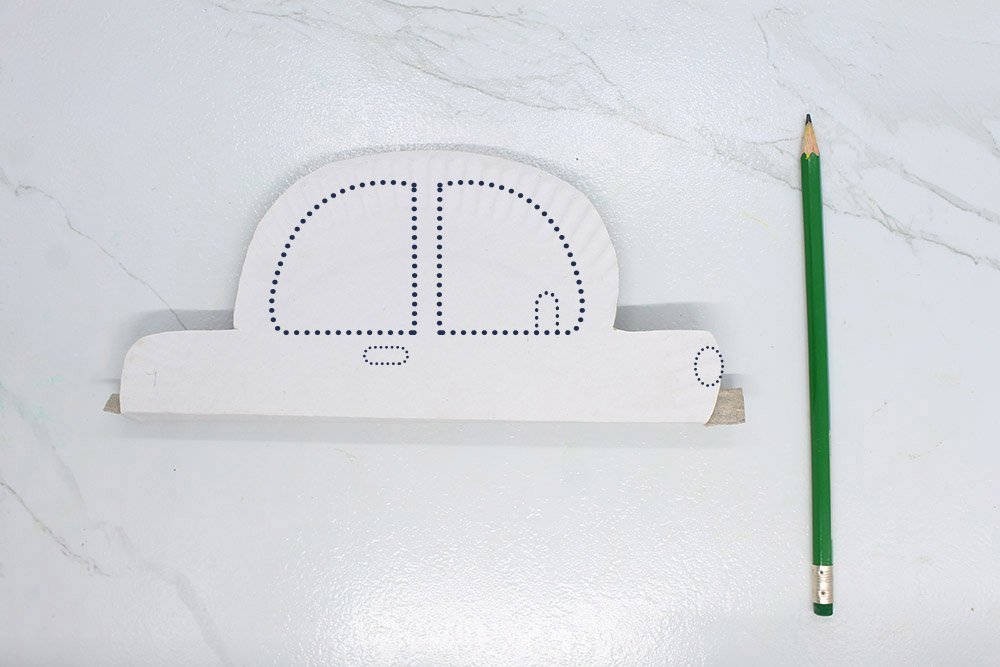
The next step will be drawing the windows, door handle, a part of a steering wheel, and a headlight. This is what makes our paper plate car so detailed.

Paint the car red. Red is bright and eye-catching. But another color can be chosen for this step.

After painting the car well with red, or the color of your choice. You need to paint the handles black, and the headlights yellow.
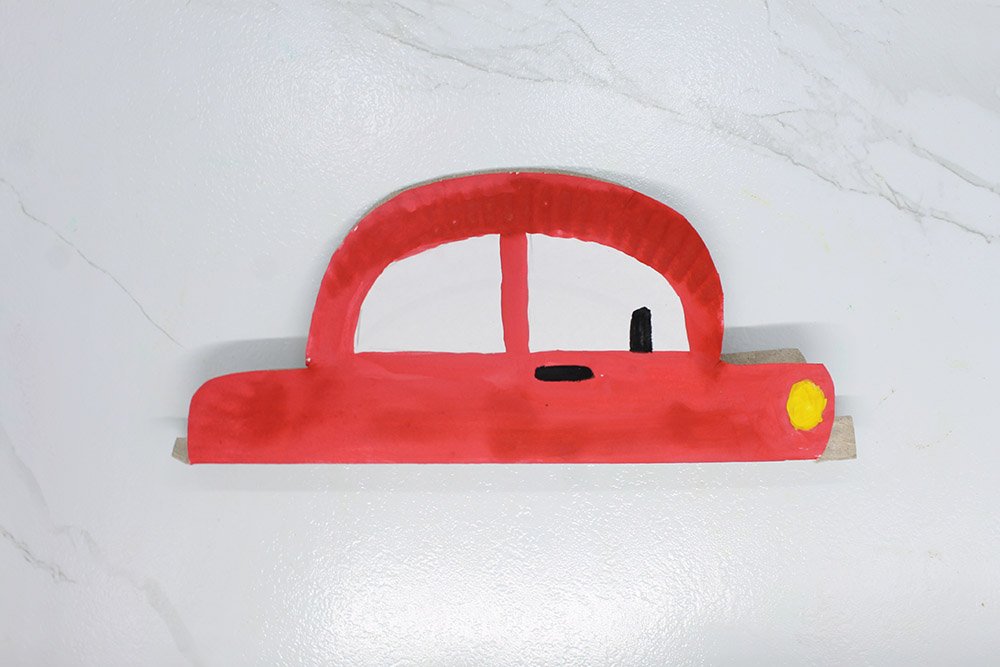
You should have something like this. Of course, you could change the color of the car's body and add other details to make a paper plate police car.
Make and Attach the Wheels to Car Paper Plate Craft
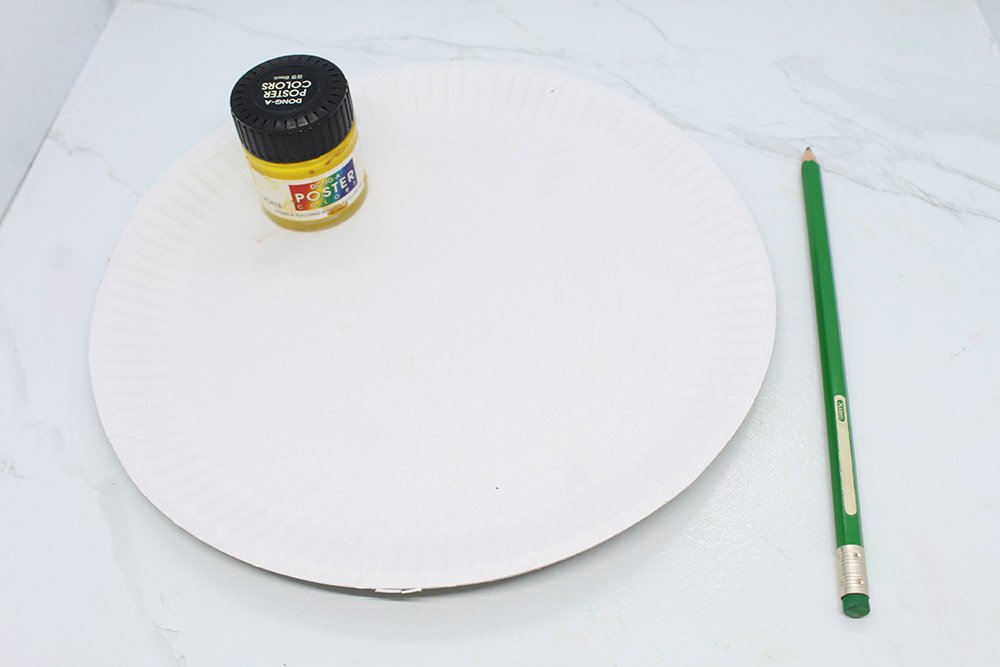
Make four wheels by making four circles. Draw them first then cut.
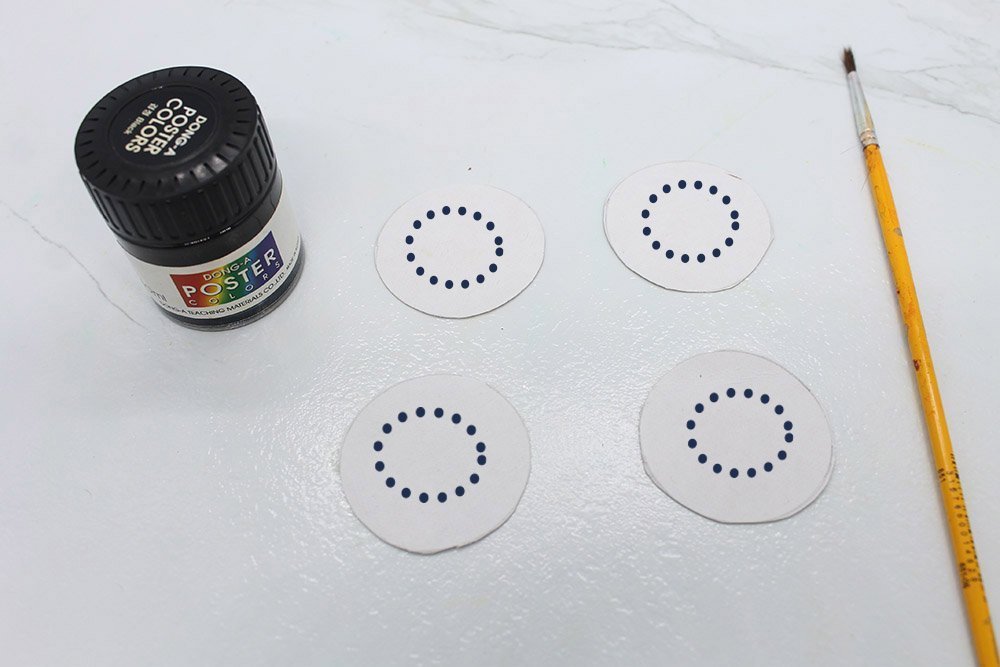
Next, draw smaller inner circles for each wheel.
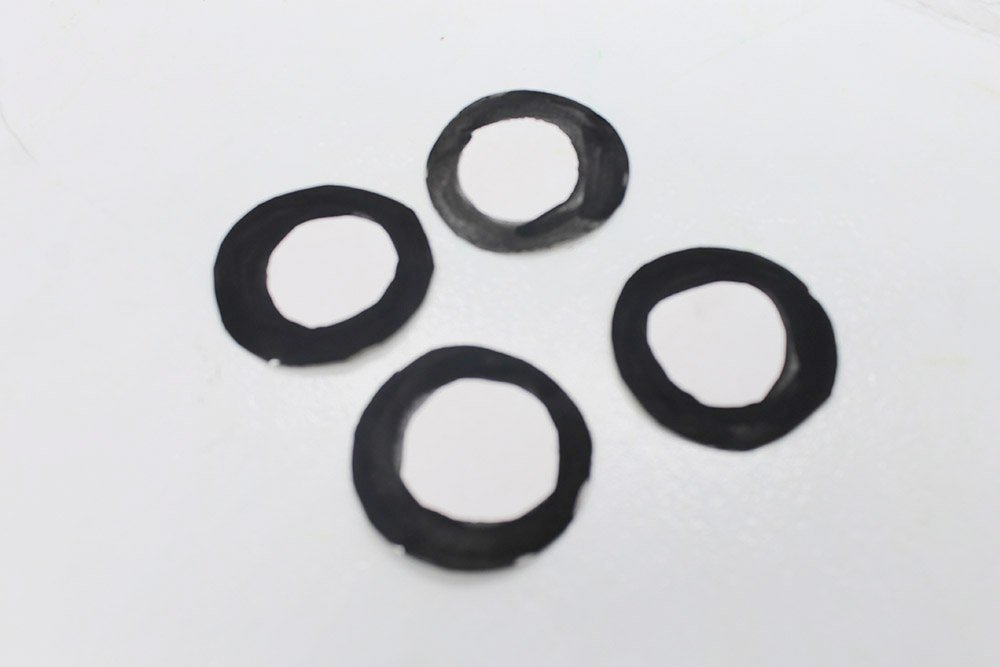
Paint the tires black. The wheel can be left as it is.
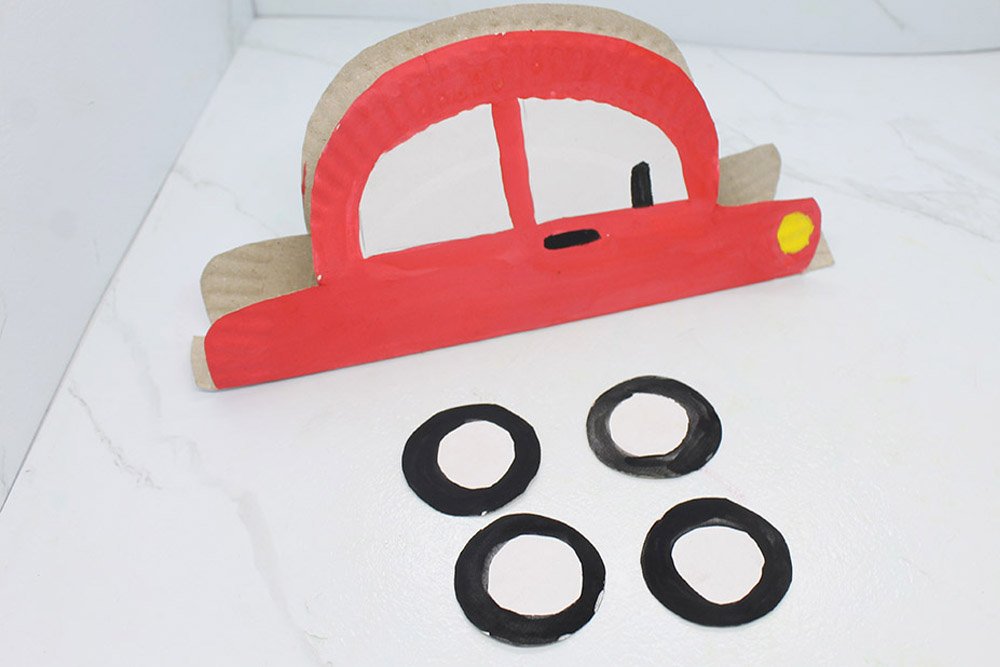
Glue two wheels on the side where there is paint.
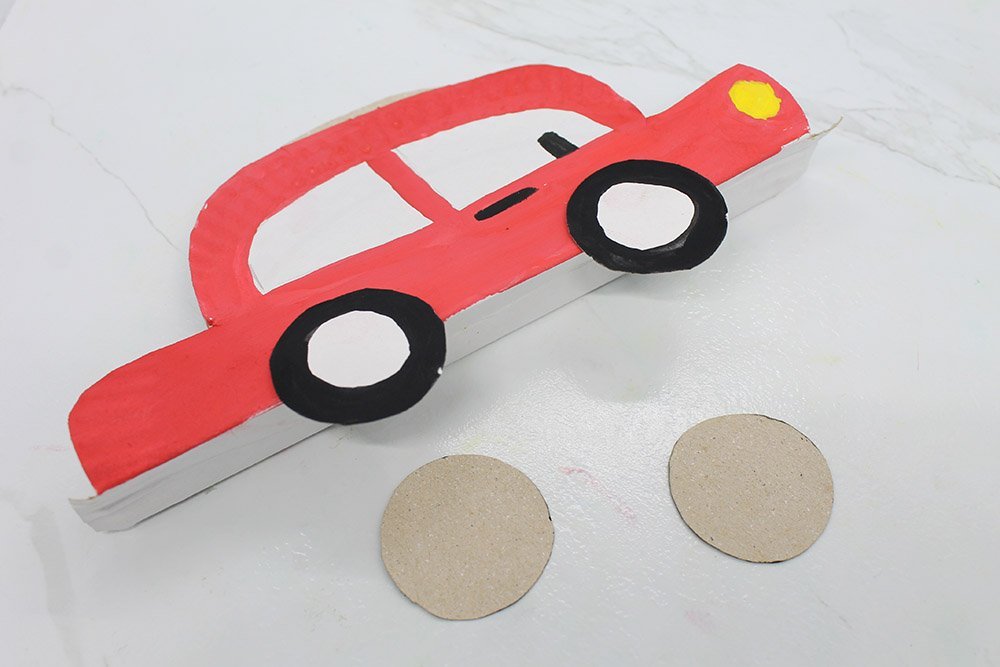
Then, attach the other two wheels to the back. Because of the flat base, the lightness of the paper plate, and the four wheels, the car can stand.
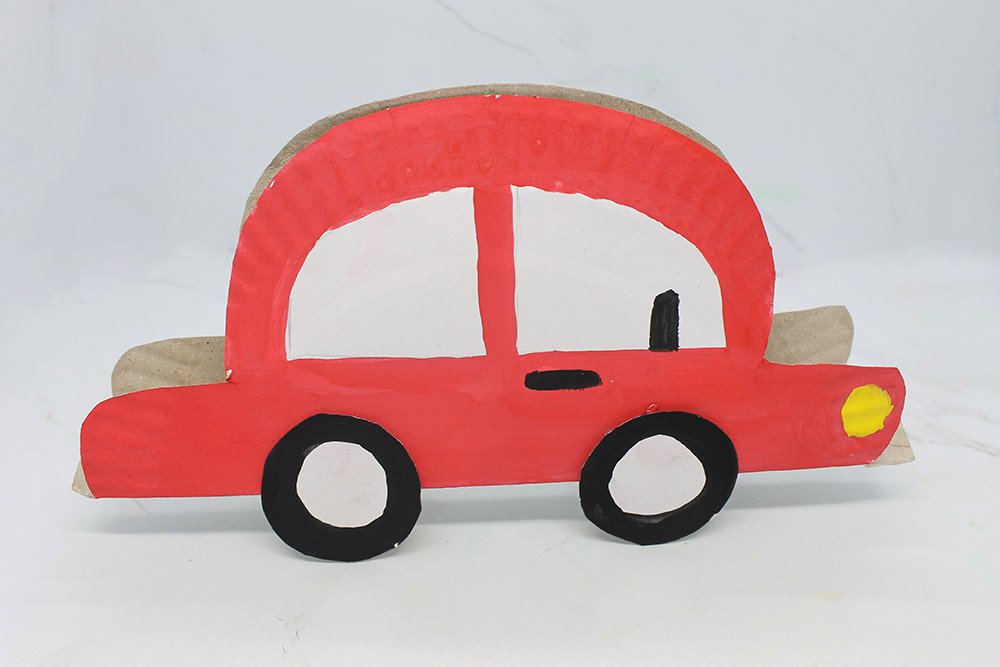
Well done! You have completed this activity. Now it's time to find a good place to display the Paper plate car.

