Paper Plate Lollipop Craft Guide | Sweet Projects for Kids

Introduction:
Welcome to the paper plate lollipop craft. First off, this craft is awesome as it can bring out the creative person in you. And second, this art project does not involve cutting. Well, you’ll have to cut tape but that’s beside the point.
This paper plate lollipop is a lovely gift box. In it, you could put candy, Hershey’s kisses, and of course – lollipops. If this sounds like something you’d like to make then continue reading this guide! All the materials required are easily available in school or at home. Also, this is an easy craft to make for all kids.
Enjoy.
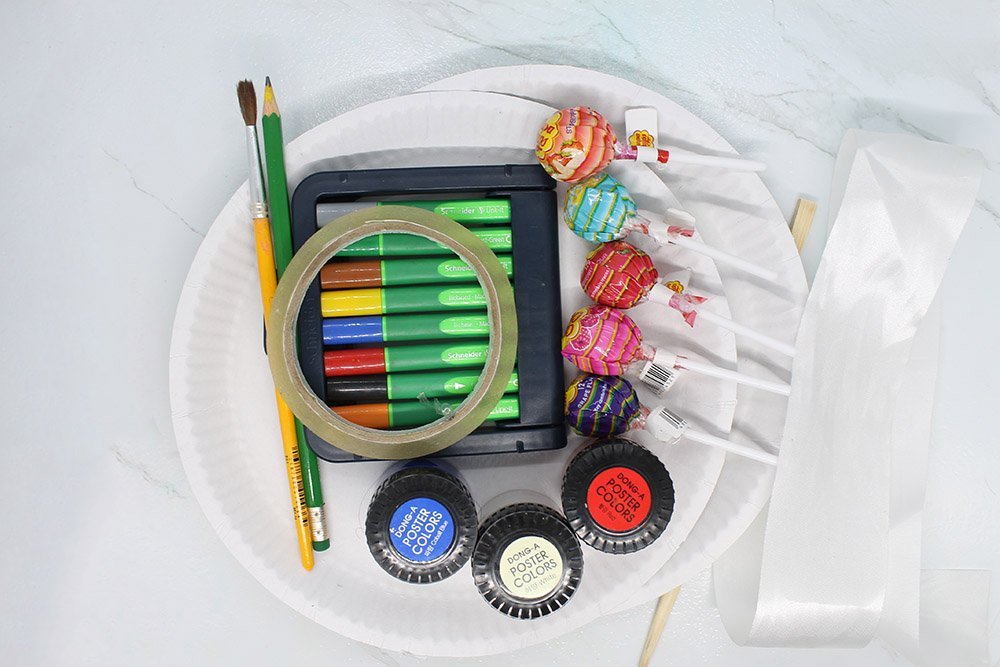
Tools
- Pencil
- Brush
- Color Markers
Supplies
- Paper Plate
- Lollipops or other sweet treats
- Poster Paint
- Tape
- Decorative Ribbon
- Short Blunt Stick
Paint the Paper Plate Lollipop
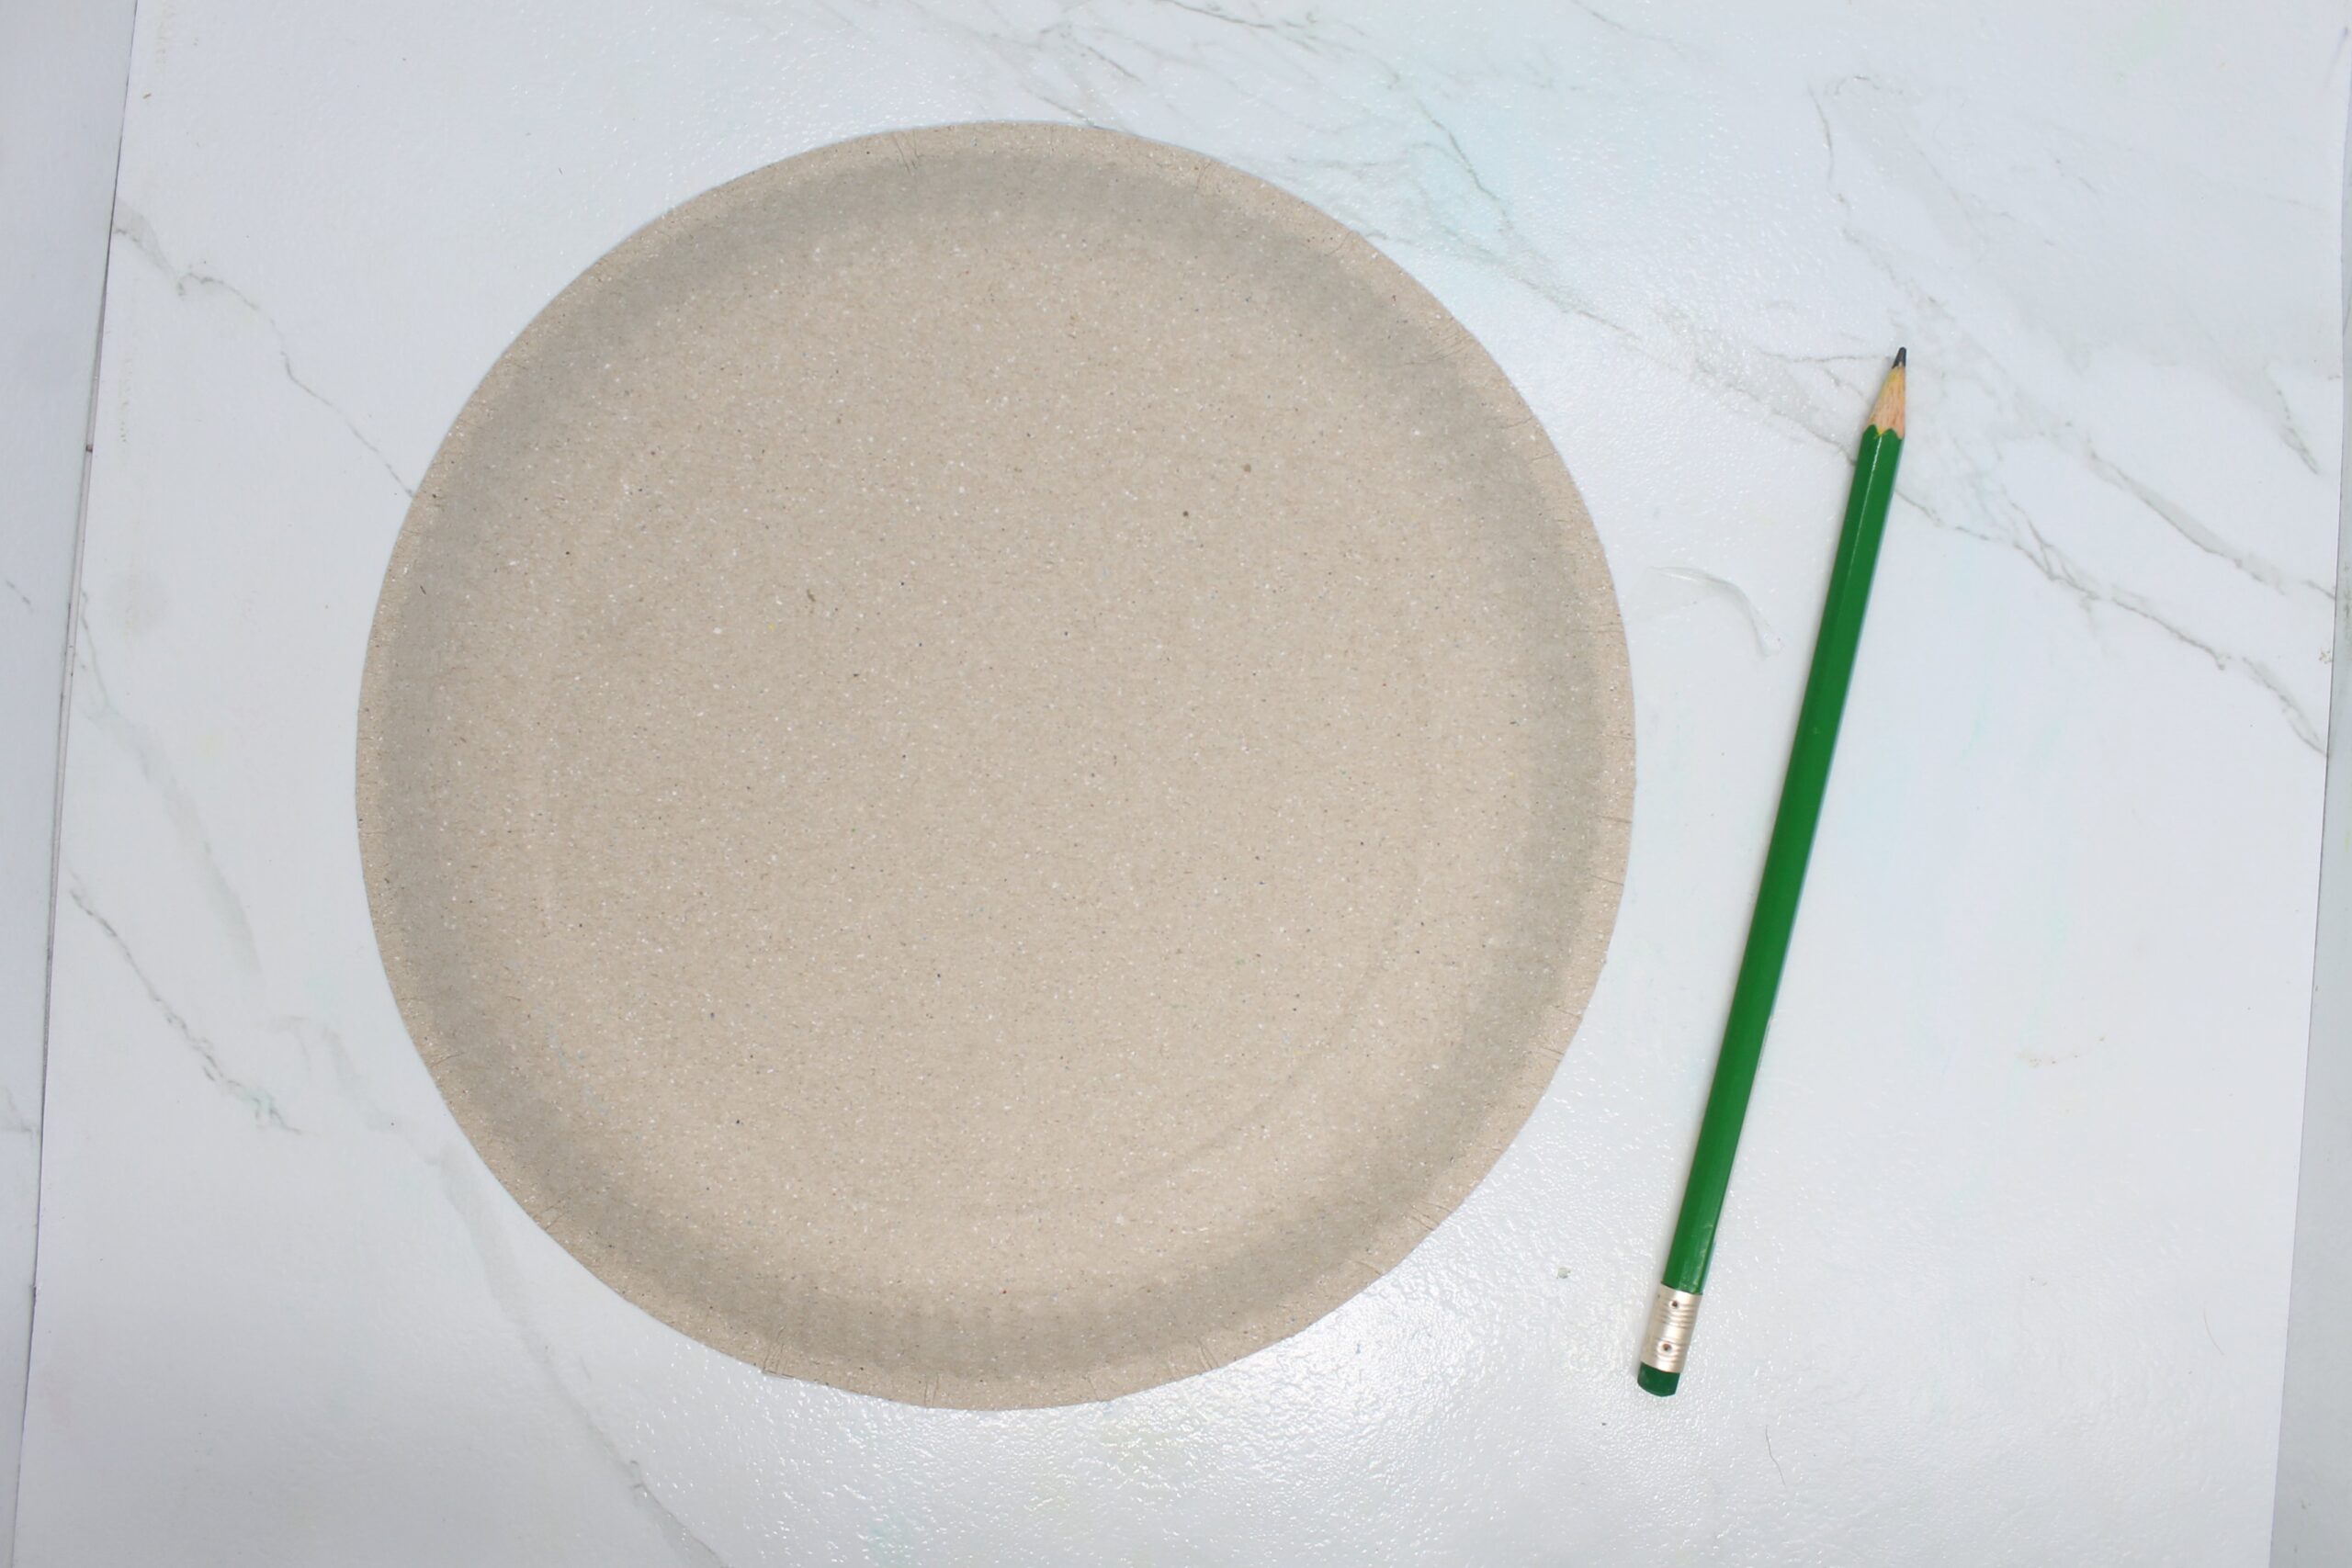
Welcome to the first step of the lollipop craft. After finding a suitable place where you could work, get your paper plate and pencil. Let's start crafting! And oh, make sure to be facing the brown side of the paper plate.

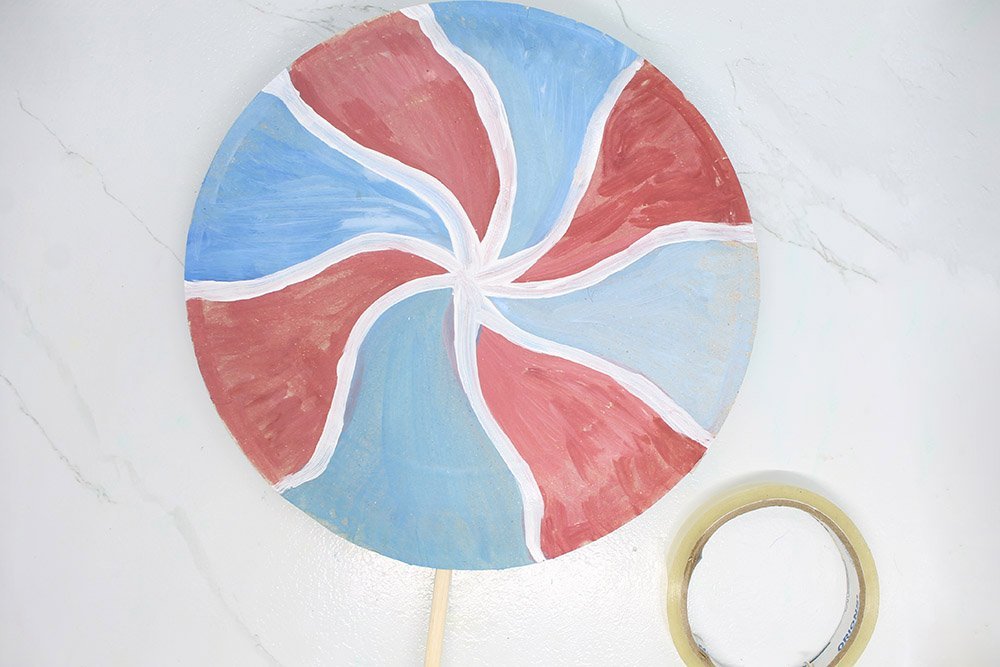
Draw the spirals you would normally see on lollipops. Take a close look at the image above and try to imitate the drawing.
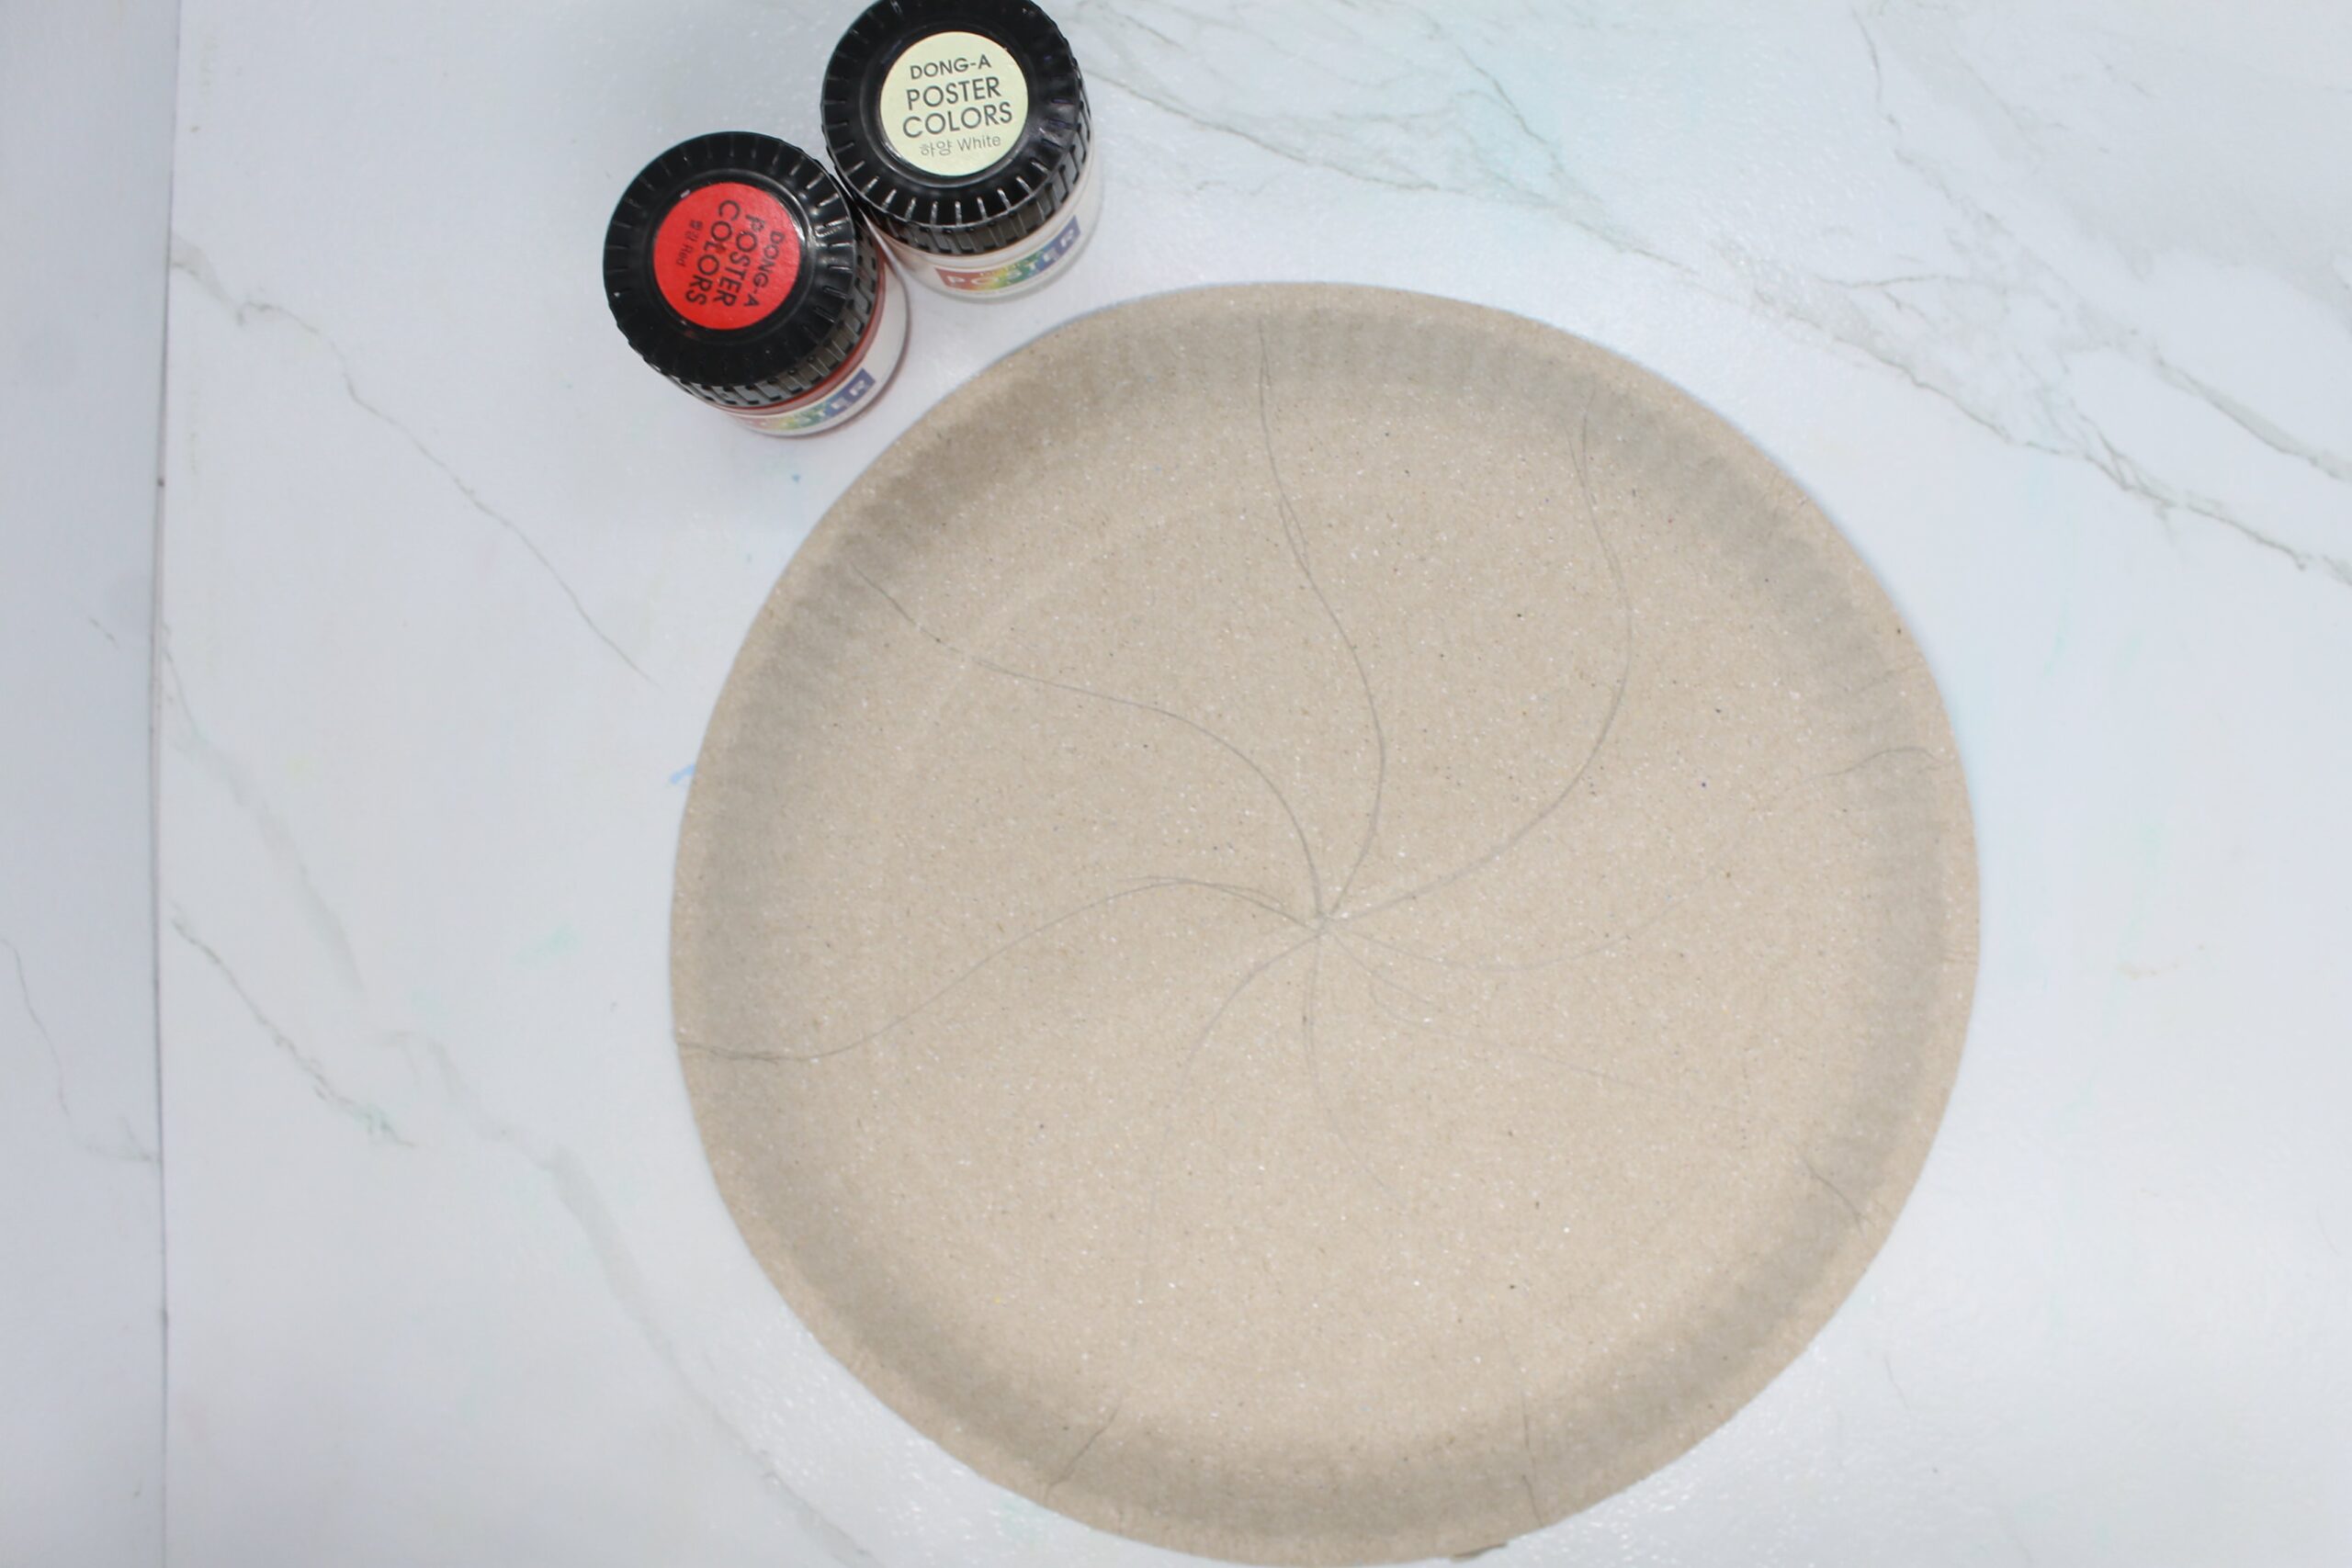
And then you should get your paint. Red and white paint is what is needed though if you already have pink then use the pink poster paint.

Because of the lines previously drawn, your paper plate will have eight sections. You will have to paint in an alternating pattern with pink and light blue. For now, mix the red and white paint then paint four sections.

Then combine the blue and white paint to create light blue paint. Then use it to color the remaining sections. Good job! Now it's time to move to the next step.
Put Some Goodies
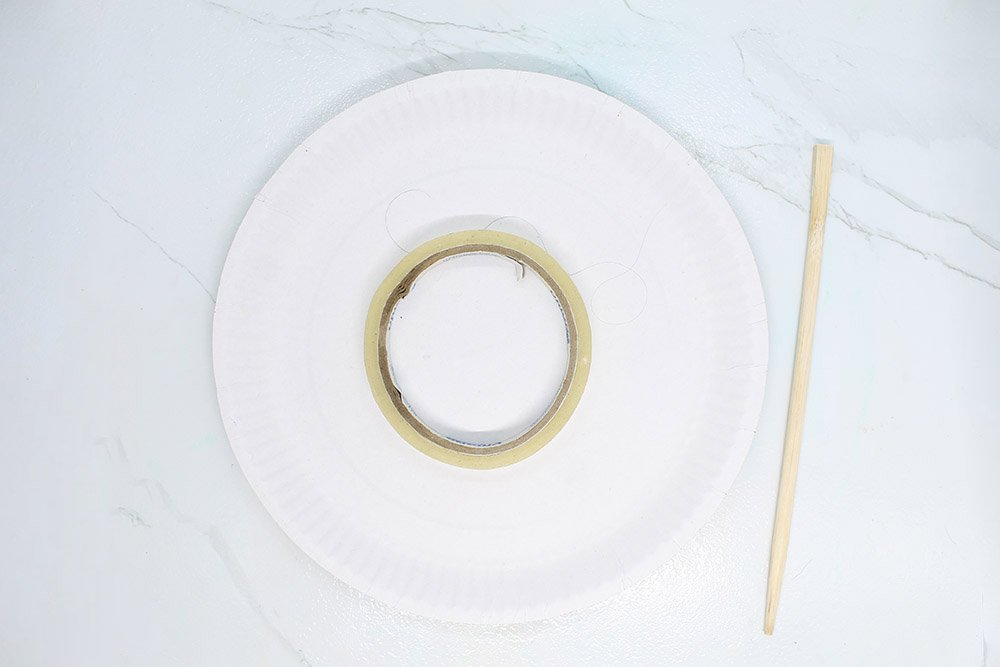
You'll have to get your paper plate, a tape, and a stick for this part of the paper plate craft.

For this step, you will be surprising whoever receives your lollipop craft. This is actually a gift box, an unconventional one but it is a gift box! Awesome, right?
Attach the stick to the paper plate with tape. Then get five lollipops. Your goodies could be different but make sure that they can fit inside.

Get your painted paper plate. You'll have to seal the sweet surprise inside.
And to do that you'll have to put the painted paper plate on top of the other paper plate. And use tape to bind those two together.
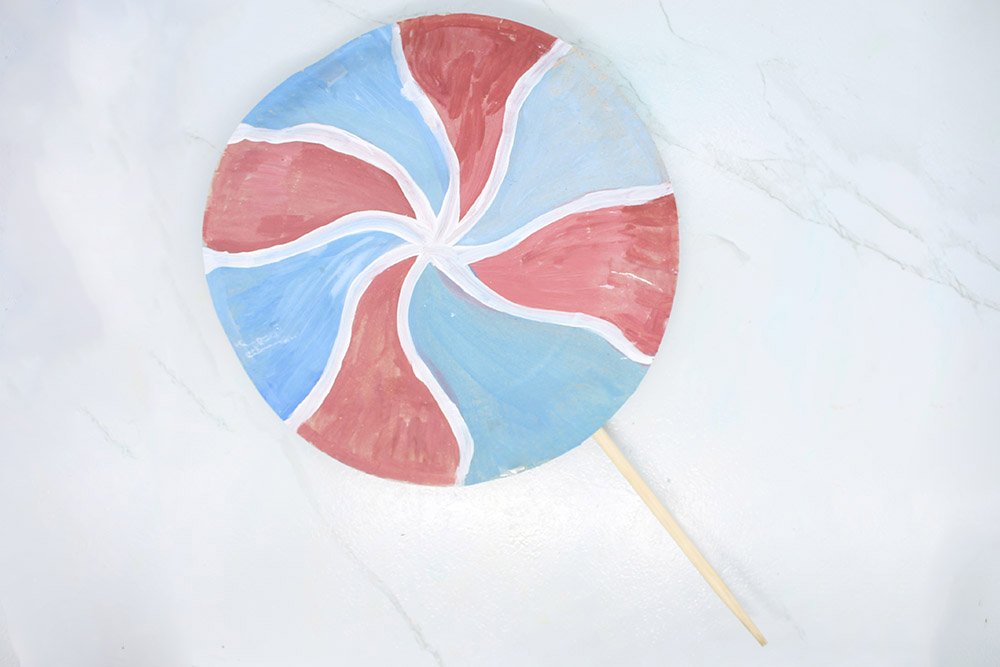
And you should have something like in the image above. Great job! You are close to finishing the art project.
Tie a Ribbon to You Lollipop Craft
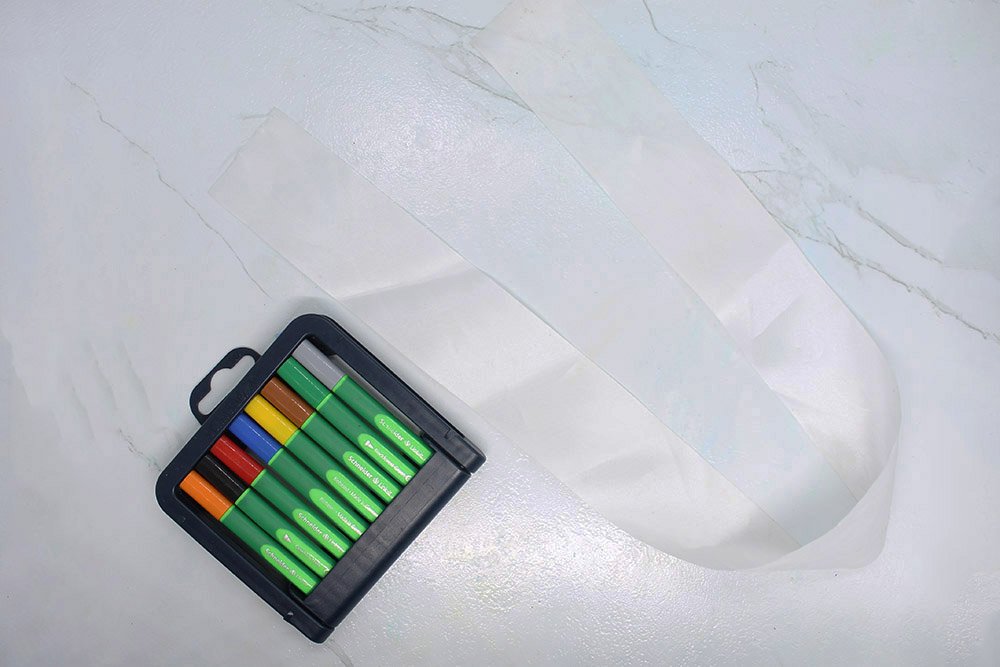
Your last goal for this craft is to tie nice ribbon. You'll have to get about a foot length of decorative ribbon and some markers.
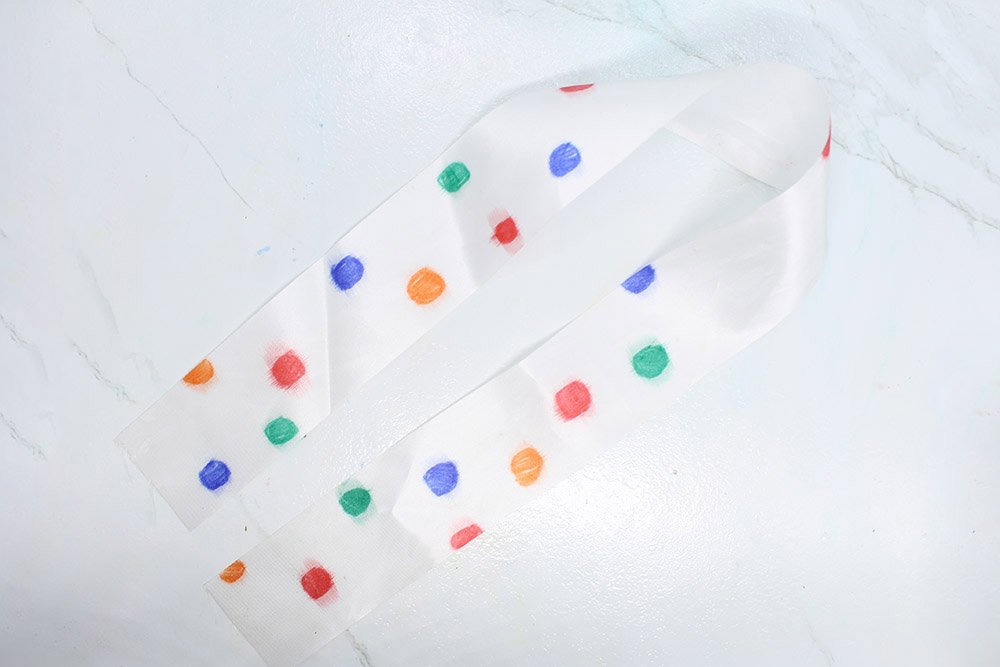
Using your markers, make color-filled shapes onto your ribbon. In this example, a white ribbon was drawn with different colored circles.
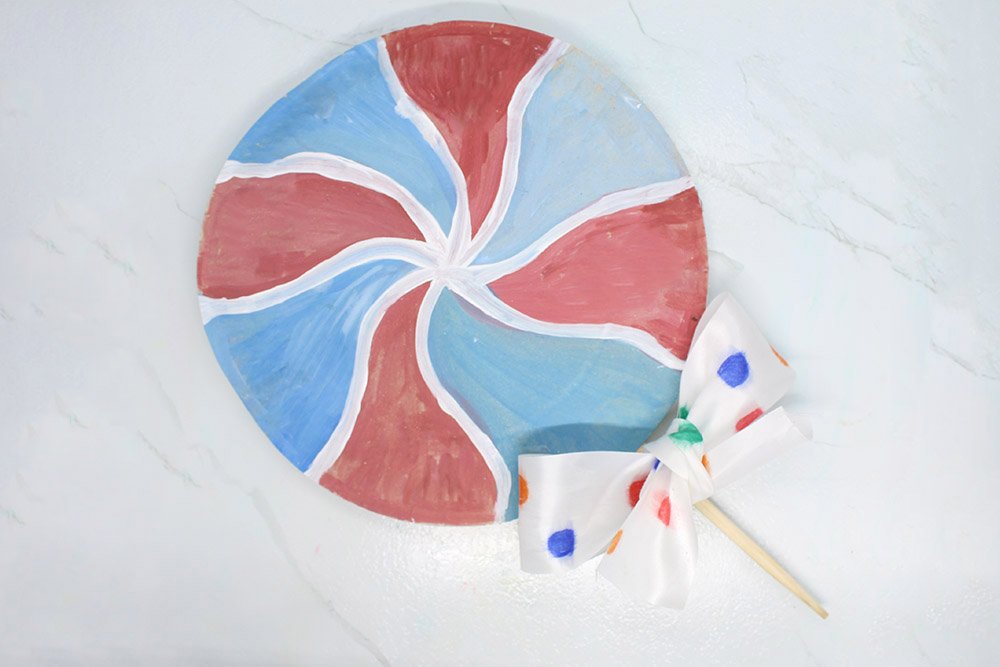
And lastly, make a lovely knot just below the paper plates. Congratulations on finishing the lollipop craft. Of course, now you'll have to give it to someone you like - good luck! And for more awesome kids craft, just see the articles down below.
Extra Tips
- Explore different color combinations out there! What about violet and orange, green and yellow, etc.
- You could add details to the lollipop that was not mentioned in the guide. Your imagination is your limit!
- And as always, have fun and make the lollipop gift with love.


WOW! thanks for sharing, didn’t expect you could put sweets in it
this is my favorite paper plate crafts in your website so far – all the best to you folks!
nice job creating this guide. I gave it to my kid sister, it’s the best I could do for now. I stuffed that thing with her favorite chocolates “)
sweet guide ma dude
Thanks, it was quick and easy