How to Make a Groundhog Paper Plate Craft | Puppet Toy DIY

Introduction:
Groundhogs, or woodchucks, are cute creatures found in North America. And since you’re here, you probably want to create a groundhog out of simple art materials and tools?
And if you are, you’ve come to the right place! In this guide, you will learn how to make a groundhog out of paper plates with the step-by-step instruction and fine pictures that this guide will show. And this guide also comes with an adorable printable that you can use for free. Awesome, right?
Lastly, this art project is fast and easy so this can be a good introductory craft for kids. Enjoy making this!
Tools
- Scissors
- Brush
- Pencil
Supplies
- Paper Plates
- Printable
- Glue
- Poster paint (green and brown)

Download Area
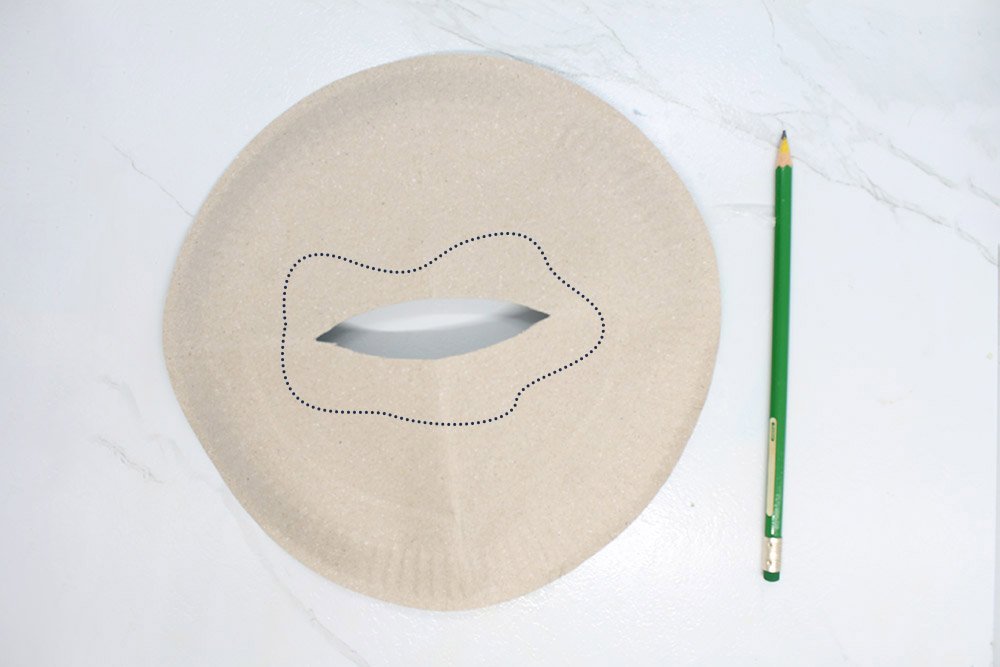
Download TemplateMake a Slit to the Paper Plate
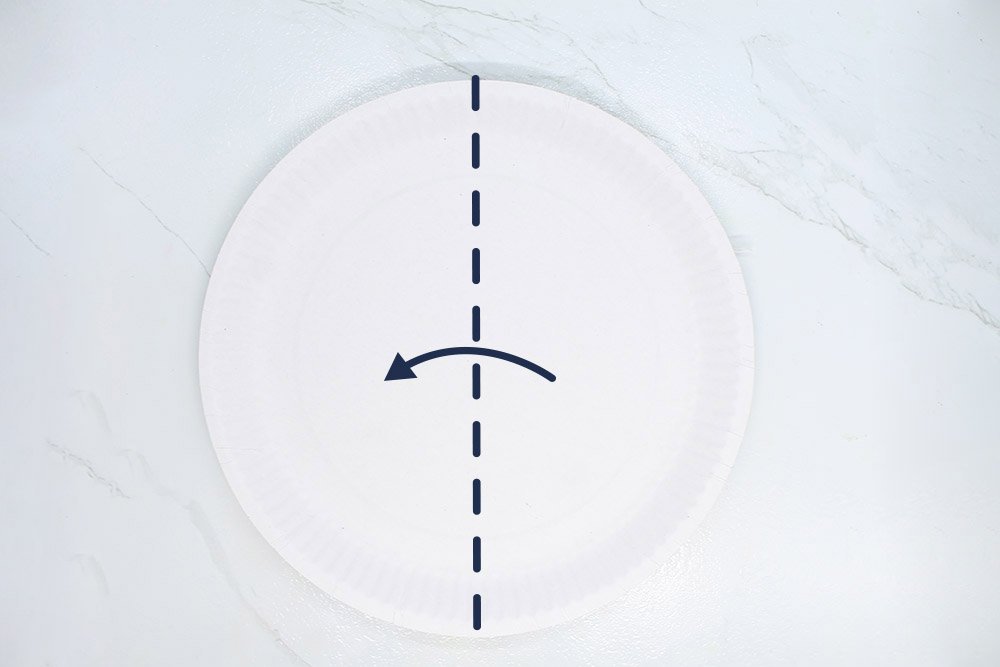
Your first goal is to make a slit at the paper plate. This is where you could insert the groundhog puppet later on.
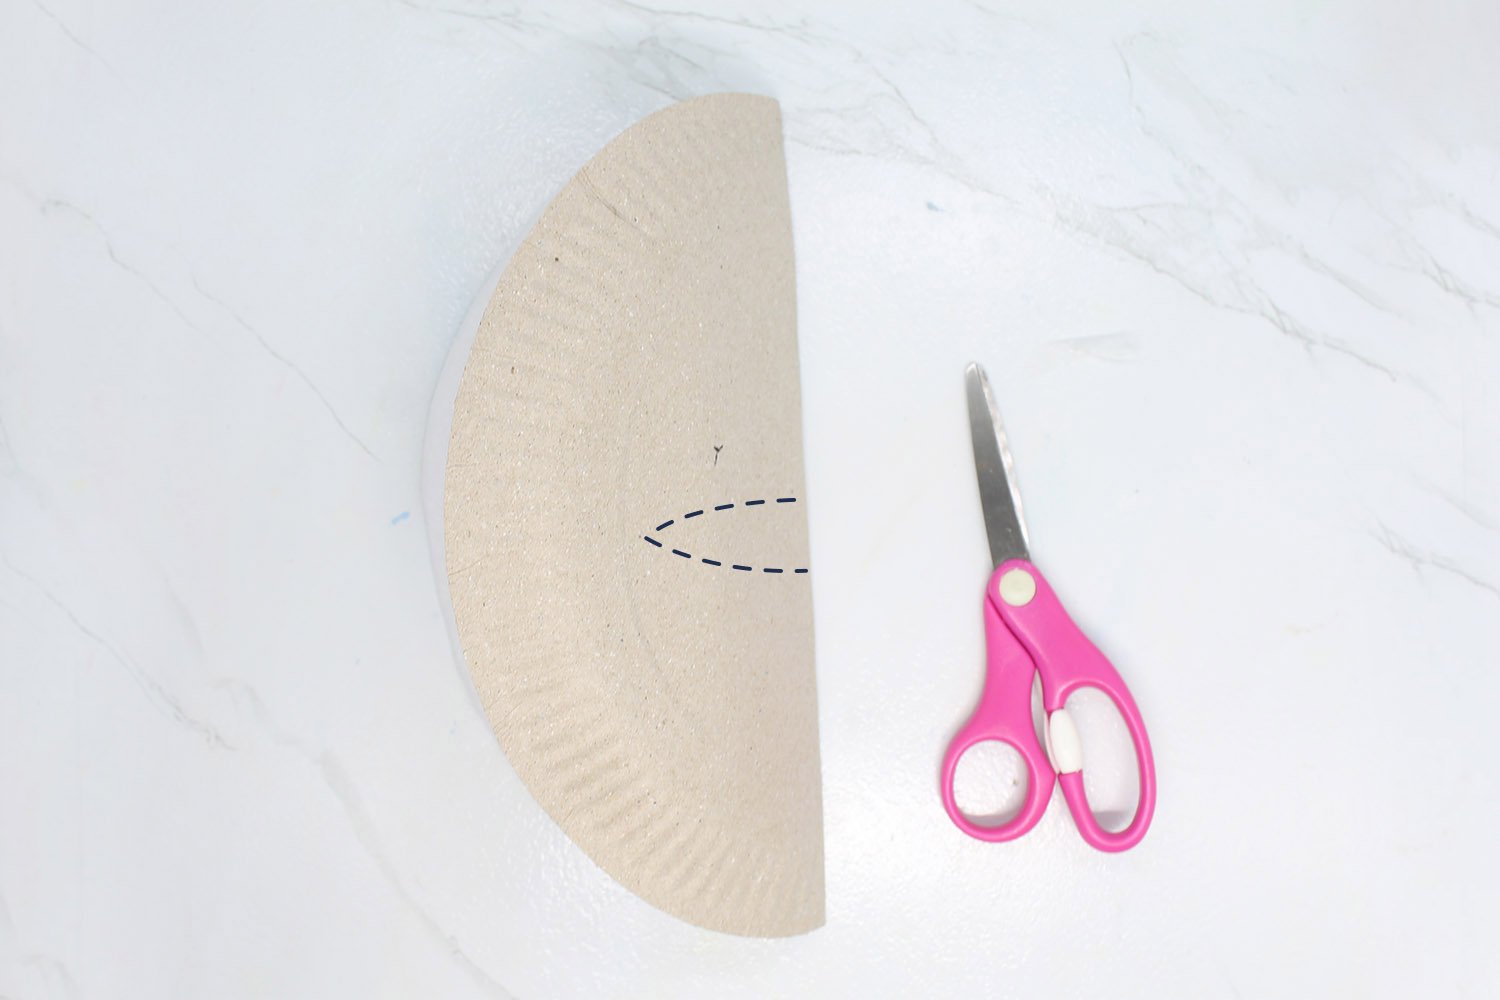
Fold the paper plate in half. Then take a close look at the dashed lines in the image above - you will be cutting along those lines in your paper plate.
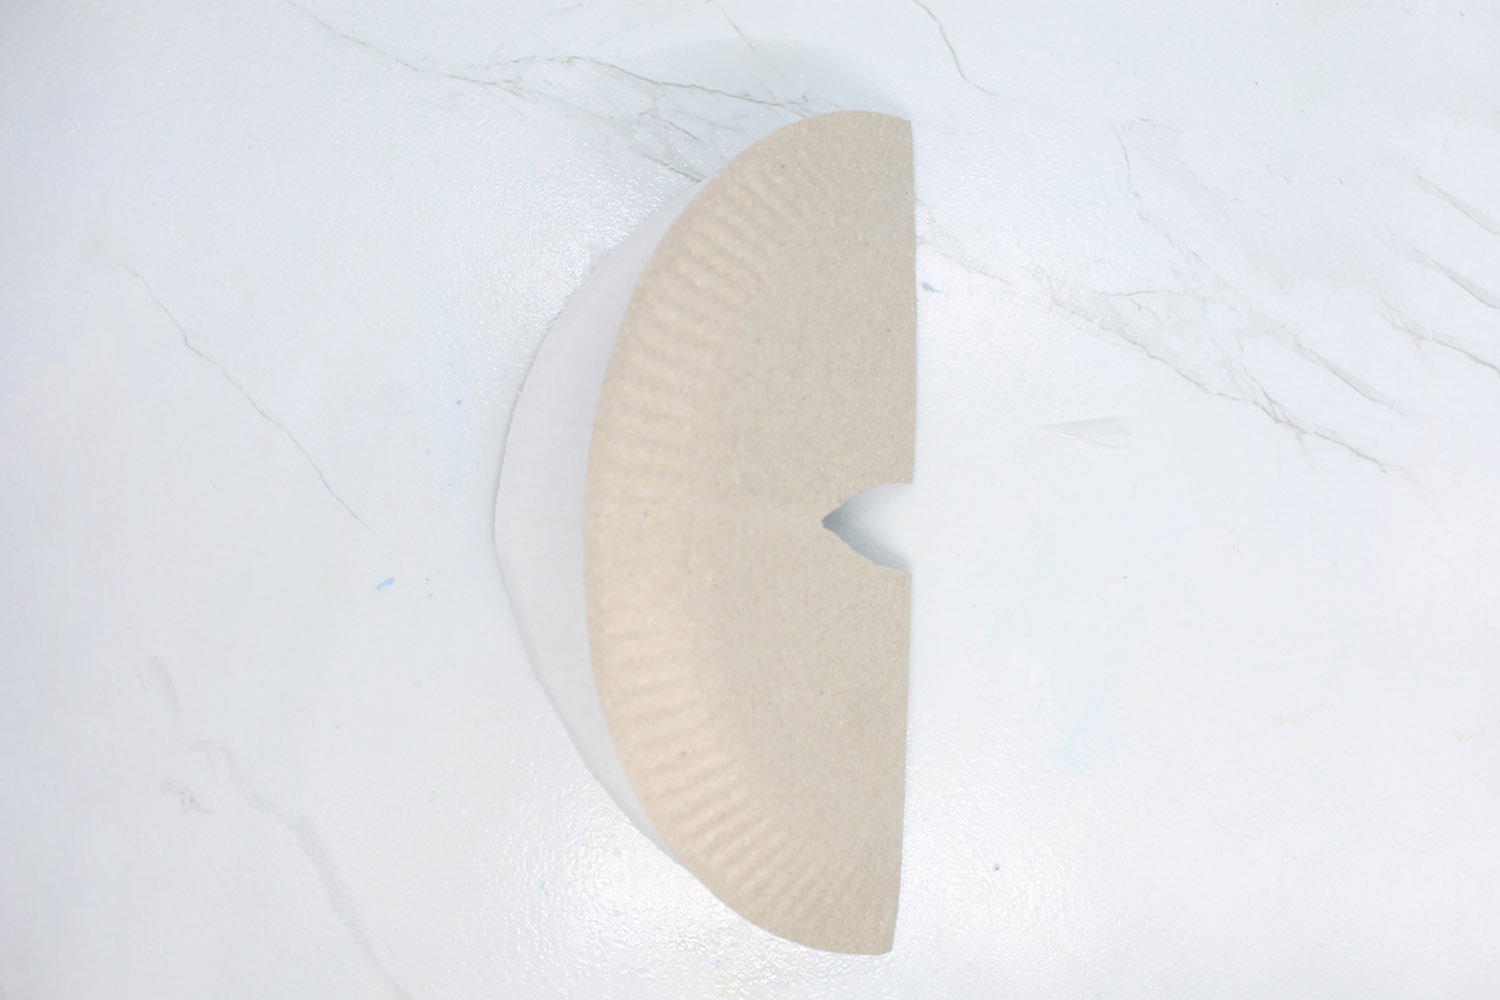
You could use a pencil to draw lines so that you could have a guide when you are cutting. Cut a slit out of the paper plate.
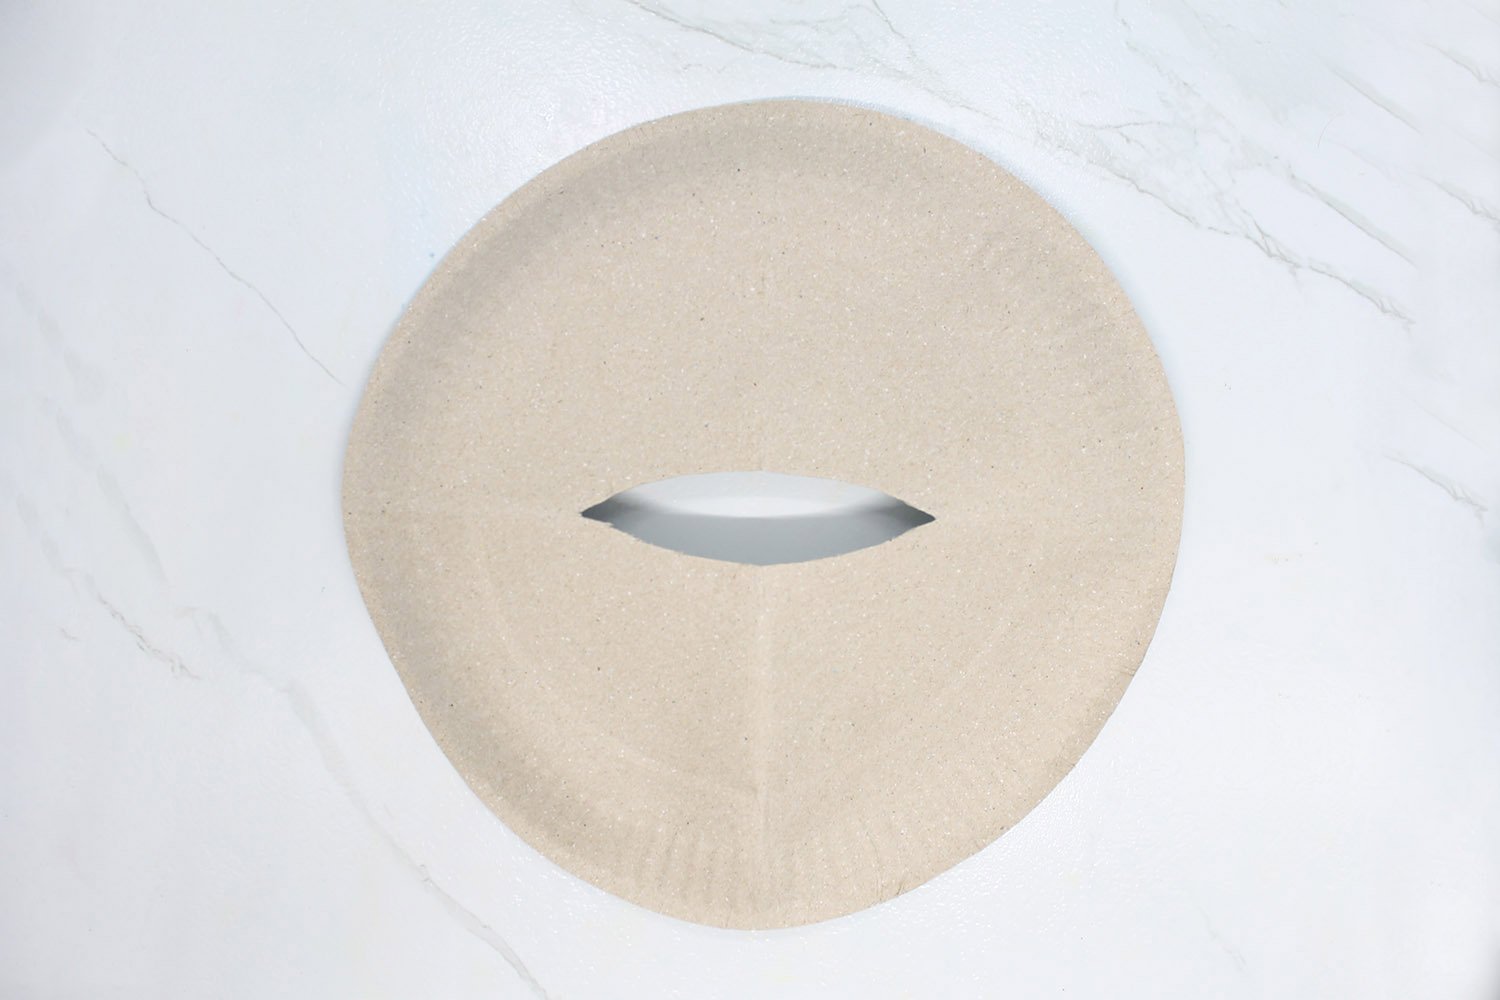
Then unfold the paper plate. And you should have a nice moderately wide slit in the middle of the paper plate. Great job so far! Now, it's time to move to the next step.
Paint the Background
The whole purpose of this paper plate is to act as a background. What familiar scene do you think of when you hear a groundhog being mentioned?
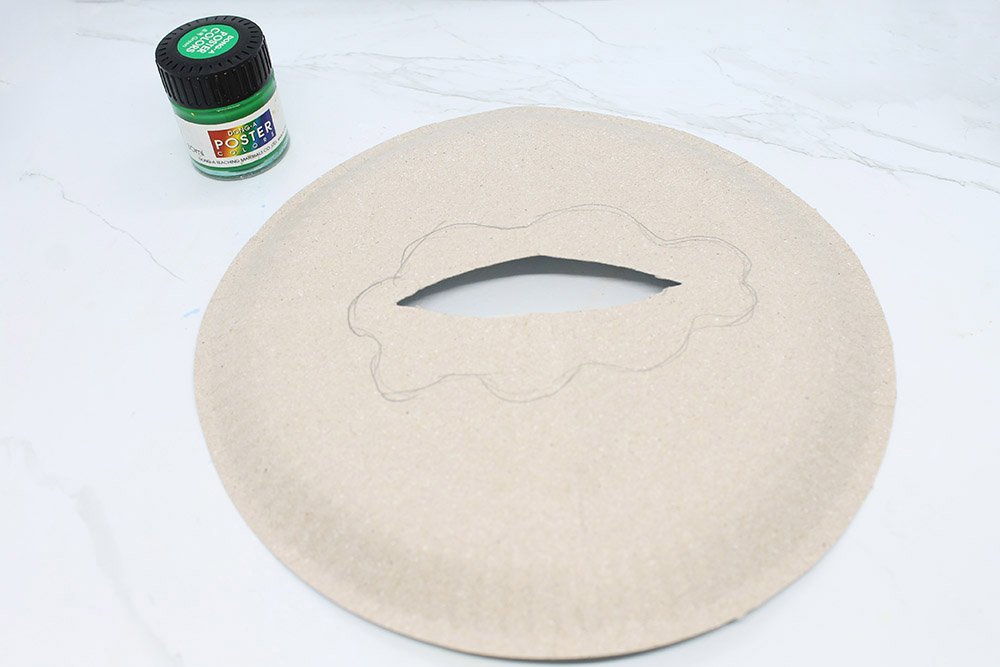
Draw the dotted lines you see in the previous image above into your paper plate. Most people would probably think of a groundhog coming out from the ground. And that's the scene you will be going for!
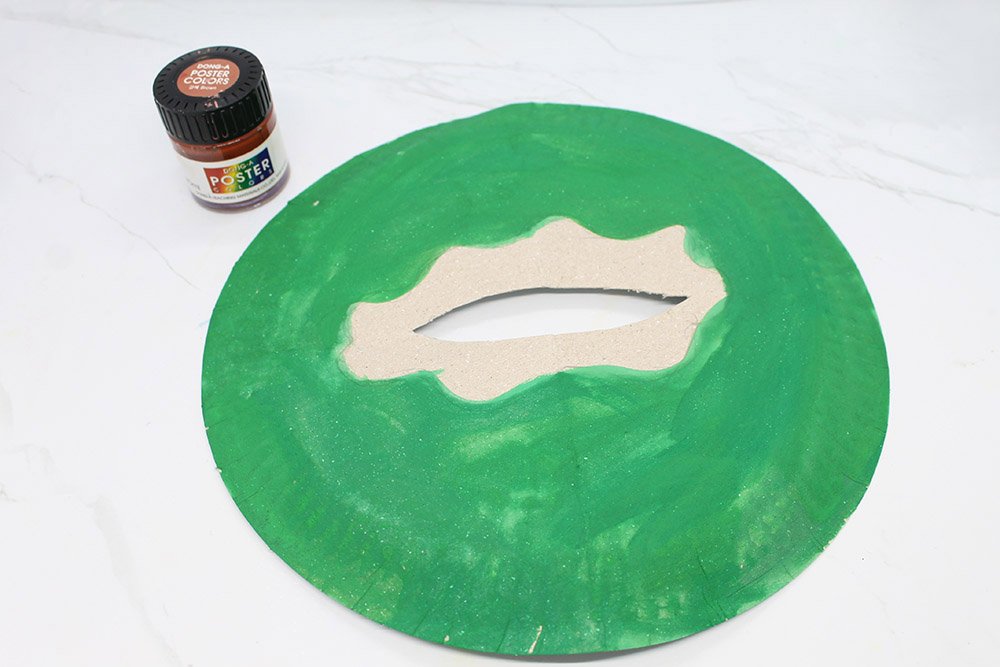
And paint the paper plate green. Leave the area closest to the slit untouched for now.
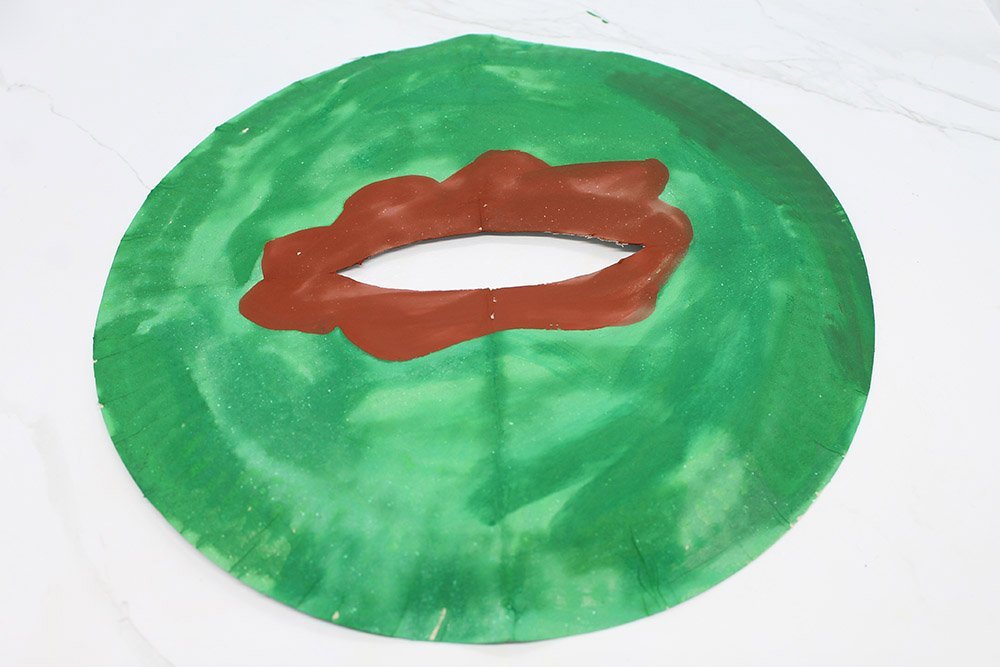
Then paint the area between the green space and the slit with brown poster paint. Paint evenly. Good job so far, and now it's time to move to the next section.
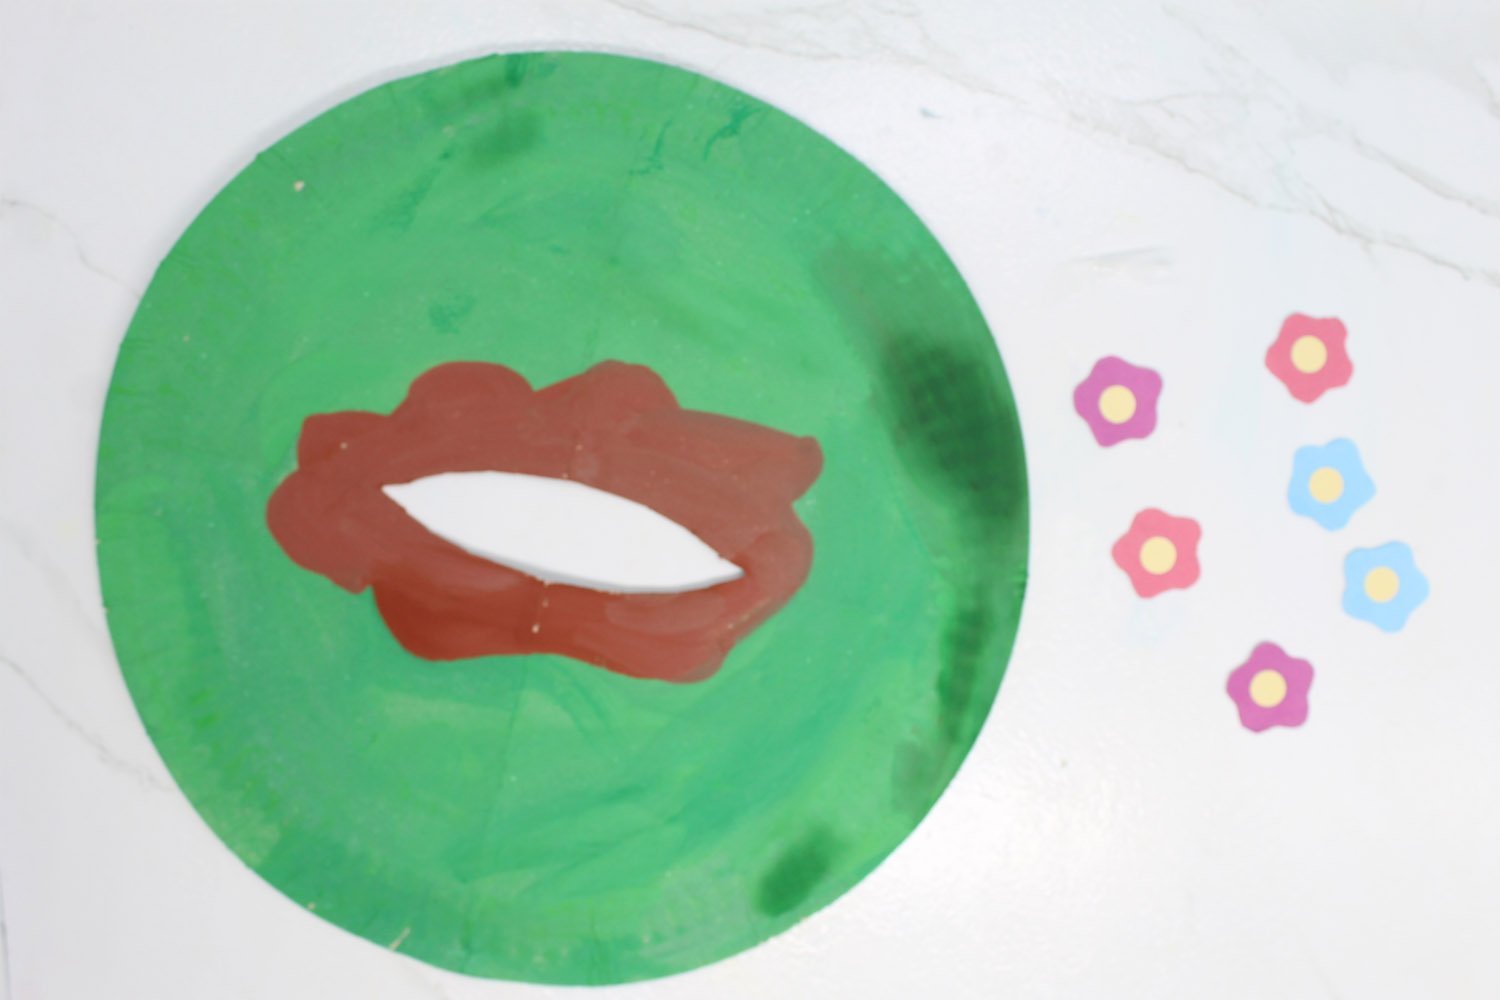
Cut the Paper Plate Groundhog Printable
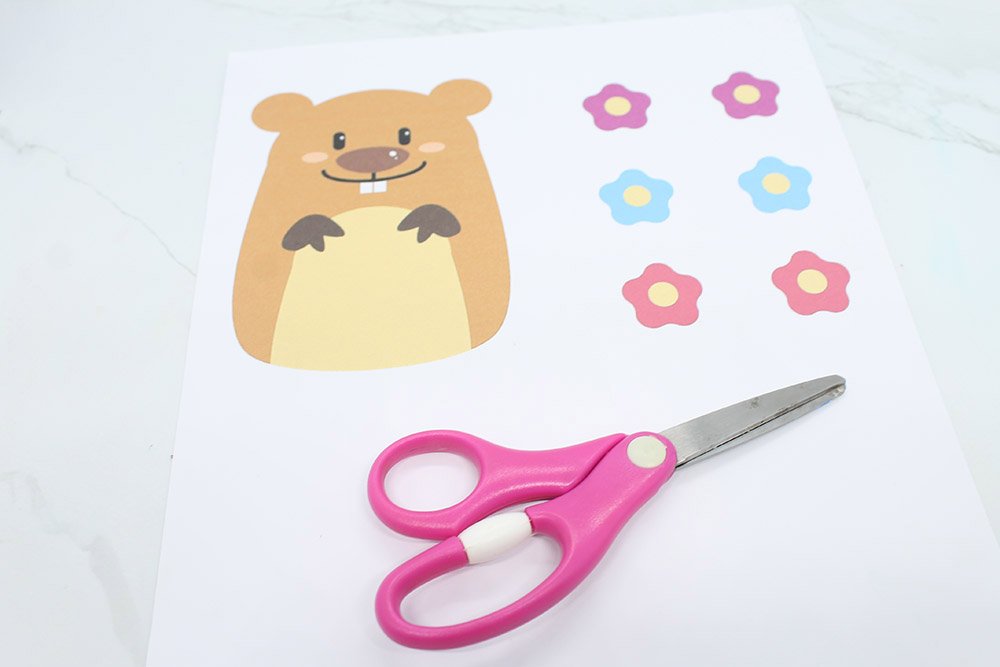
Download the printable found above and print it. You'll have some nice flowers and a groundhog.
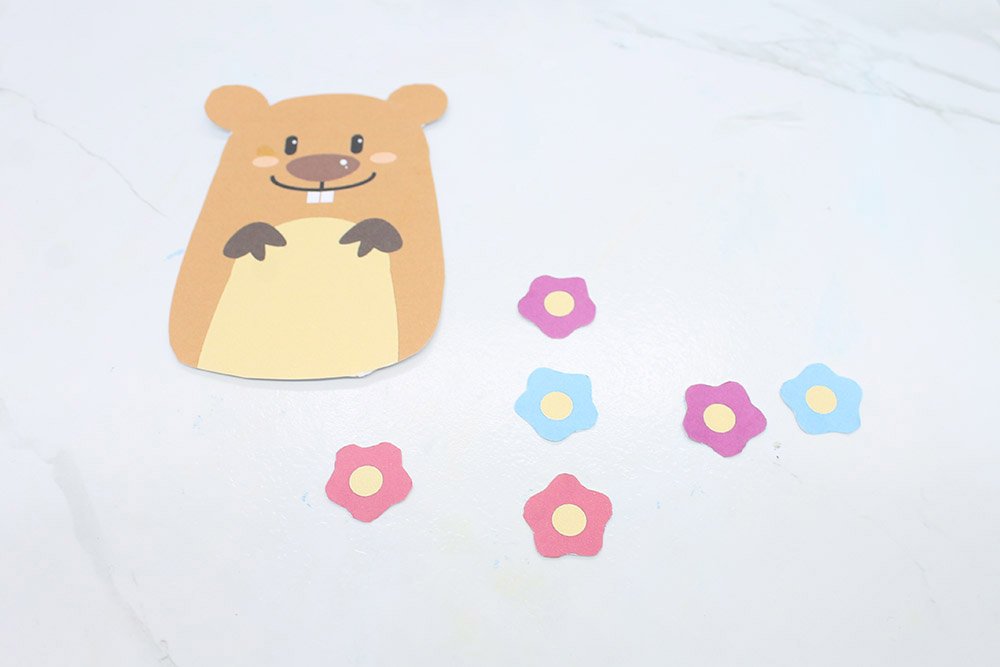
Cut the flowers and groundhog out of the paper plate.
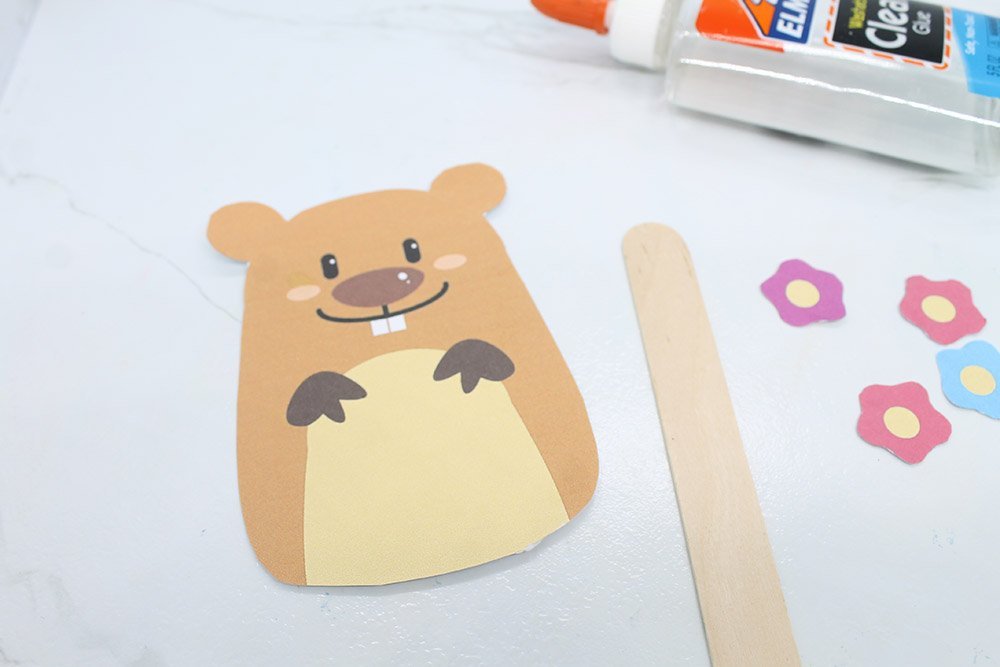
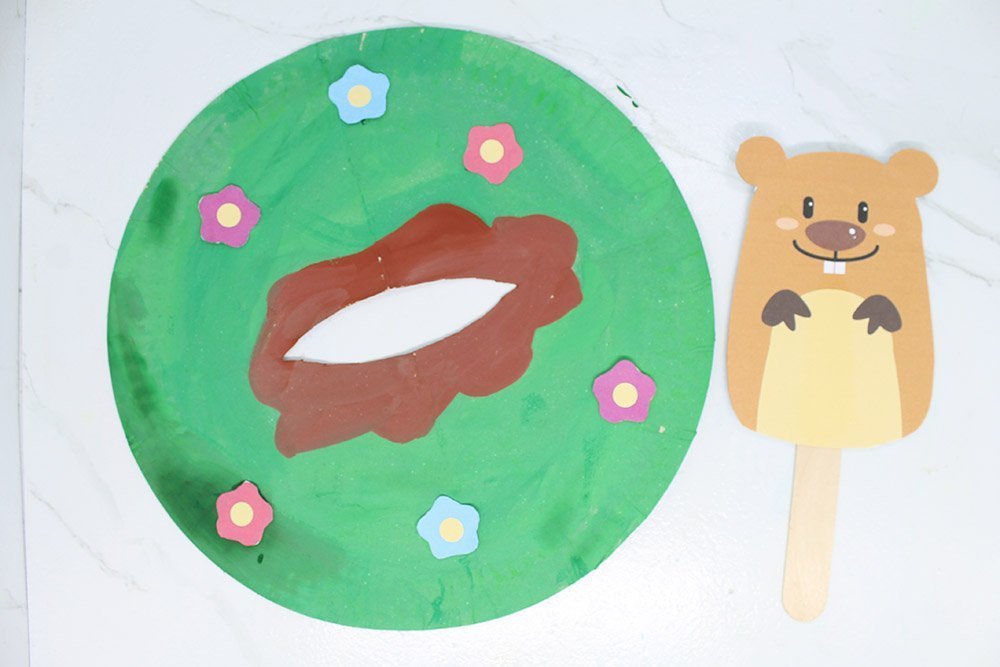
Then after carefully cutting each individual item, your next step should be to get your glue and popsicle stick.
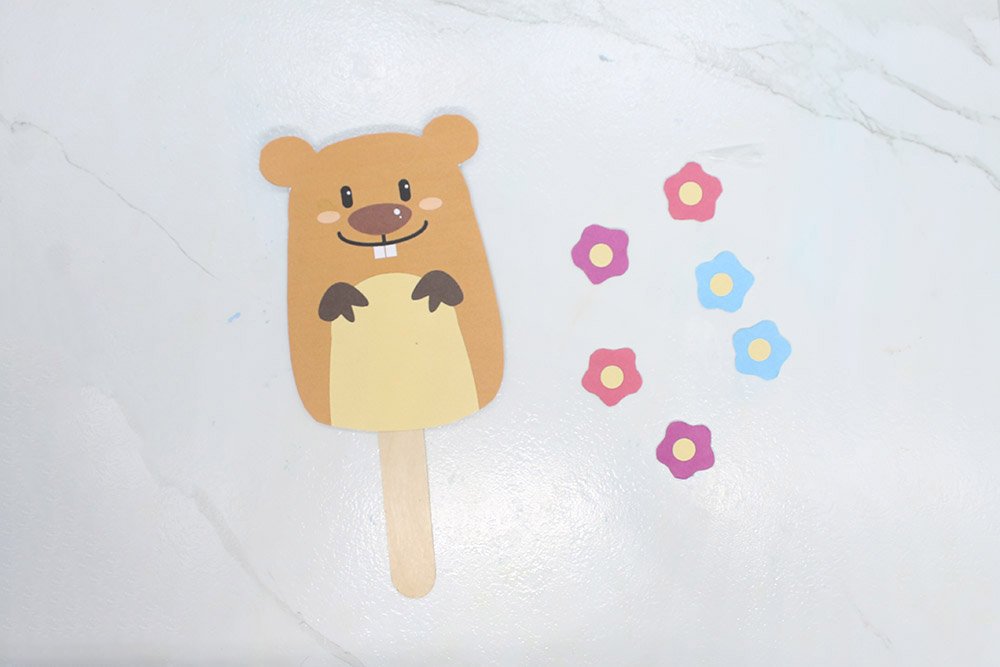
And then glue the groundhog into the popsicle stick. Your puppet is ready - good job!
Finish the Paper Plate Groundhog
Get the flowers and your paper plate, the one with the paint. You are almost finished with the craft.
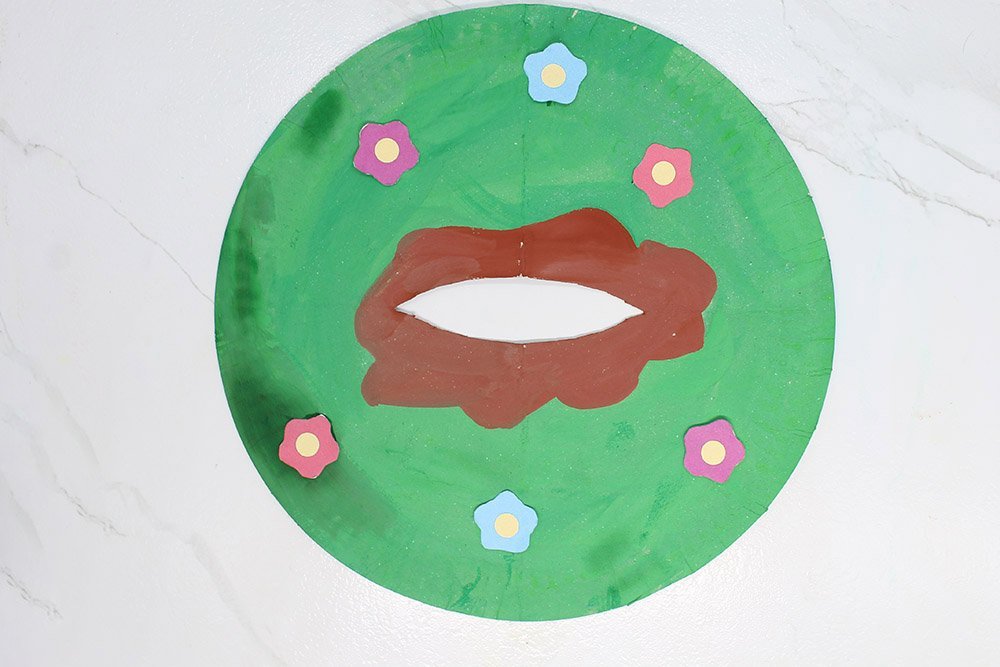
Then use the glue to attach the flowers to the paper plate. You can come up with your own arrangement.
And then get your groundhog puppet.
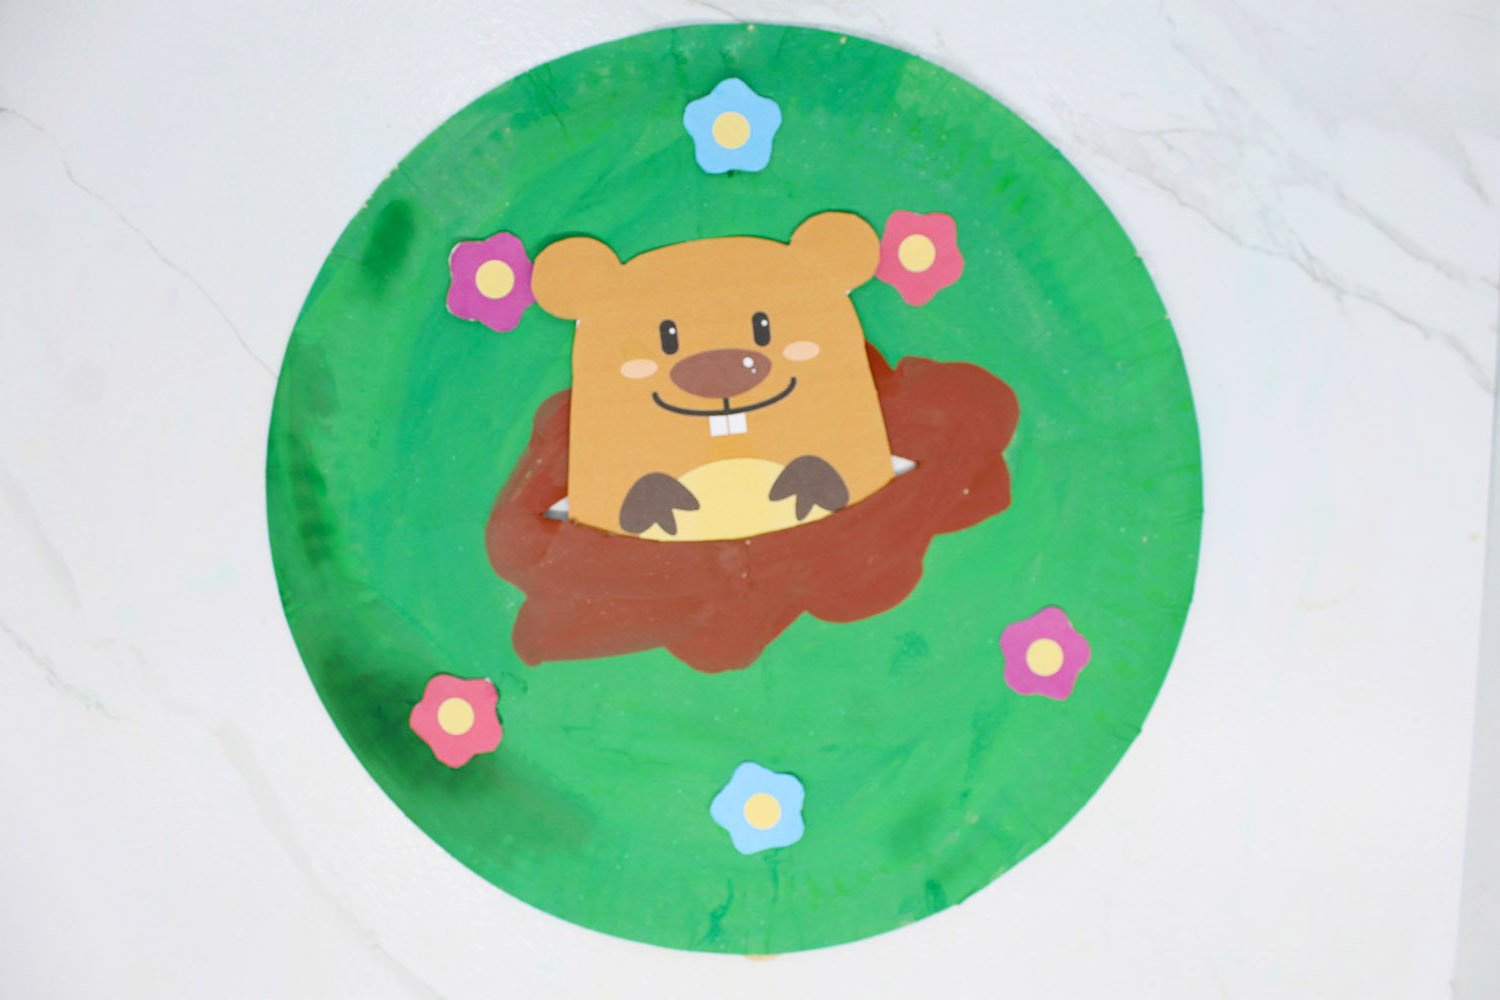
And then insert the popsicle into the slit. You can move the groundhog up and down like a toy. It comes up from the ground and then digs its way up to the surface, cool right?
For more paper plate crafts, check out the suggested articles below.
Extra Tips
- You can really design the background in any way you like. Your limit is your imagination!
- Have fun making this craft! And remember, there are loads of other fun art projects here.
- You can use additional props to the paper plate.


It’s cute, i’ll give it that
It’s fun to play around with after you are done making it, I’m 33 yrs btw
I was able to squeeze additional art supplies – i think the original is good but mine looks way better. Downside is that the process is longer and u need more stuff
Great job making this guide guys!
The craft is fun. I now believe that it can be a toy