How to Make a Paper Plate Hippo | Fun Crafts for Kids

Introduction:
Teach your kids how to make an amazing animal out of paper plates. Welcome to the paper plate hippo guide! In it, you could learn how to create a lovely looking river horse in less than an hour that you could use a mask, decoration, or toy.
The steps supplies and tools needed are common in most houses. Additionally, the whole process is fun and challenging enough for even some of the older kids. This is an art project that relies heavily on cutting and painting.
So make sure to give your little ones some pointers on how to cut and paint properly! We hope that you would enjoy making the hippo craft and find the instruction helpful.
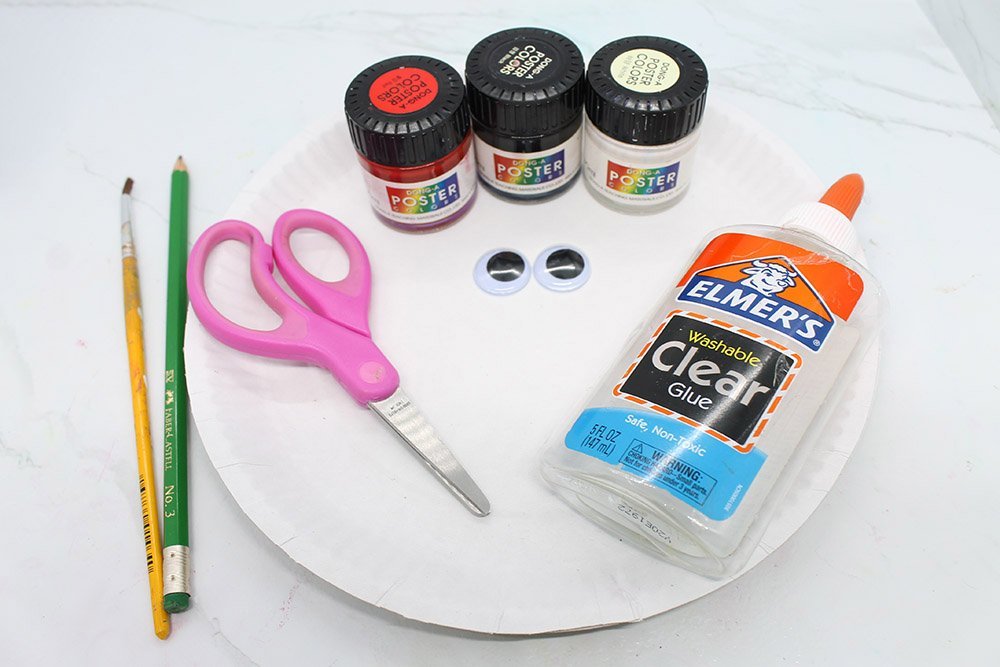
Tools
- Poster paints (red, yellow, and black)
- Brush
- Pencil
Supplies
- 2 Paper plate
- Poster paints (red, yellow, and black)
- Glue
- Googly Eyes
Form the Hippo Head
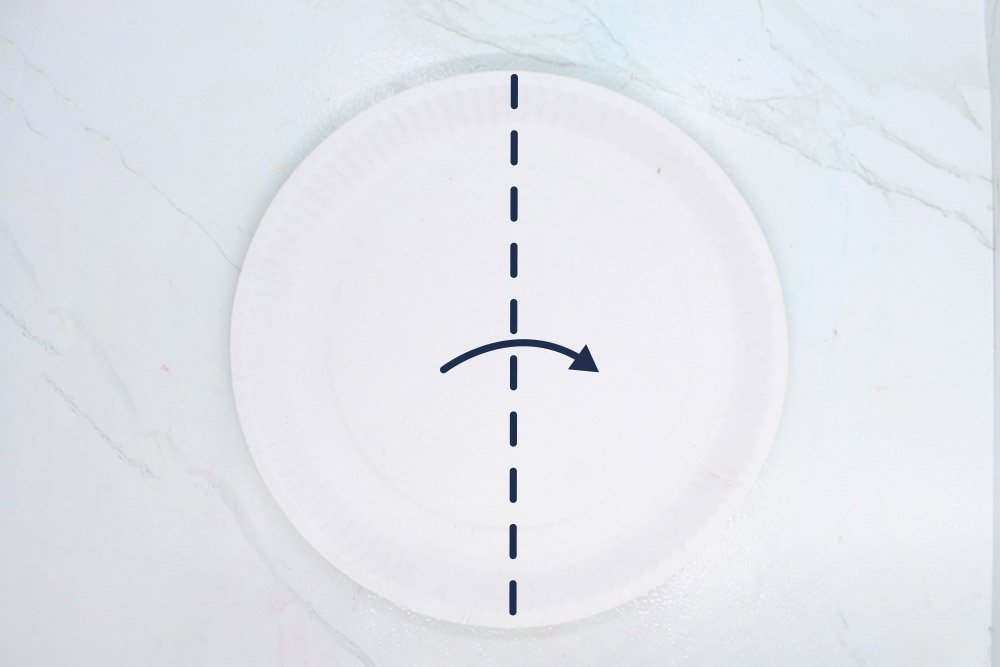
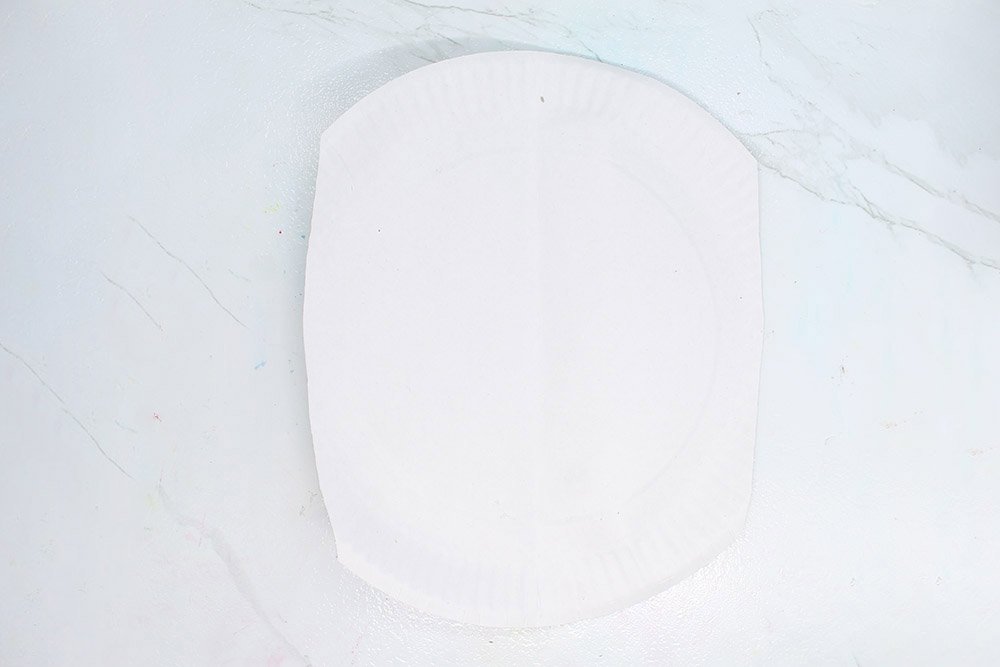
Welcome to the paper plate hippo craft instruction! Your first step is to get a paper plate and find a comfortable work space.
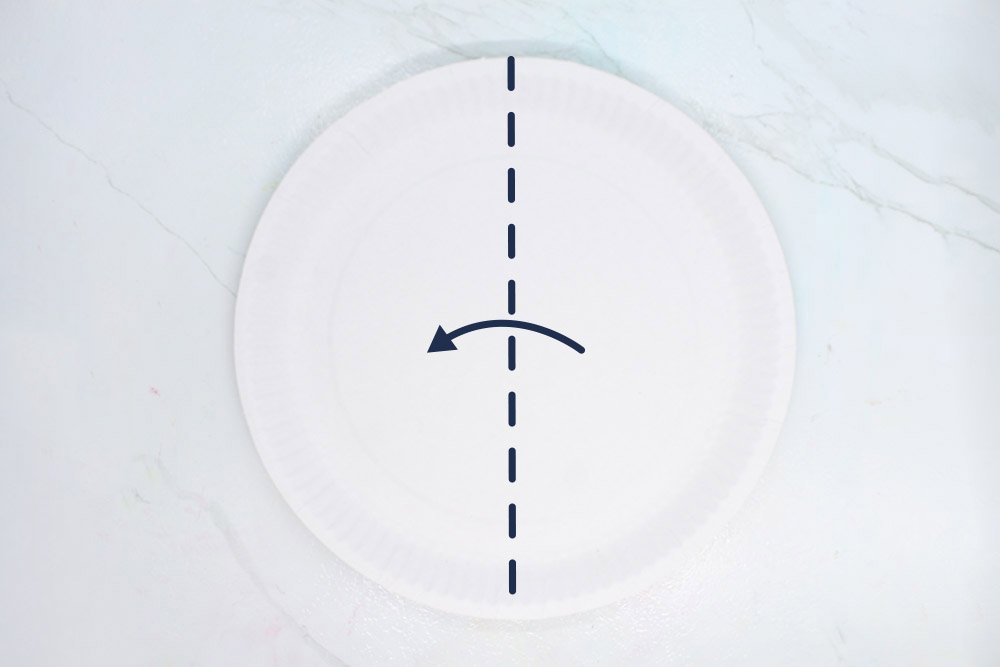
Fold the paper plate in half. Your goal for this section is to make a hippo's head shape. You will be then cutting a part out of the paper plate but first take note at the dashed lines above.
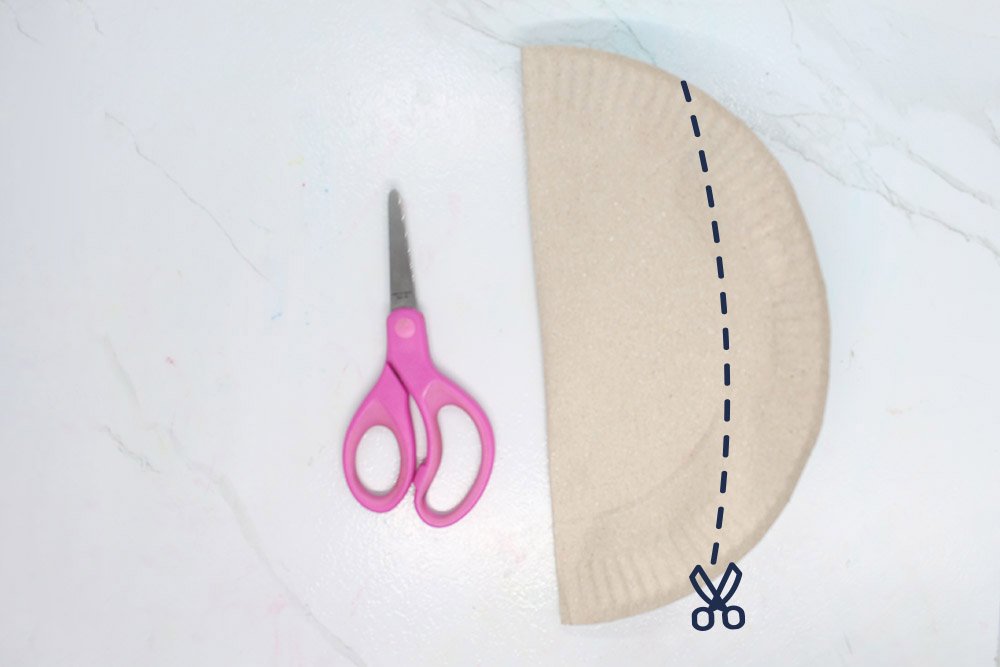
After folding it in half and taking a close look at the previous picture, cut the paper plate along the dashed lines. Of course, you could use a pencil to trace the dashed lines if you prefer.
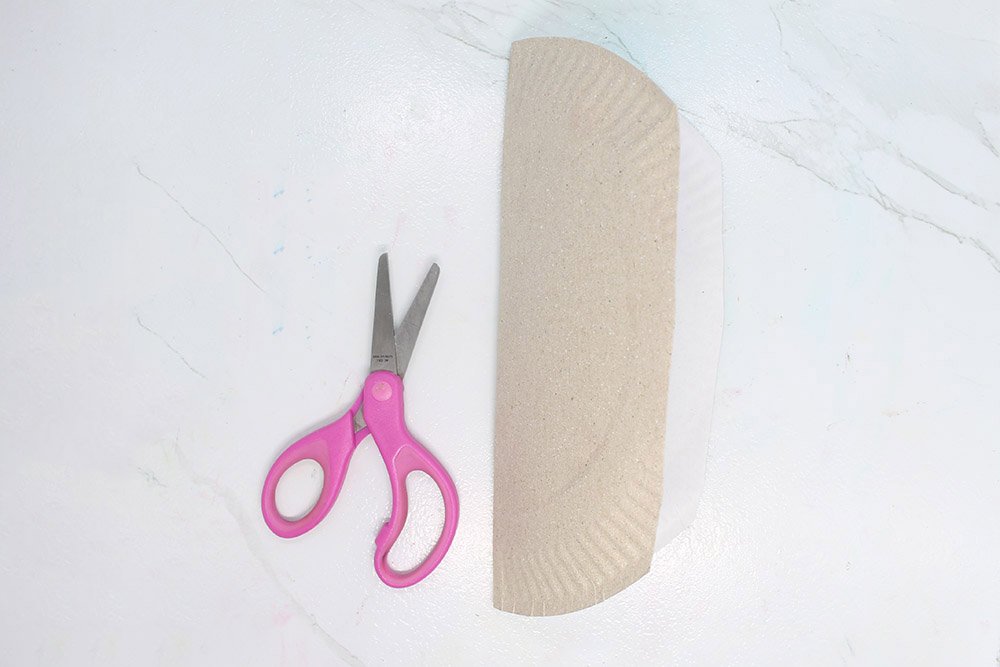
Unfold the paper plate. And there you have it, a hippo head. There's still a lot of things you need to do in order to finish this craft but no worries you got this!
Make the Ears and Tusks
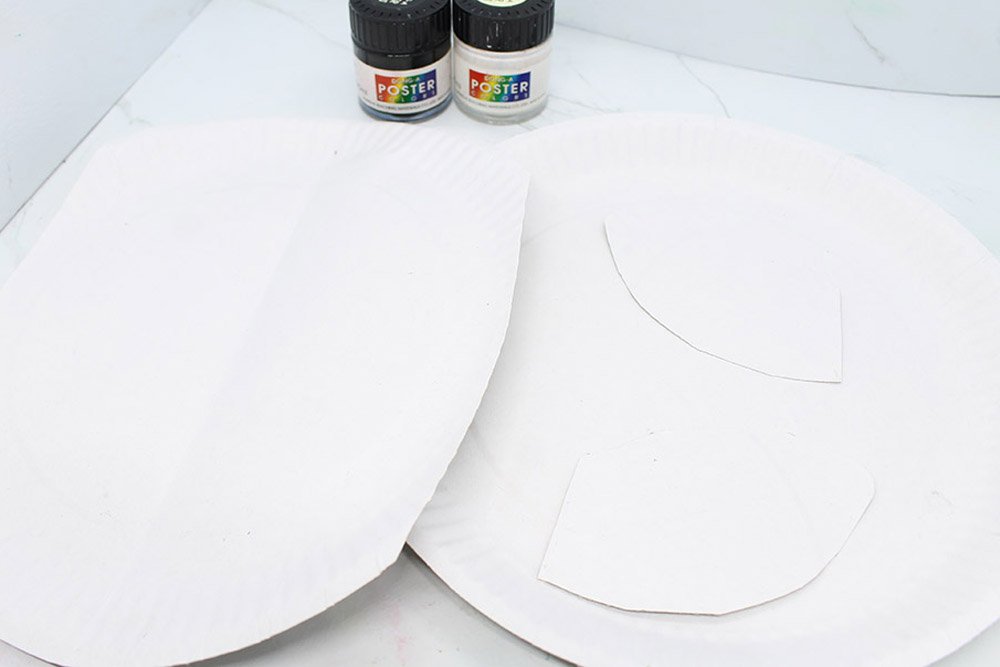
Your hippo will feature cute ears and friendly canines. In order to make them, you must get another paper plate. You will then fold it in half.
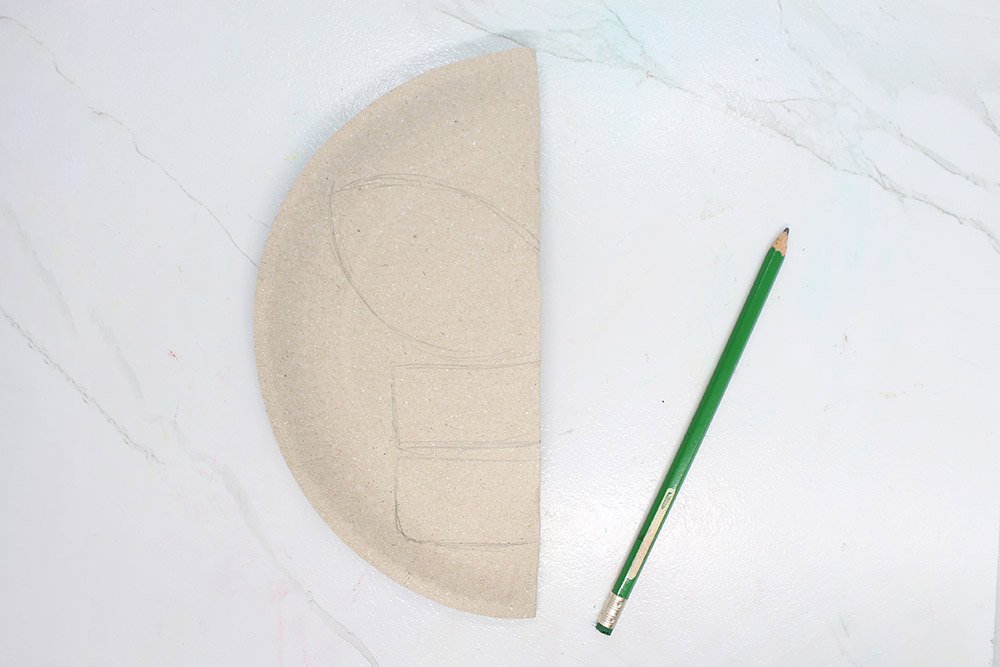
After folding the paper plate in half lengthwise, you should copy the drawings above in your paper plate. Doing so allows you to create the canines and ears!
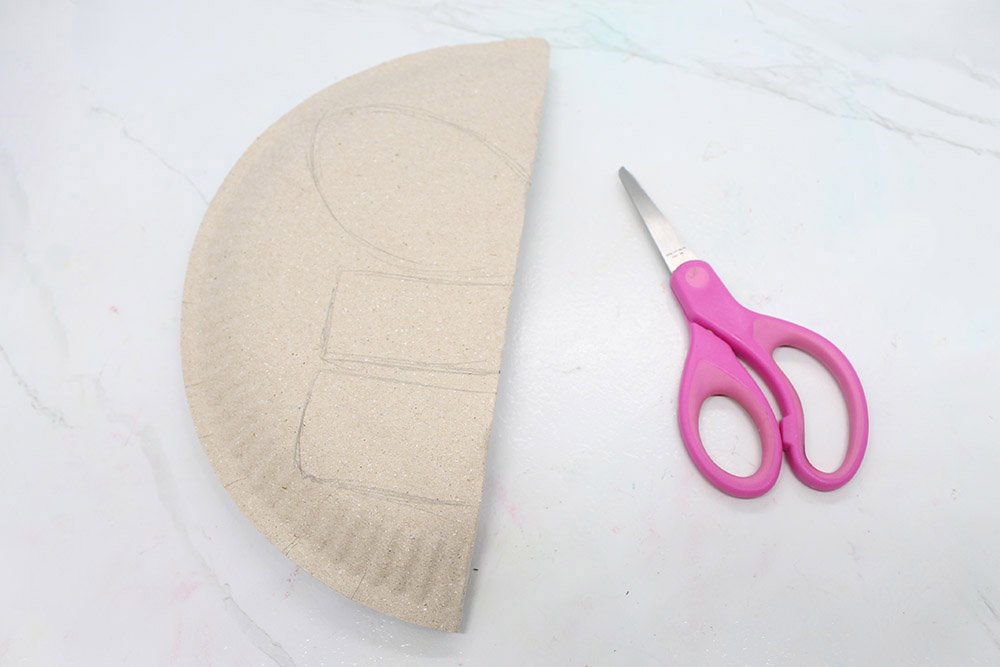
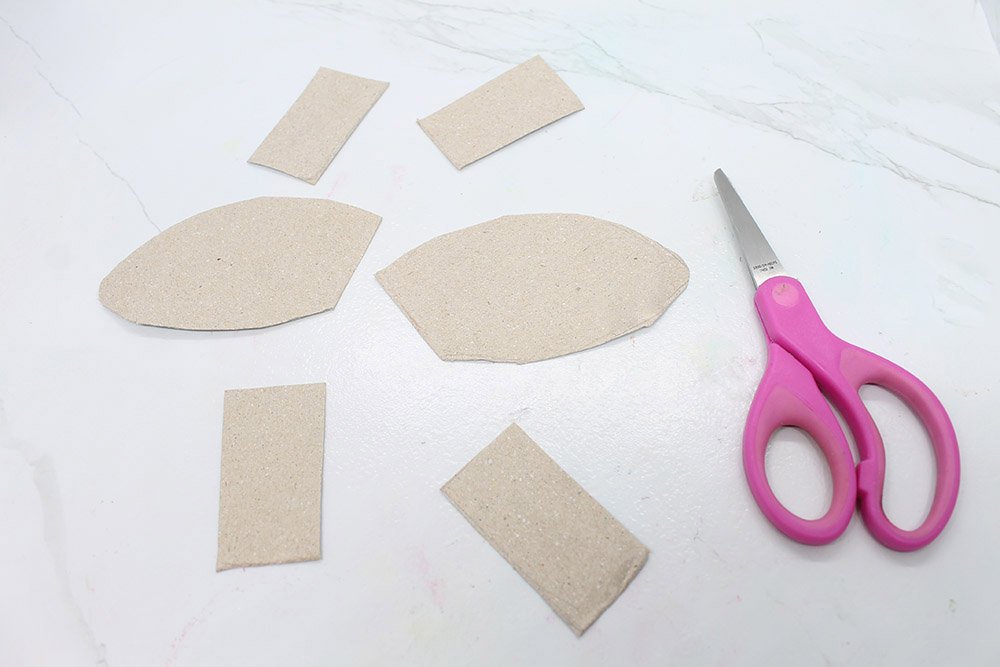
Right, now it's time to get your scissors.

Cut out the objects from the paper plate. Follow your drawing closely.

Unfold the cutouts. As you can see, there's still one thing left to do before we get to see those ears.
Yes, cut the three objects in half lengthwise so that you'll have two ears, and four teeth! Great job so far, this paper plate hippo is fast on its way to being completed.
Paint the Head and Ears
For this step, you will be painting the ears and head of the hippo. Get your grey paint but if you only have white and black paint that's okay.

Paint the ears and head evenly with grey. Combine black and white paint to produce grey paint if you don't have readily available grey paint. Good job so far! Now, it's time to move to the next step.
Make the Mouth of the Hippo
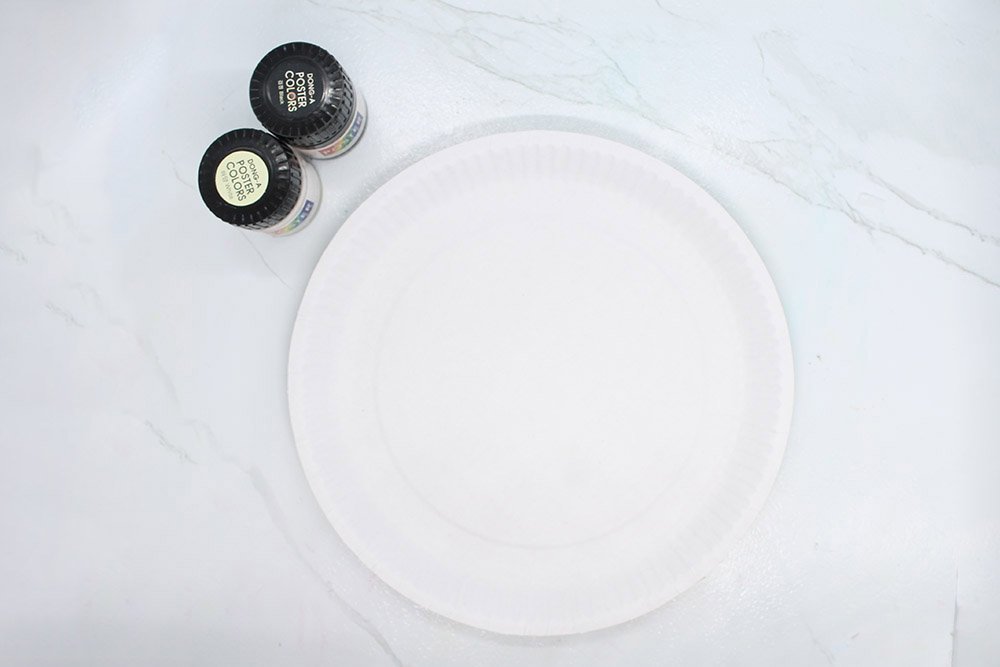
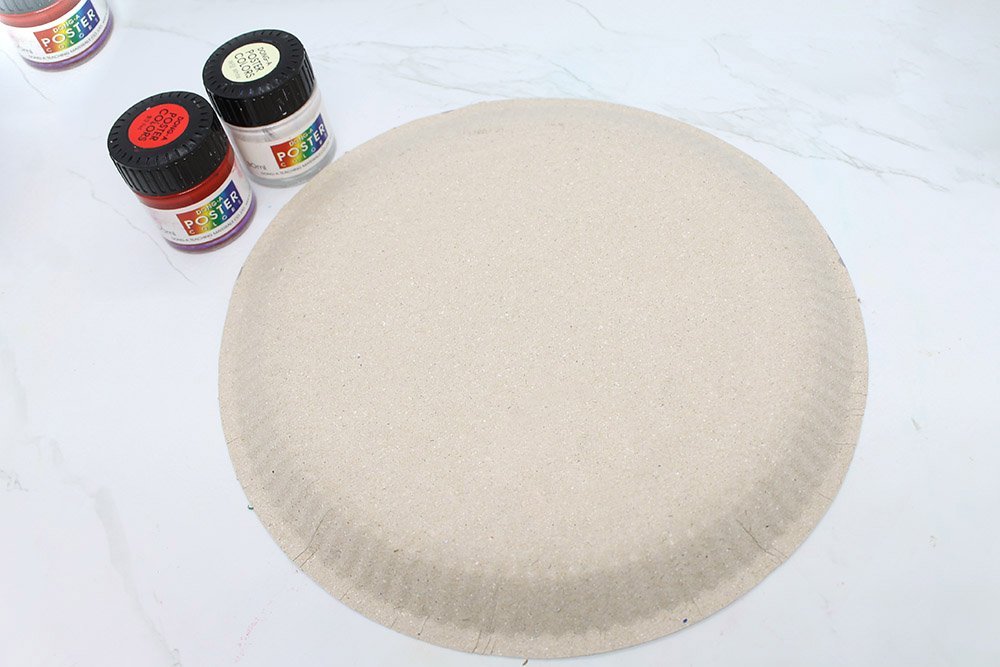
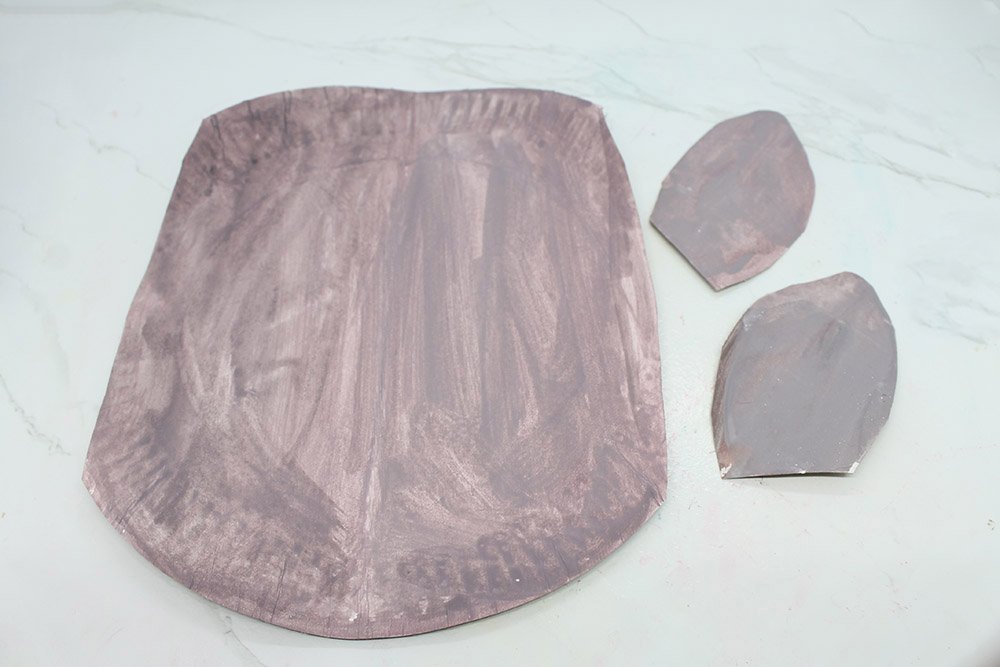
Get another paper plate, and ready your poster paint. Grey if you have one. But if you don't, you can mix black and white together.
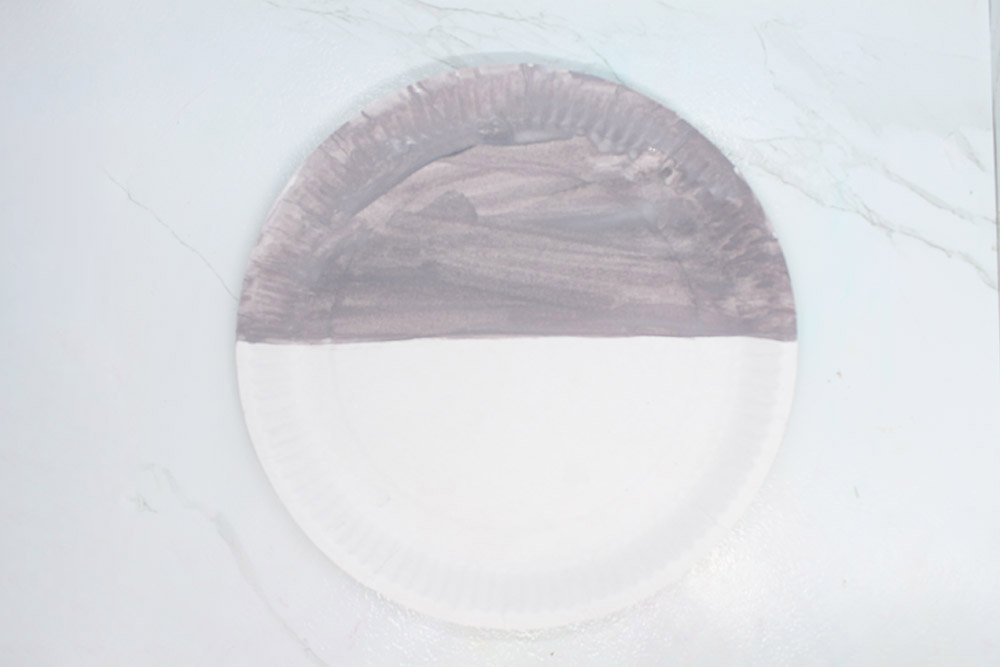
Paint the upper half of the paper plate grey. Make sure to paint evenly and your strokes should go in one direction only.
The mouth of your hippo will be colored a pinkish-red. Let the previous paper plate dry before flipping it over then get your white and red paint.
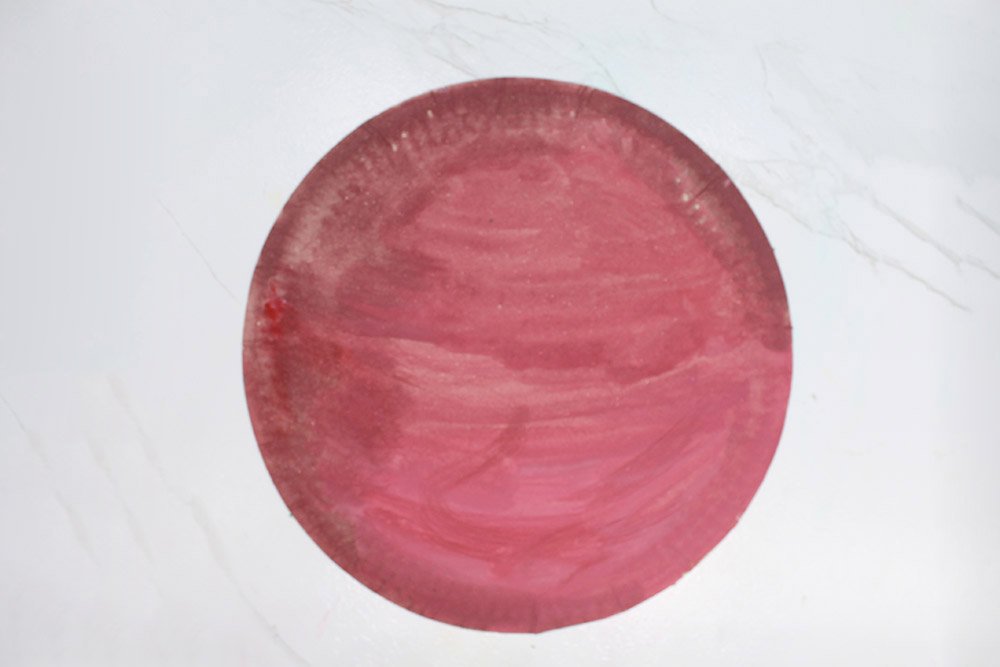
If you have pink paint then proceed to paint it otherwise combine the red and white paint first. Paint it evenly and apply consistent brush strokes.
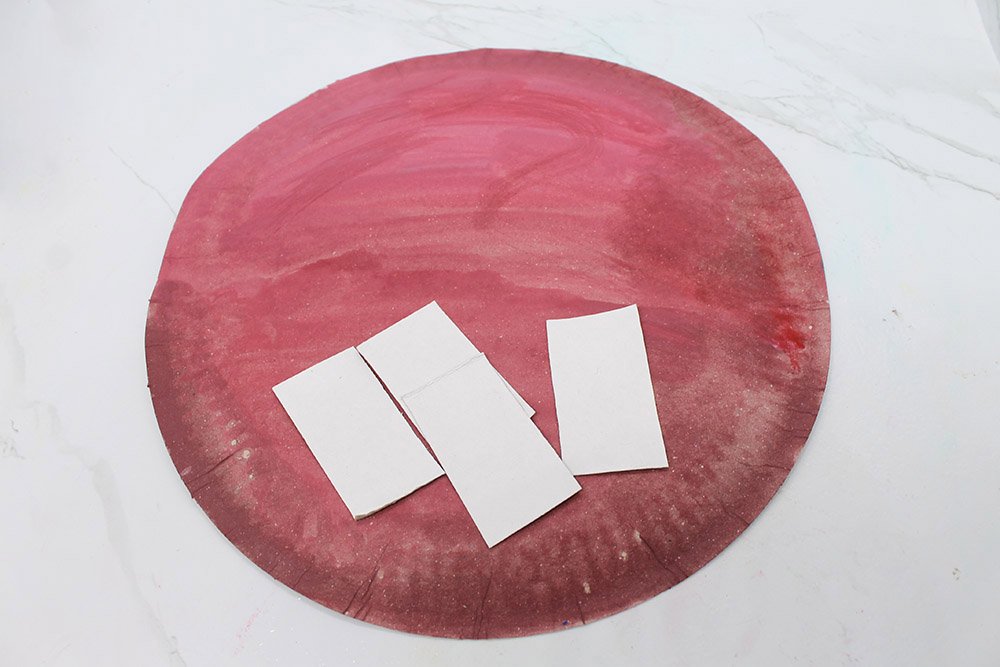
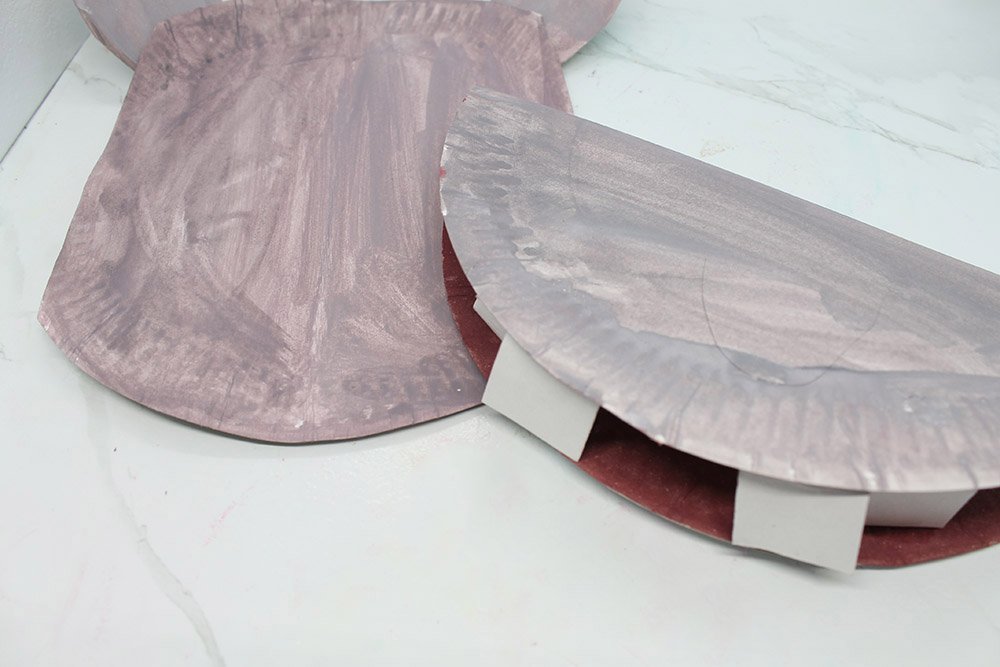
Let the paper plate dry for a bit. Then get the rectangular strips, the canines, because you will be placing them into the mouth.
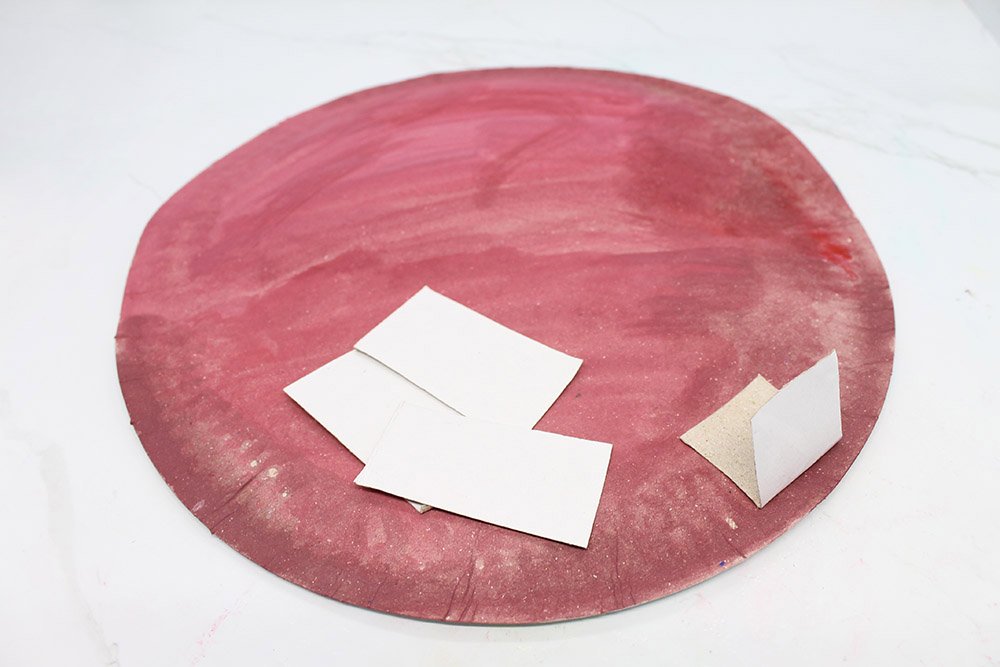
Fold one of the rectangular strips and put it in place on the lower right side. Use glue once you are sure of the placement. Glue the strips on the white side and not the brown side of the paper.
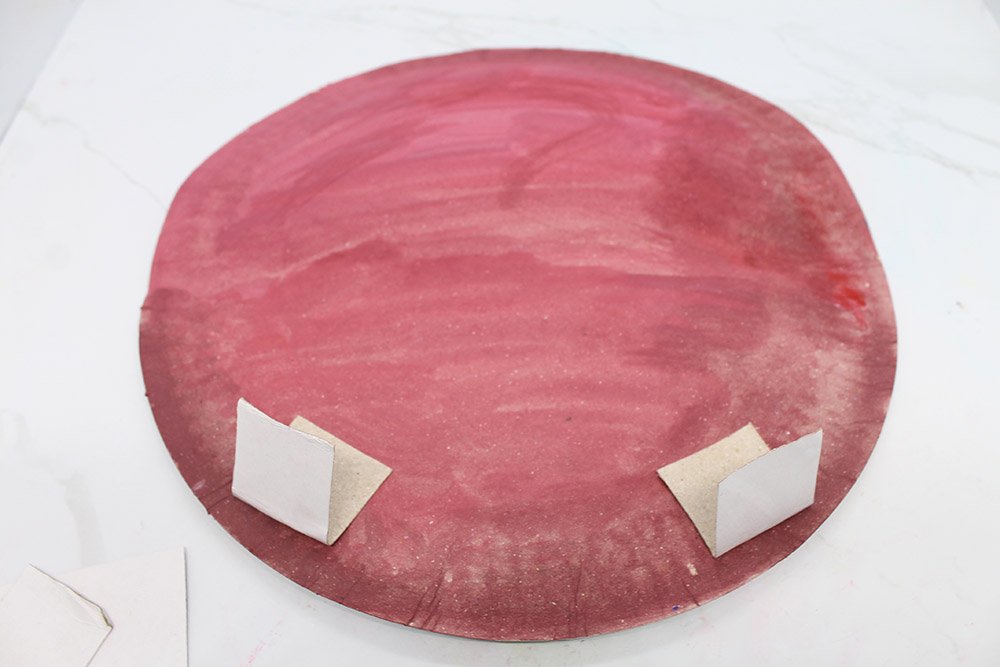
Then do the same for another rectangular strip but this time put it on the lower left side. Your lower canines are done.
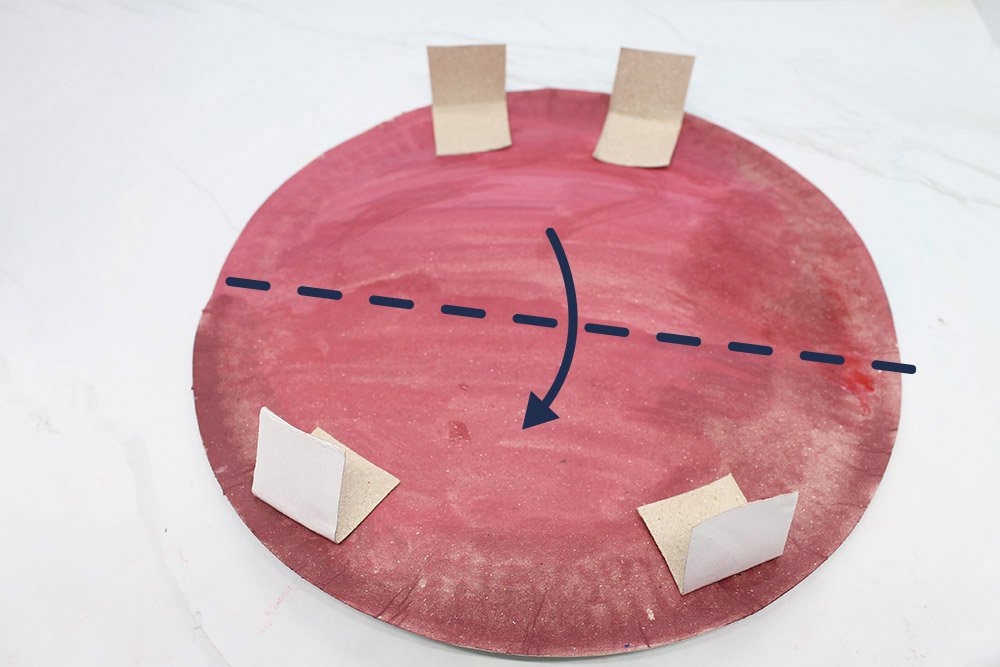
It's now time to work on the upper canines. Simply fold the strips and place them on the upper side of the paper plate. These two canines are closer to the center than the lower canines.
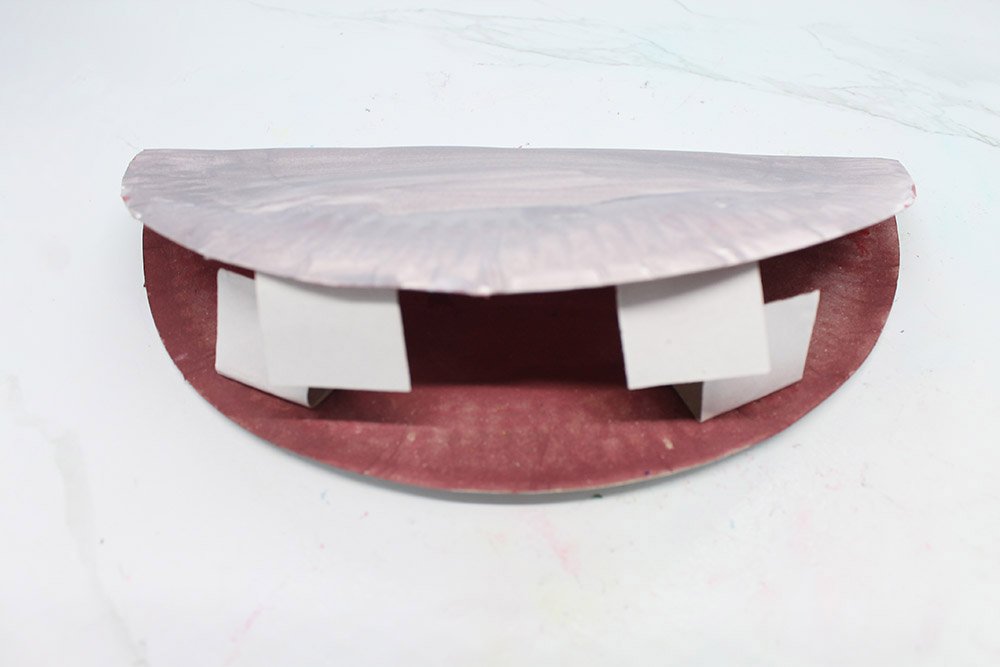
After gluing the upper canines, fold the paper plate in half. Don't fold it all the way through. Splendid! Now, you're on to the next step.
Complete the Hippo Paper Plate Craft
Get your hippo head and ears. You are now close to finishing this craft - all you have to do is combine the pieces together. You also have to add a few more details.

Attach the ears behind the hippo's head. Make sure to place it properlyy before adding glue to the ears.
Next, get the mouth of the hippo.
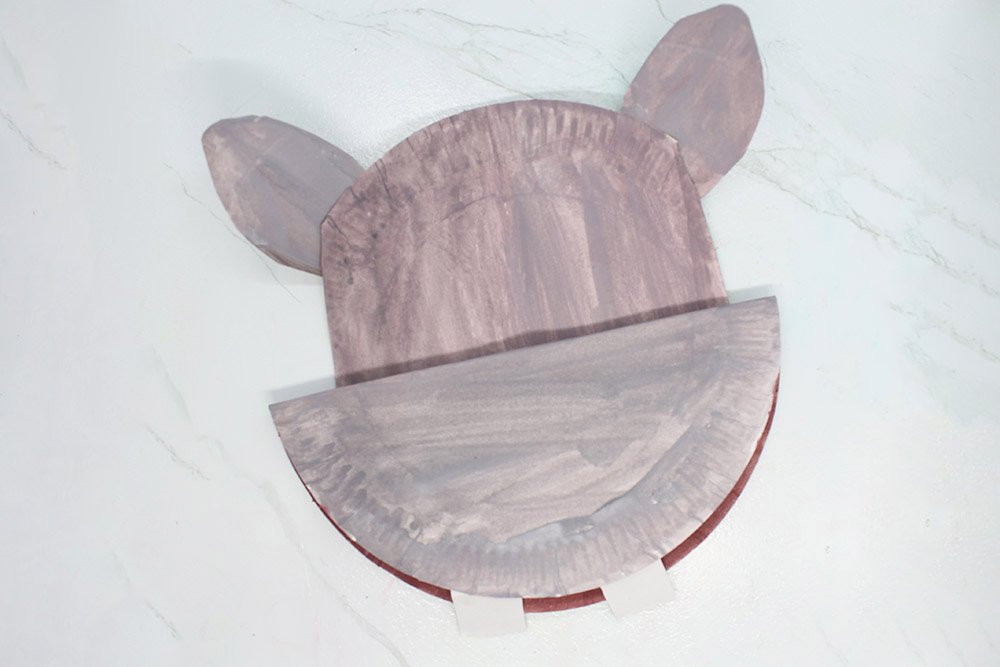
And then place it on the lower part of the head. After making sure that is placed properly, apply glue to hold the mouth in place.
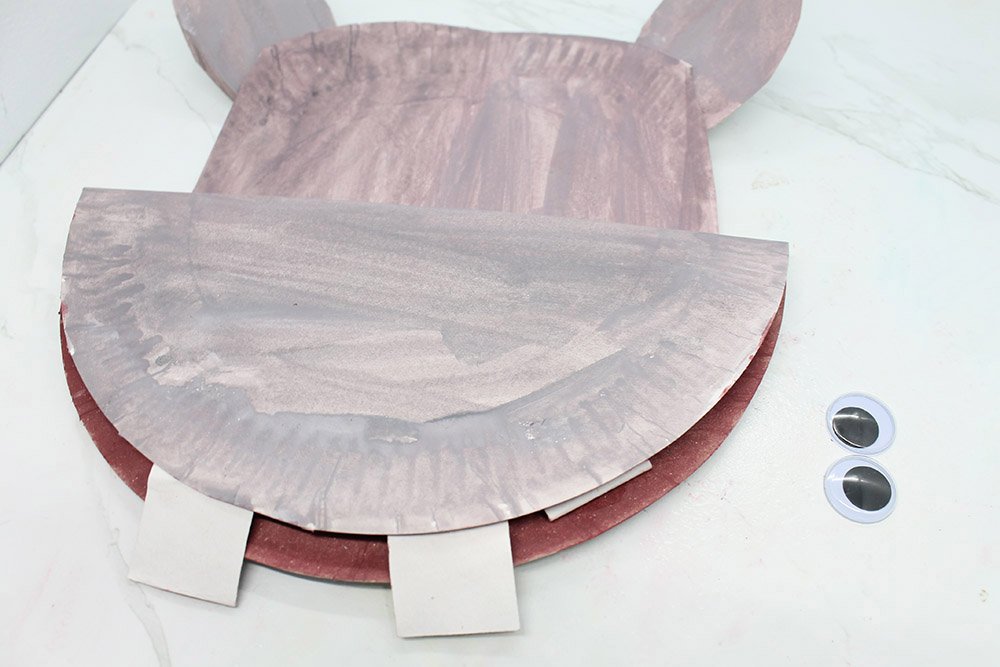
This is what your paper plate hippo should look like right now. The next thing to do is to get your googly eyes.
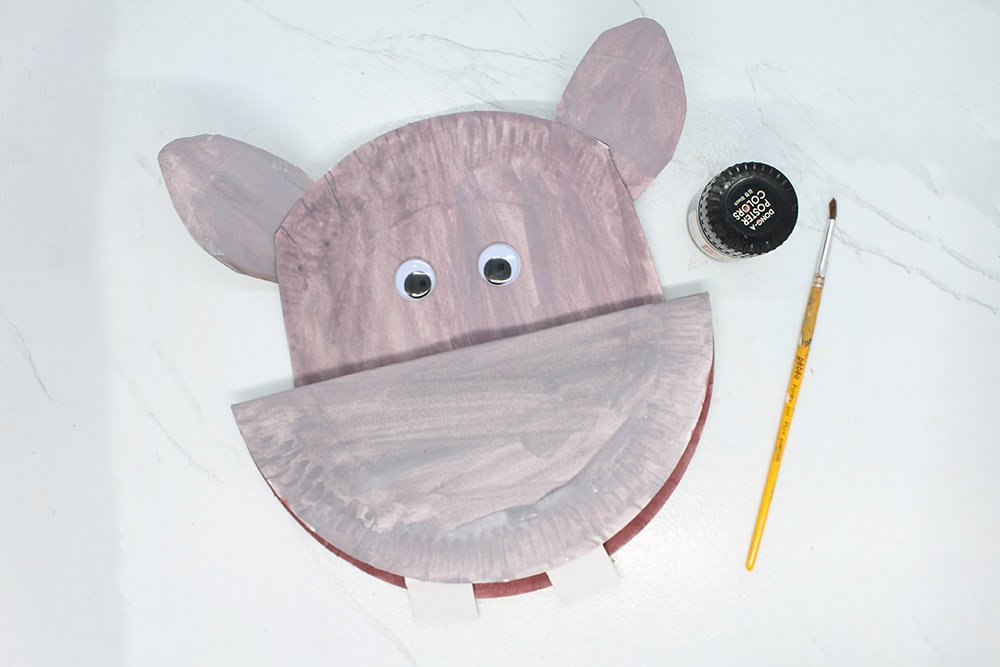
Attach the googly eyes slightly below the ears and near the middle. Then, get your black paint.
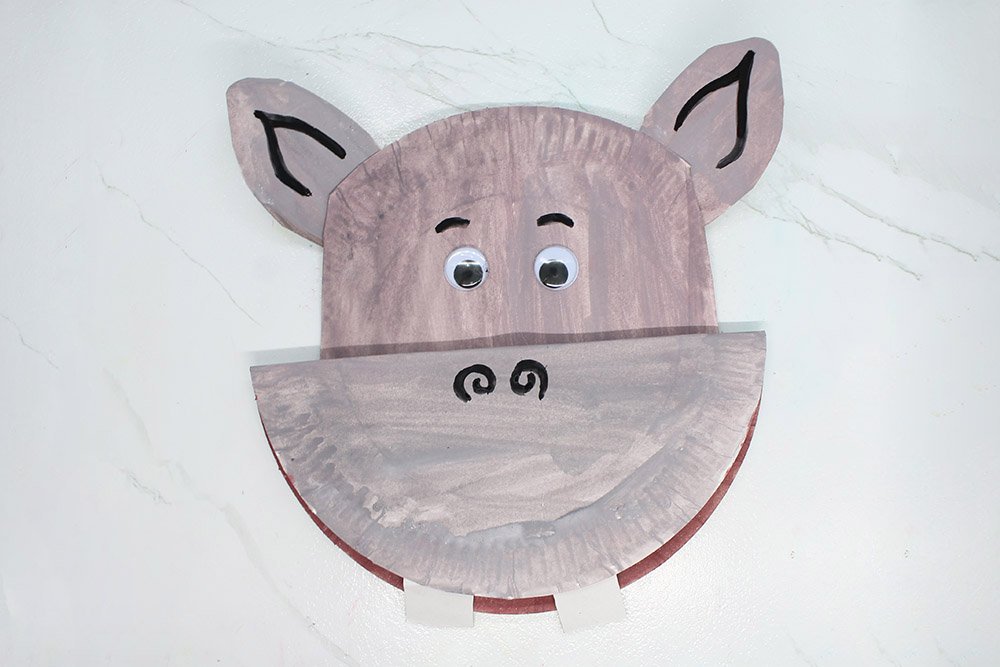
Use the black paint to add details to the ears and to make the nose of the hippo craft.

This is what your paper plate hippo should look like right now. Amazing job! You have completed the paper plate hippo.
For more paper plate kids crafts, check out the articles suggested down below. We hope that you enjoyed making it.
Extra Tips
- You can add details to your paper plate hippo. Your limit is your imagination. And have fun!
- Kids should be given pointers on how to use scissors properly.
- Give the paint and glue enough time to dry.


Awesome guide me dude!
I was able to make mine a bit more scary ahaha
I like the instruction and the hippo that i made <3 🙂 <3
What are some of the things that you could put in the craft?
Uhm a lot actually ahaha
it’s cute but this was too much work for me! So I made my brother do it 🥱