DIY Origami Hat Instructions With Pictures

Introduction:
Making an origami pirate hat couldn’t be easier with this step-by-step guide. This instruction made use of A4-sized Paper so it might not fit all heads but you can use other paper types like newspaper or Cartolina.
Ready-up sailors, explorers, and pirate adventurers. The seas call now, so wear your paper hat origami but first, you’ll have to take a look at our paper hat folding instructions.
It’ll only take a few minutes, so what are you waiting for – let’s start making hats! We hope that you’ll enjoy this guide, and we wish that you’ll like the hat when you play or be at a party.
Fold Your Paper
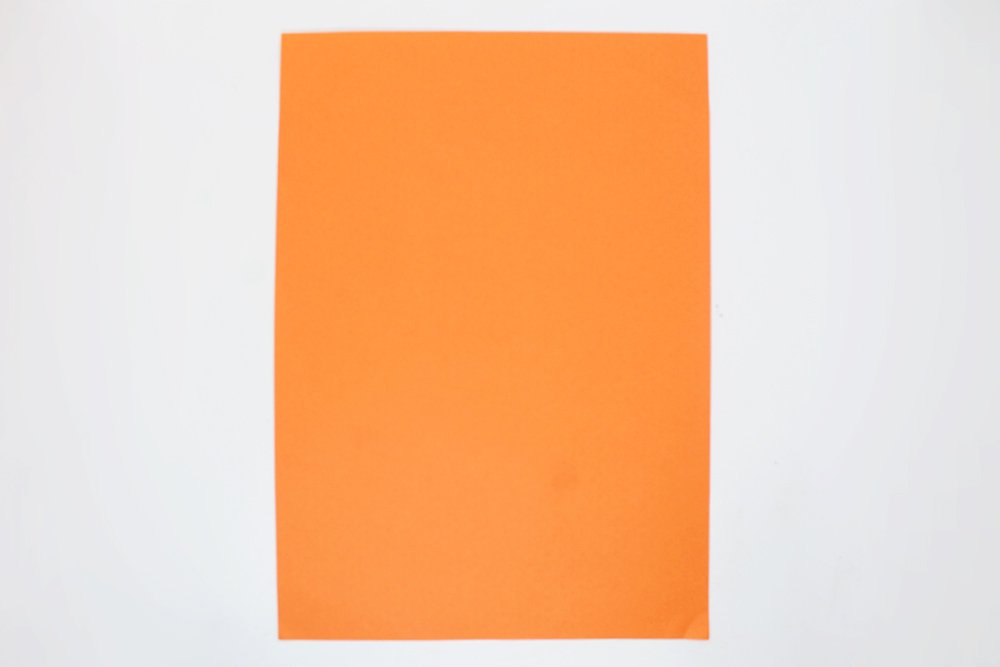
To make this origami sailor hat you'll first have to find a suitable paper. In this example, A4 paper was used. The three most important thing to consider is the looks, the thickness, and the size of the paper.
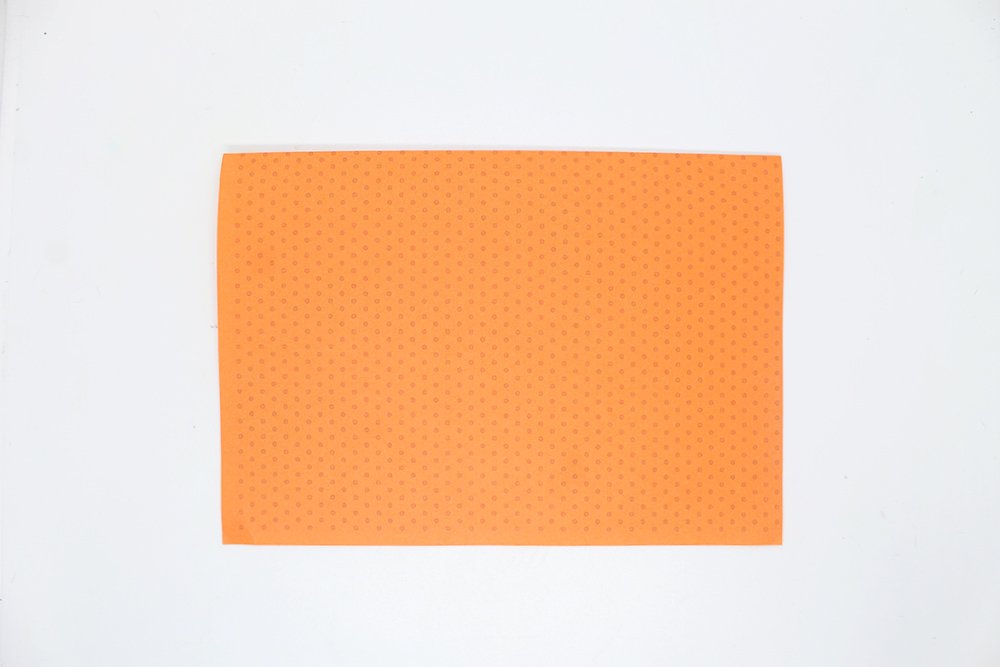
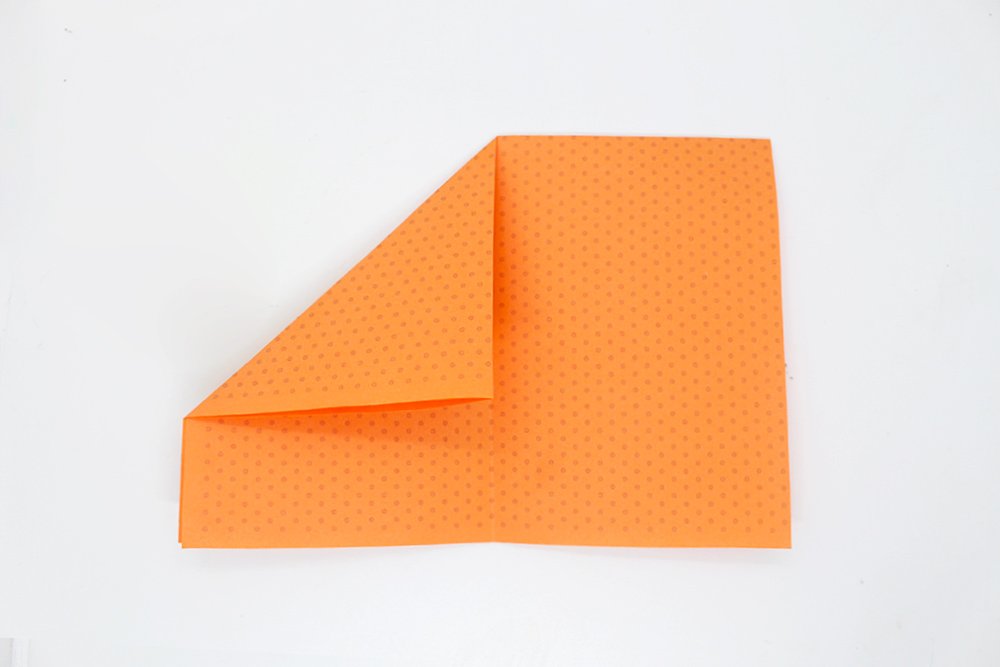
Fold the paper crosswise. The goal is to make a nice and straight fold in the middle. Fold it from top to bottom, and not from bottom to top.
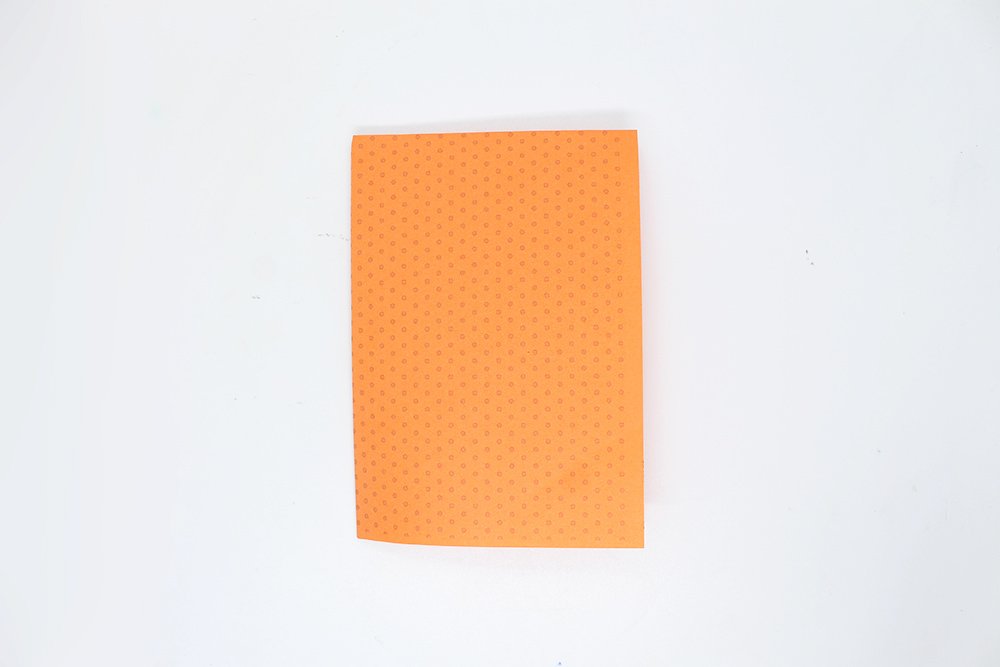
Nice, now fold the paper lengthwise on the middle. This easy origami hat is on a fast way to being completed!
Diagonally Fold the Top Corners
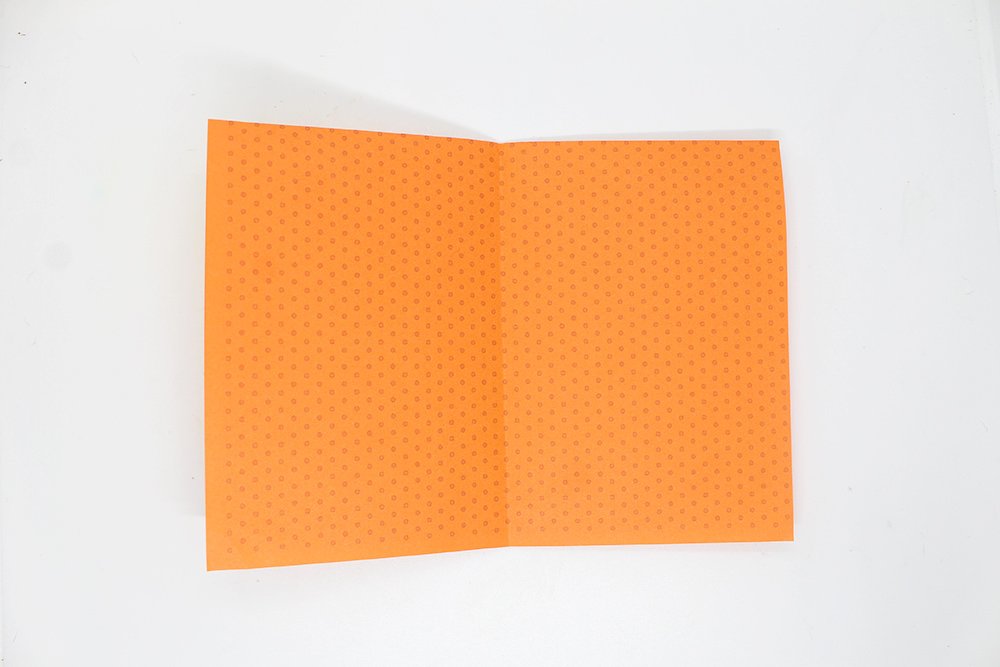
Unfold your paper. There should be a straight crease mark now. The purpose of this line is to make the next step easier. Do note that ends of the paper is pointing towards you.
Fold the top left corner towards the middle. Make sure to press on the diagonal line to secure the shape.
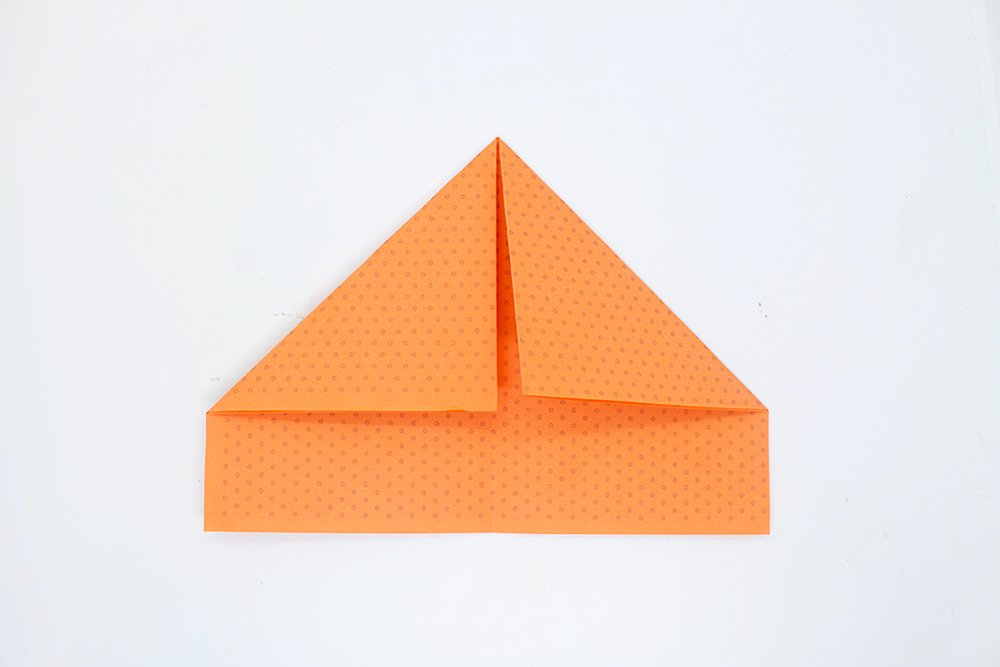
Diagonally fold the top right side so that your paper will look like the one from the image above. Great job! Now it's time
Fold the Bottom Flaps Upward
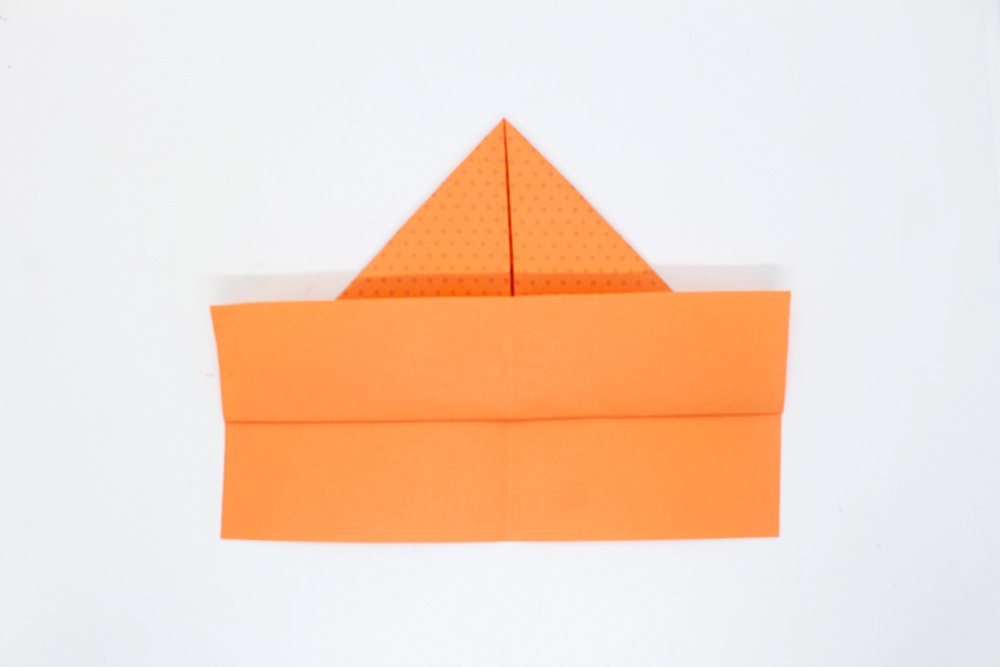
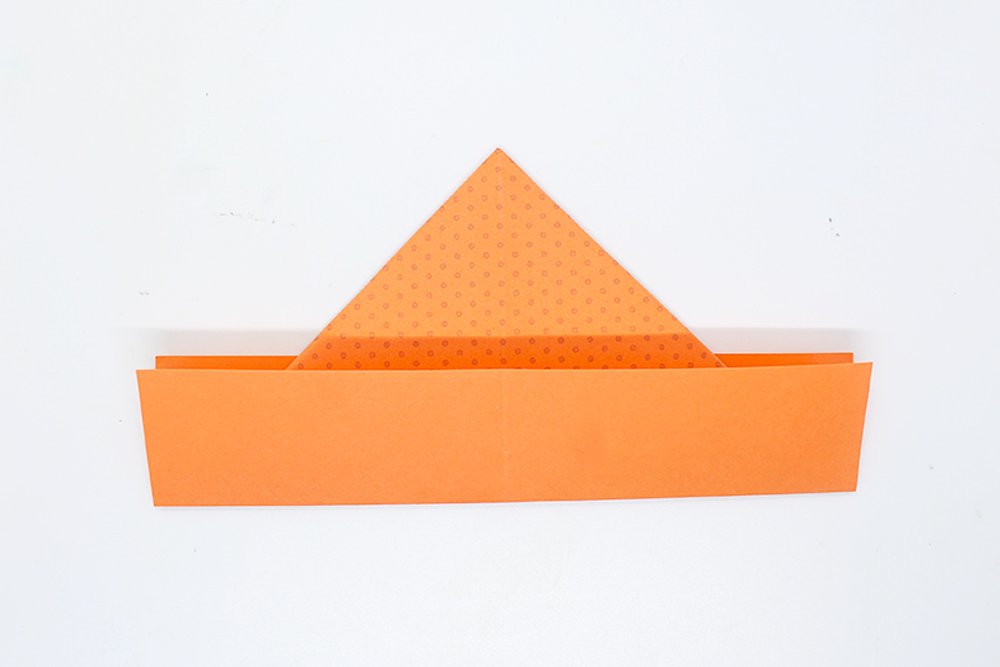
There are two bottom flaps of your origami right now. Fold the top one towards the top of the triangle. You're close to finishing the craft now.
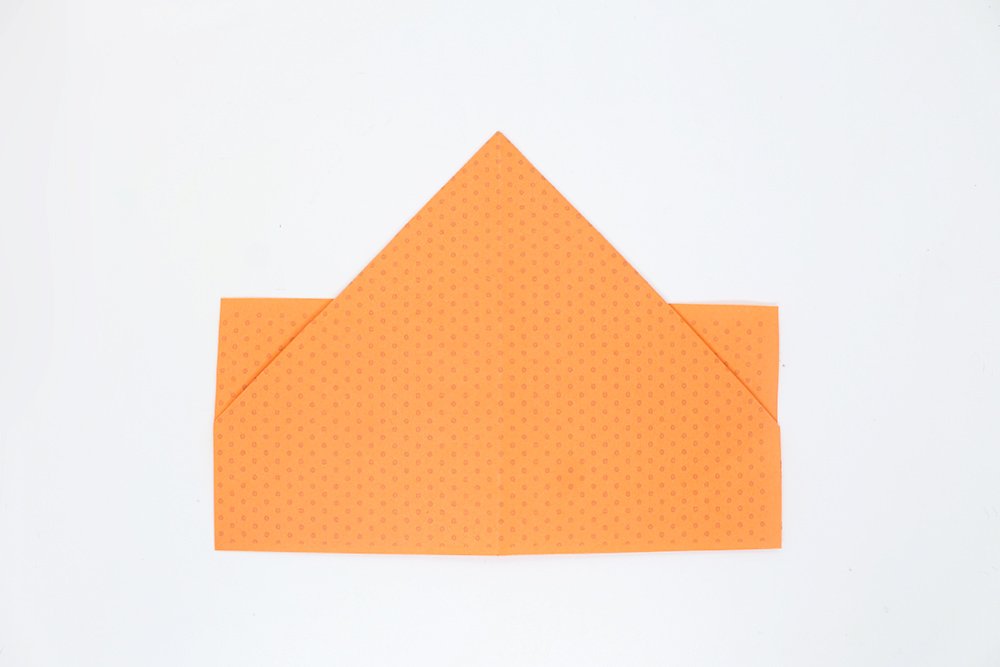
Then flip the origami hat so that you can work on the other side.
Next, fold the other flap towards the top.
Continue Folding the Origami Hat
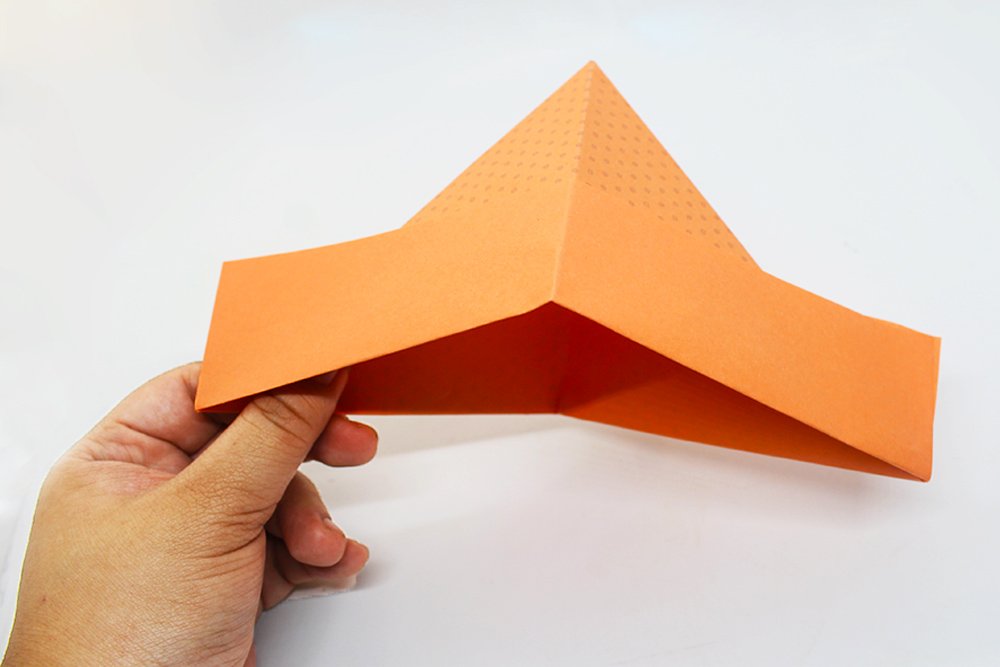
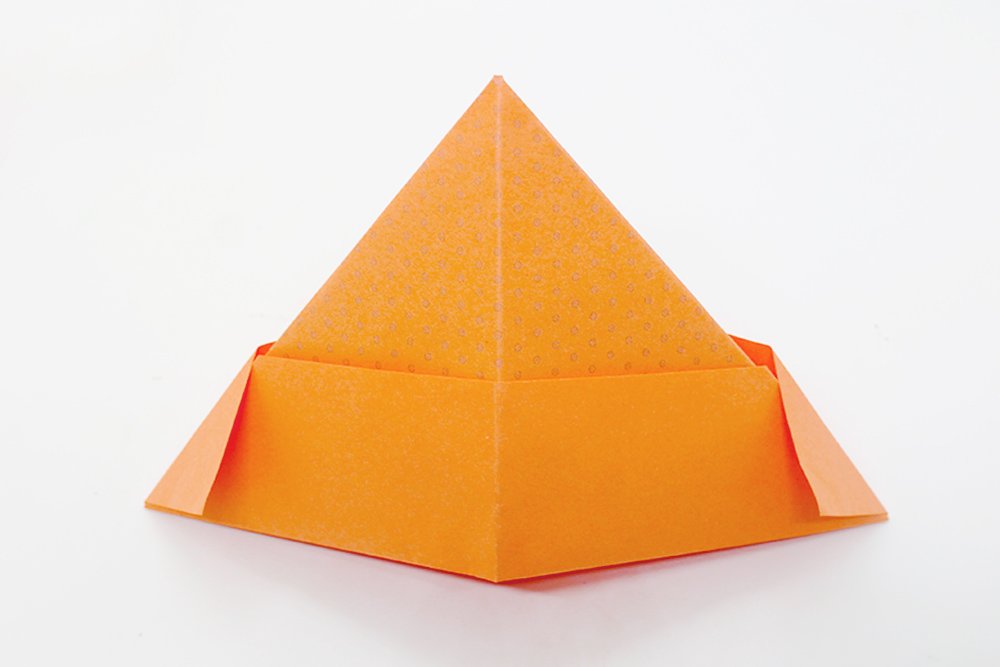
Right, now that you've got the flaps folded it's time to finish the sailor hat. Remember the last vertical crease mark you made? You'll make use of that now - pull one side of the hat forward.

Your paper hat should look like the one in the picture above at this point.
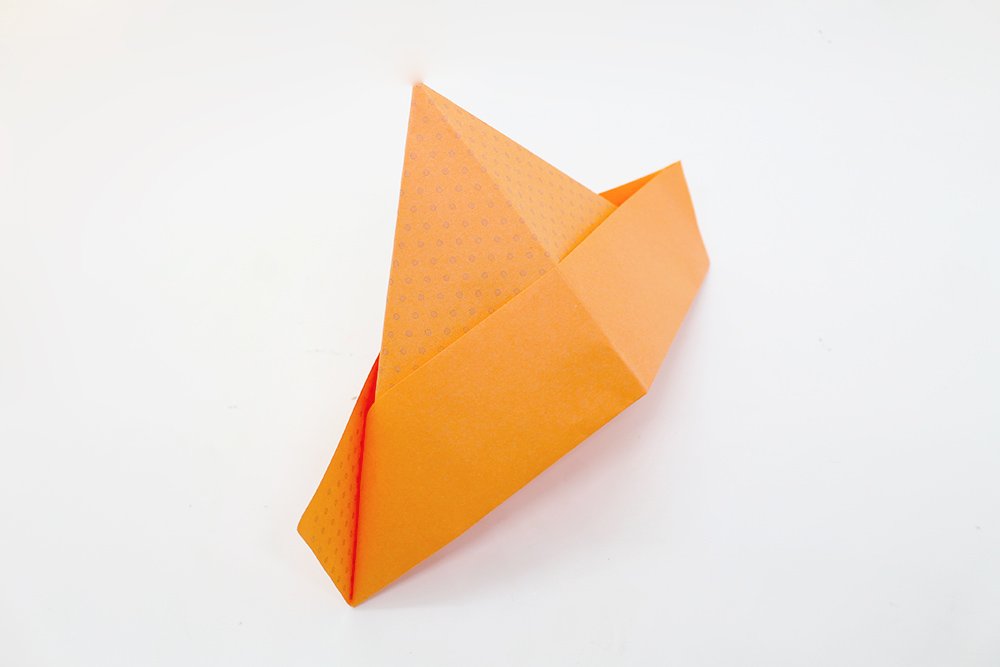
Tuck the one corner of a flap towards the middle like shown in the image. Make sure to crease it properly.

Then diagonally fold the opposing corner towards the other flap's side. Doing so makes this side secure and it will make the hat look presentable.
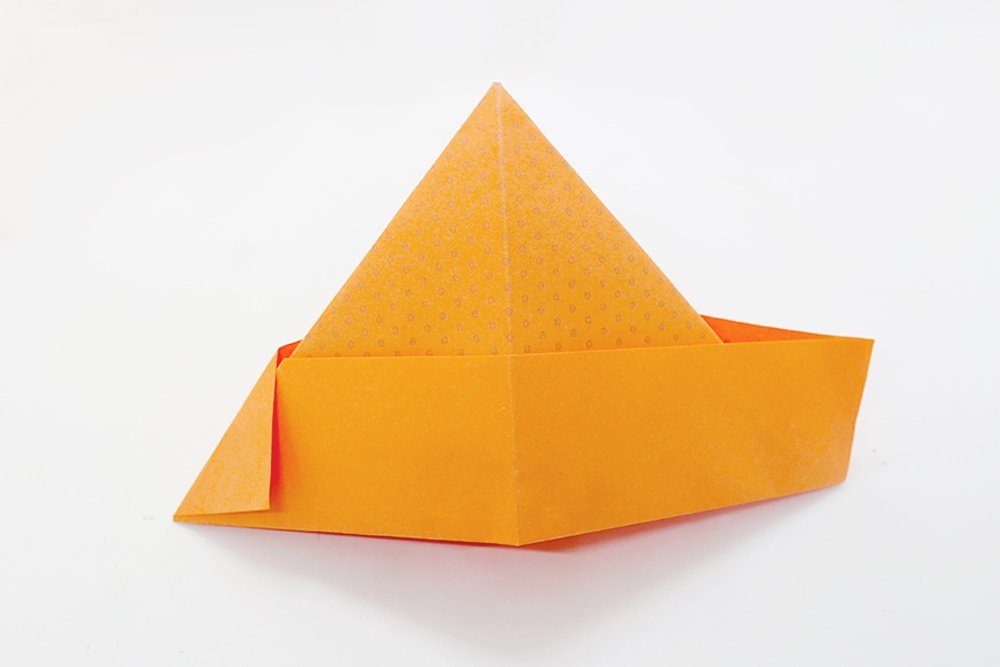
Now we've got to turn our attention to the other side.
Just do the exact same thing that you did in the last side to to the other side. And you are done!
Don't forget to pry it open. Since it’s made out of an A4 size paper, it really won’t fit your head. The size is more suitable for smaller kids or your pets. If you want to wear it, try using a larger piece of paper.
Different Options
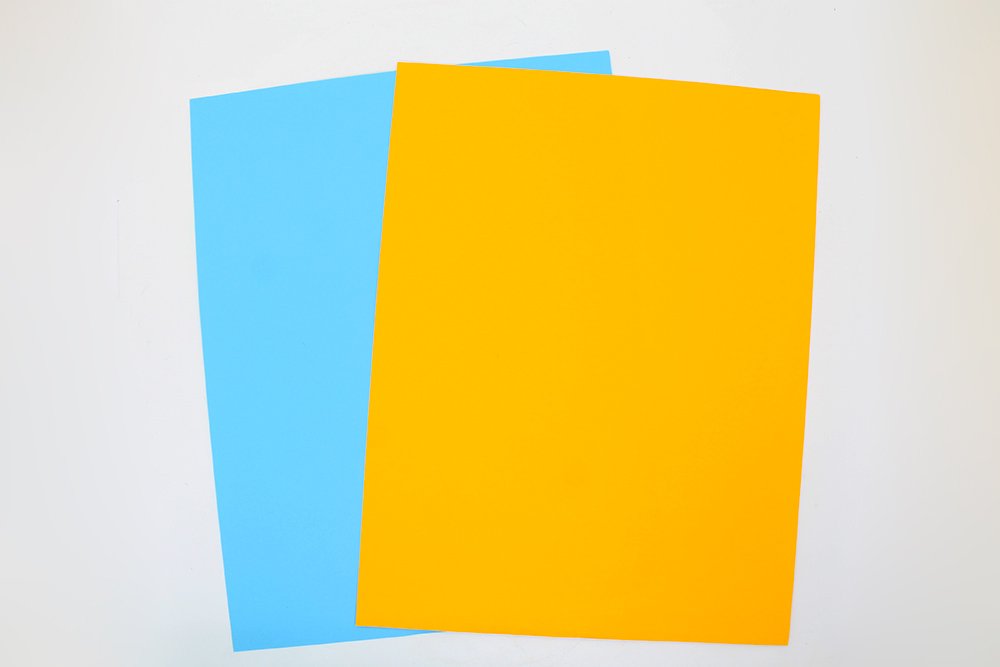
Here we have another option. This is a way to liven up your origami hat. Stack two papers of different colors but similar size. You can use glue to secure them together.

Do the same process as shown above and you have yourself an awesome origami hat with two different colors.
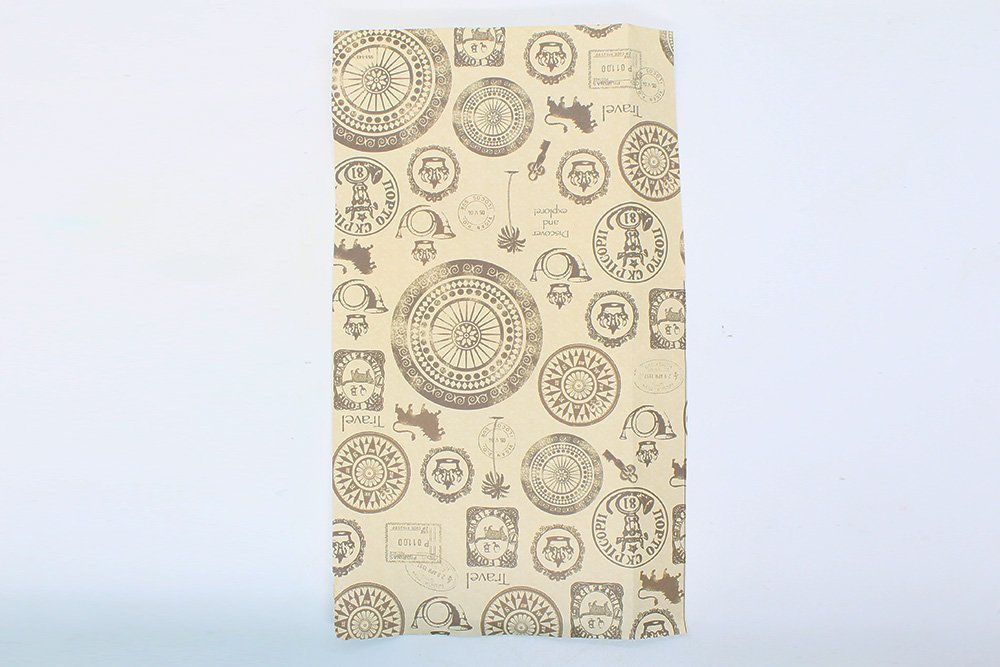
In this option, you will be using recycled paper or newspaper.
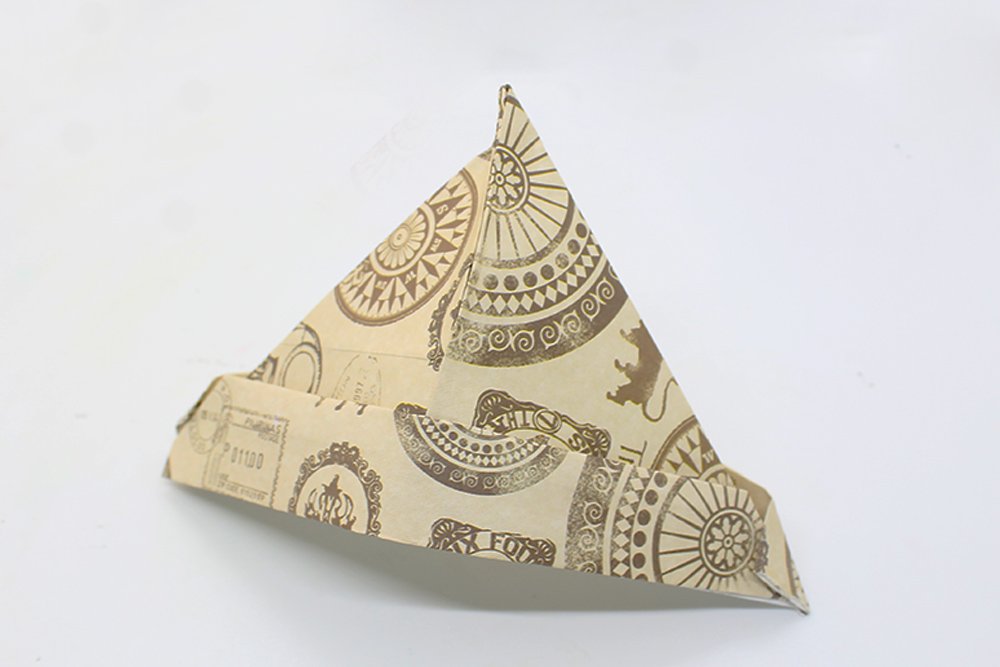
Do the exact same process. This hat has texts or images. Cool, right? We hope you had fun. Please drop a comment down below and tell us what you think.
Extra Tips
- Your pirate hat can be made better if you add some decorations. Star with paint. Props could be stickers, feathers, etc.
- A thicker variety of paper is recommended.
- Make two or three origami hats while reading this instruction then you can make the craft from heart! And if you like learning origamis then check out our dozens of origami guides.


well explained sirs, so you have my utmost gratitude!
Could you make a DIY sword guide?
simple 🤟
made this for my kid brother’s pirates of the Caribbean-themed birthday! thankss
Made 10 in 12 minutes! ahaha
Made 10 in 12 minutes! ahaha