How to Make a Diamond Shaped Dollar Bill Ring

Introduction:
There are various ways to make a ring out of a dollar bill. What’s unique about this dollar ring or also known as the insignia ring, is that it forms into a diamond ring when finished assembling. It is a bit tricky to make, but don’t worry! This step-by-step instruction will guide you on your own diamond-dollar ring.
Note: The outcome of your dollar bill’s design will vary on what side of the dollar bill you will face. If you want the dollar bill to have the US President’s face as the design, then face it on the side that has the ONE printed on it. If you want the ONE printed as a design, then face the US President’s side printed on the first step.
Fold the bill into a V-shape
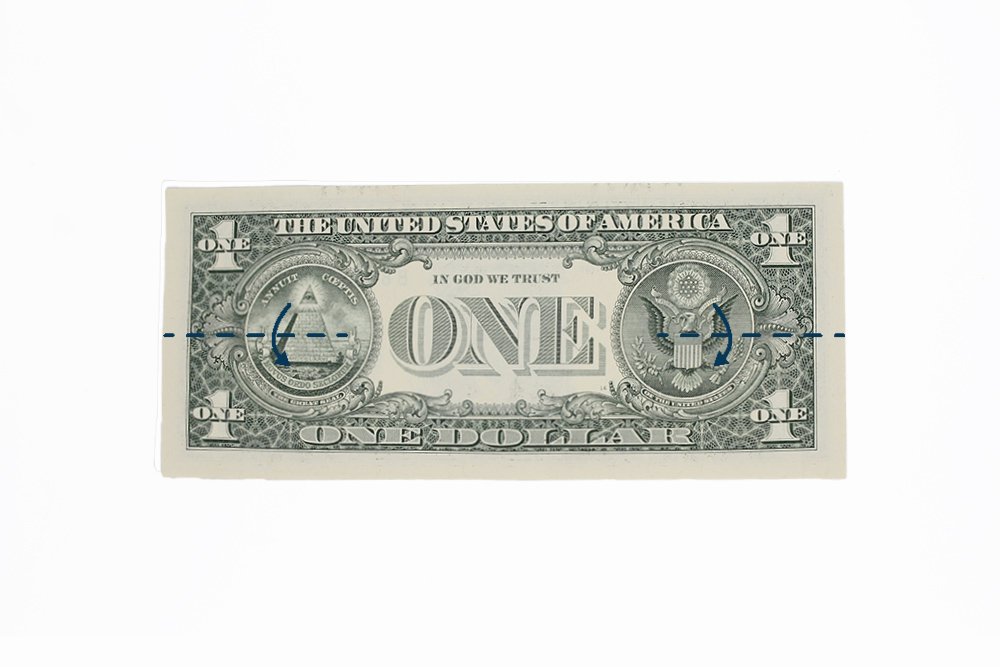
Your first step is to get a dollar bill of your choice. Then start with your preferred side (See note above). Fold the dollar bill crosswise. The crease that you will make will be helpful later.
Make sure to fold the sides ONLY and not the middle. Crease it well and then unfold after.
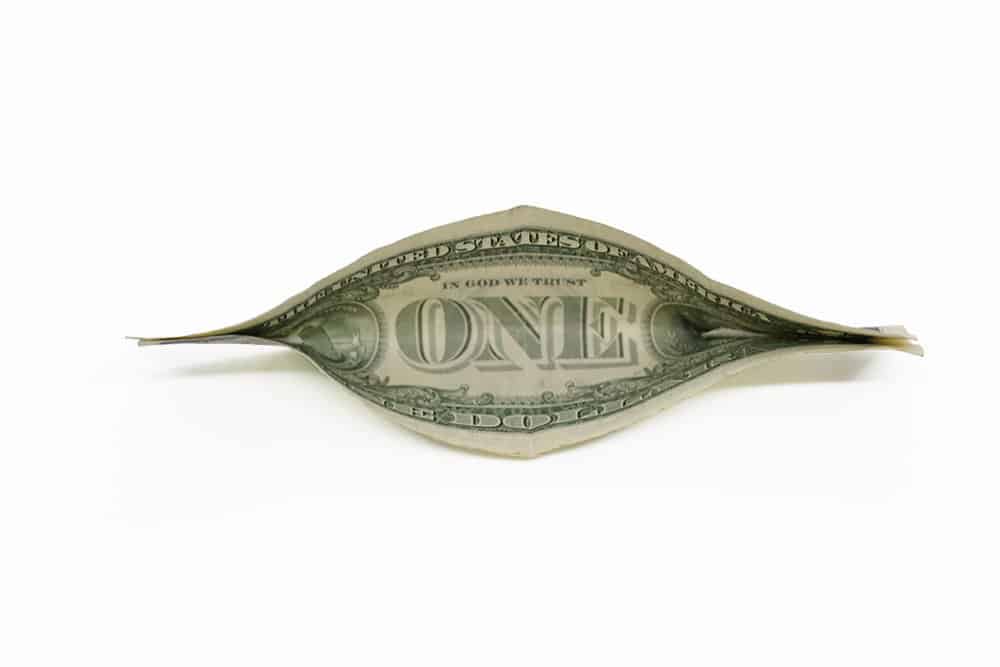
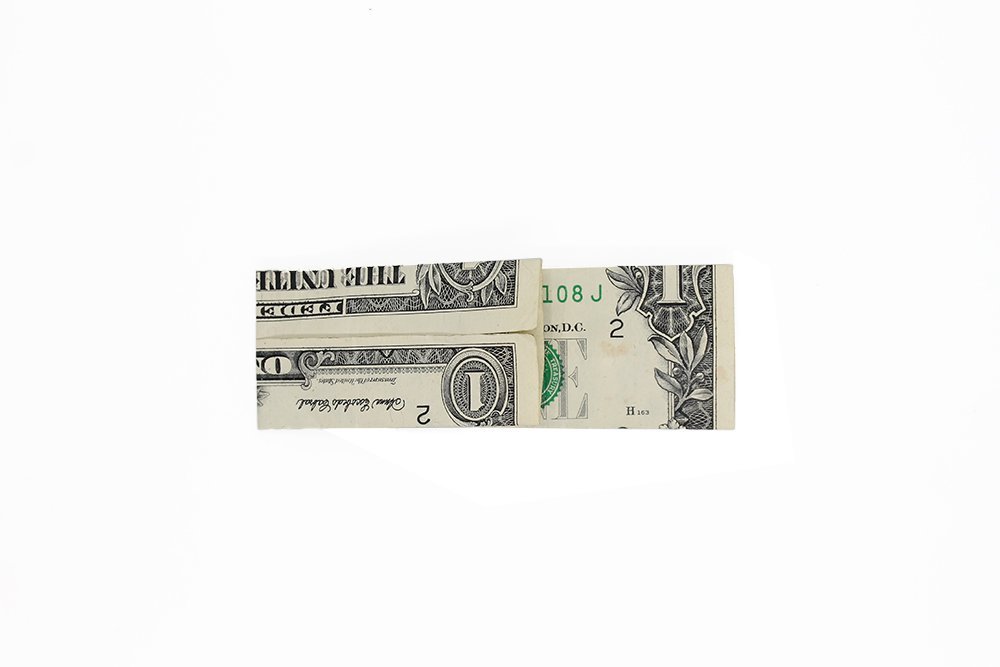
The next step is to fold the dollar's top and bottom edges to the middle.
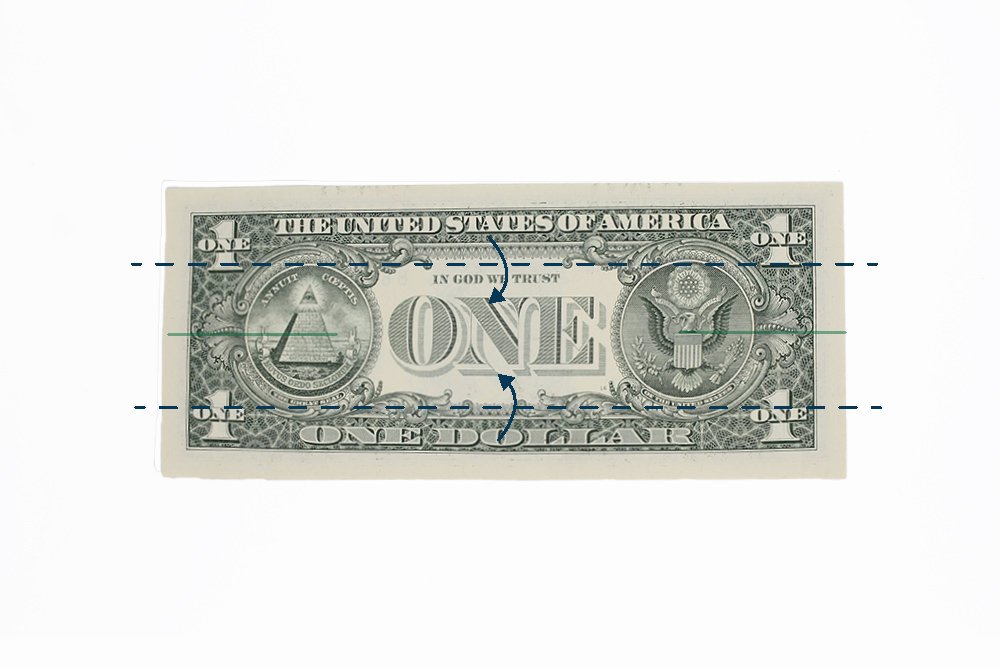
Make a crease mark in the middle by folding then unfolding the dollar bill lengthwise in half.
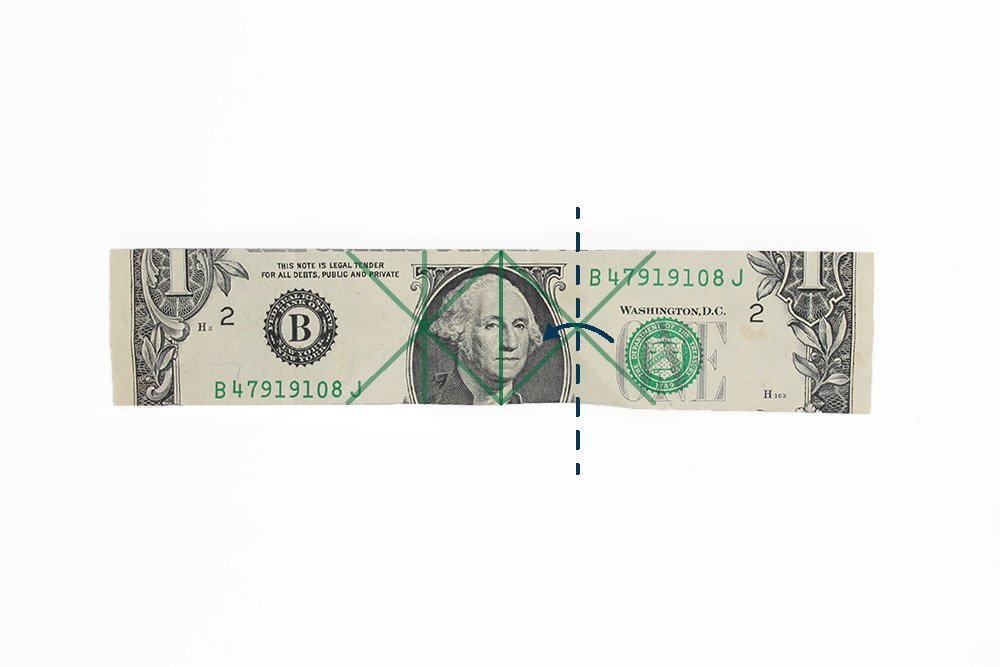
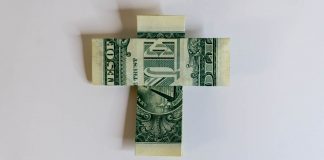
Bring the left and right edges to the top. Do so by diagonally folding along the dashed lines.
Fold the left part of the bill upwards. Imagine that there are two diagonal lines that start from the center of the bill, and that these two lines resemble the letter V. Fold along the left diagonal line.
Then do the same for the right side. Let's call these folds the V-fold. You should have something like from the image above. Once done, crease it well and then unfold.
Make crease at the left and right sides
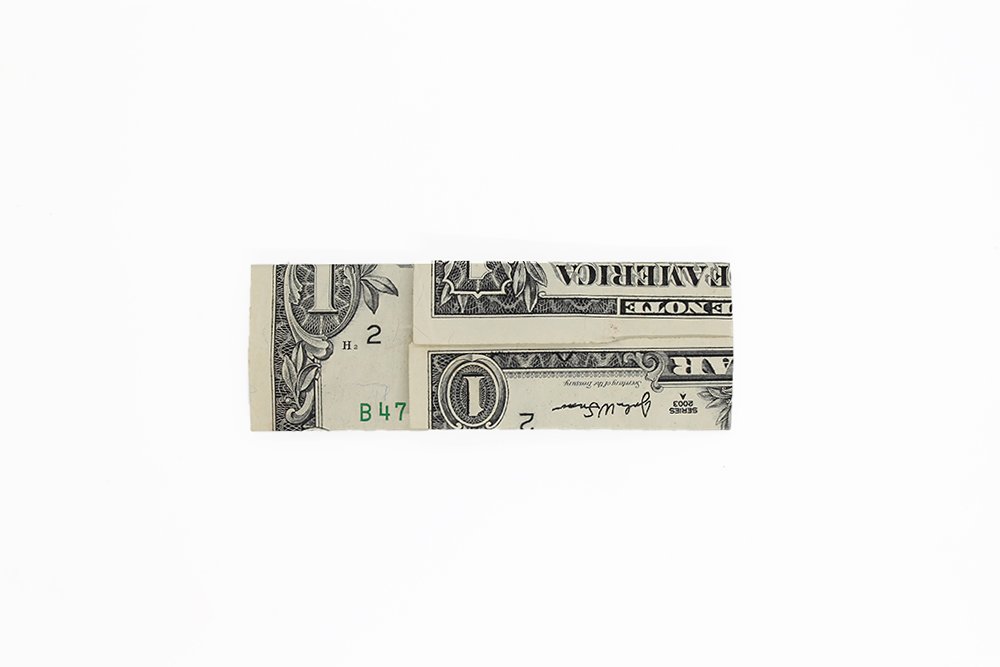
Make a V-fold again but this this time it should be in a downwards direction.
Start making a diagonal fold on the right side.
Then do the same at the left side as well. Crease the folds well and then unfold.
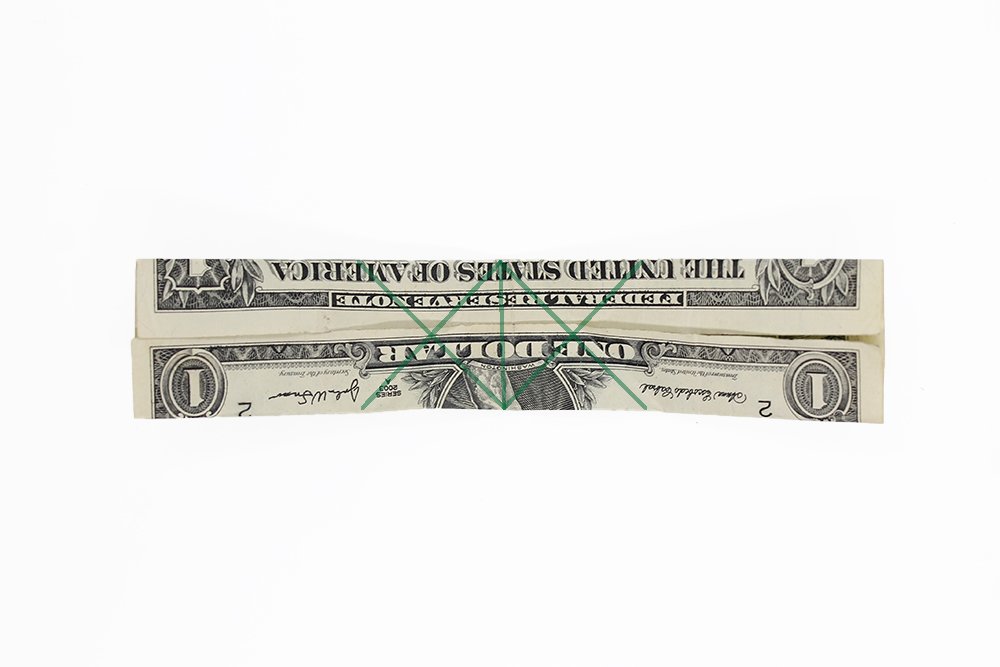
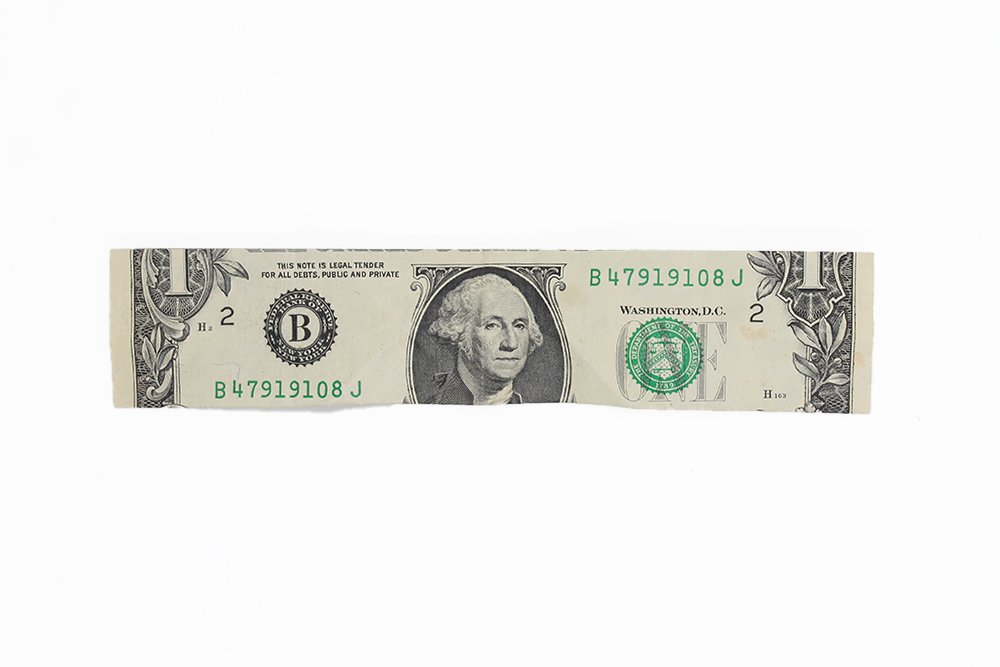
The crease marks made should look like the illustrated image above. Flip it over.
Then fold the left edge towards the right side. Fold along the intersection of the left X crease mark.
Crease well and then unfold the left flap.
Then fold the right edge towards the left side just like the way folded the left side earlier.
Crease well and then unfold the right flap.
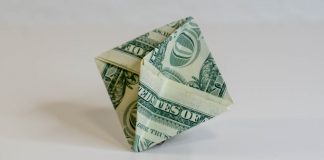
Shape the diamond design of the money ring

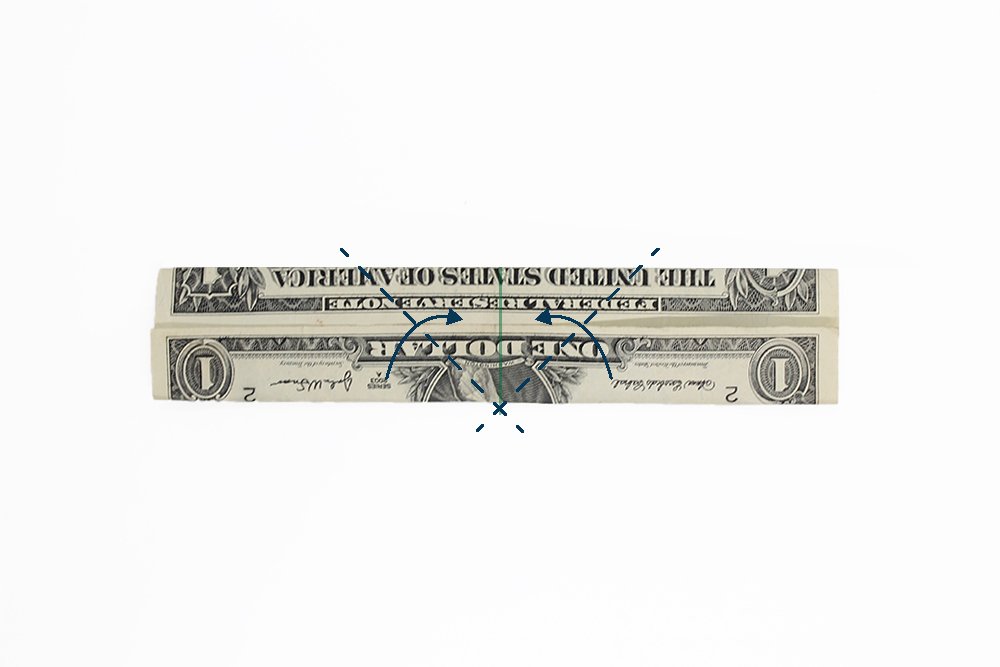
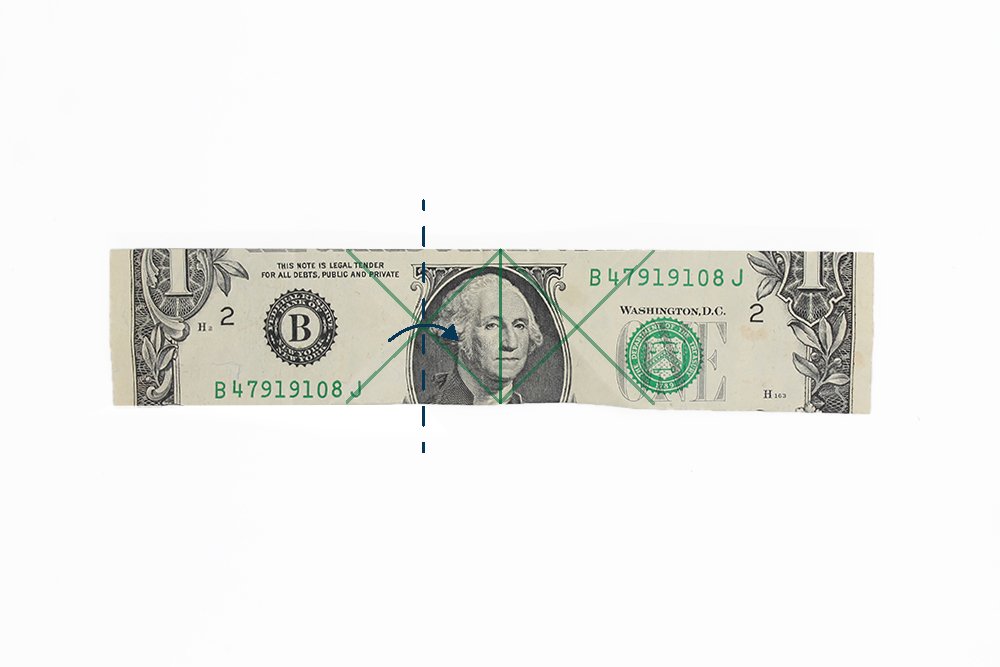
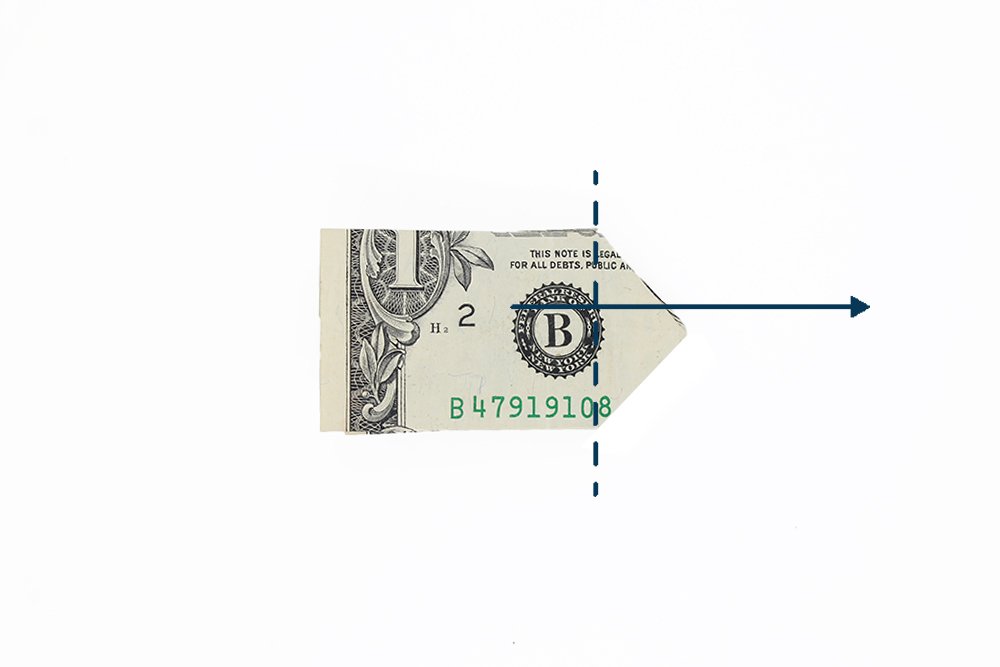
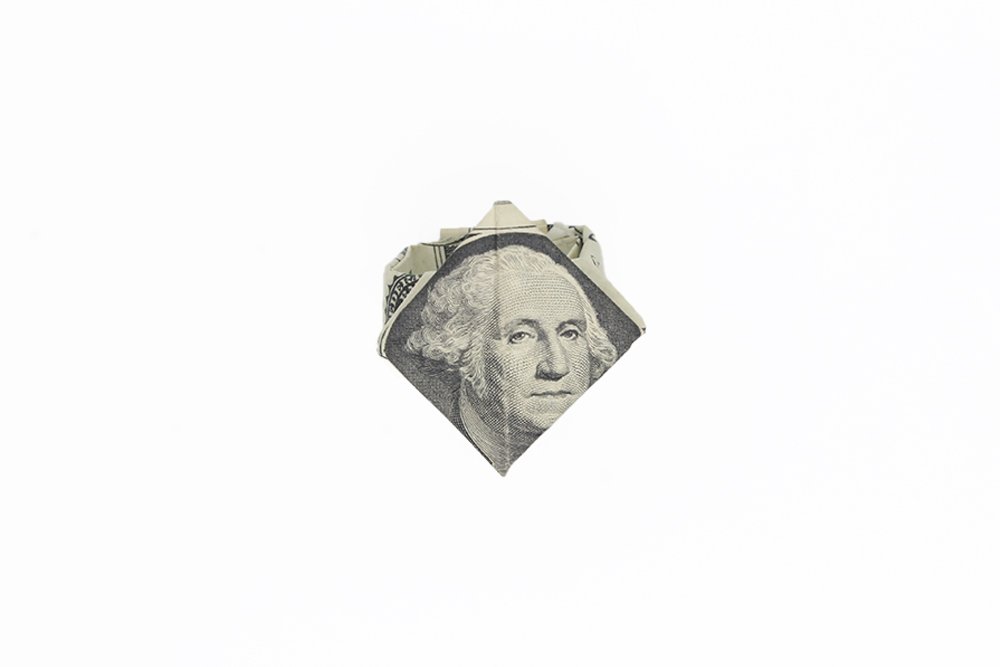
Once you've made the necessary crease marks, flip the dollar bill over.
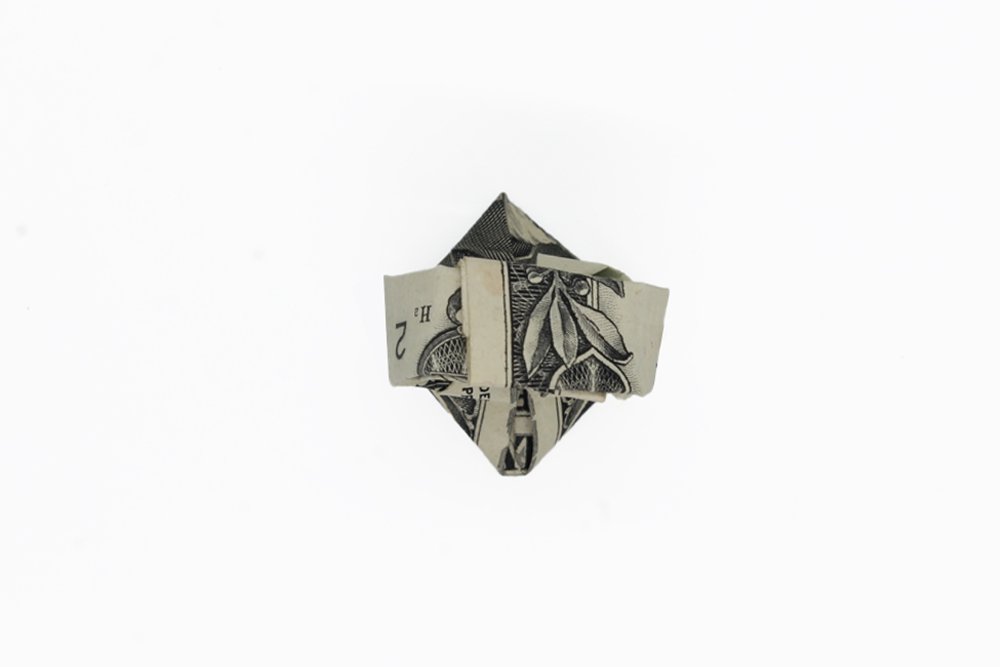
Pinch along the premade crease mark as illustrated in the image above.
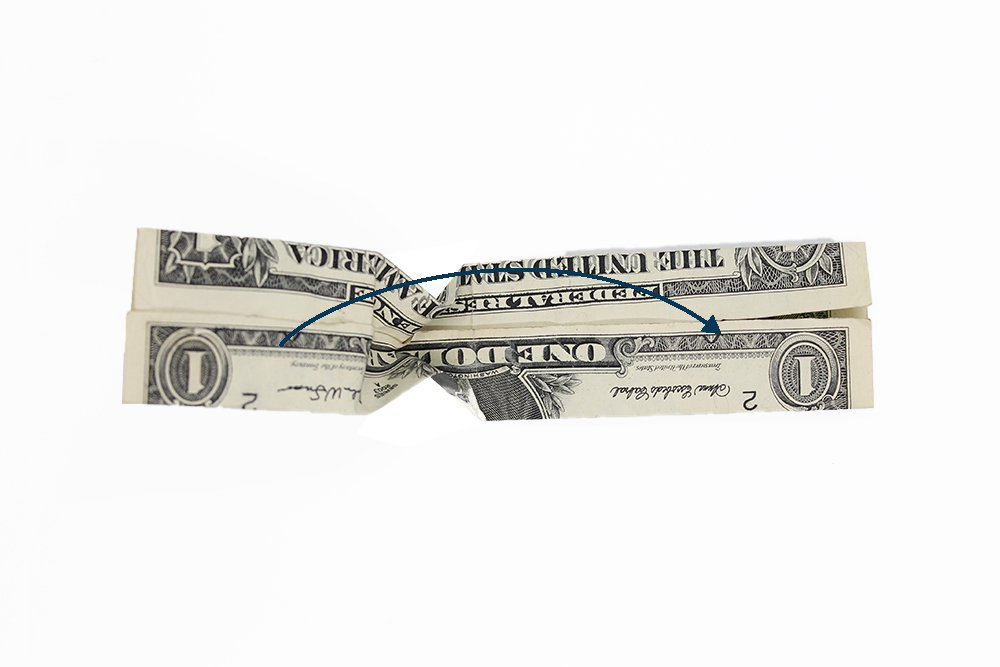
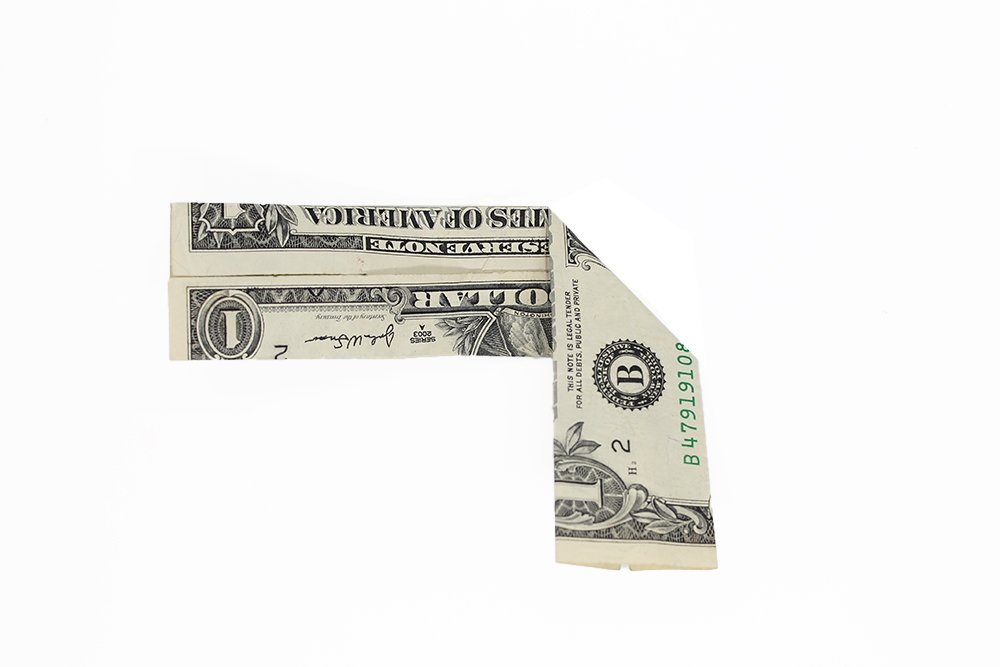
As you pinch, bring the left side to the opposite side.
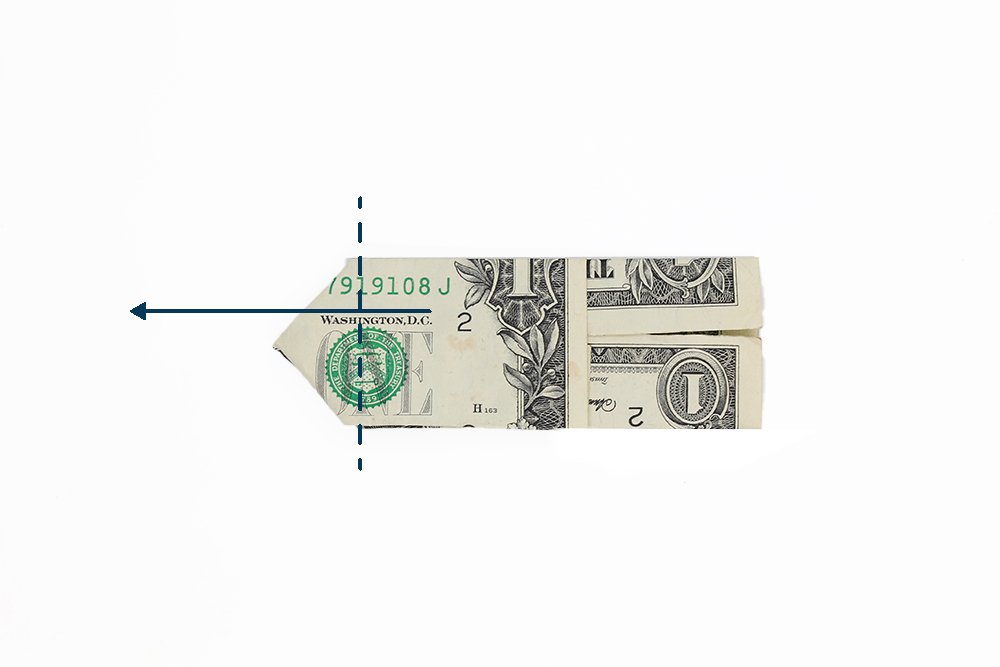
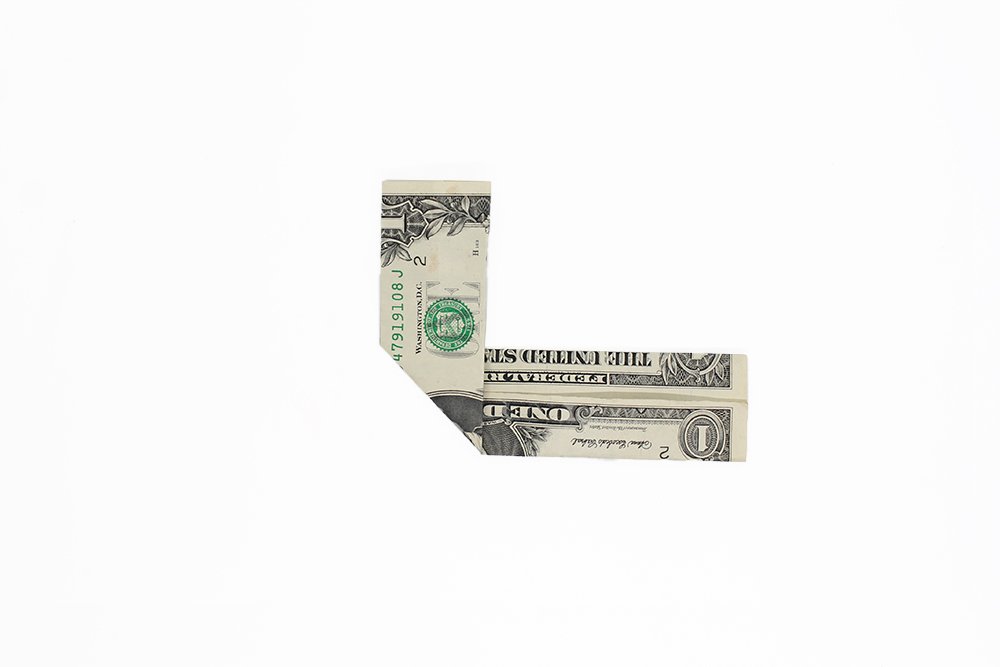
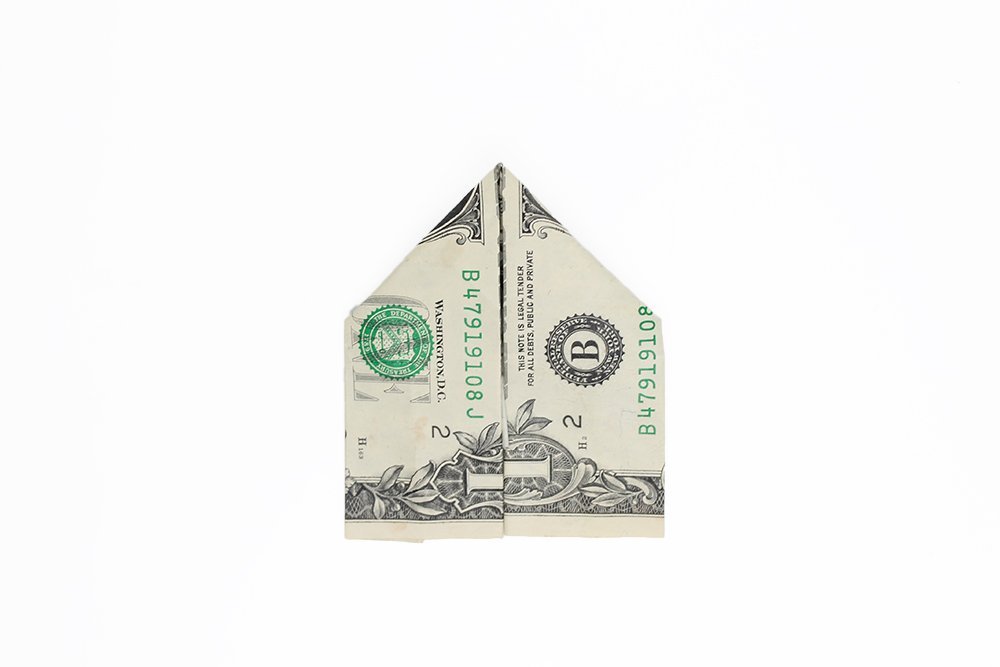
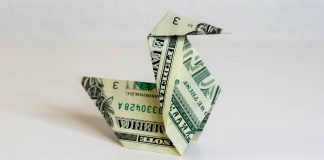
It should now resemble an arrow. Fold the top layer to the right. Make sure to move the top layer only. Fold along the dashed line made by the crease marks of the dollar bill.
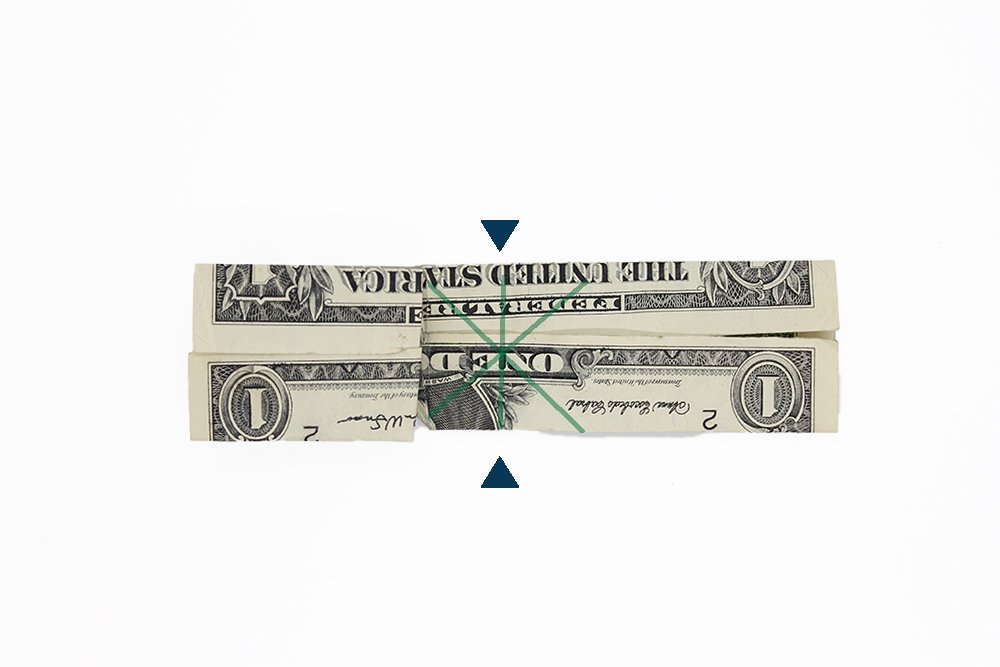
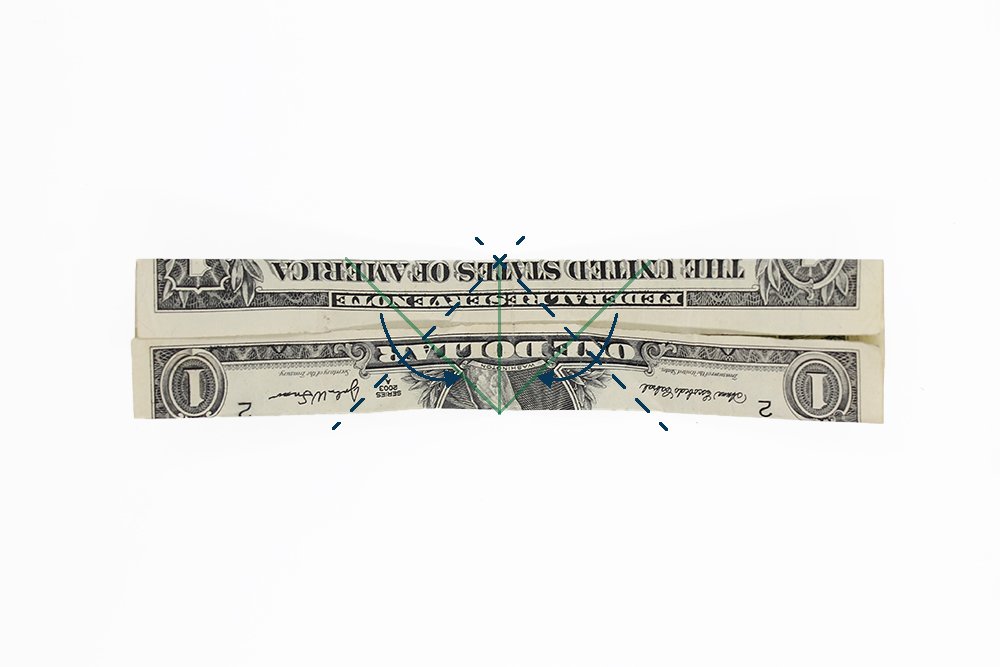
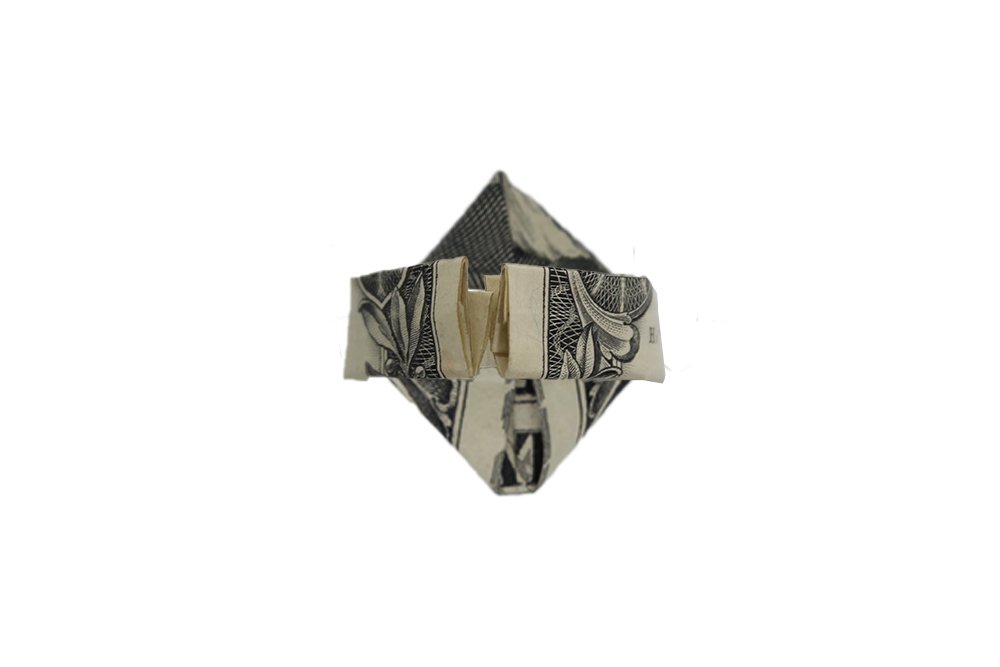
Like what you did on the previous step, pinch the top and bottom sides along the right vertical crease mark as shown.
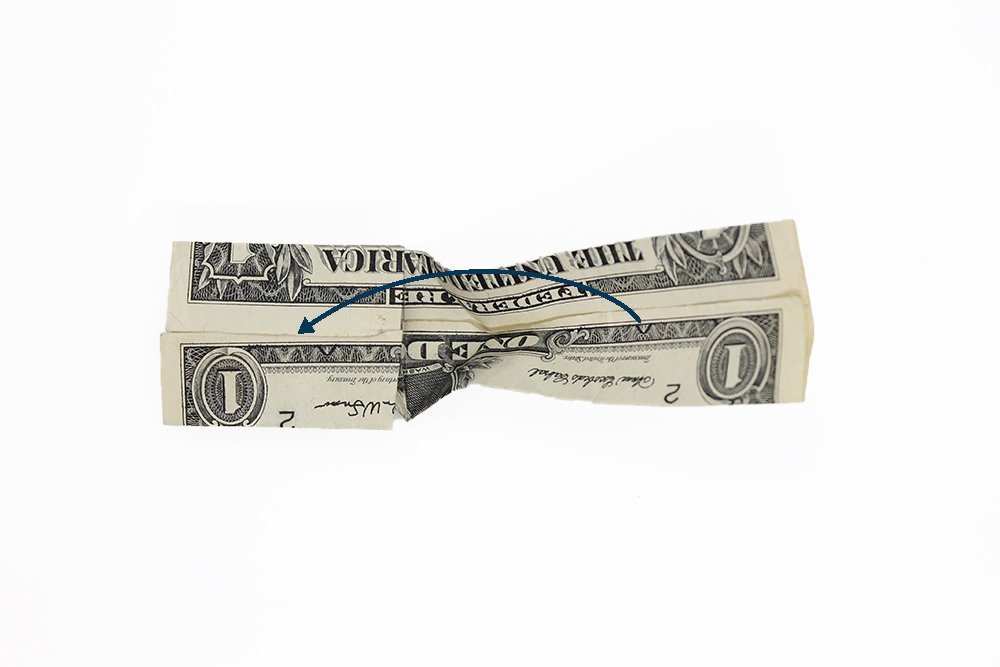
Bring the right part of the dollar bill to the other side as you pinch.
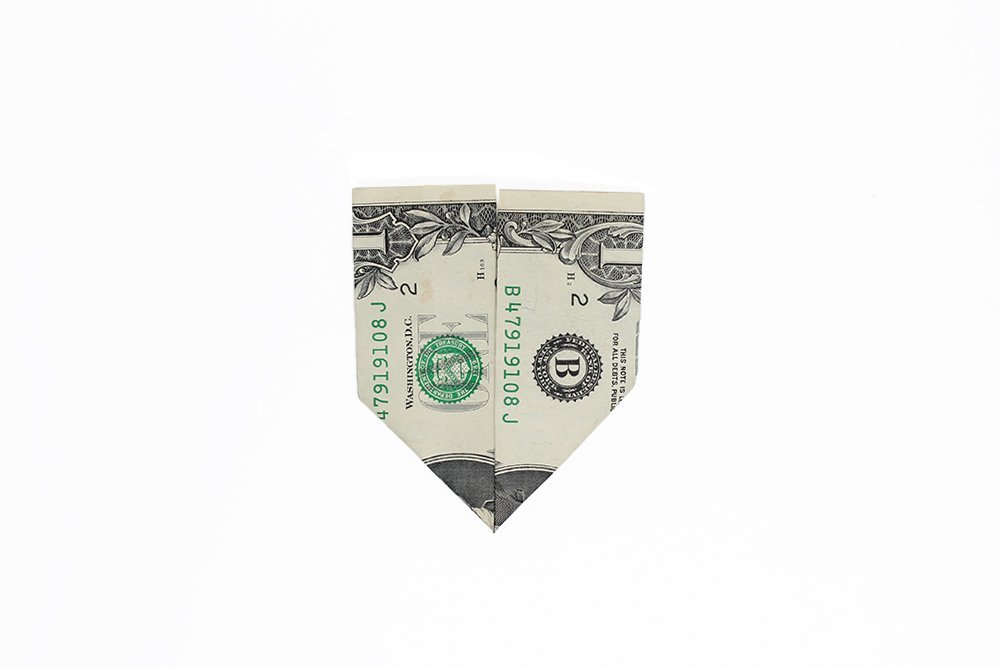
Fold the top layer to the left. Make sure to move the top layer only. Fold along the dashed line made by the crease marks of the dollar bill.
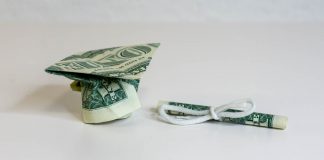
Shape the band of the dollar ring
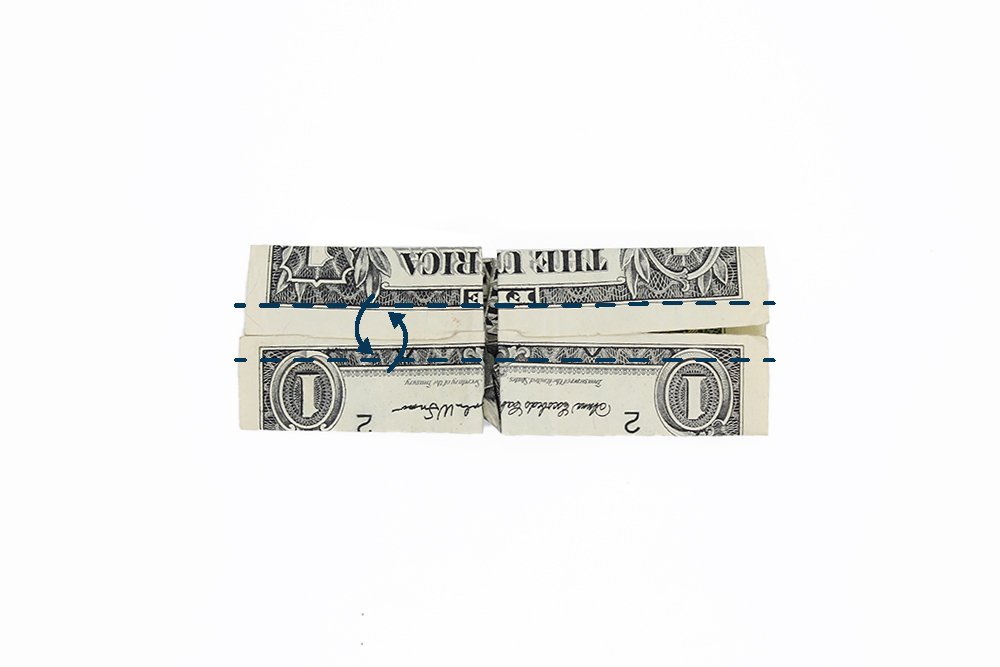
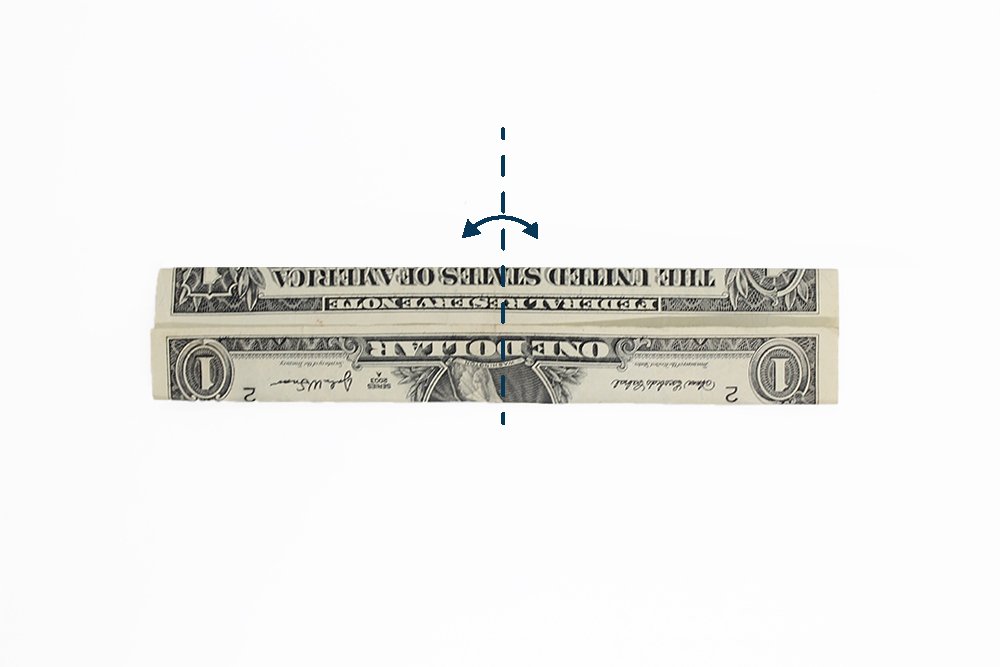
Fold the top and bottom edge to the middle.
The next goal is to make the upper and lower flaps thinner so that it resembles a band more.
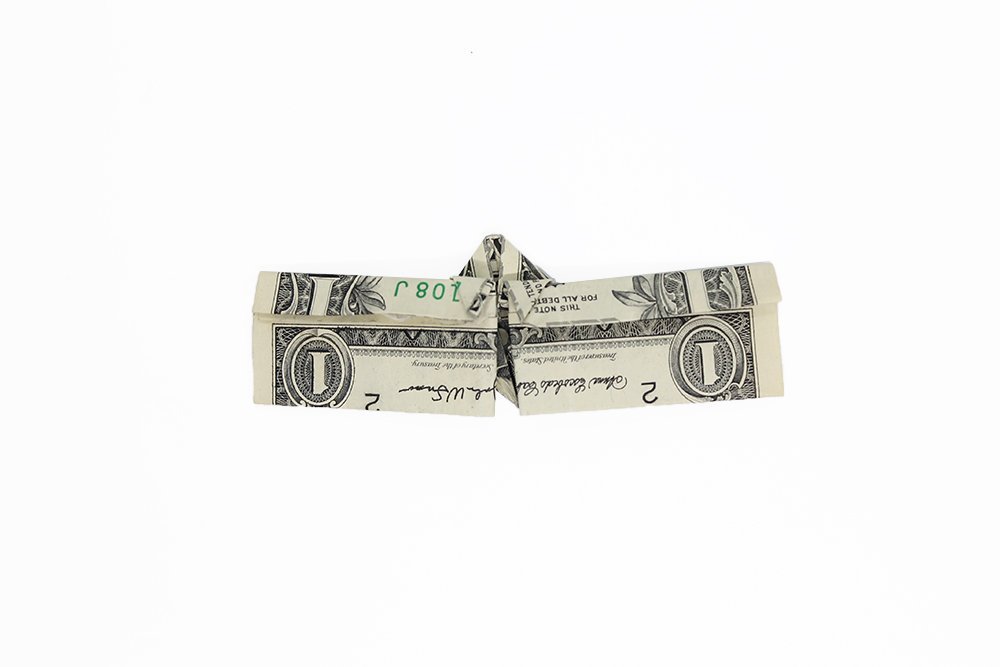
Bring the end parts together.
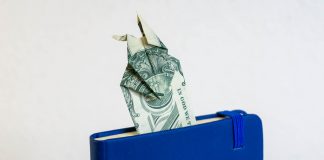
Secure the band by inserting one end into the inside of the other end.
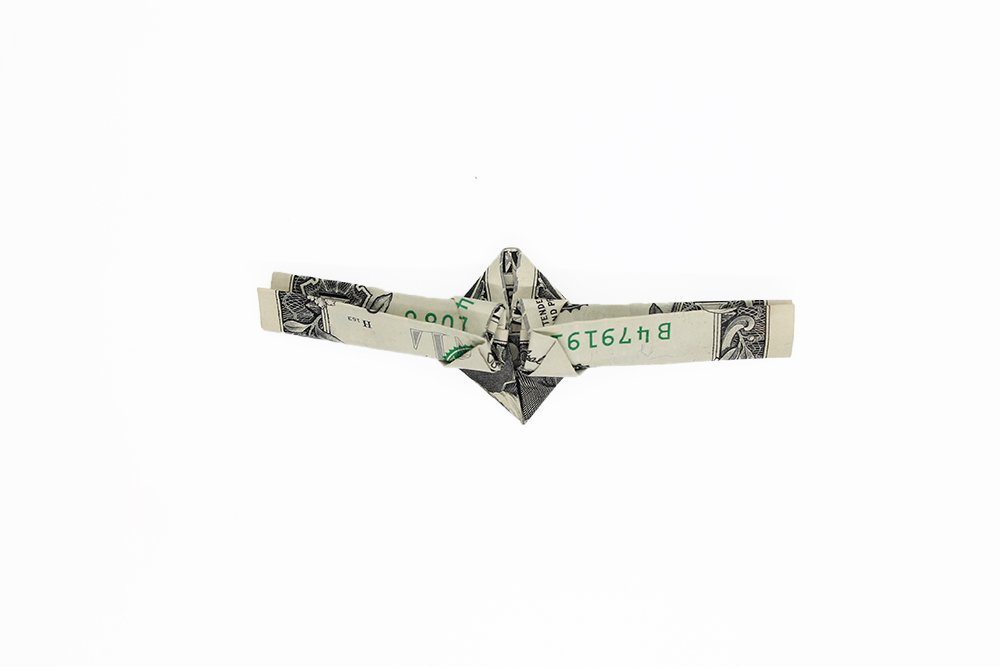
Almost done! Flip it over.
Here's a front view of the ring. We hope that you've enjoyed this guide. Please drop a comment below and tell us about your experience in making the insignia ring fold.
Extra Tips
- This guide will always be here so you could come back in case you forget a step. If you're stuck with a particular step just drop a comment down below - we'll help ASAP.
It’s a bit hard for me to understand the steps but I figured it out! thankss
awesome guide 👌
after many tries, I have perfected it! My ring looks pretty neat
will you marry me? ahaha – reminds of the time when I was young. My girlfriend and I, but mostly her, wanted to go a concert. I folded my 50 USD bill into a ring like this, forgot where i learned how to do it, and gave it to her. we needed 50 usd to go so yeah it was a blast. had to read this guide cause i forgot
cool guide