Easy Dollar Bill Origami Box Instructions | Paper Rectangle Box

Introduction:
Making a box from a dollar bill can be simple and easy. With this origami tutorial below, you can have your own origami box to store simple trinkets such as pieces of jewelry and pins. You may also turn it into a thoughtful gift by turning it into a wrapper to give to someone special.
This is an easy and fast dollar bill fold that you can show off to your friends and family. All you’ll need is this guide and a dollar bill. Any kind of paper with its sides having the same ratio and proportion as that of a dollar bill is also fine.
Enjoy!
Make the necessary crease marks for the money box
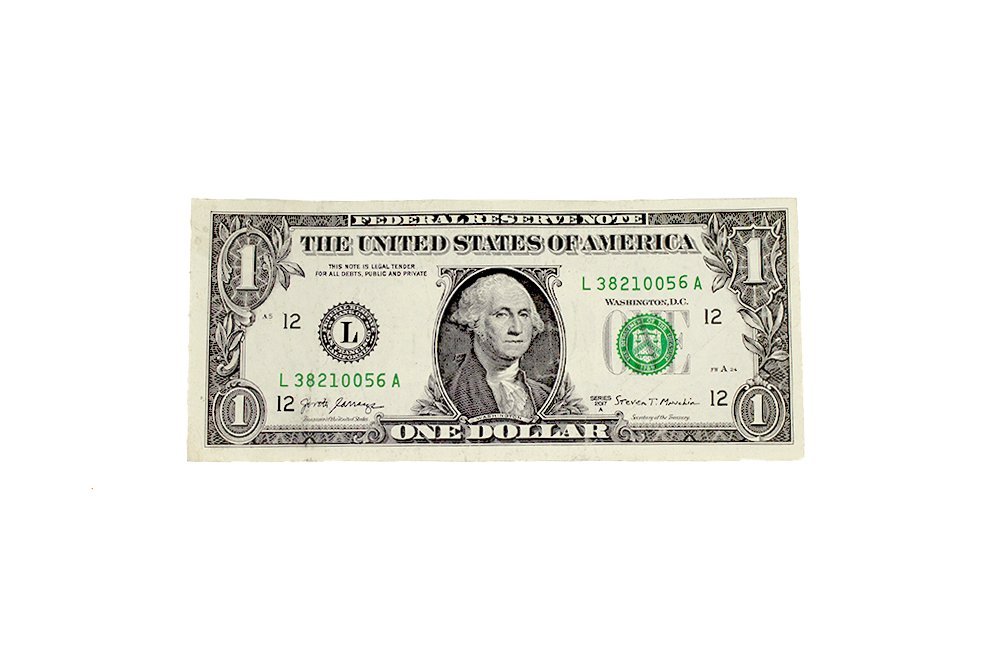
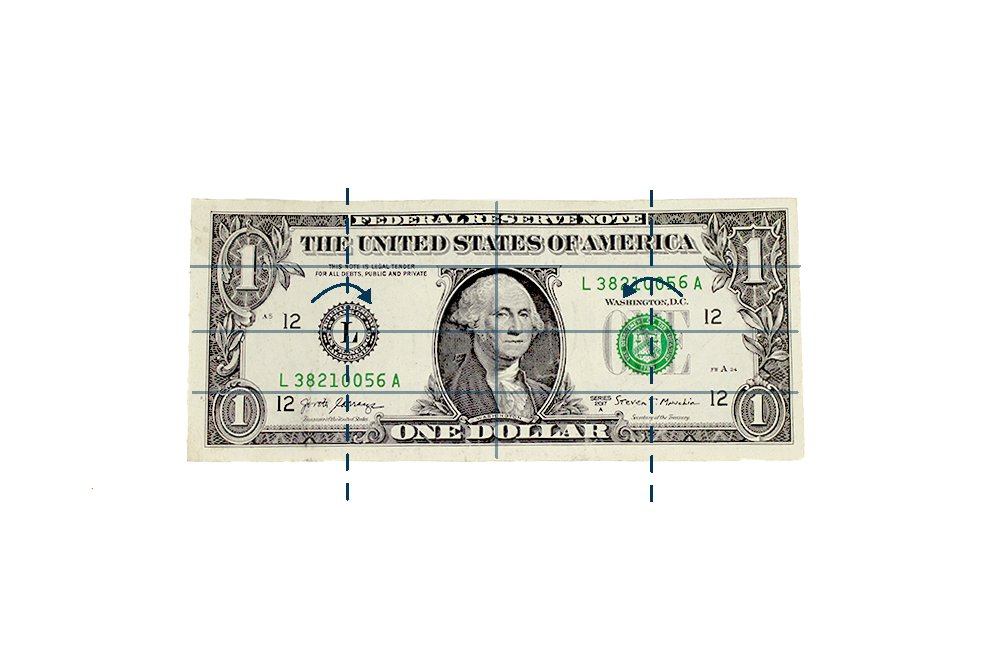
Lay a crisp dollar bill in front of you. It should be in landscape and you should be facing the side that has George Washington's face.

Then fold the bottom edge towards the middle.
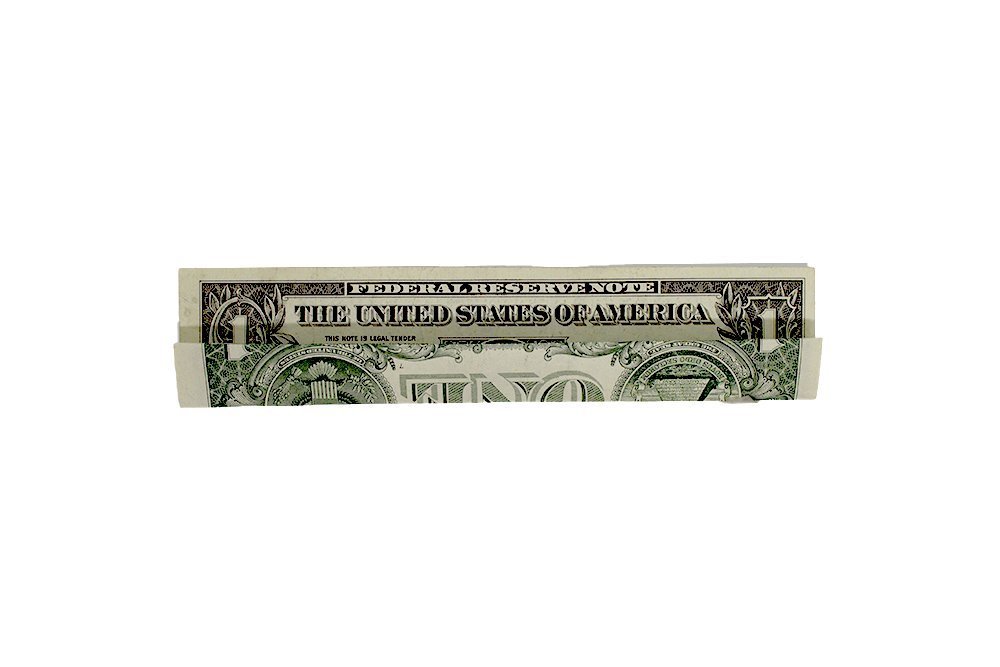
Then fold it again towards the top. Your goal is to divide the bill into four equal parts and you could do that by folding it thrice.
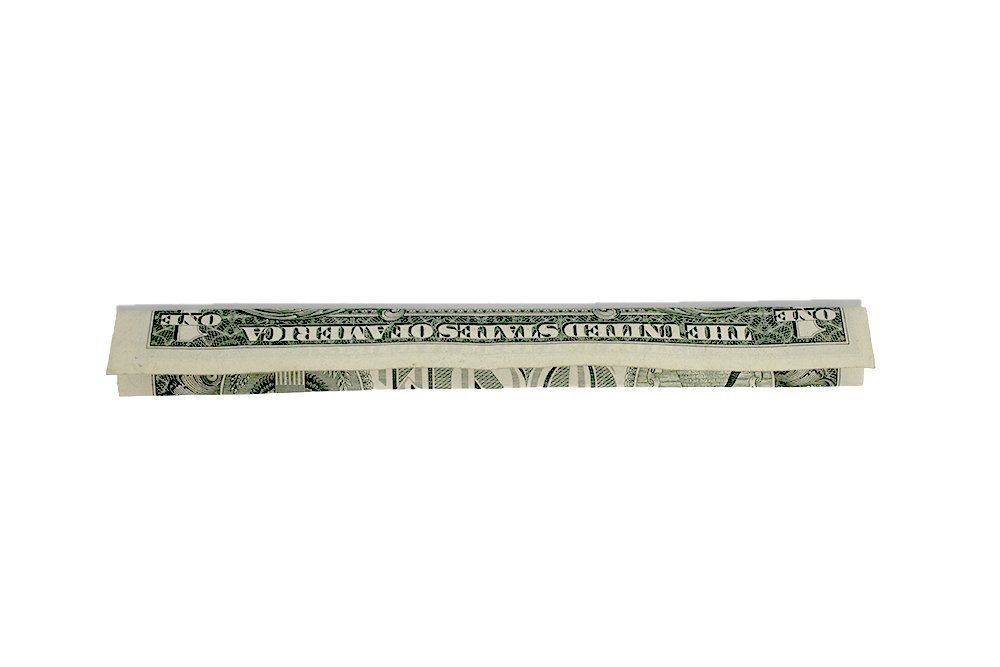
Fold it for the third time by folding the top edge towards the bottom side of the strip. Great job! Now it's time to move on to the next set of steps.
Shape the base of the dollar origami box

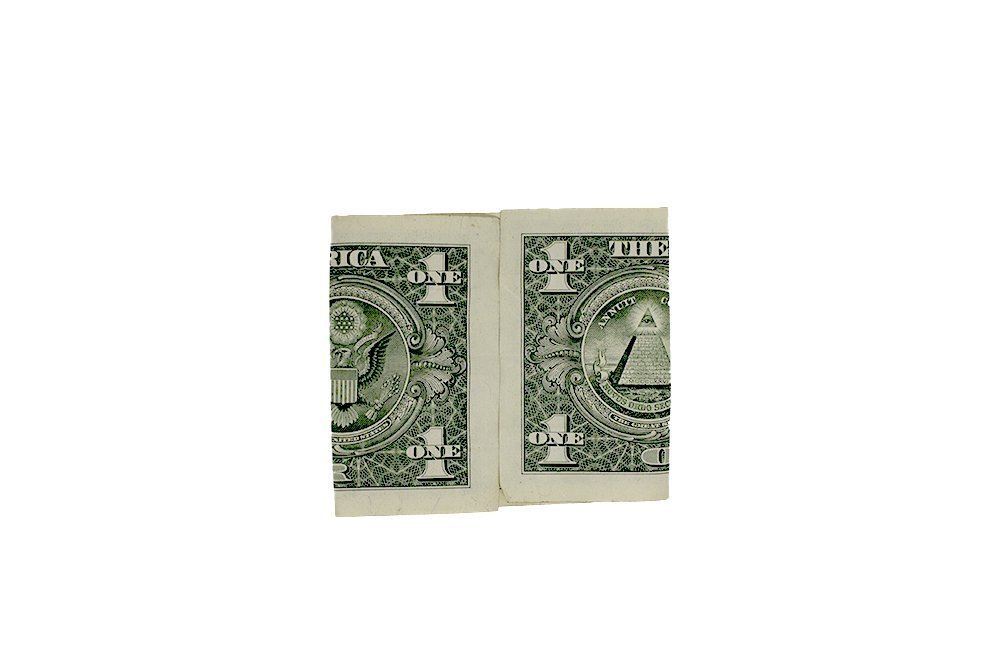
Completely unfold the dollar bill. You should have three crease marks formed. This is very important to do to shape it into a rectangular money box.
Then divide it in half by bringing the right edge towards the left edge. Unfold it again. The crease mark made will be important for the next step.
Next, fold the left and right edges towards the center. You can do this folding along the dashed lines
Great job so far, now it's time for the final set of steps!
Shape the dollar bill into a rectangular box
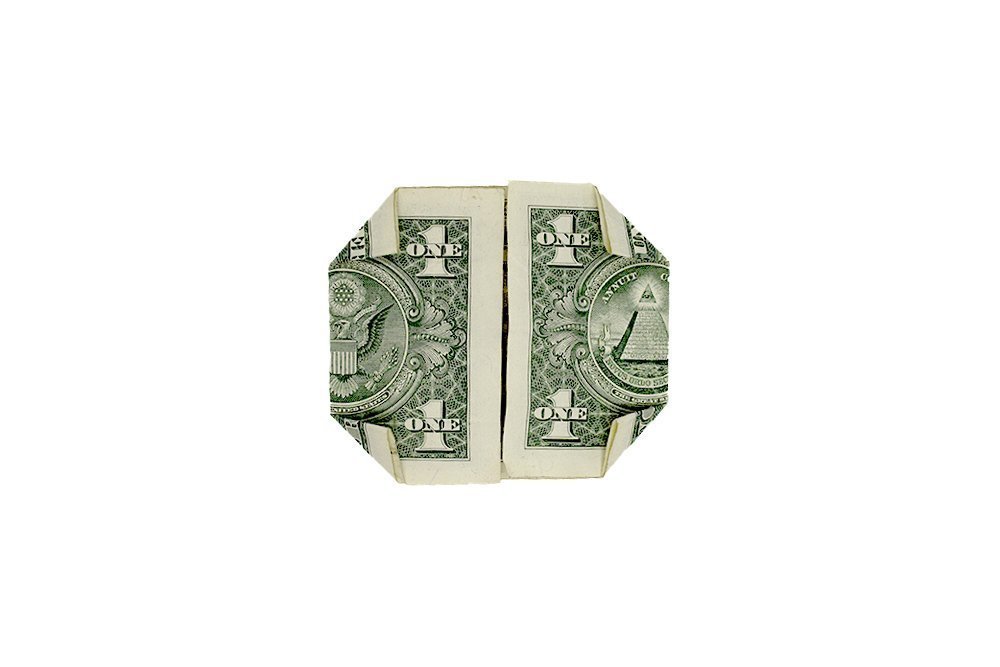
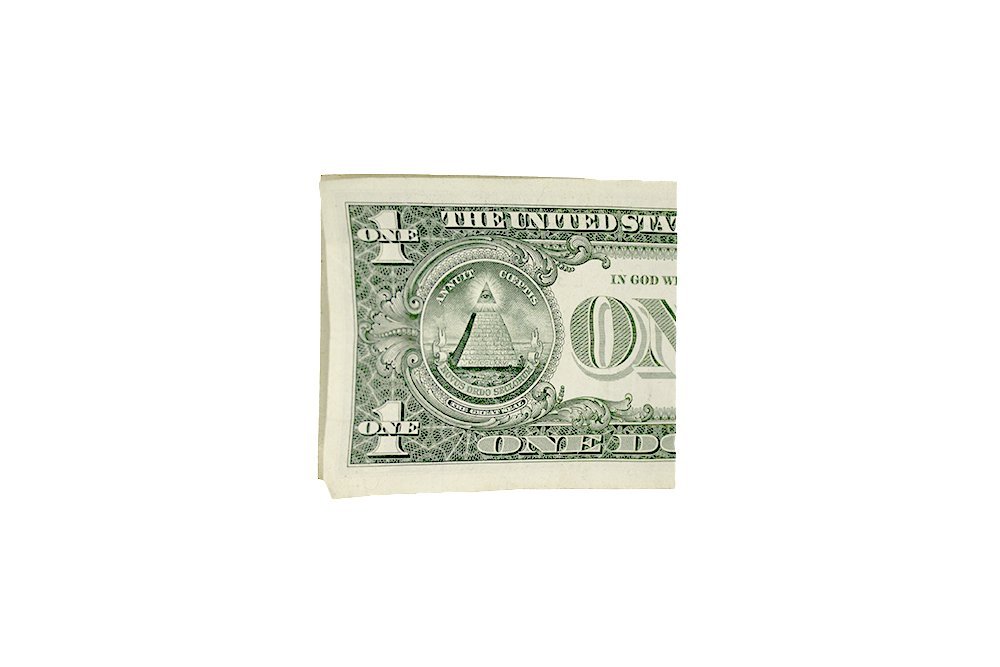
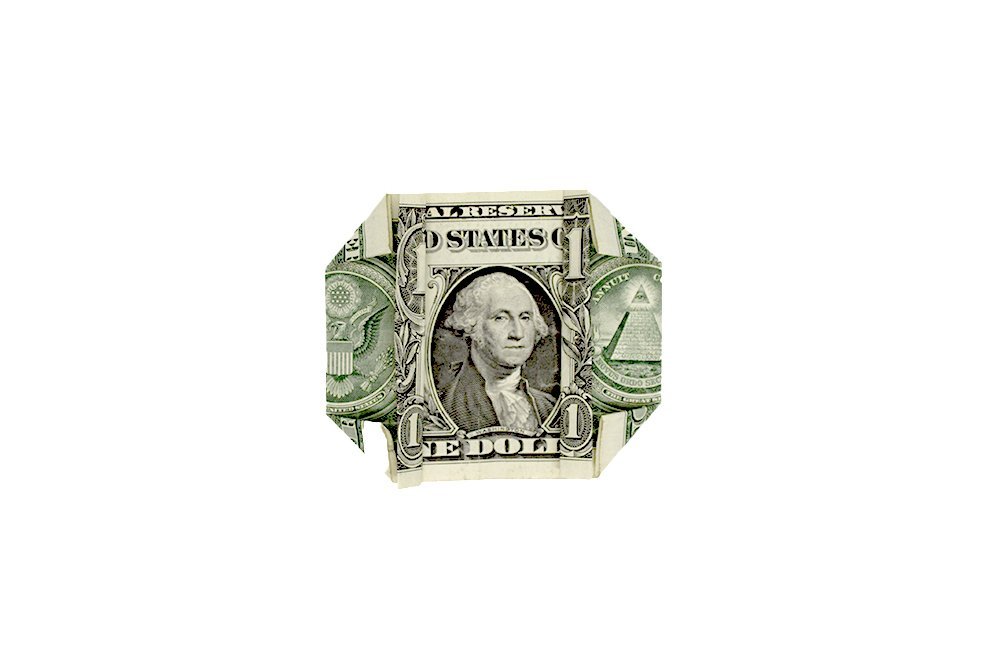
Fold all four corners of the dollar bill towards the middle. See image above for reference.
Make the rim of the box by folding along the dashed lines. See next steps for guide.
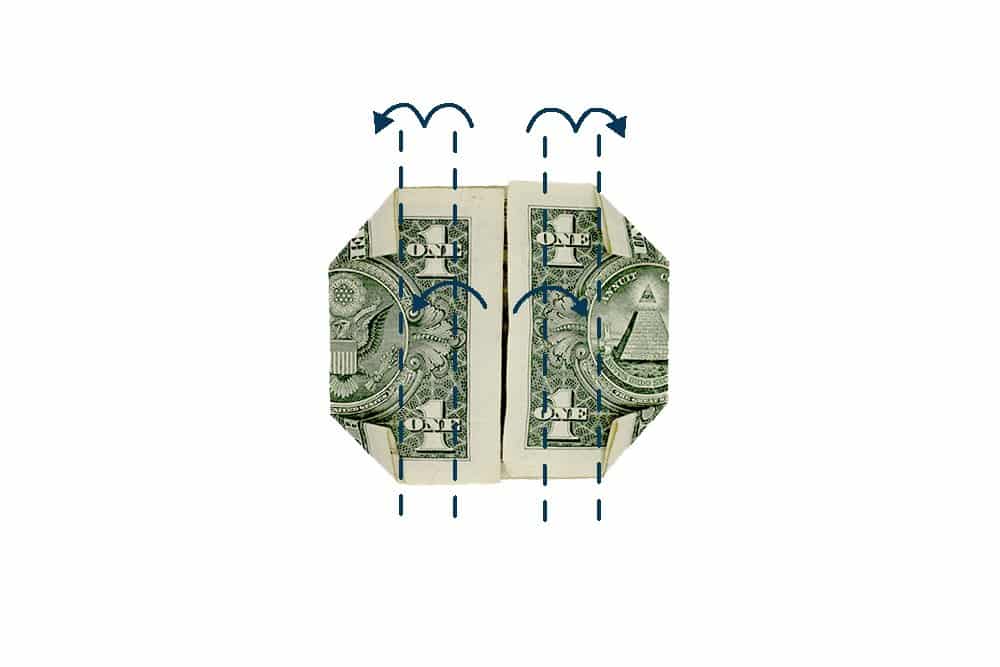
Continue to fold twice on the inner edge of the left and right flap (second layer). Bring over again the inner edge of the two flaps. It should overlap the corners.
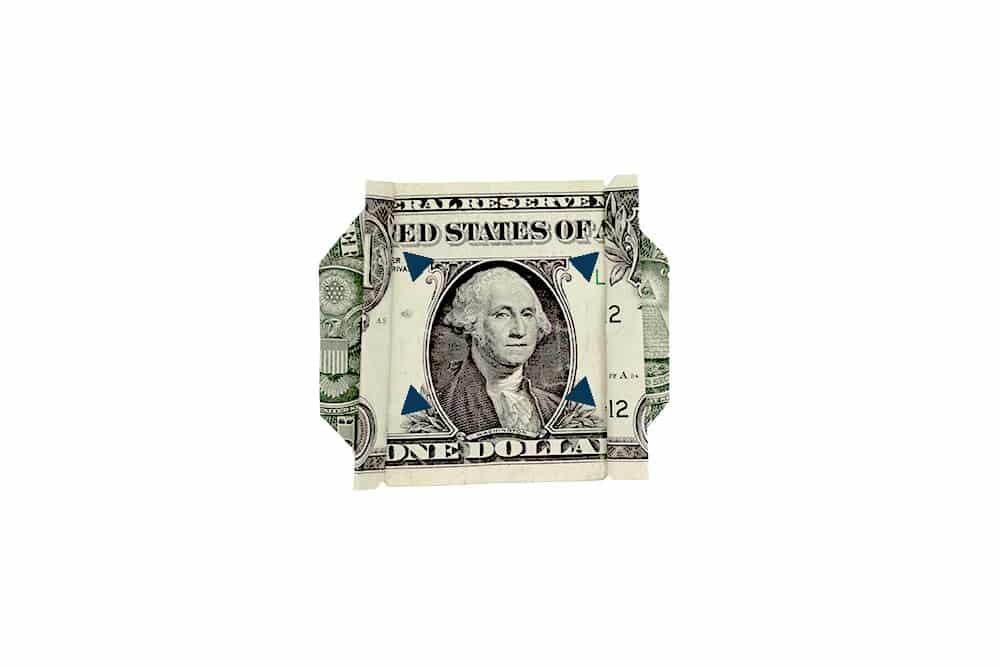
Lift outwards the area around the four arrows.
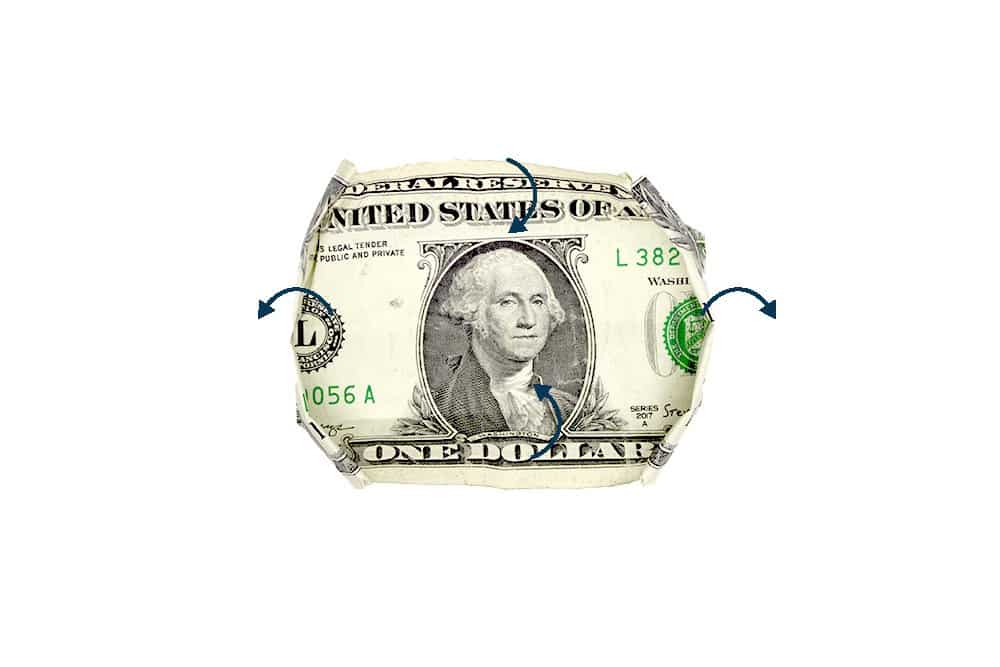
Pull outward the left and right edge while pushing inward the top and bottom edge.
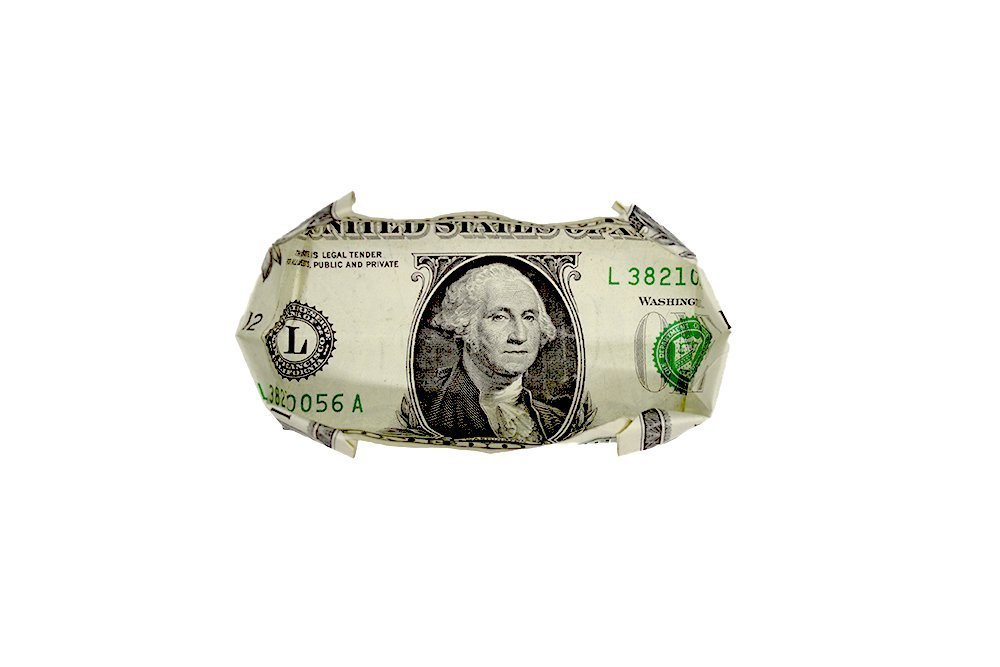
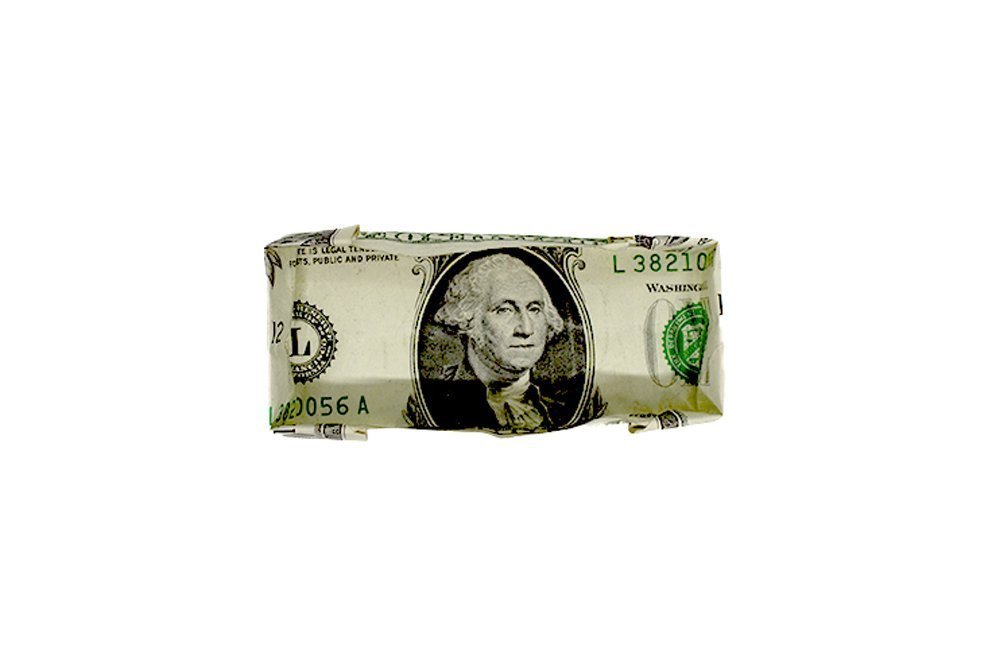
Lastly, mold the the box by pinching the four corners.
Congratulations! For more dollar origamis, check out the guides below.
Extra Tips
- Make sure to sanitize the dollar bill first. Keep yourself germ-free!
- Show how this fold is done to someone else. Spreading happiness is a reward in itself.
- Make sure to fold and make creases properly. Apply enough pressure and be precise.


whet weww!
Thank you for making such a wonderful guide!!
I expected that it would be easy
after a few tries, I could now make it in less than 1 minute!
Getting it to open into a box is deng hard
Just follow the steps