Discover How to Make a 3D Origami Dollar Bill Boot with Pictures

Introduction:
A fun origami activity to do is to make miniature versions of clothes. Using a dollar bill, you can create amazing origami such as these dollar bill boots. Try making one piece of a boot first, then make another one to make a cute pair!
This is a really cool technique you could show to your younger sibling or friends! And we’ve made the guide with you in mind. The guide below has lots of pictures so even if you are in a hurry you could easily fold a dollar bill boot in no time.
Have fun!
Make the necessary creases to form the dollar bill boot
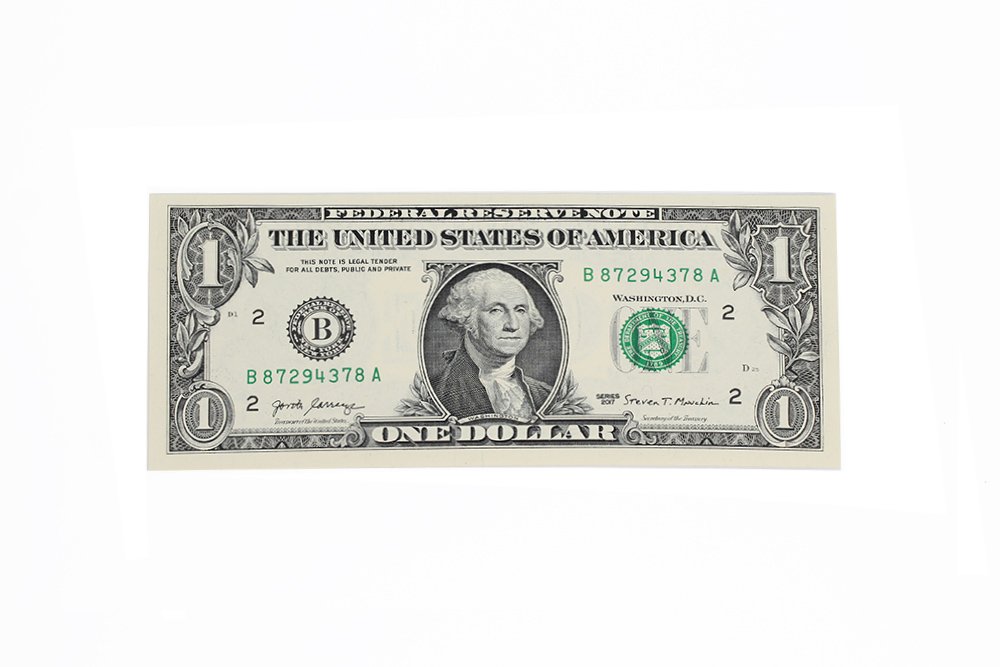
Lay a dollar bill flat on a table you are comfortable working with. It should be in landscape orientation.
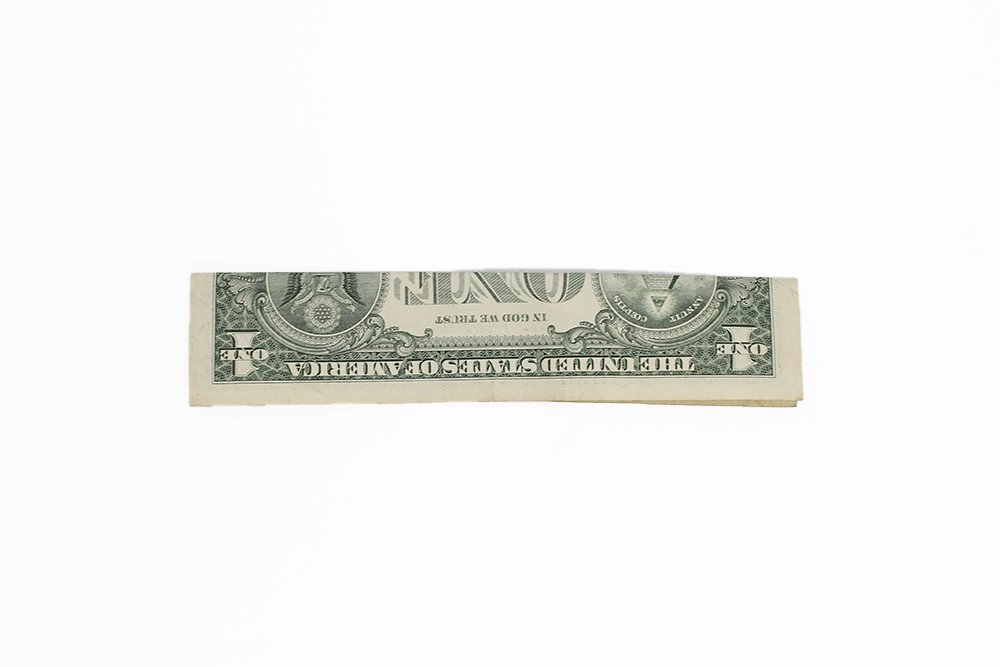
Then fold the napkin in half by bringing the top edge to the bottom.

Then, fold it lengthwise. Fold it a bit farther to the center on the right side.
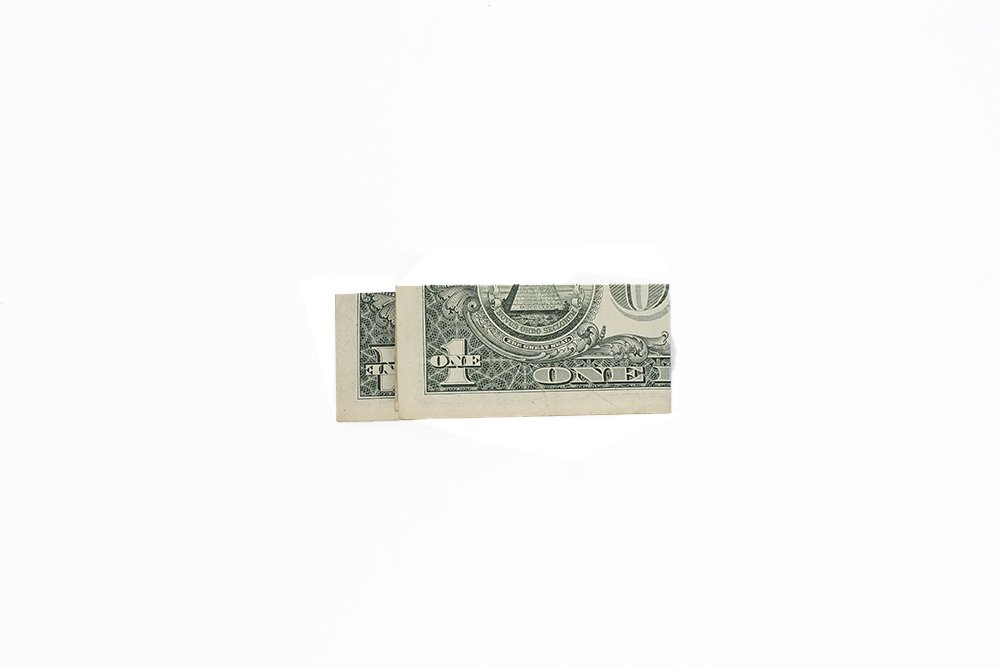
Crease it well and the unfold.
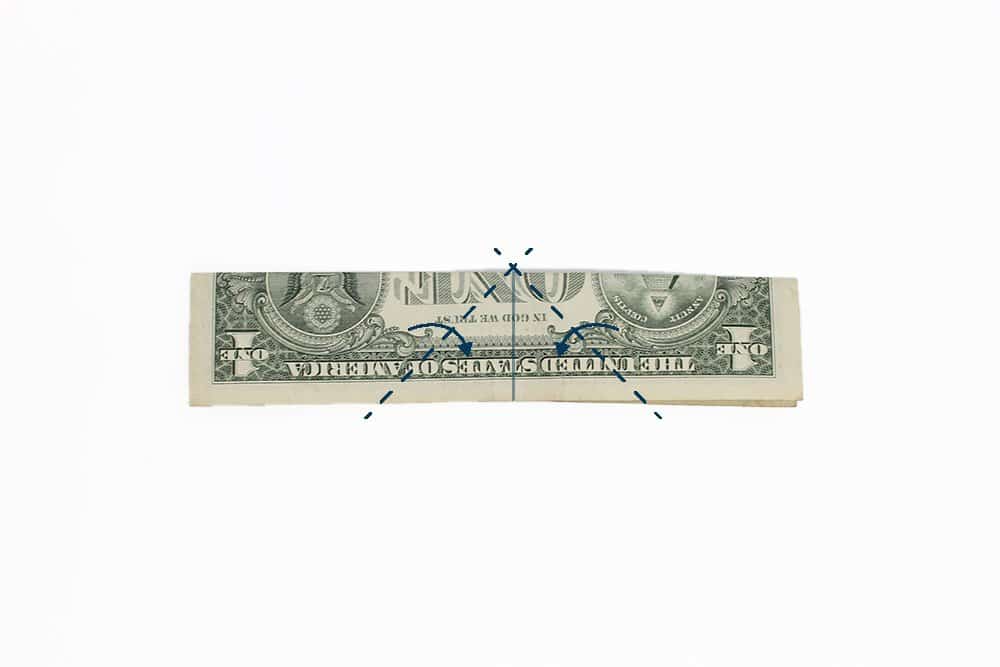
Bring the left and right edges to the bottom. Follow along the dashed lines as shown. (See next steps for guide)
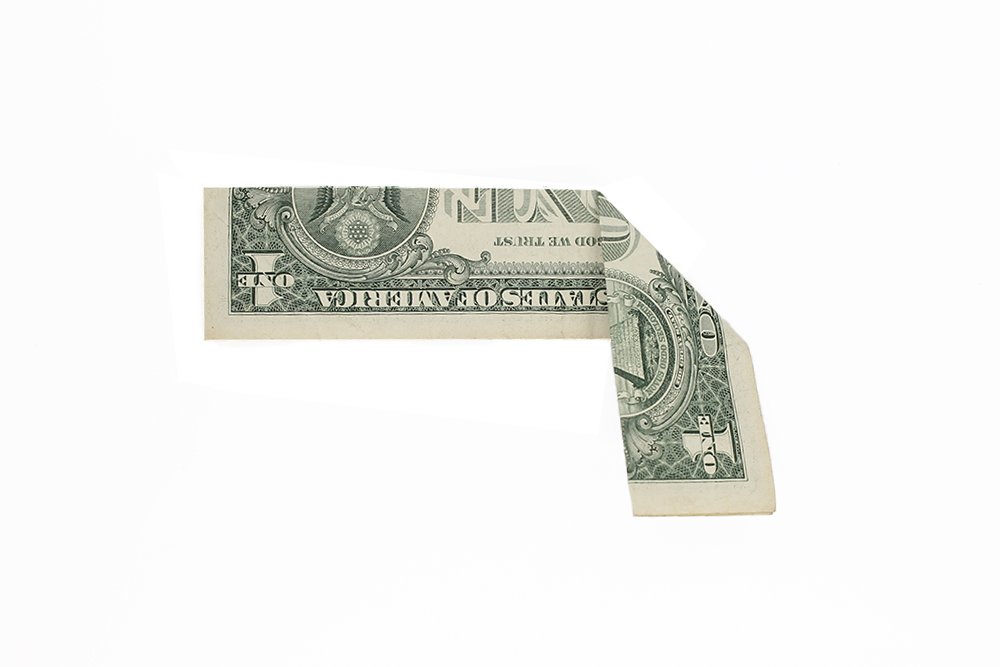
Fold the right edge towards the bottom. Make a diagonal fold. The diagonal line should start from the top of the vertical crease line made from the previous steps. As you can see, the bill slightly looks like a gun.
Shape the money boot into an arrow
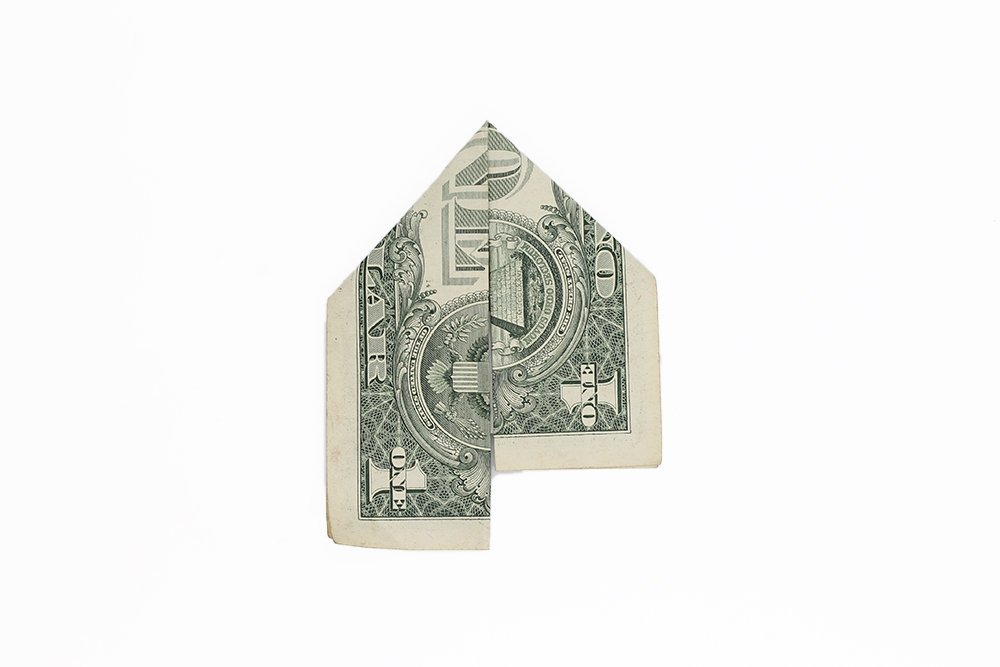
Fold the left edge towards the bottom. You'll then have something that looks like an arrow. If you notice, the bill is not symmetrical because the left side is longer.
Diagonally fold the top right corner to the center. See the image above for reference.
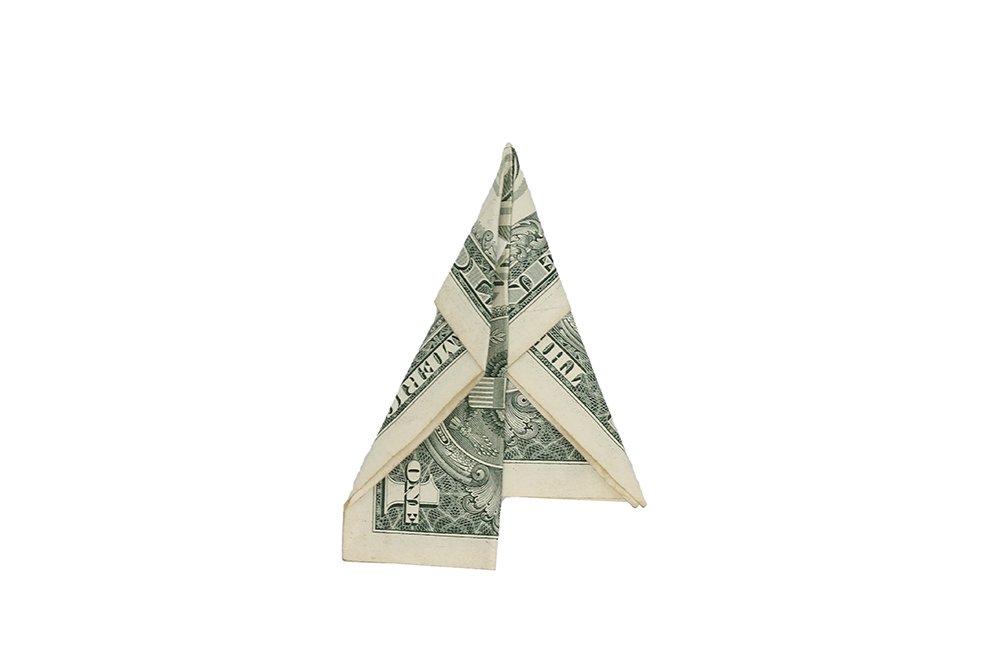
Then do the same for the left side. Doing so, the dollar bill looks like a sharper version of an arrow.
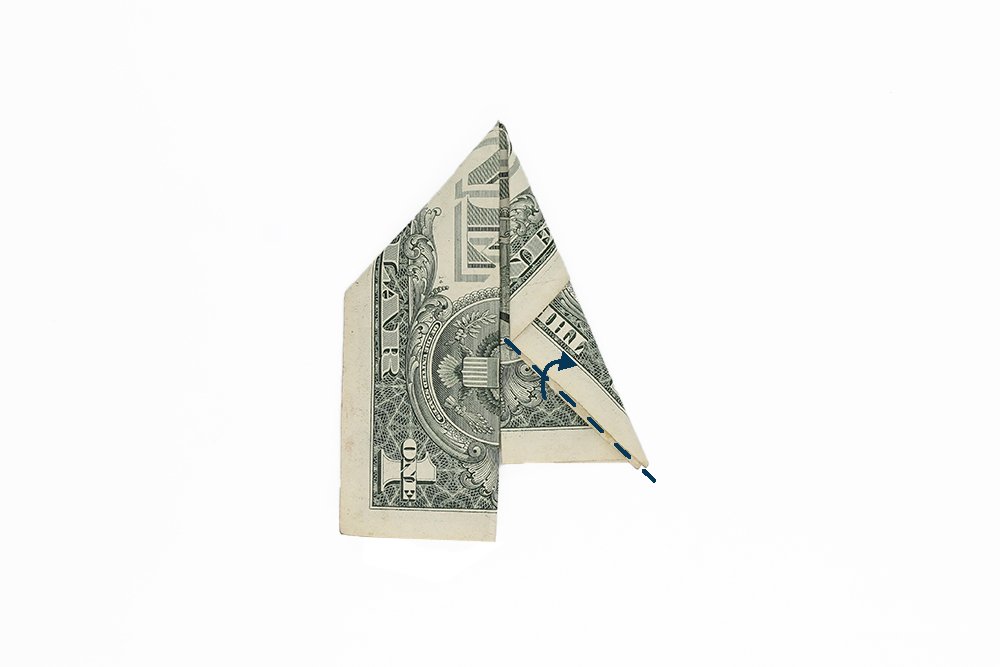
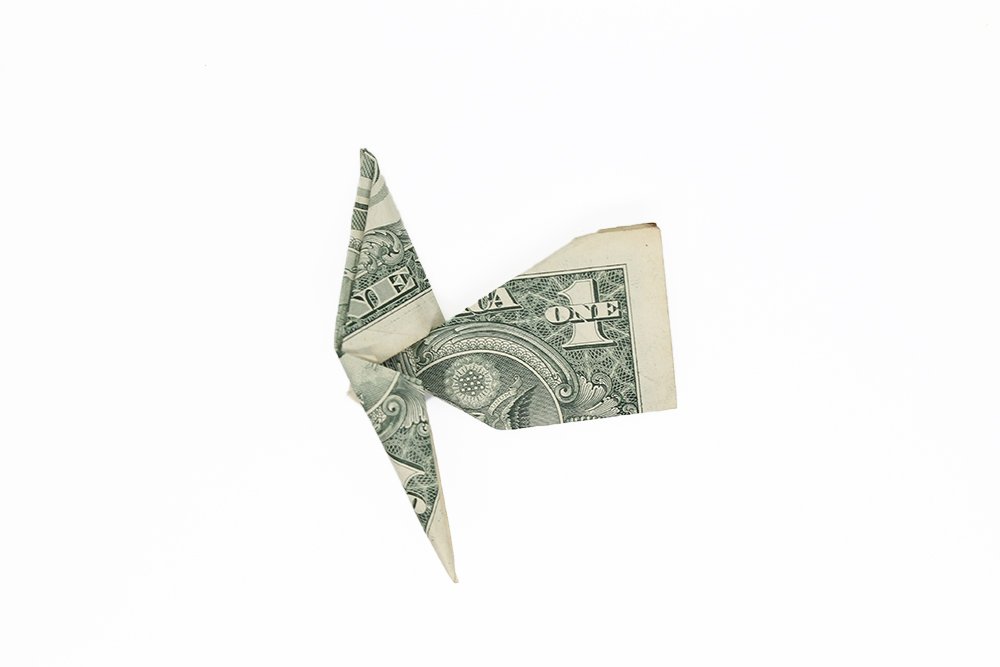
Bring the bottom left corner of the right side diagonally upwards.
Finally, shape the money boot
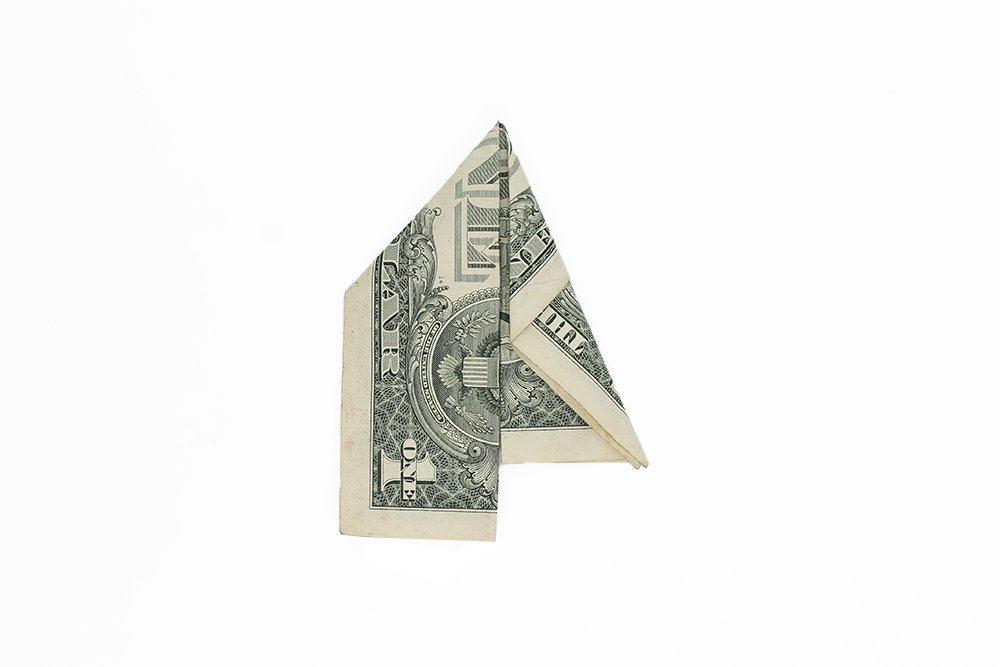
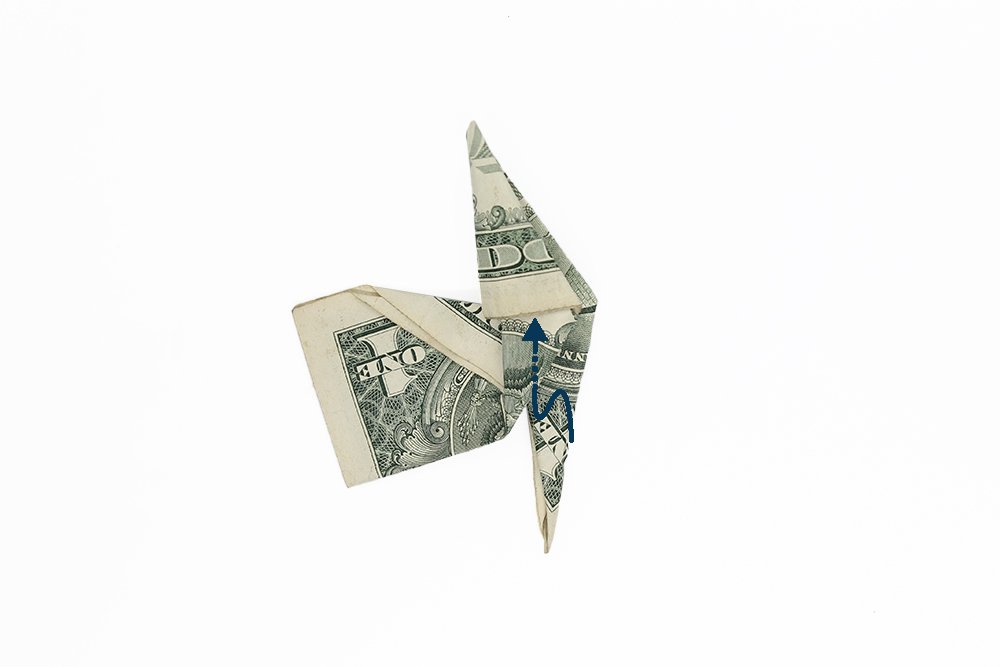
Bring the bottom right flap towards the right. See next image on how it should look like.
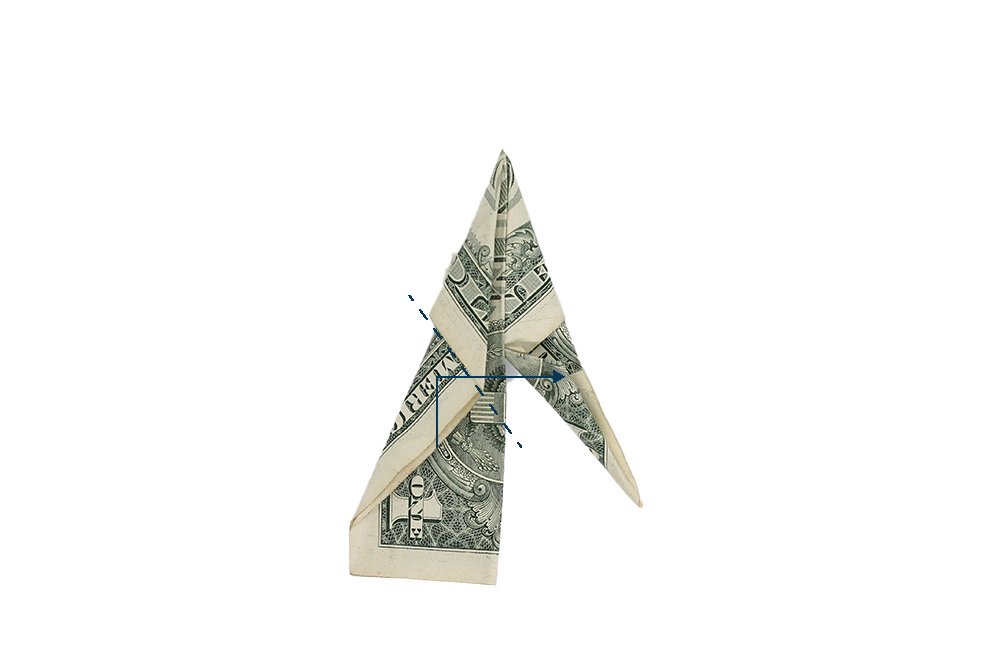
The left side should now overlap the right side, like in the image above.
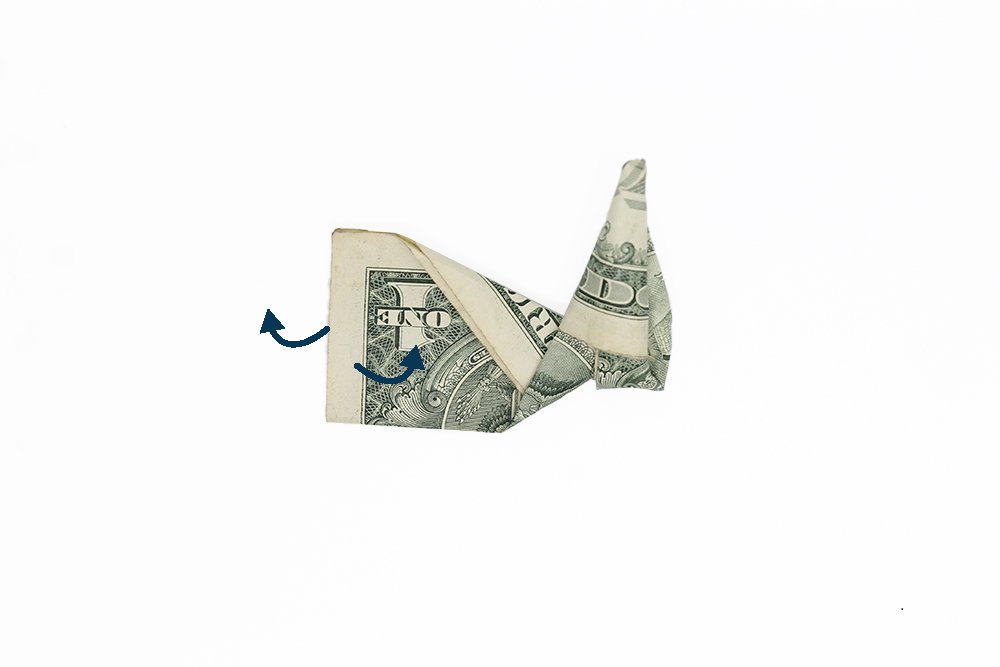
Reverse the positions of the top and bottom flaps. Bring the left underneath the narrow right flap. The right flap should now be on top. Follow the image above for guide.
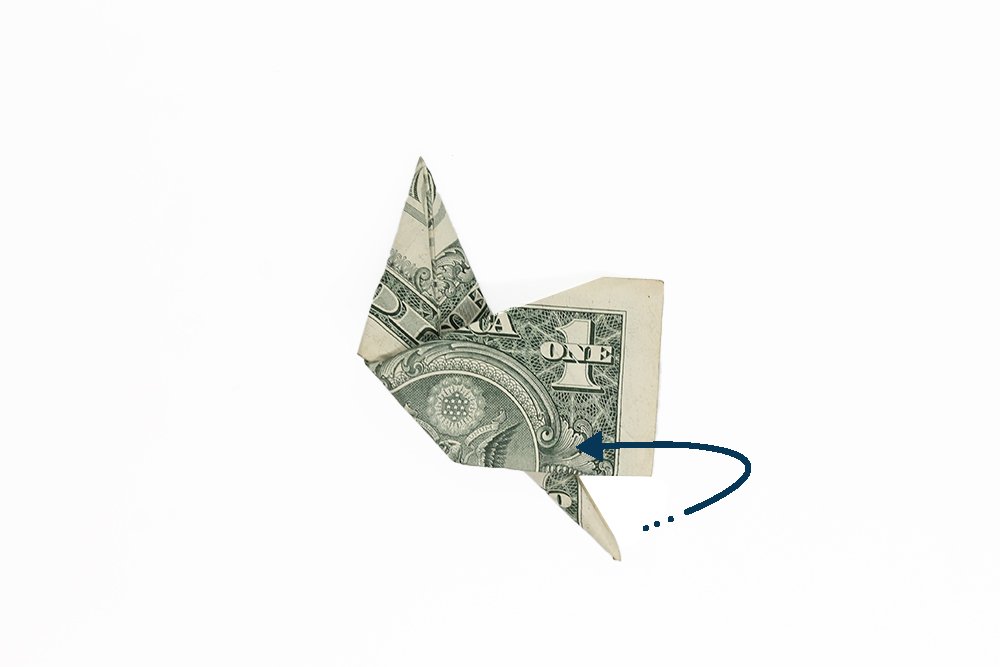
Bring the right top flap to the left.
Then flip the dollar bill over from left to right.
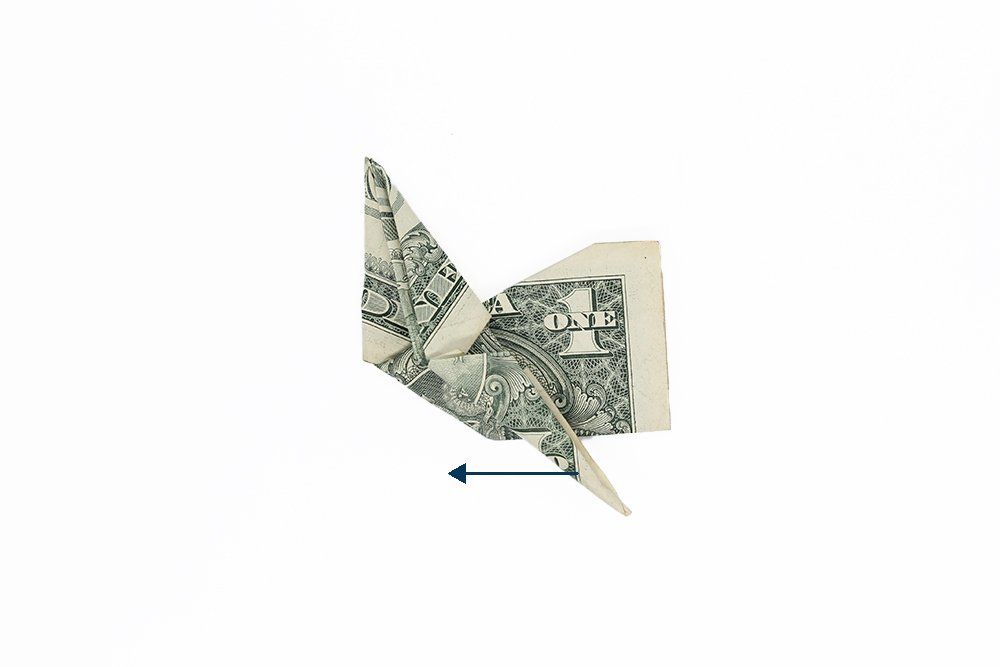
Bring the bottom flap to the top area. Tuck it under a layer of paper;
Rotate the boot 90 degrees clockwise. Insert a finger into the boots in order to create a conical hole. Then flatten the ankle part of the boot.
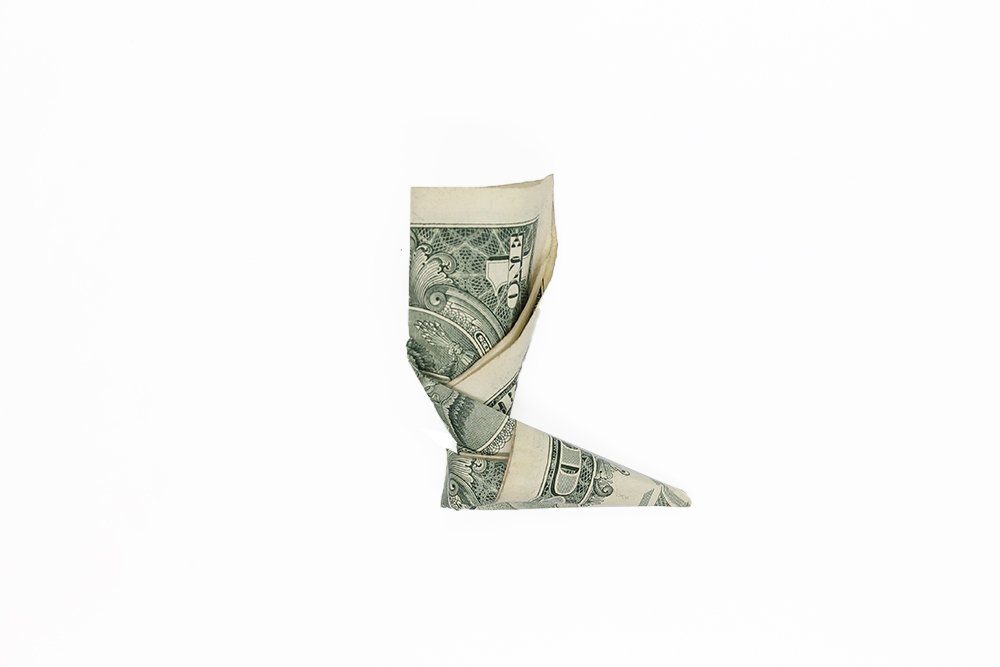
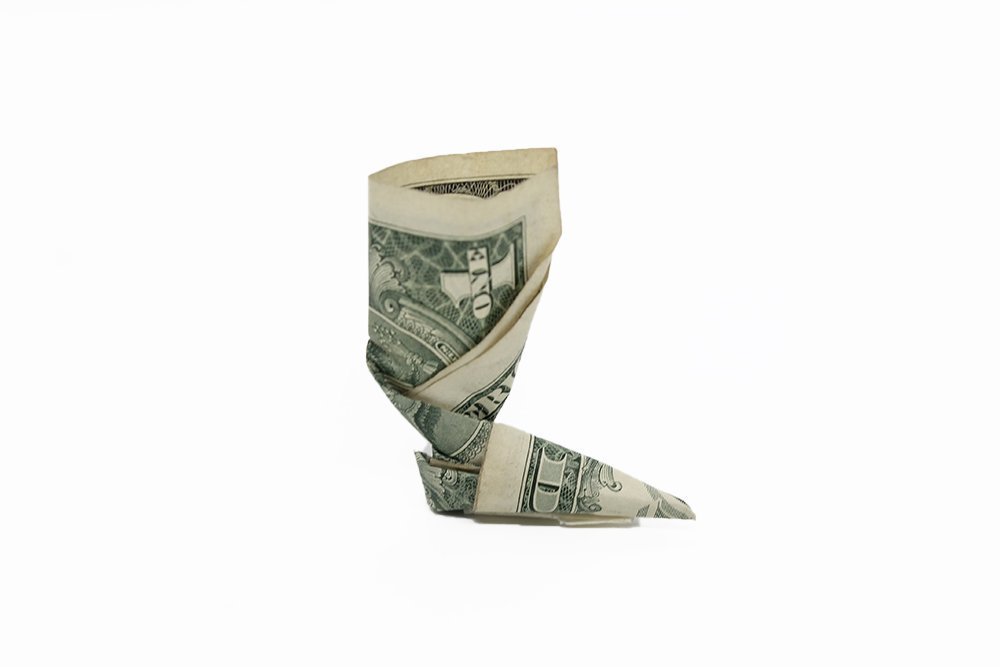
Your dollar bill boot is finished!
Extra Tips
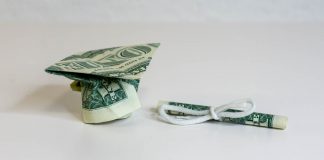
- Why not make another one to make a wonderful pair! For more awesome dollar bill origami, check out the articles below.
- Make sure to apply enough pressure when making creases and folds. A dollar bill is quite thick.
- Money does not tear easily but it is prone to get crumpled. Practice with fake money or a rectangular piece of paper first if you're planning to give the bill/s as a gift.
- Remember, it is highly advisable that you should not to cut, burn, staple and/or iron banknotes. Handle it with care


nICE, It’s challenging but the feeling is great once i completed the guide!
I love this origami ahaha, once I stuck my finger in there I knew it was going to be a boot
i did really good. it was easy, and mine came out perfect. thx!
I look like an 🥸 for not being to make one, my nephew folded his perfectly. Hey, at least he was happy ahaha
haha practice makes perfect!
Thank you for creating such a wonderful origami instruct!
like the way this article was made.