Dollar Bill Origami Peacock Step by Step Instructions

Introduction:
Making a bird from a dollar bill can be an easy activity with this origami peacock. A peacock bird is a famous creature known for its beautiful long feather tail. Folding this origami bird is relatively fast and simple. You only need a dollar bill for this tutorial.
If you don’t have a dollar bill with you at the moment, then it’s still possible for you to make this wonderful origami bird. Any piece of rectangular paper with the exact dimensions of the dollar bill will perfectly do.
This fold is a little bit tricky but this guide is there to make it as easy as possible. Enjoy!
Make the head of the paper peacock
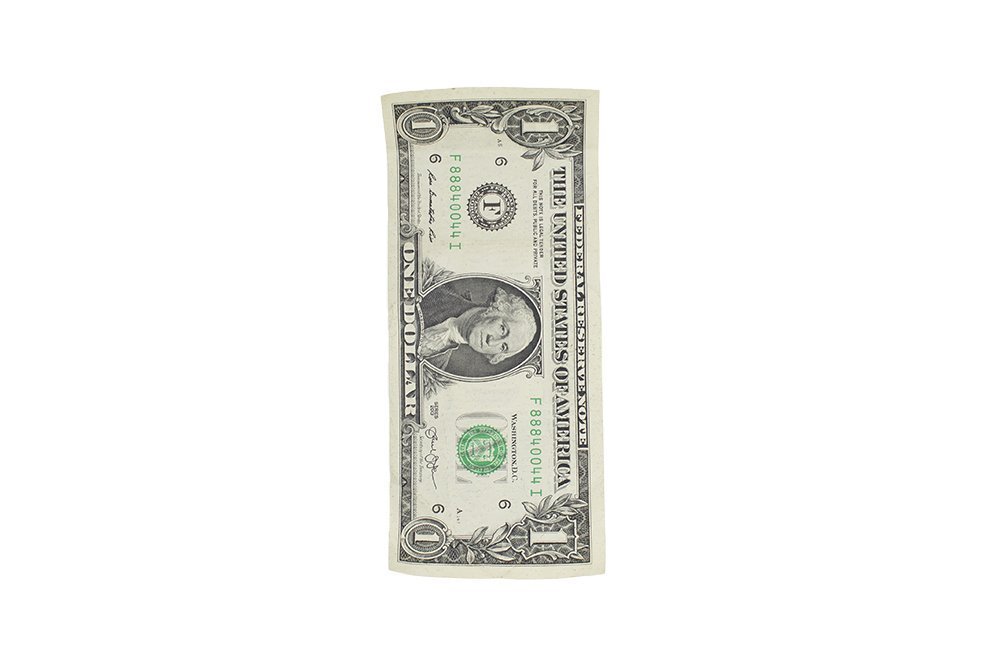
Lay a dollar bill or a rectangular piece of paper with the same dimension as that of a dollar bill on a table. Make sure it is oriented in portrait.
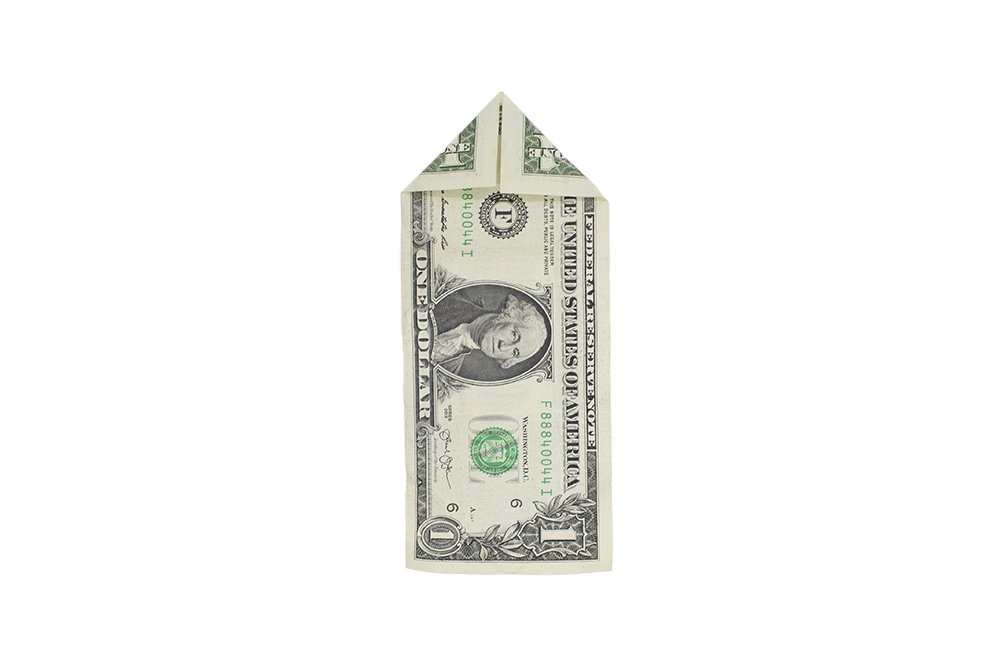
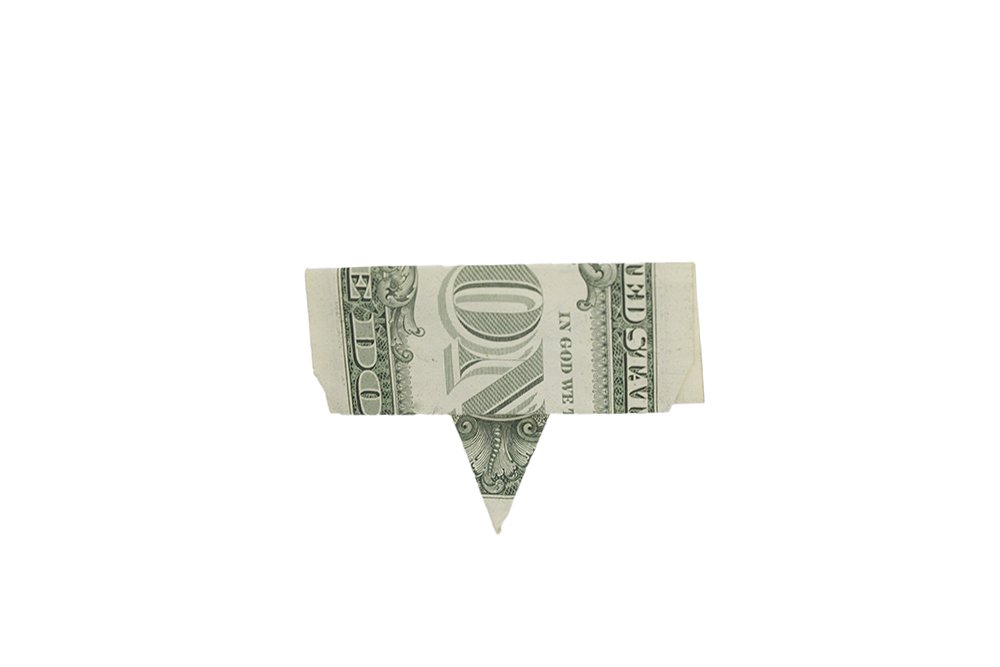
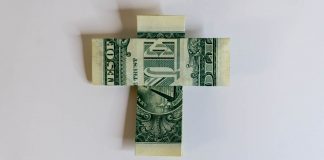
Then diagonally fold the top corners to the middle. This should make your first triangle.
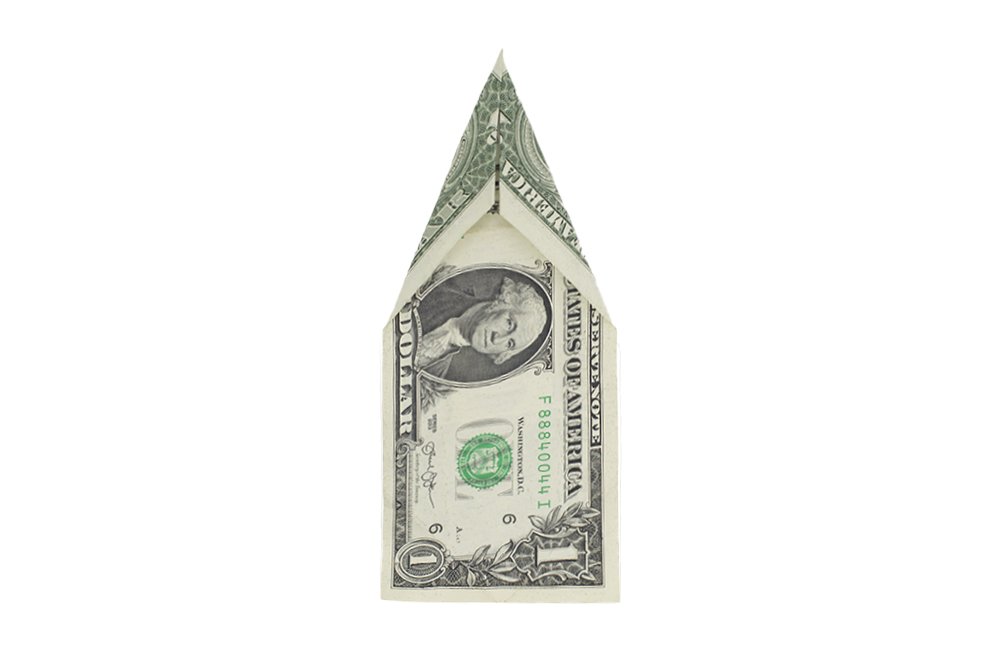
Again, diagonally fold the top corners to the middle. This would be your second triangle.
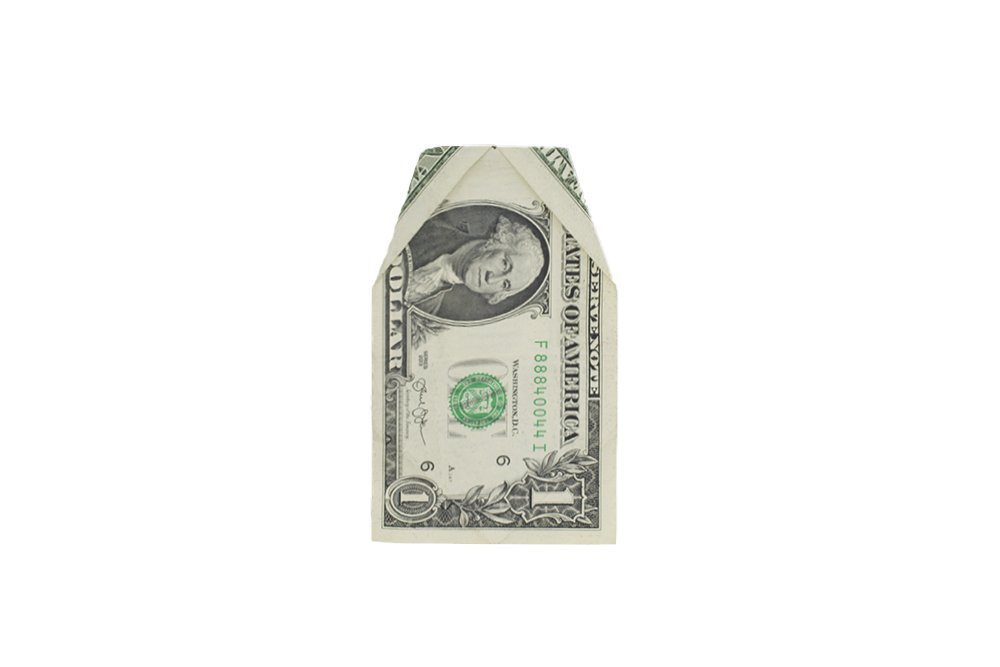
Mountain fold half of the top part to the back. Great! Now, it is time to move to the next set of steps.
Make the plumage of the money peacock
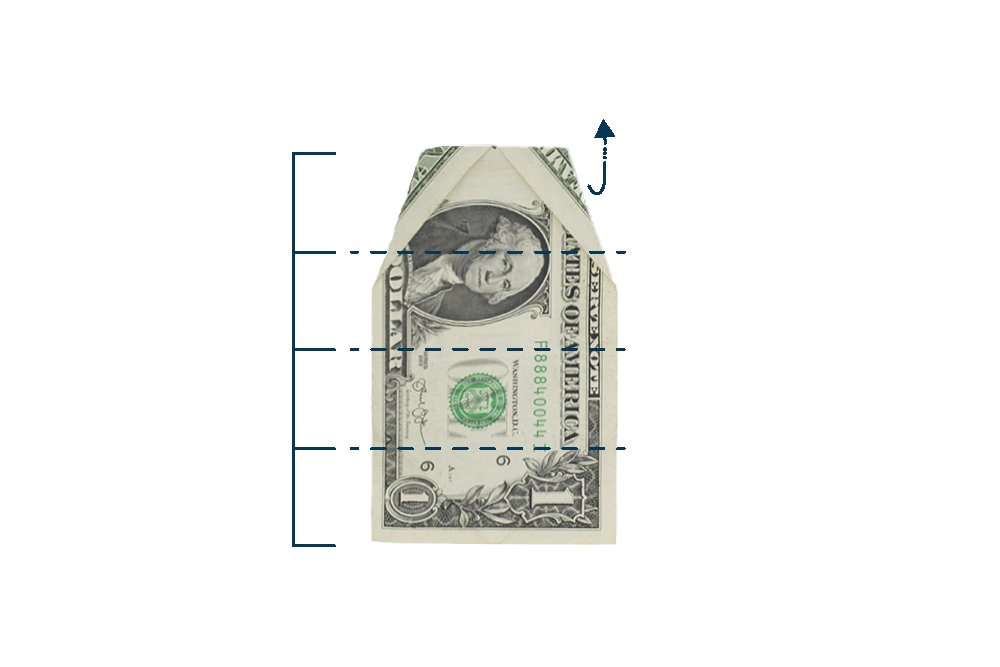
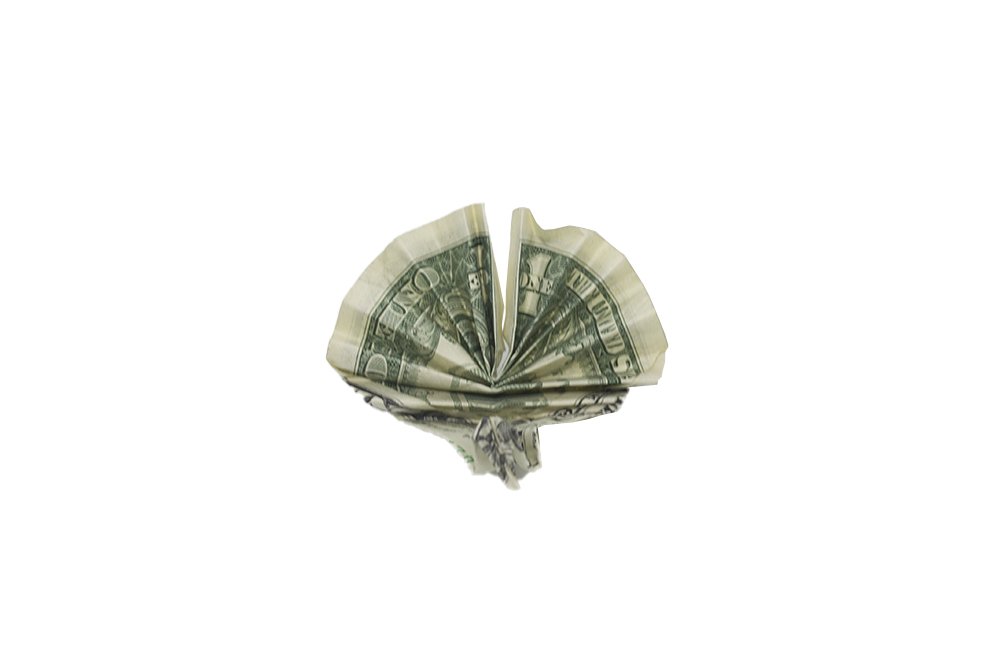
Make creases along the dashed lines. This will form the plumage of the peacock.
To make the creases, fold then unfold along the dashed lines. Unfold the horizontal folds made after.

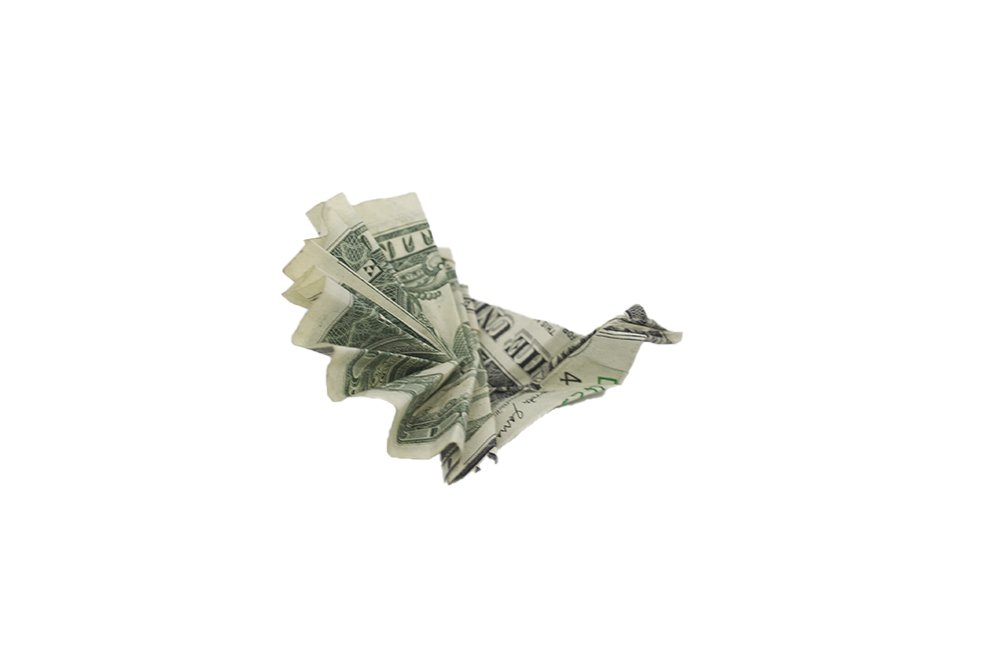
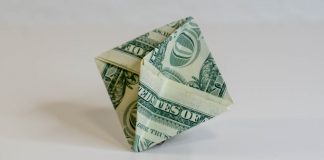
Make an accordion fold as shown in the image above.

Compress and stack like what's shown in the image above.
The bottom part will be the plumage of the dollar bill bird. Now fold the dollar bill in half by bringing the right side to the left.
Form the body and neck of the Peacock
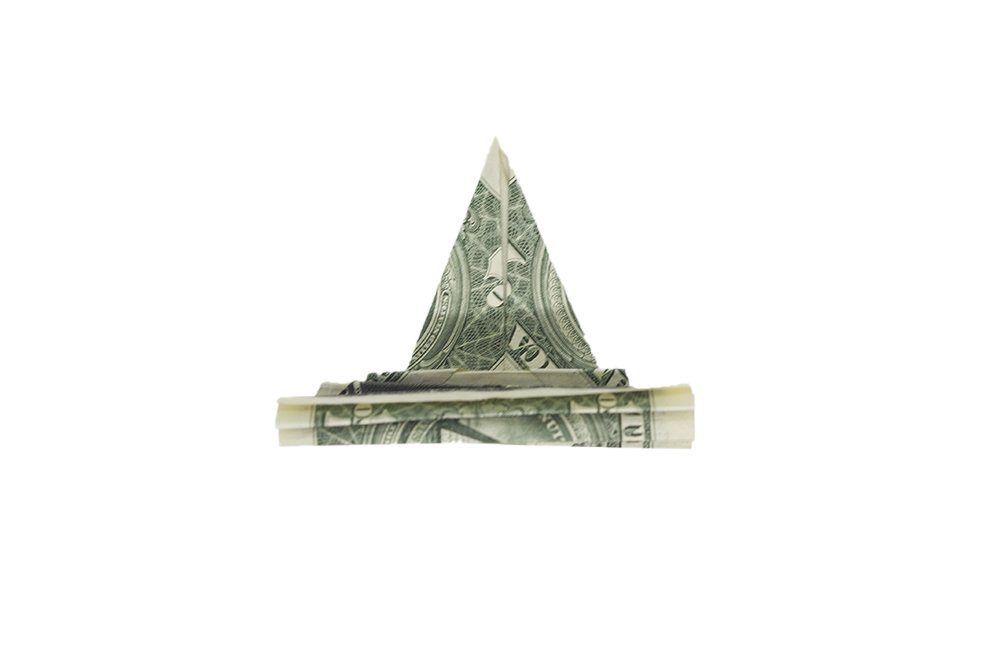
Rotate it 45 degrees clockwise.
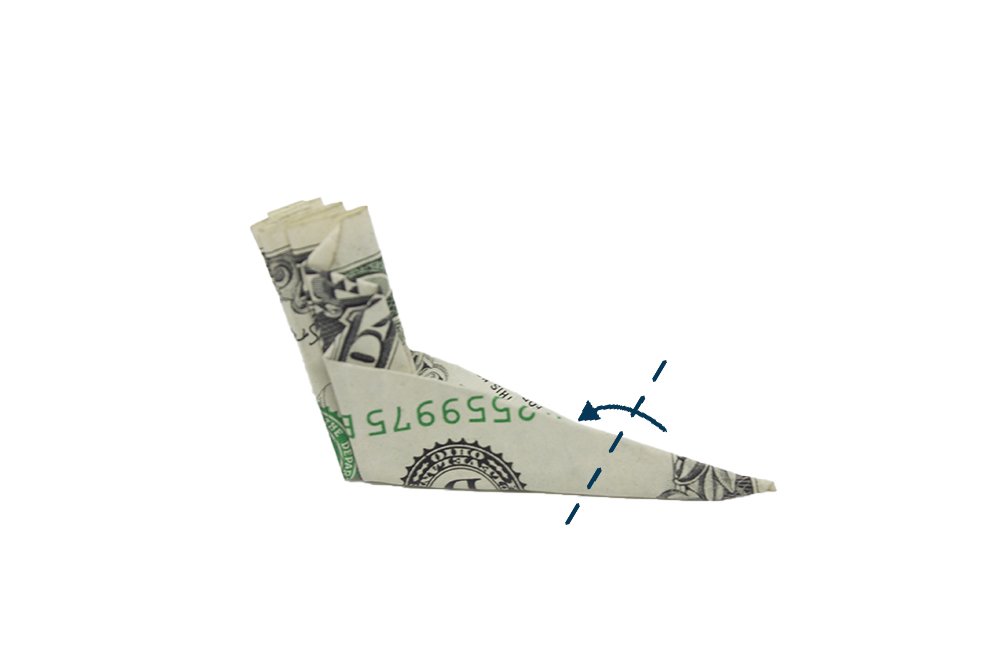
Form the neck of the origami peacock by making an inside reverse fold along the dashed line.
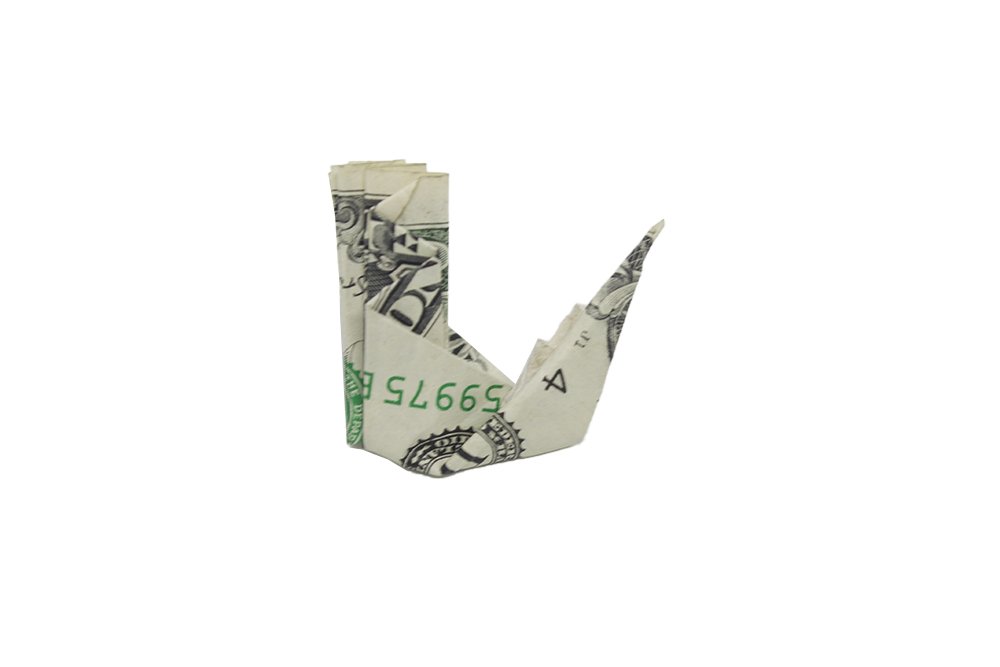
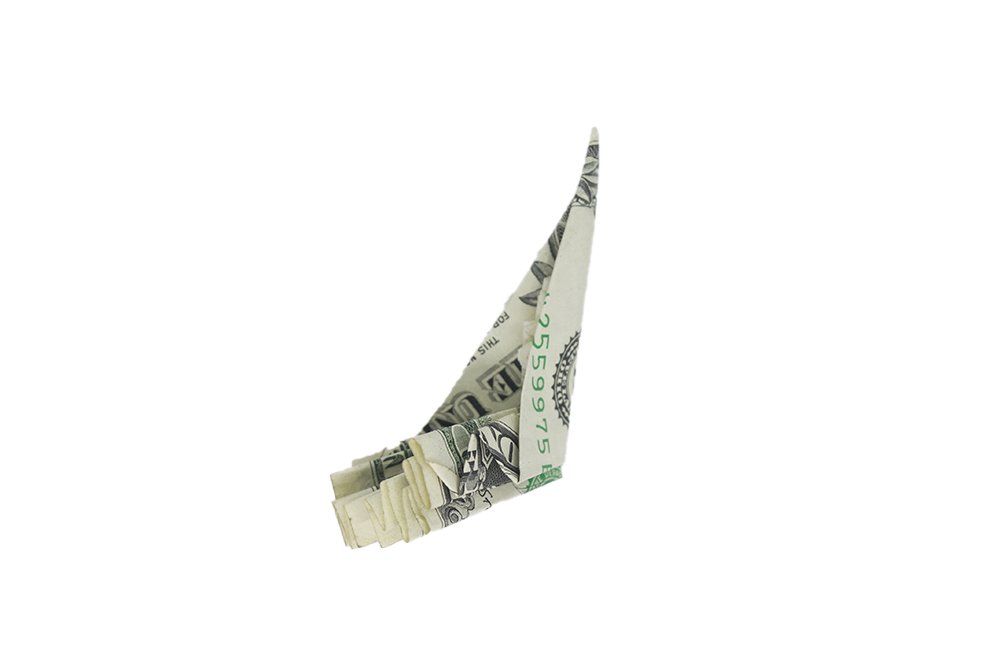
Now that you have formed the neck slightly bend the tip of the head downwards.
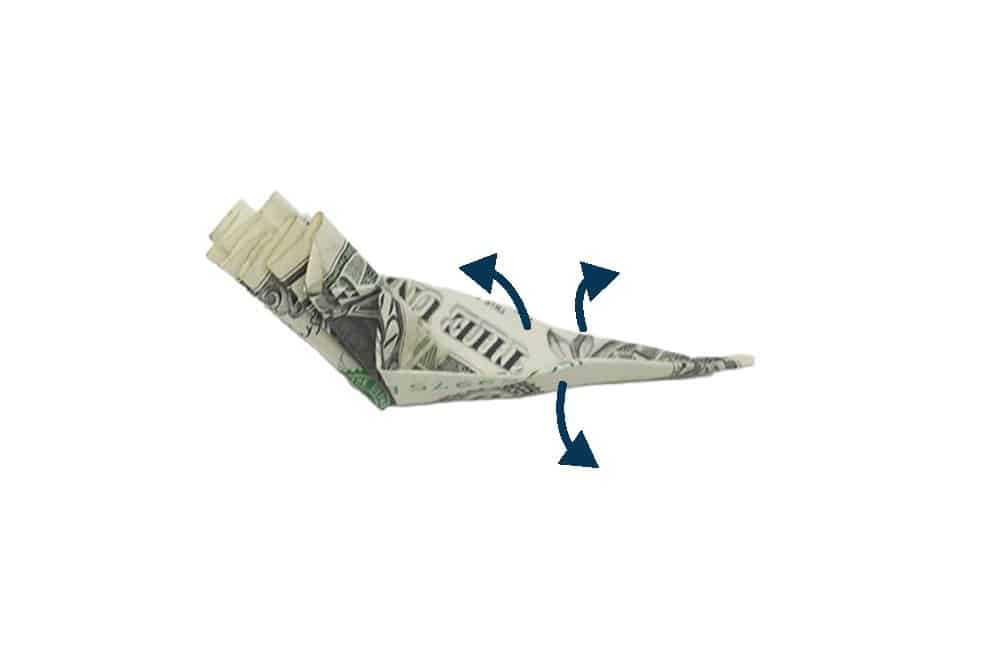
Unfold top layer part (left image) and then pry open the layers (middle). Then fold the tip inwards and make another inside reverse fold at the tip.
The head of the peacock is done!
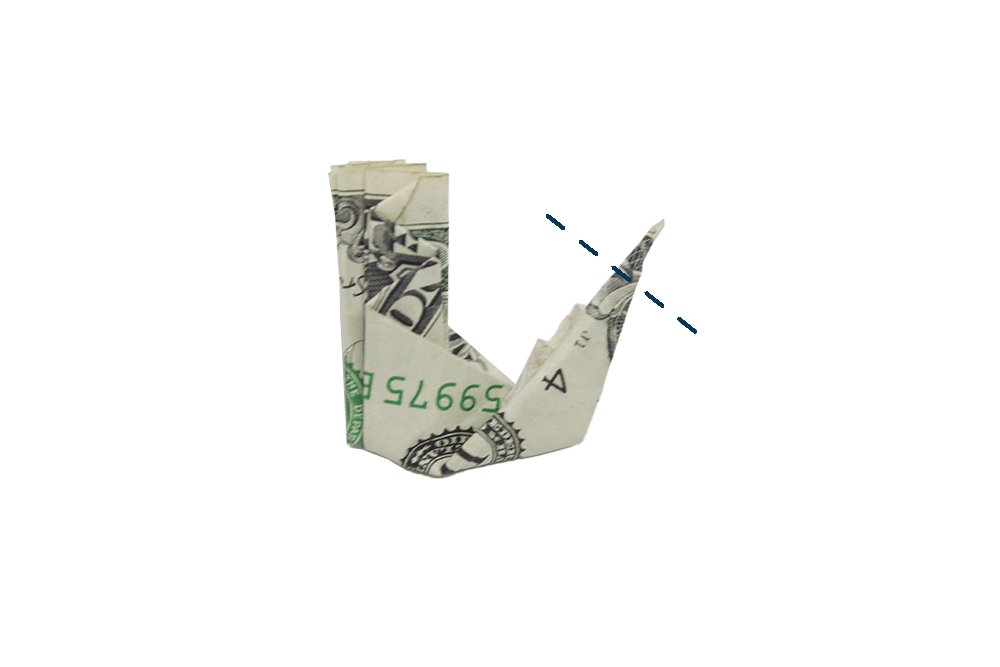
Shape the head of the bird
This will be last steps needed to finish the peacock dollar bill fold. Pry open the layers (middle). Then fold the tip inwards and make another inside reverse fold at the tip.
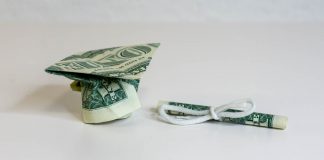
Once done, thiis will be the head and beak of the peacock
Clasp the left and right feathers to complete the plumage of the bird. Congratulations! For more origami folds, check out the suggested articles below!
Extra Tips
- Make sure to sanitize the dollar bills first before folding
- Make sure to crease properly. Apply enough pressure in the entire line/s.
- Take your time on this one, if it's your first time. You can do it.


That was too hard for me! I’m off to the next fold ahaha. all in all though good guide
Folded mine good
my sister gonna love this when i show it to here
Making the plumage is hard but other thab that it’s easy
<3 thanks for making this wonderful guide, best wishes