
Introduction:
For this origami activity, we are going to make a 3D origami of a butterfly. It may look a bit complicated to do, but it is actually easy. You only need to know the basic folds to make this origami from a dollar bill. A rectangular piece of paper will also do if you don’t have a dollar bill with you at the moment.
Make the base of the origami money butterfly
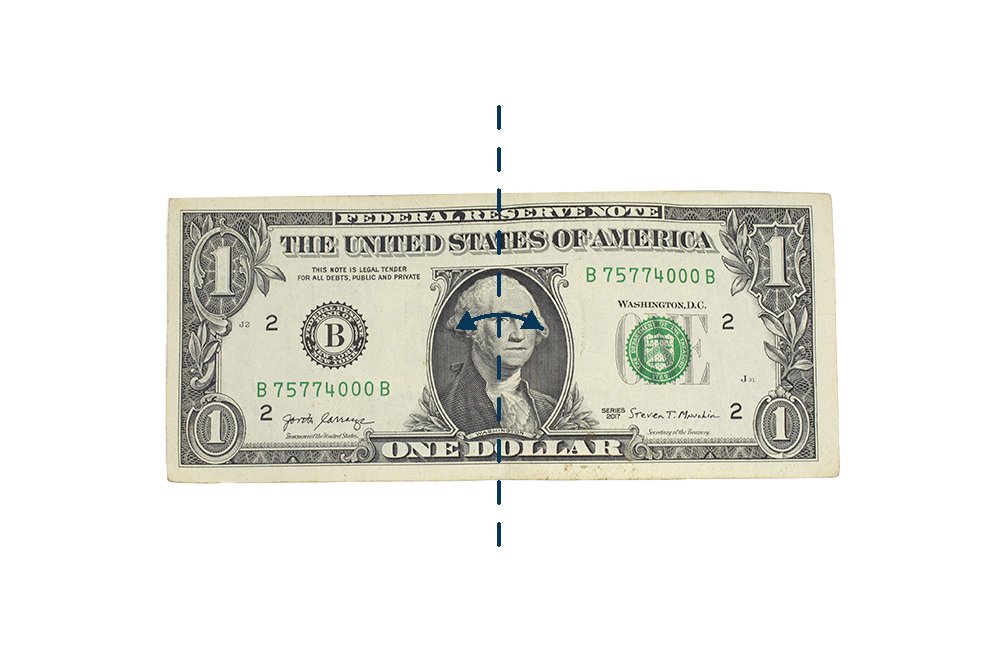
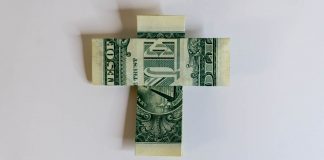
Start with a crisp dollar bill and fold it lengthwise in half. Crease it well then unfold.
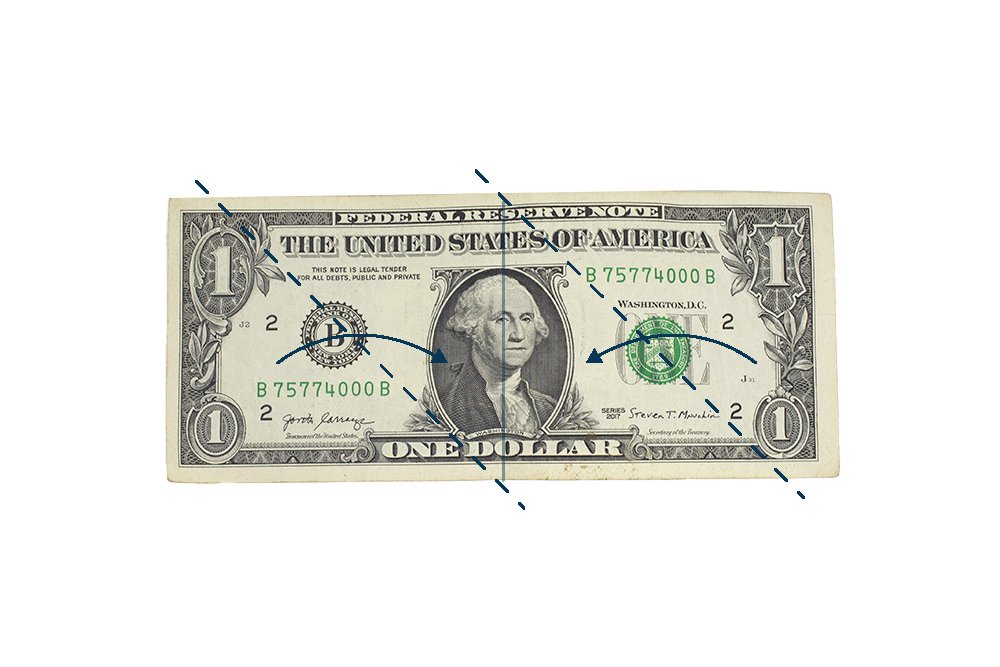
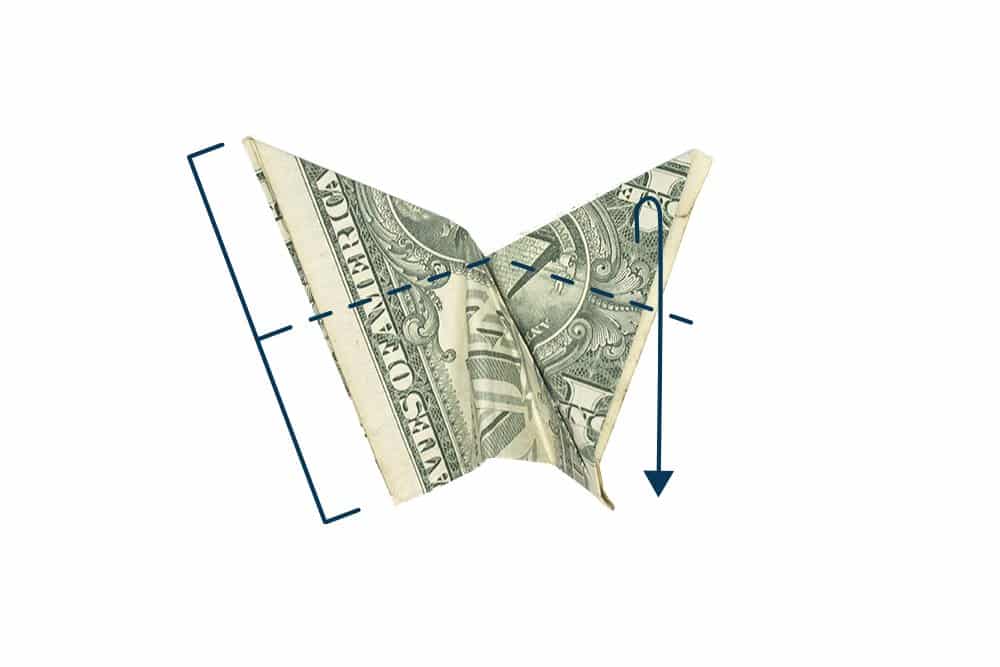
Diagonally fold the dollar bill as illustrated in the top image.
Do it on the right side first.
Then, diagonally fold the left side as well. Take note that an end of each dashed line starts/ends at the crease line. Once folded, flip it to the other side.
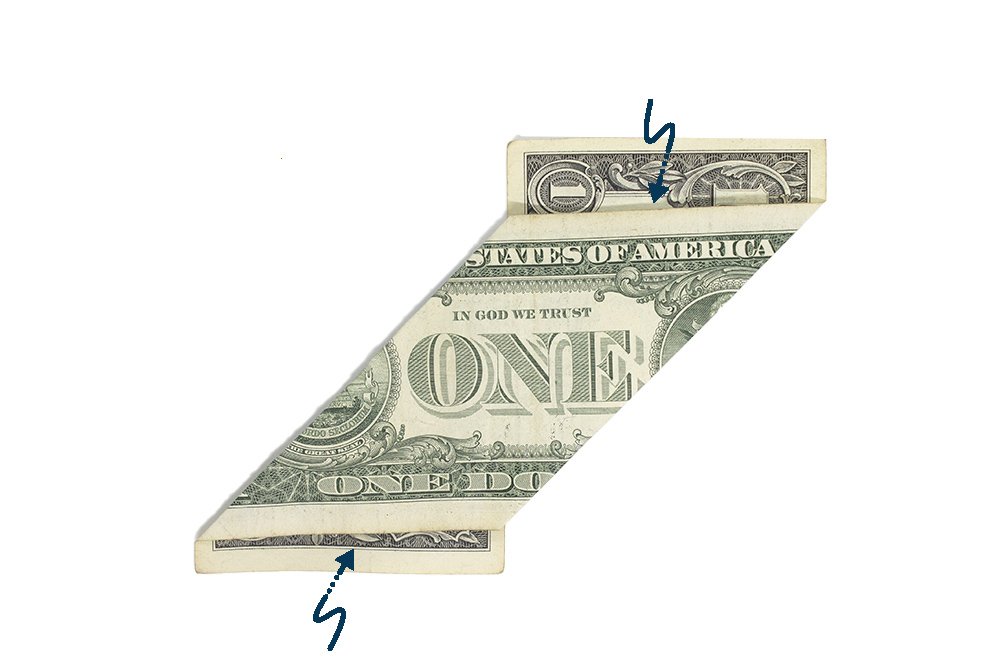
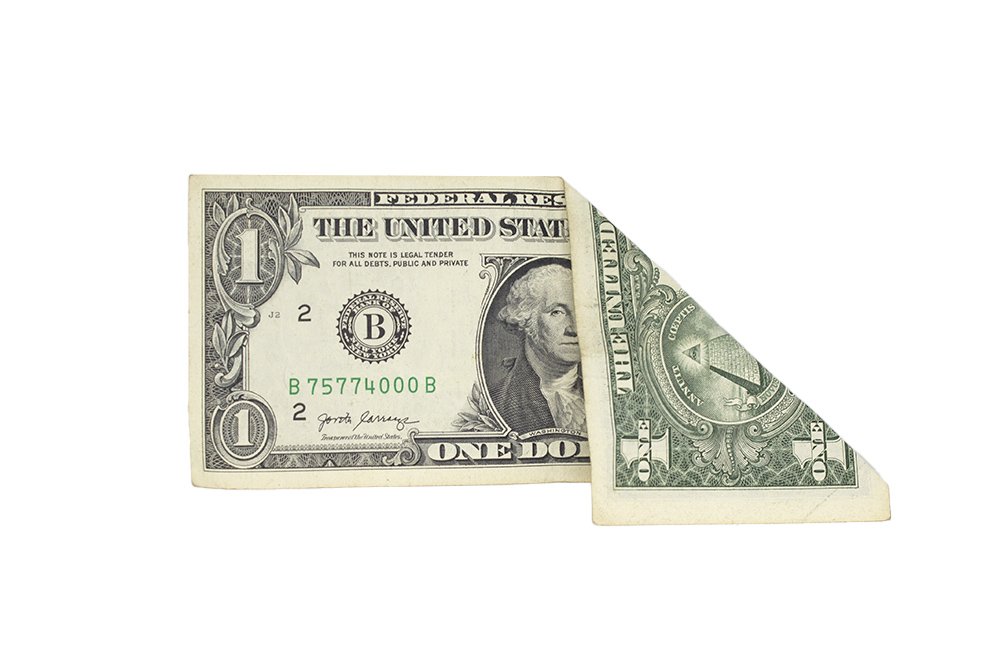
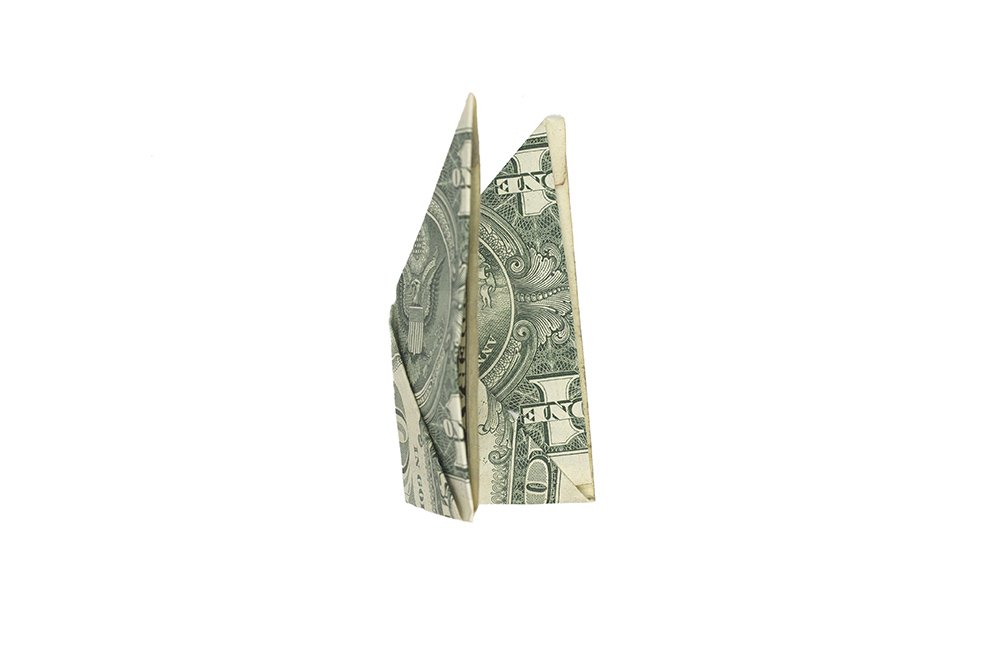
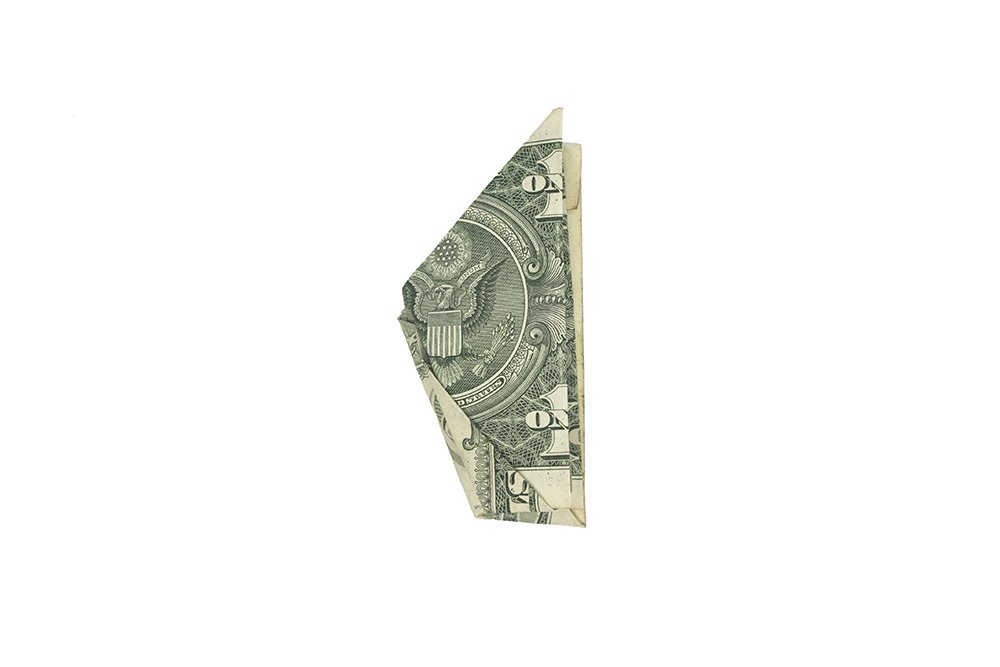
Tuck the top and bottom end inside inside the quadrangle.
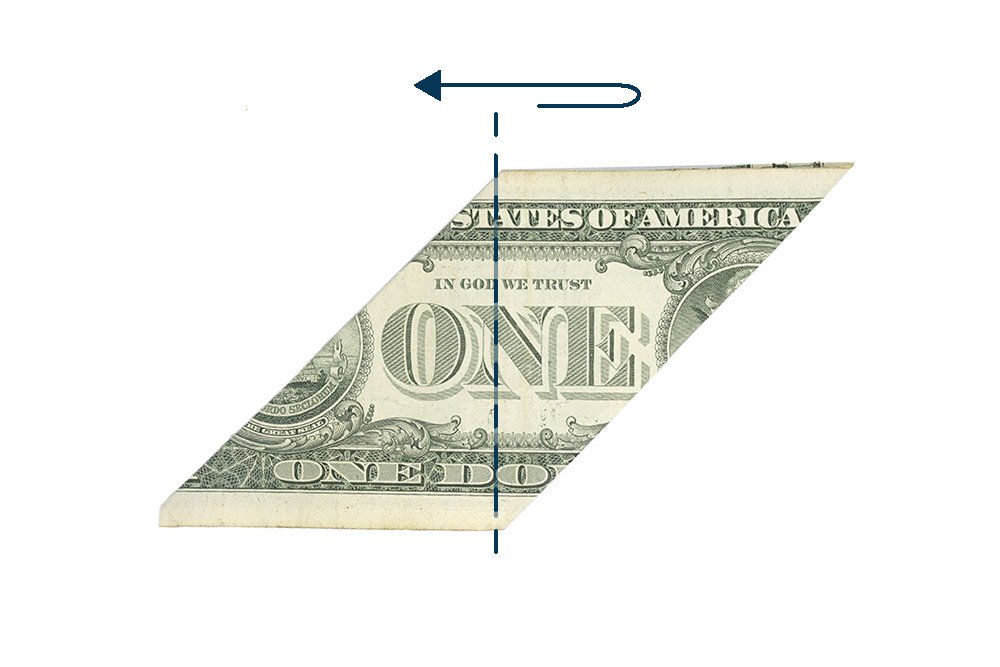
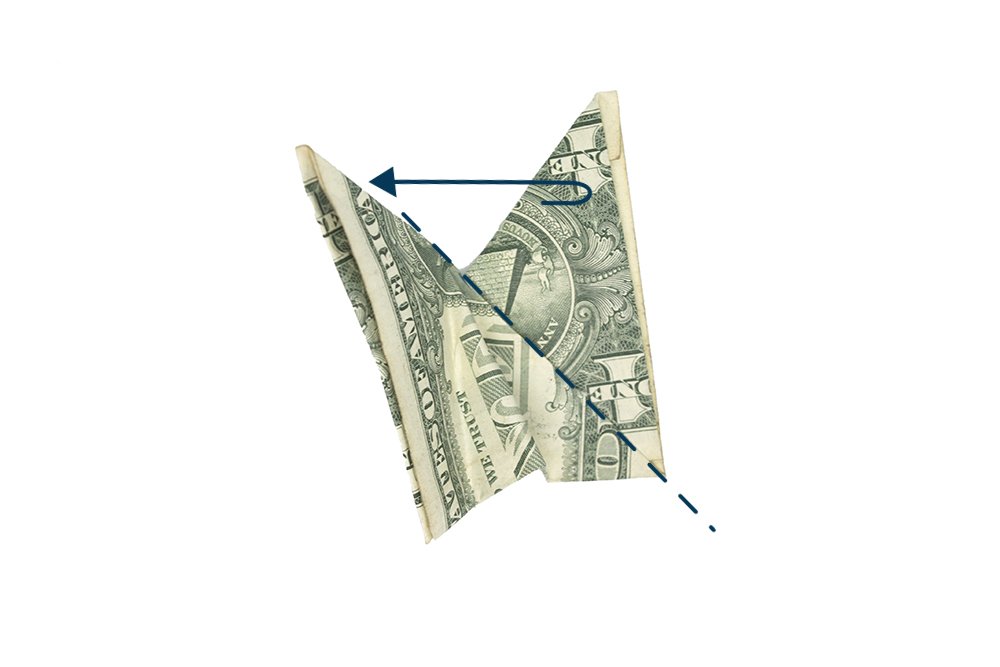
Fold the right part of the dollar bill to the left side.
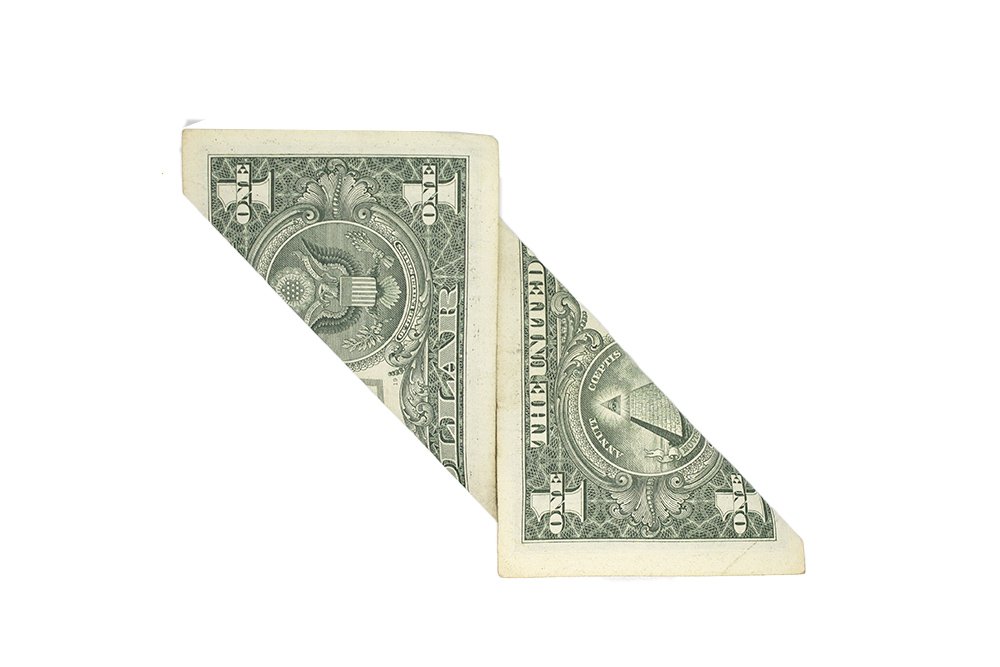
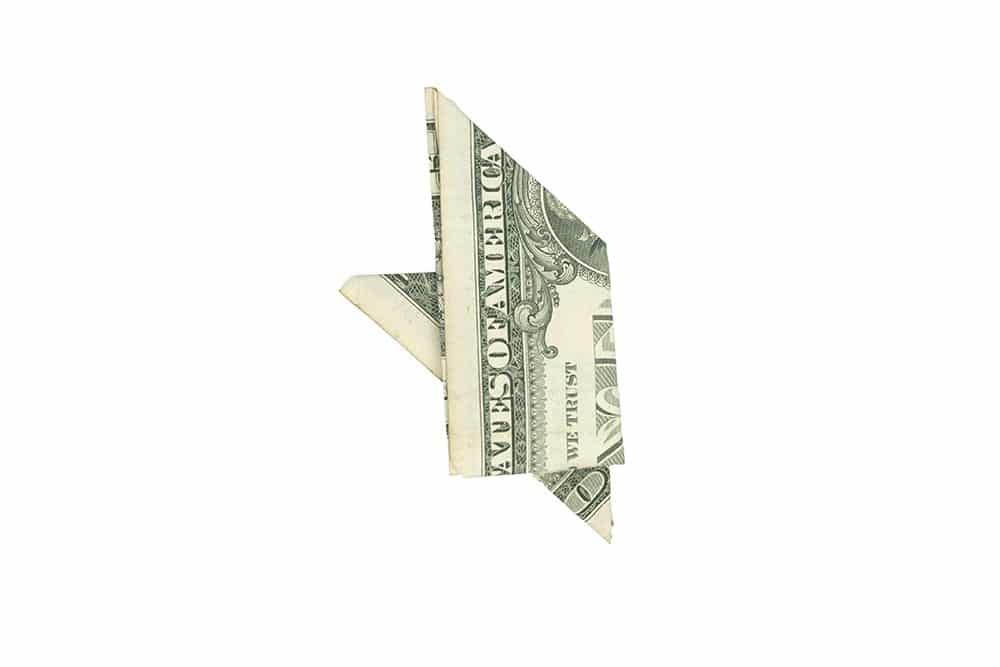
Rotate the origami clockwise.
Shape the wings of the origami butterfly
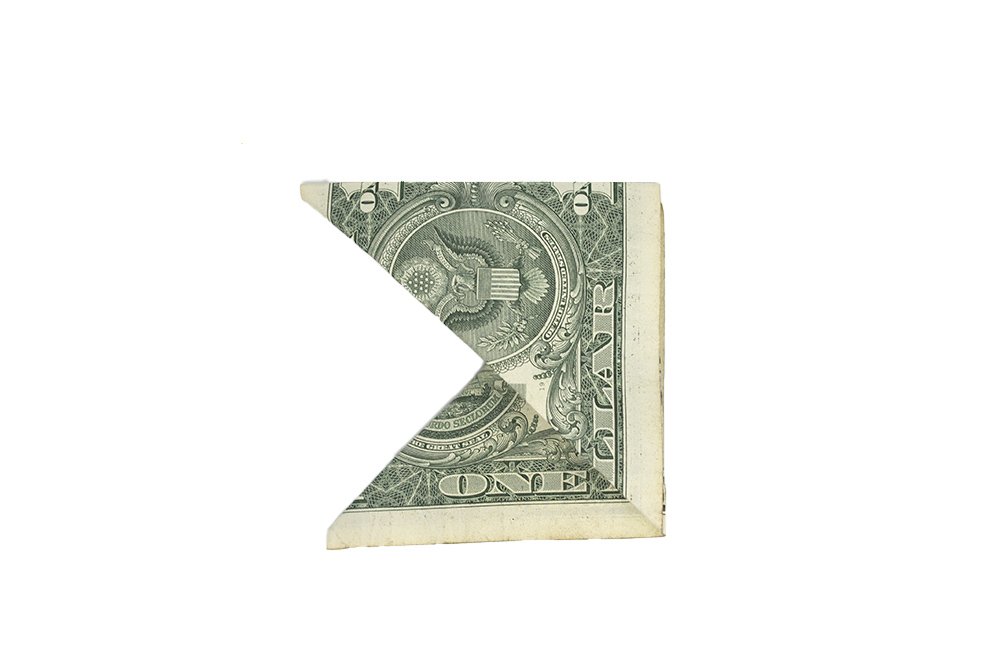
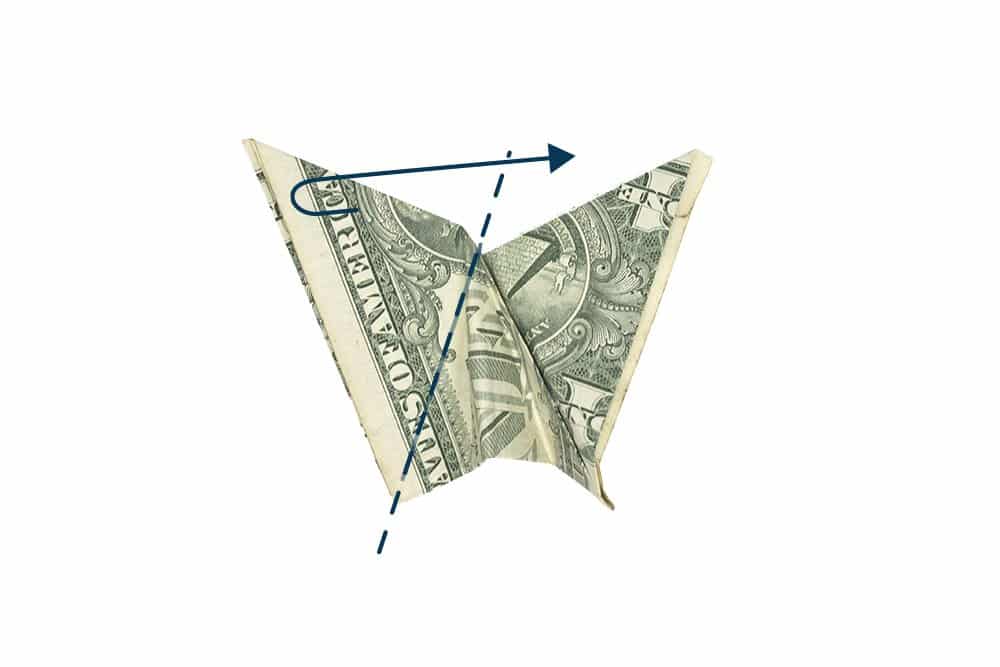
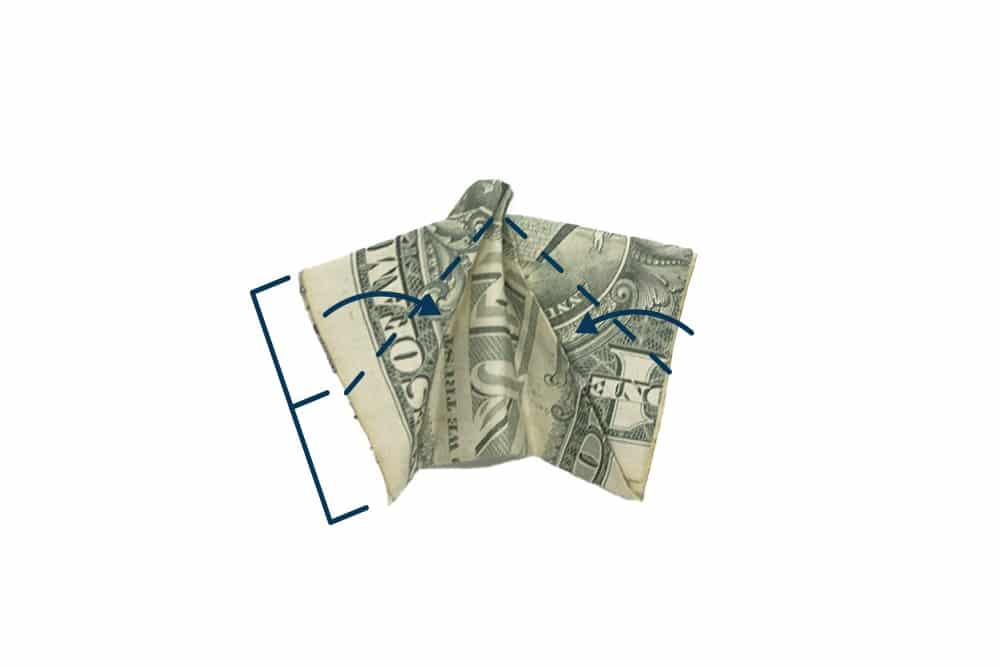
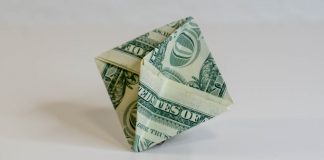
It should now look like the illustration above. Fold it in half.
Once folded, unfold the previous fold made.
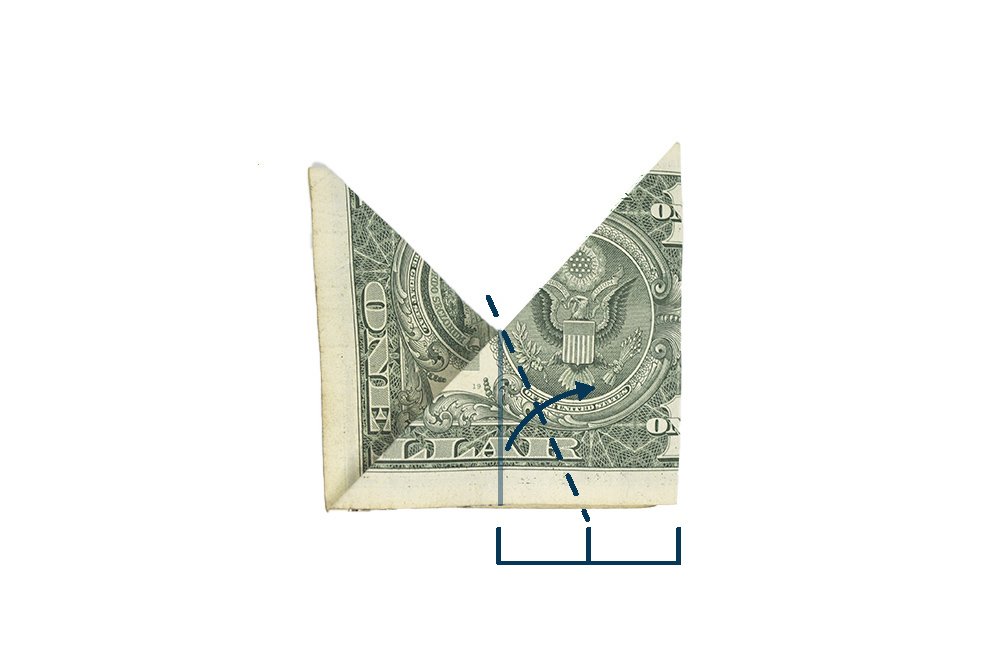
Diagonally fold along the dashed line as illustrated above.
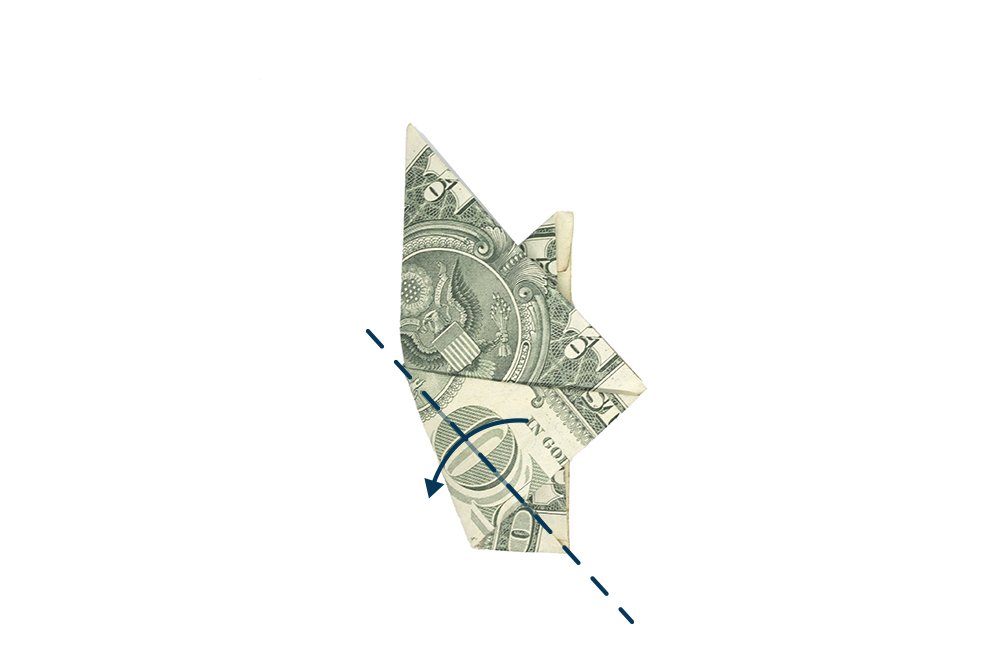
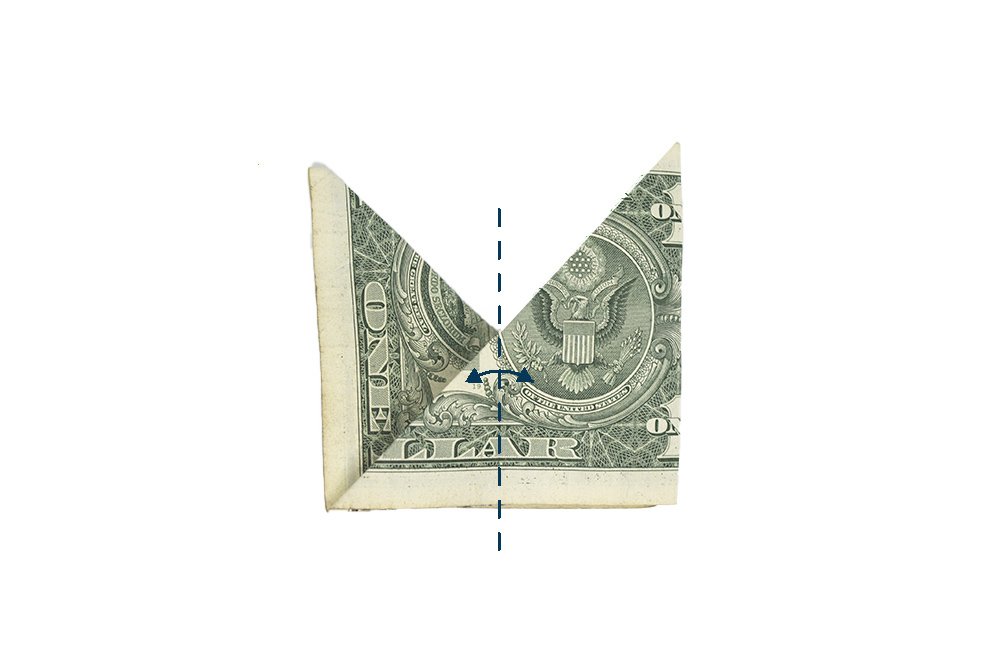
Bring the top layer downwards along the dashed line. Make sure to fold the top layer ONLY.
Fold the dollar butterfly along the dashed line as shown in the image above.
Next, crease it well and then unfold.
Define the dollar bill butterfly's wing to make it look more three-dimensional
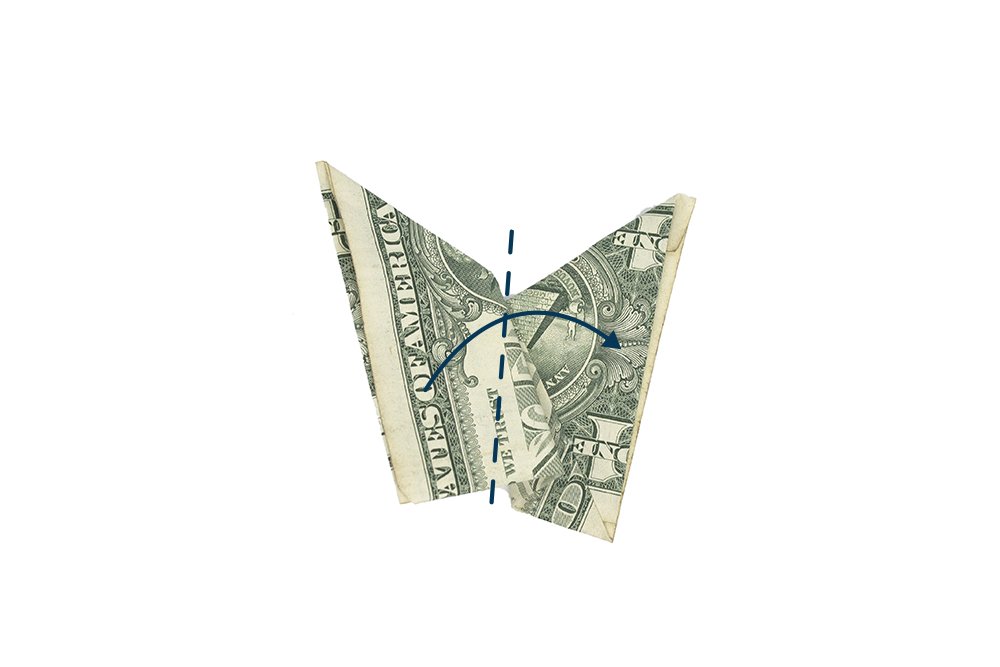
Mountain fold the right side of the butterfly origami.
Crease it well, then unfold.
It should now have creases like the illustration above. Next is to mountain fold the left side of the dollar bill origami. Crease it well and unfold.
Fold the two top corners to the back. Fold it along the dashed line as illustrated in the image above.
Make a valley fold on the top part of the butterfly’s wing. Crease it well and unfold. This will create a 3D effect on its wings.
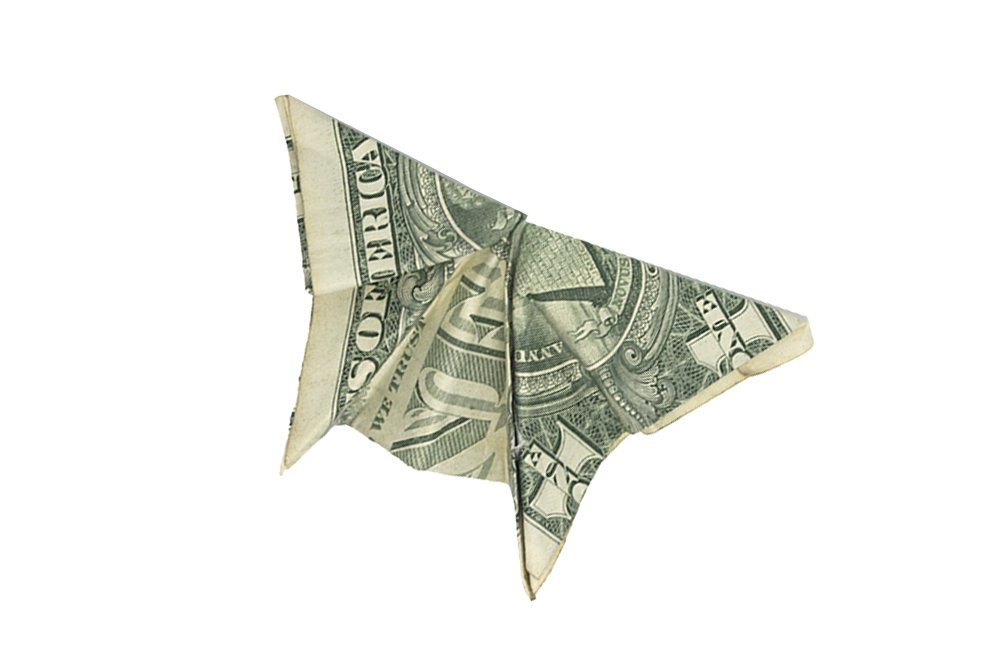
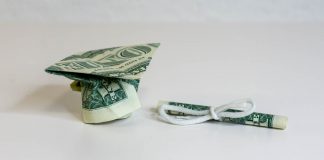
Your dollar bill origami butterfly is done!
Extra Tips
- Butterflies represent transformation and new beginnings. If you want to wish someone good luck on his/her new venture, then a butterfly shaped dollar can be a great gift to give!


