The Complete Guide on How to Make a 3D Butterfly Napkin Fold

Introduction
Welcome to our butterfly napkin folding step by step guide! This fold is a bit tricky to get right but the process is simple enough.
This folding technique is great to use in brunches, pastries and various festive occasions. We hope you’ll learn this fold and enjoy making it for your table setting preparation!
For folding the butterfly napkin, you can use any fabric but it’s best to iron the napkin first. And you must work with a square napkin.
Paper napkins are also a viable option for making the Butterfly fold. In fact, there are many wonderful paper napkin designs that could really compliment the fold and your table setting.
For both cases, you must be precise when doing the folds as the butterfly is symmetrical over the vertical line.
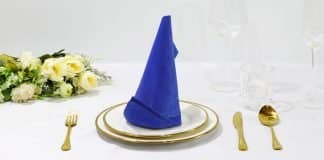
Form the triangular base of the butterfly napkin
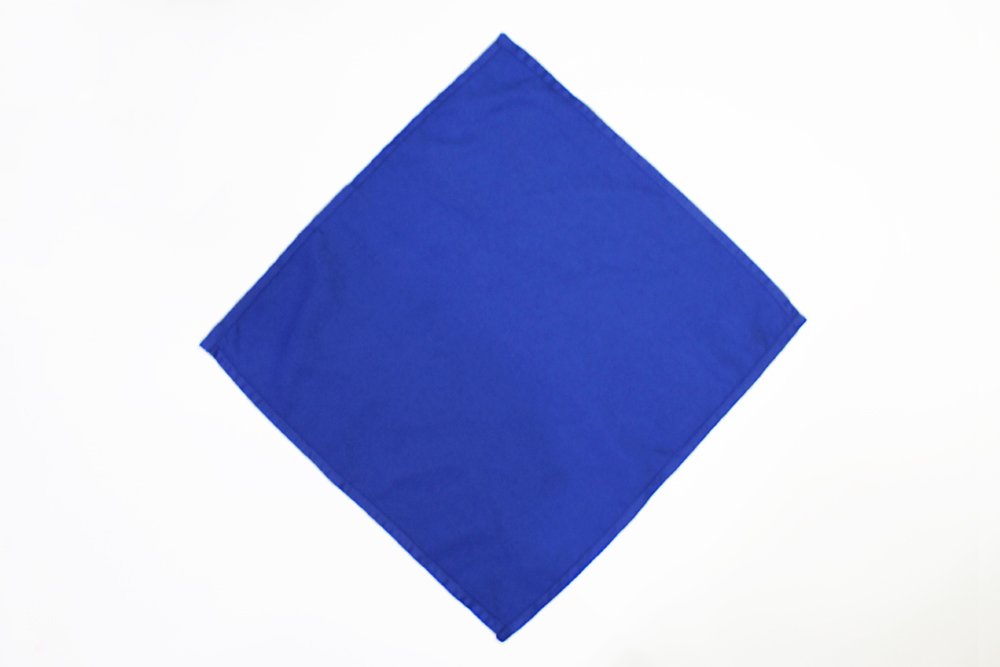
Lay the napkin in front of you with one corner pointing towards you. This is the first step of the table napkin butterfly.
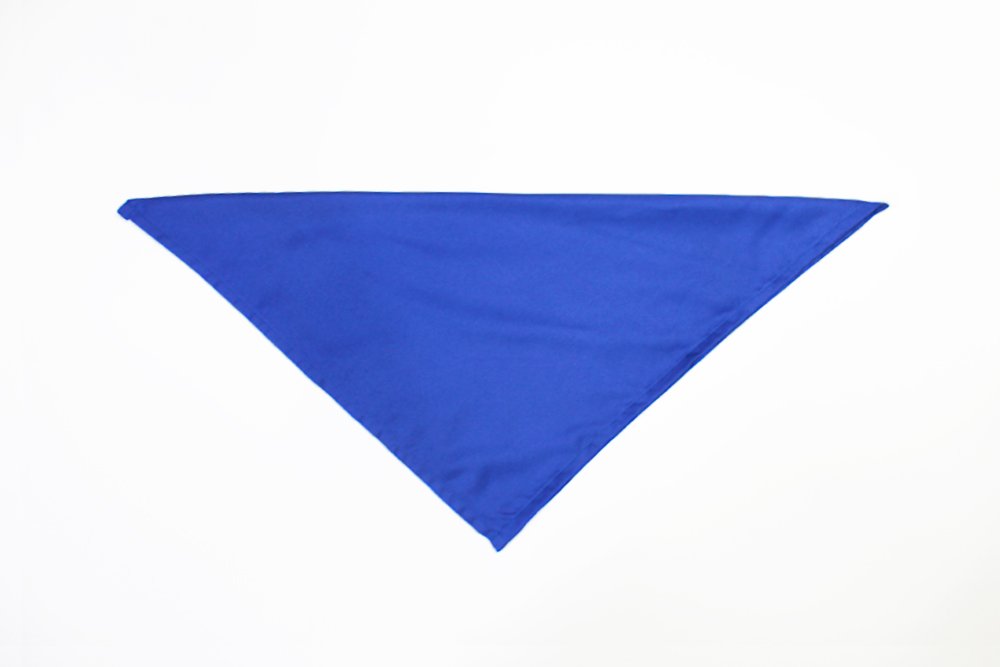
Bring the top corner towards the bottom corner. It's important that you use a square napkin for this fold or the fold will not be even.
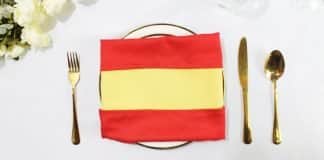
Form the body of the butterfly napkin

Bring the right corner to the bottom. Keep in mind that it should not be folded towards the middle exactly. Leave a gap in the middle.
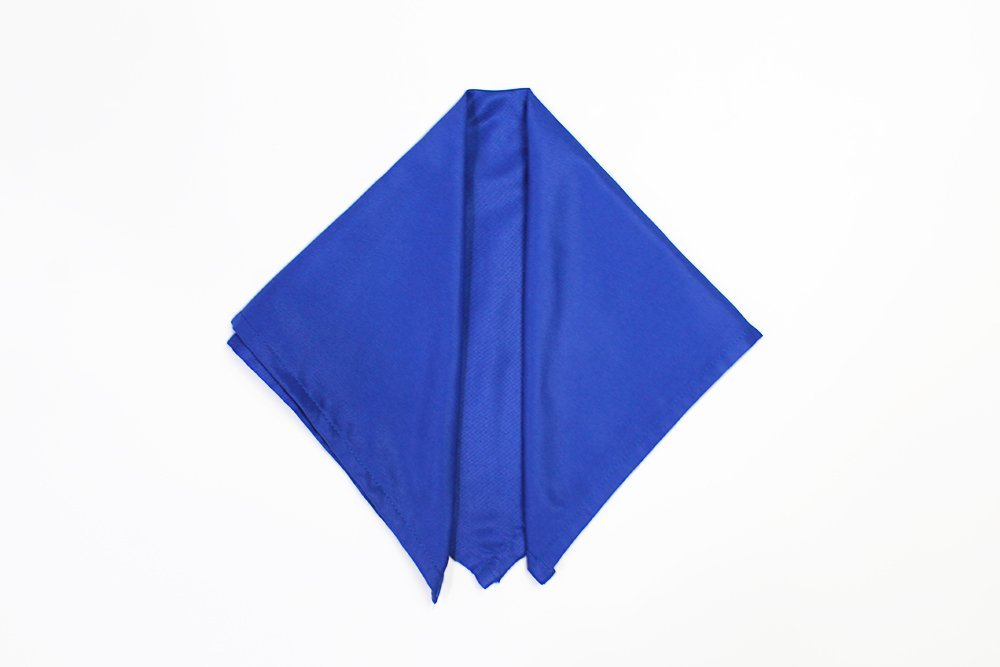
Repeat the previous step on the left side as well.
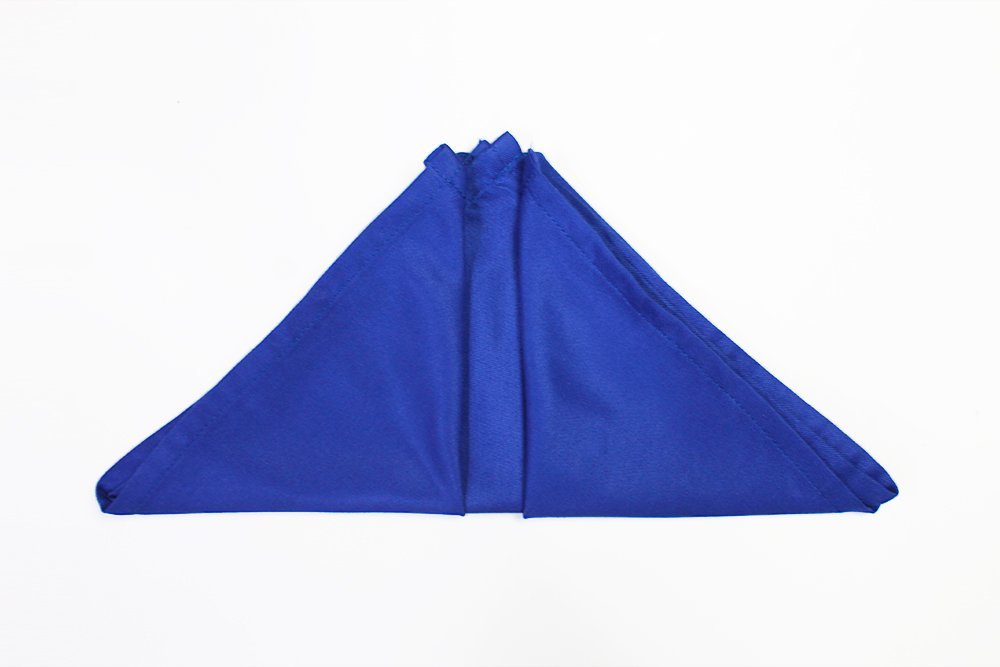
Then, mountain fold the bottom part towards the top. Good job! Our next and last step is to make the wings.
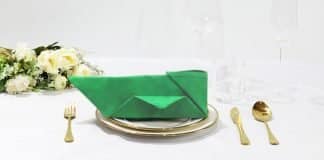
Make the wings of the butterfly napkin fold
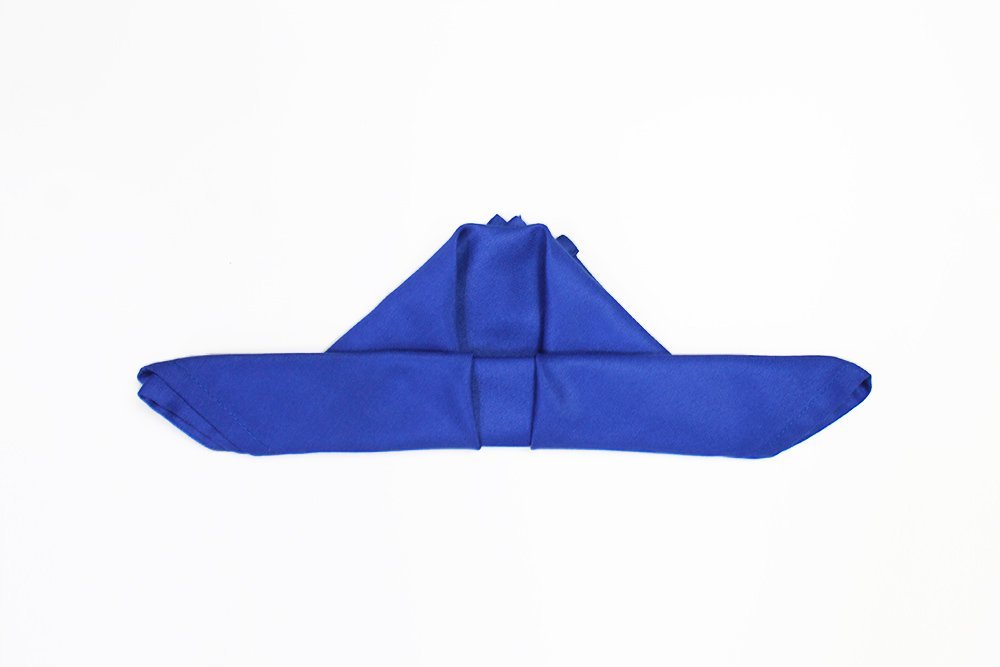
Fold around an inch of the bottom edge towards the the top. Leave some space for the head of the butterfly.
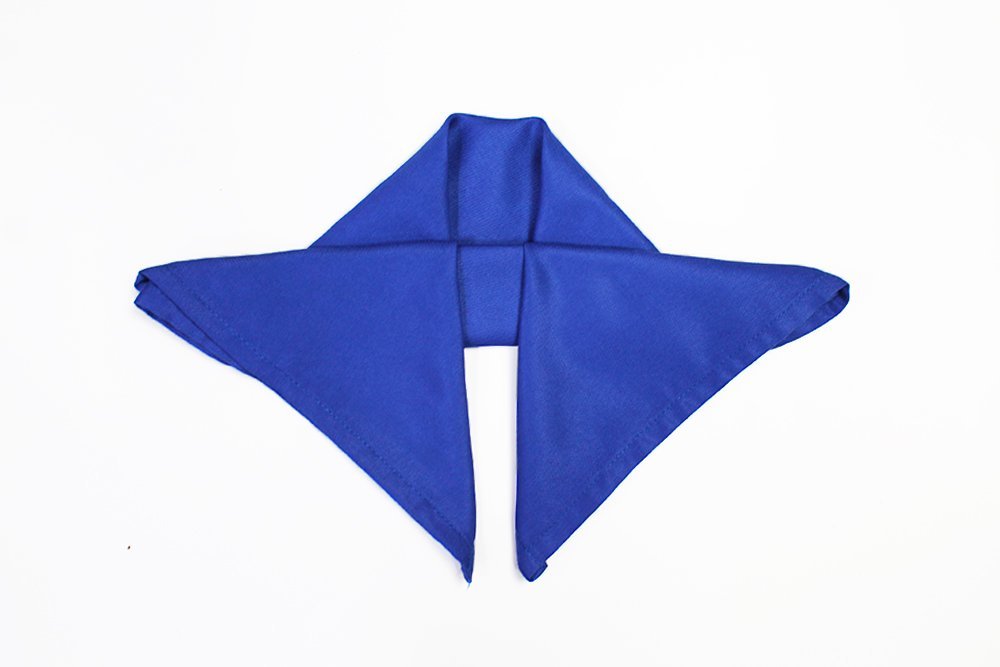
There are two flaps at the bottommost layer of the napkin. Bring those two flaps downwards to form the wing.

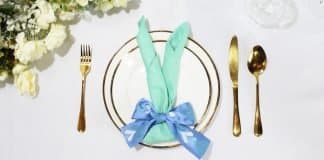
After making the bottom wings, pinch both sides of the center of the napkin. This will be the body of the butterfly and will also make the butterfly napkin three-dimensional.
Congratulations! You have now made a butterfly napkin. Don't forget to check out some of our other napkin folding tutorial - we have dozens of them!
Extra Tips
- No guest would want to be presented a wrinkled napkin on their plate. Ironing your table cloth napkin is the first step in preparing for a good dining experience, but it's not all that simple. If you're in a pinch you can use tissue paper napkins for this easy paper napkin folding.
- It’s best to place the napkin in the middle of the main plate. You must make sure that the left and right tips are at the same height and point toward the viewer. If the menu card, food, or something else is placed in the center of the main plate, you could put it at the top left side.
- Give yourself some time when doing the folds, and don't be discouraged when you can't get it perfectly even. Leave a comment below if you had a problem with a particular step, and we'll be there to answer your question.
- In our example we used blue. White would also be a great choice for this fold.
I made mine with a paper napkin but I think a really good cloth would outshine a paper one. also, cloth seems more premium looking but it depends again on qualtiy
Cloth or paper doesn’t matter as long as both have decent quality. Looks matter but functionality matters as well when it comes to napkins
What type of add-ons to the butterfly, or whatever you call it, would look best for a semi-formal birthday celebration?
Thanks!
Hmm, i think the more complex guides are better but this one is good. It’s simple, and the instructions were effective