Easy Origami Fish Instructions with Diagrams

Introduction:
There are many ways of making an origami fish. This simple step-by-step instruction is just one of many that will teach you how to make one. This instruction’s steps are quite long but don’t worry since most of the steps only require simple folds.
You can always return to this guide whenever you forget the steps, so don’t worry. And given time and several tries, the origami fish will be something you can make by heart.
Enjoy reading the instruction. And make sure to spread the joy by sharing the steps with curious friends and playmates.
Fold the Paper in Half

Lay a square diagonal paper flat in front of you. It should be positioned such that it resembles a diamond.
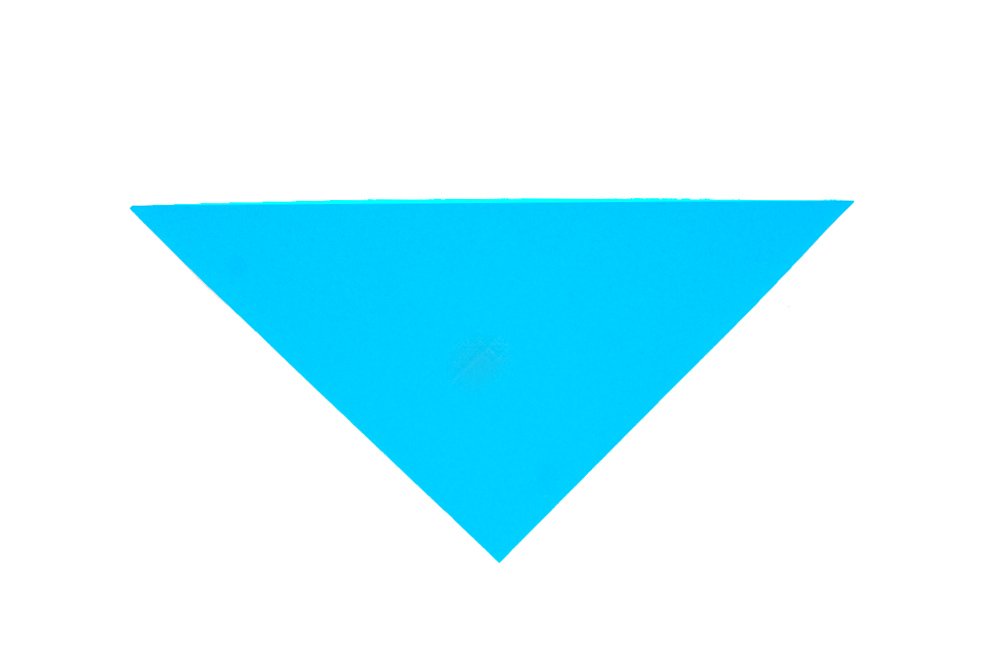
Then fold the paper in half. Fold the top corner towards the bottom.
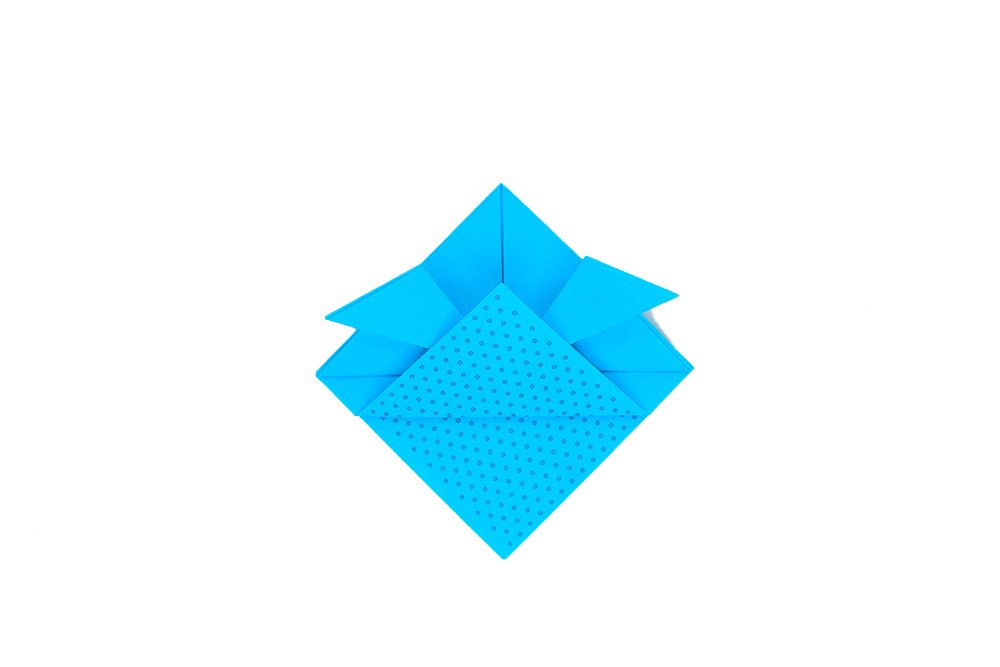
Work on The Front Part of the Paper
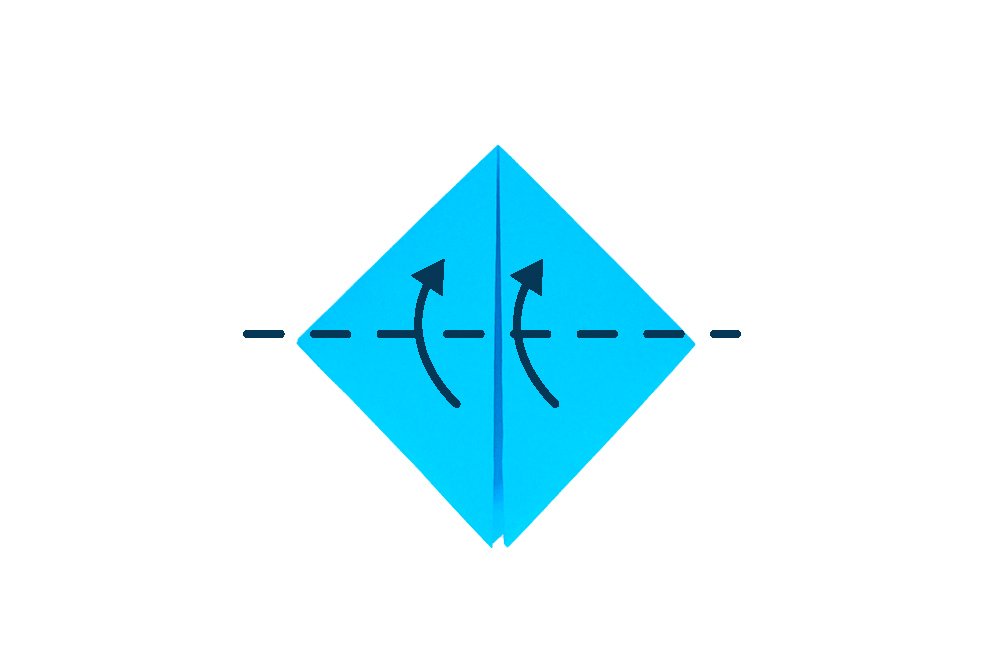
For this set of steps you will be working on this side of the paper. Fold the left and corners downwards towards the middle.
Fold the top layer upwards along the dashed lines
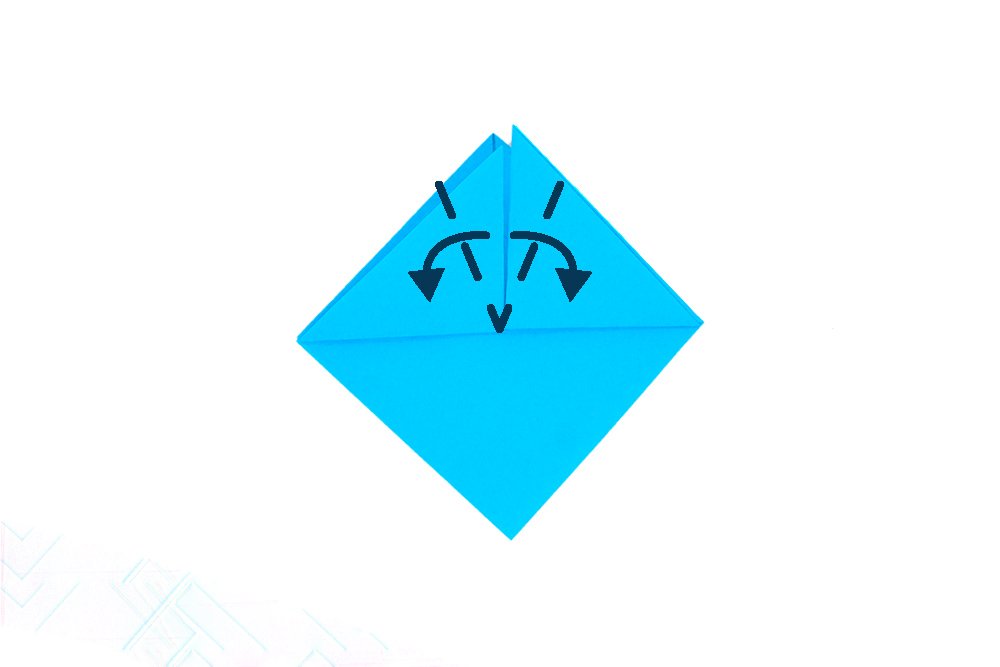
Then diagonally fold along the dashed lines.
And fold the next layer upwards as shown by the dashed lines.
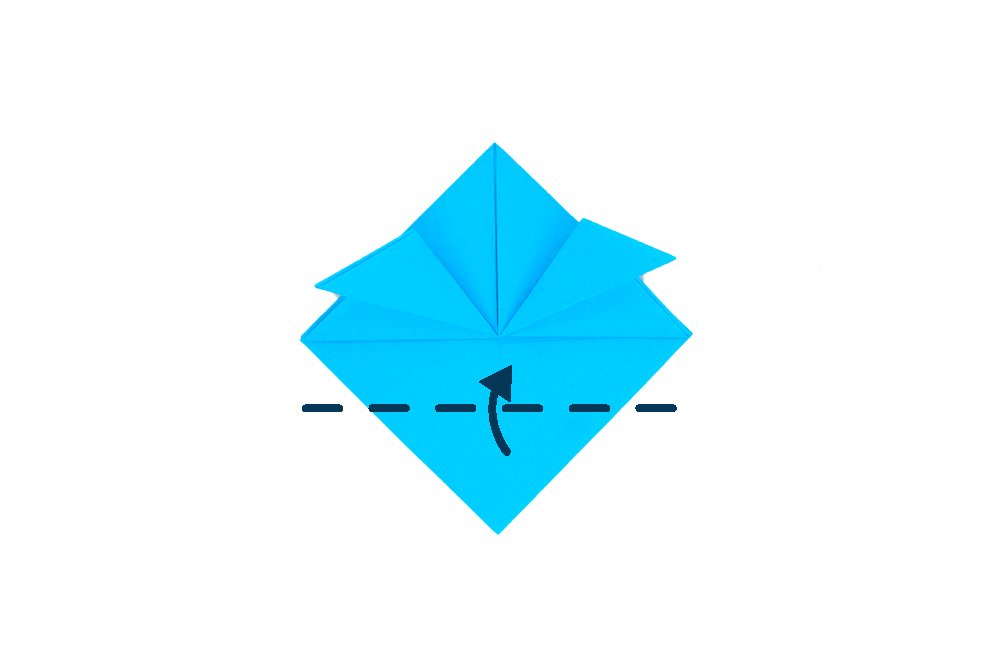
Fold the Paper into a Heart
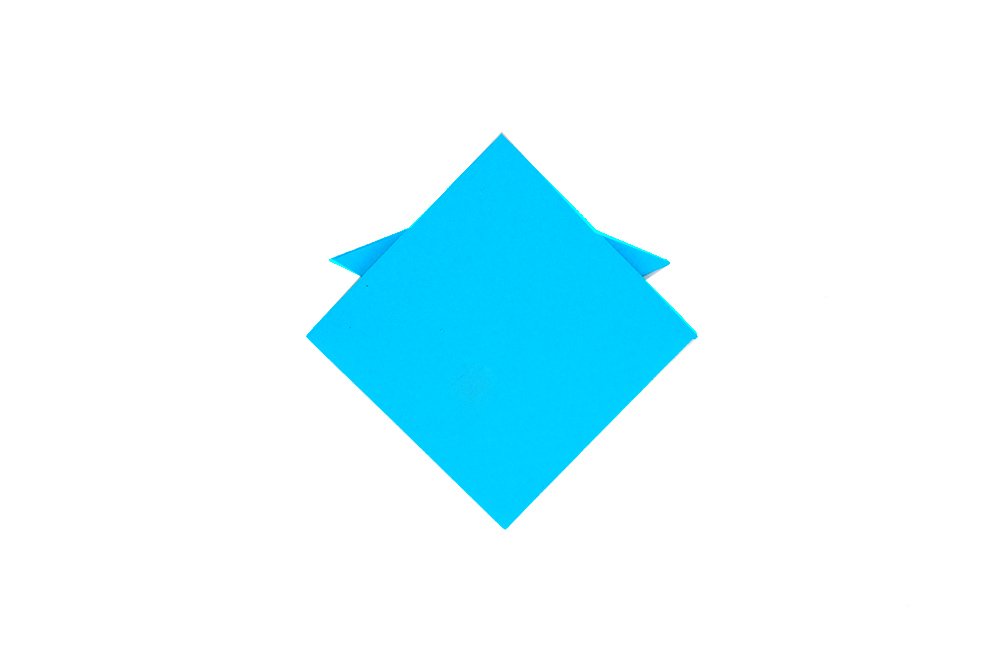
Turn the paper to the other side.

Fold the bottom corner towards the top corner.
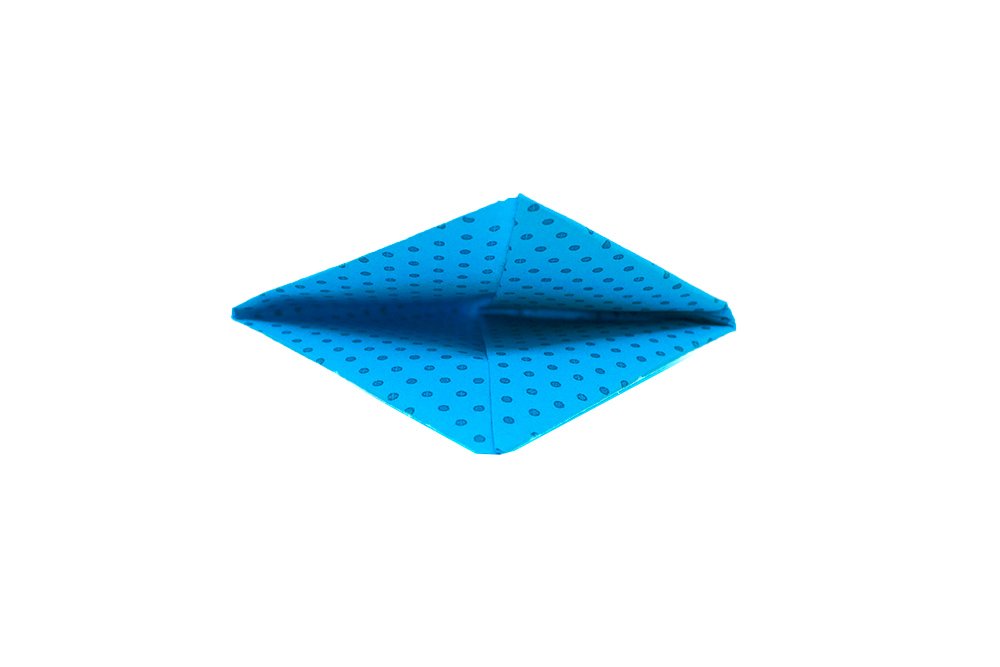
Begin to pry it open. This is a bottom view of the paper.
After prying and flattening it, your origami paper should look like this. Now it is time to proceed to the next set of steps.
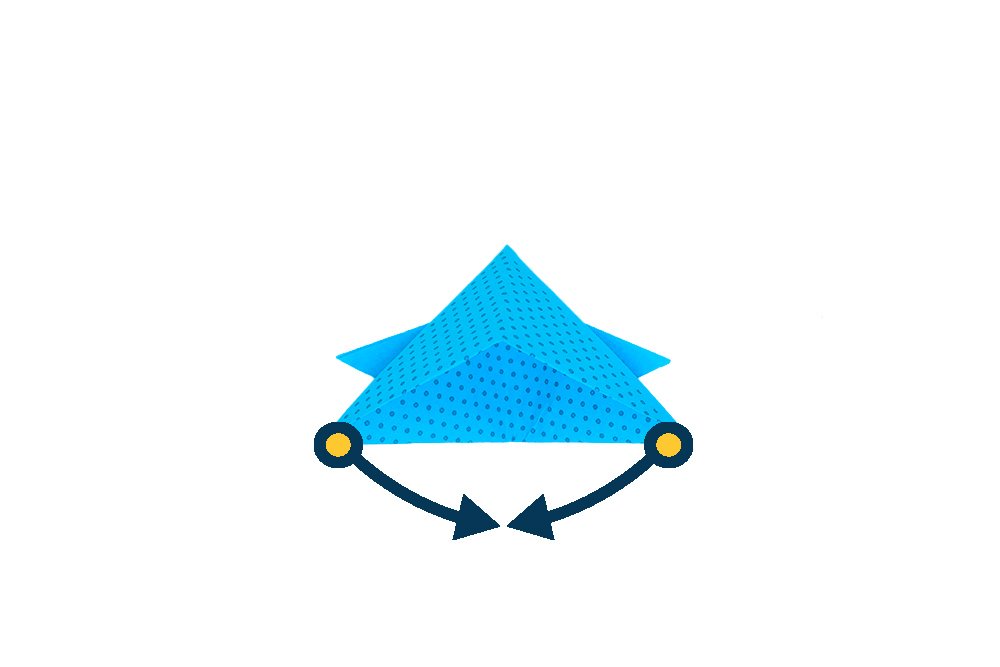
Make the Tail of the Origami Fish

Bring the left and right downwards together.

Then cut along the dash lines. to make the tail.
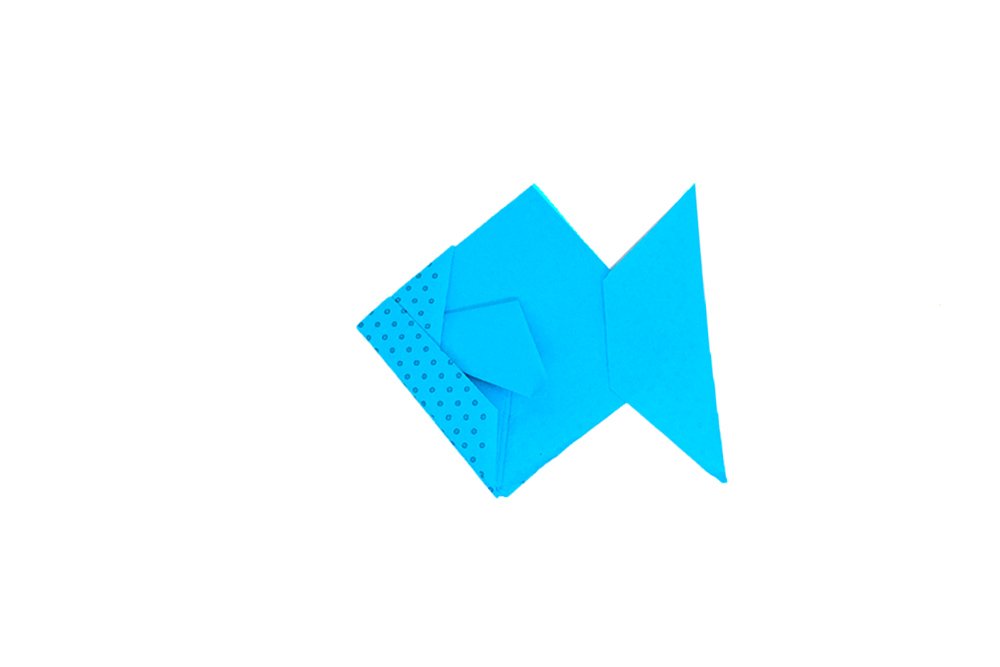
Fold the flap towards the right to create the fish's tail. Your origami fish is done! You may decorate your fish however you like! Looking for a “fishy” challenge? Try making the origami goldfish! It's a slightly tricky version of this fish.
Extra Tips
- Make sure to follow the steps closely. Focus but don't forget to have fun.
- Check out some of our other awesome origamis!
- Make sure to make straight folds, and apply enough pressure all the way when folding.
- There are plenty more fish in the sea! We're not talking about relationships. We literally have tons of fish paper crafts instruction that you can learn and enjoy! Browse through our folding instructions to discover more under-the-sea crafts!


Nice guide lady
Man, I had trouble with the last part
Marvelous..I am also trying to like this.
My fish turned out perfect actually.
The steps are explained clearly enough that I think kids can easily get this. That said, i will give my niece 5 bucks if she can nail this fish
I’m going to listen to this advice, thank you!