Easy Origami Puffy Bunny Instructions

Introduction:
This cute origami puffy bunny is a great paper activity that can be done in your spare time. Once finished, kids are going to love to play with this paper rabbit shaped like a 3D cube.
You will need one piece of paper to do this papercraft. To inflate the origami rabbit, you will have to blow on the paper to inflate it.
Make a waterbomb base of the puffy bunny
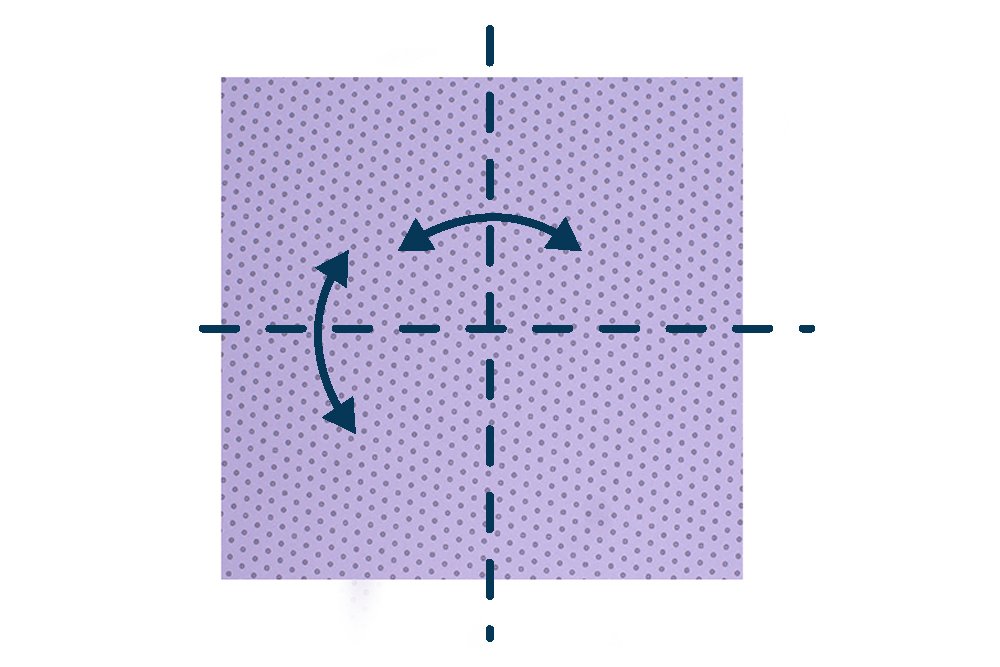
Start with a square piece of origami paper and lay it on a flat surface. Make a valley fold a crosswise and lengthwise from left to right (or right to left). After that, crease the fold well and unfold the paper.
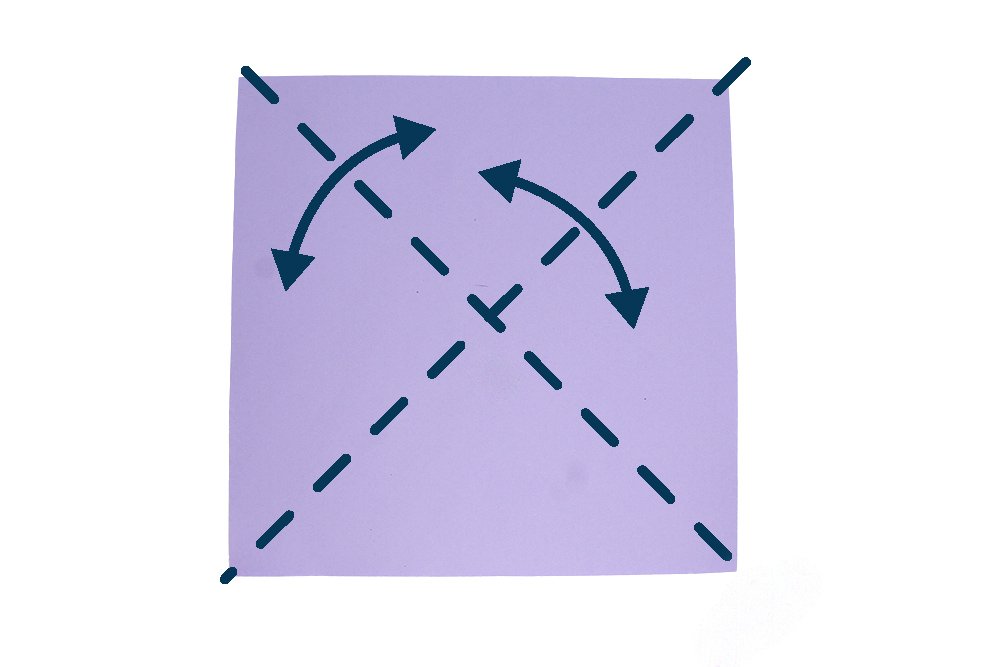
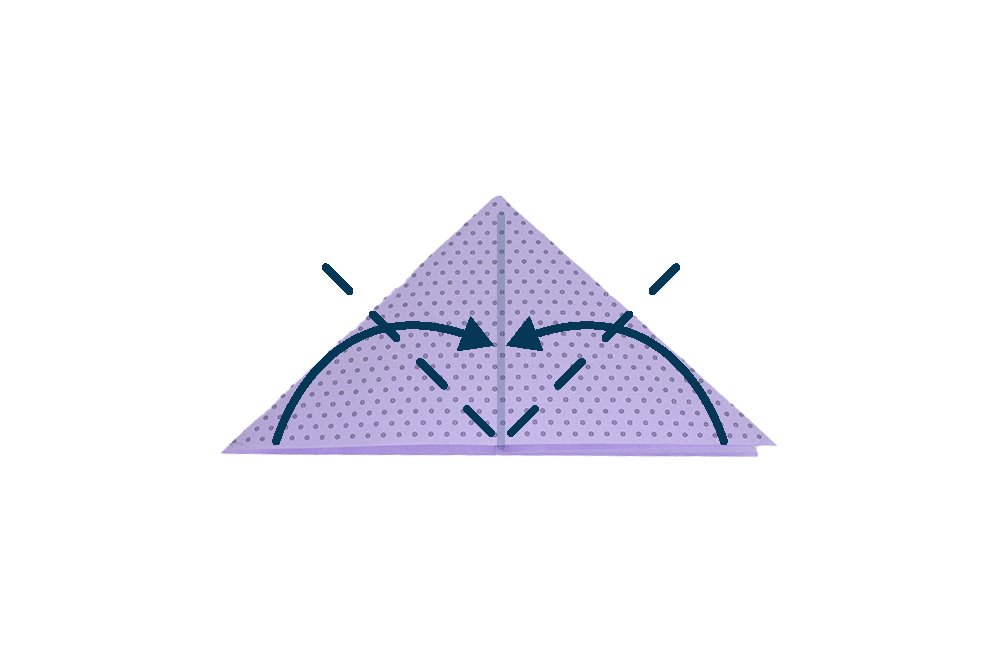
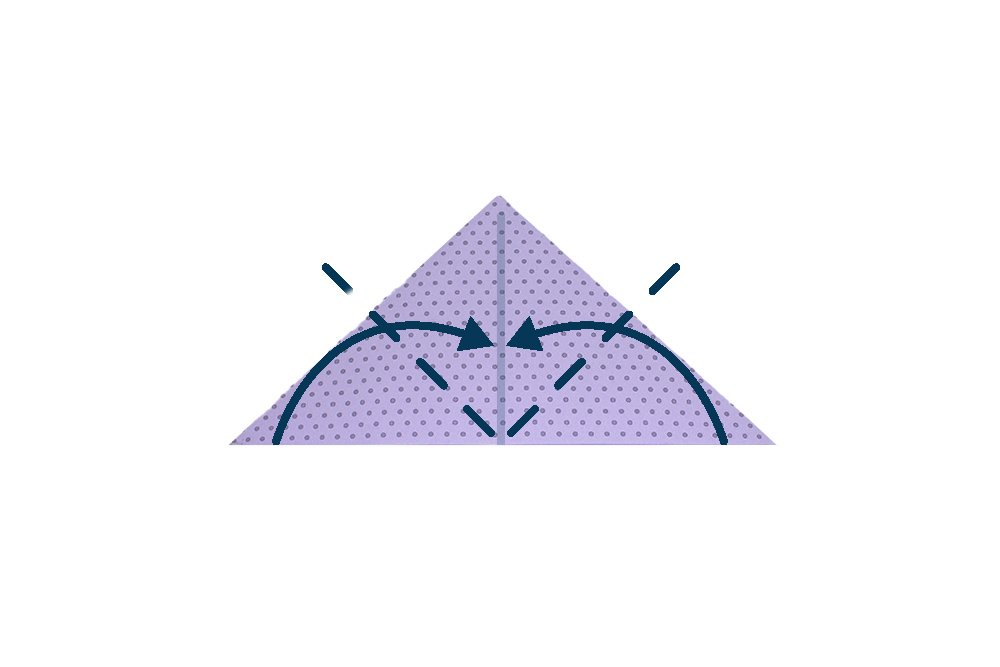
The second step is to flip the paper to the other side. Diagonally fold the paper exactly along the dashed lines.
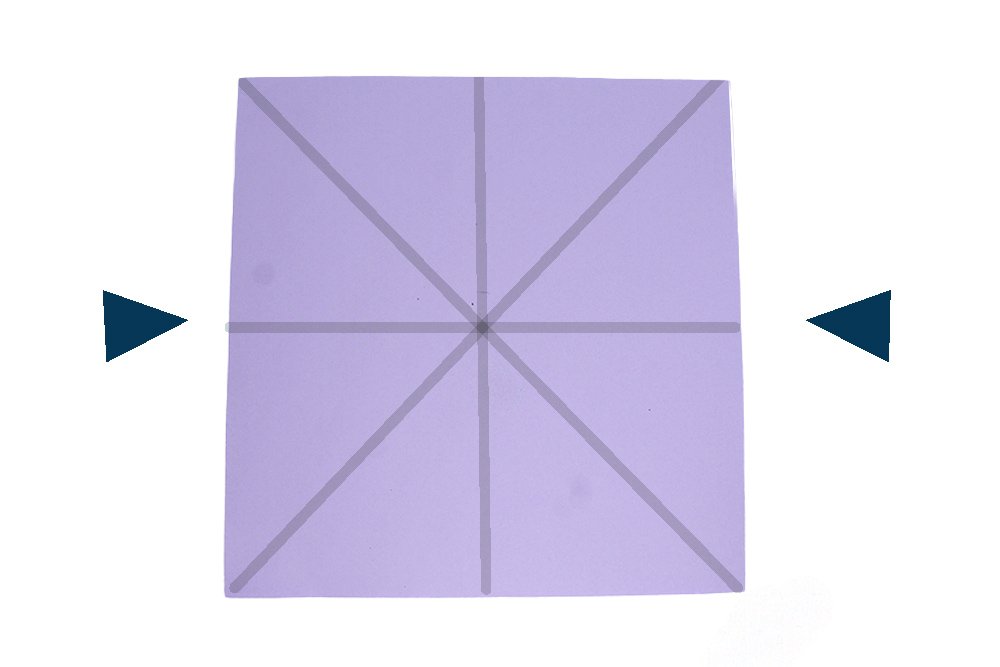
The crease marks should look like the crease lines as illustrated in the image above. Start pushing the paper from both sides as shown by the arrows.
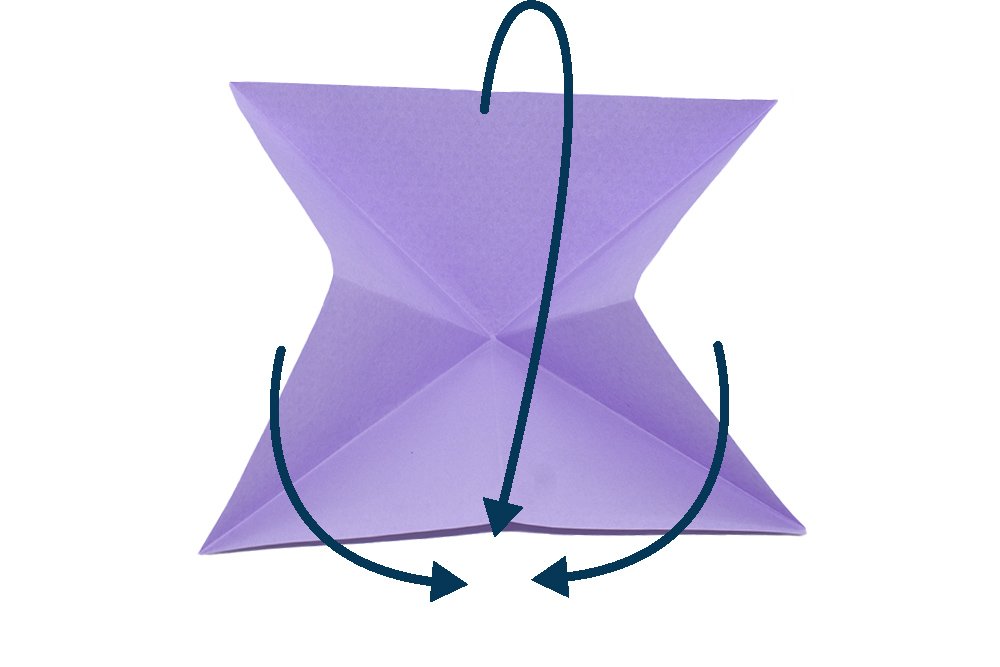
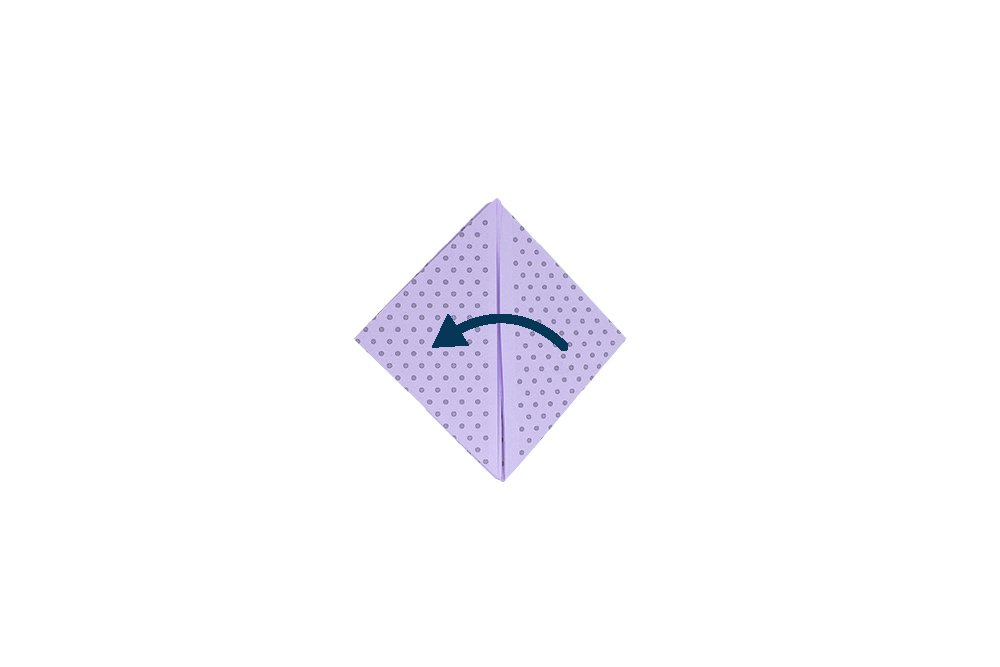
As you push the sides in, the background triangle should form. Hold it down as you continue to bring both sides together.
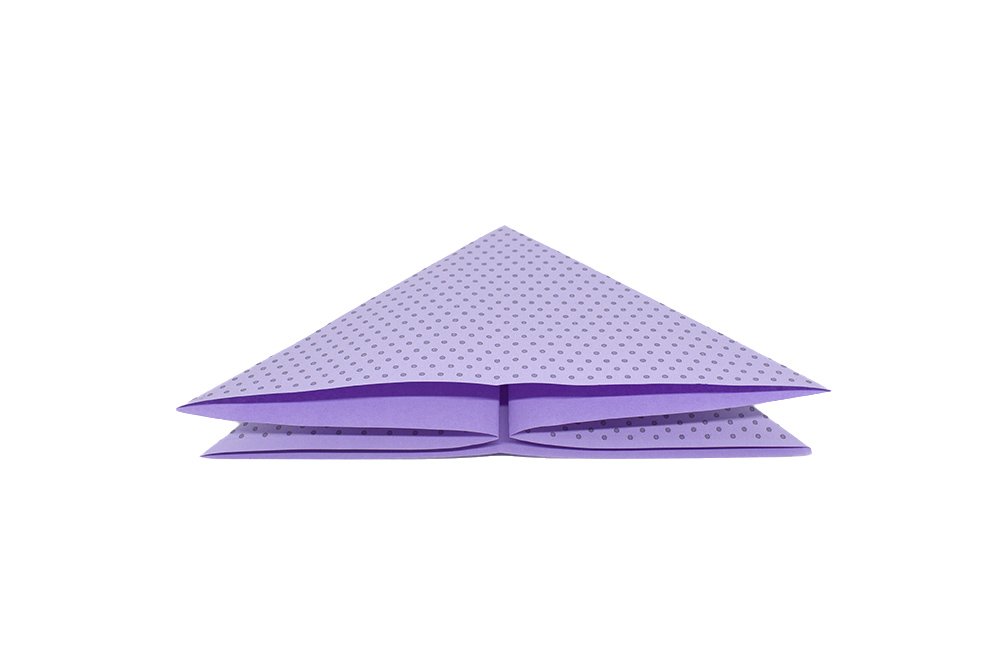
Flatten the triangle made and the waterbomb base is done!
Shape the base of the body of the origami rabbit
Bring the left and right corner to the top corner. Make sure to just fold the top layer along ONLY along the dashed lines.
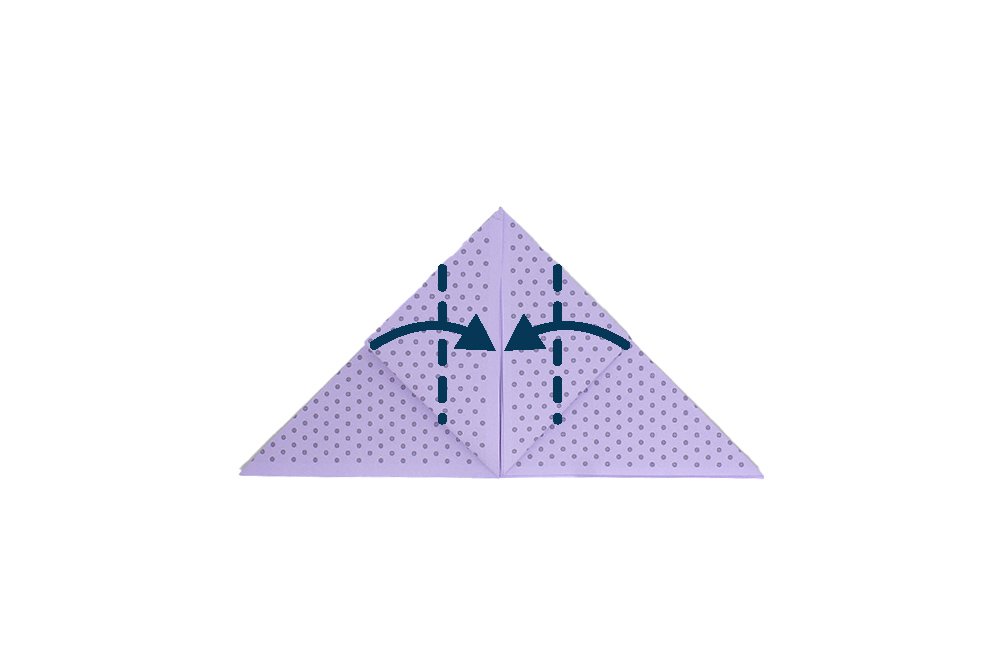
Fold the left and right corner to the center. Make sure to just fold the top layer along ONLY along the dashed lines.
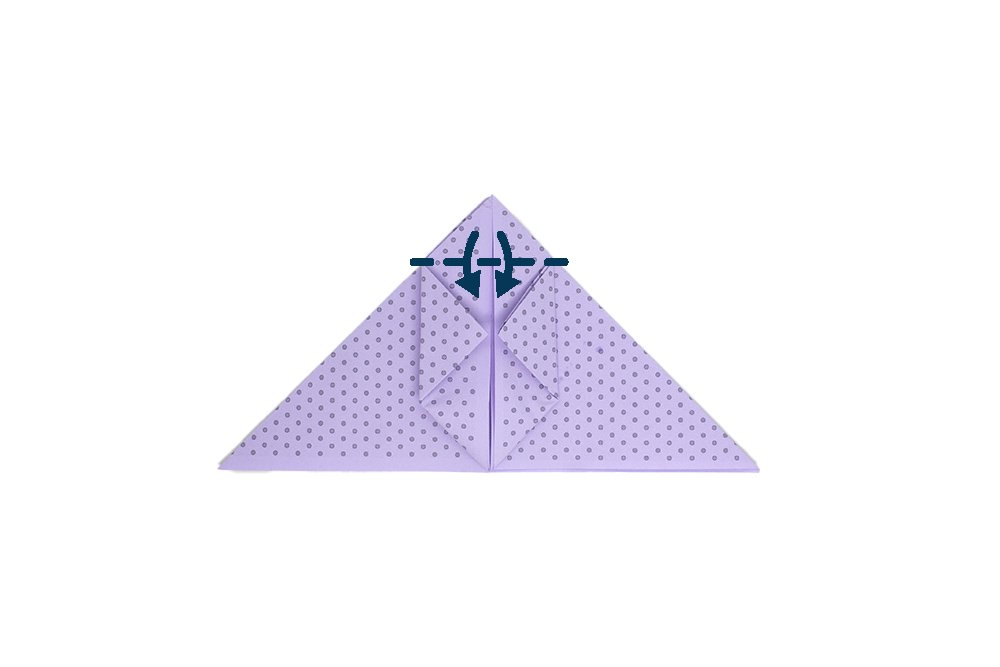
Bring the top corners of the top layer to the center.
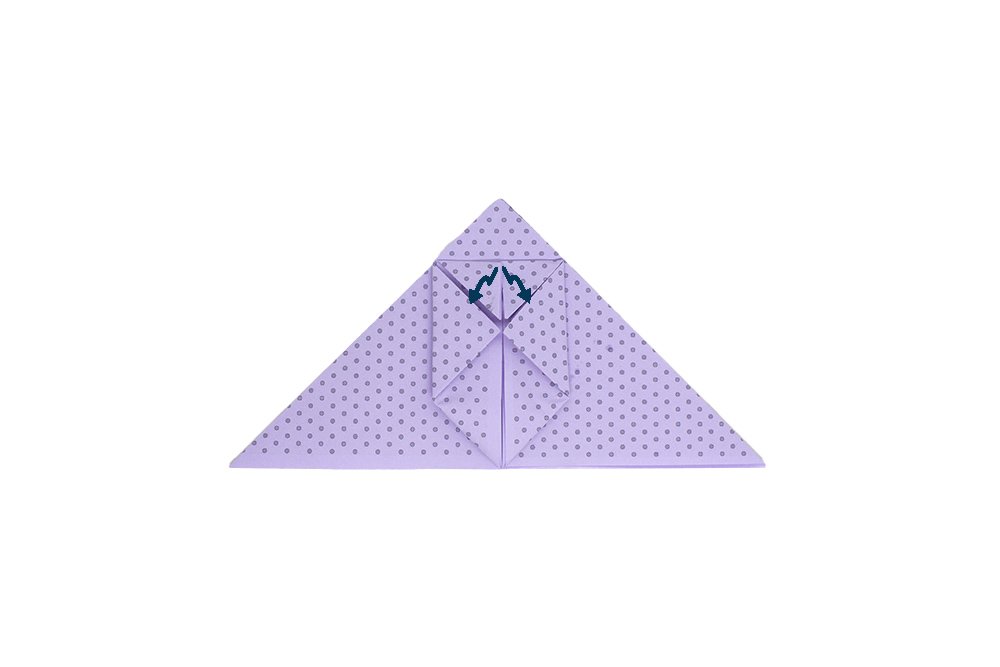
Tuck the two front flaps of the outer layer downward. Make sure to just tuck the top layer along ONLY along the dashed lines.
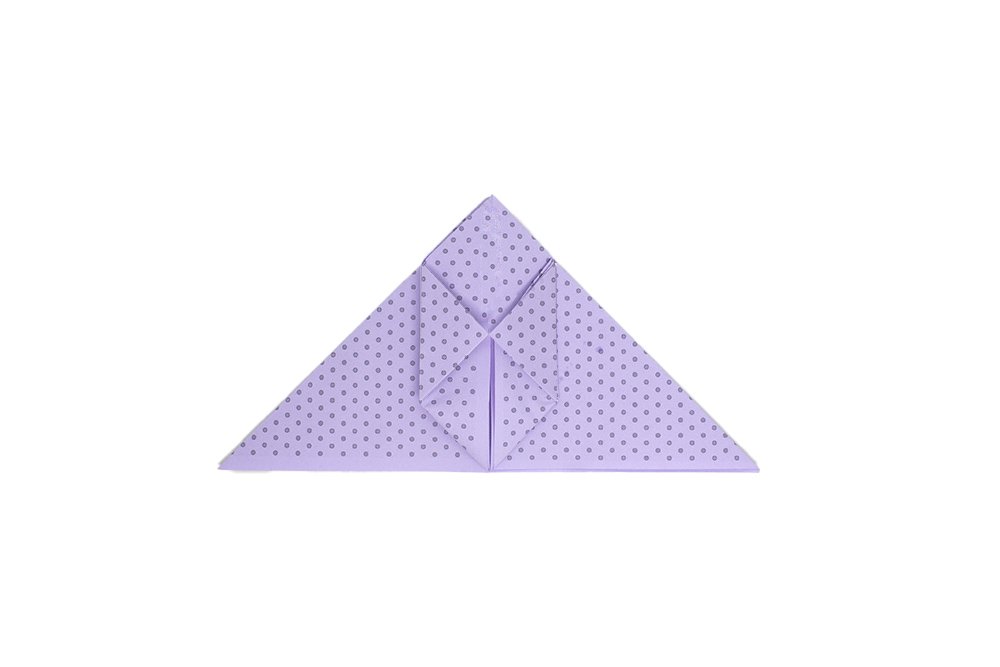
Flip the origami paper to the other side.
Fold the left and right corner to the center. You have now made the body of the puffy rabbit.
Shape the body into a hexagon
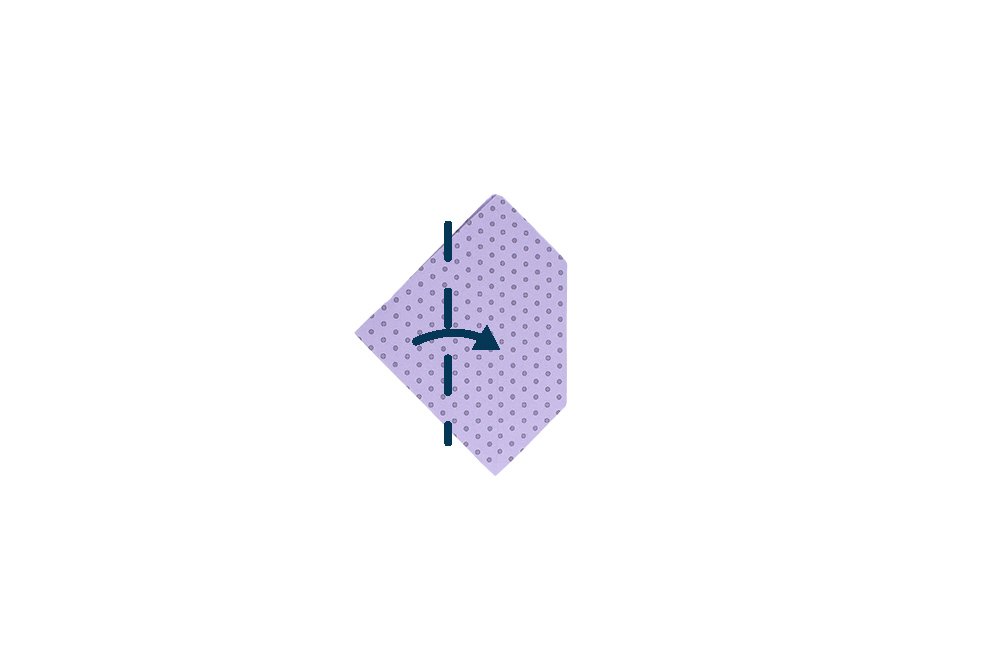
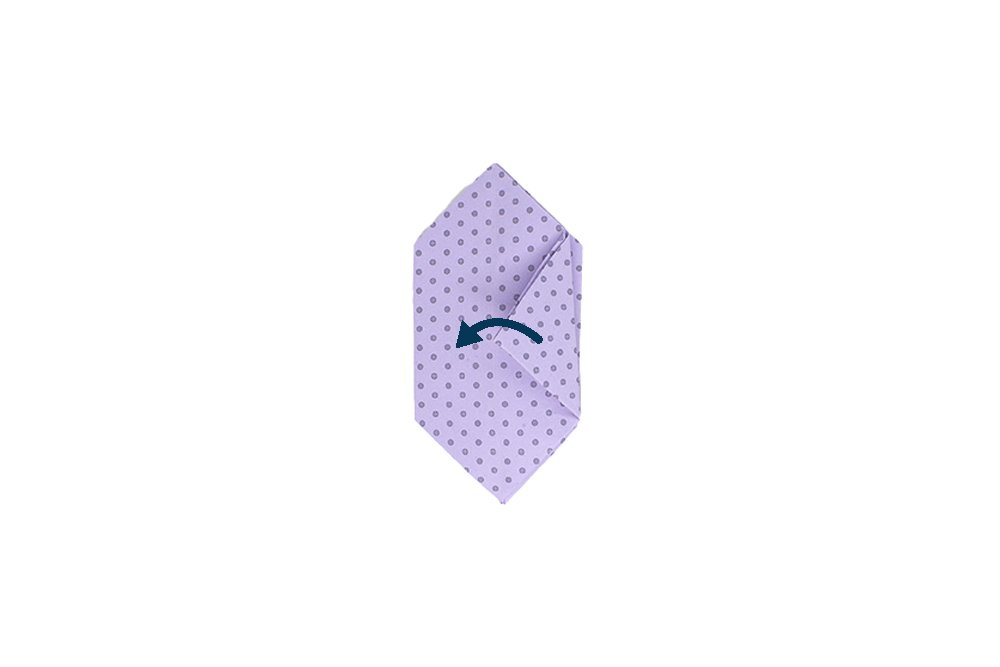
Like turning a page from a book, turn the right side to the left.
Fold the left corner of the origami paper to the center. Make sure to fold the top layer ONLY.
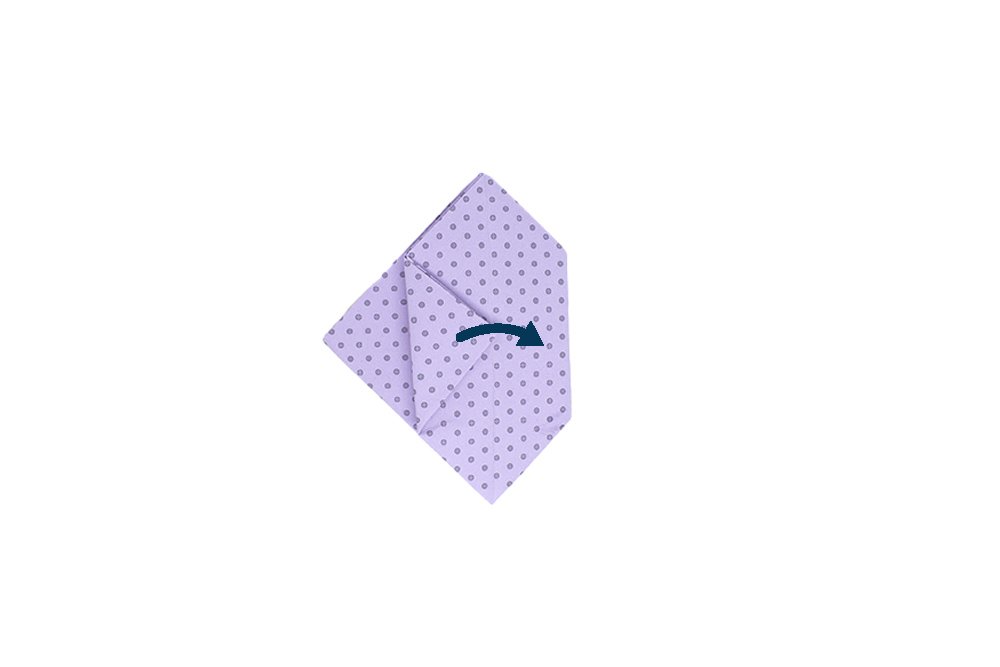
Bring the triangular top flap to the right side of the origami piece.
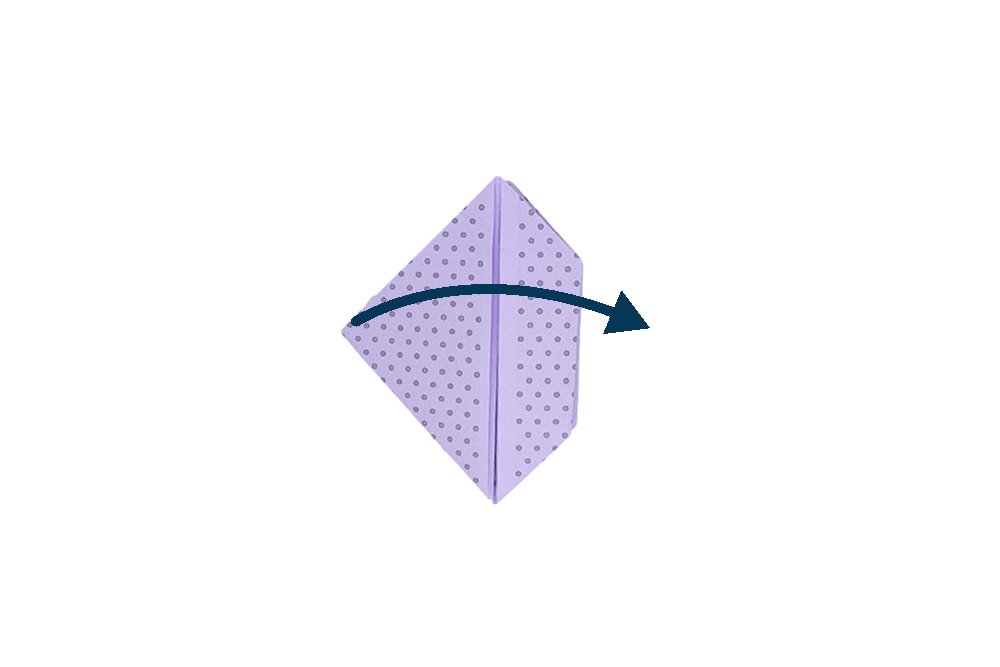
Like turning a page from a book, turn the flap of the left side to the right.
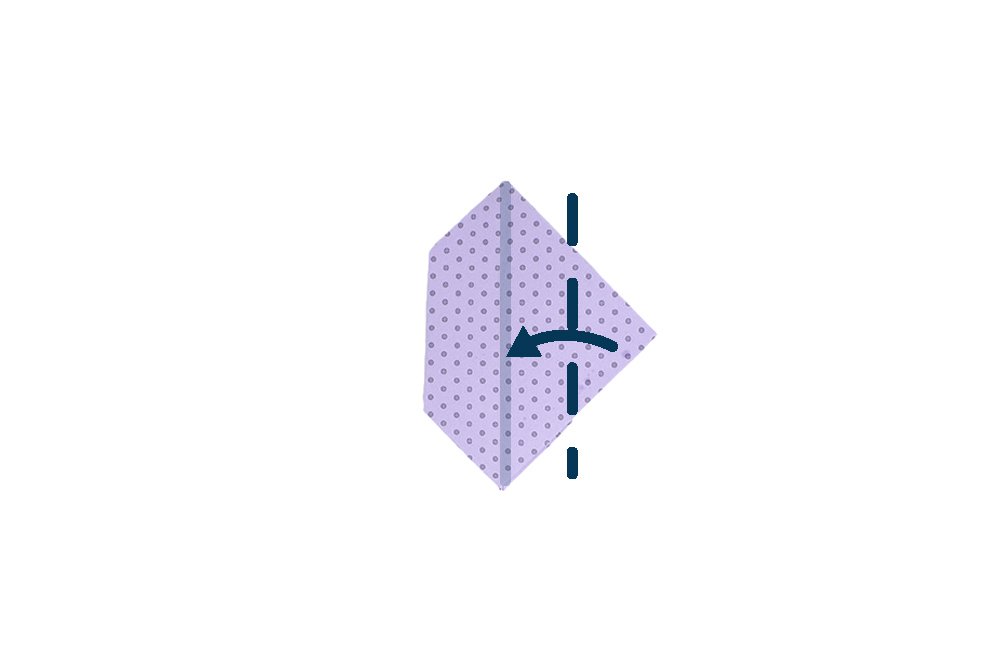
Fold the right corner of the origami paper to the center.
Bring the top right flap to the left.
Make the paper bunny's ears
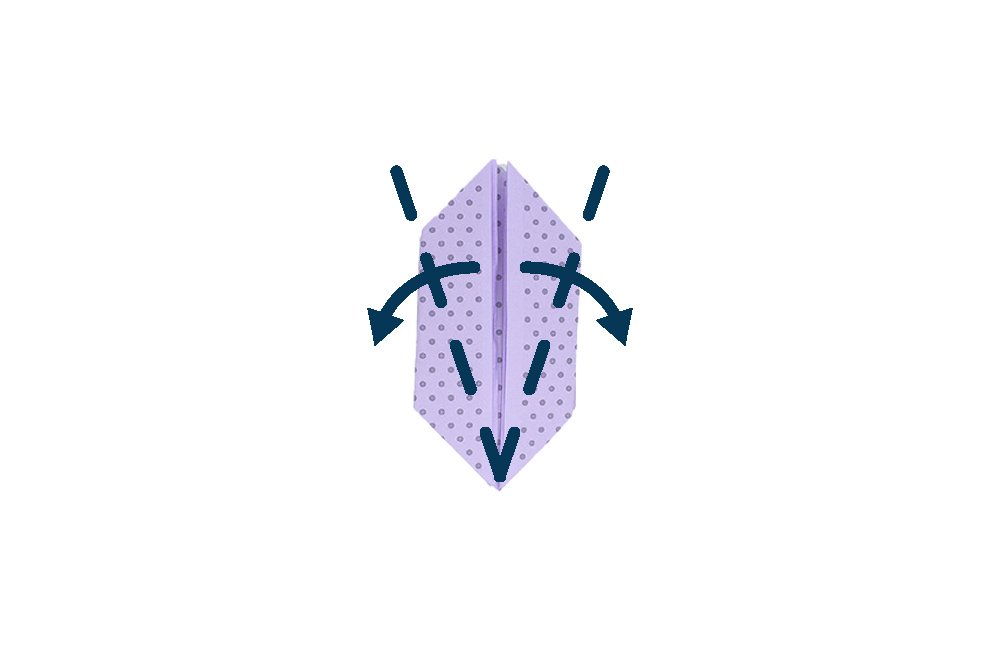
Form the ears of the bunny by folding the top layers outward along creases shown.

Pry open the flaps on both ears.
Puff it into a 3D cube
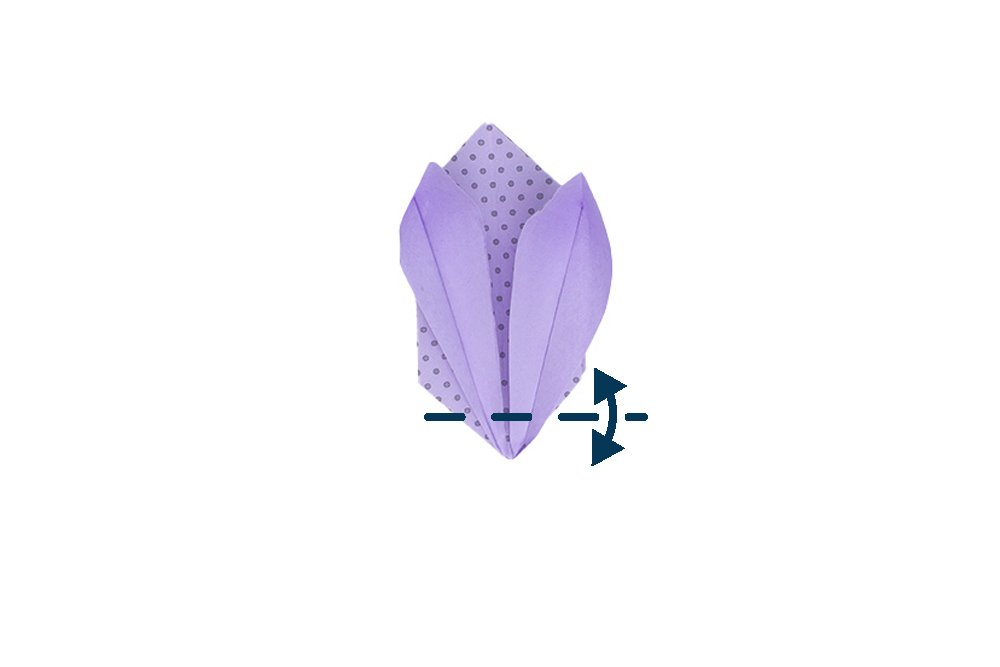
Fold along the dashed lines as illustrated on the image above. After that, crease the paper well and unfold.
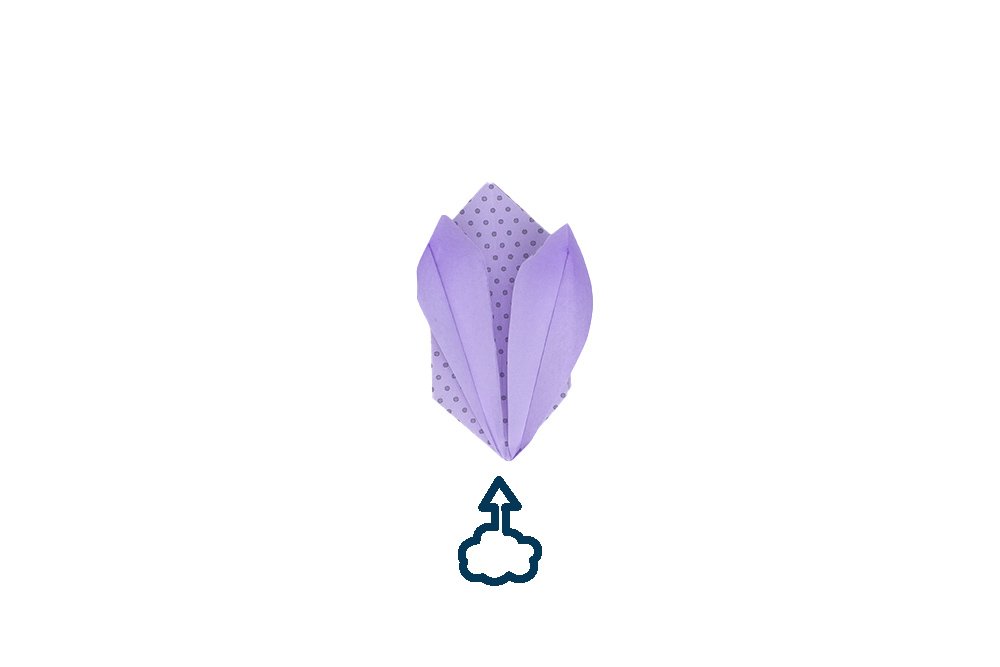
Lastly, blow on the bottom corner to puff up the body of the bunny.
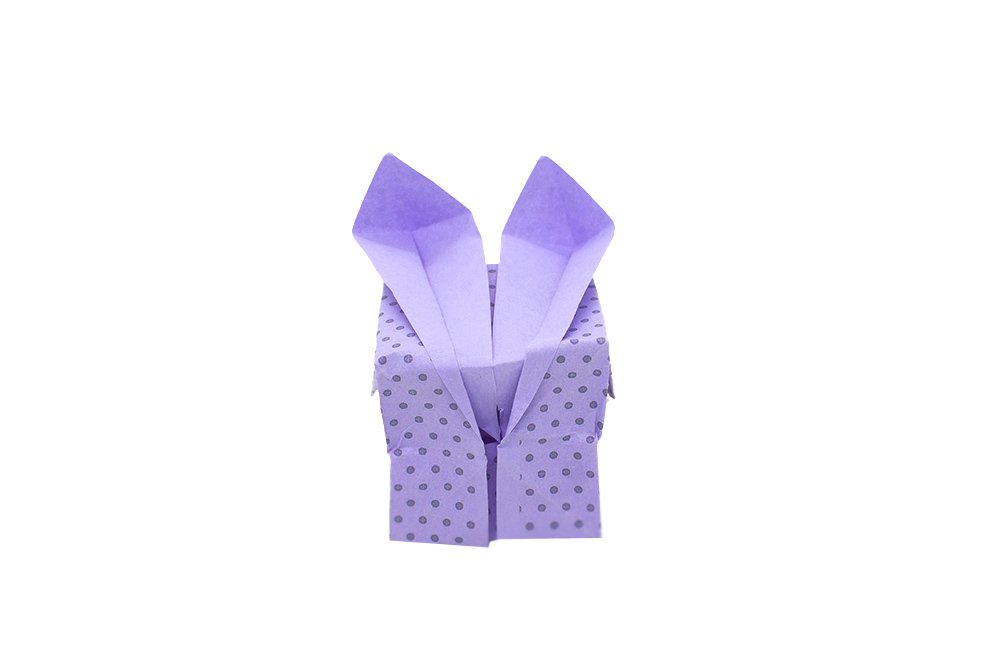
Your origami puffy bunny is done!
Extra Tips
- You may draw the paper rabbit a face with a marker.

Super idea yaar I love crafting 😍😍😍
the last step can be a bit tricky from blowing but i managed with a few tries to make it puff nicely!
holy cat! that is an adorable bunny!
So hard making the puff at the end
you may insert a thin straw at the hole to make it easier to blow!!!