Discover How to Make an Origami Tulip Flower Fold

Tulips are beautiful bell-shaped flowers that are very popular around the world. In this origami tutorial, we will make a 3D origami of a tulip along with its stem.
The procedure is quite long, but the folds are easy to do. Beginners are encouraged to try.
You will need 2 pieces of sturdy origami paper. One green colored paper for the stem of the tulip origami and one different colored paper to make the actual tulip (for this instruction, pink was used, but you may use any color such as yellow, orange, and red).
This paper flower is three-dimensional and what’s great about this origami is that it can stand on its own once finished. Enjoy!
Make a waterbomb base for the origami tulip flower
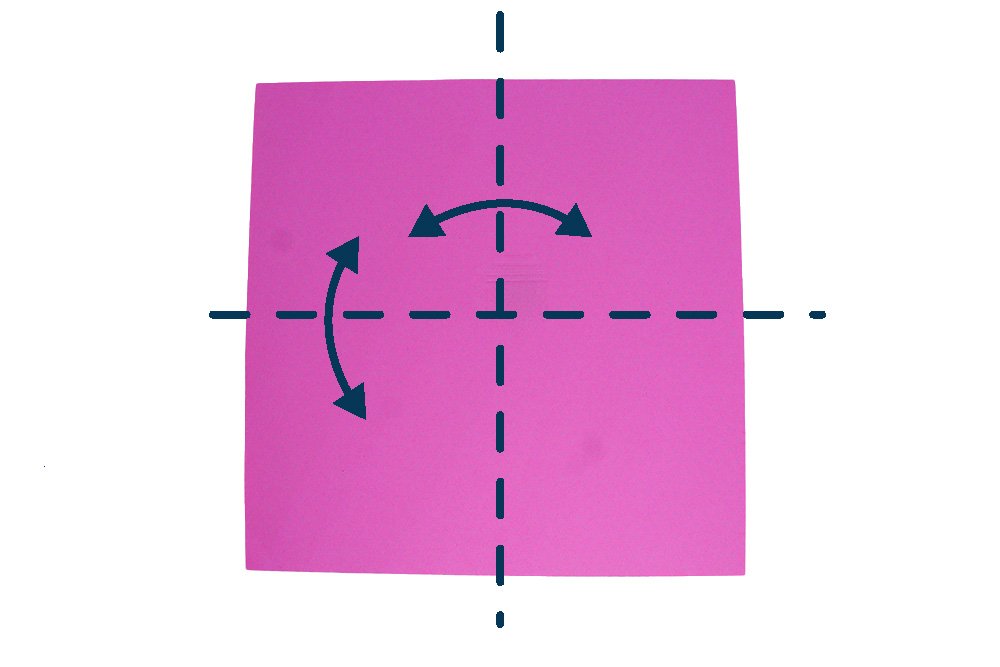
Use a pink (or any color) square piece of the origami first. Face the colored side of the paper upwards and fold the paper crosswise and lengthwise in half. Unfold completely.

Flip the origami paper to the other side. Diagonally fold the paper on both sides. Follow the dashed lines for guidance. Unfold completely.
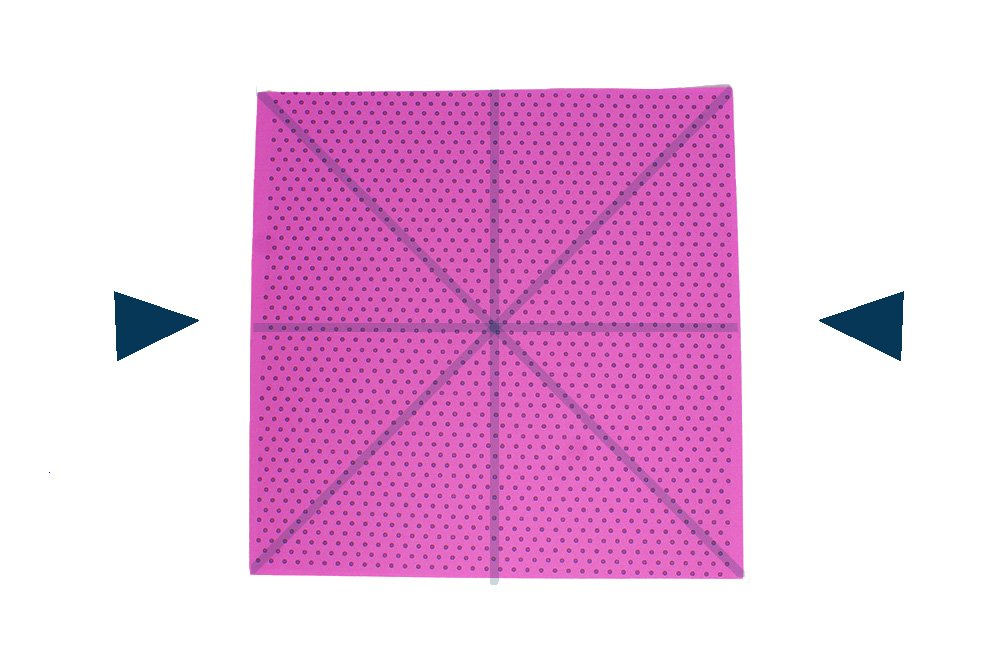
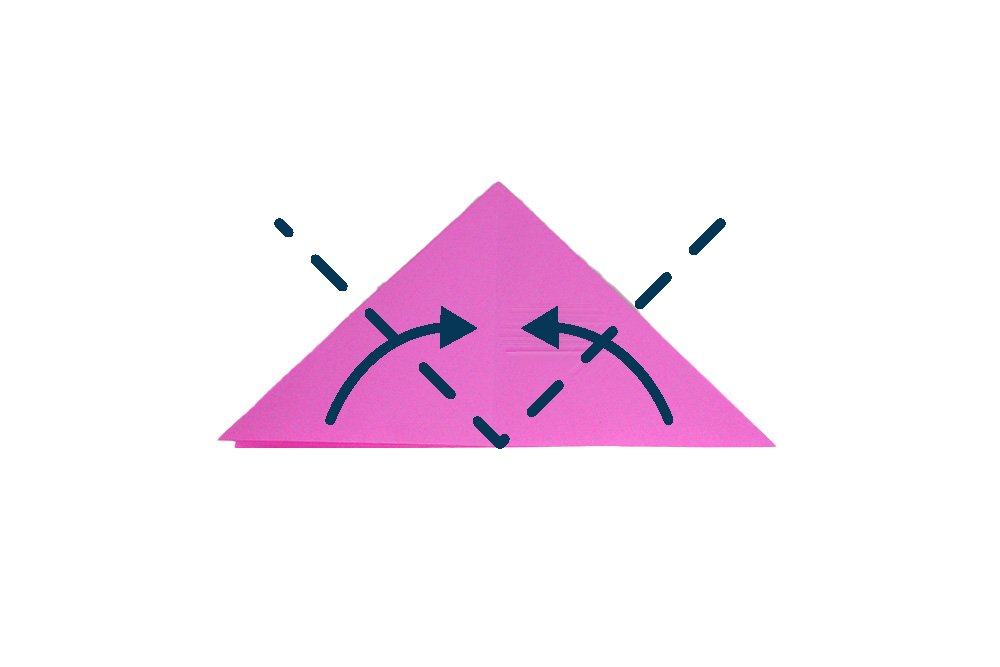
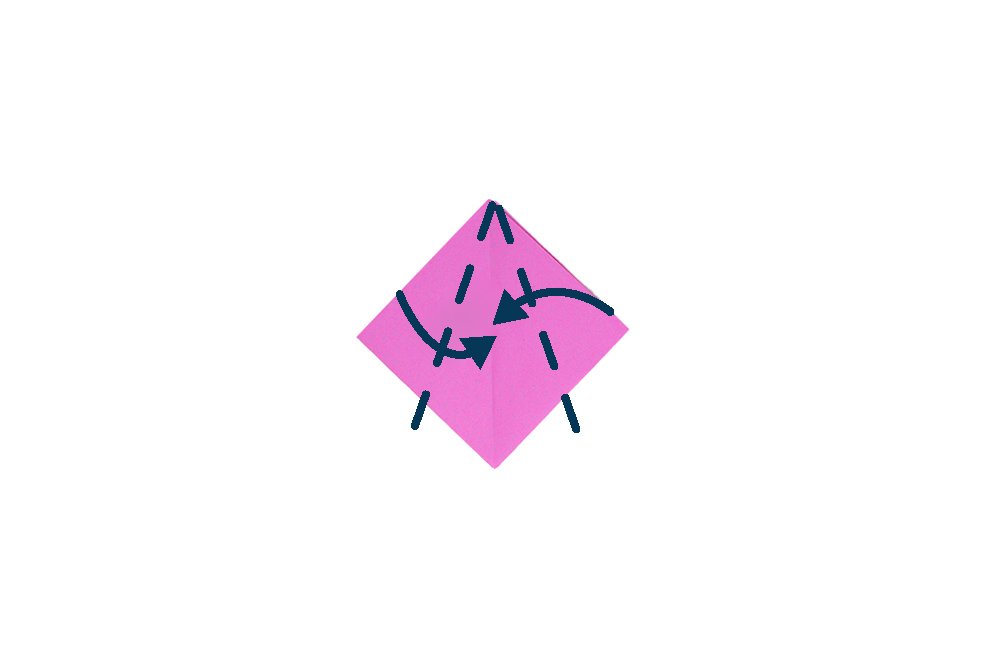
Start pushing the paper from both sides as shown by the arrows. The crease lines will help you push the paper into a waterbomb base fold.
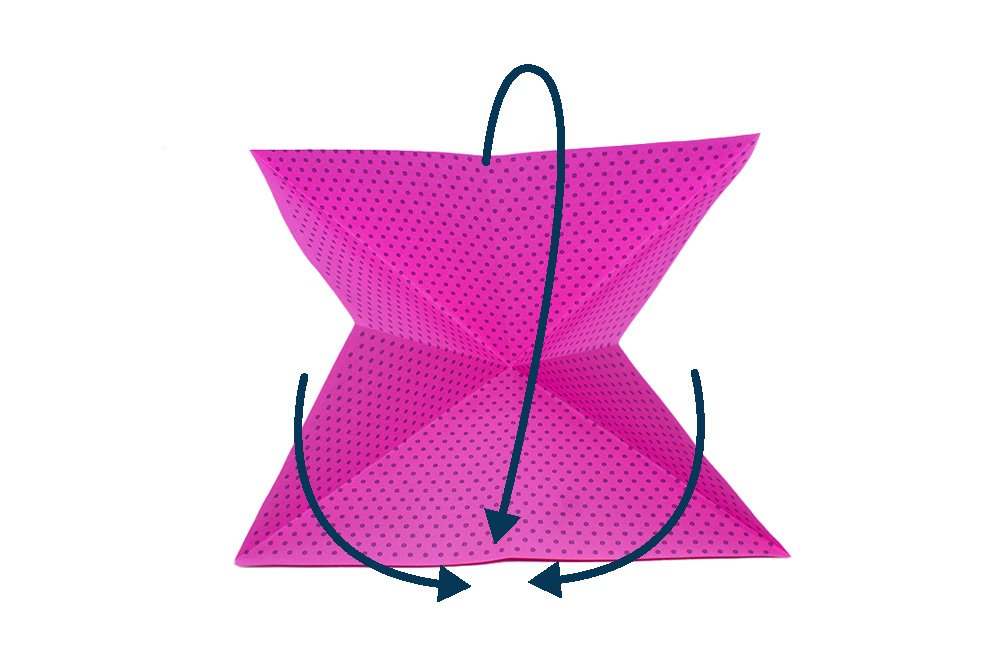
Follow the directions of the arrows and as you push the sides in, the background triangle should form. Hold it down as you continue to bring both sides together.
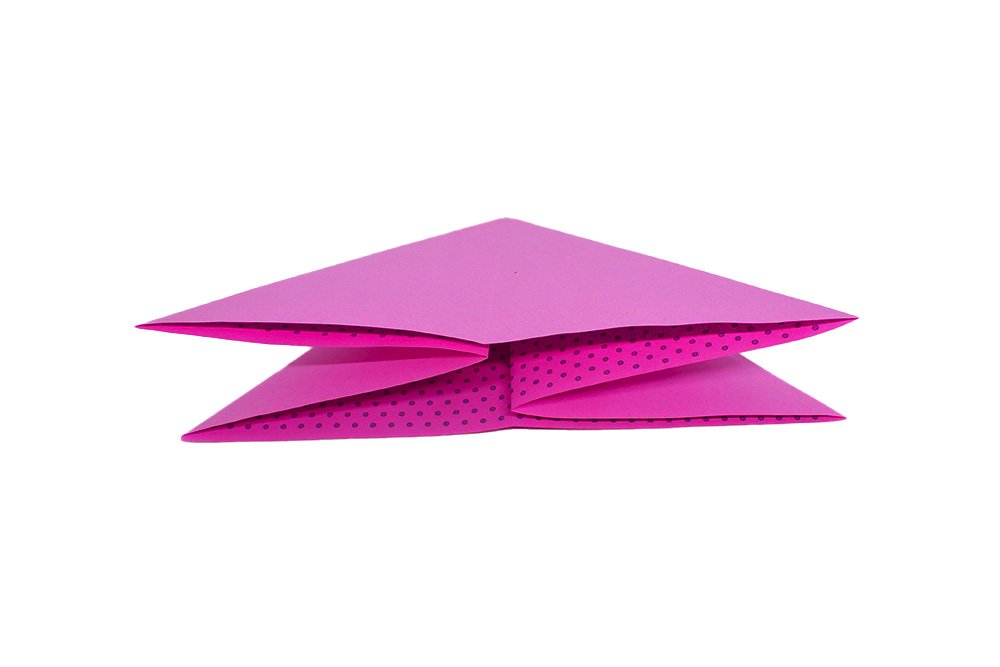
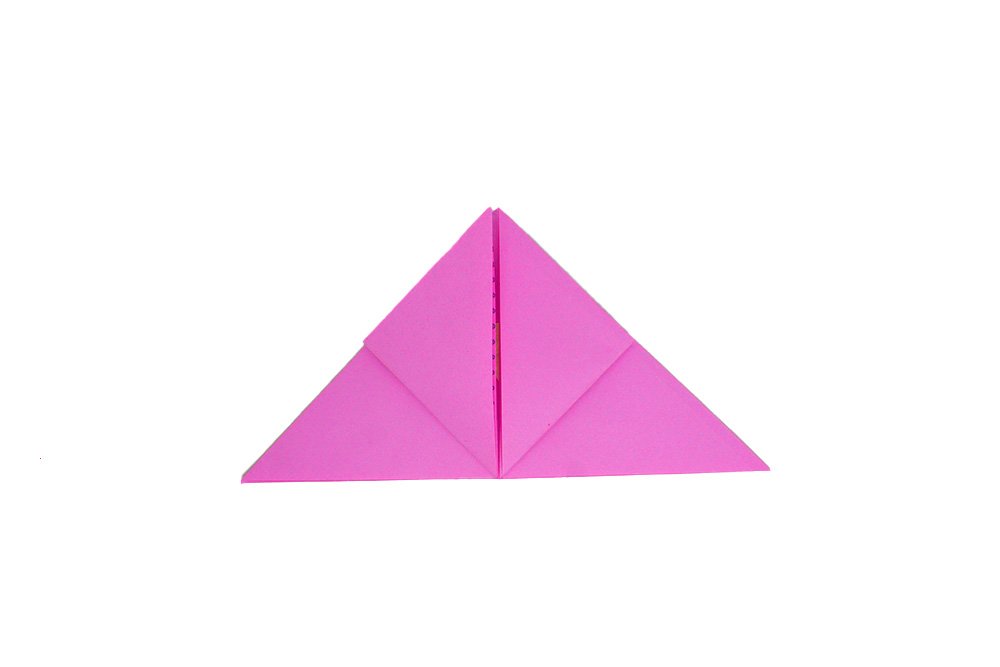
Squash the paper to flatten it. You have now made a waterbomb base.
Shape the origami paper into a paper tulip
Fold the left and right bottom corners of the front flaps to the top corner.
This is what your paper should look like once you have diagonally folded it. Now, flip it over. Then repeat previous step at the back side of the origami paper.
Like flipping a page from a book, turn the front flap of the right side to the left side. Do the same at the back.
This is a picture when you are done with the first side. Make sure to work on the the back side as well.
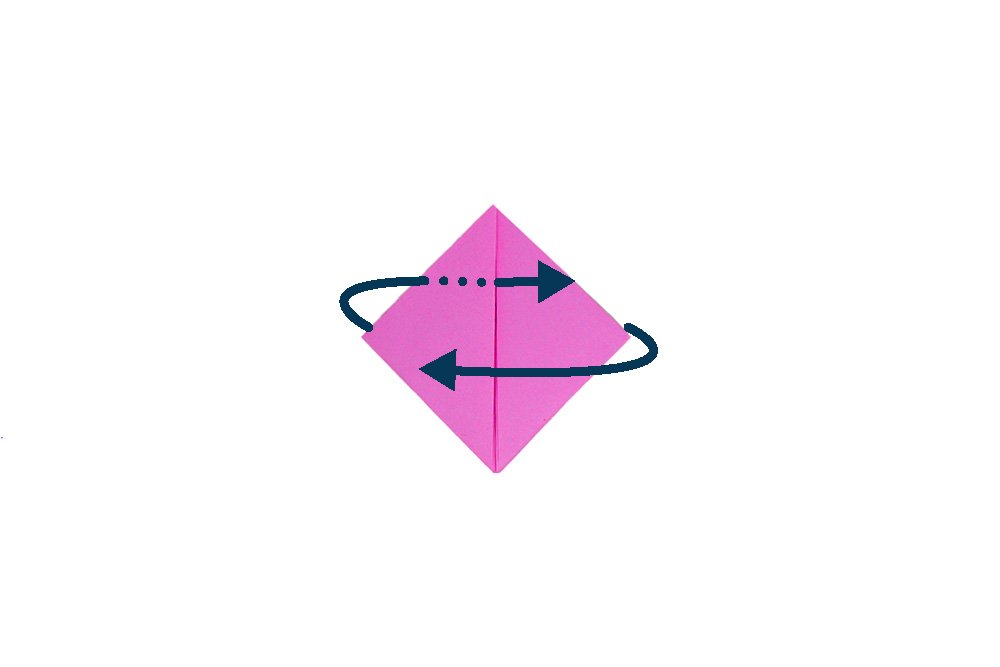
Connect the right and left corner of the front flap by tucking one side into the other.
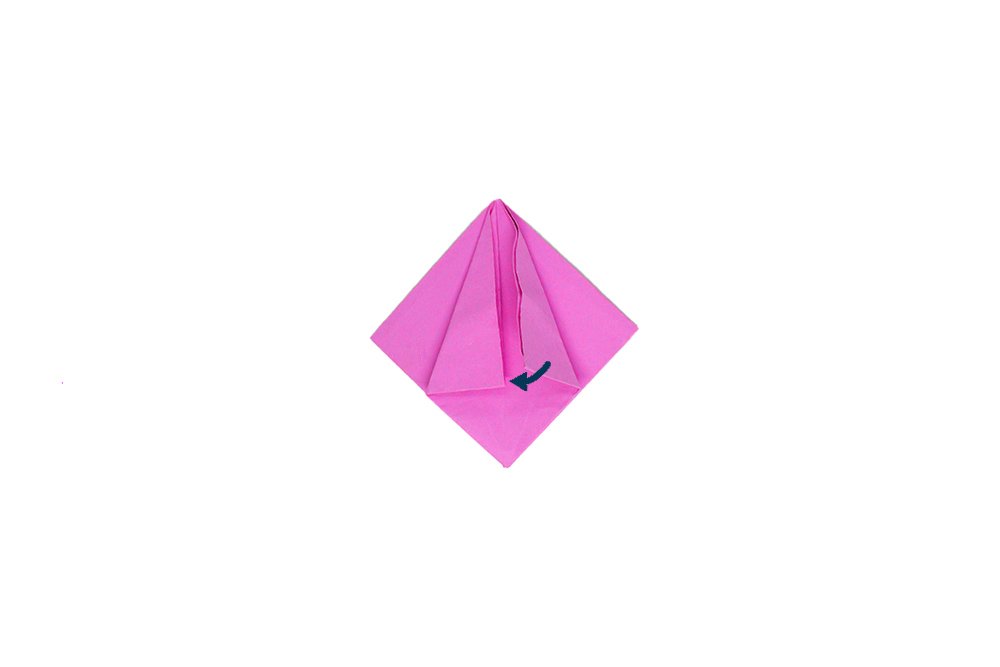
Tuck one of the flaps inside the other flap. Make sure that the flap tucked is securely inside.
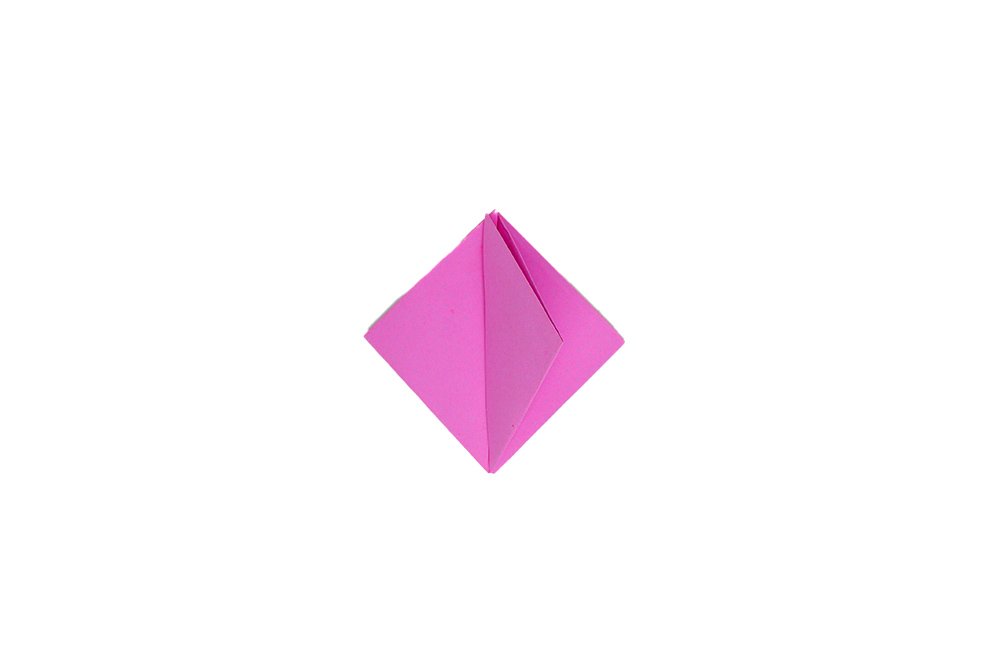
This is what your paper should look once you've tucked it together. Repeat the process on the back side of the origami tulip as well.
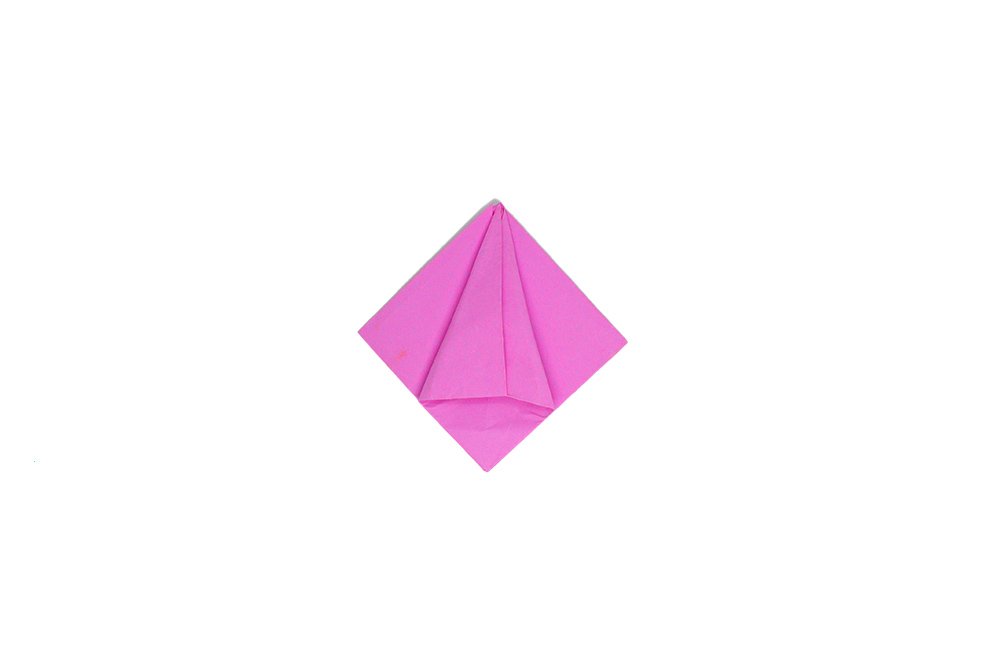
After you've tucked the flaps of your paper, it should look like the image above.
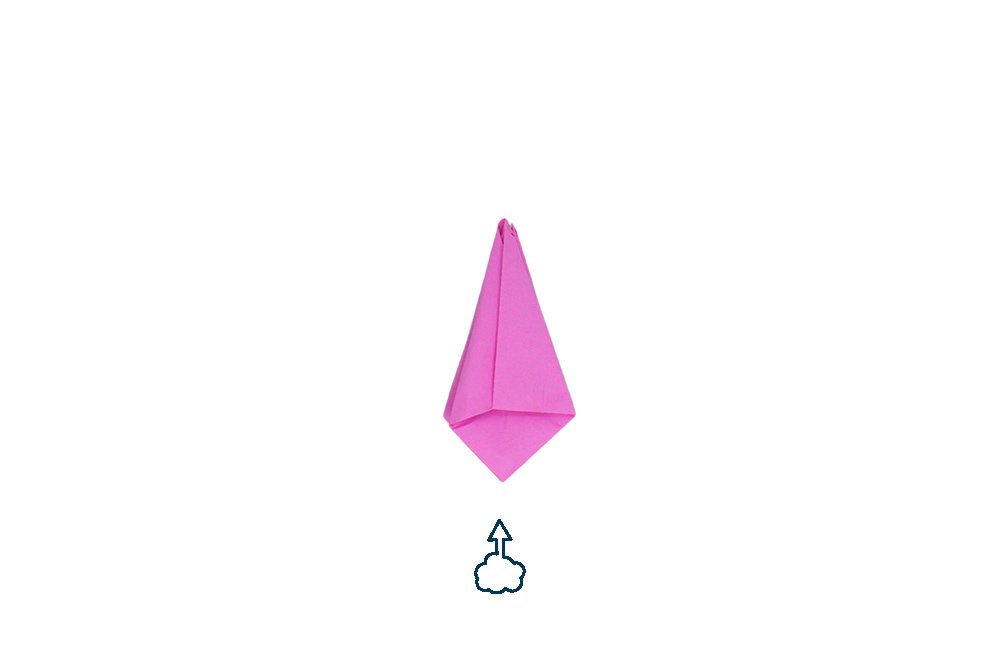
Your origami paper should now look like a tulip flower bud. Inflate to form the shape of a tulip flower by blowing into the base of the tulip
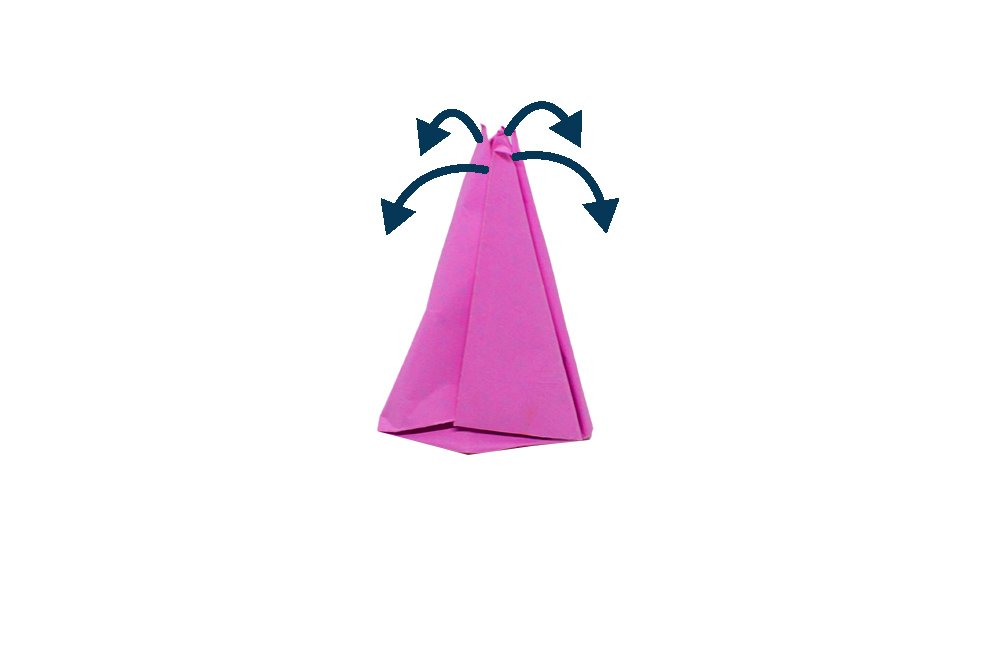
Once the origami flower is puffed up, gently peel off the petals of the tulip.
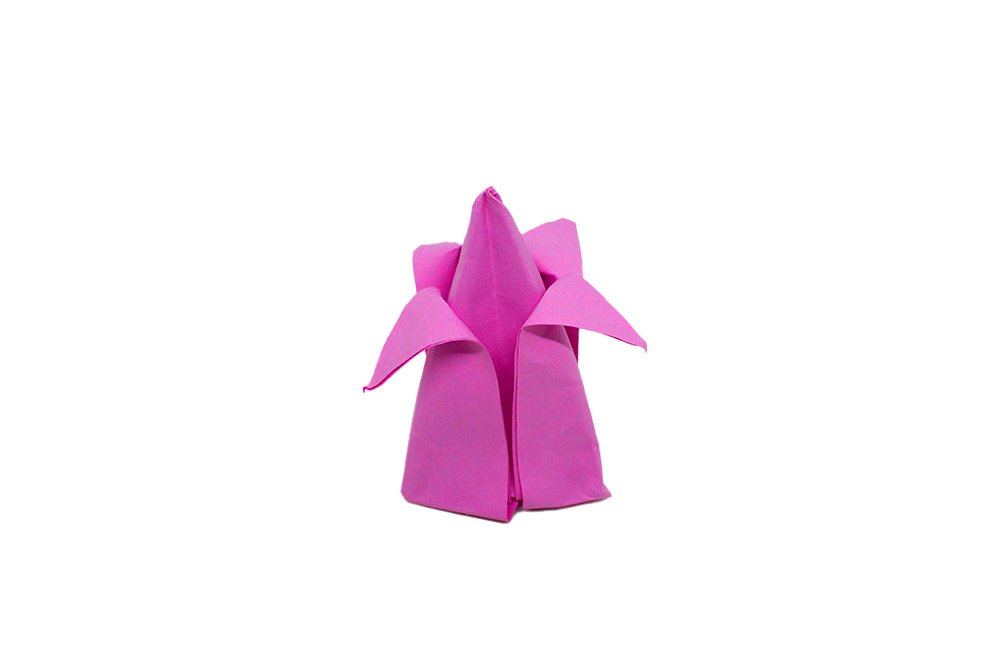
Slightly curl the petals to make them more realistic.
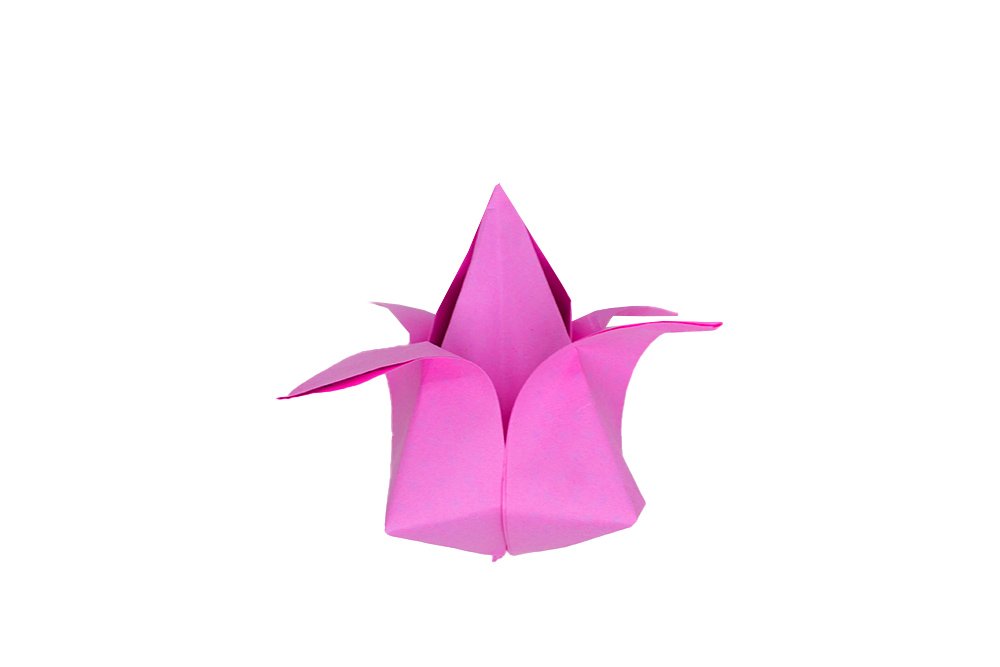
Your origami tulip flower is almost done! Set this piece aside to make the stem.
Create the stem of the origami paper tulip
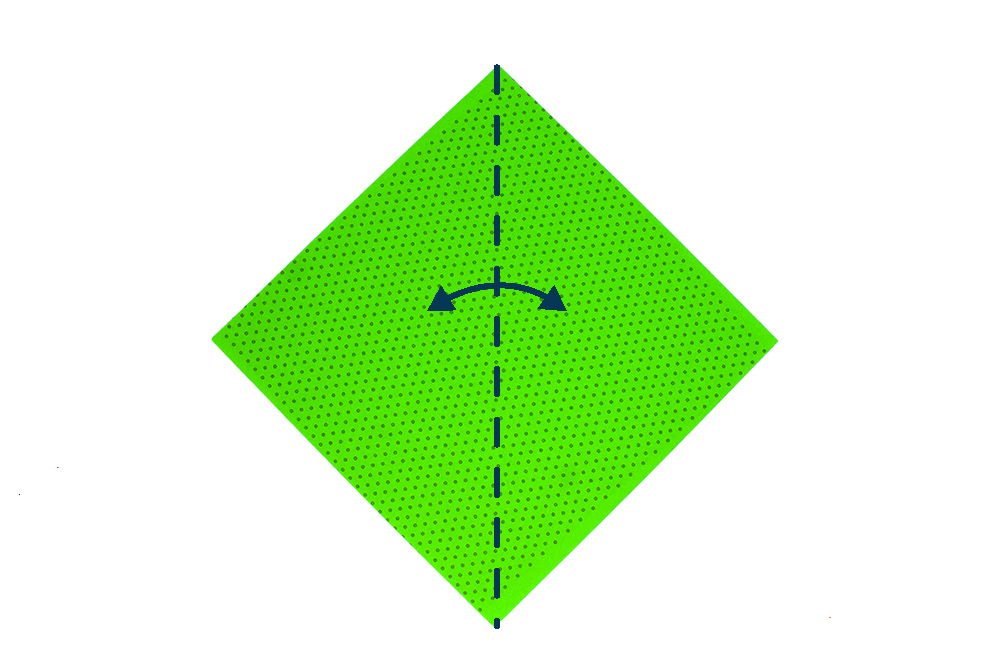
Start with a square piece of green origami paper, and face the colored side down. Fold the paper in half. Crease it well and unfold.
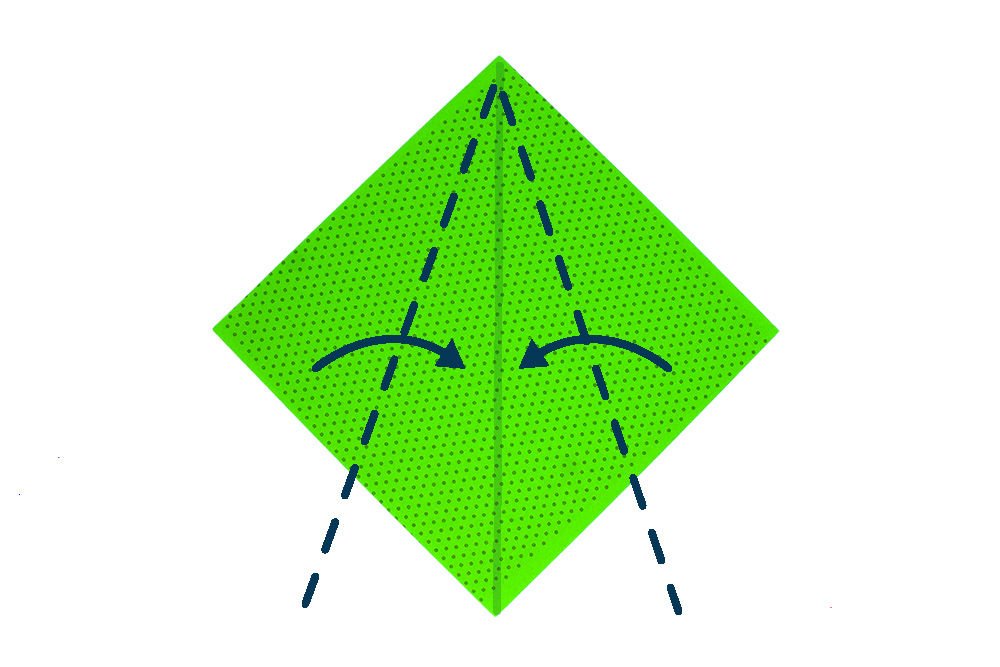
Bring the left and right corner to the middle crease as shown.
Fold the left and right corners to the center as shown. Follow the dashed lines for guidance.
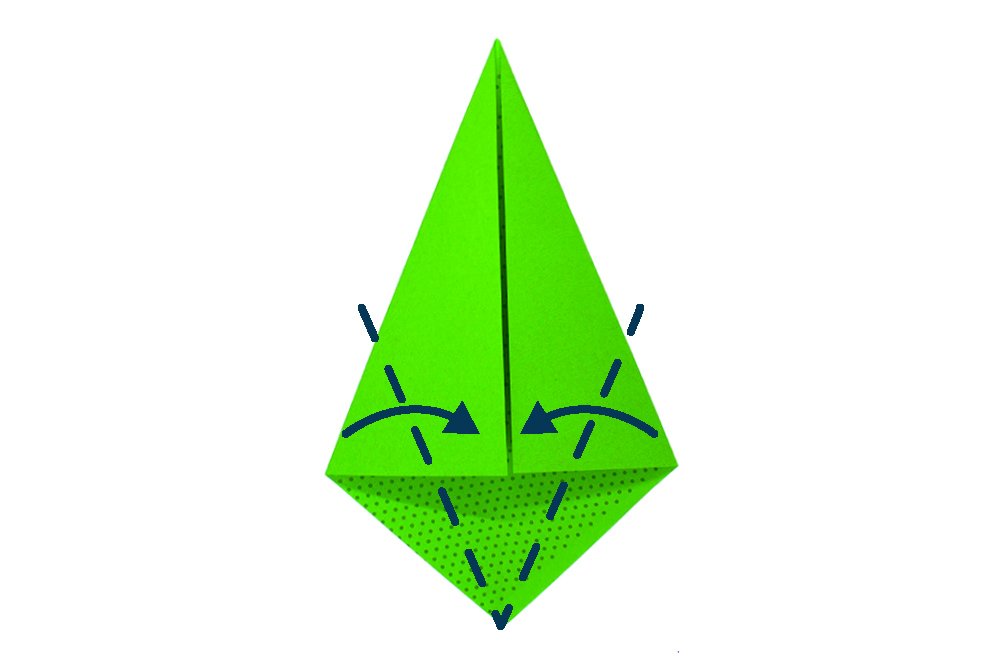
Bring the bottom corner to the top corner
Flip it over to the other side. and then fold the origami piece in half.
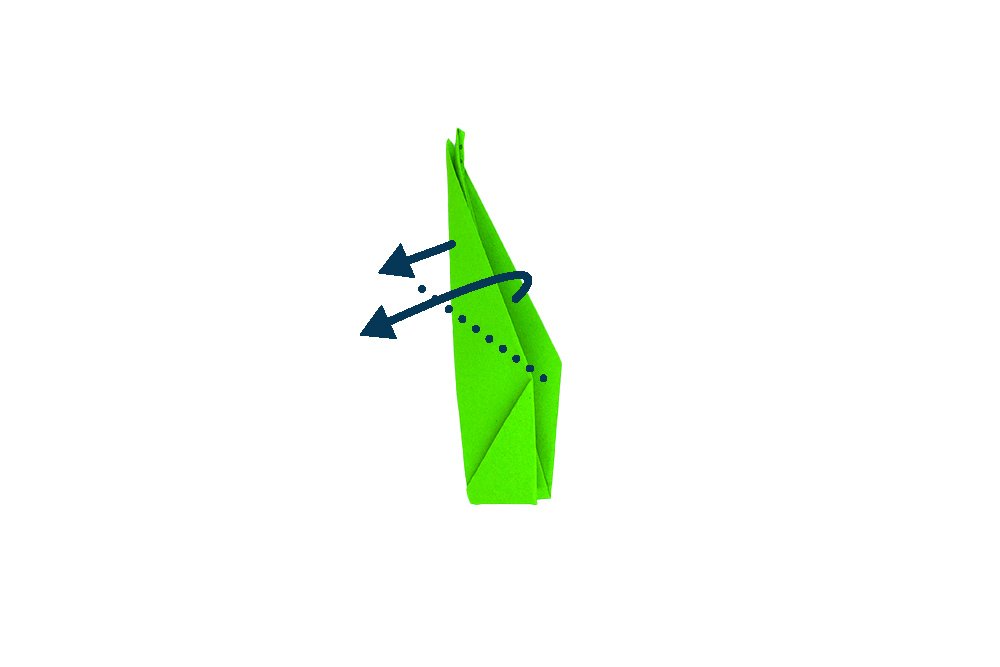
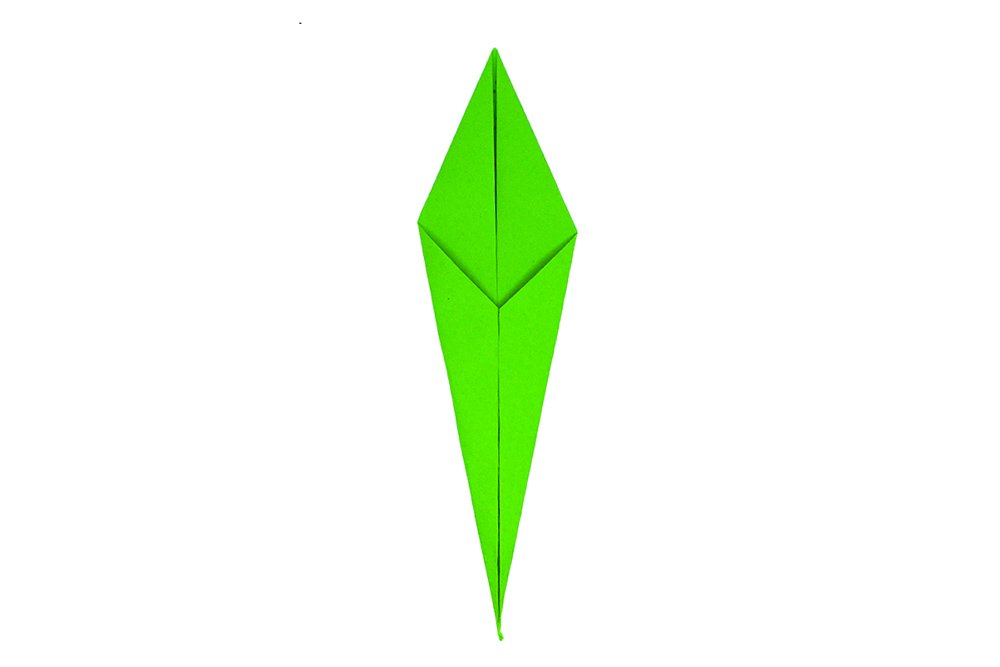
Make the leaf from the origami stem by making an outside reverse fold along the dotted line.
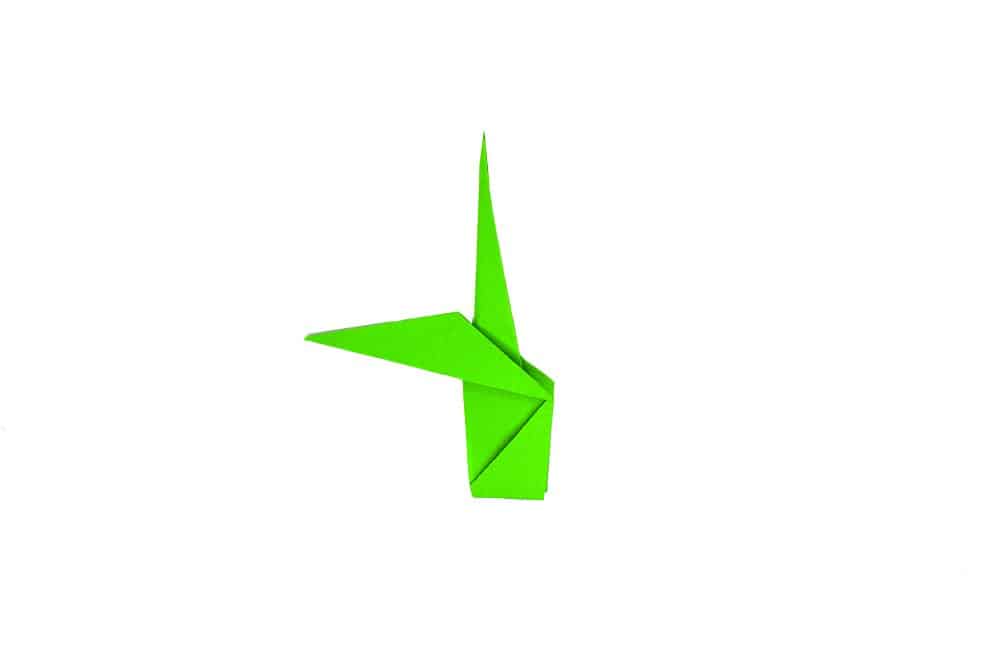
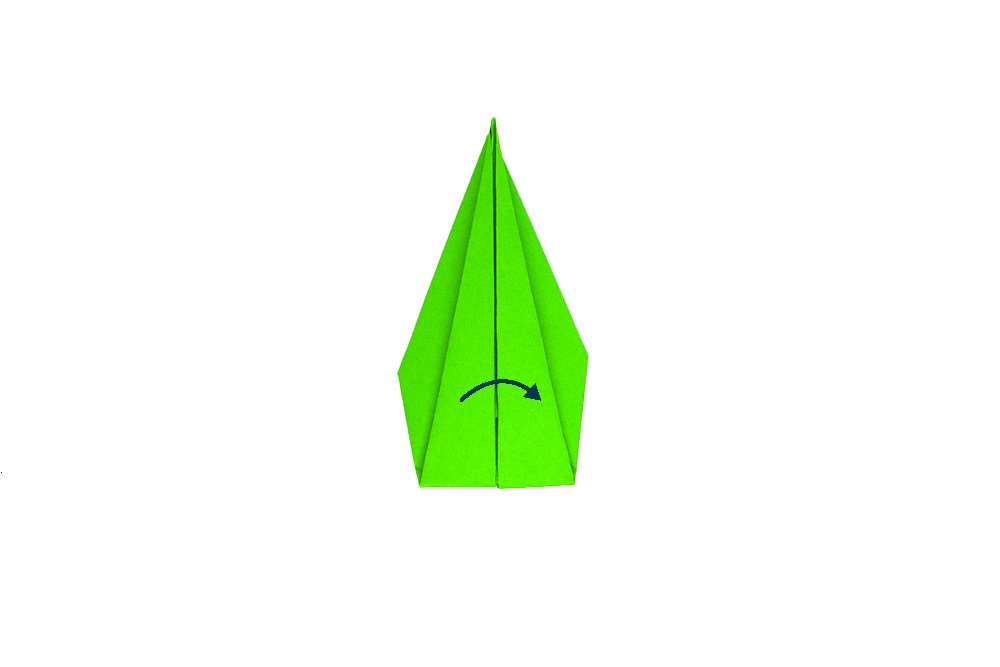
Once completed the step, the stem of your origami tulip is done.
Attach the origami stem and paper tulip
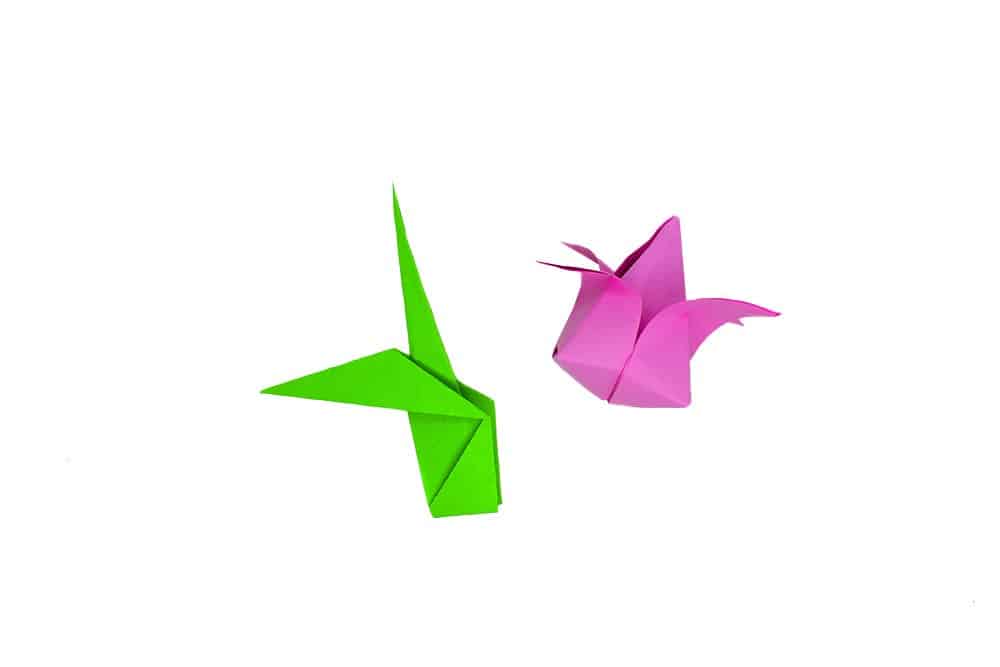
Attach the flower stem to the tulip made earlier by inserting it into the base of the origami flower.
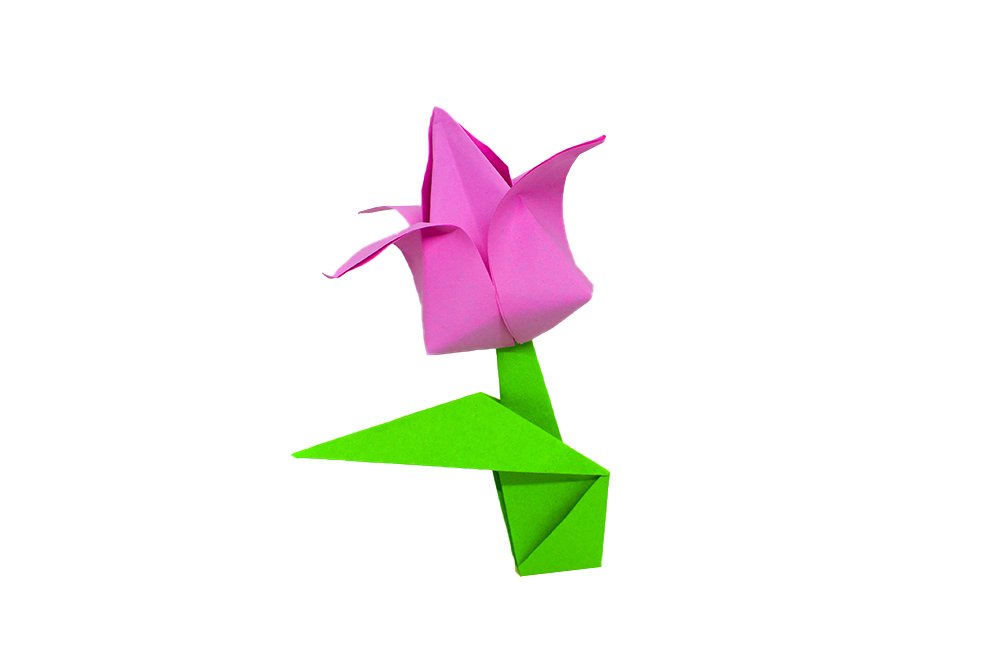
Your origami tulip is done!
Extra Tips
- Are you looking for a present? Here's a great gift idea! Tulips are known to represent deep love. Whether for a loved one, a family, a friend, or anyone who you admire, this is an excellent present that anyone will surely appreciate.
- The color of each tulip has a much deeper symbolism to them. A red tulip symbolizes love, while a green one means new beginnings. Consider the color you want to make the origami flower, especially if you're planning to give it to someone else or deliver a message.
- It's lengthy, but after doing the origami thrice or more, you will be more familiar with it to the point that you won't need the guide as much. For this tutorial, we chose pink. Pink tulip praise and good wishes. We appreciate it a lot for taking the time to learn this craft, and we wish you all the best in all your endeavors!

this is so fun, so easy and so adorable!! You deserve the likes!!
I did it first try out of yellow paper. It looks stunning and I’m giving it to a friend because yellow represents friendship. Thank you so much!
that’s so lovely!!!
Actually made a whole bouquet of this to give to my mom this coming Mother’s Day💕
really needed a mothers day gift, took me half an hour. thanks my guy