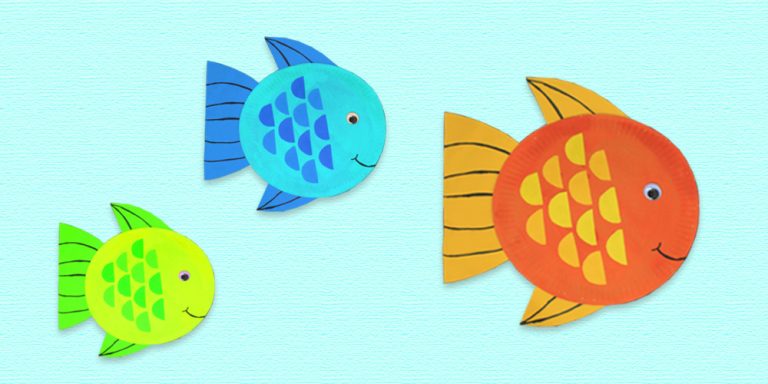
Introduction:
Create an adorable paper plate fish that is easy to make and that kids can enjoy. What’s great about this fish craft is that it’s three-dimensional and can be displayed by hanging on the ceiling. Using some cotton balls and materials usually found in the house, you can make this adorable sea creature. For this project, we used different shades of yellow/orange to make a cute goldfish. You can use other colors of paper materials to make your one-of-a-kind paper fish. Have fun crafting!

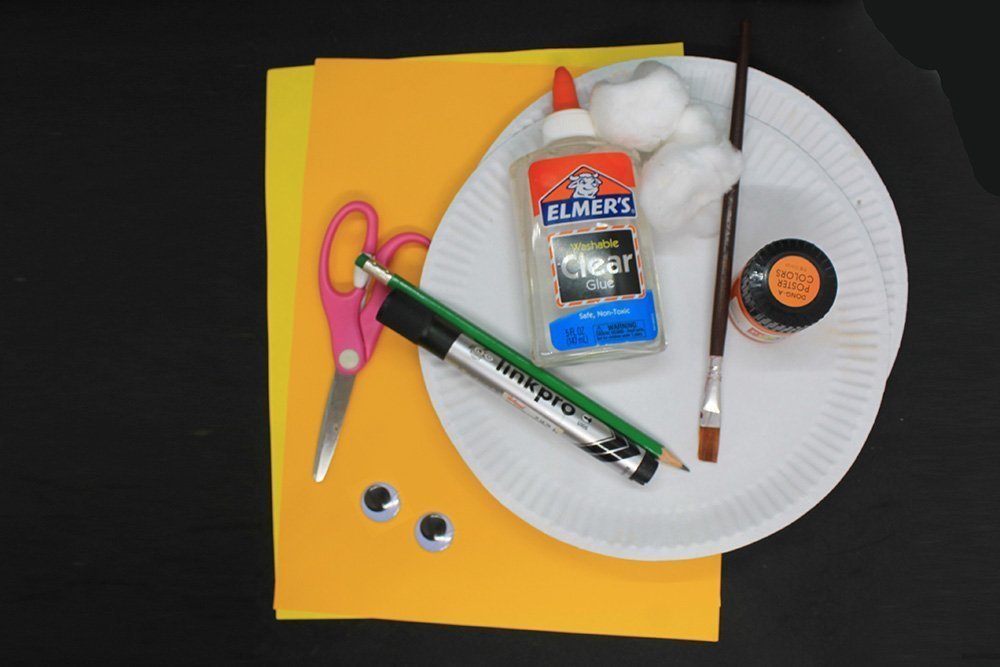
Tools
- Paintbrush
- Scissors
- Marker
- Pencil
Supplies
- 2 Paper Plates
- Cotton balls
- Paint (color of your choice)
- Construction paper (color/s of your choice)
- Googly eyes (optional)
- Glue

Color then base of the paper plate fish
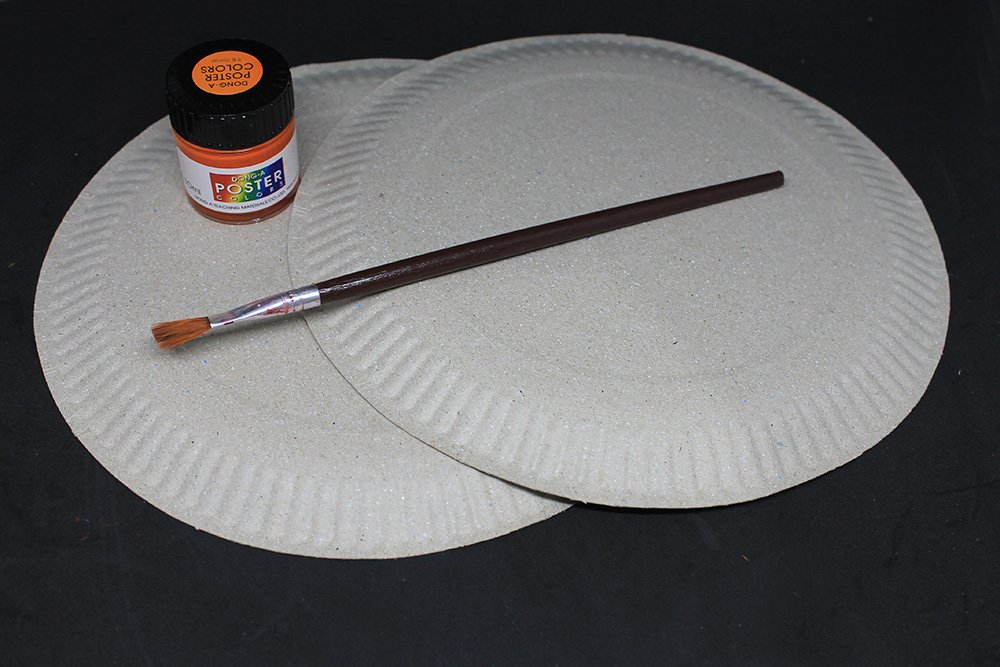
Get two pieces of paper plates and paint them with the color of your choice. For this project, we used orange paint so that it resembles a goldfish.

Once painted, set them aside to dry.
Create the fins and the tail of the fish
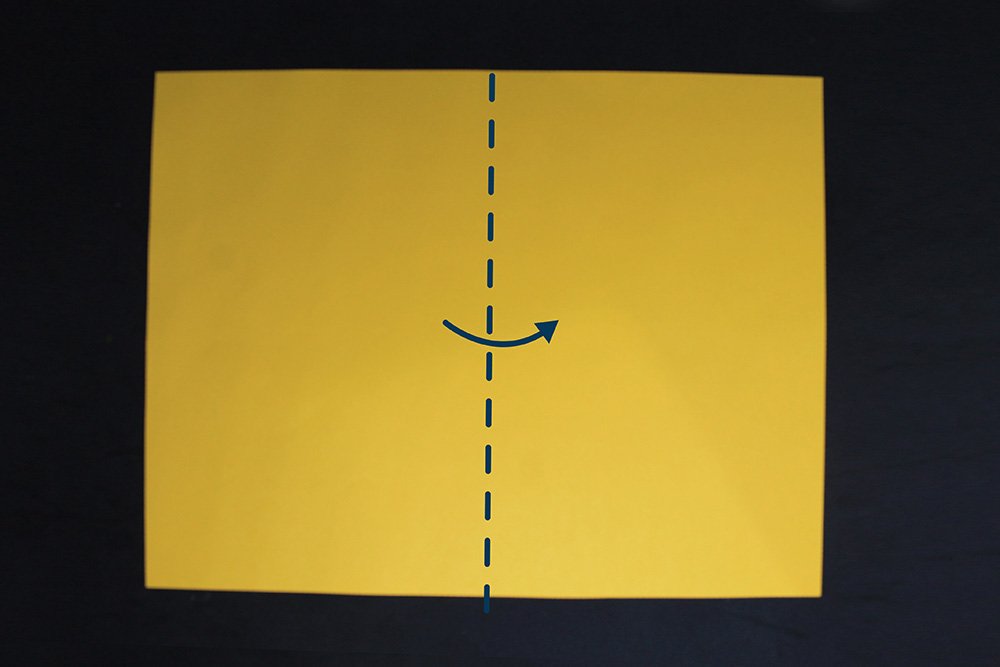
Get a piece of construction paper and fold it vertically in half.
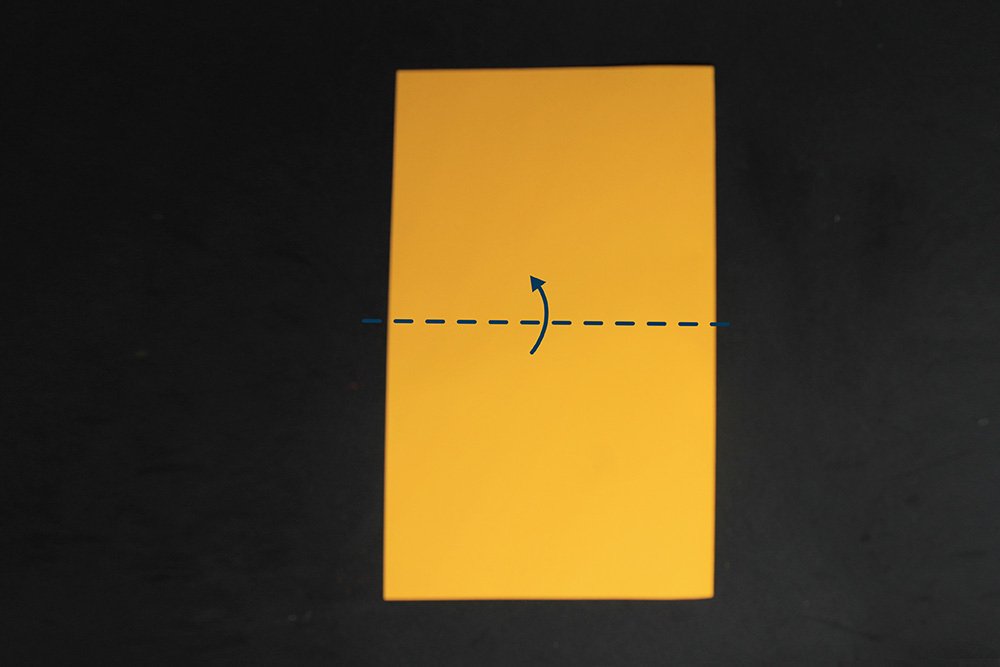
Now fold it in half upwards.
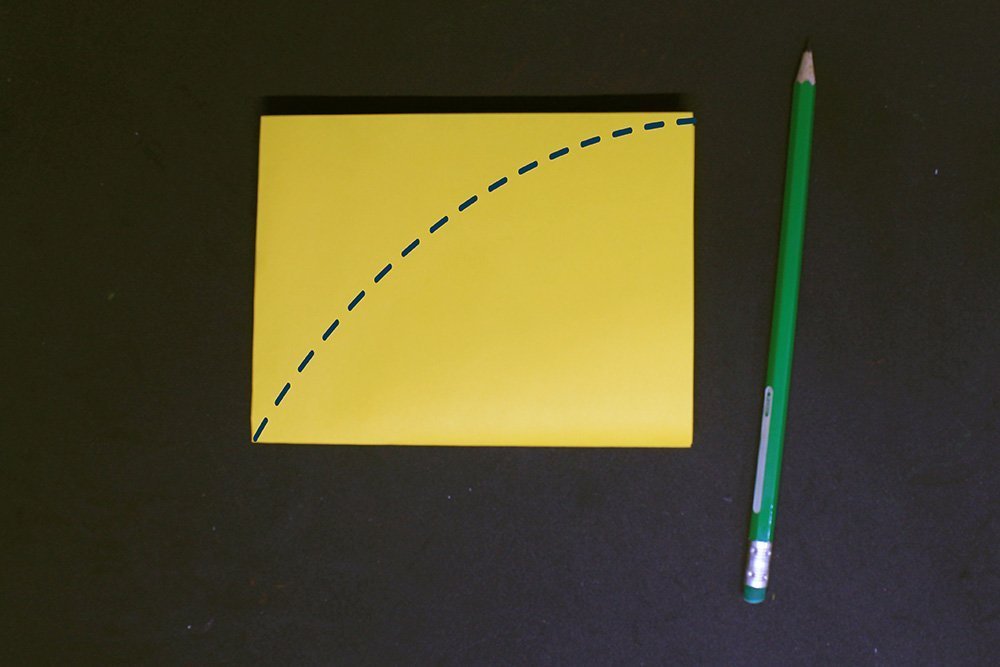
Draw a curved path by following the dashed line illustrated above.
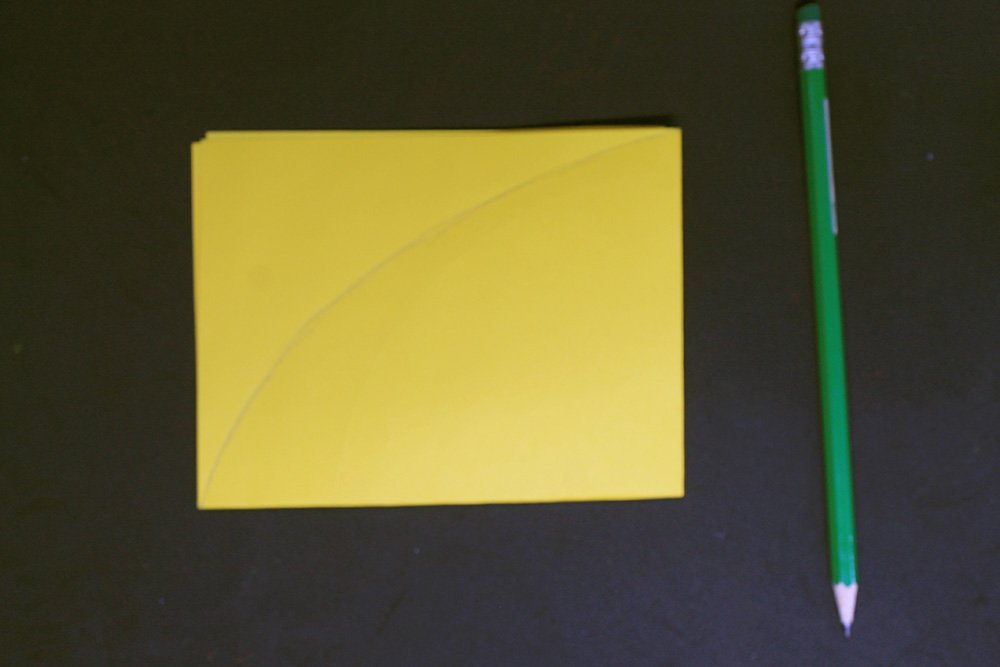
The curved arched should look like this.
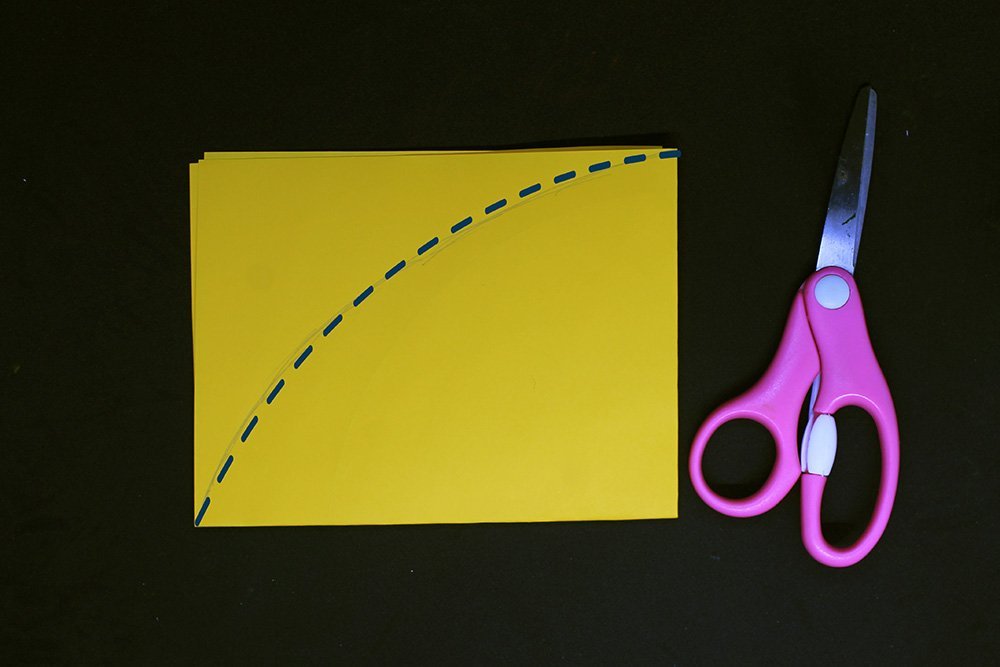
Cut along the drawing (dashed line) made.
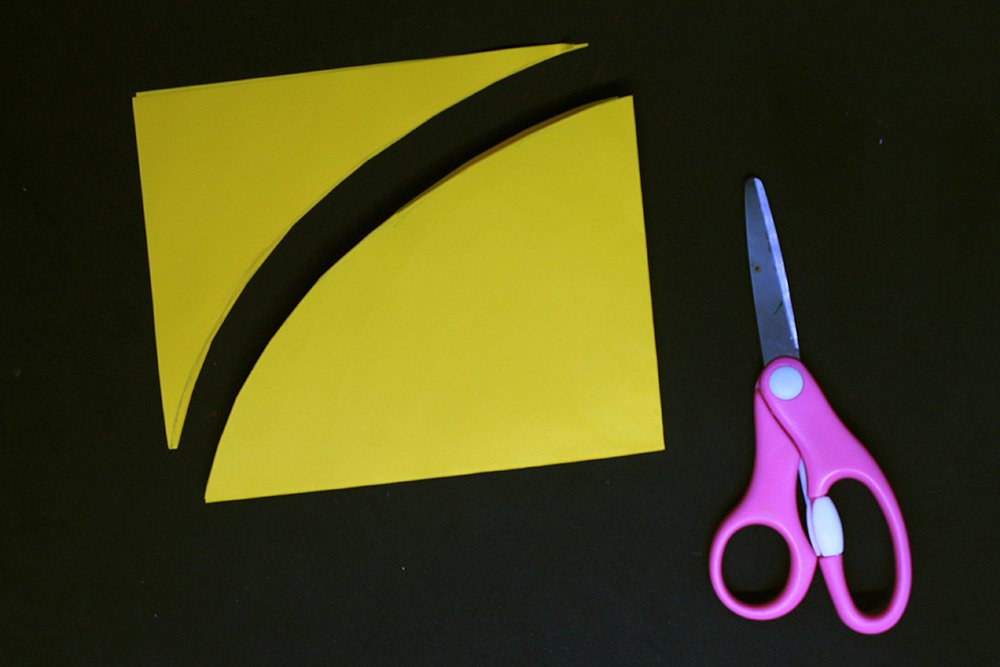
Once cut, it should now look like the sample image above. Now unfold it.
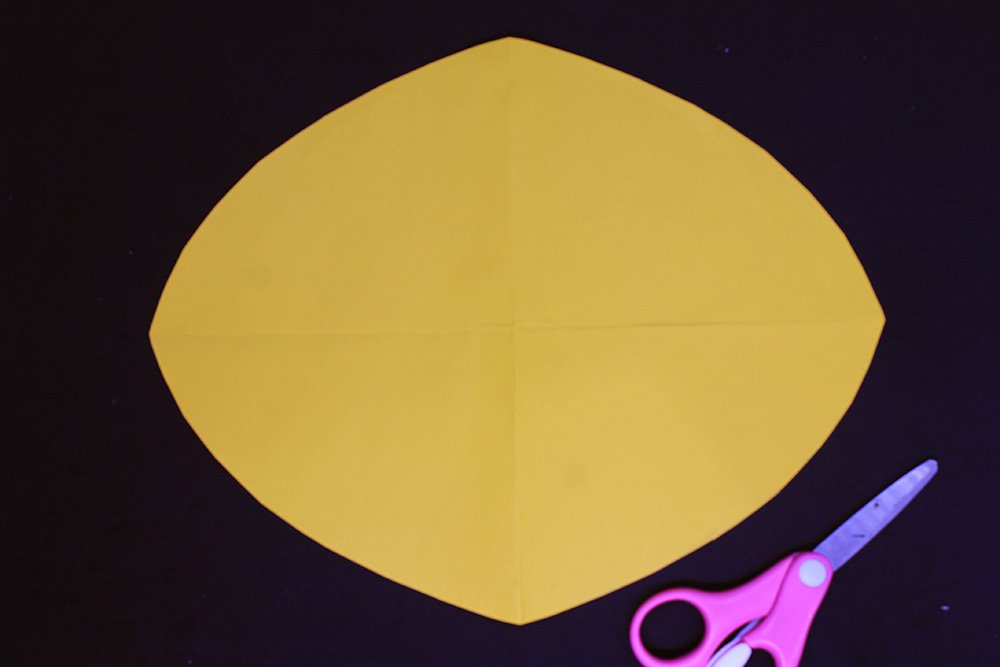
Your cut-out should look like this. Now cut it vertically in half with a pair of scissors.
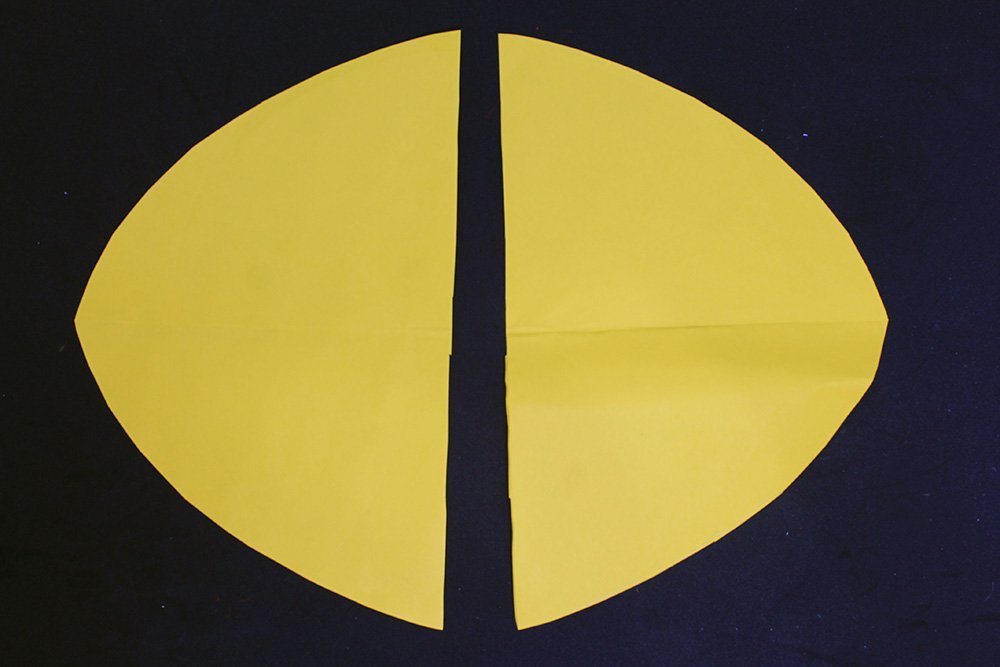
Cut the left piece horizontally in half.
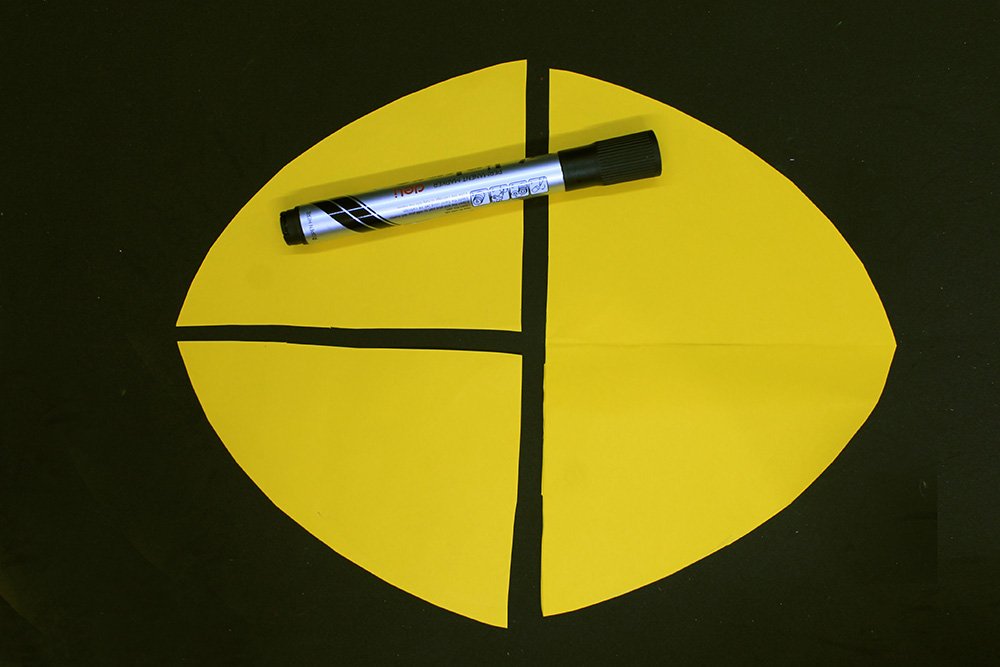
Draw some lines to mimic the tail and fins of the fish.
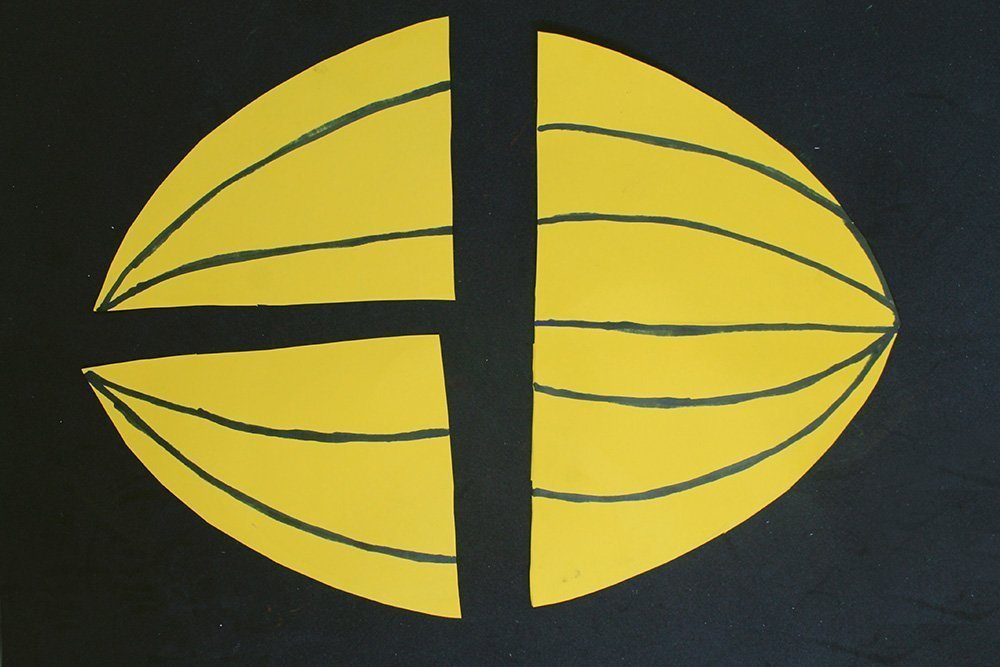
The fins and the tail of the fish are now done! Set it aside for now.
Cut out the scales
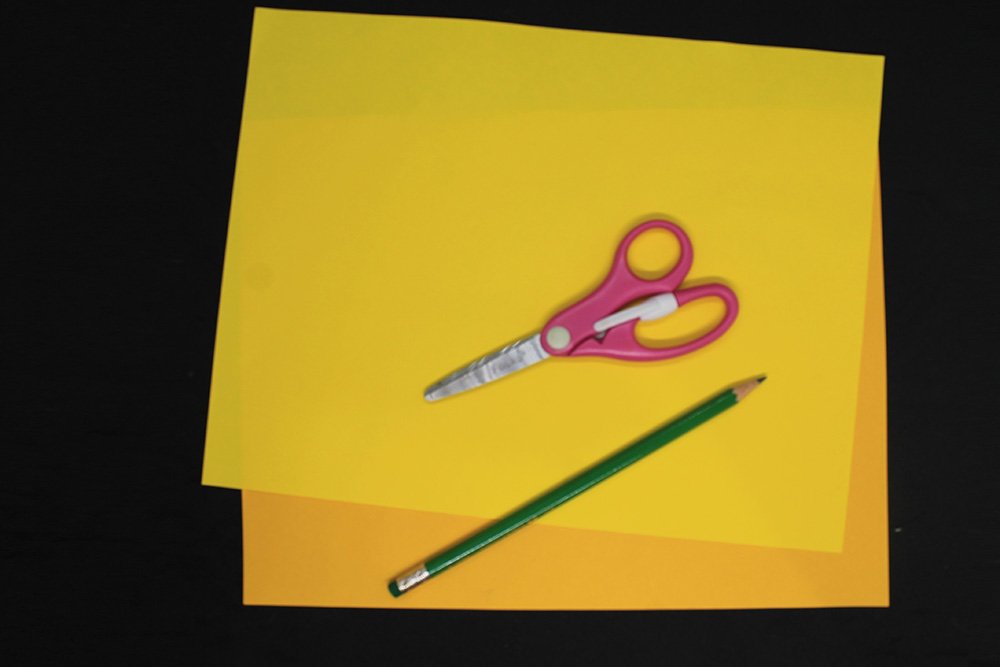
Get 2 pieces of construction paper and then stack them to each other. For this craft, we used two different shades of yellow to replicate the scales of the goldfish.
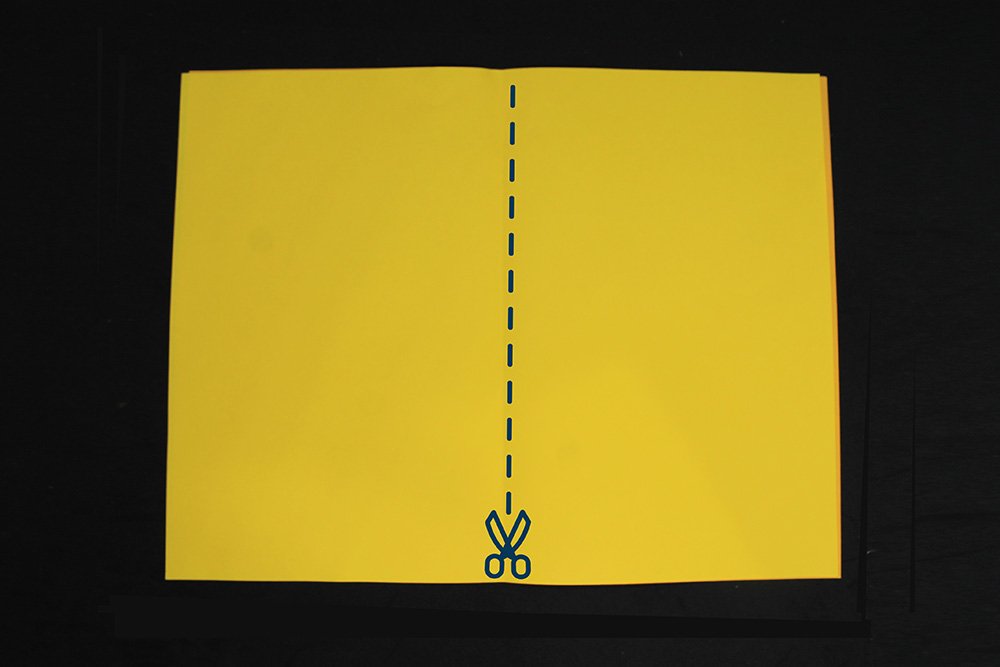
Cut it vertically in half, as illustrated in the picture above.
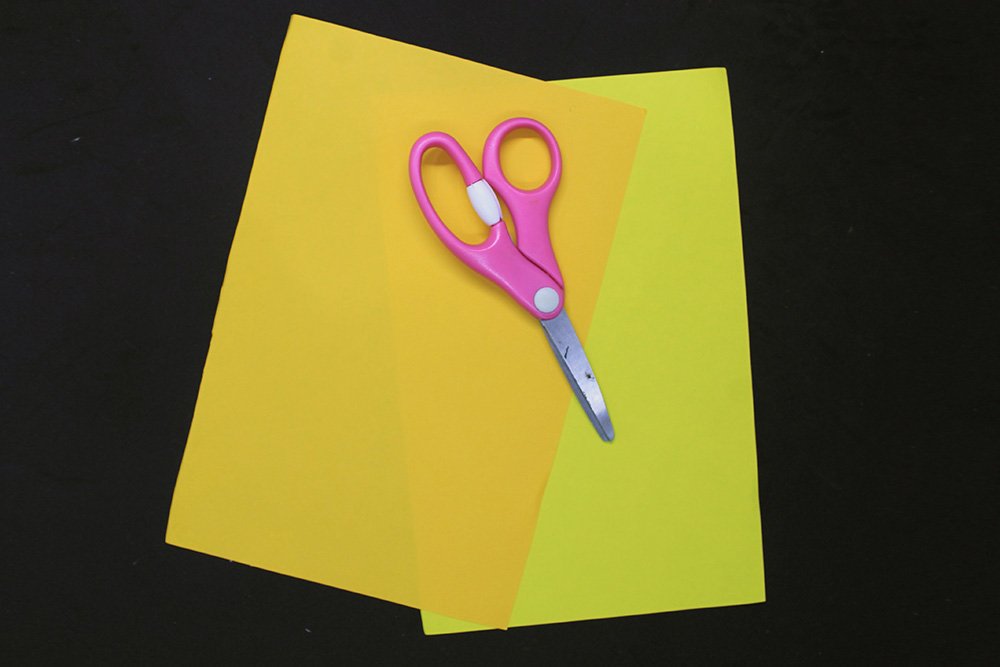
For now, we will use half of each of the construction paper. Stack it again to each other.
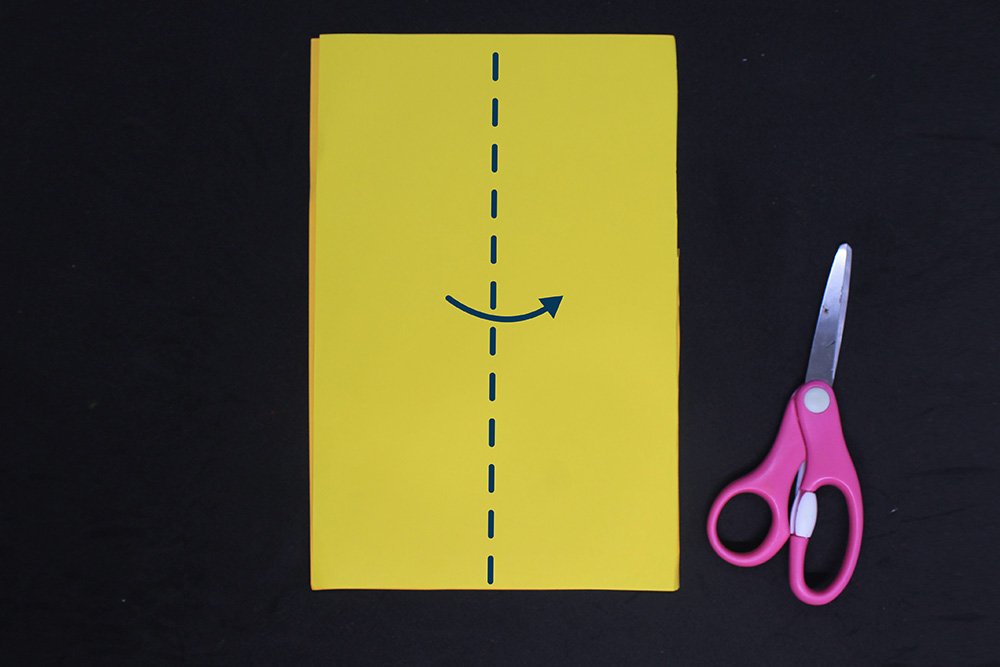
Fold it vertically in half.

Draw 3 equally sized half circles on the top layer.
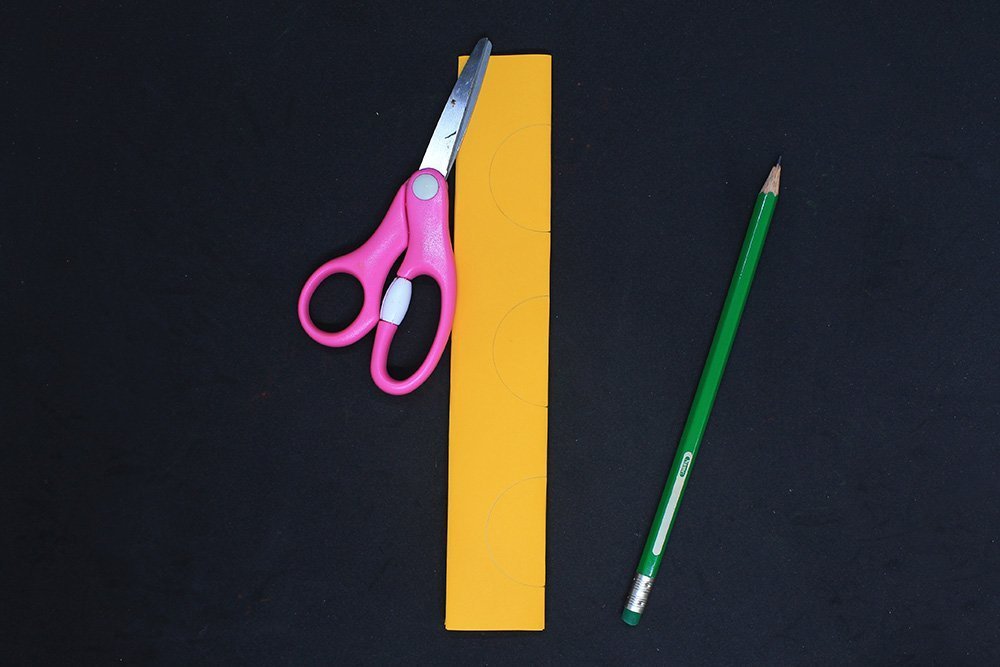
When drawn with a pencil, it should look like the picture above. The pencil marks are not that noticeable in the picture, so please follow the illustrated guide for the next step.
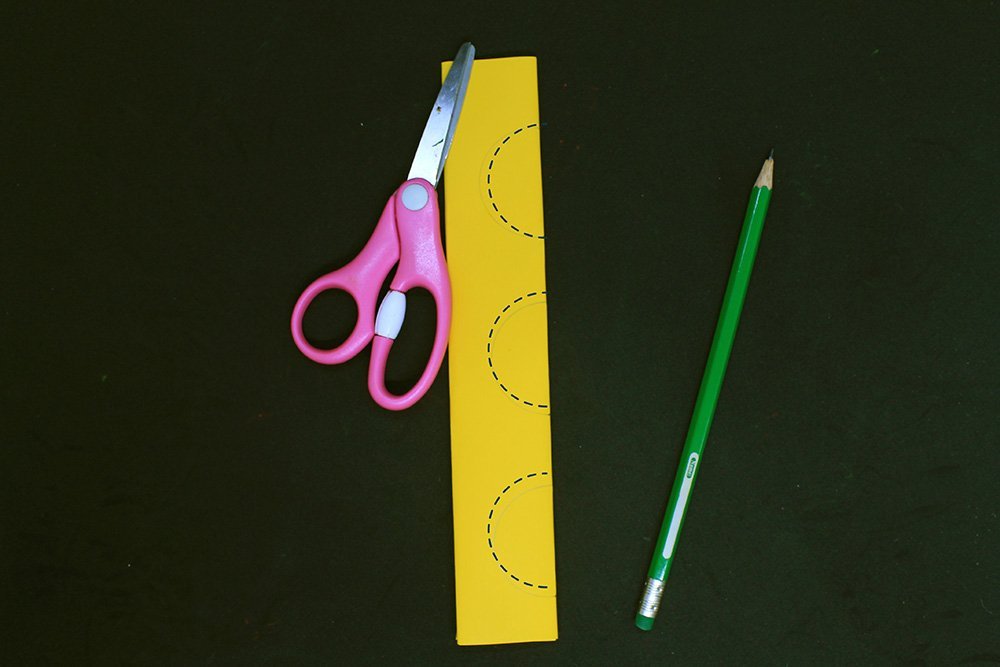
Cut along the half circles drawn. Follow along the dashed lines in the picture above.
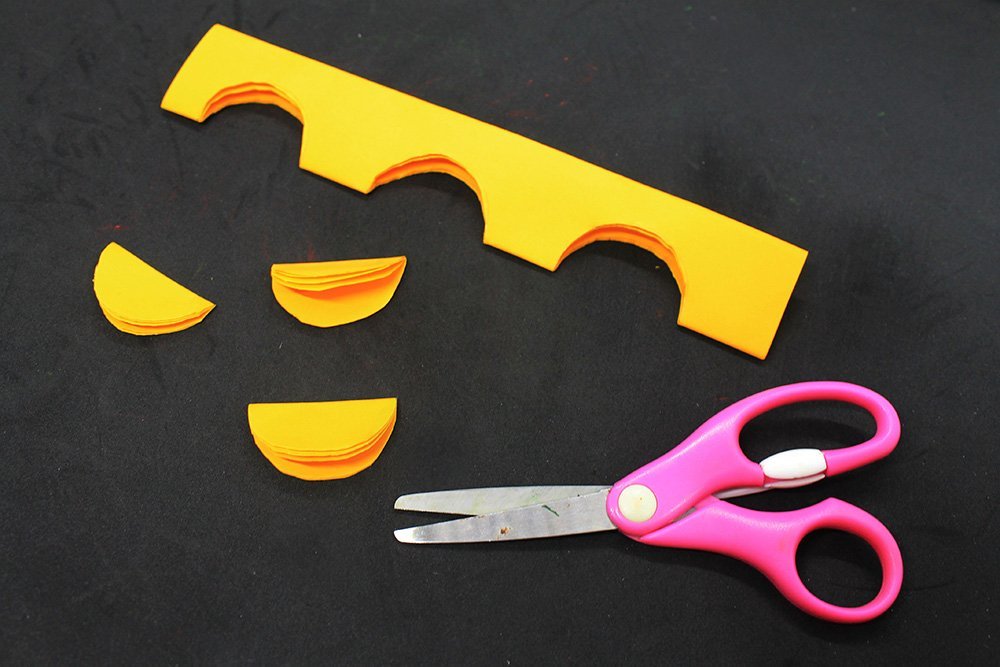
Once cut, unfold the half circles.
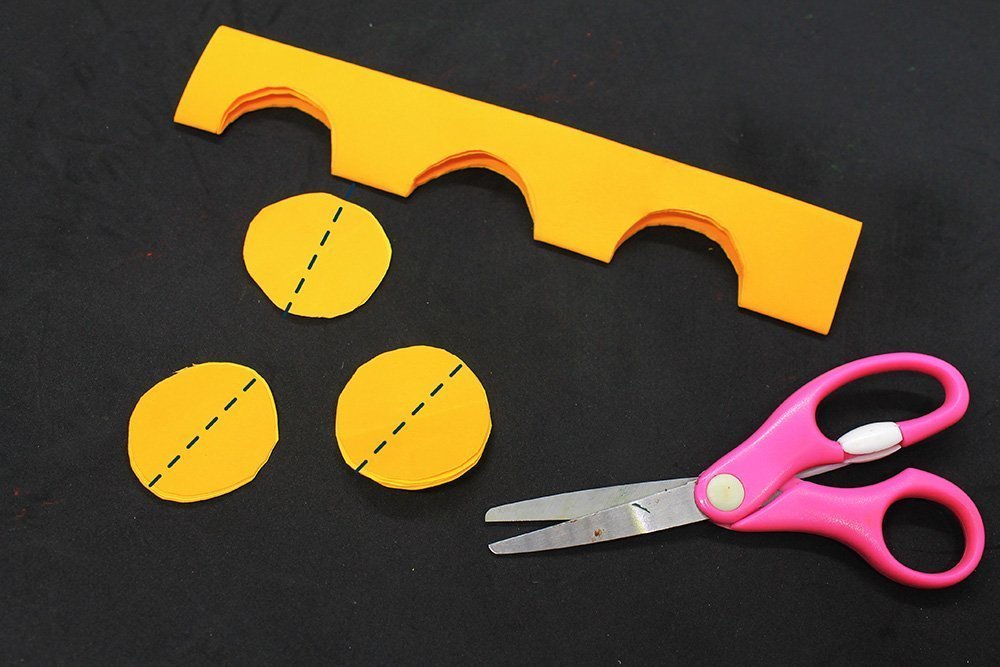
Cut all the circles in half. It would be faster if you would stack each circle on top of each other then cut it.
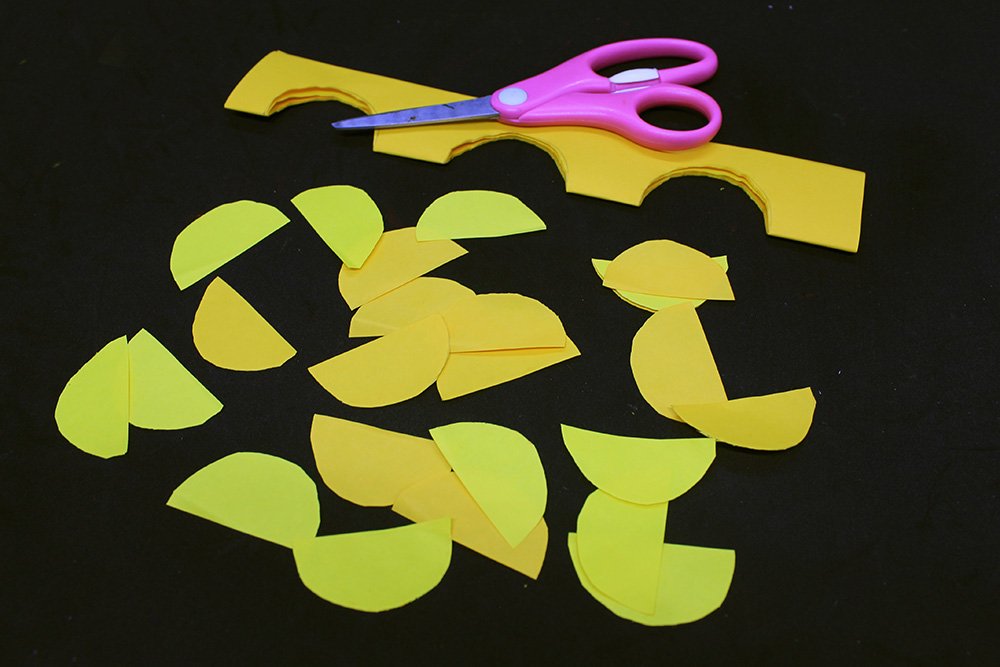
The scales of the fish are now done! Set it aside for now.
Assemble the 3D Fish
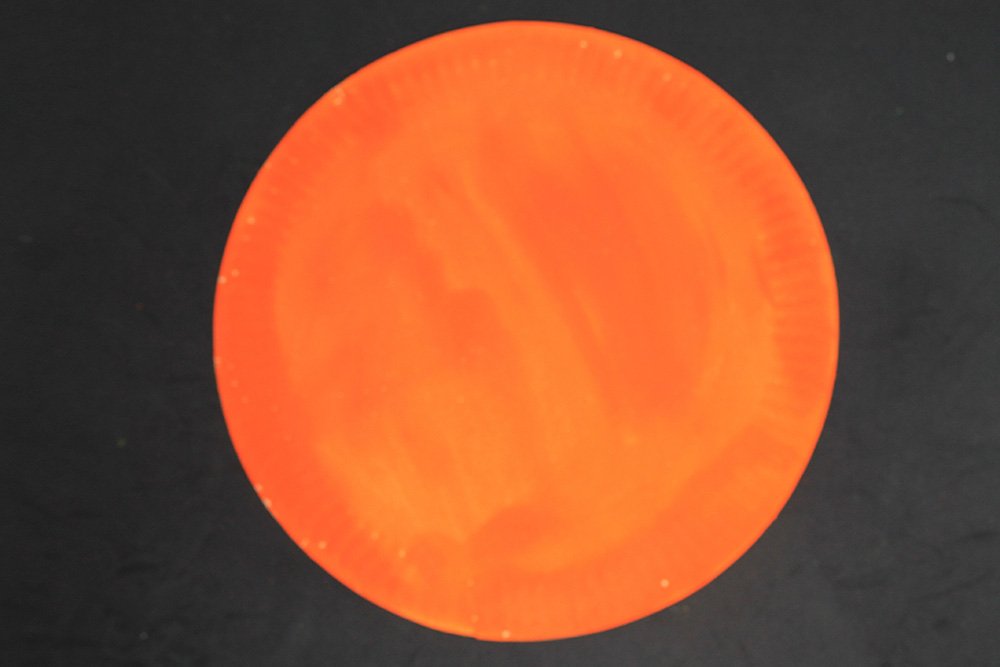
Get a piece of the colored paper plate. Flip it over to the other side.

Get the fins you made from the previous step and stick the fins on the top and bottom side, then the fins on the left side of the paper plate.
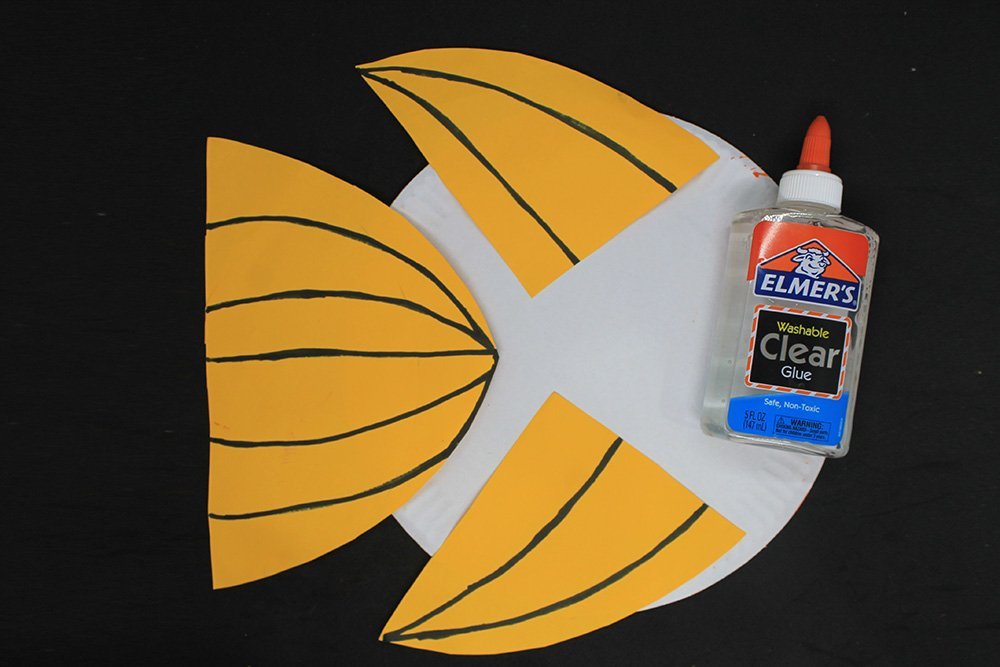
Once glued, it should look like the sample image above.
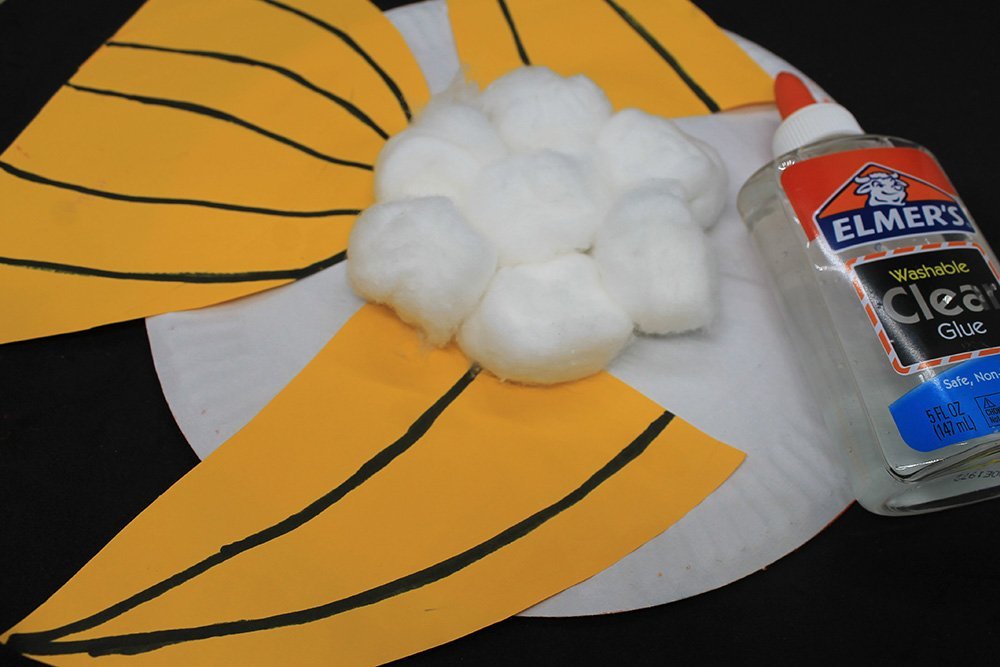
Now stick some cotton balls on the middle of the paper plate. The cotton balls will help mold the fish to become three-dimensional instead of becoming flat.
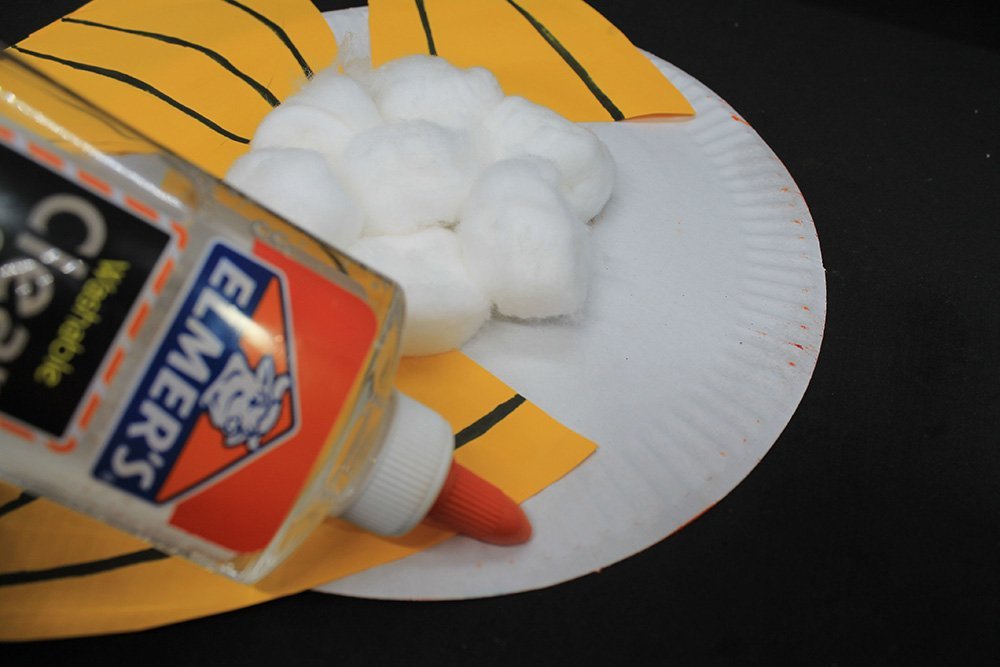
Put some glue on the edge of the paper plate.
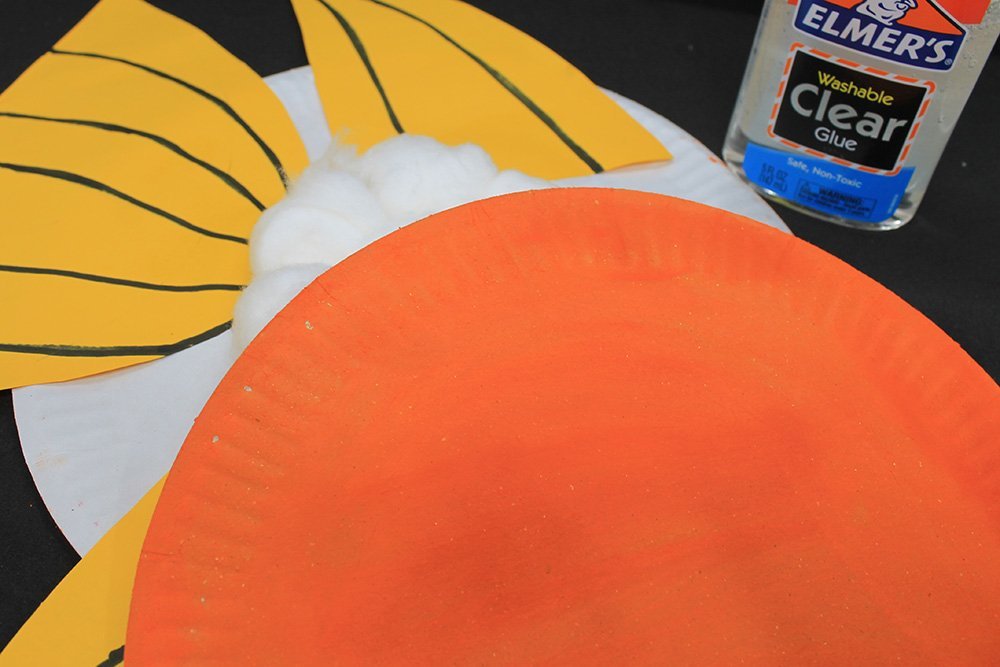
Stack and stick the other colored paper plate to the top.
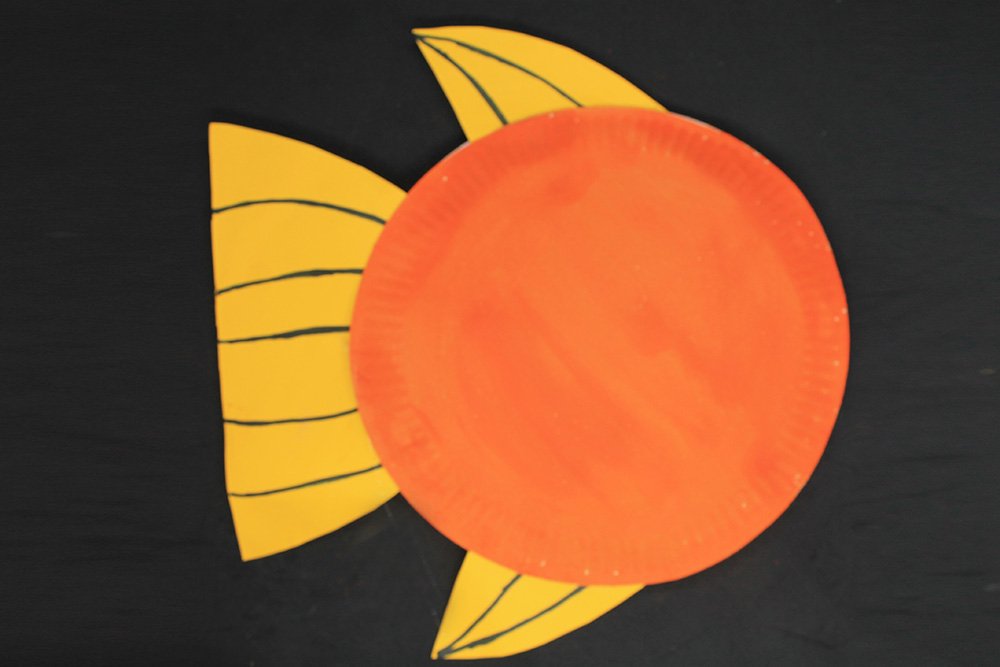
The body of the fish is almost done! Time to add some small details.
Add some finishing touches to the paper plate fish
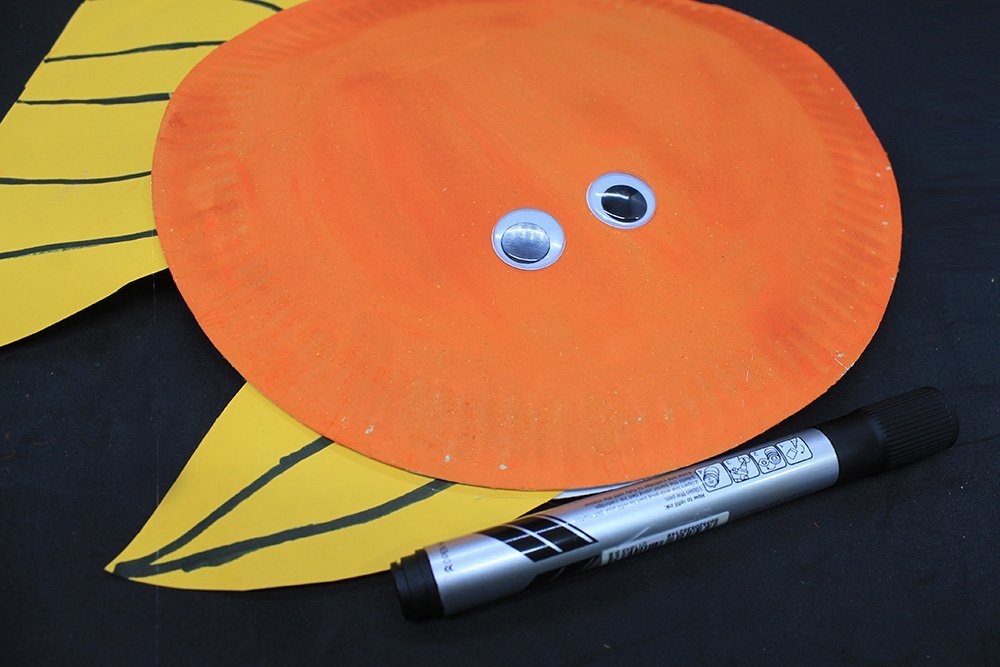
Stick a googly eye on each side of the fish. If you don’t have some googly eyes, then draw the yes however you like. Give the fish a mouth as well by drawing it with a marker.
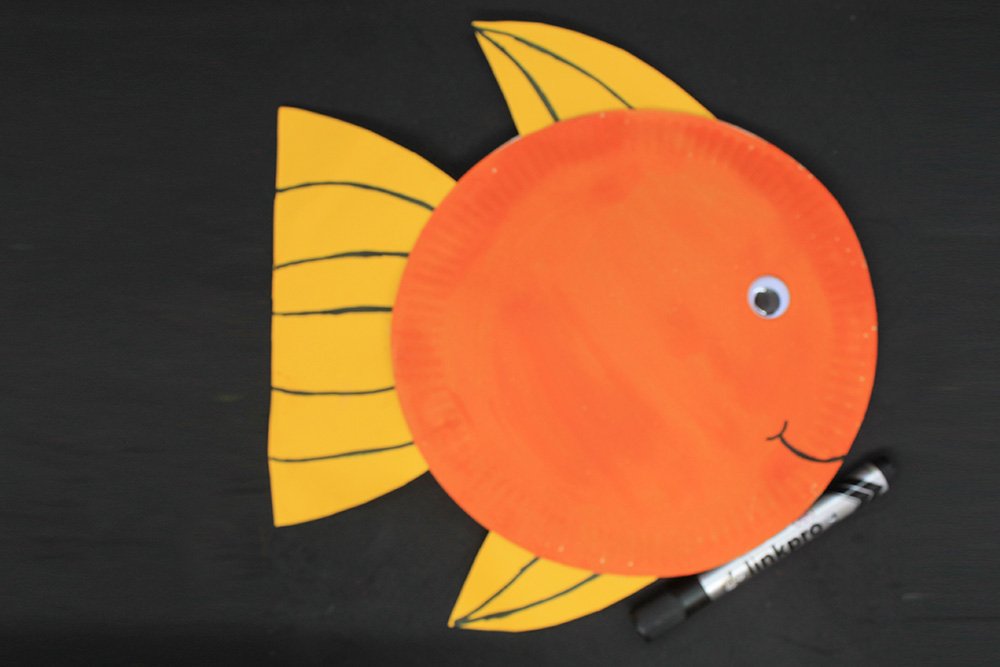
Your fish is now has a face.
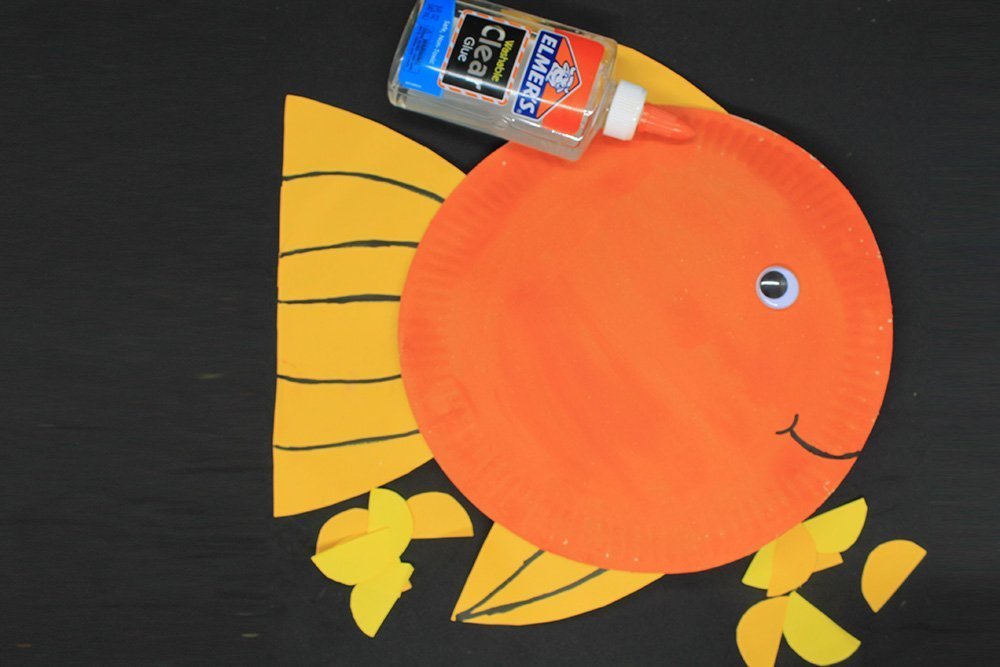
Stick some scales on your fish to finish it up. Make sure to do it on both sides. It’s up to you how many you want. If you run out of scales, use the leftover construction paper to make extra scales.
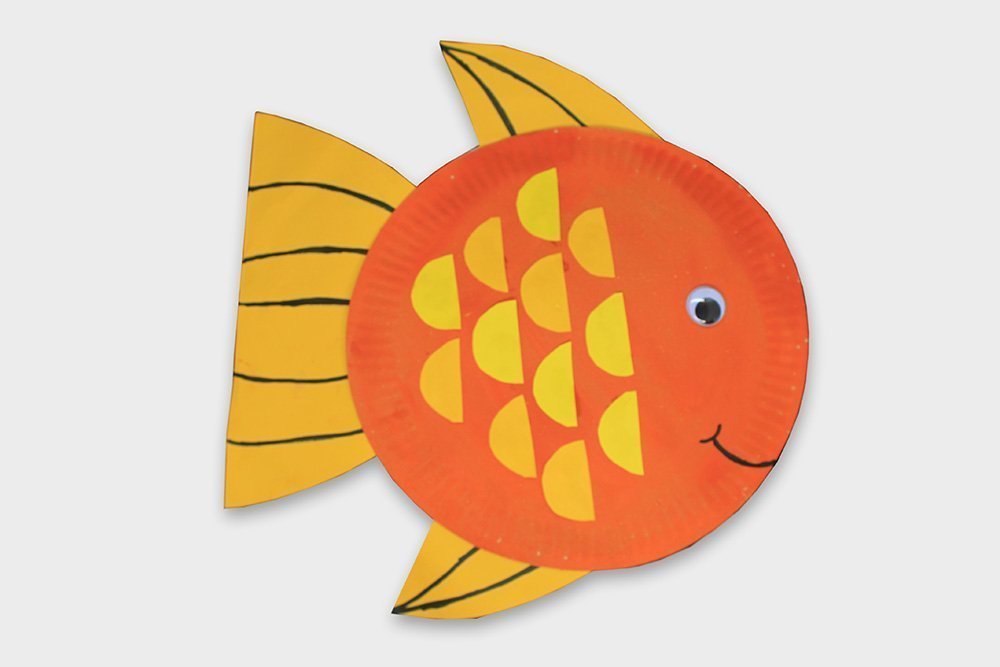
Your paper plate fish is now done! It looks like an adorable goldfish! Use different colors of paint and paper to make your own one-of-a-kind fish!
Extra Tips
- Explore different shapes, and colors. Be creative!


