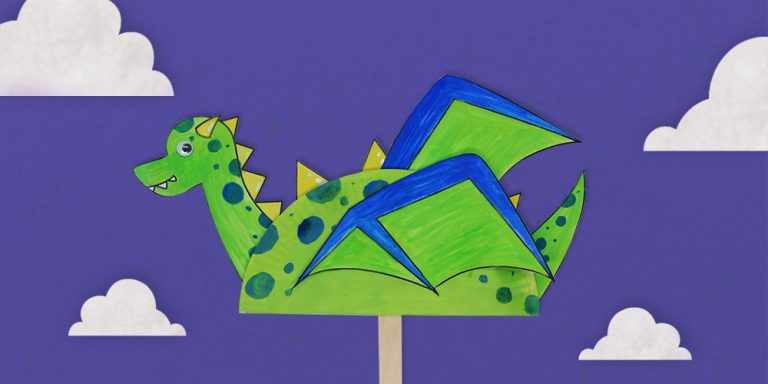
Introduction:
Create a super cool paper plate dragon using some paint and our downloadable printable. What’s awesome about this craft is that it can be played like a puppet when you stick a popsicle stick at the back. An excellent activity for preschoolers and beginners, this cut and paste coloring project makes a great educational activity for them to enjoy.

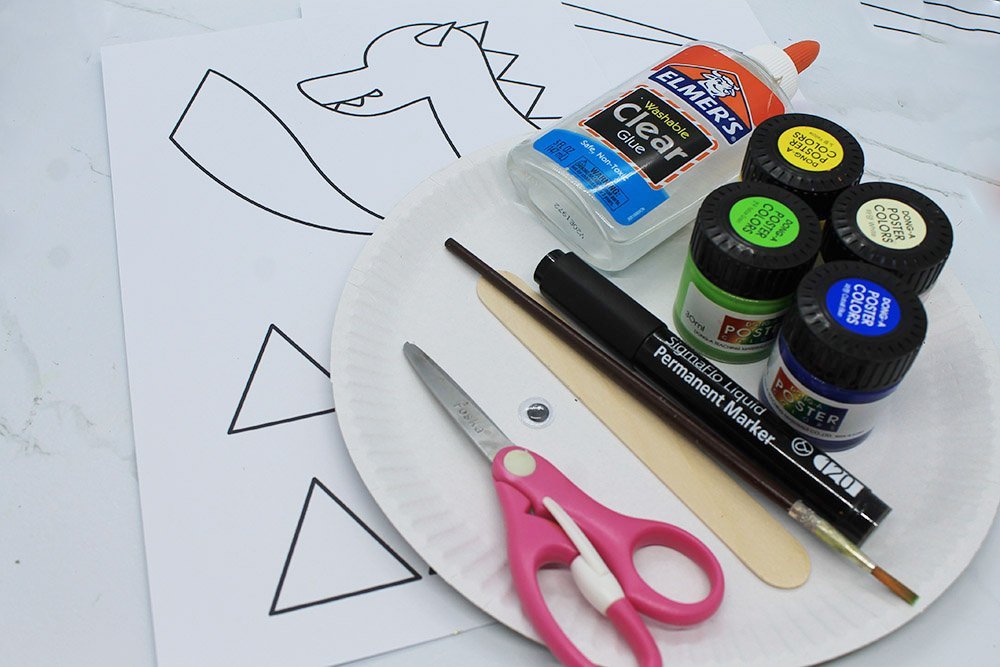
Tools
- Poster Paint, crayons, or markers for coloring the printable
- Paintbrush
- Googly Eyes or Marker
- Scissors
Supplies
- Paper Plate
- Glue
- Printable We recommend printing the printable in an A4 thick vellum board (at least 200 gsm) so that the cutouts will not bend when played.
- Optional: Popsicle Stick

Download Area
Download TemplateColor the head, tail, and scales of the paper plate dragon
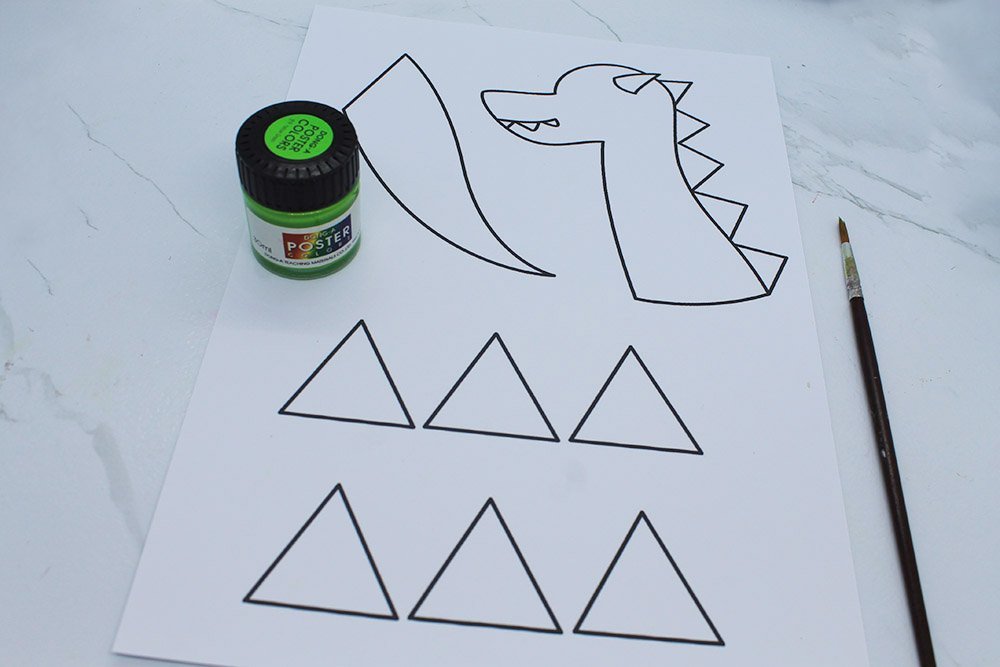
Print the printable on an A4 sized paper. Let’s color the base first.
It’s up to you if you wish to follow how we color the dragon. You may also use a different medium besides paint.
For this activity, we used a light green color to color the “skin” of the dragon.
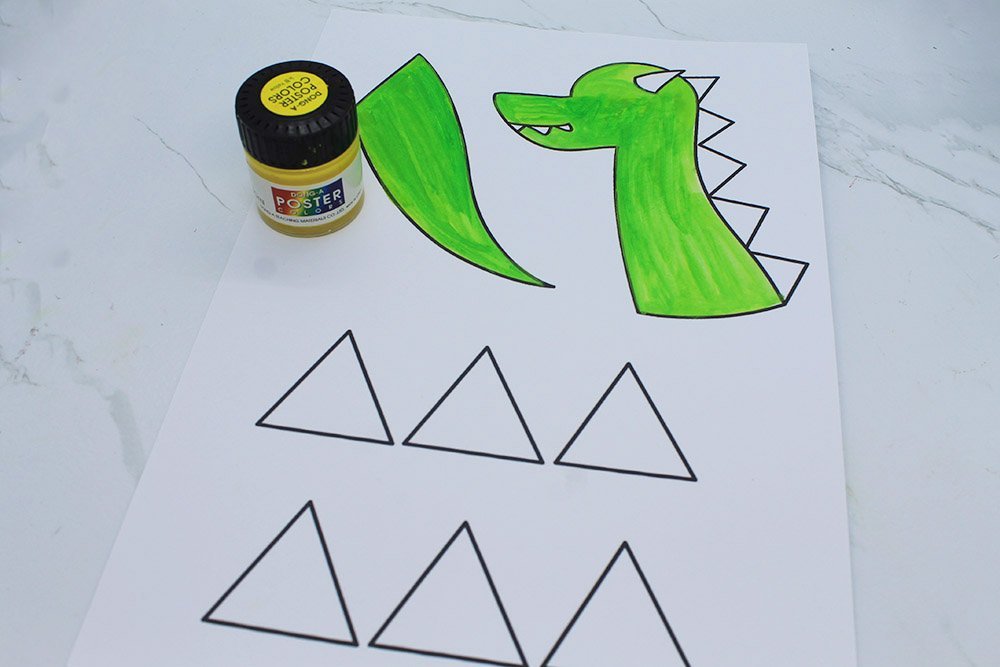
Then we used yellow to paint the scales.

To decorate the dragon, we decorated the head and tail with spots using blue paint.
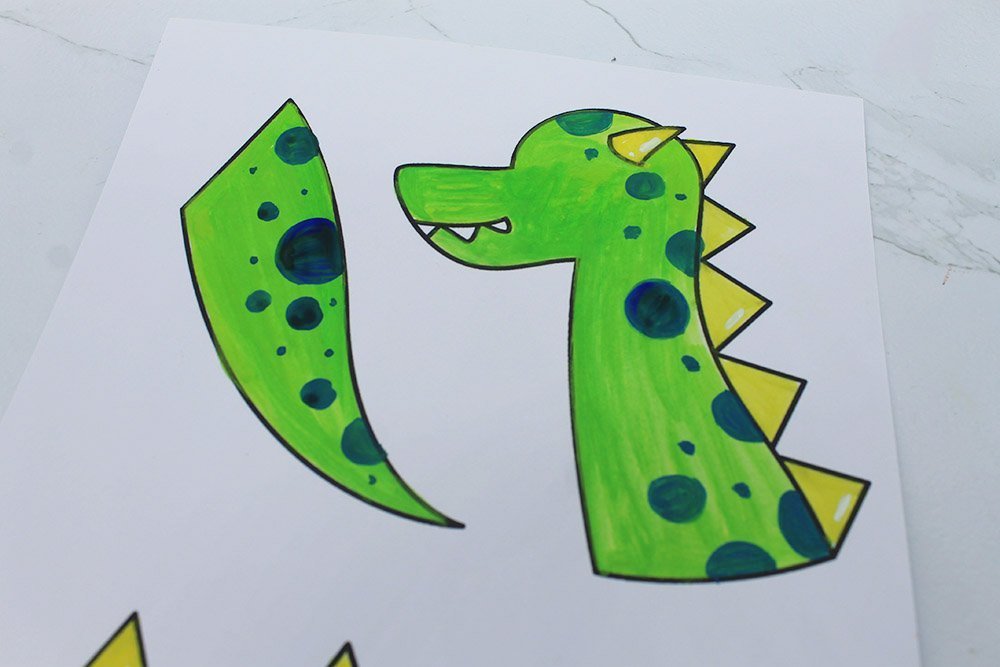
Next, we added shine to the pointy scales of the dragon using white paint.
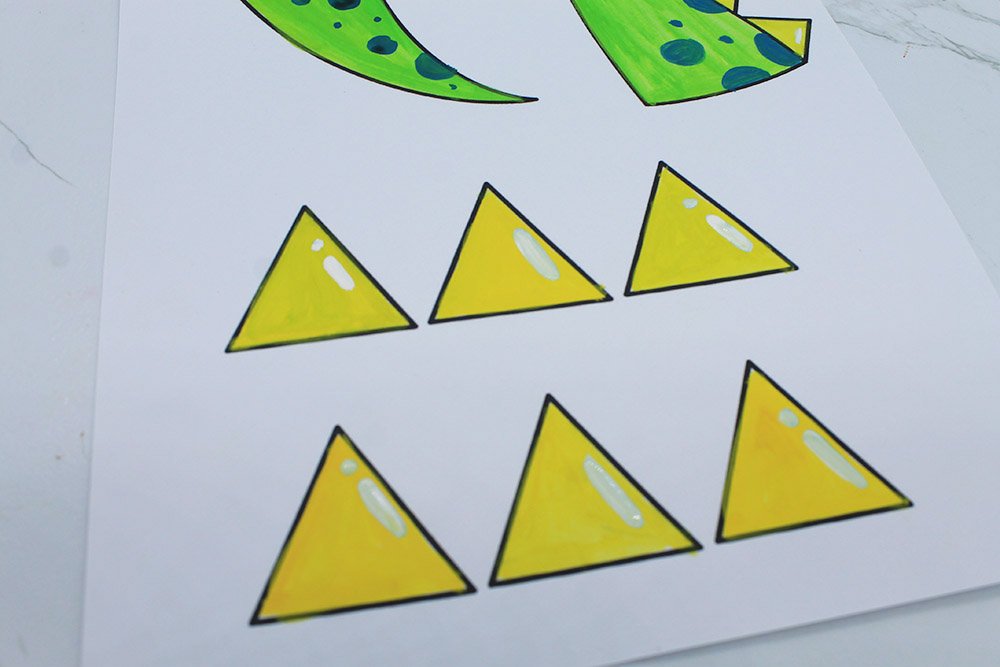
Once you have painted this page, set it aside to dry.
Paint the wings of the paper plate dragon
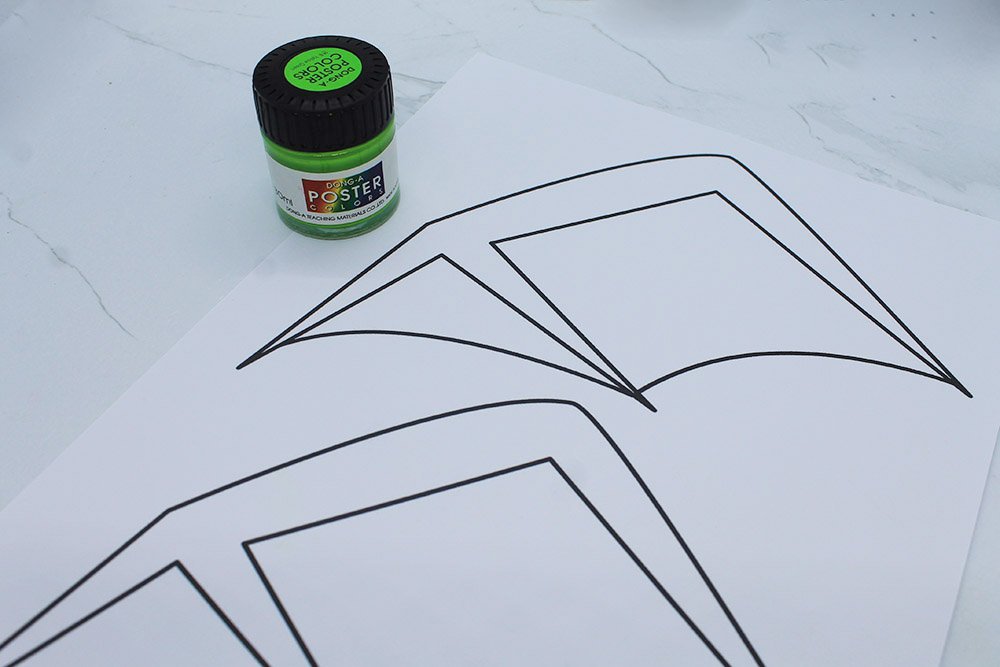
For the inner part of the wings, we used the same base color used in coloring the previous printable.
Again, it’s up to you or your child if you wish to follow how we color the dragon.
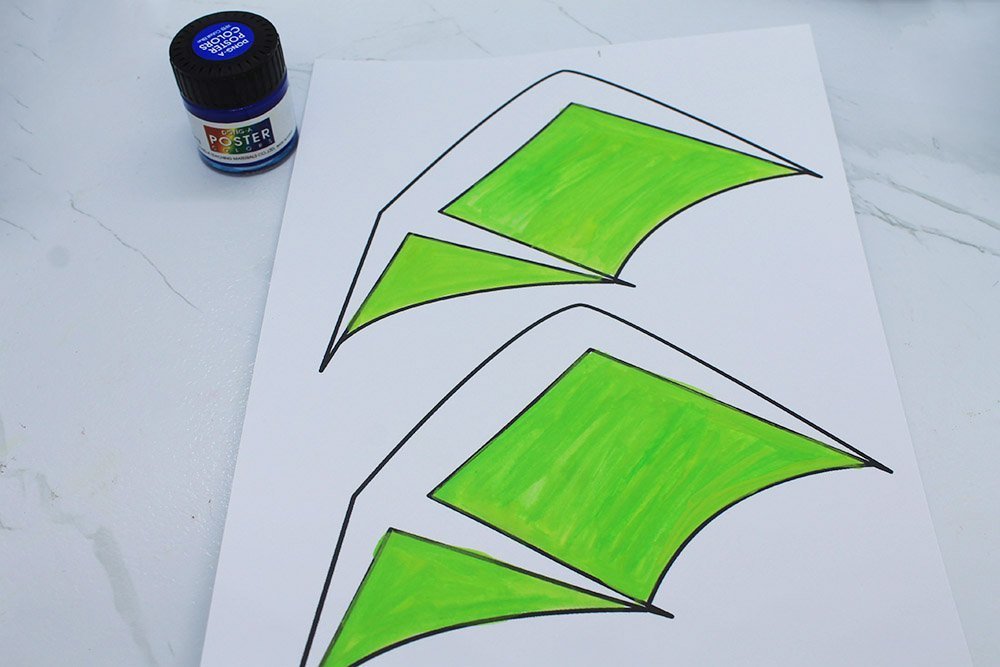
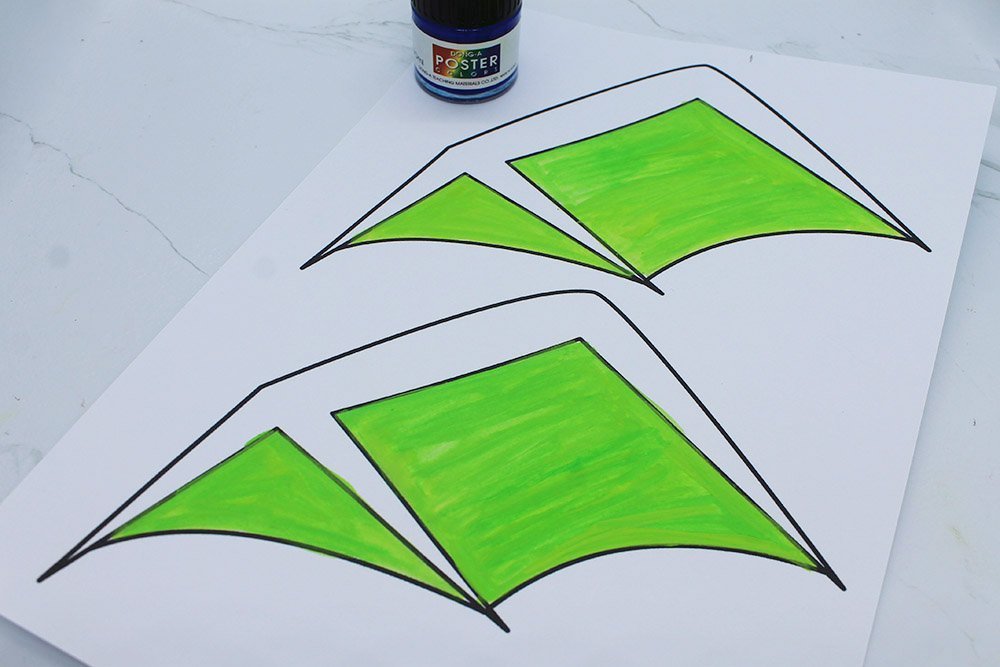
Next, we used blue paint to color the outer part of the dragon’s wing.
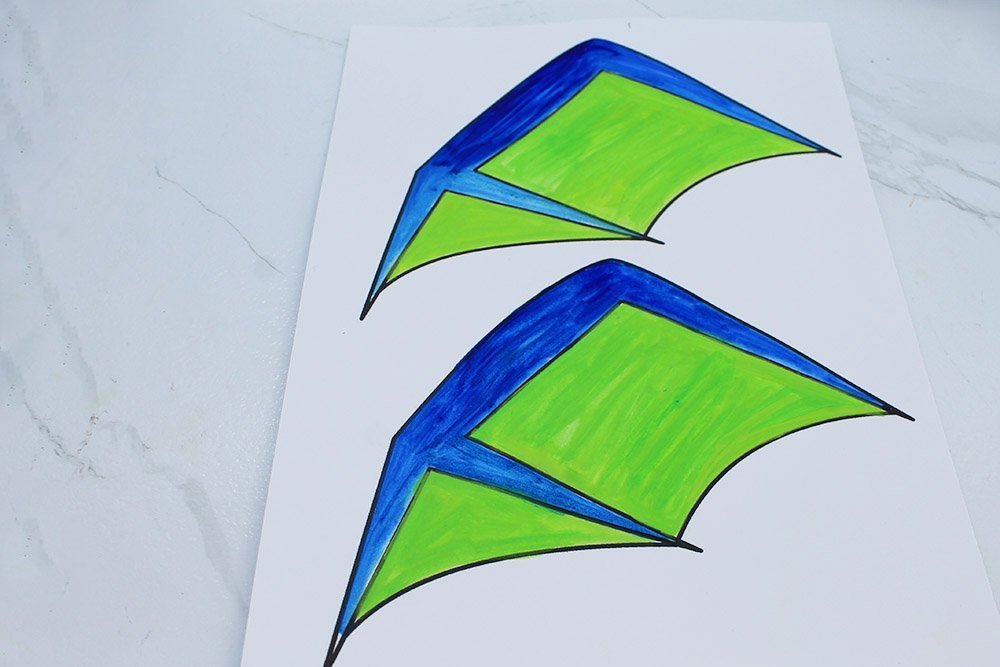
Once you have painted this page, set it aside to dry.
Cut out the elements of the pintables
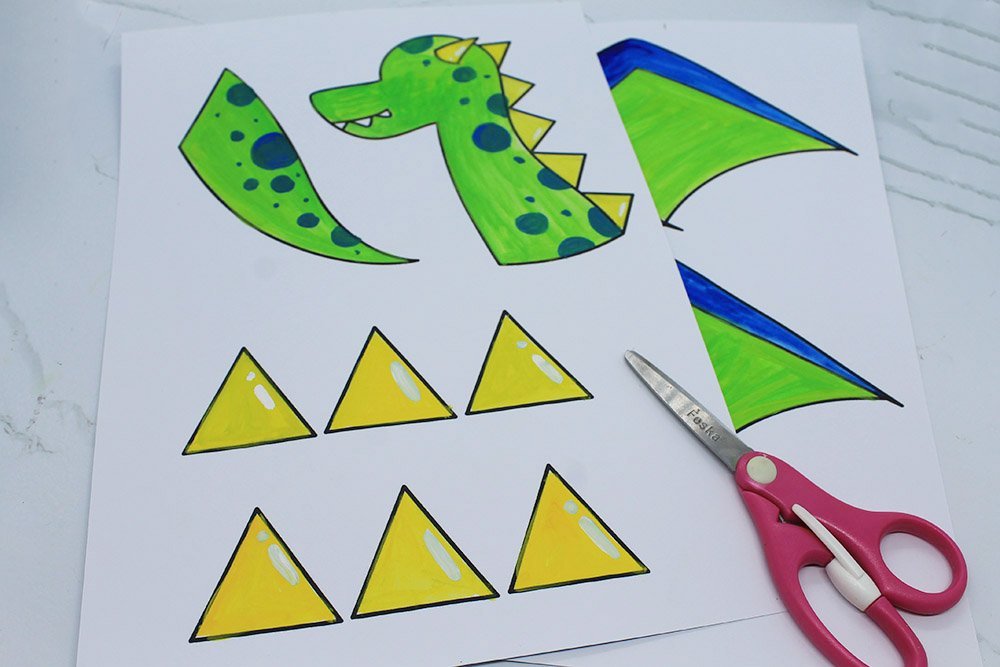
Once you have fully colored the printables using your preferred coloring material, cut each printable element.
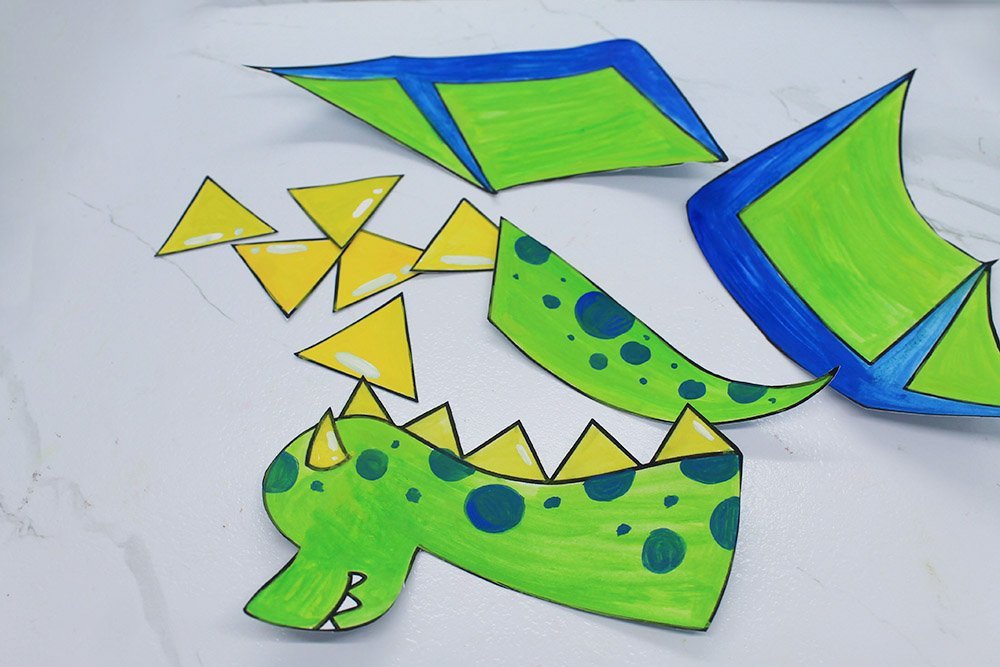
Your cutouts should now look like this once cut. Set this aside for now.
Make the body of the paper plate dragon
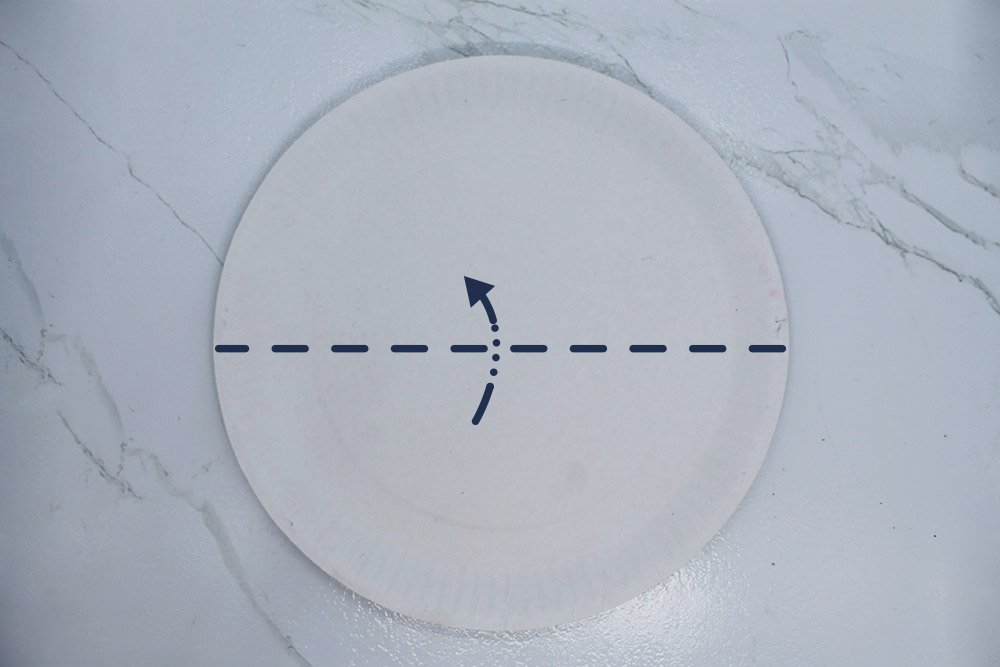
Get a paper plate, and mountain fold it in half. Follow along the dashed line as illustrated in the image above.
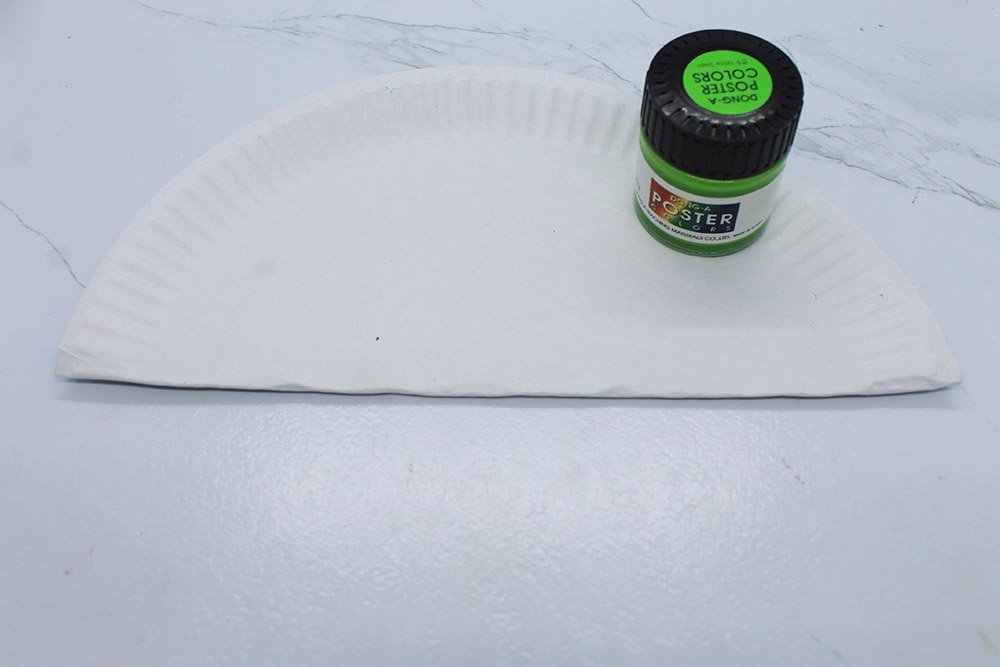
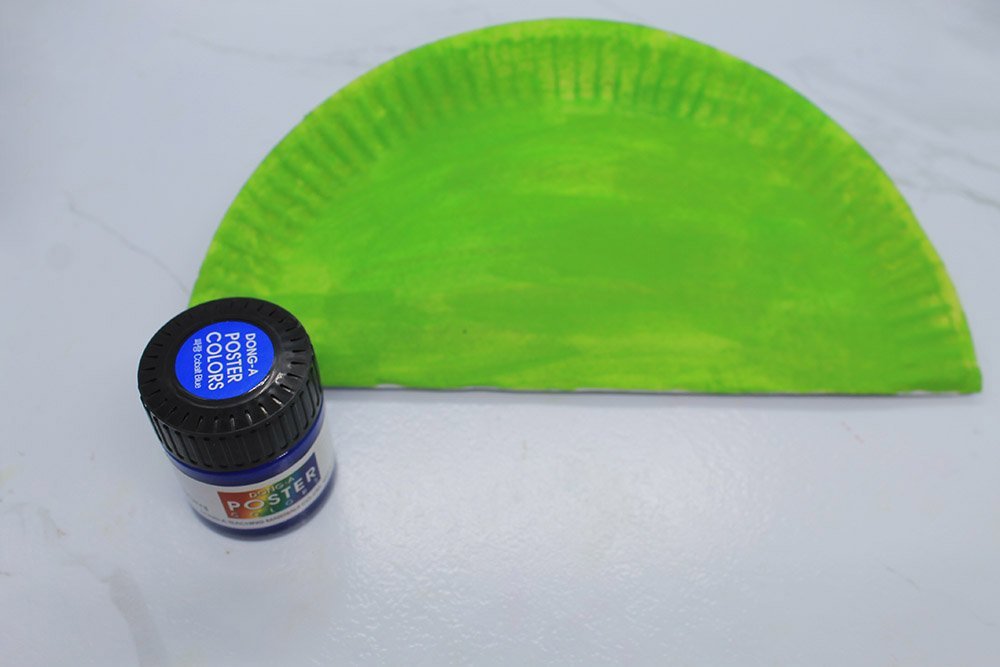
Paint the top layer with the base color used in the printable (We used light green).
Decorate the body however you like! Here we copied the same spot patterns decorated from the printable.
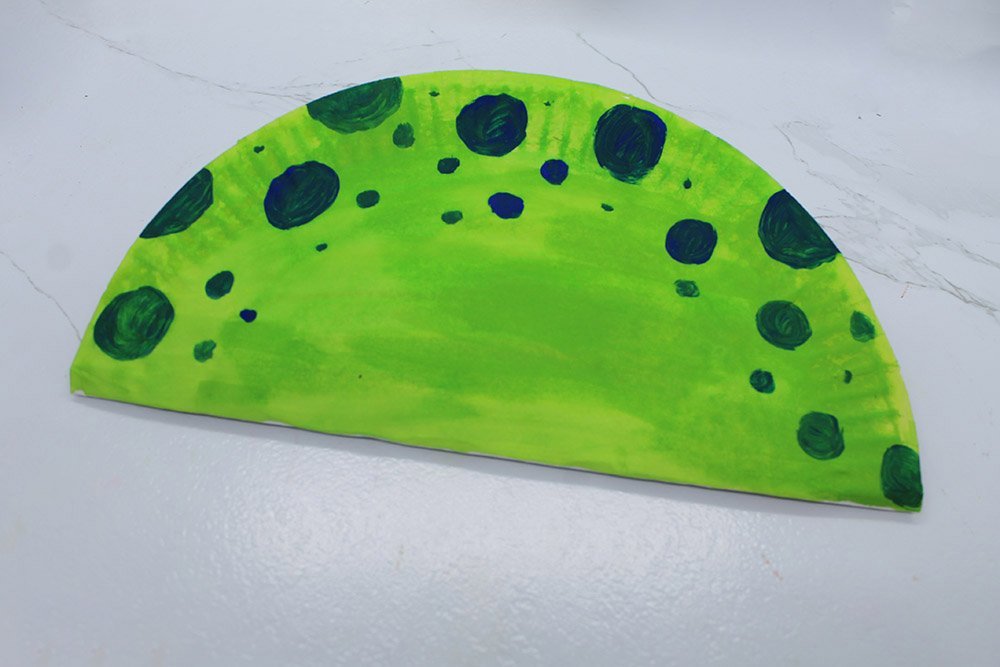
Once you’re done decorating the body, set it aside to dry.
Assemble the paper plate dragon
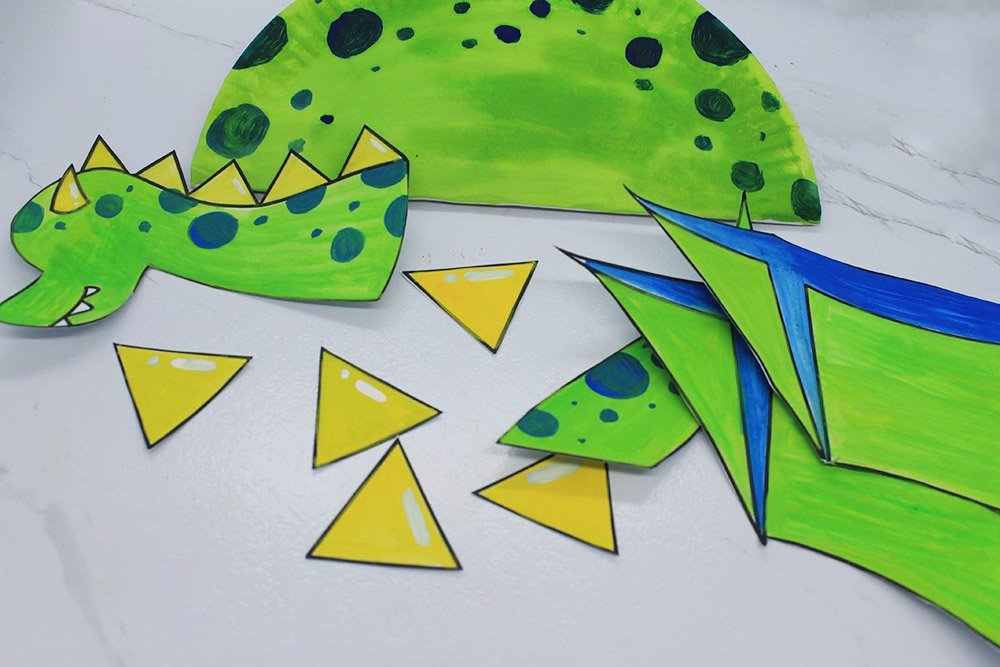
Grab the colored cutouts and the paper plate body.
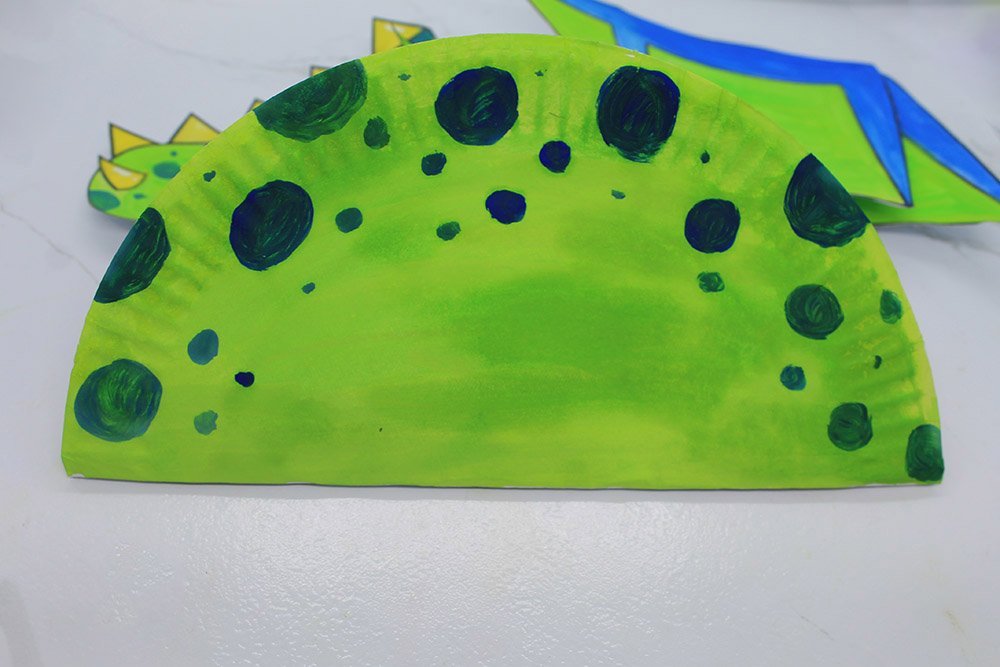
Put down the top layer of the paper plate.
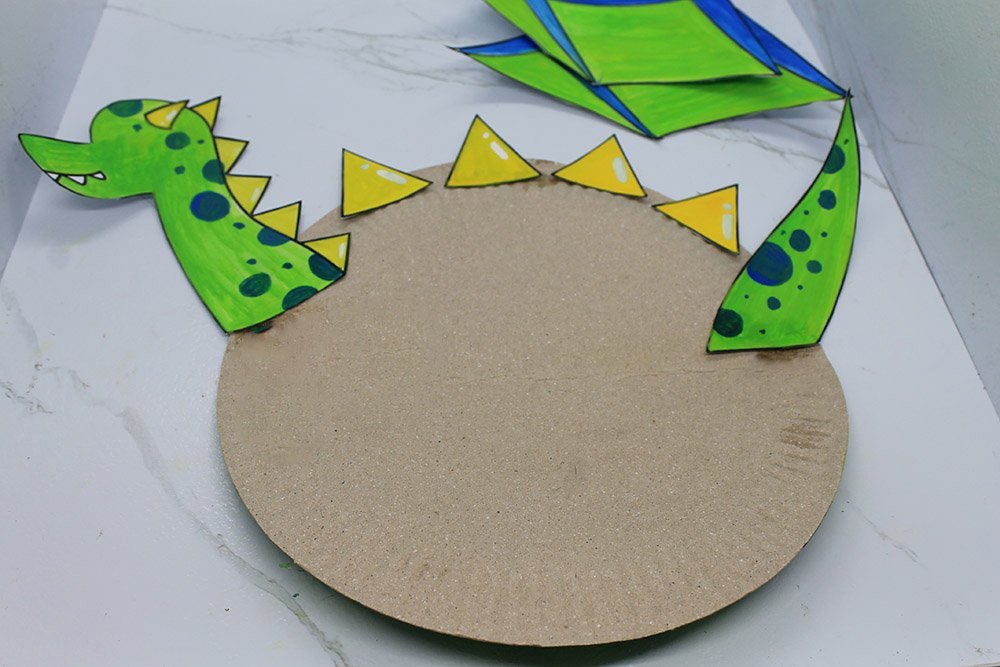
Paste the dragon’s head at the left top side and the tail at the top right side of the paper plate. Paste the scales at the top side of the paper plate along with one of the wings.
It’s up to you or your child on what angle and position you want to paste the cutouts to be; as long as it’s on the top side of the paper plate, then it’s fine. They can get creative on how they want it placed.
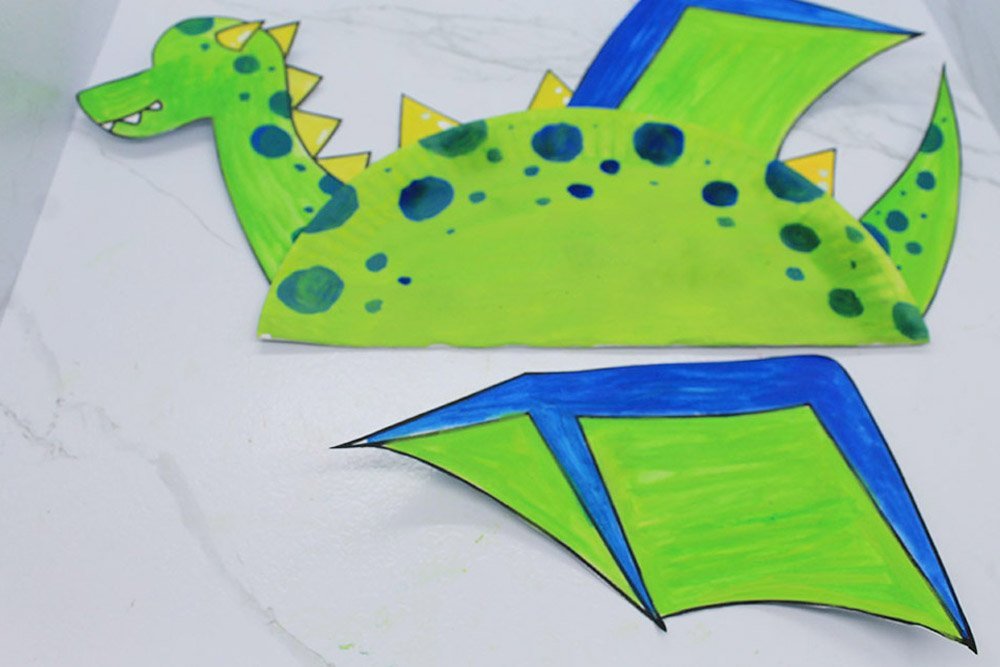
Close the paper plate again and stick one wing at the front. Glue the edge of the paper plate to one another to secure it.
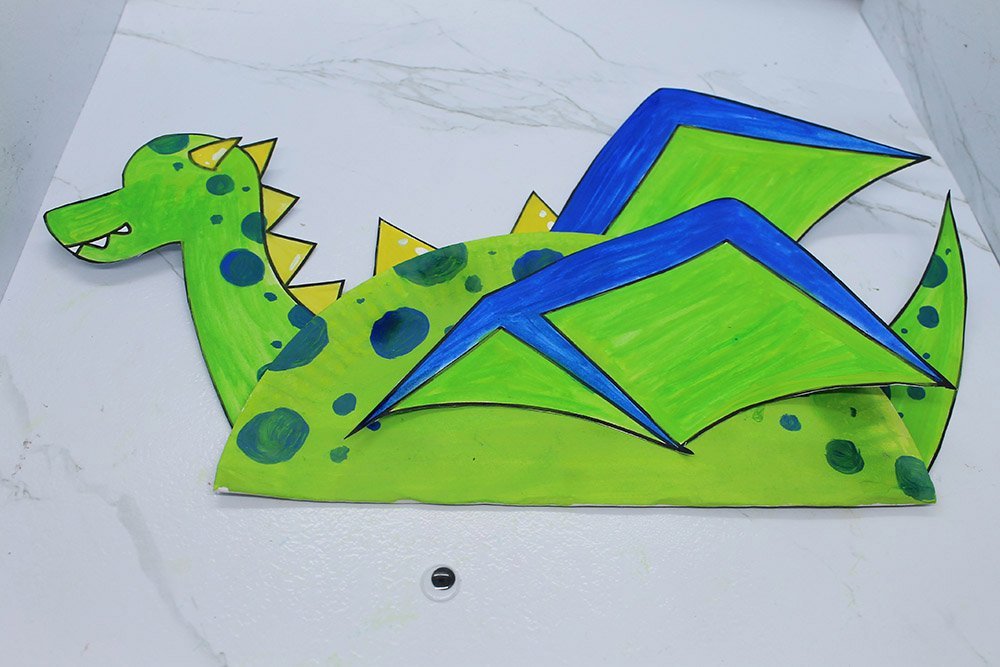
Lastly, stick a googly eye at the head of the dragon. if you don’t have a googly eye, you may use a marker or paint to draw an eye.
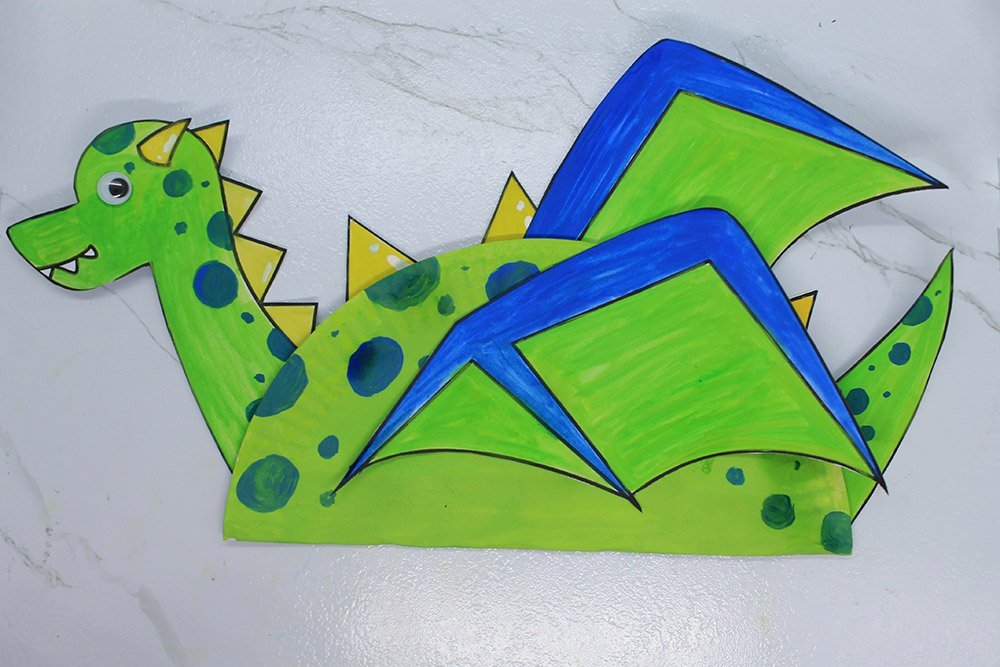
The paper plate dragon is done.
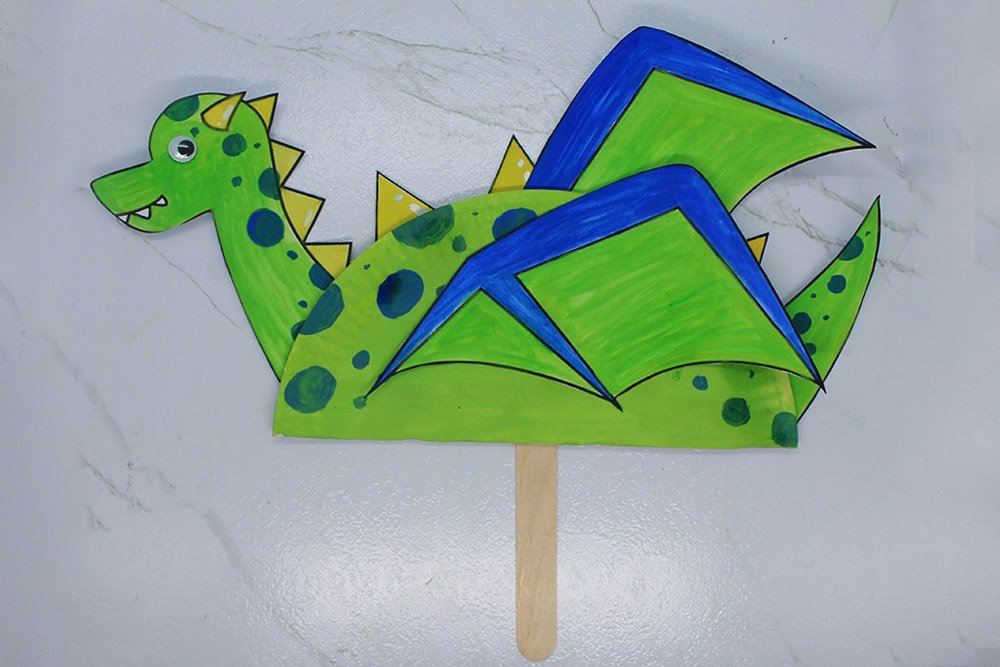
You may stick a popsicle stick at the back if you want to turn it into a puppet.


