Create a Paper Plate Bird With Pictures

Introduction:
Learn how to make a lovely paper plate bird! There are so many ways to make animals s from paper plates. One of them is turning a plate into this adorable bird. Using a plate, a bunch of feathers, and some coloring materials, you and the kids can make a fantastic craft that is also a lovely decor. Now let’s start crafting!
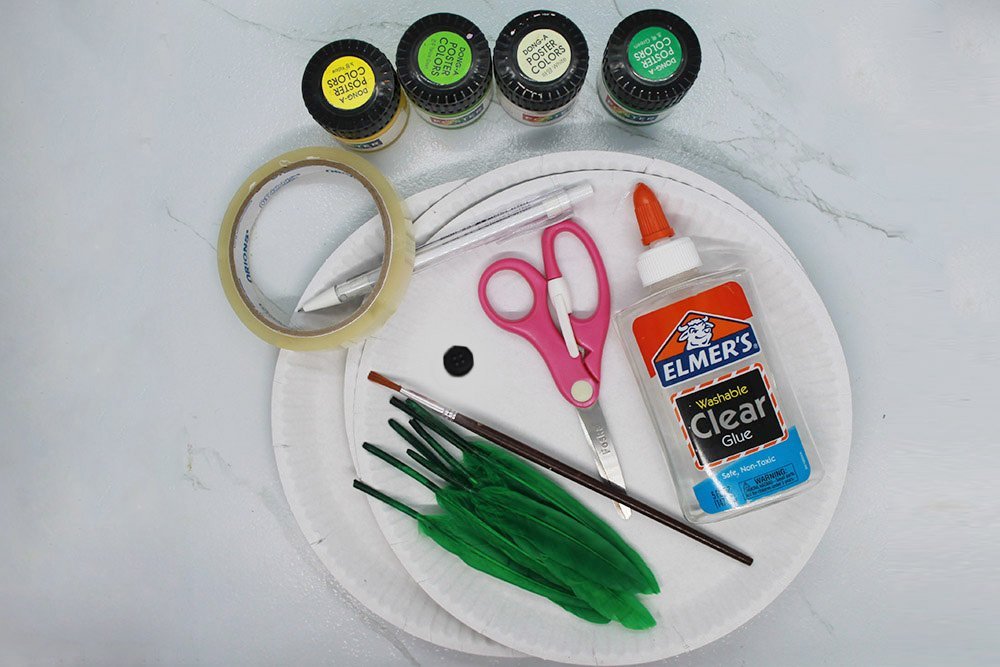
Tools
- Paintbrushes
- Scissors
Supplies
- 3 Pieces of paper plates
- Poster Paints
- Button or Googly eyes
- Feather
- Glue
- Tape
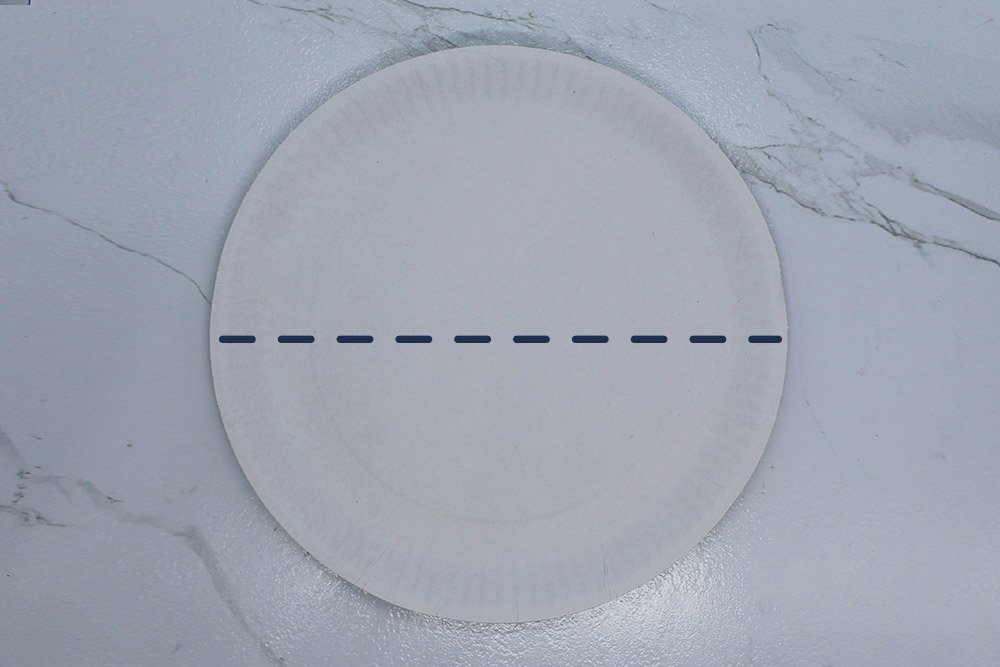
Make the body of the paper plate bird
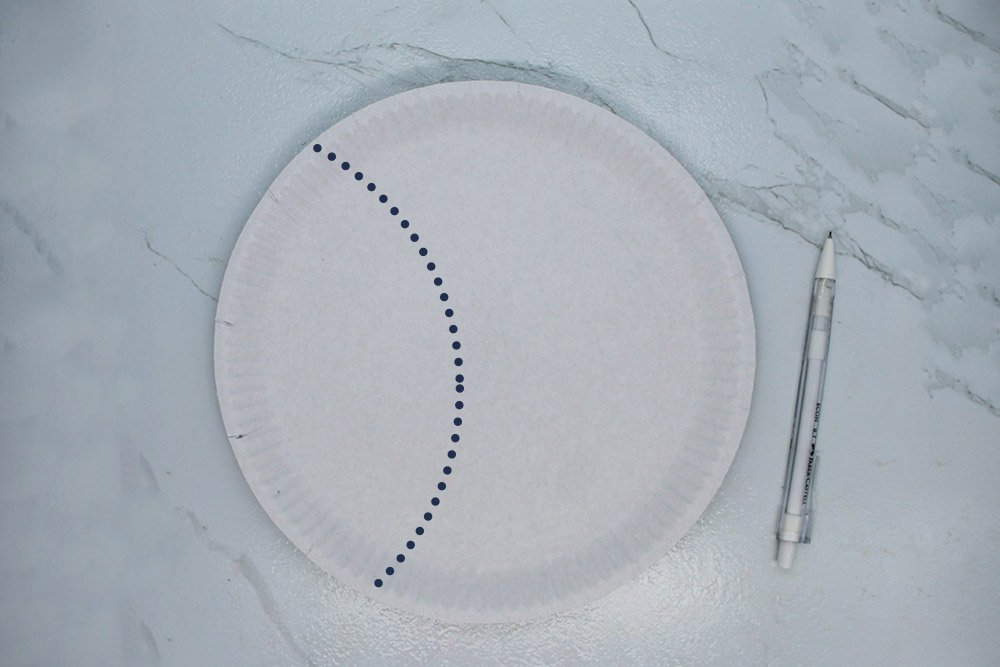
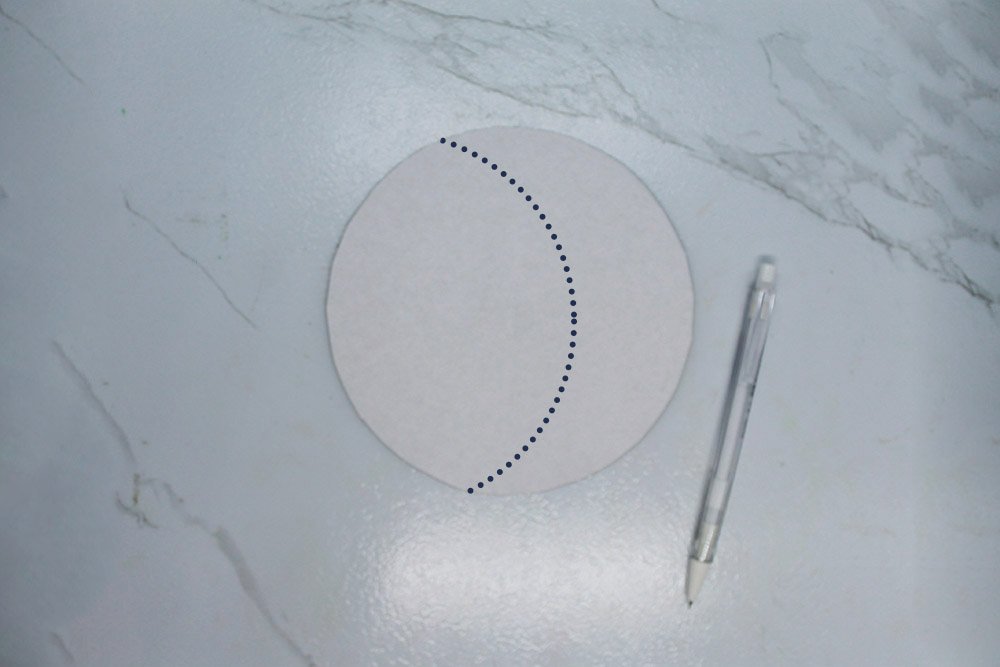
Grab a paper plate and draw a curved path by following the dotted line on the sample image above.
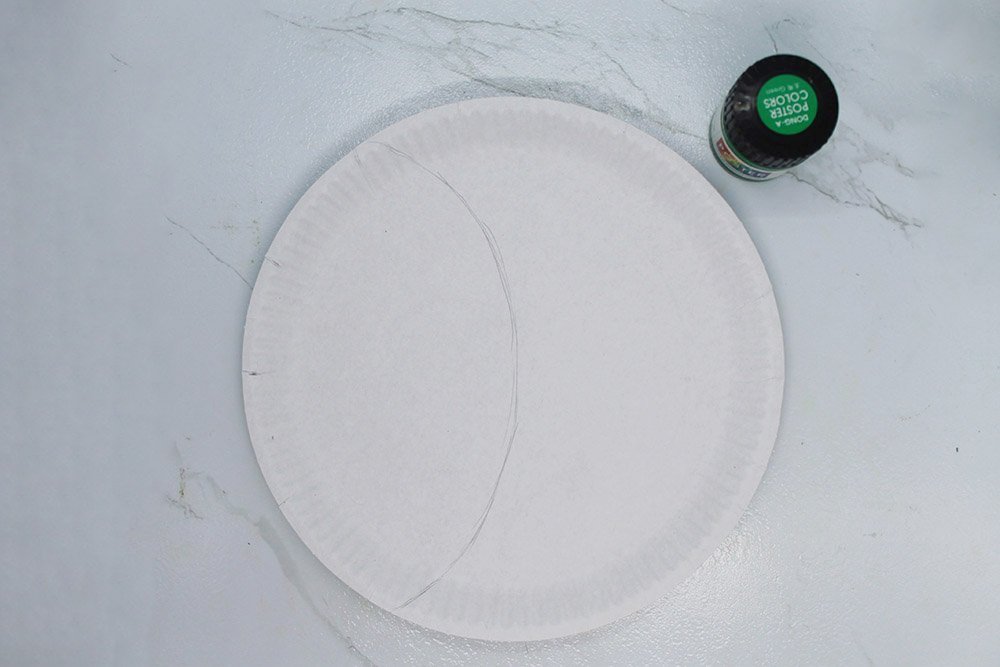
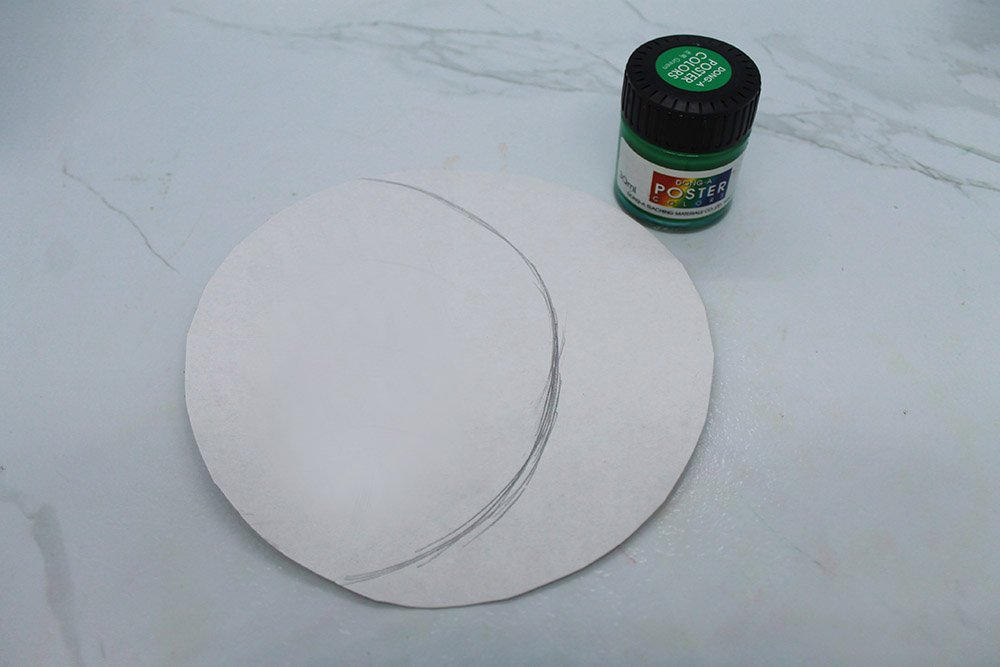
Now that the paper plate is divided into two parts color the right side with dark green paint.
You may use a different color if you want for this bird craft.
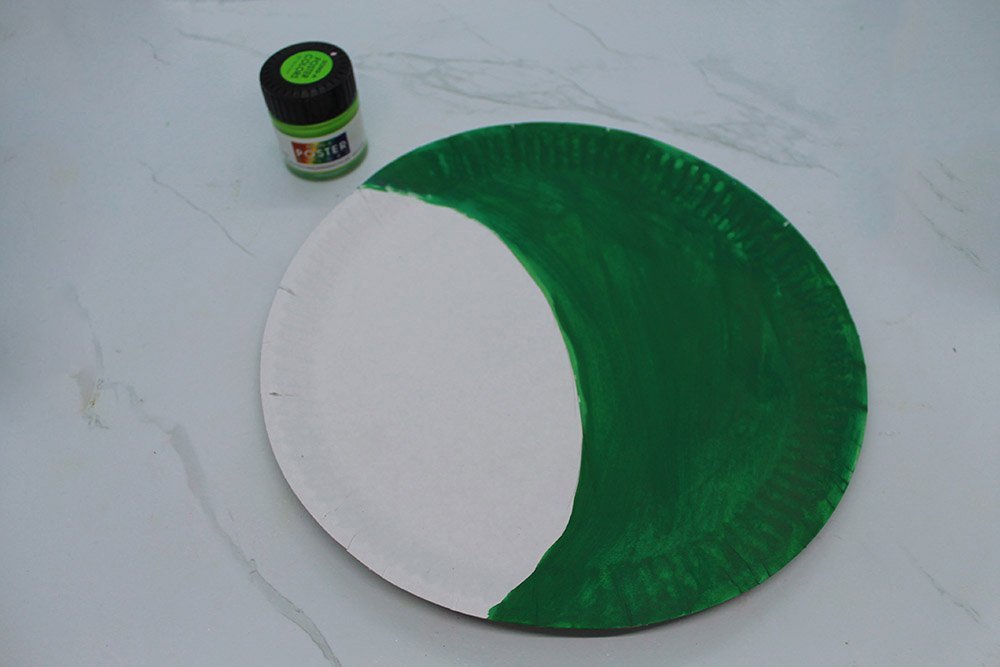
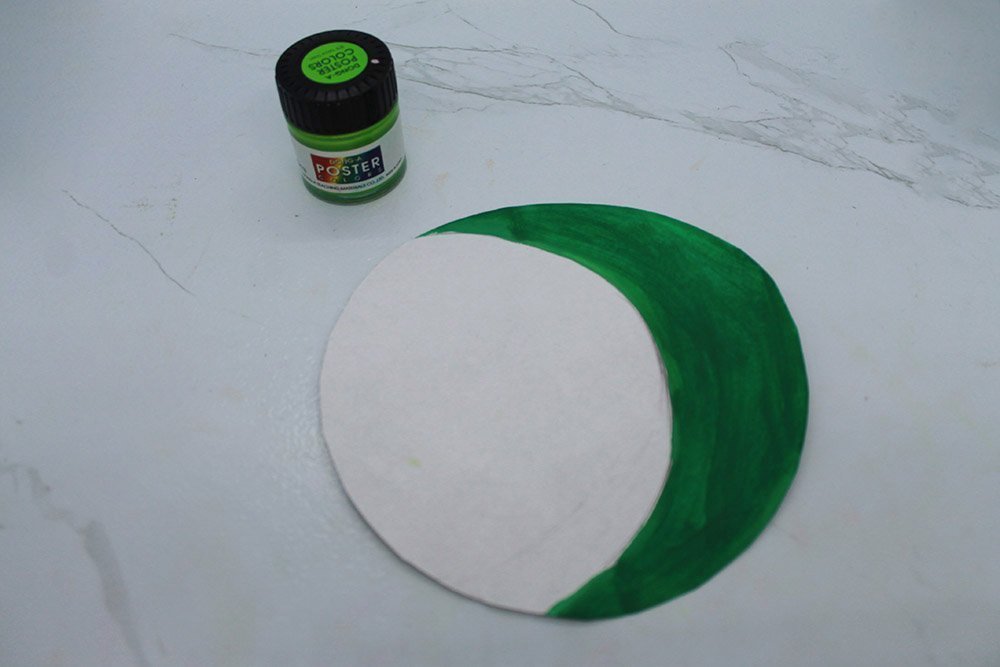
Now color the left part with yellow-green paint or any color of your choosing.
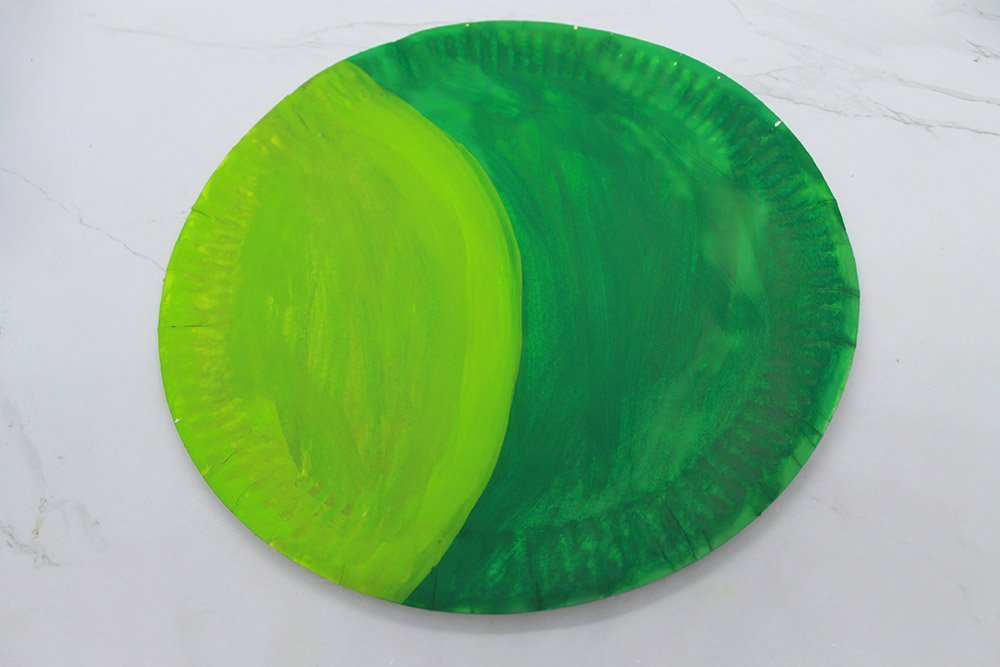
The body of the paper plate bird is done.
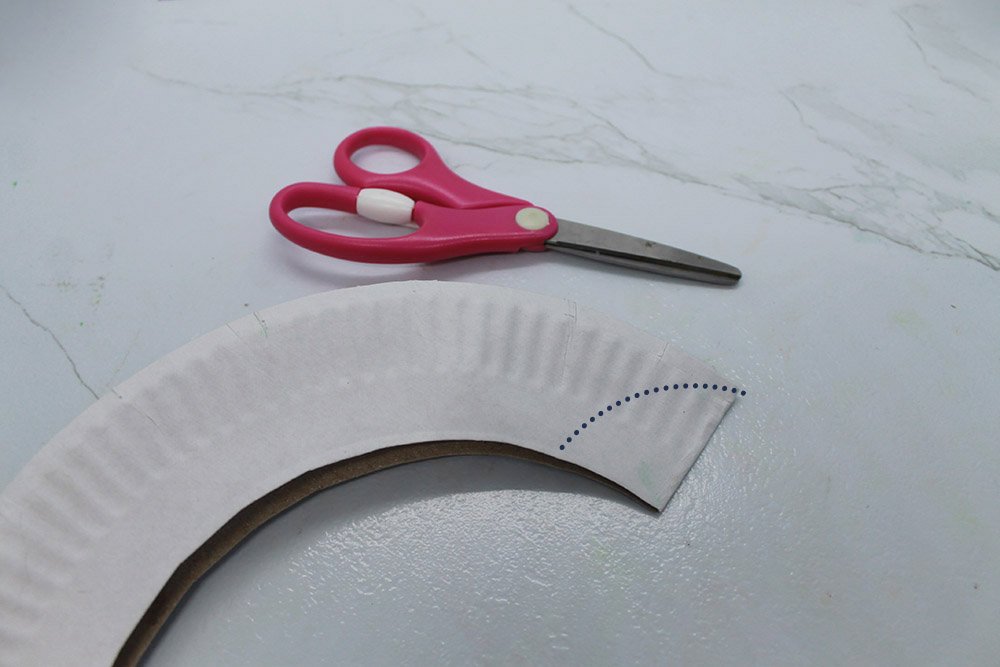
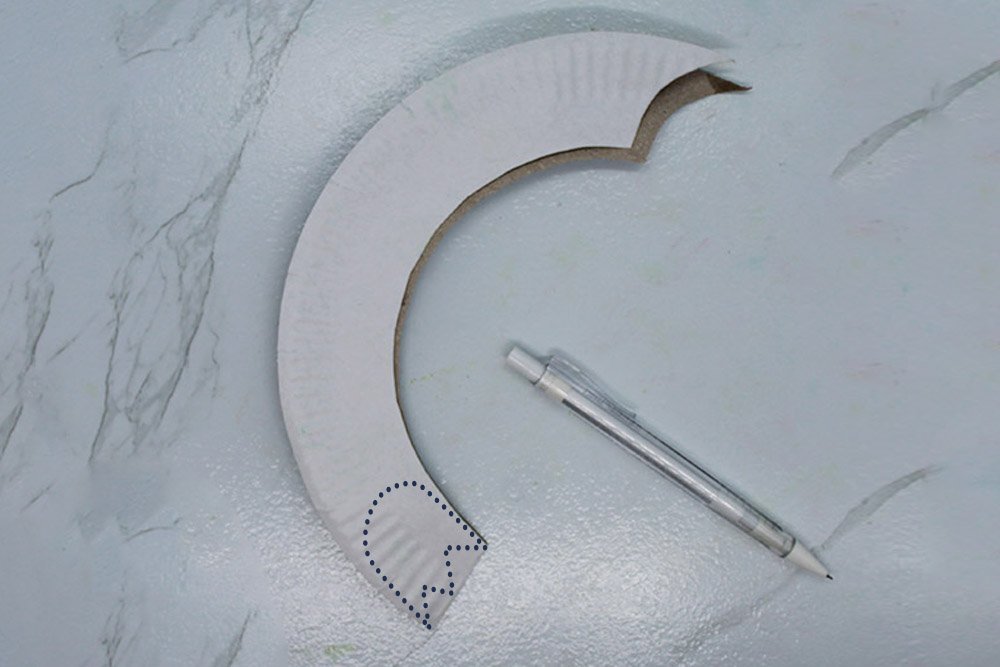
Create the head of the bird
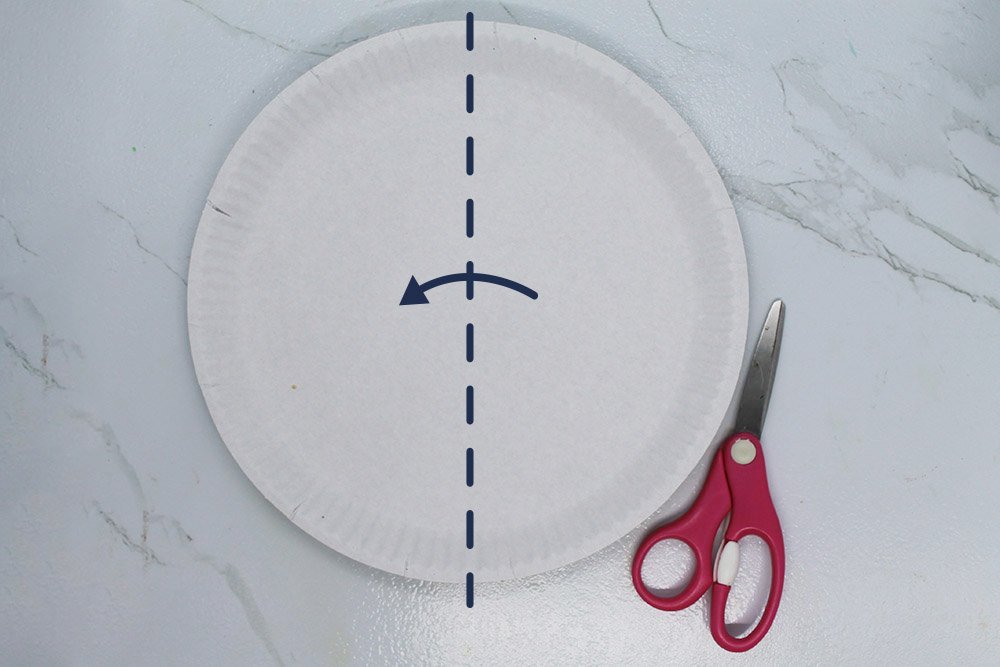
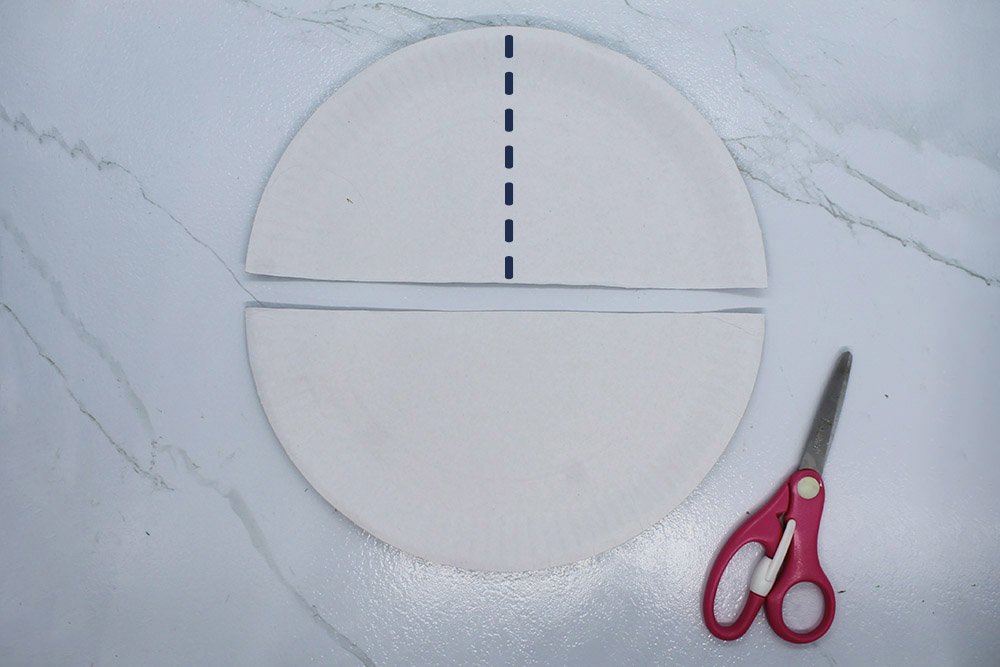
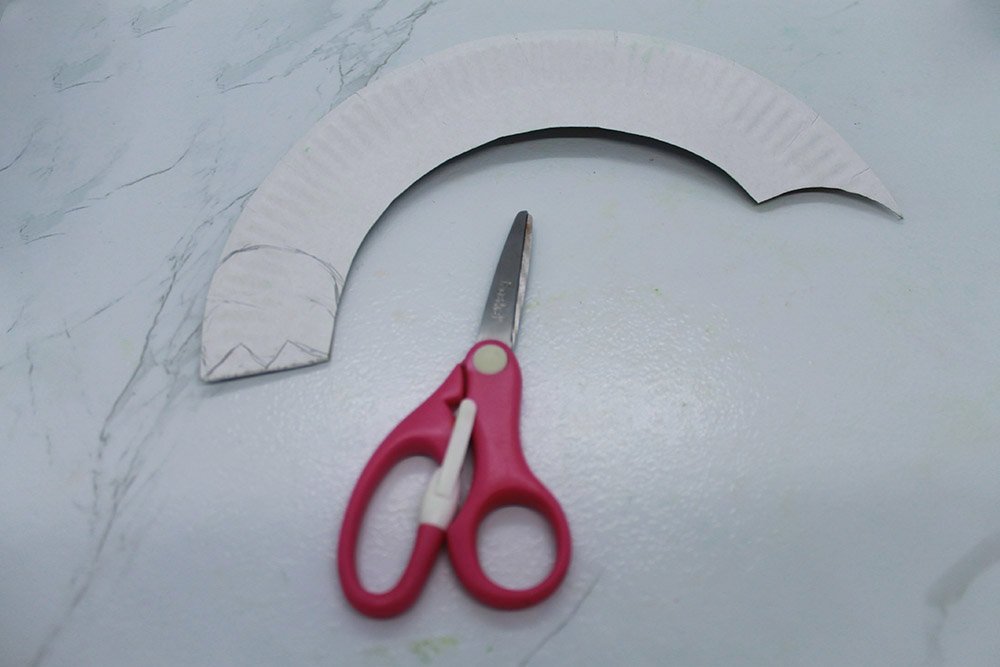
The head of the bird is smaller than the body. To make the head, we need to trim the edge of the paper plate. To shorten the plate, fold it in half.
Cut a half-moon shape on the center as illustrated above.
Set aside the outer cutout for now. We will use it to make the beak and fee
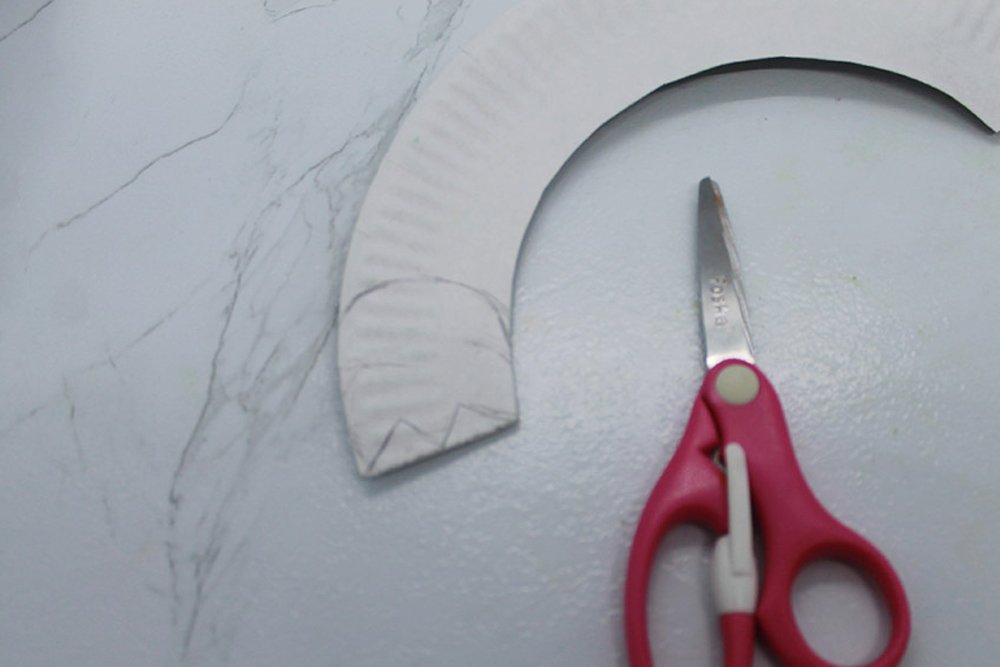
Draw a curved path by following the dotted line on the sample image above.
The paper plate is divided into two parts like what we did with the body color, the right side with dark green paint.
You may use a different color if you want for this bird craft.
Now color the left part with yellow-green paint or any color of your choosing. Then, set it aside for a bit to let it dry.
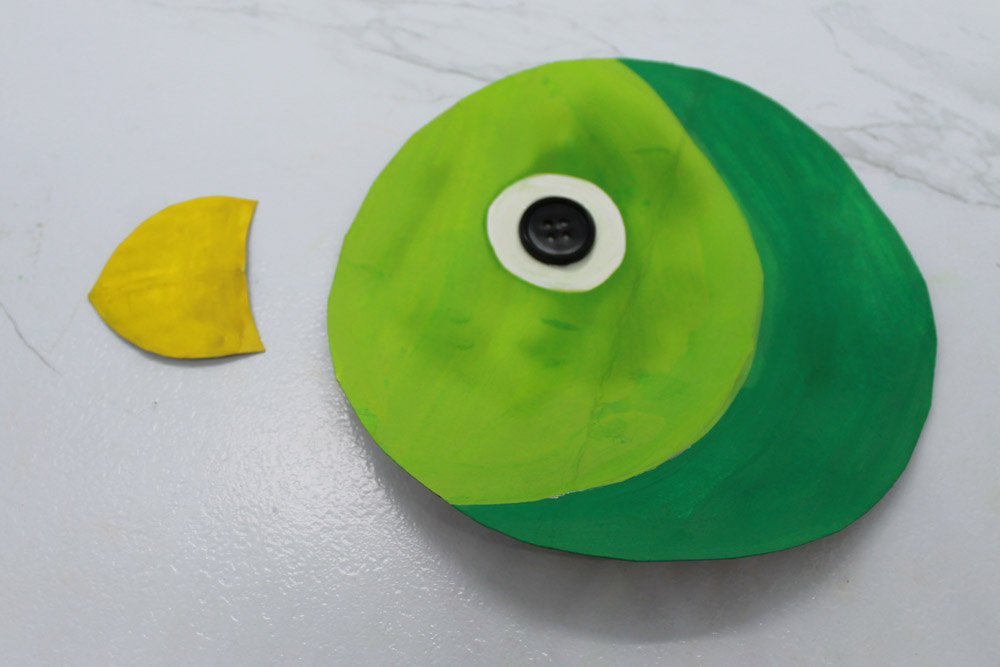
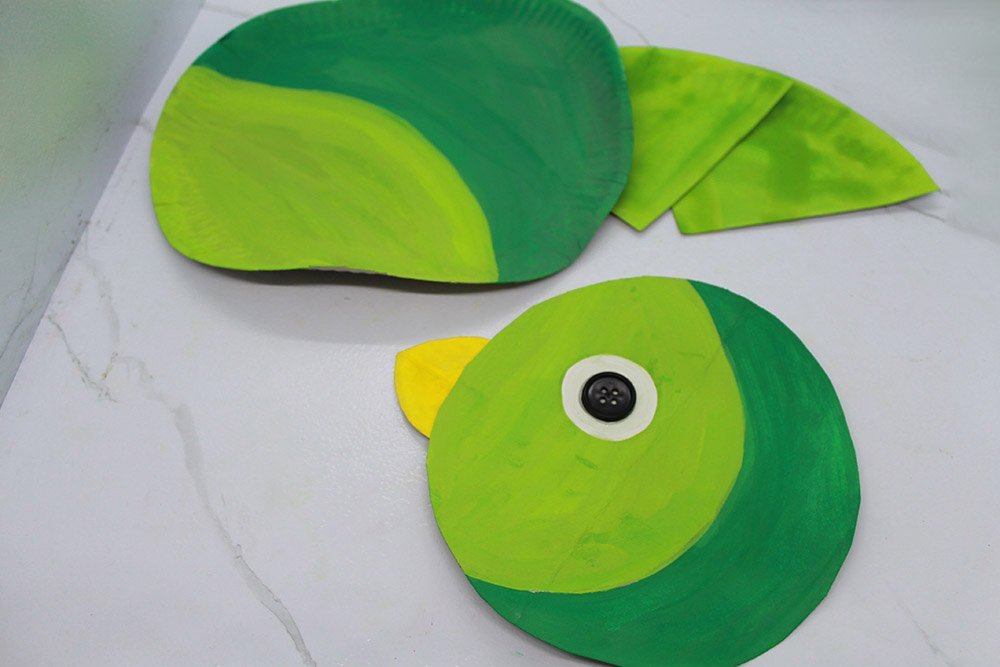
Make the eye of the paper plate bird.


Paint a circle on the top part of the head. Use the dotted line as a guide.
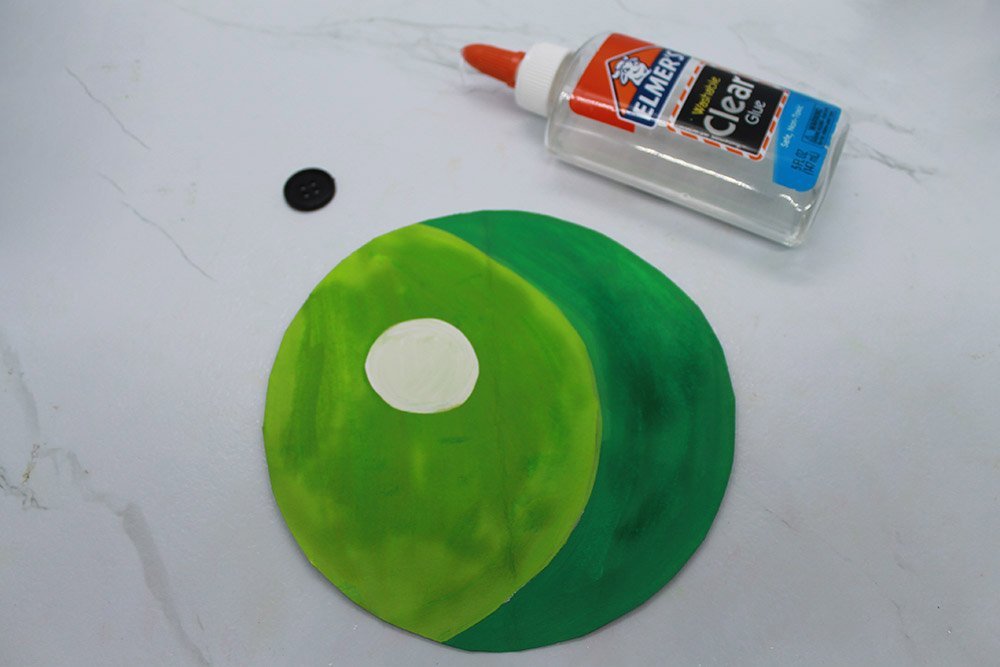
To make the pupil, stick a button on the white part of the eye or draw another circle with black paint.
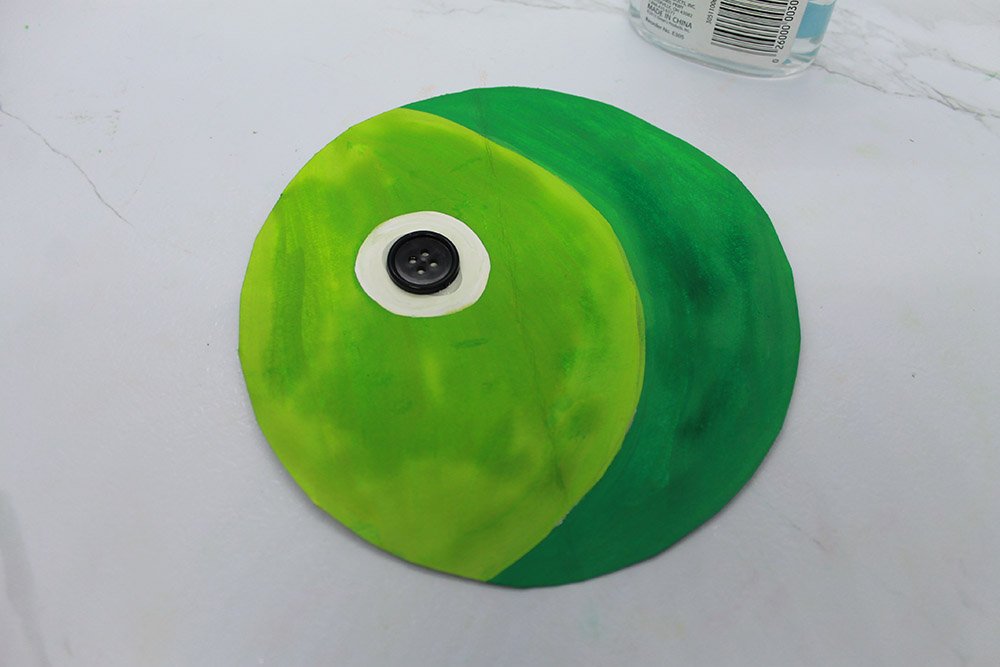
The eye of the paper plate bird is done! You may use some googly eyes if you don’t want to follow this step.
Make the beak of the paper plate bird
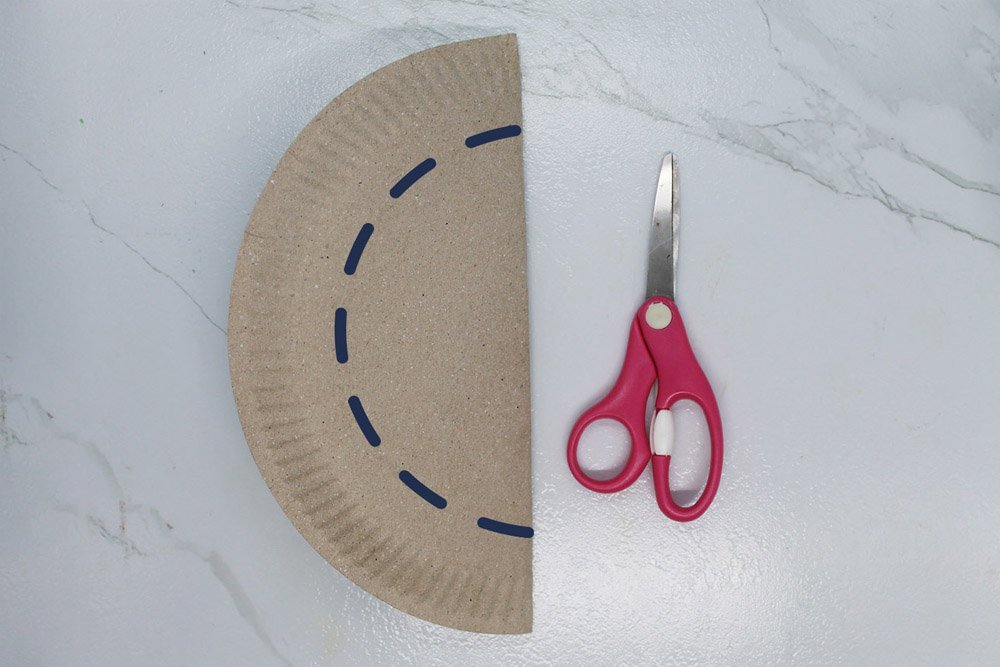
Grab leftover cutout made from the paper plate head. Draw and cut along the dotted line as illustrated above.
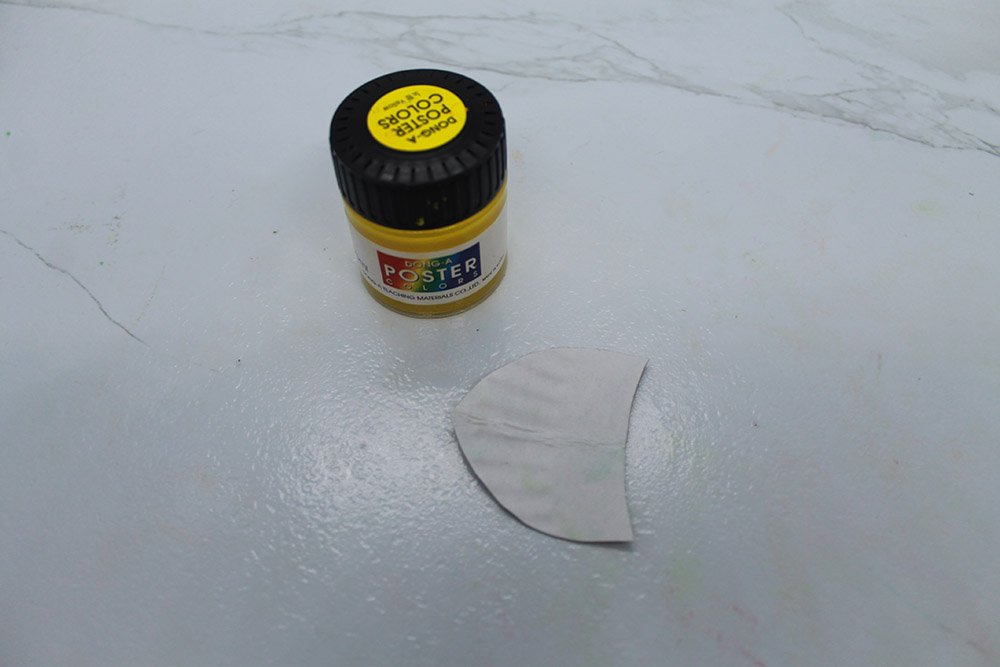
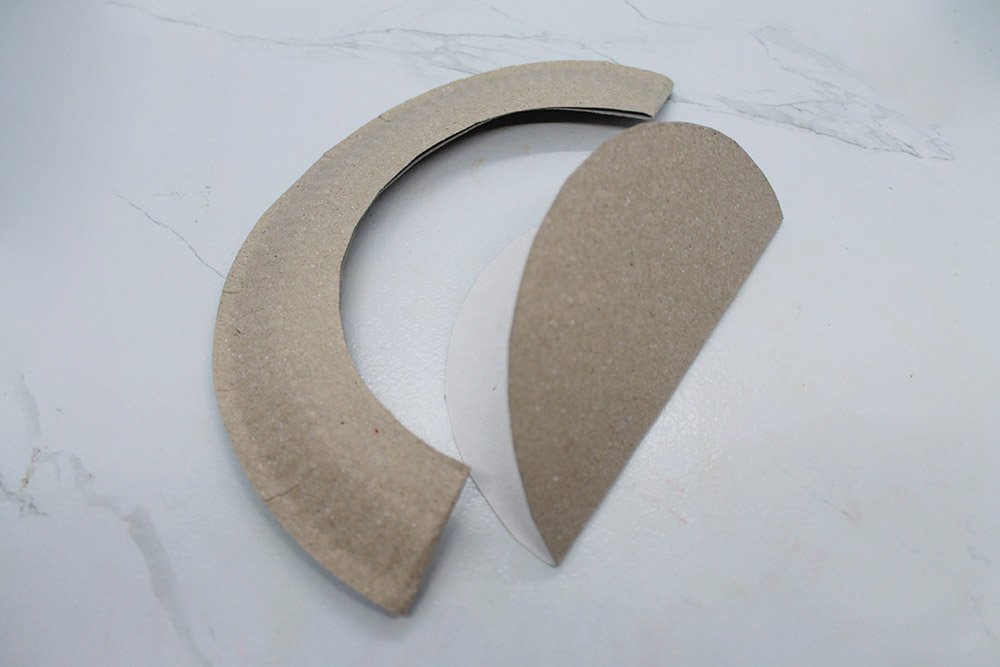
Unfold the cutout made, and it should look something like this! Color the beak with yellow paint.
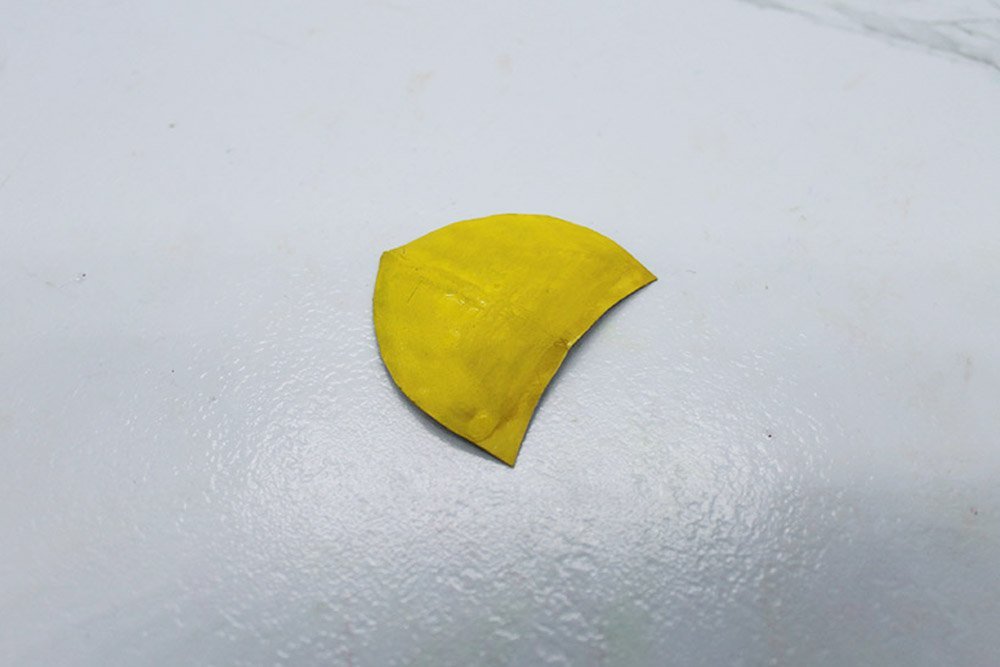
Let it dry a bit before proceeding to the next step.
Glue the beak to the head of the bird.
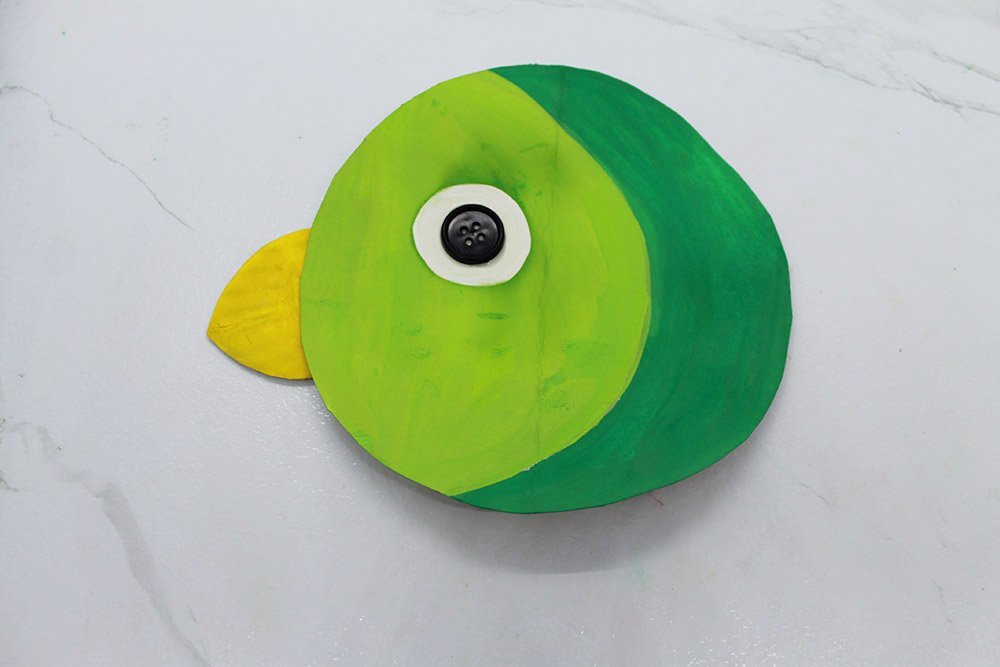
The head of the paper plate bird is done!
Make the wings of the bird
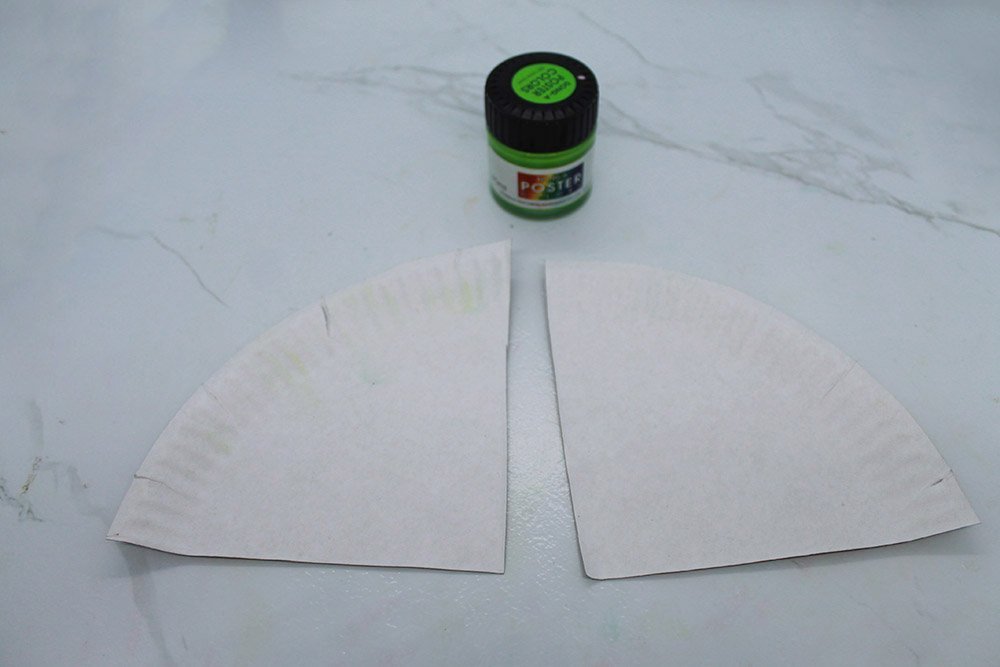
Grab another paper plate and cut it in half.
For the wings, we’re only going to use one-half of the paper plate. Set aside the other half, or you may use it on another paper plate craft.
Cut the half paper plate in half again.
Paint the wings with the color of your choice. Here we use light green.
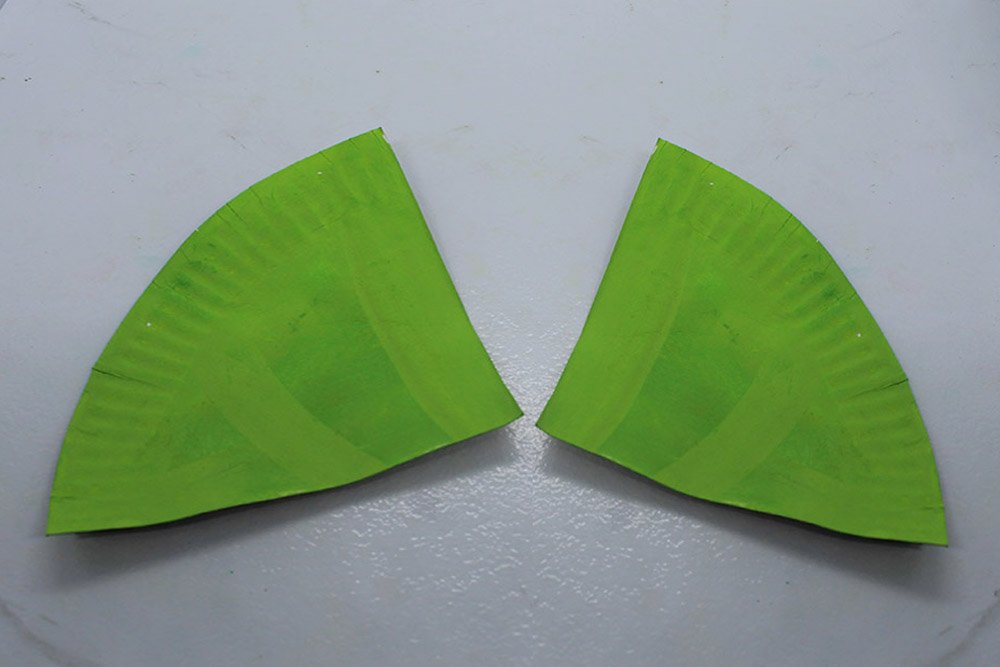
Once painted, set it aside to dry.
Assemble the paper plates
Grab the head, body, and wings of the bird.
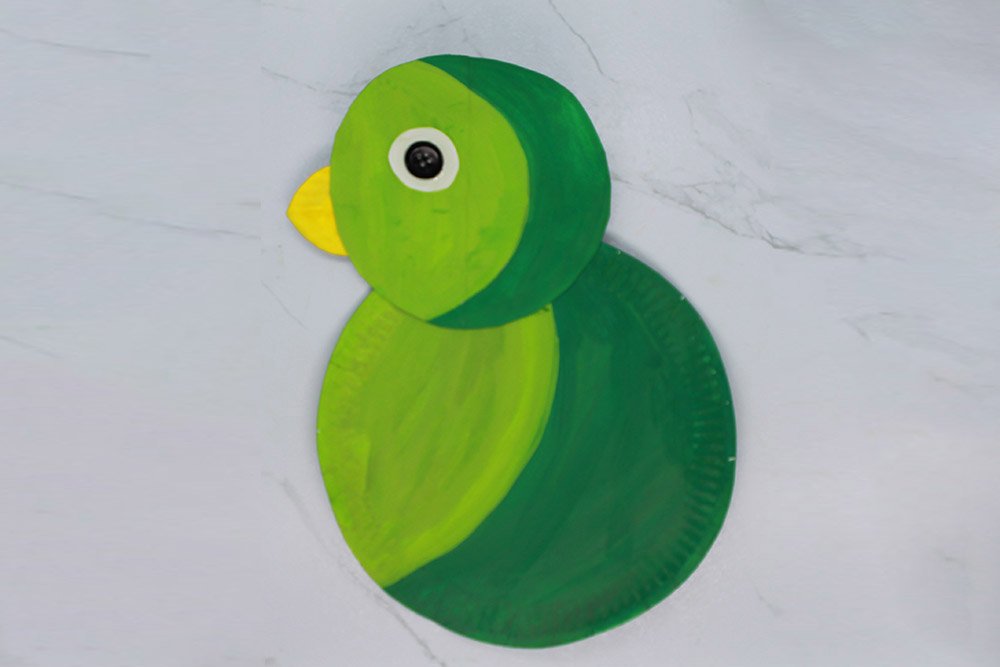
Stick the head on top of the body.
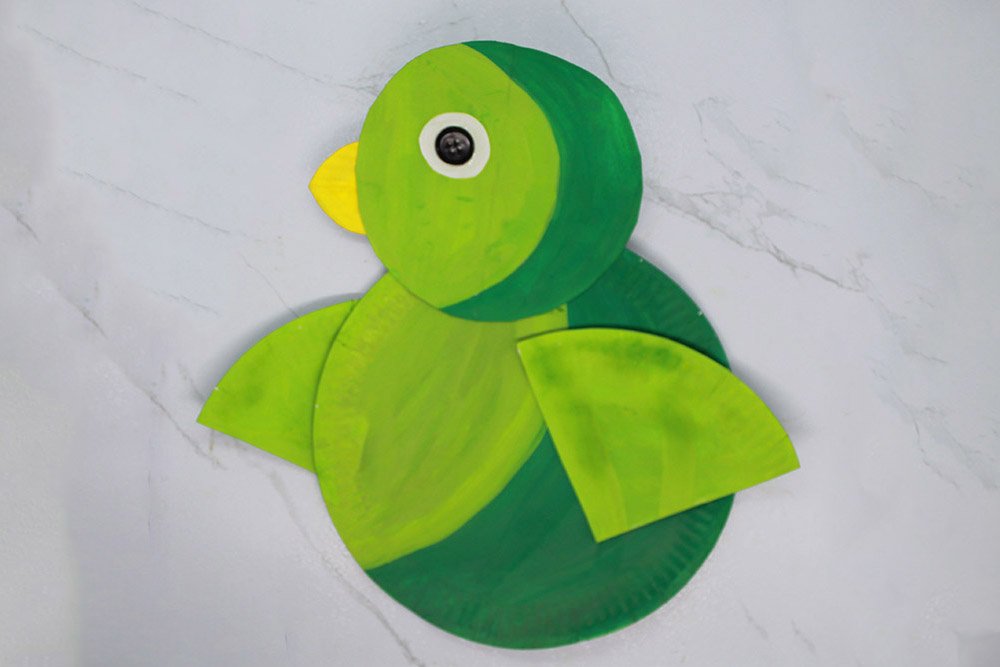
Stick the right-wing at the top part and the left-wing at the back of the paper plate body. Follow the sample image above for guidance.
Add a tail to the paper plate bird

Grab some tape, feathers, and the bird.
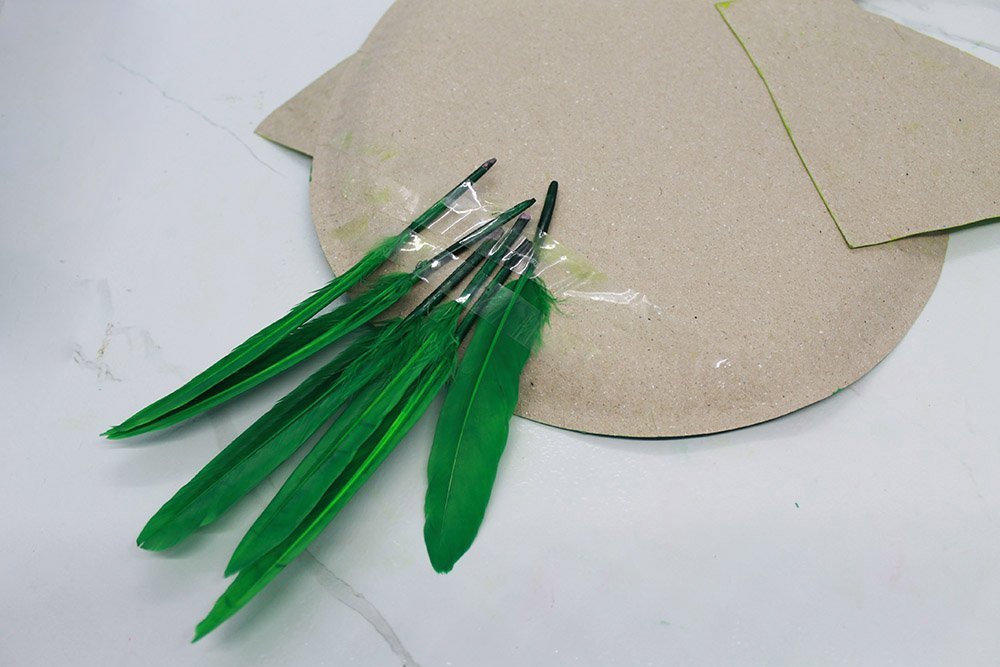
Flip the bird over and tape the wings to the back to make the tail.
Now the paper plate bird has a tail.
Create the talons of the bird
Grab leftover cutout made from the paper plate head. Draw along the dotted line as illustrated above.
Cut along the drawing made.
Take note that the paper plate should still be folded in half. When cut, you should have 2 feet.

Paint the talons with yellow paint.
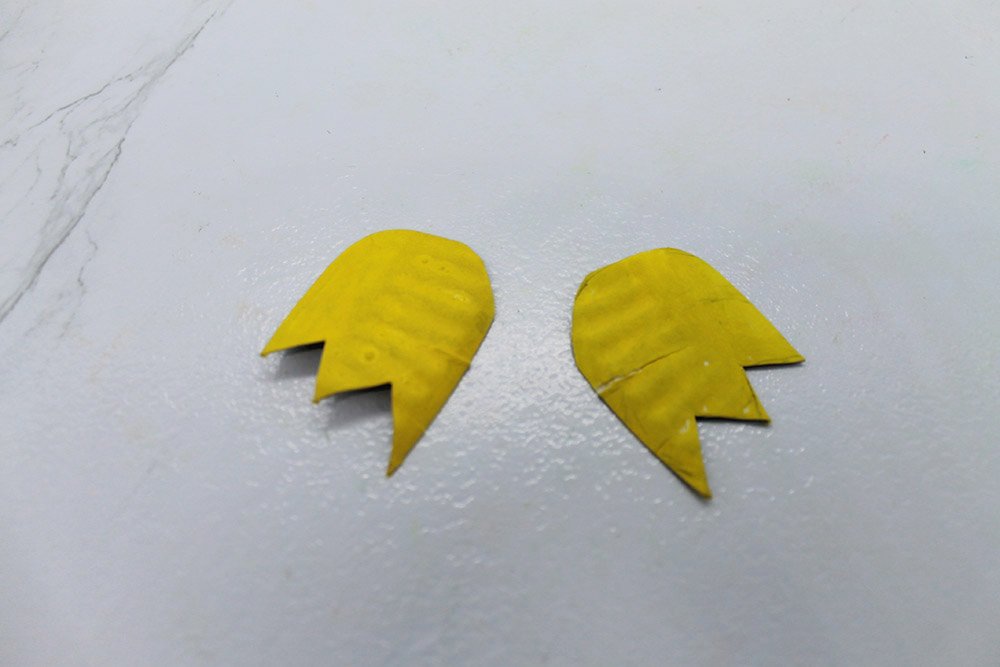
Let it dry a bit before proceeding to the next step.
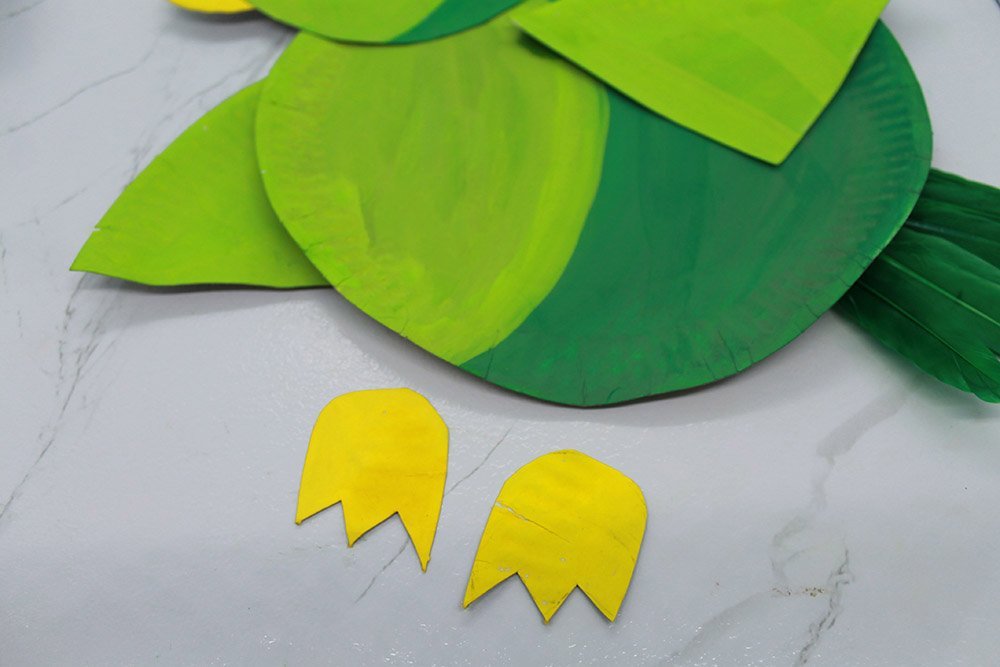
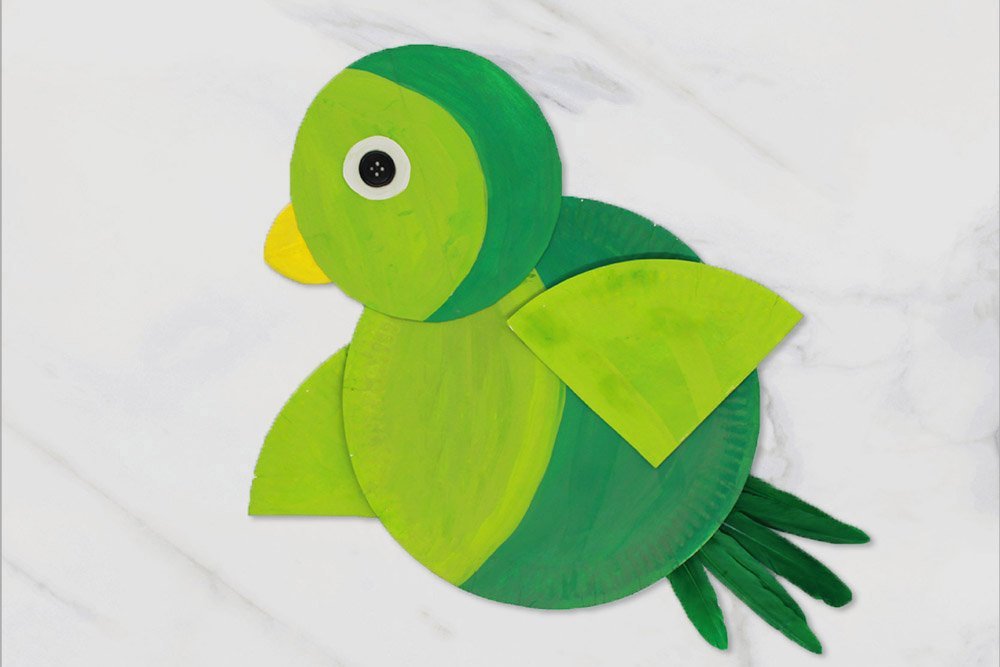
Attach the talons at the bottom end of the back of the paper plate bird.
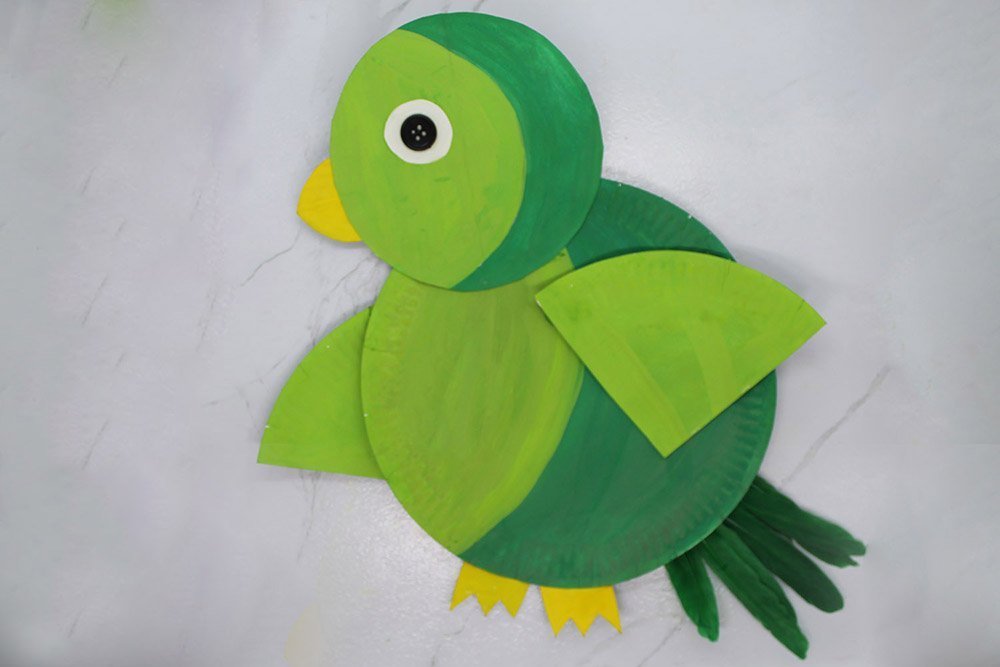
The paper plate bird is done. You can sting it on a wall to decorate


I like the parrot better, and the paper plate peacock can stand so that’s my fav. still made this regardless. I mean it still look cute <3 🙂
Girl this is pretty cute
it looks like its from angry birds
My mom and I made this for my birthday then we finally went to Disneyland in the afternoon 😍😍
Paper Plate Craft: 4.5/5
Enjoyment: 5/5
Cuteness: 100!