Create a Paper Plate Tambourine with Bells

Introduction:
Create a paper plate tambourine using jingle bells. What’s great about this craft is that it’s also musical instruments that kids can shake to produce sound. If you’re looking for a musical activity for your child, then this project might be fun for you and the kids to make and enjoy. We’ll also teach you how to make a paper plate mosaic to design the paper plate. Have fun crafting!
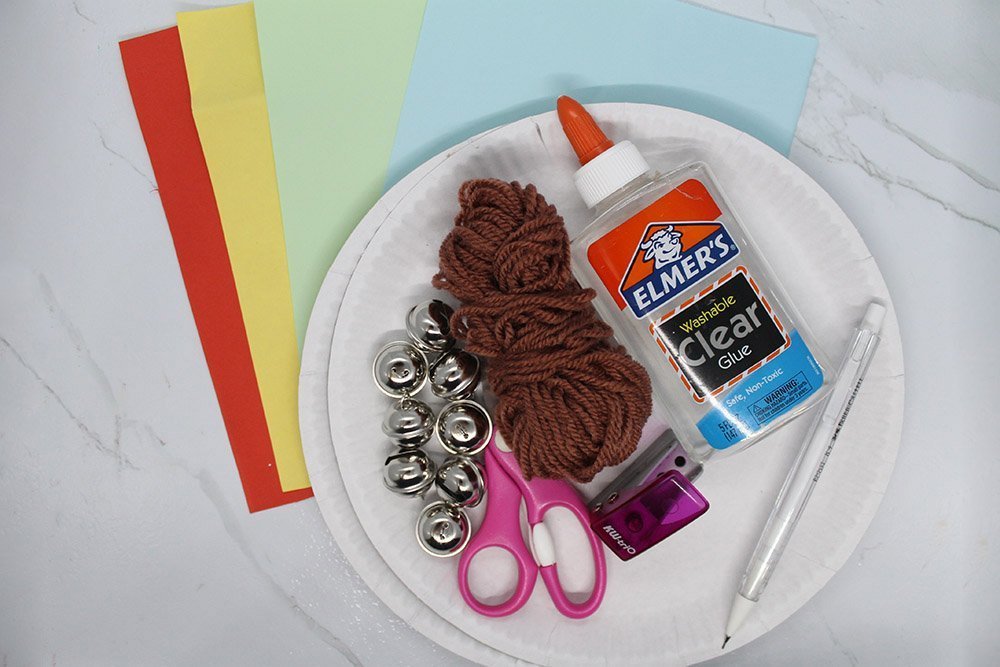
Tools
- Pencil
- Scissors
- Something circular to trace on
Supplies
- 2 Paper plates
- Assorted pieces of colored paper
- Jingle bells
- Glue
- String or Yarn
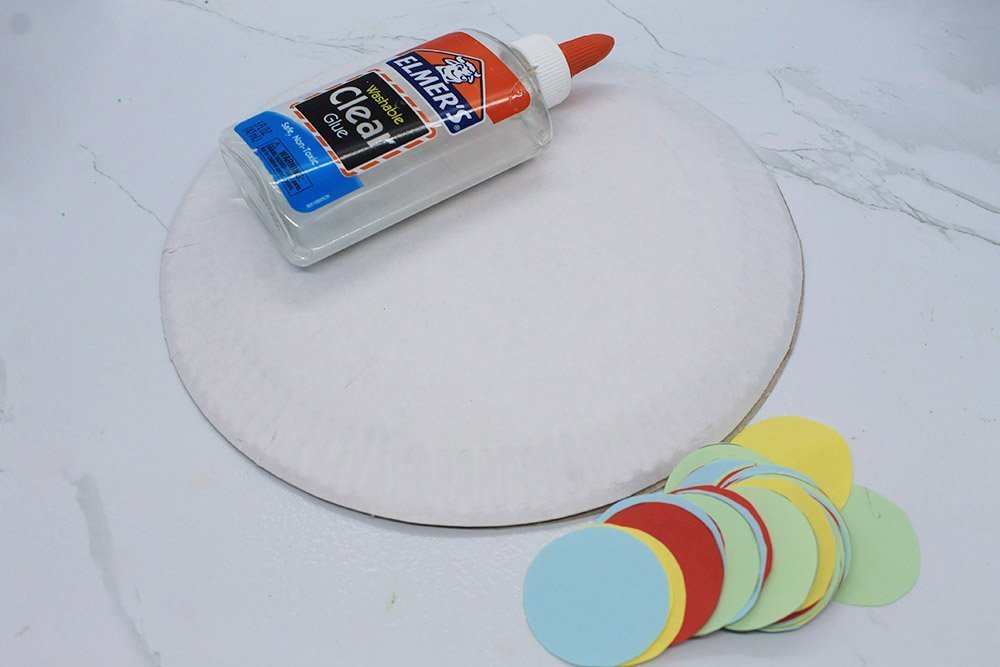
Make some cutouts for the design of the paper plate tambourine
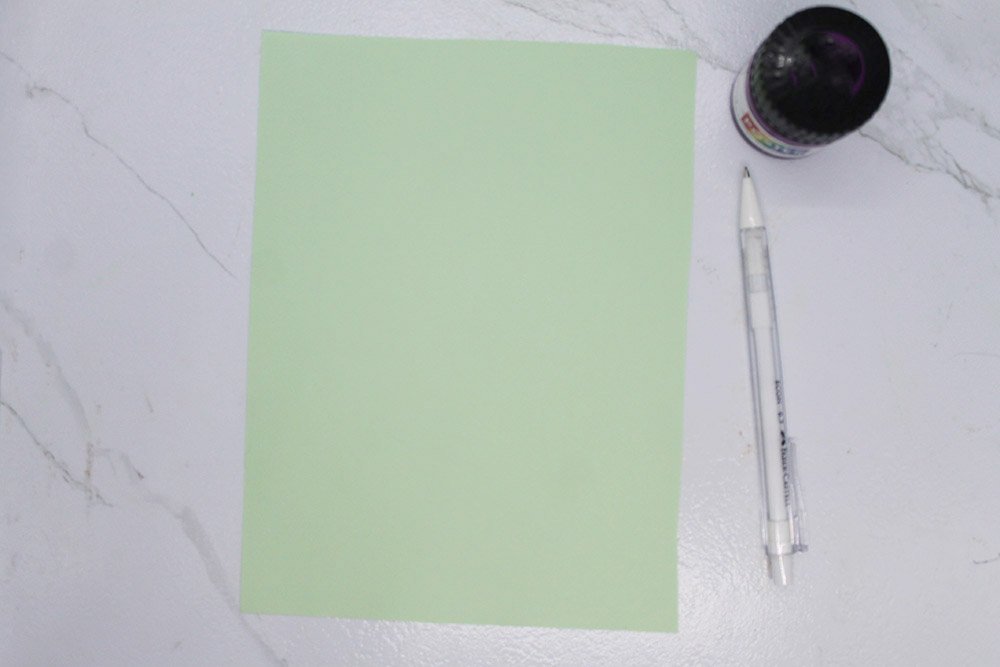
Grab a piece of paper, a pencil, and something circular to trace on.
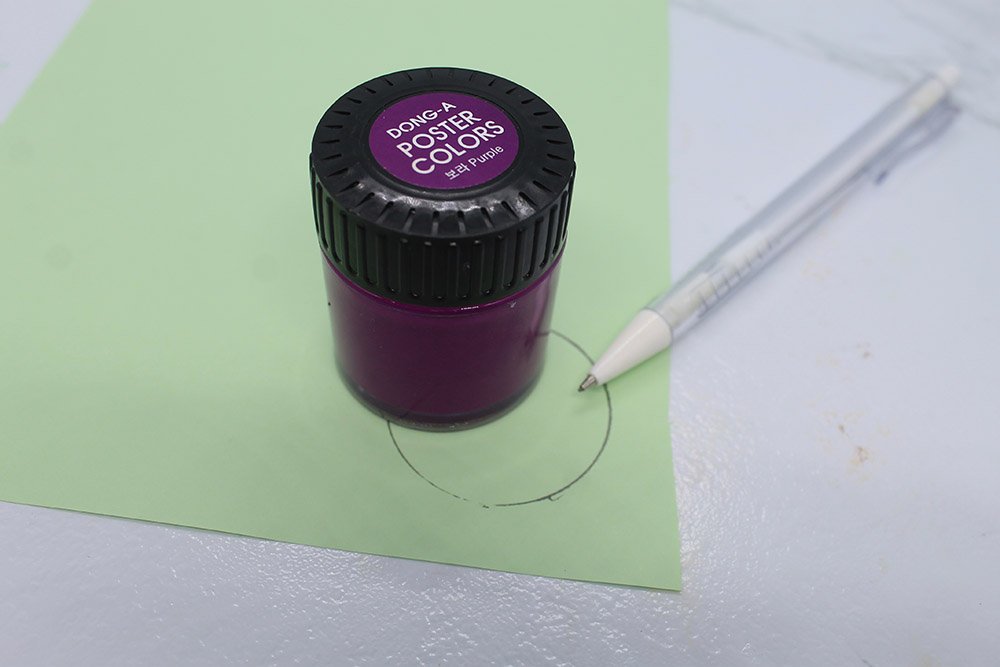
Trace a small circle on the paper.
Here we used a bottle of paint to trace a circle. You may use any object to trace any small shape that fits on the paper.
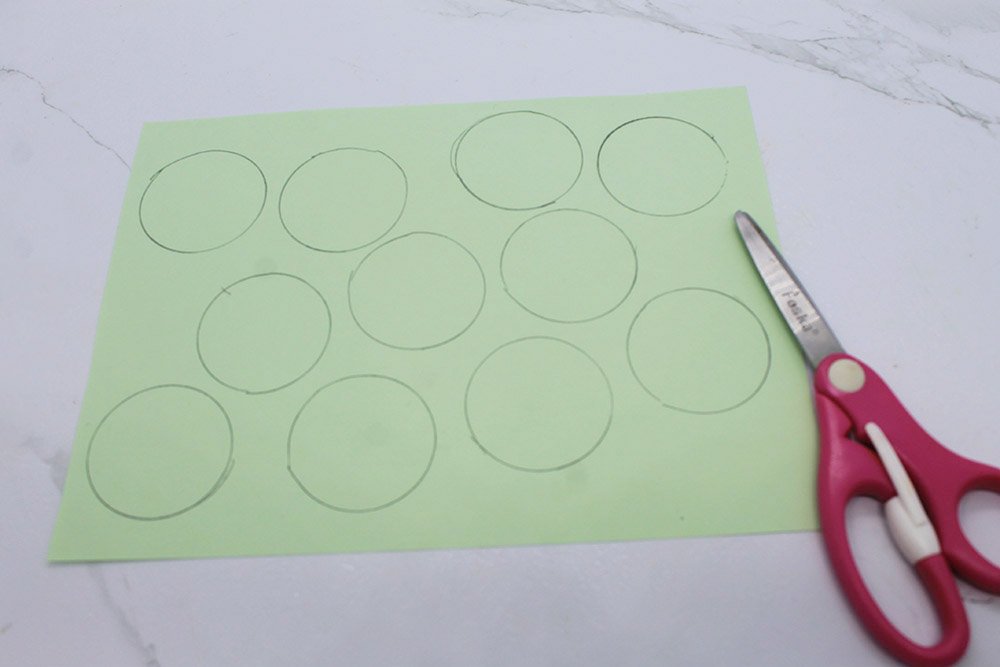
Do this multiple times until the paper is filled with circles. Cut the drawn shapes with a pair of scissors.
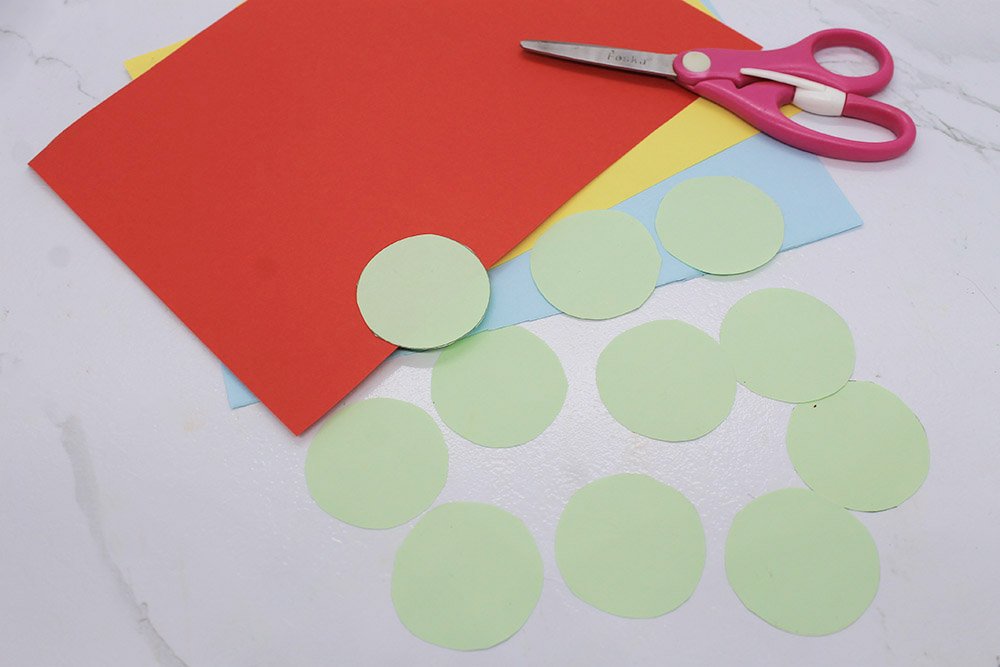
Repeat this process on the other colored papers.
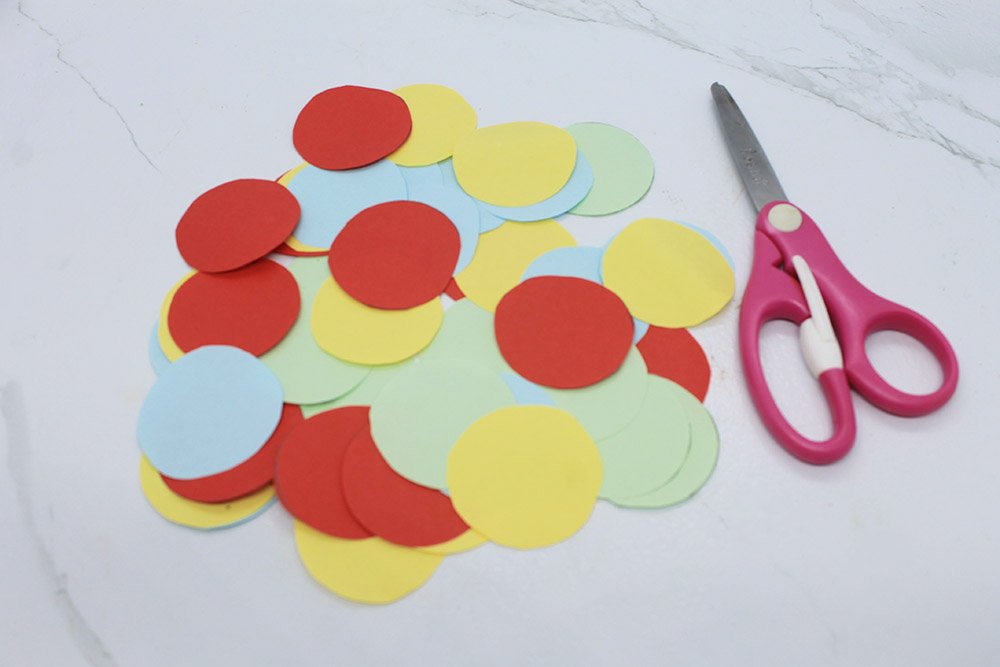
The cutouts are now prepped. Set this aside for now!
Join the paper plates together.
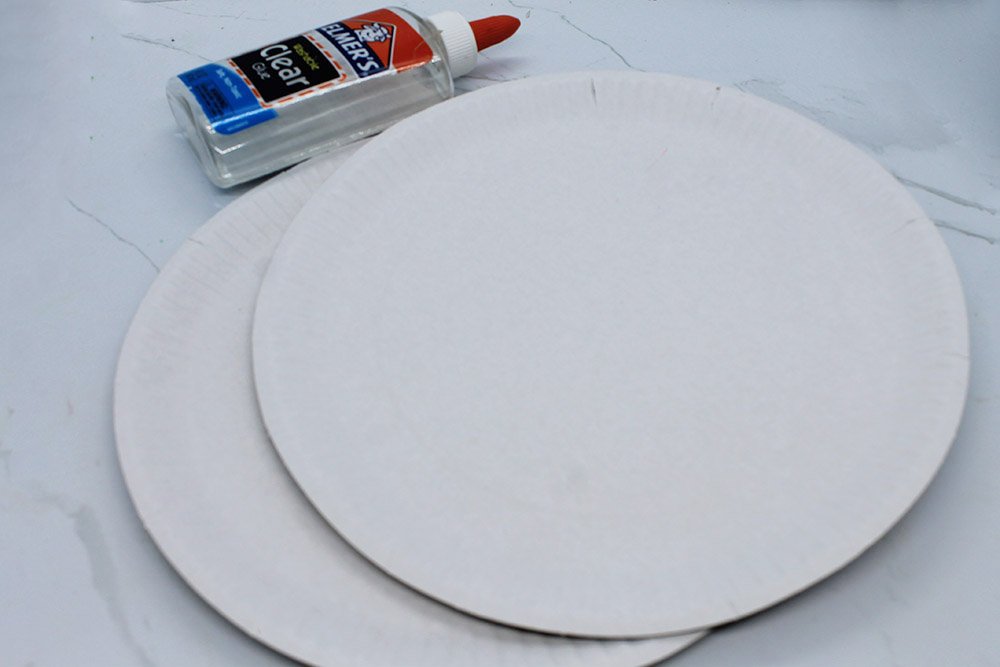
To make the paper plate tambourine sturdy, stick two paper plates together.
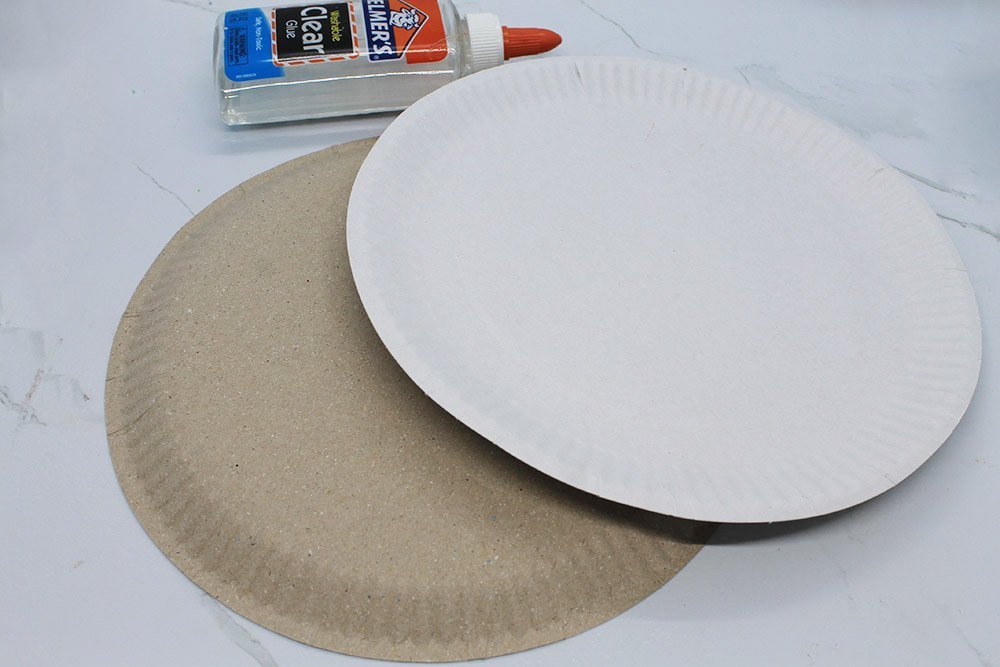
Stick the backsides of each paper plate to one another.
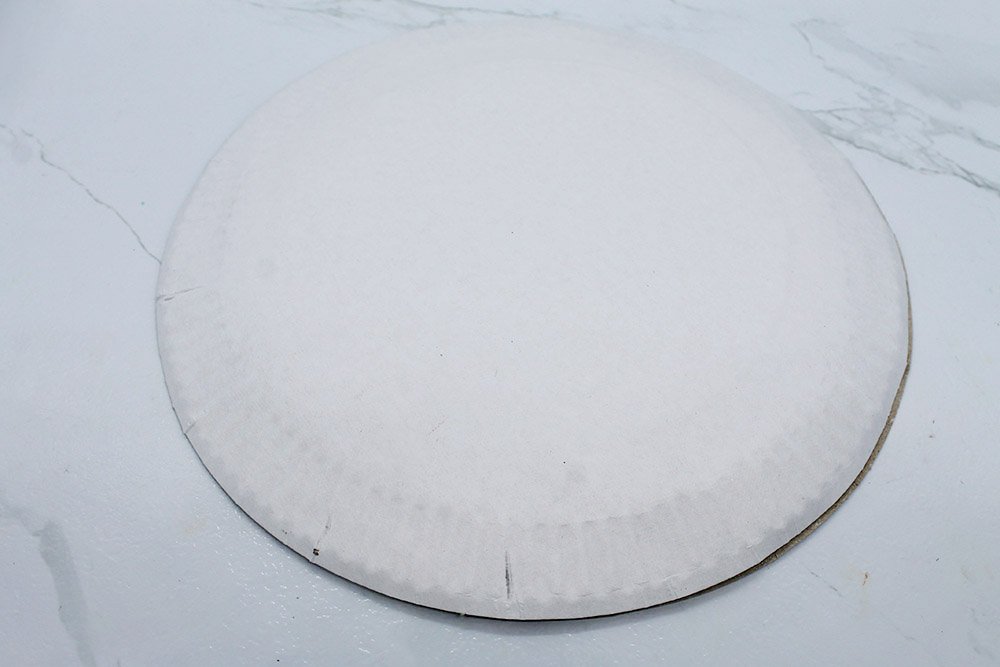
Once you have joined two paper plates together, you can now decorate the paper plate.
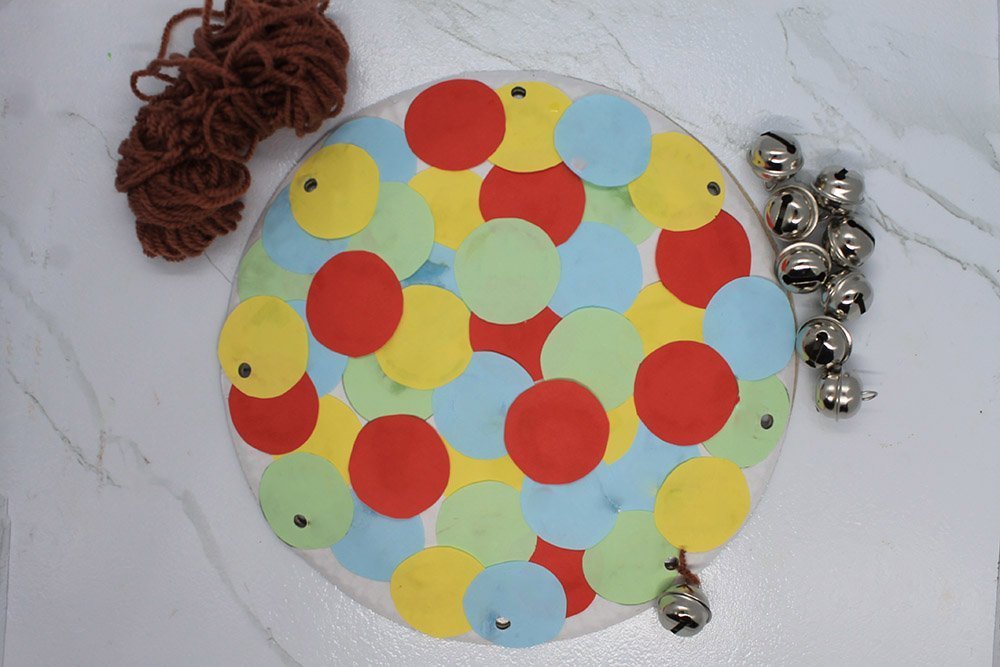
Make a mosaic design on the paper plate tambourine
Stick various colors of paper cutouts on the paper plate.
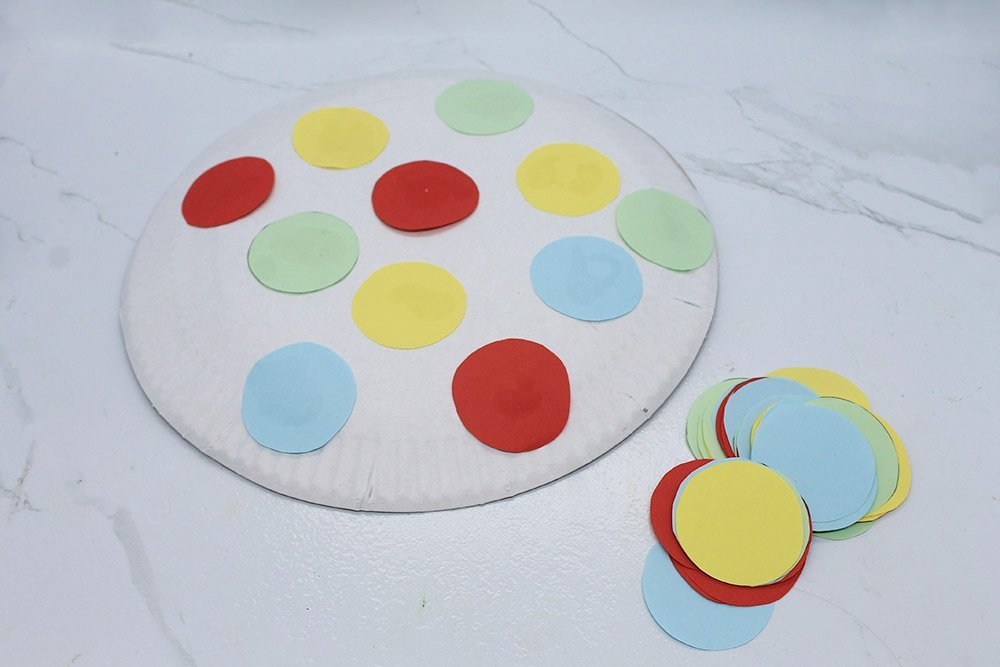
Keep layering the cutouts on the paper plate until there are minimal blank spaces left on the paper plate.
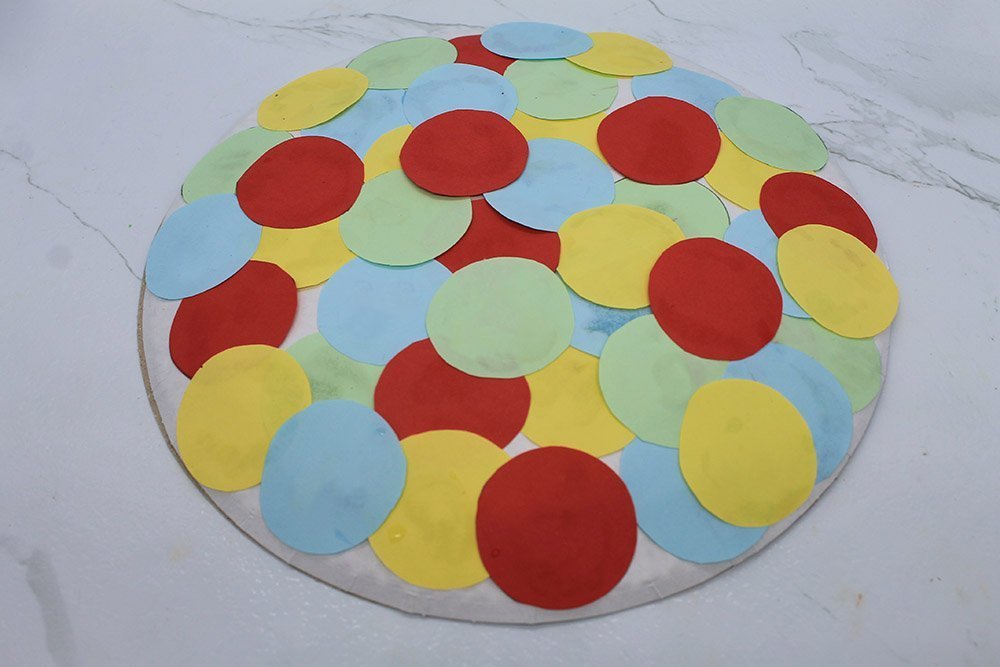
The mosaic design is now done for the tambourine. You may decorate the backside of the paper plate if you’d like!
Punch some holes at the paper plate
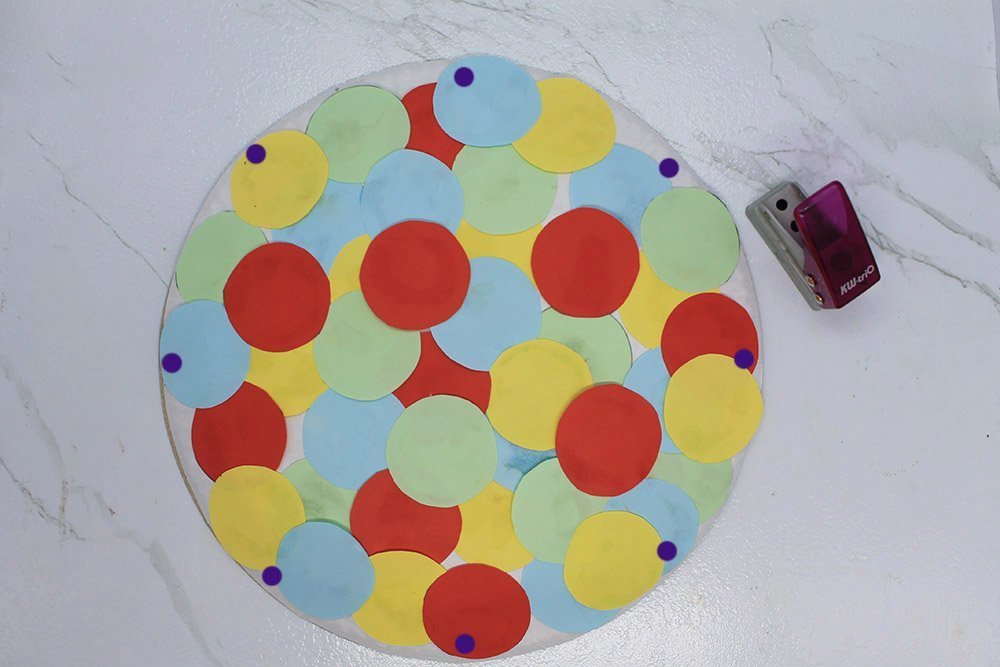
To attach the bells to the paper plate, you need to punch some holes on edge (See blue dot on where to punch).
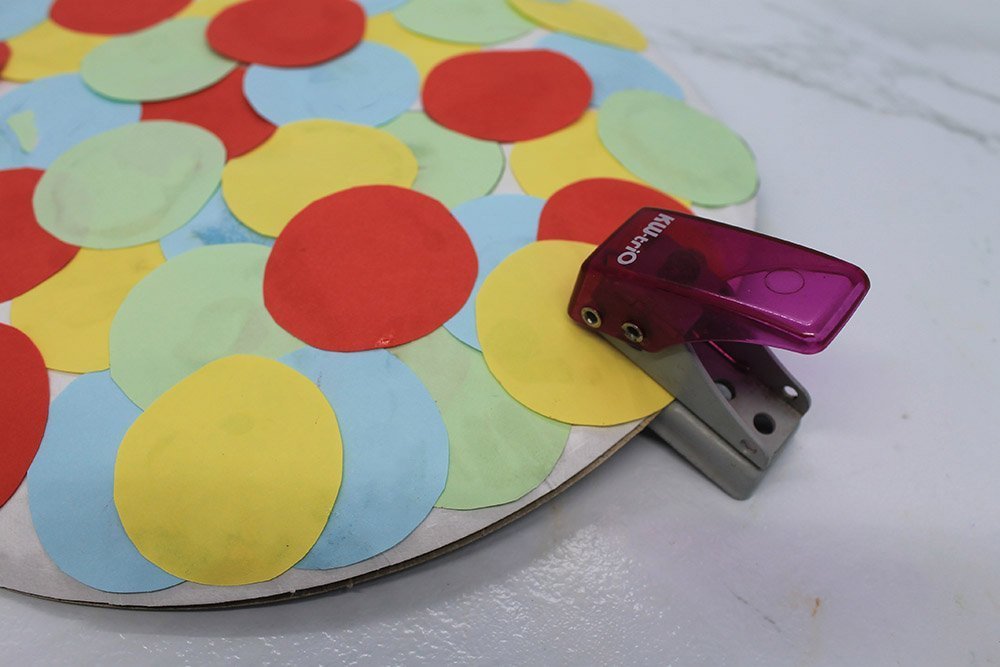
Punch around the edge of the paper plate using a puncher.
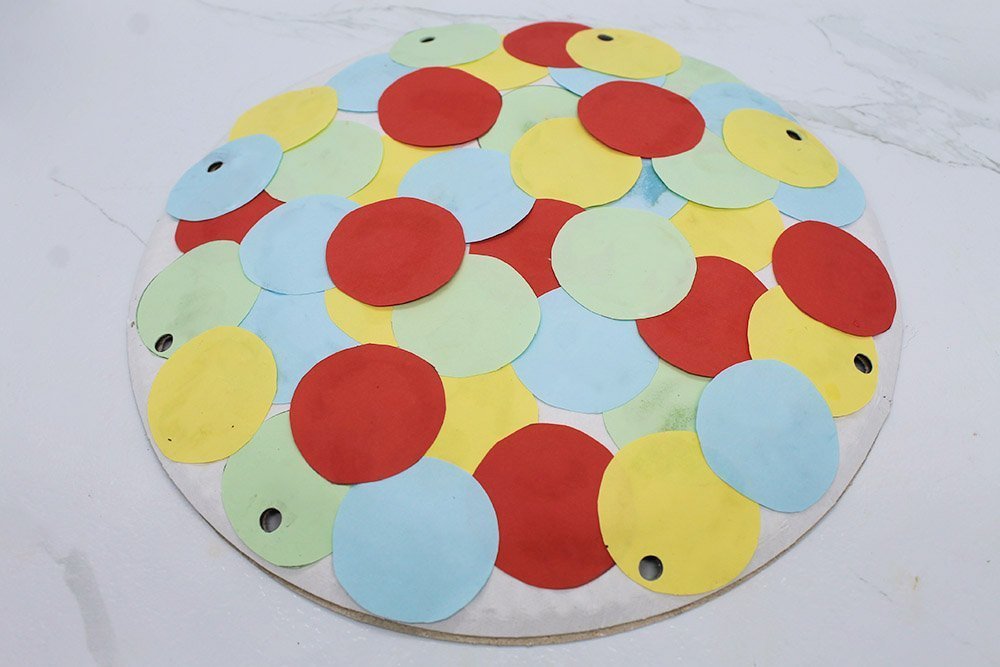
Once you have made some holes around the edges, it’s time to attach the bells.
Attach the bells
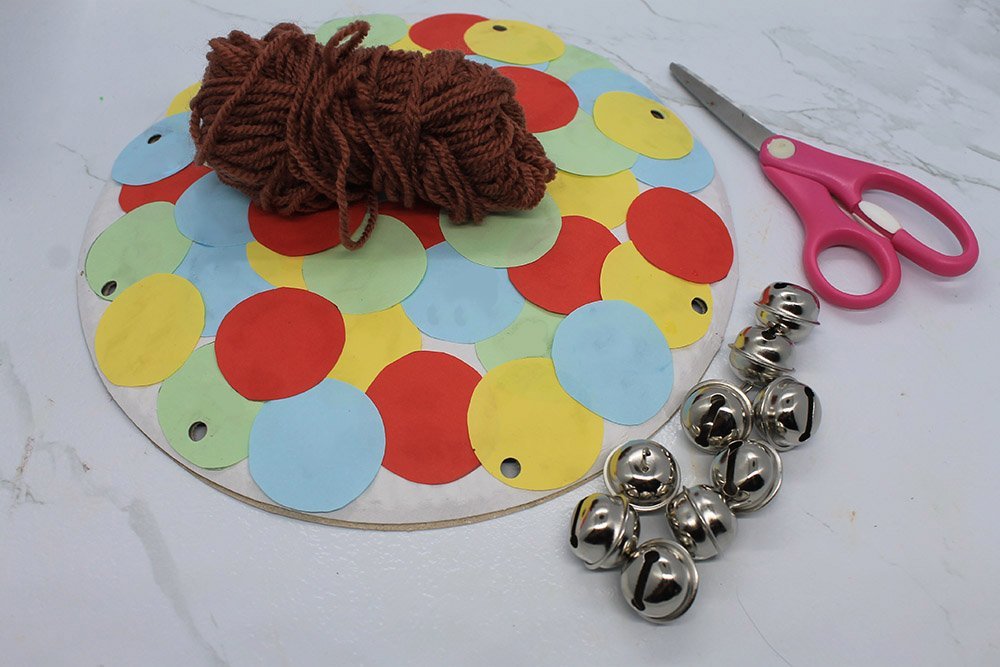
Grab some yarn, a pair of scissors, and bells.
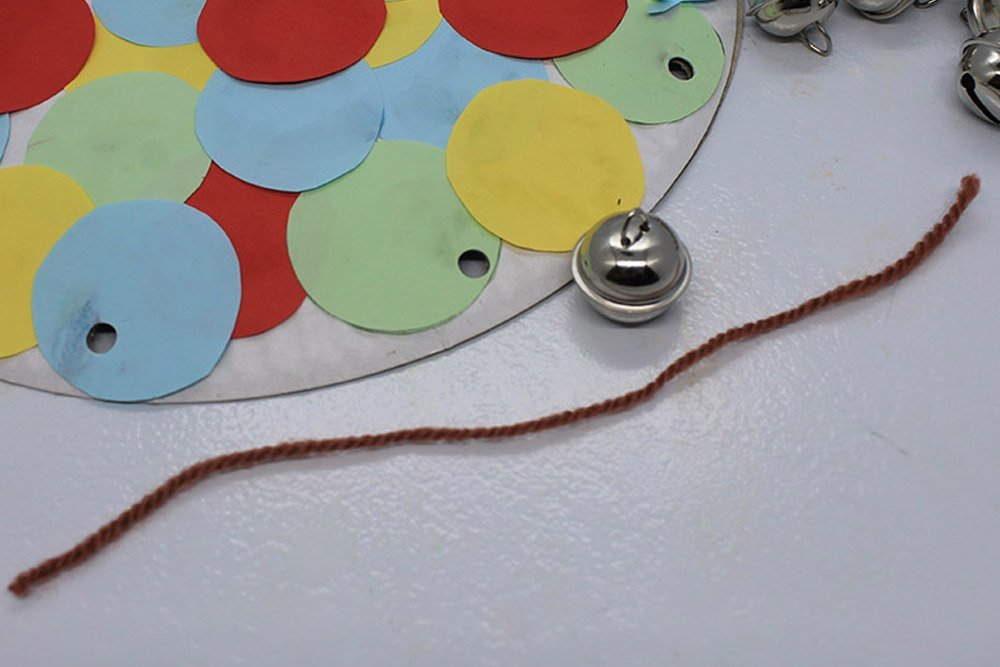
Cut a short piece of string.
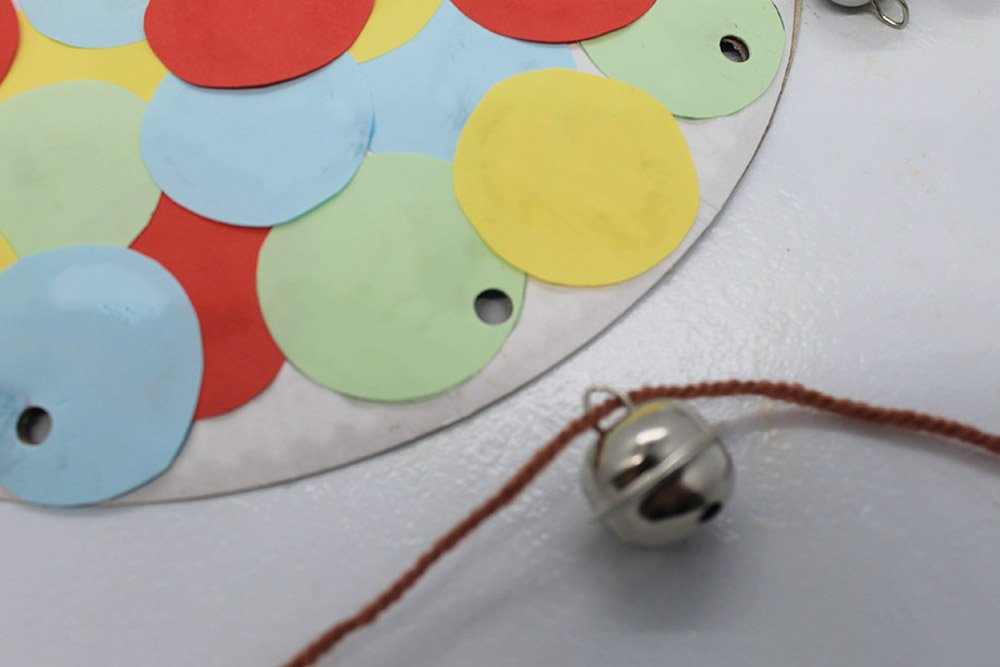
Insert the string/yarn to the bell.
Then insert the strings into the hole of the paper plate.
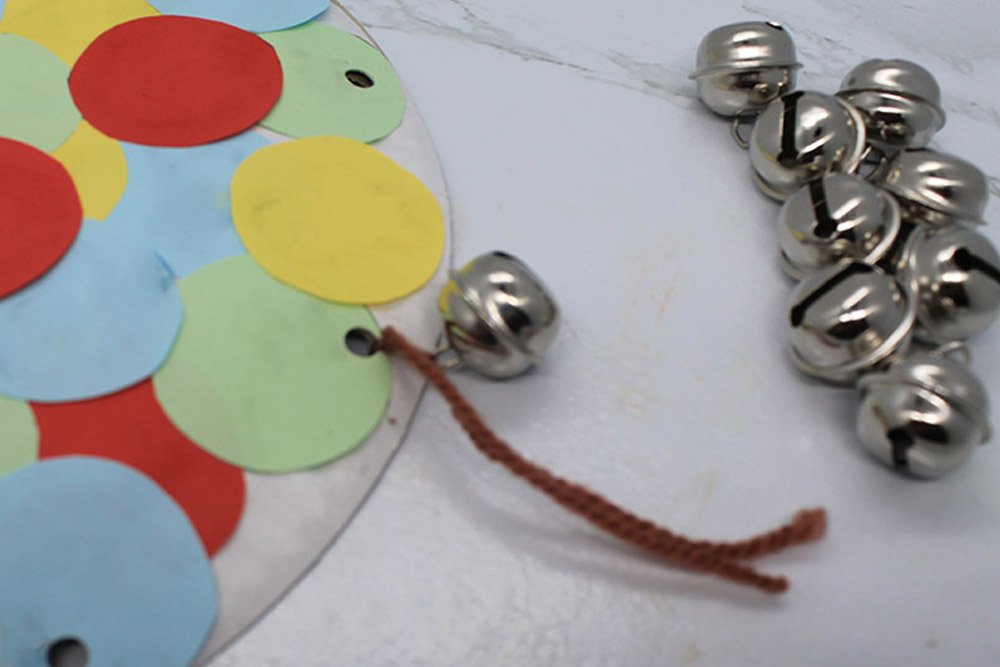
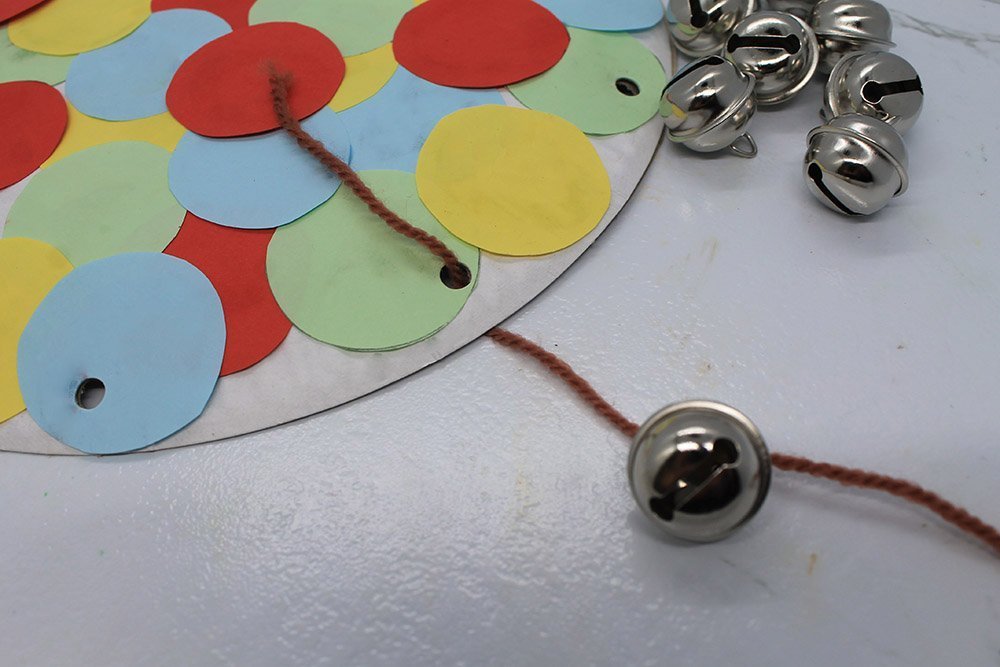
Secure the bell to the plate by tying a double knot.
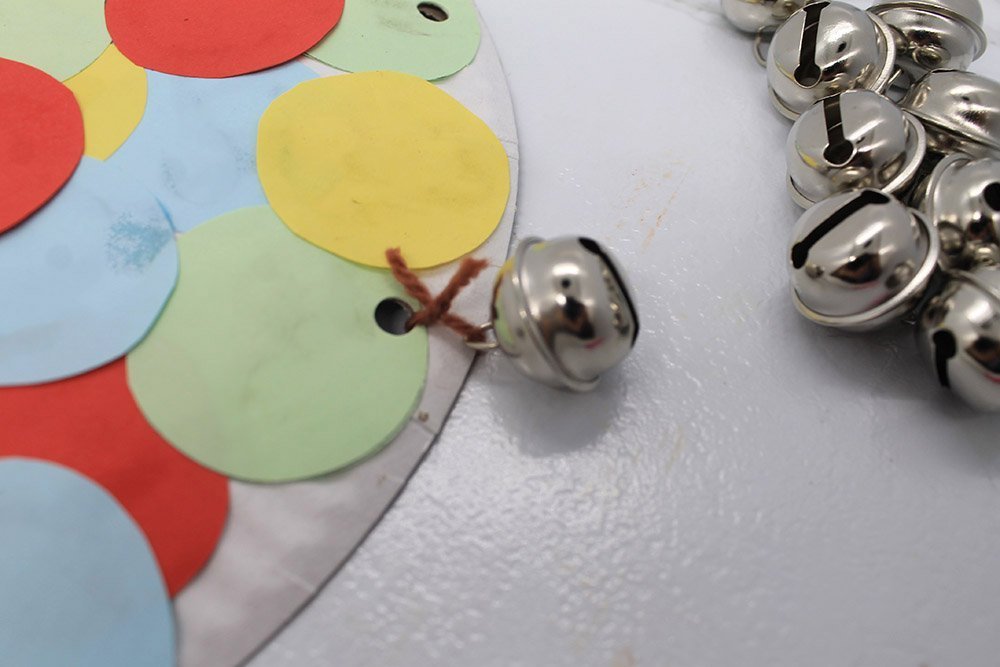
Trim the excess yarn if it’s too long.
Do the same on the other holes of the paper plate. Attach a bell on each of the holes using a string/yarn.
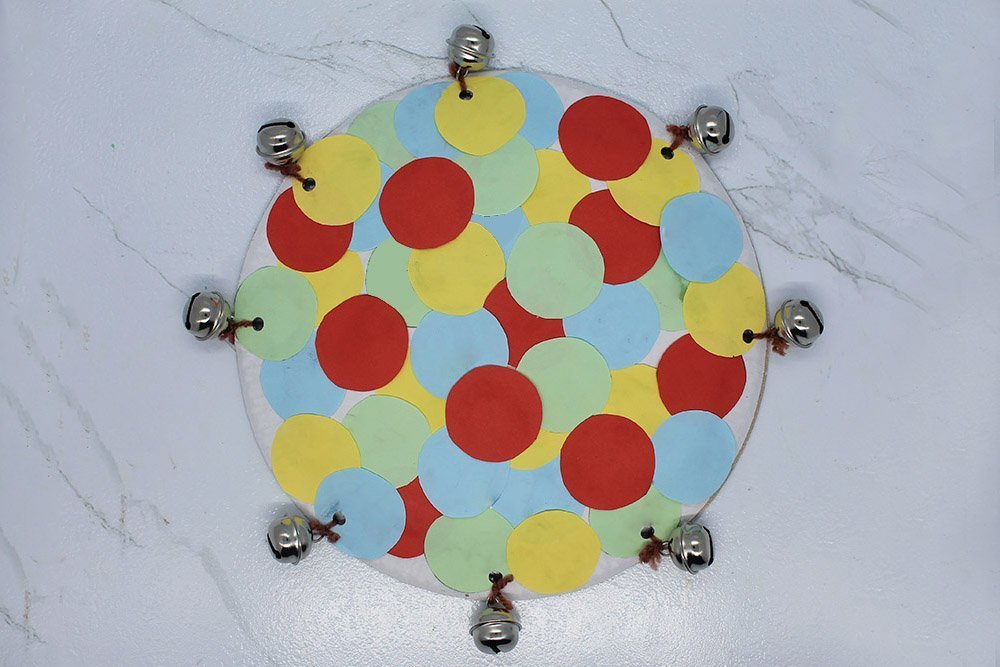
The paper plate tambourine is done! Shake it to make some sound!


Splendid guide
Want to share this to my group
surprisingly , it does its job👍👍 Good article
I had fun making your crafts including this one
I don’t where to buy the bells