DIY Hanging Paper Plate Spider

Introduction:
Create this adorable paper plate spider! A great fall and Halloween craft, kids (and adults) will surely enjoy making this cute yet spooky spider craft with the help of our step-by-step instructions below. What’s awesome about this project is that you can hang it on the ceiling or let it stand on its own. A great decoration for parties especially during Halloween, you’re in for a spooktacular treat!
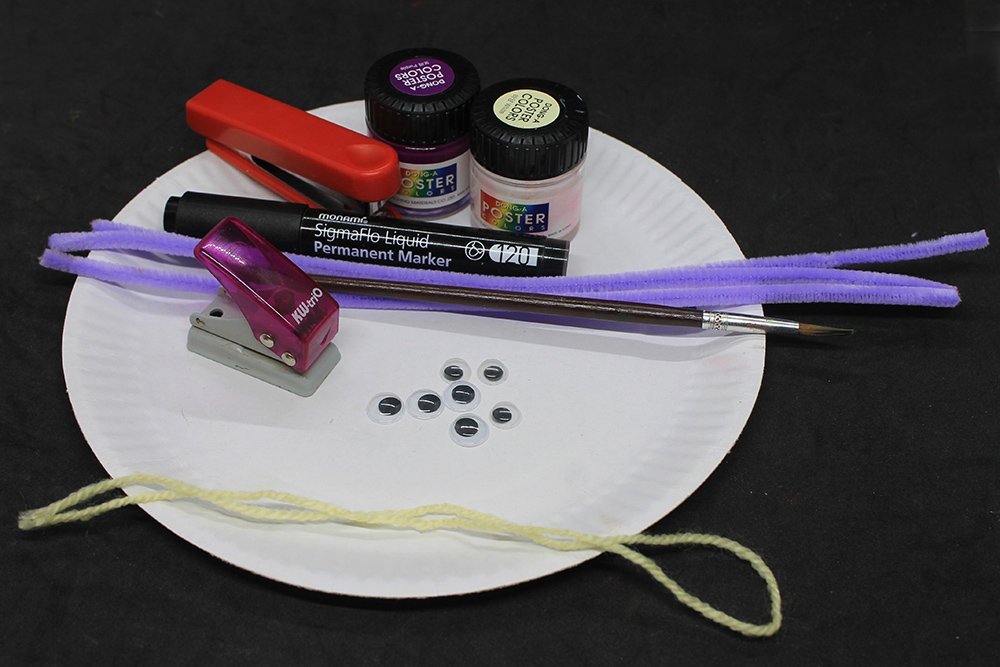
Tools
- Pipe cleaners
- Pencil
- Marker
- Scissors
- Puncher
Supplies
- Paper plate
- Googly eyes (Would be better if they vary in size)
- Paints (For this project, we used purple and white to make a light violet spider)
- Paintbrushes
- Glue
- Yarn or String
Create the base of the paper plate spider
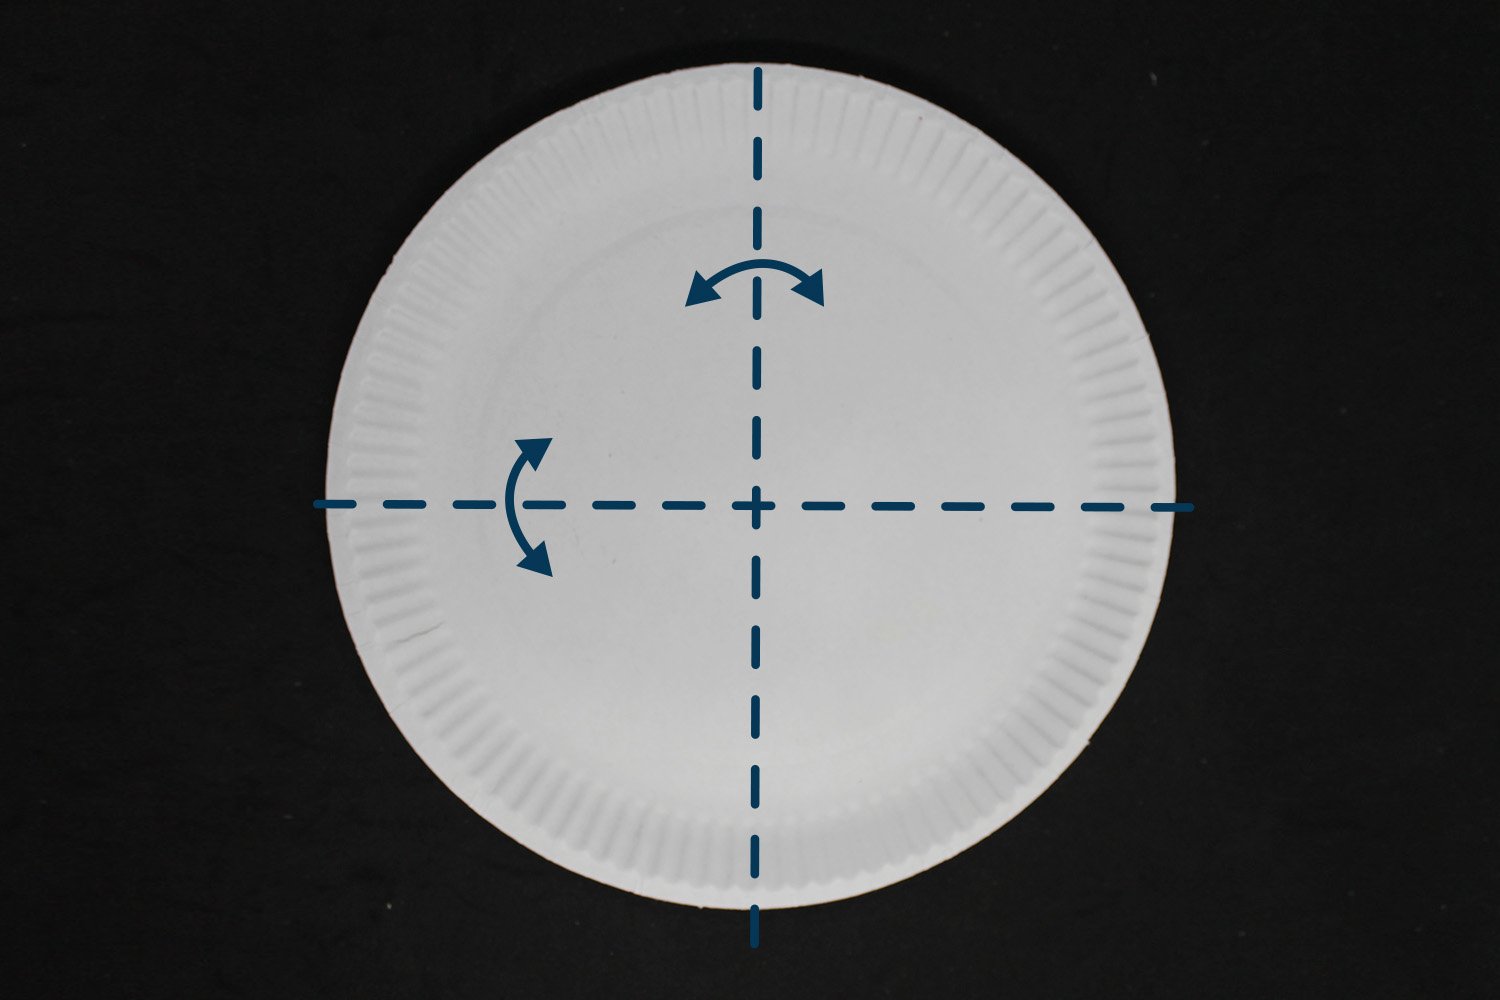
The body of the spider will be shaped into a cone. Get a paper plate. Fold and unfold along the dashed line to divide the plate into four parts.

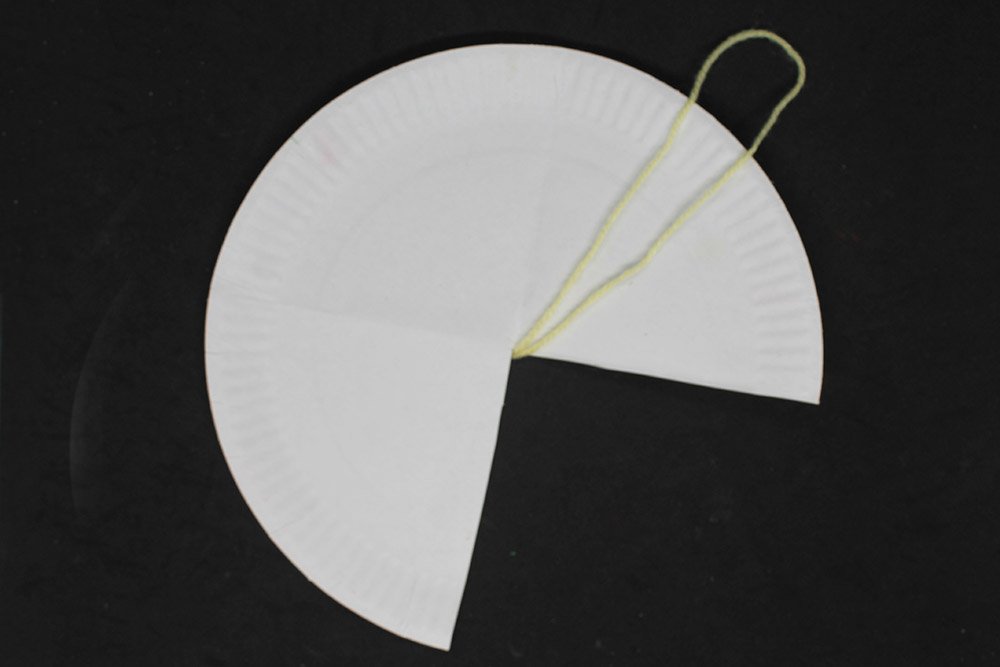
Once the paper plate is divided into 4 parts, cut 1/4 of the paper plate. Use the crease marks as a guide on where the division of the paper plate is divided.
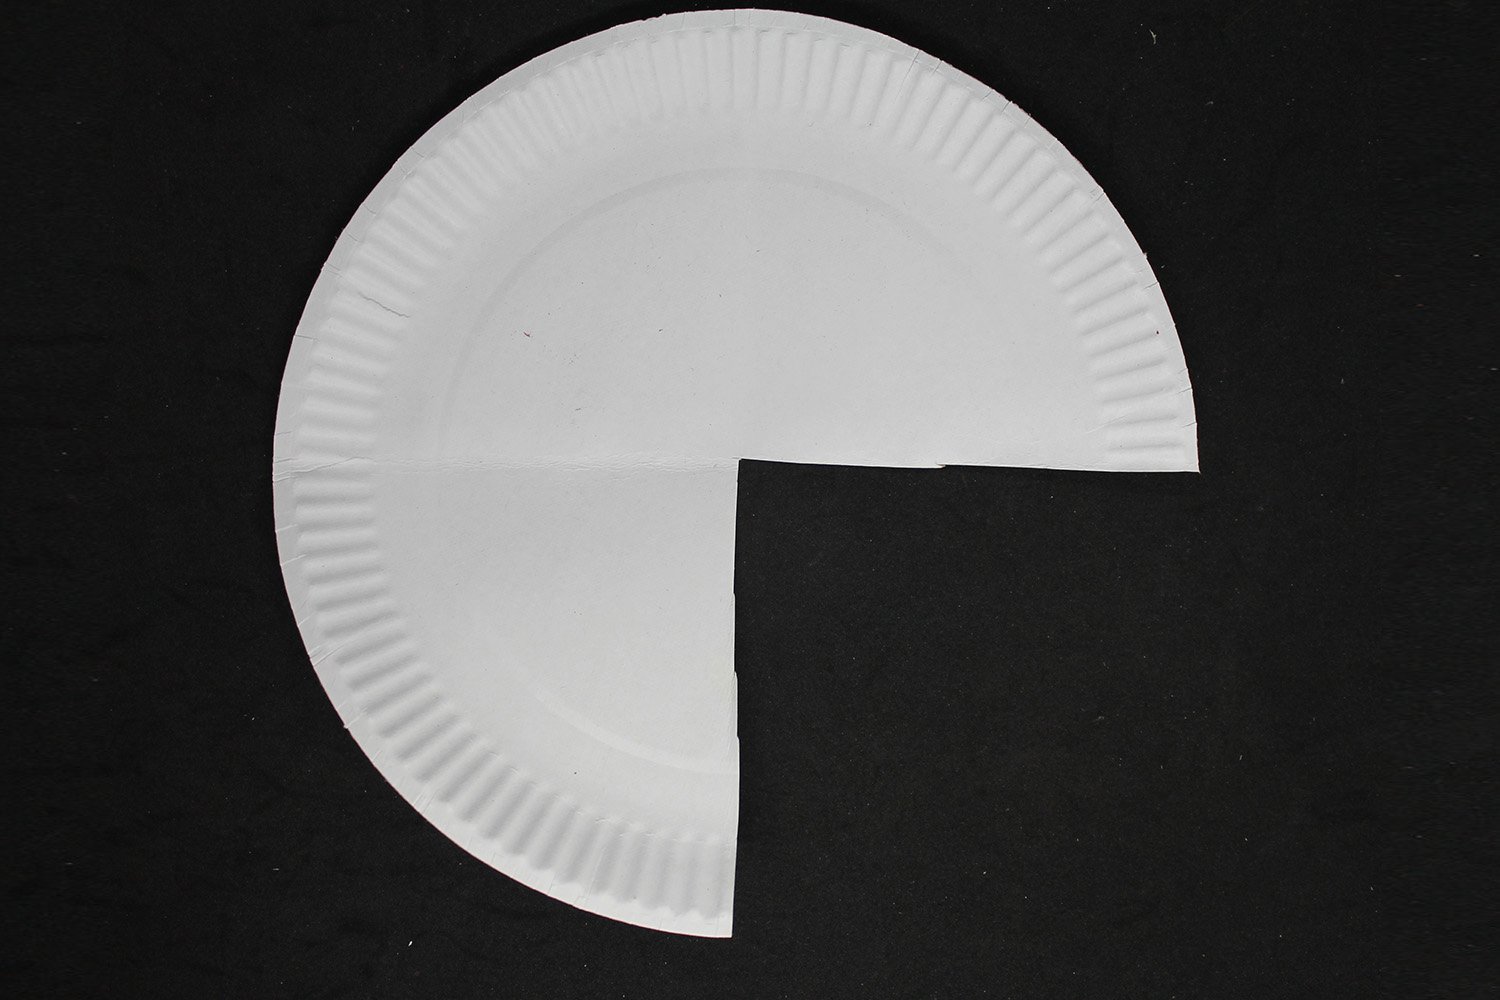
The paper plate should now look like the sample image above—time to shape it into a cone.
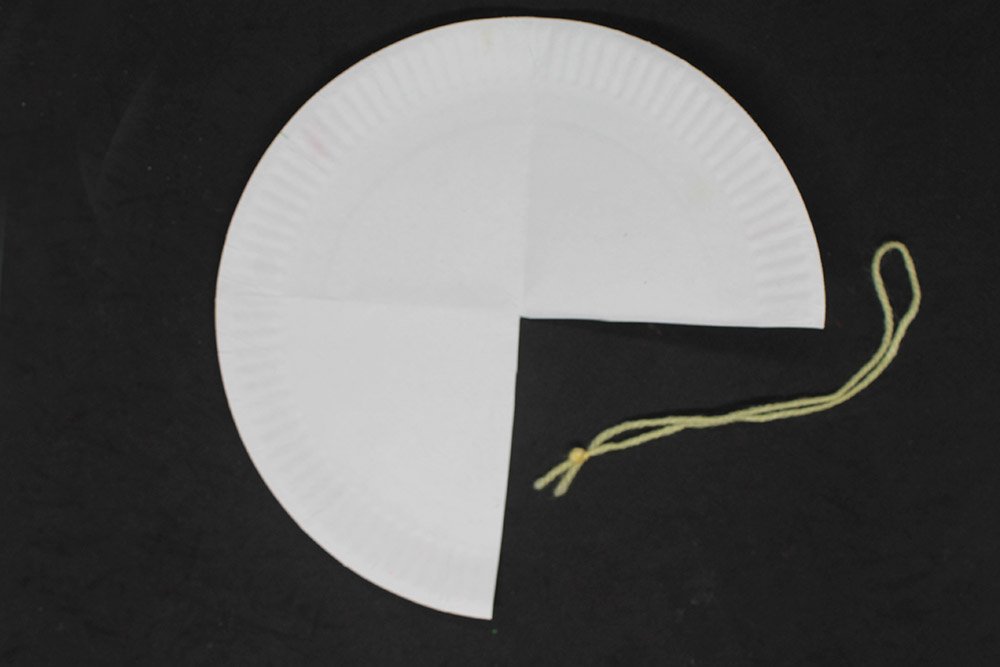
Grab a string and tie the ends into a knot.
Put the string on the center of the paper plate. The knot should no longer be visible when you put it in the center. IT should be underneath the paper plate.
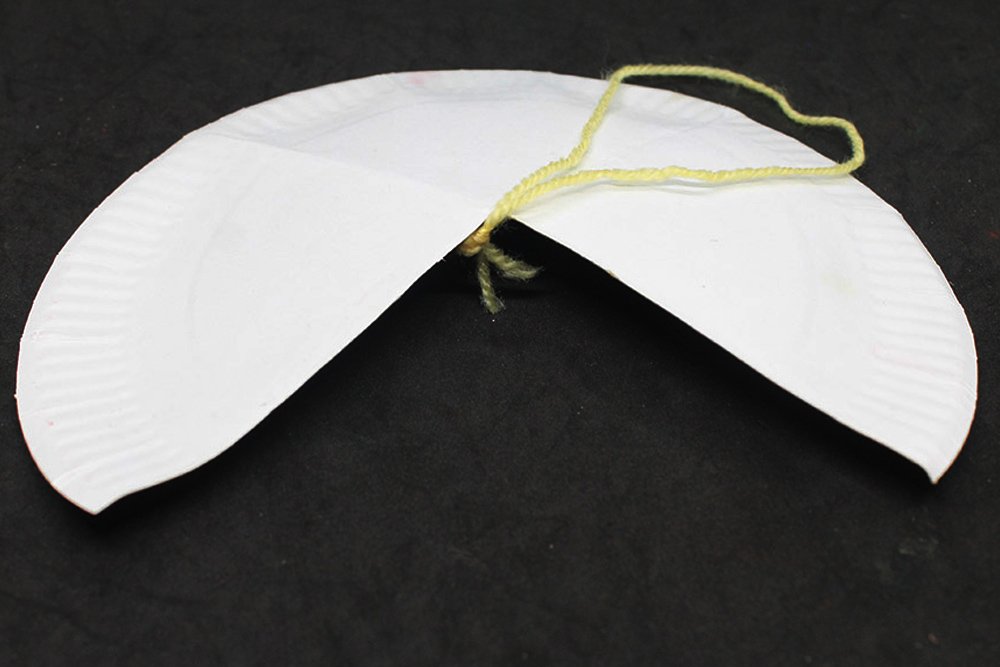
To shape it into a cone, bring the left edge to right. Doing this will naturally mold the paper plate into a cone. The paper plate should hold the string firmly in the center.
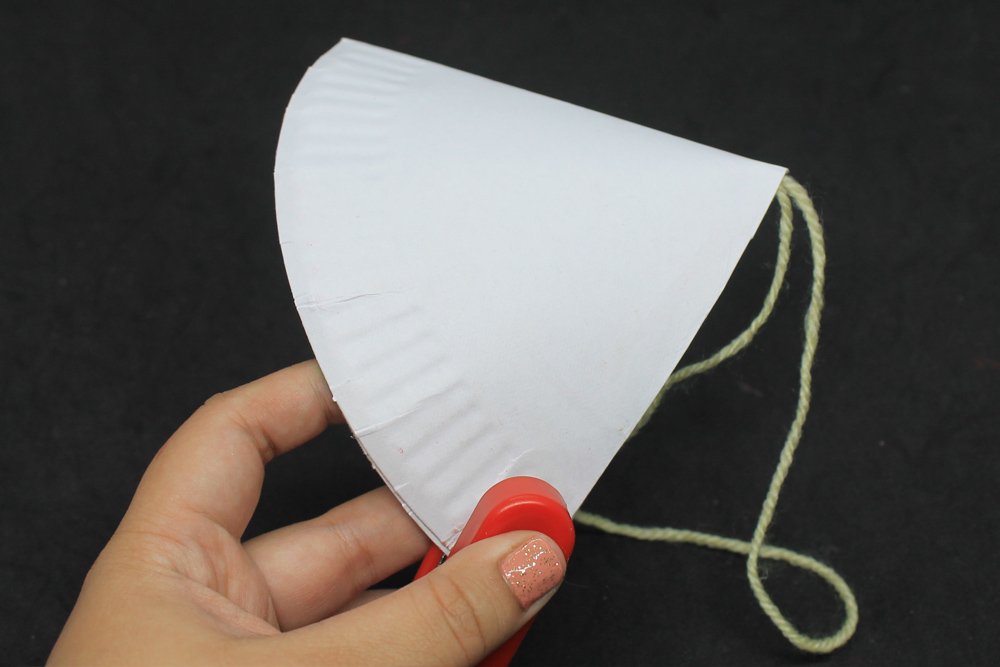
Staple the edges to keep the paper plate in place.
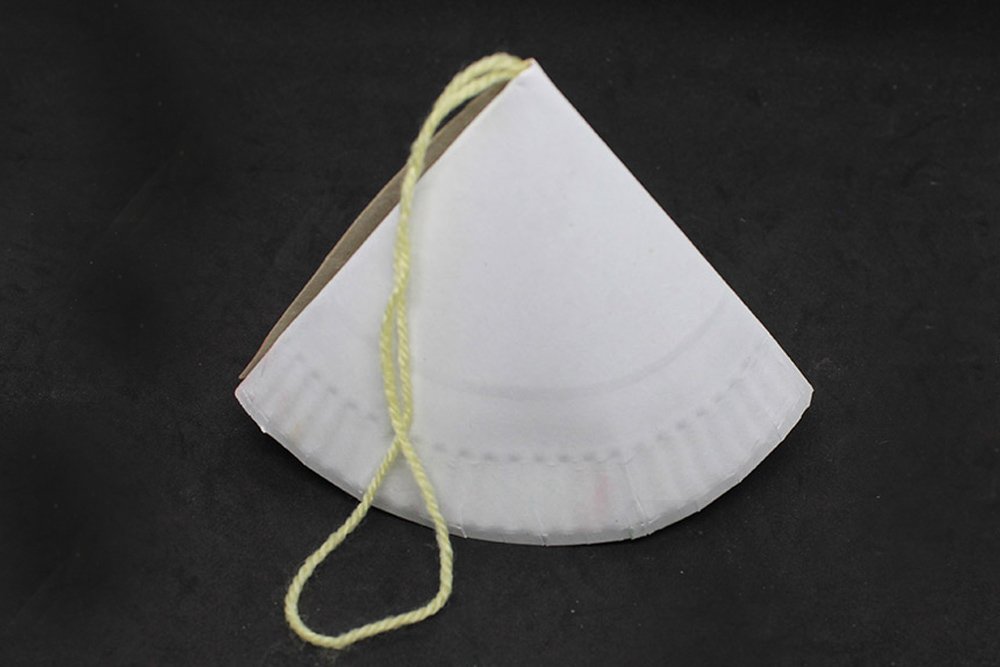
The body of the paper plate spider is done!
Glue is fine to keep the cone in place. Just make sure that you allow the glue to set in completely, or the cone will not hold in place.
Paint the body of the paper plate spider
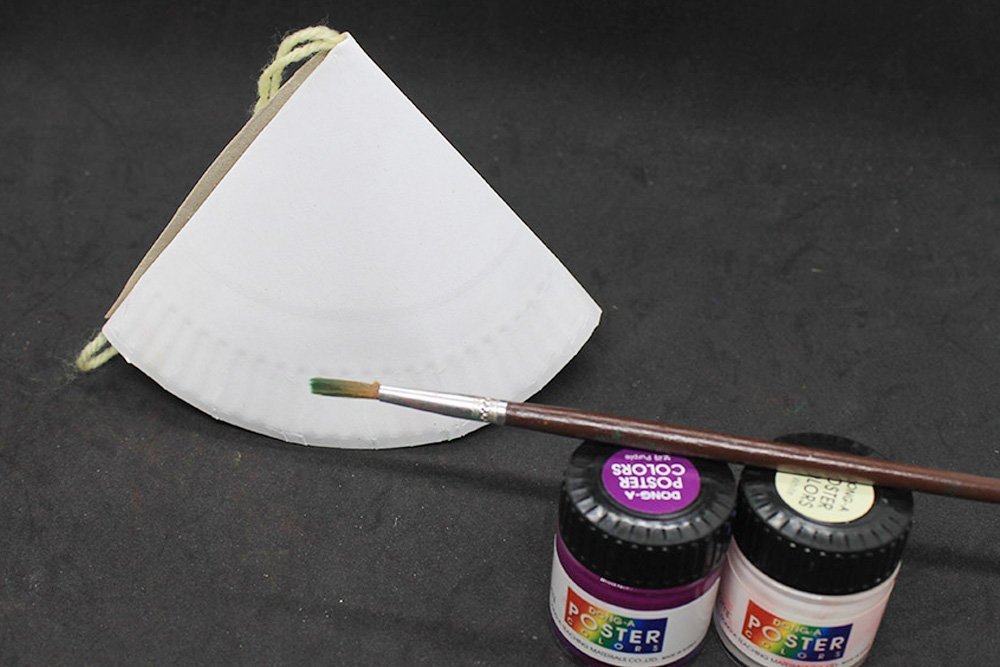
Paint the paper plate body with the color that you fancy.
For this project, we decided that the color of the spider would be light purple.
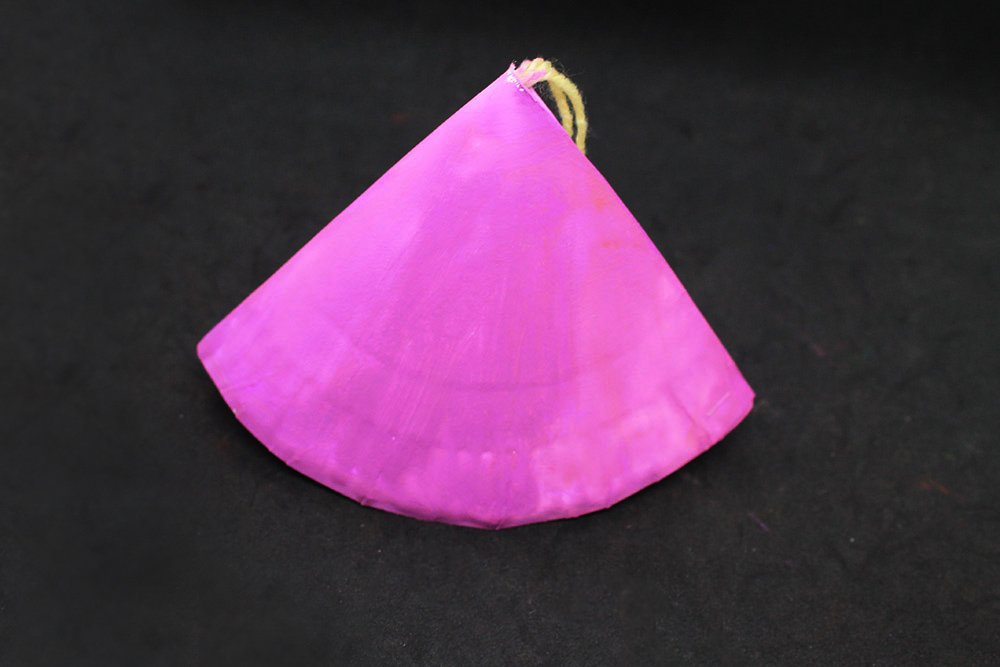
Once the cone has been painted, set it aside to dry.
Stick the eyes of the paper plate spider
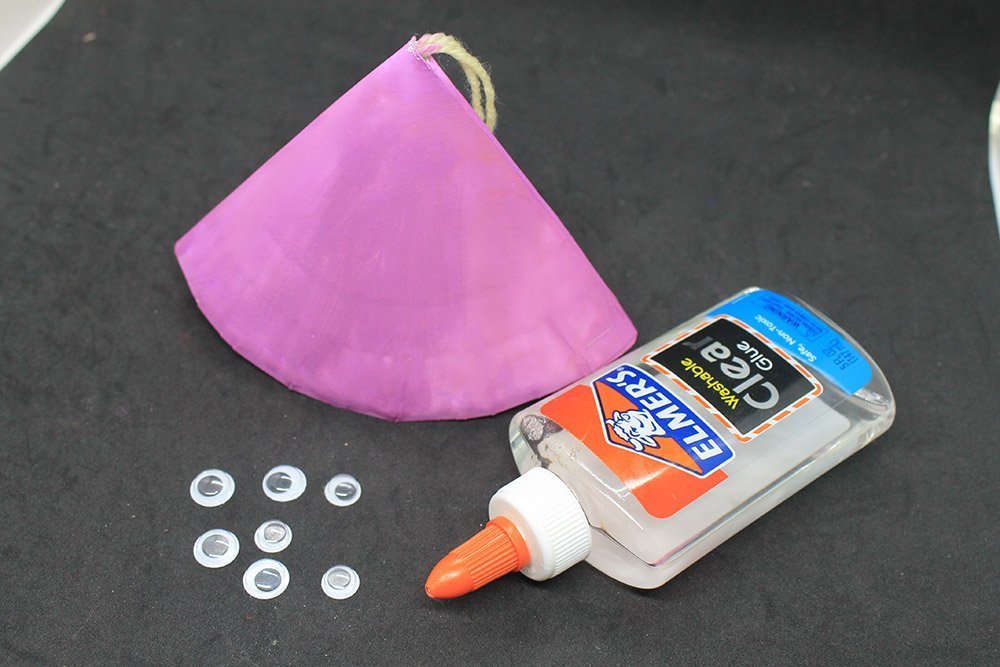
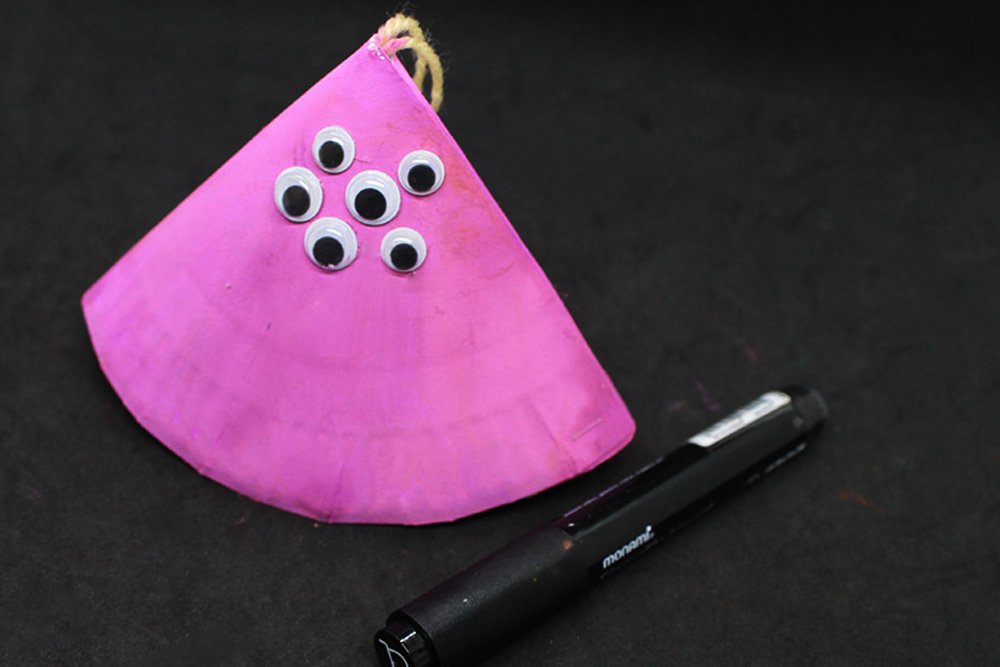
To make the spider cute and spooky, glue some googly eyes on the top part of the cone. It’s better to glue lots of eyes (rather than a pair) to make this spider extra unique.
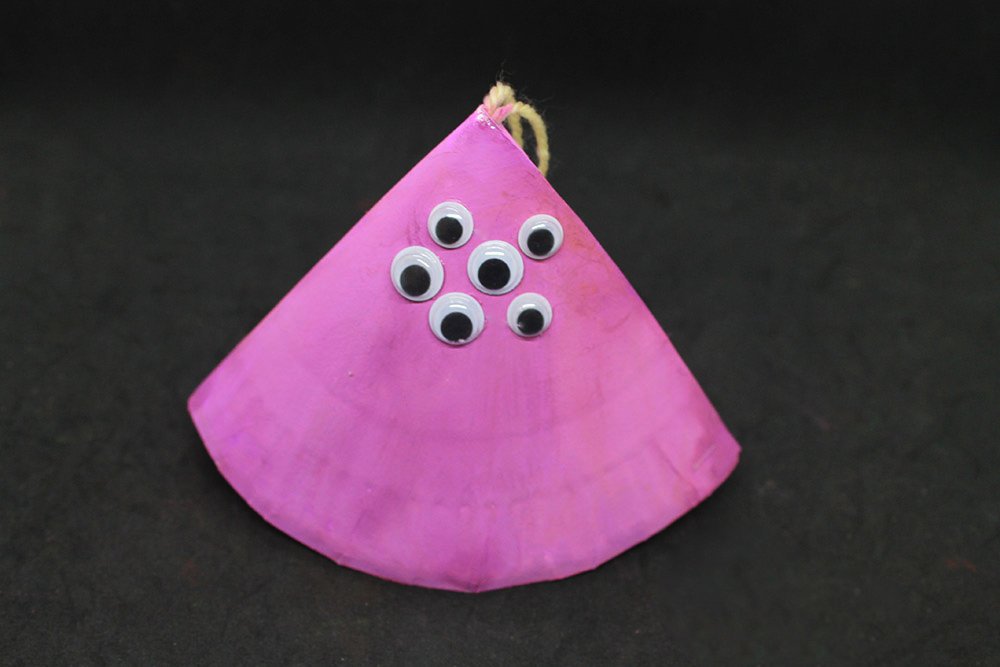
Once the eyes are glued, they should look something like this when assembled. It’s up to you how you want to position the eys, here we clumped together various sizes of googly eyes.
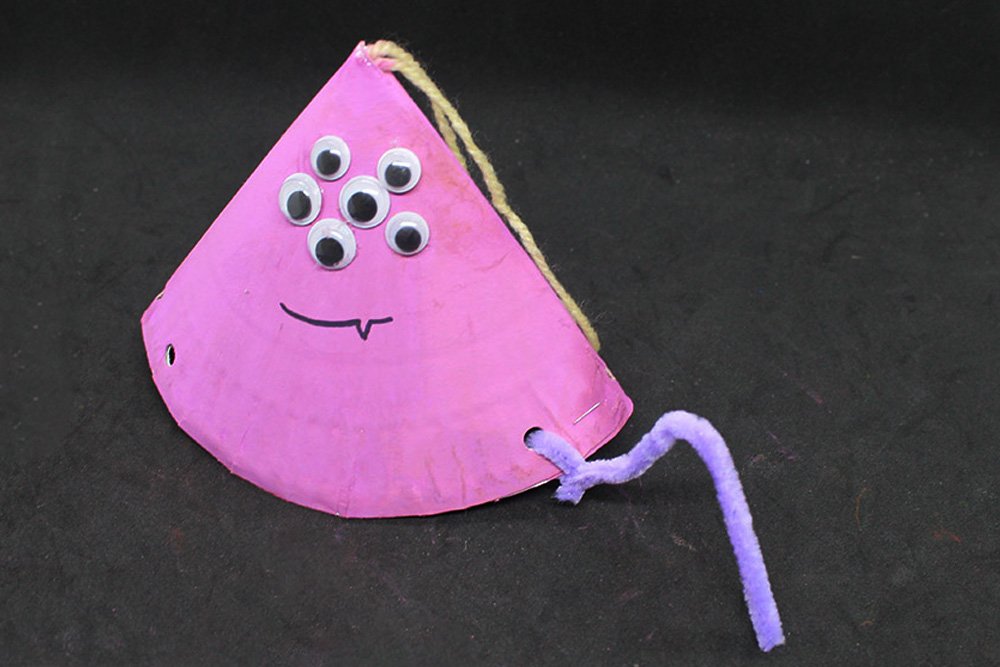
Give this little creature a smile
Using a marker, draw the spider a smile (or any expression you want it to be).
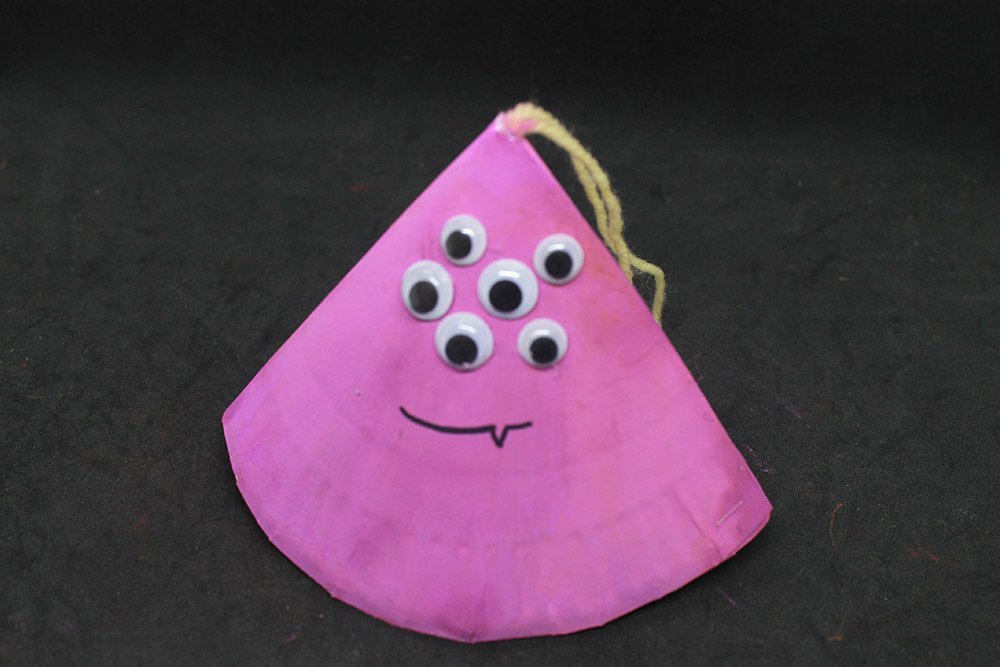
To match the Halloween theme, we gave it a vampy smile.
Punch some holes to attach the legs
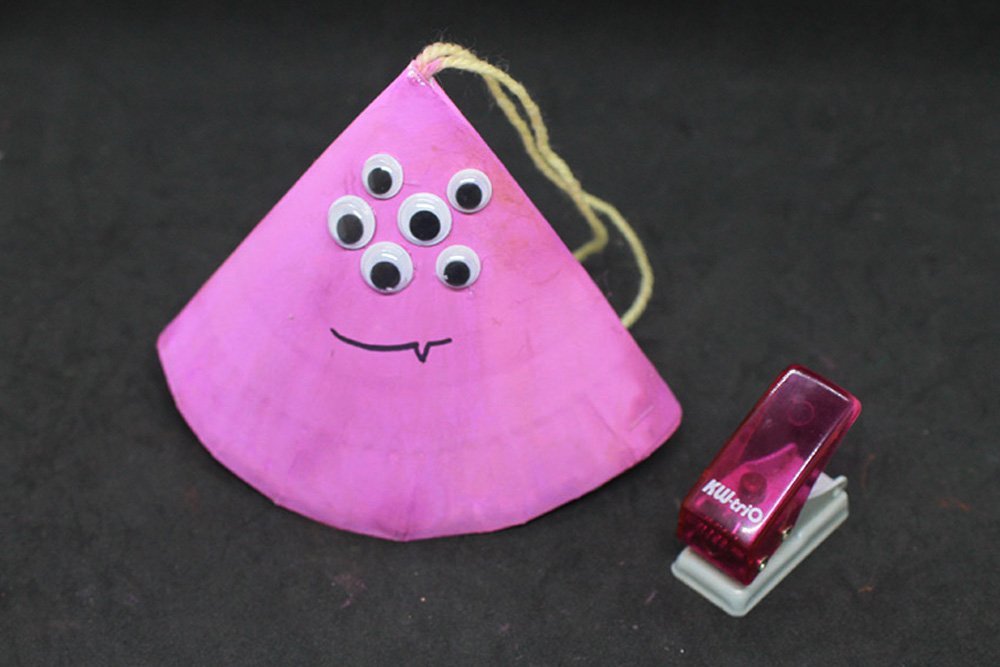
Grab a hole puncher
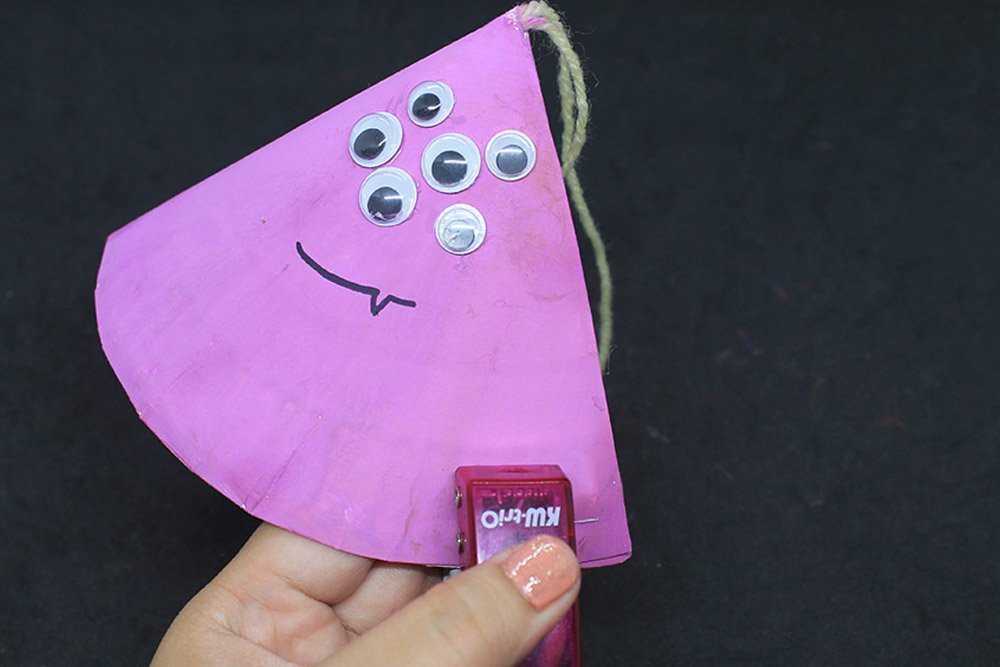
Using a puncher, punch three holes on each of the left and right sides of the paper plate cone.

It should look something like this. Repeat it on the other side.

The paper plate cone should have 6 holes all in all.
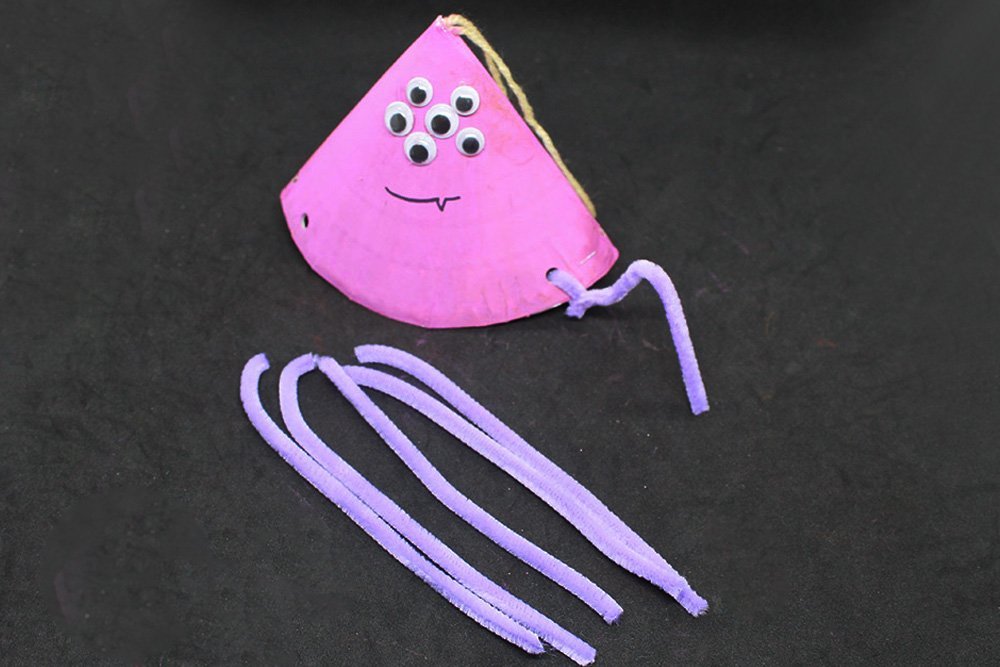
Create the legs of the paper plate spider
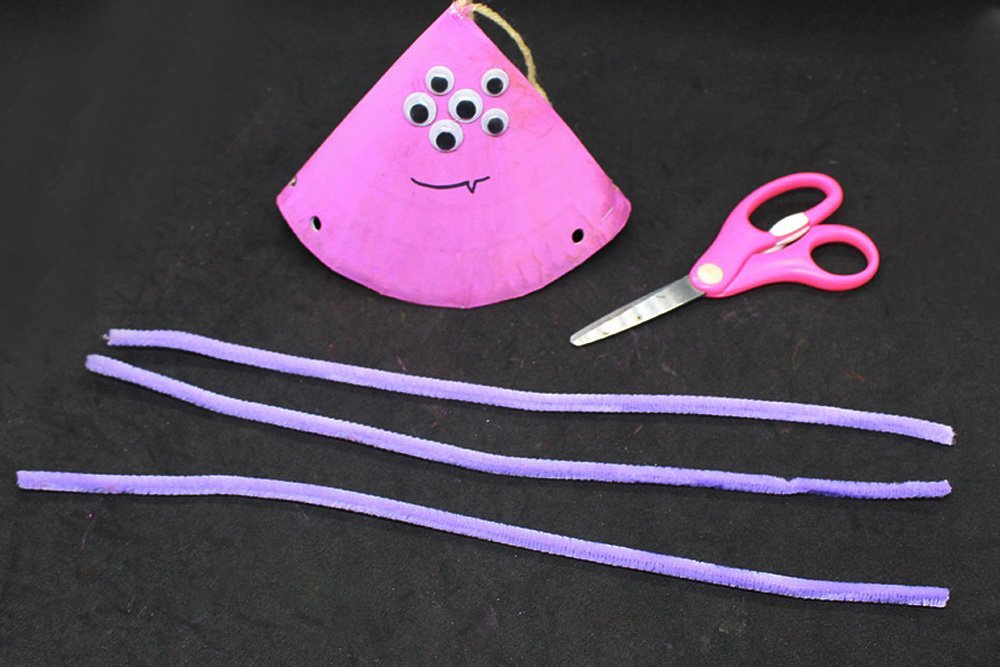
Grab three pieces of pipe cleaners and split each of them in half.
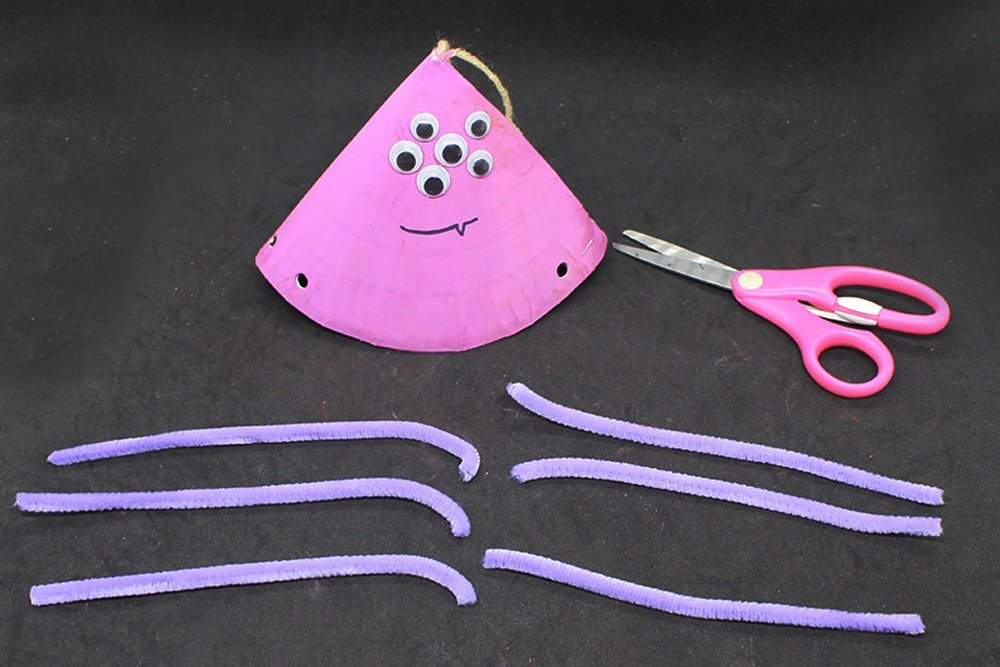
Once you have split them, you now have 6 pieces of legs.
Attach the legs of the paper plate spider
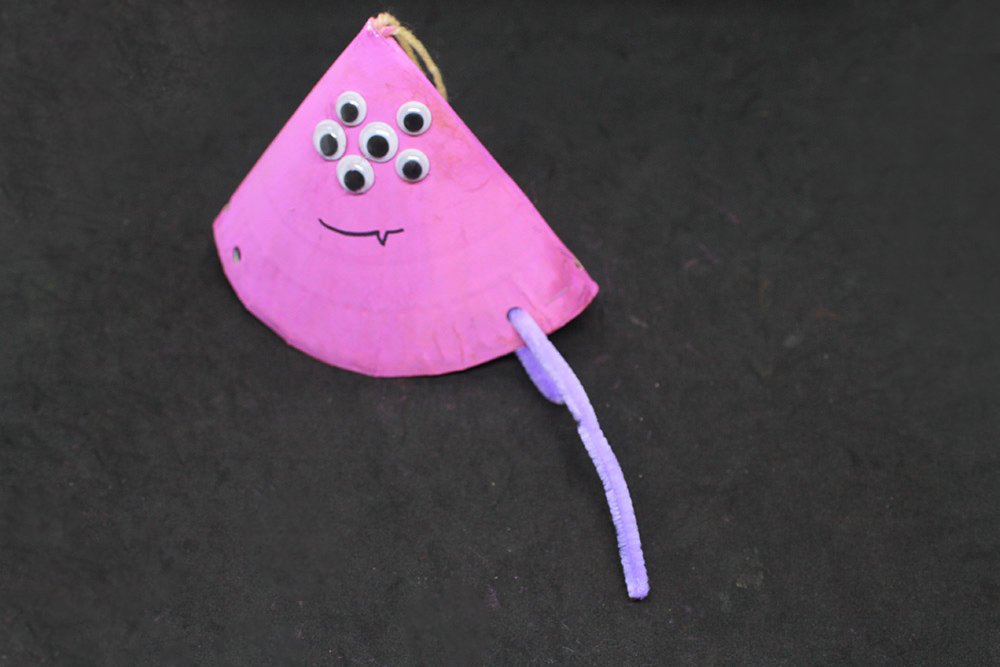
Insert one pipe cleaner into one of the holes.
To secure the leg, twist around the end around the pipe cleaner.
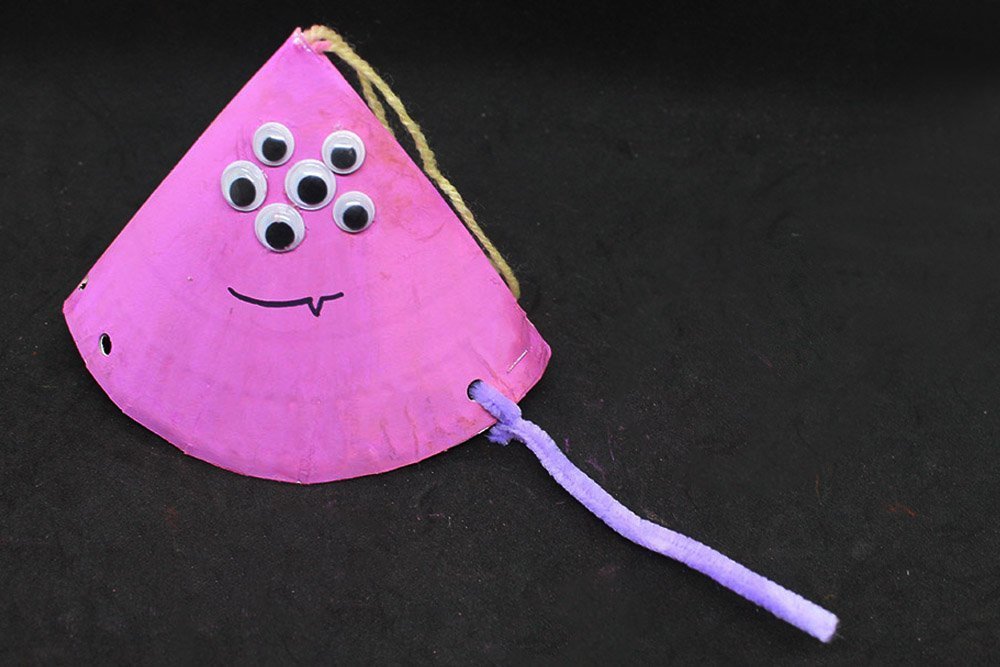
Bend it as shown in the picture above to mimic a spider leg.
Repeat the previous steps on the remaining 5 legs. After assembling the legs, bend each end of the pipe cleaner on an outward right angle to mimic feet.
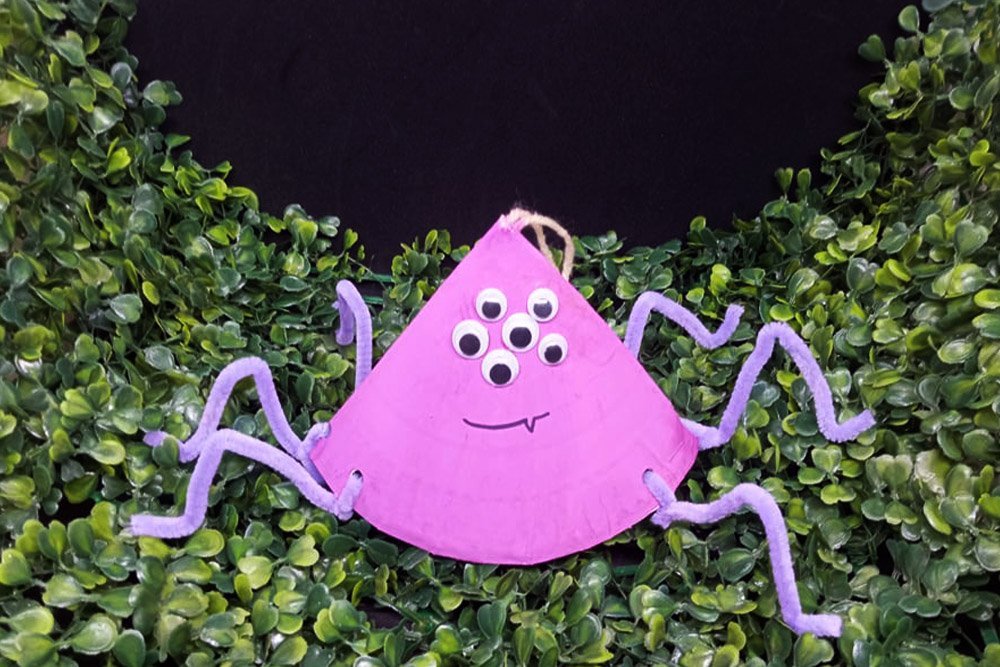
The paper plate spider is now done. Hang it anywhere or put it on display like the image above.


Made my three kids do this. Each had his own style and design – I love it! the craft has a lot of space to show creativity
Me likey2x the spidey2x
Awesome instruction
🕷 🕸🕷 🕸🕷 🕸
I think it can be made to be more menacing.