DIY Paper Plate Apple Shaker | Fun Crafts for Kids and Preschoolers

Introduction:
Create a paper plate apple shaker using common objects found at home or the grocery store. What’s great about this craft is that it’s also musical instruments that kids can shake to produce sound. If you’re looking for a musical activity for your child then this project might be fun for you and the kids to make and enjoy. Have fun crafting!
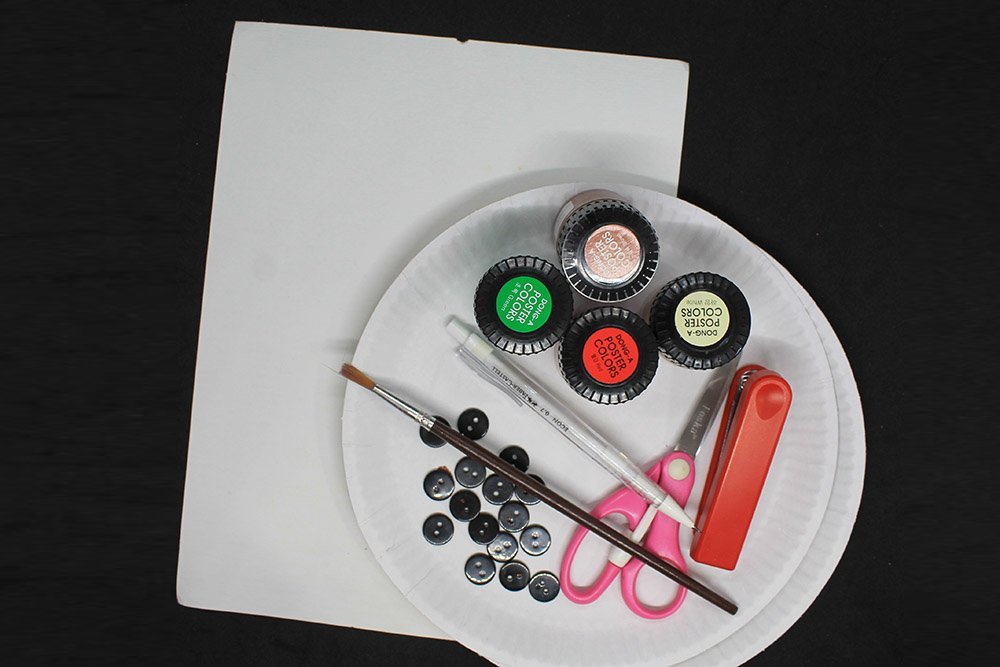
Tools
- Paintbrush
- Pencil
- Scissors
- Stapler
Supplies
- 2 Paper plates
- Red, green, brown, and white paint
- A piece of white paper
- Small buttons or small trinkets that make sounds such as rice, seashells, paper clips, beans, etc.
- Optional: Glue or Tape
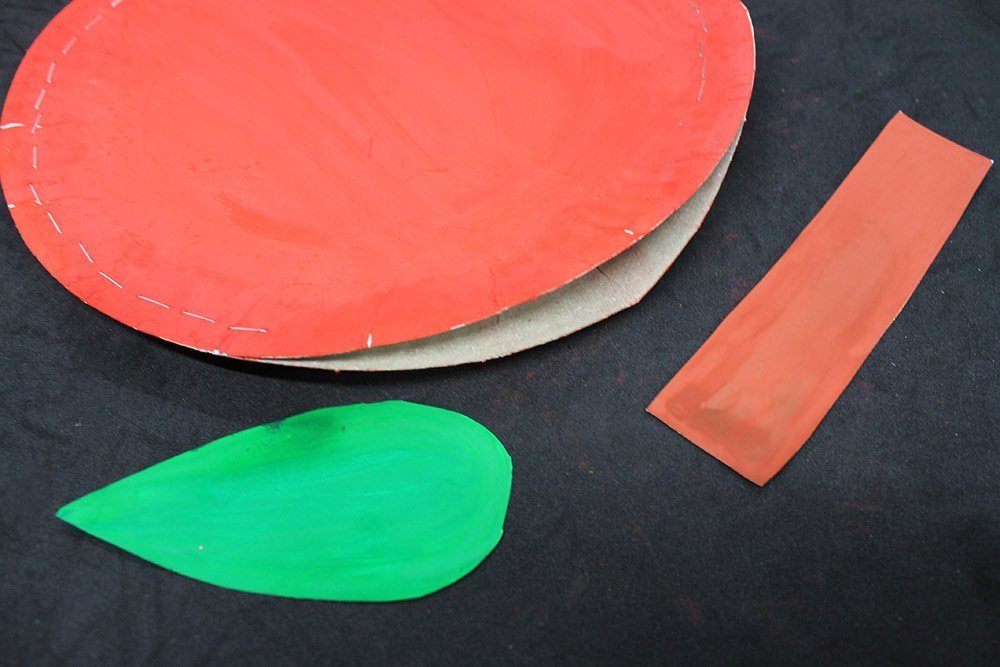
Create the leaf and stem of the paper plate apple
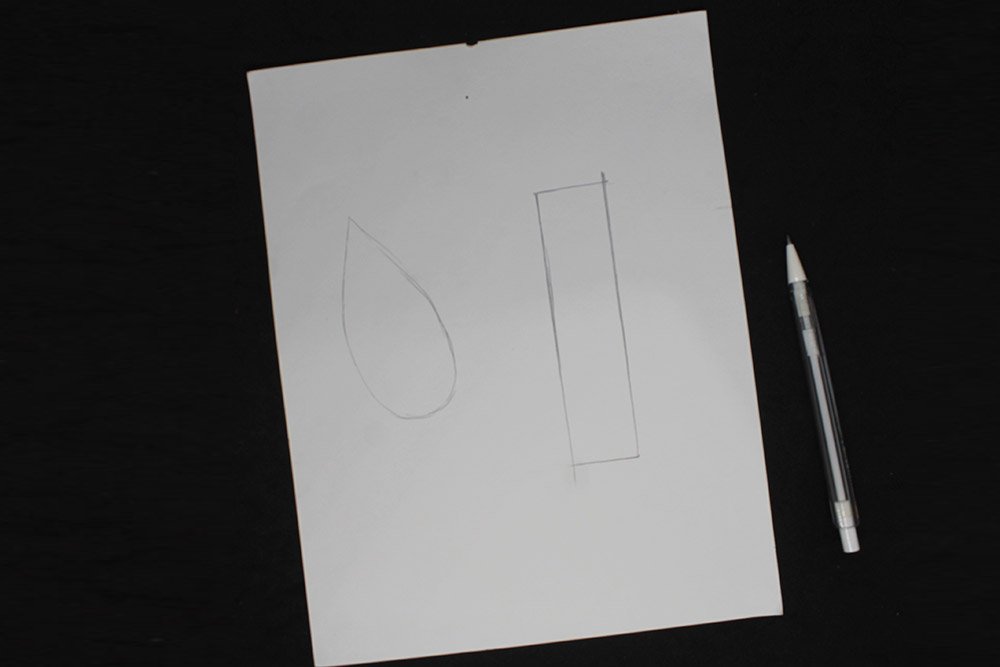
On a piece of paper, draw a leaf and stem outline using a pencil. You can draw the leaf and stem however you like as long as it is proportional to the paper plate.
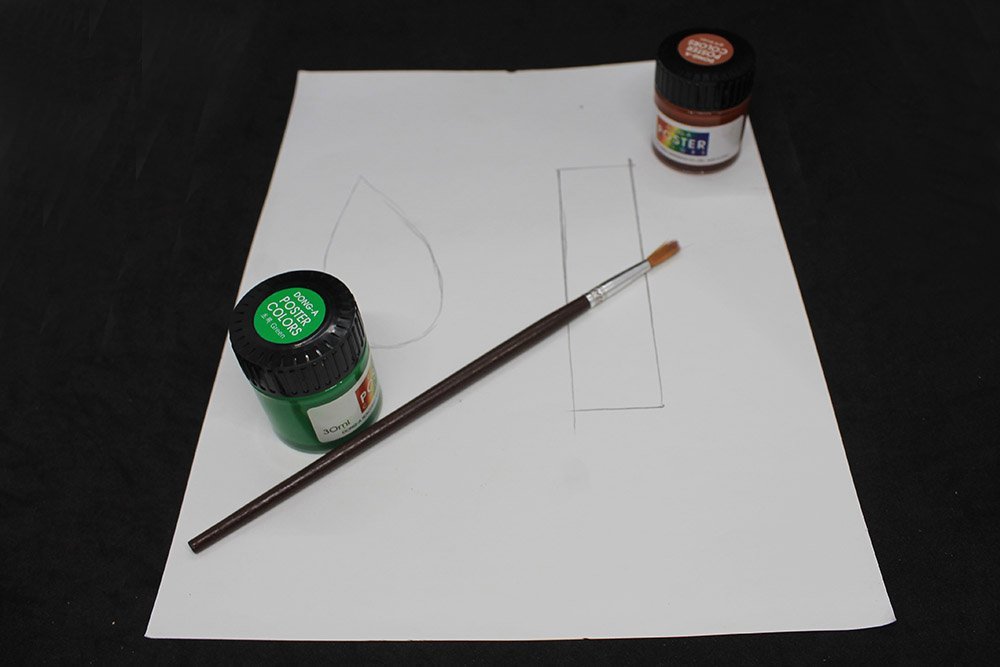
Paint the leaf with green paint and then paint the stem with brown paint. You may use crayons or marker to color the stem and leaf.
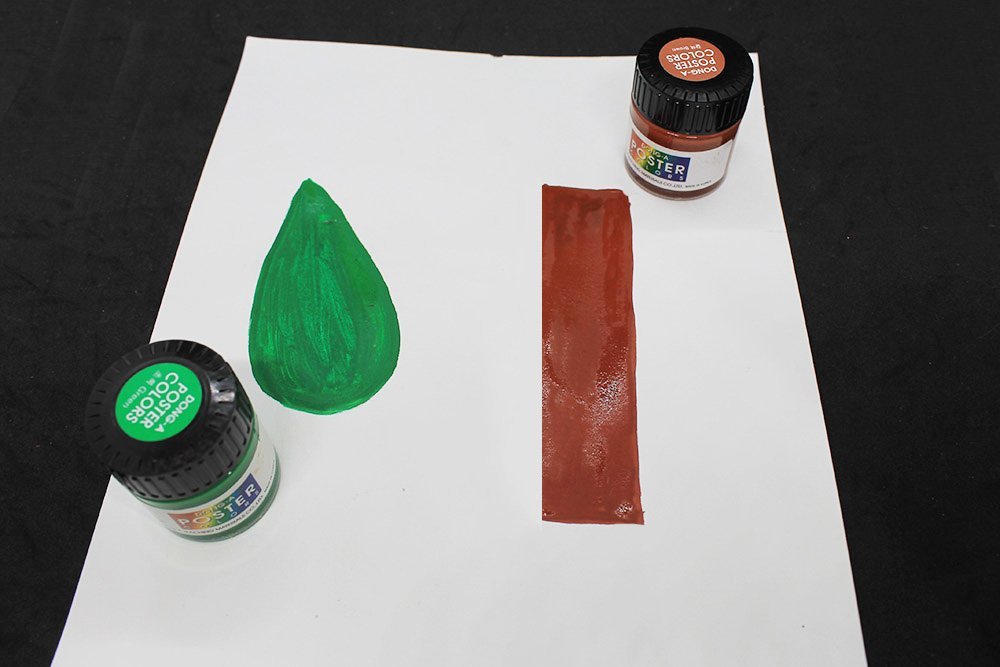
Let the paint dry and then cut along the edge of the leaf and stem.

Once cut, it should look similar to the sample image above. Set these cutouts for now.
Paint the paper plates
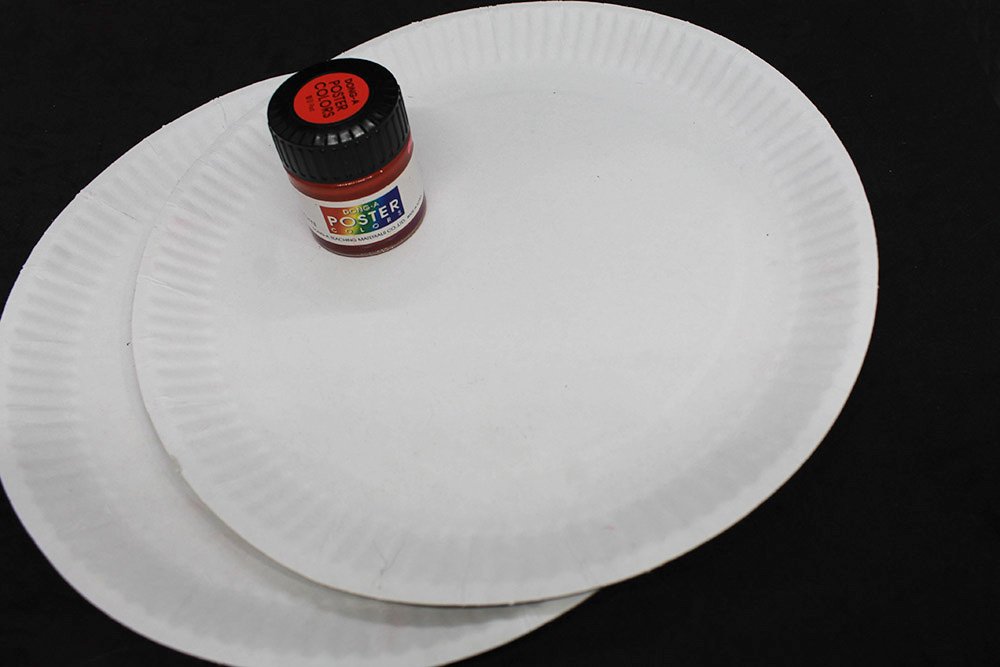
Get two paper plates and cover the whole side of each plate with red paint.
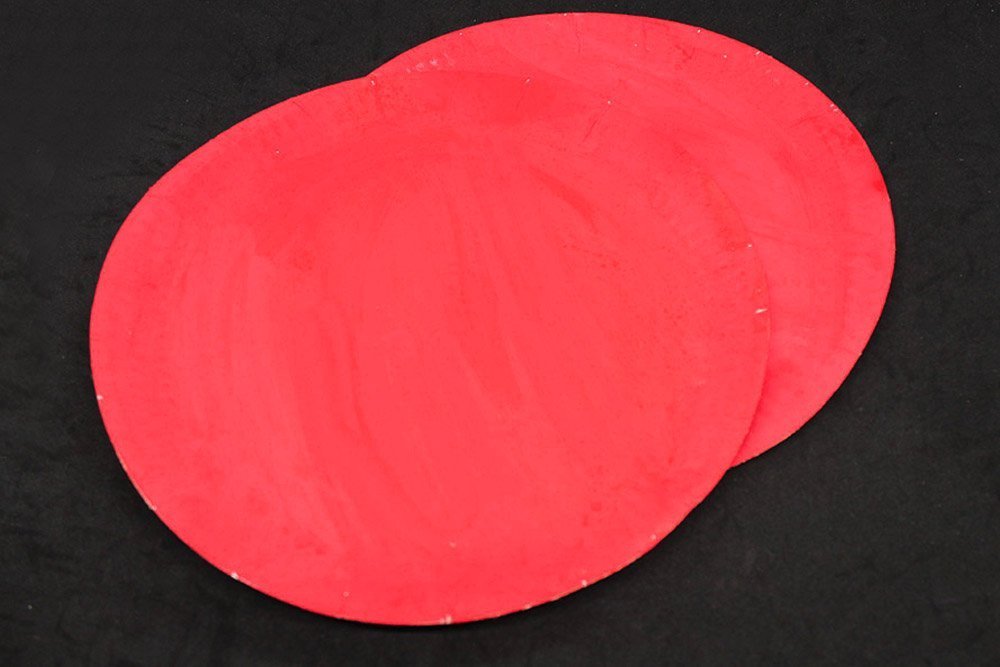
Once the paper plates have been painted, set it aside to dry.
Attach the two paper plates together
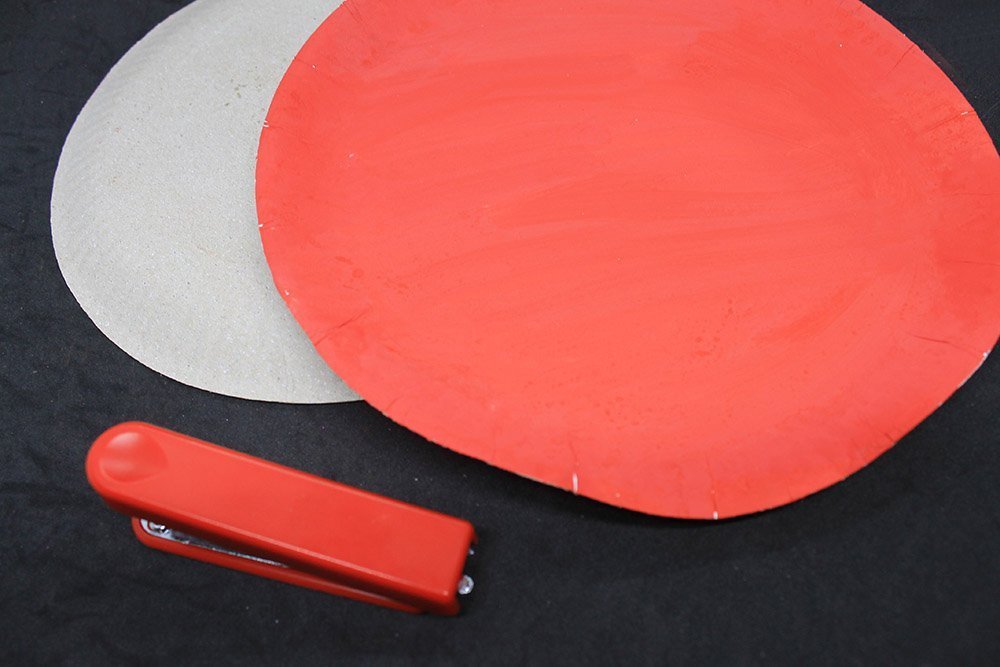
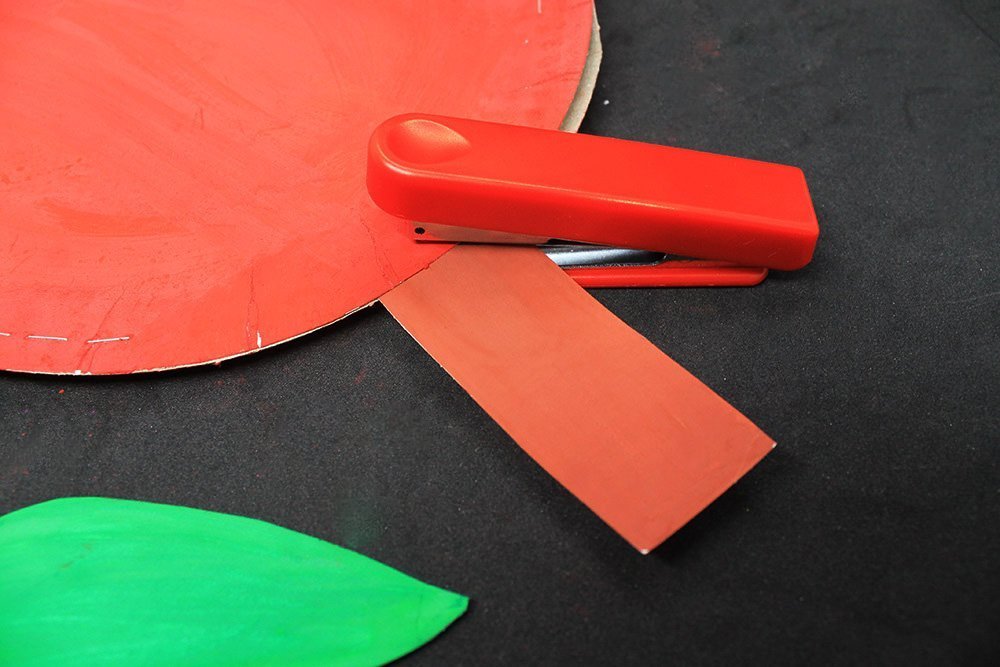
Stack the paper plates as shown in the picture above. Next, get a stapler.
Staple the edges of the paper plate together. Make sure to leave a small opening to insert the buttons.
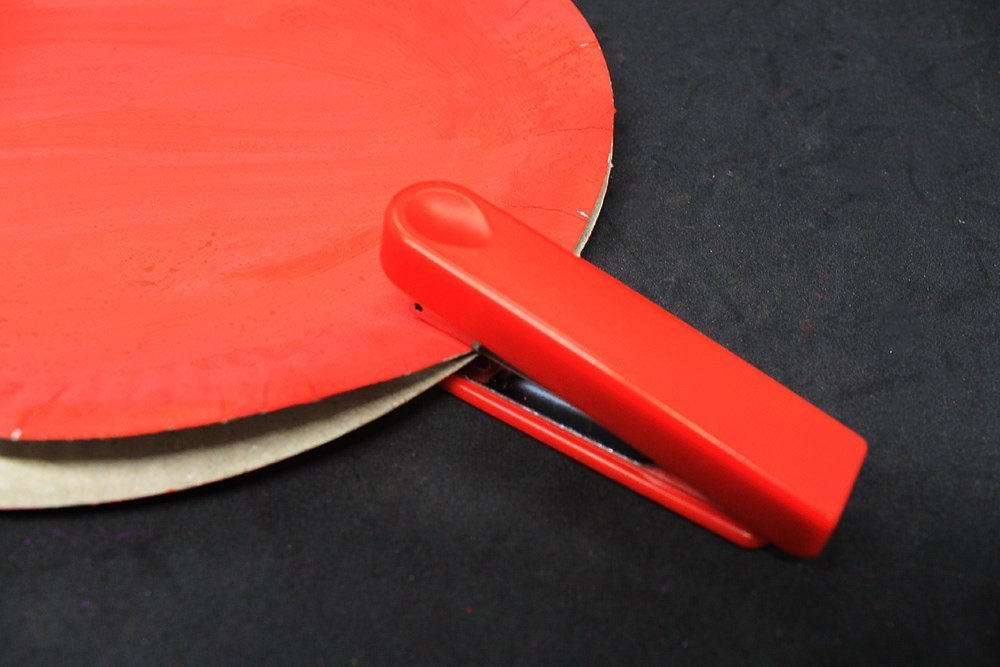
Before stapling, make sure that the red-colored side of both the paper plates is on the other side.
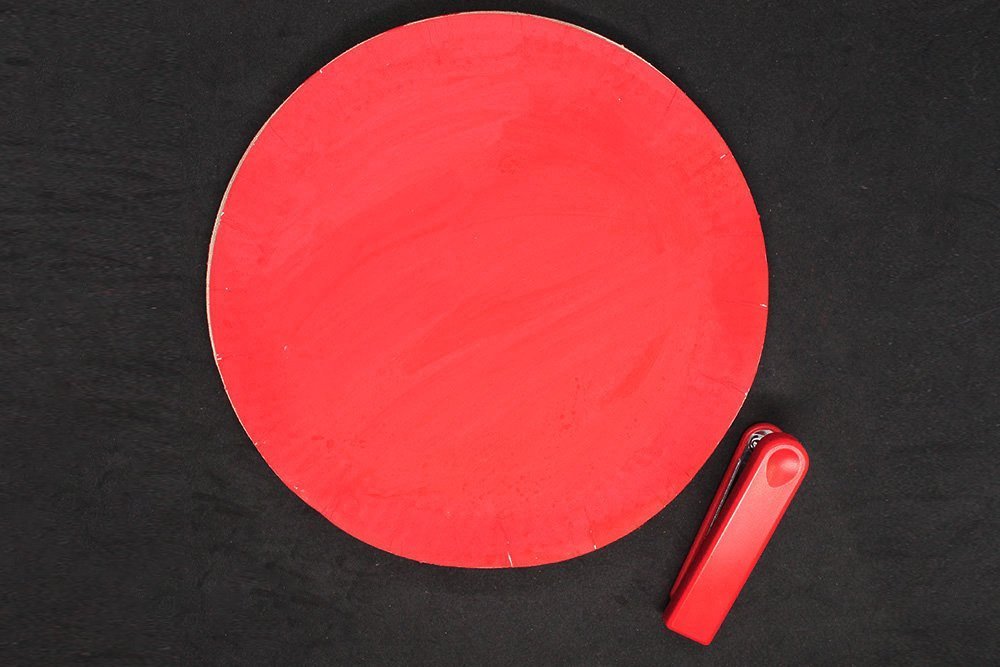
Staple along the edge close to each other. Make sure that the buttons will not spill out when they are inserted aside.
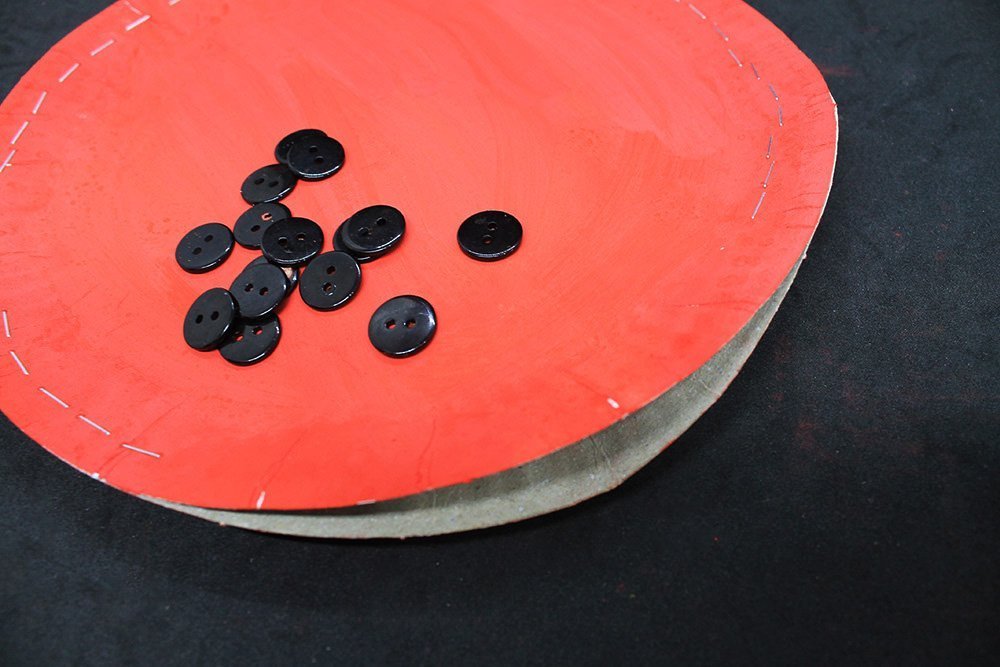
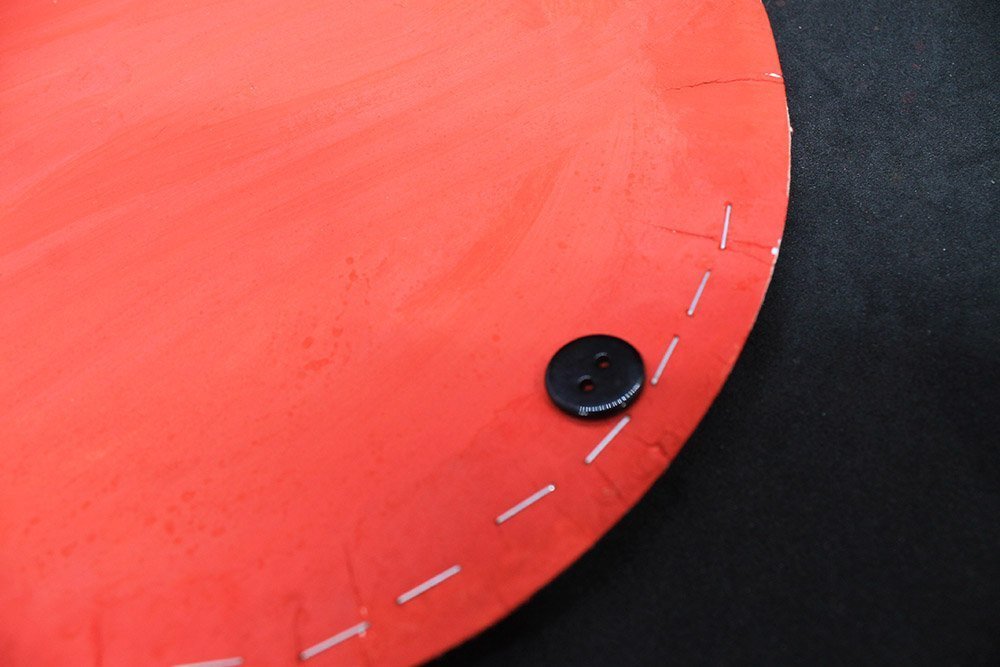
Insert the buttons or small trinkets inside
The more buttons or trinkets inside the better. Best to put at least 20 pieces. Do not overfill the paper plate with trinkets or else the trinket will not move so much when shaken.
Before closing, get the stem and leaf cutout made beforehand.
Get the stem cutout and insert one end to the inside of the paper plate. Close the paper plate apple by stapling the edges together along with the inserted stem.
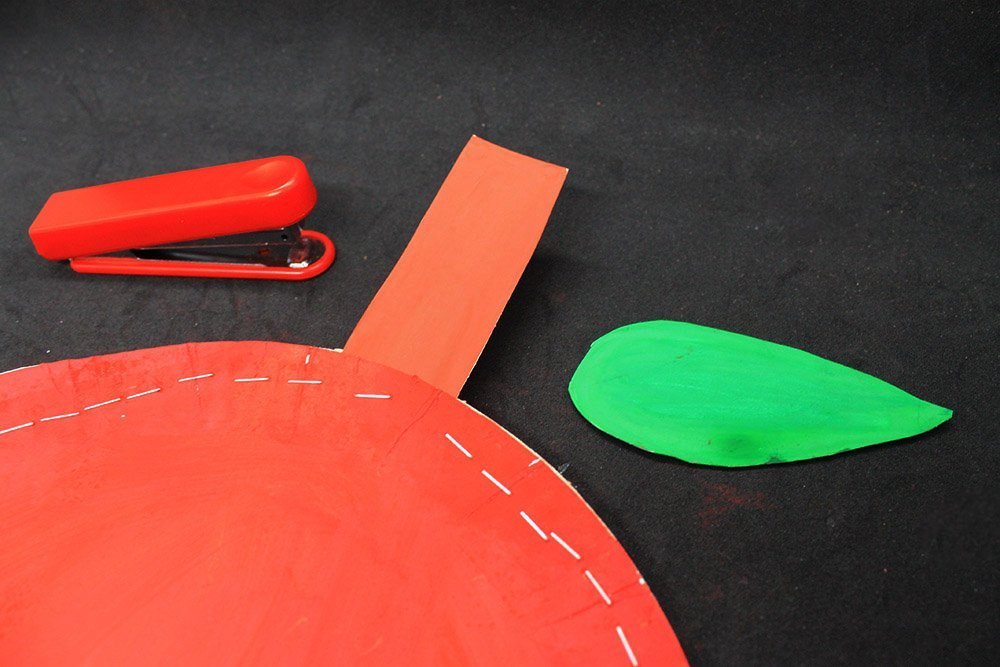
Attach the leaf to the stem with a staple, glue or tape.
Add some finishing touches to the paper plate
Put some finishing touches by drawing a face, a worm, or put a shine on the paper plate fruit. To keep things simple, we chose a shine.
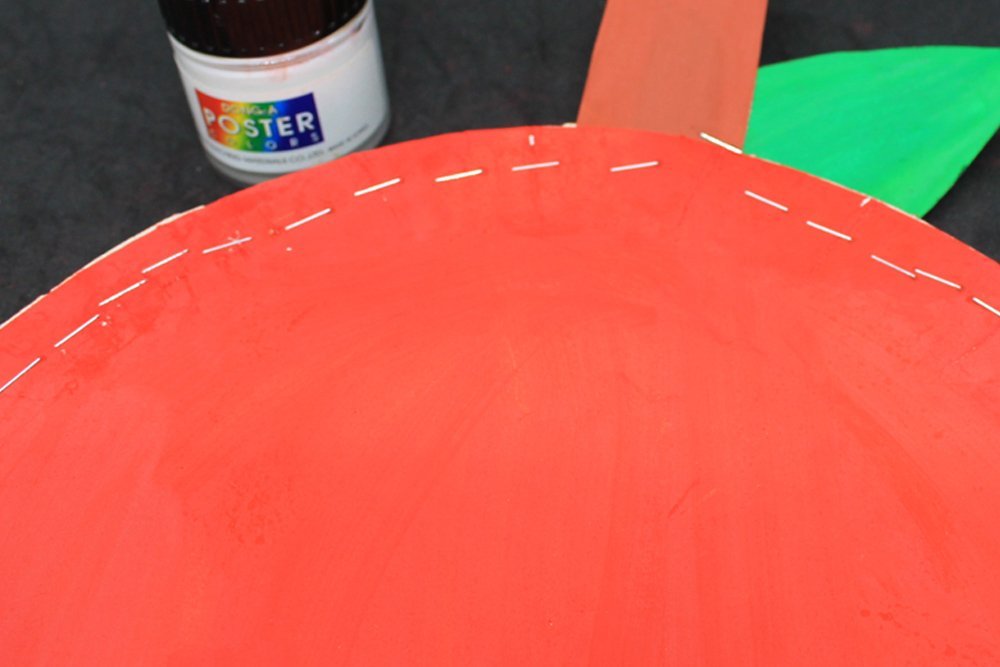
Using white paint, add some shine to one area of the paper plate.
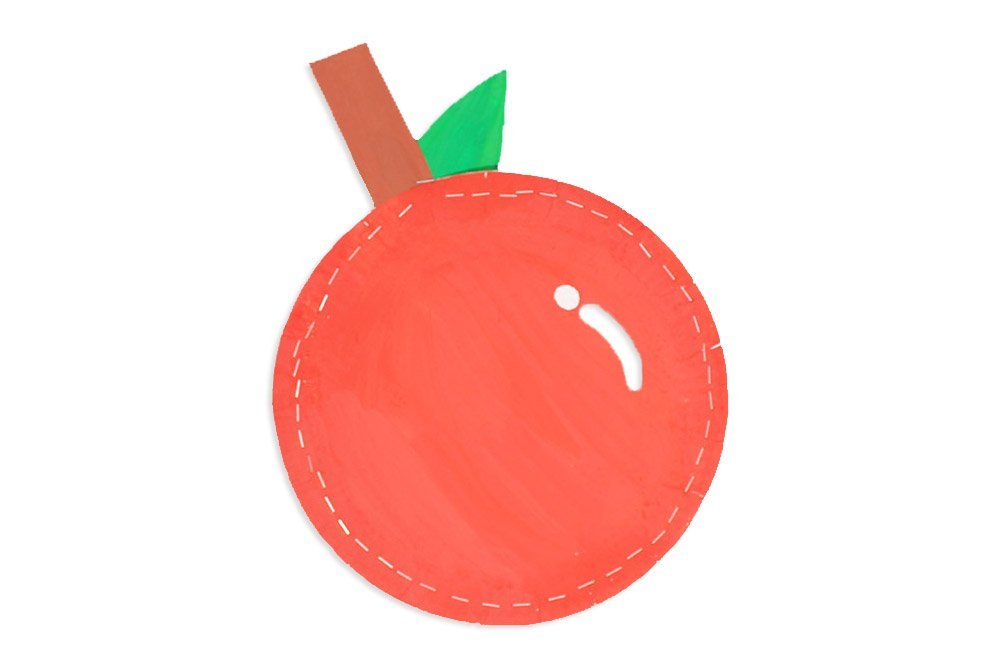
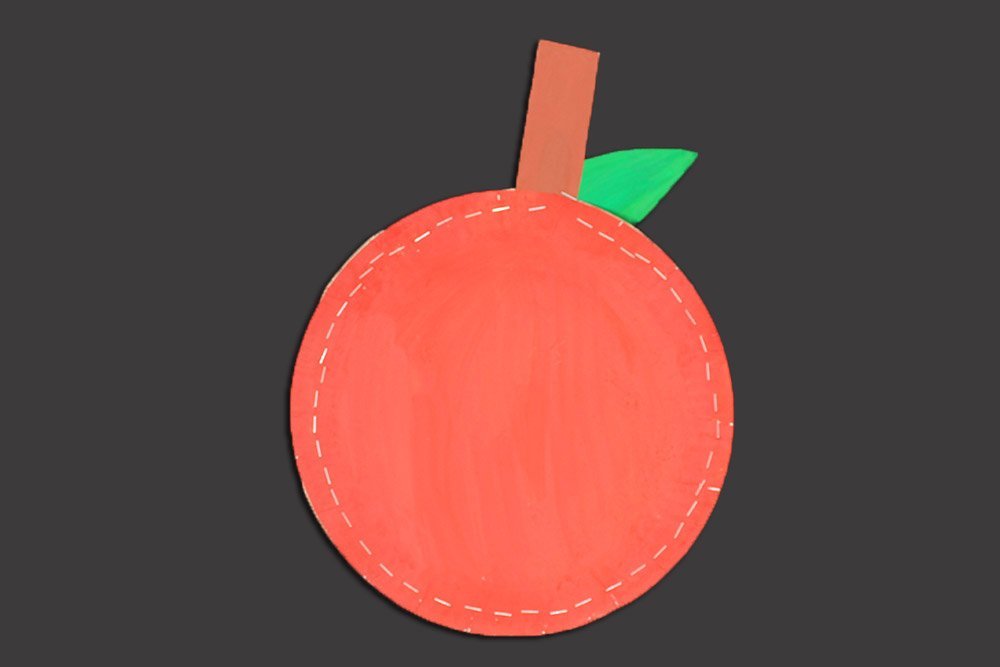
The paper plate apple shaker is now done! Let your kids shake the apple to make a sound like maracas.


Adorable!
My toddler broke it after his brother gave it to him. Was really enjoyable while we were making it
Nice idea
My New toy ahaha
Easy to make yet the reward and experience was so good
Painted mine green