DIY Paper Plate Frog Puppet Step-by-Step Tutorial

Introduction:
Create an adorable paper plate frog using some paint. What’s great about this craft is that it can be used as a puppet because of the back “pockets” made in this tutorial. A great activity for preschoolers and beginners, they will surely have a great time making and playing with this arts and craft.
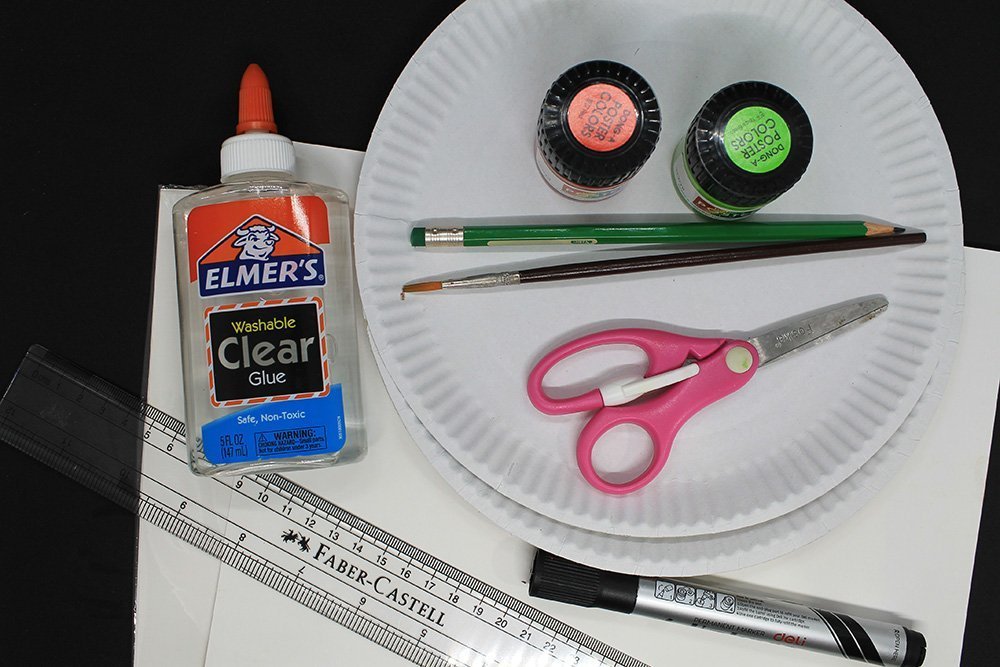
Tools
- Paintbrush
- Ruler
- Marker
- Scissors
- Pencil
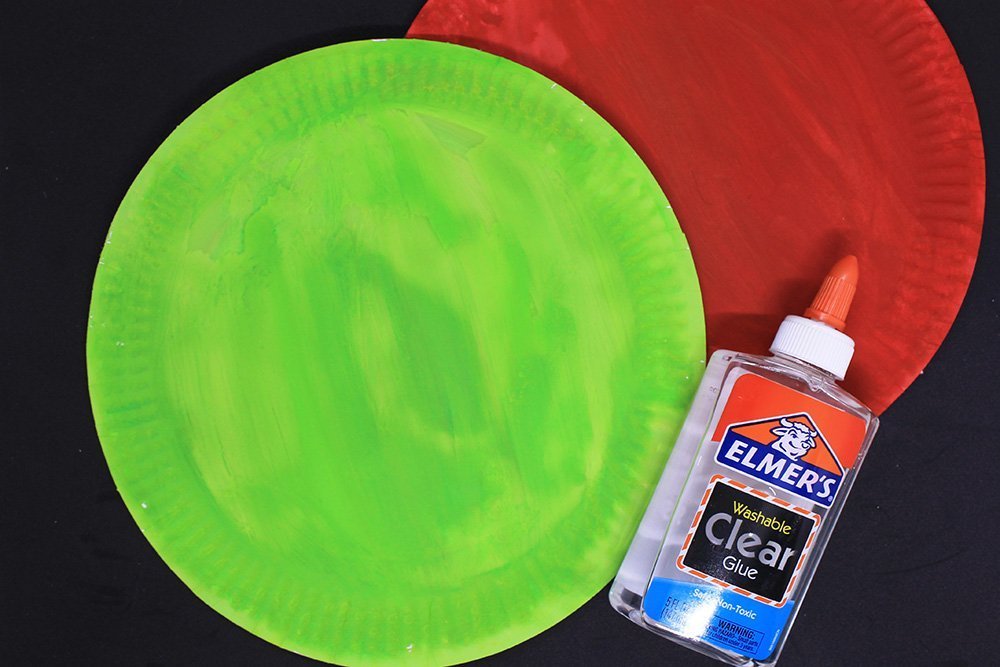
Supplies
- 2 Paper Plates
- Red paint
- Green/light green paint
- Glue
- Thick white paper
Create the legs of your paper plate frog.
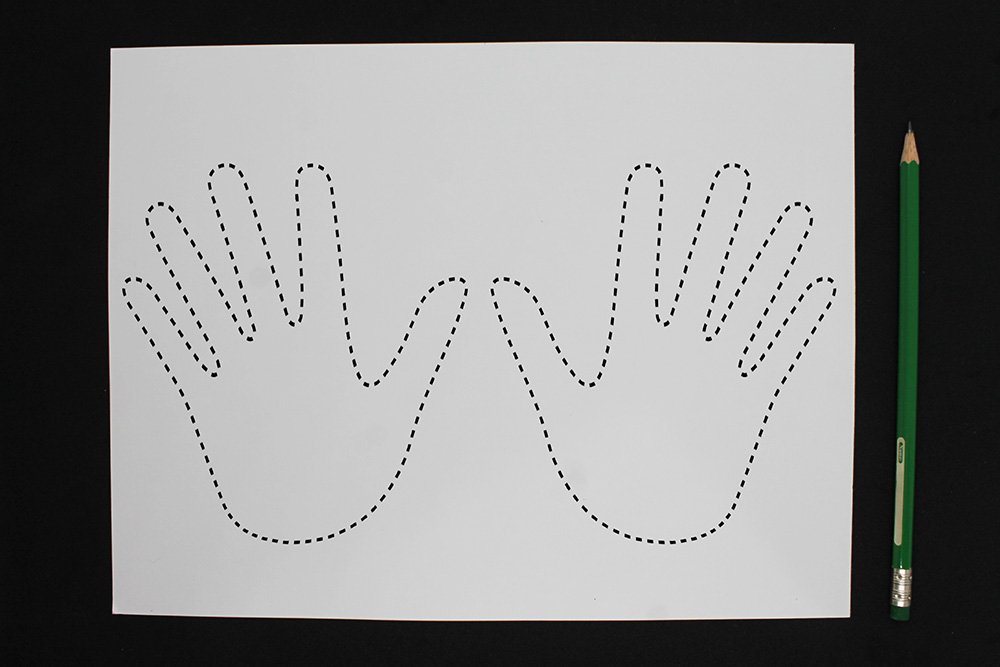
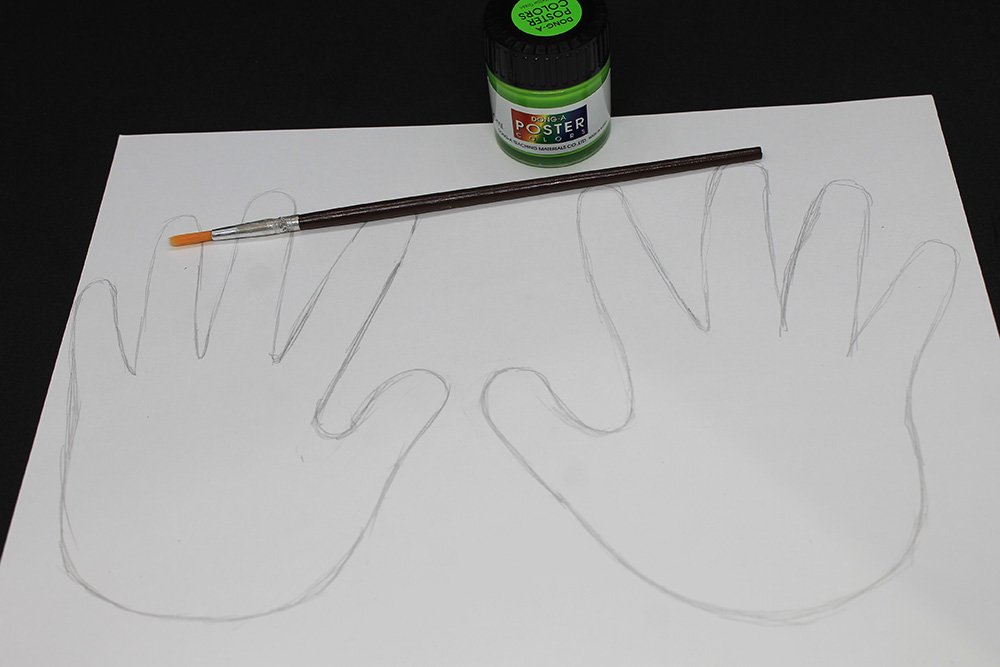
On a piece of white paper, trace both the left and right hand.
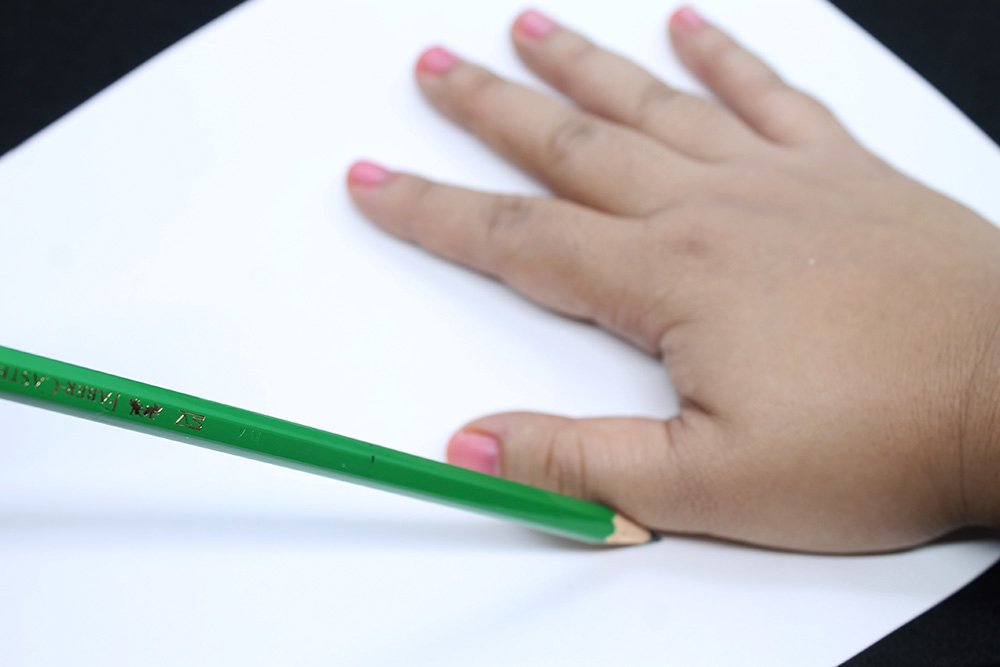
Put the right hand on the right side of the white paper to trace. Make sure you have enough space to make a tracing of the left hand.
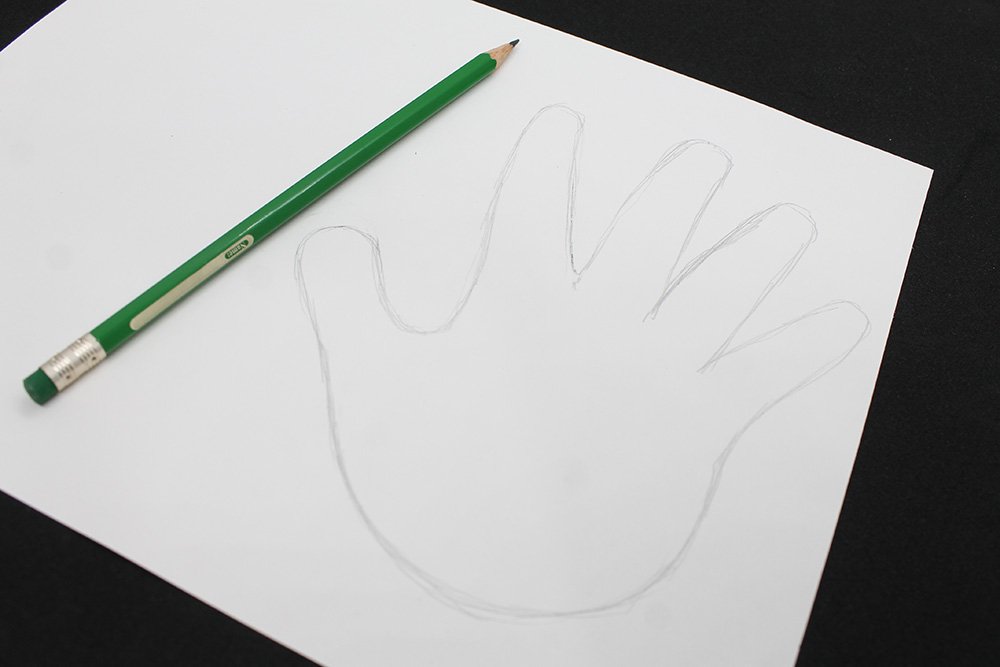
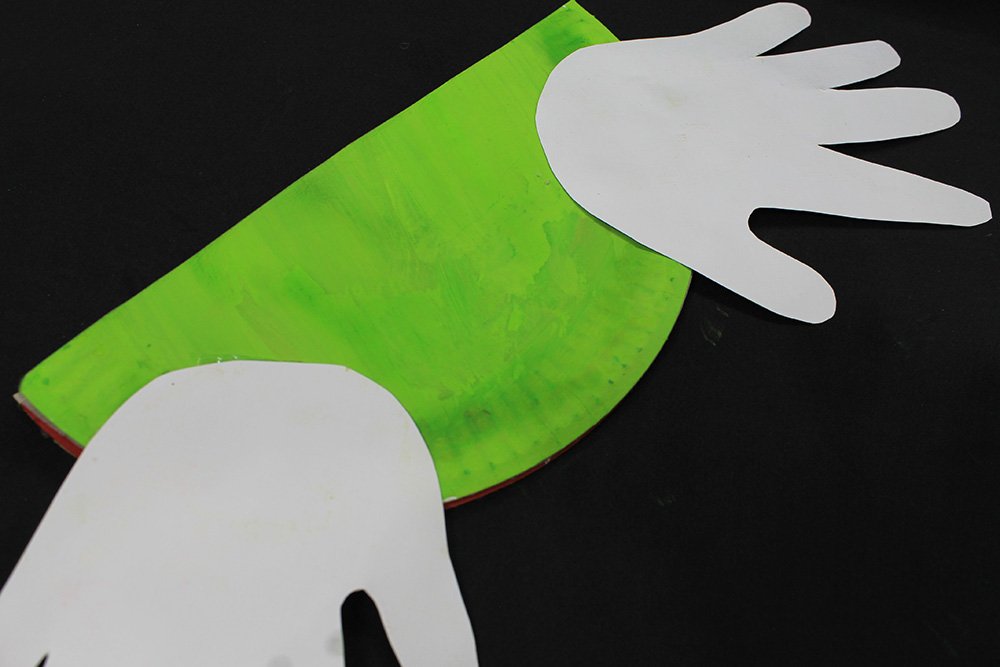
The traced right hand should look similar to the picture above. Repeat the previous step but this time, use the left hand.
Once you have outlined both hands, paint it over with some green paint.
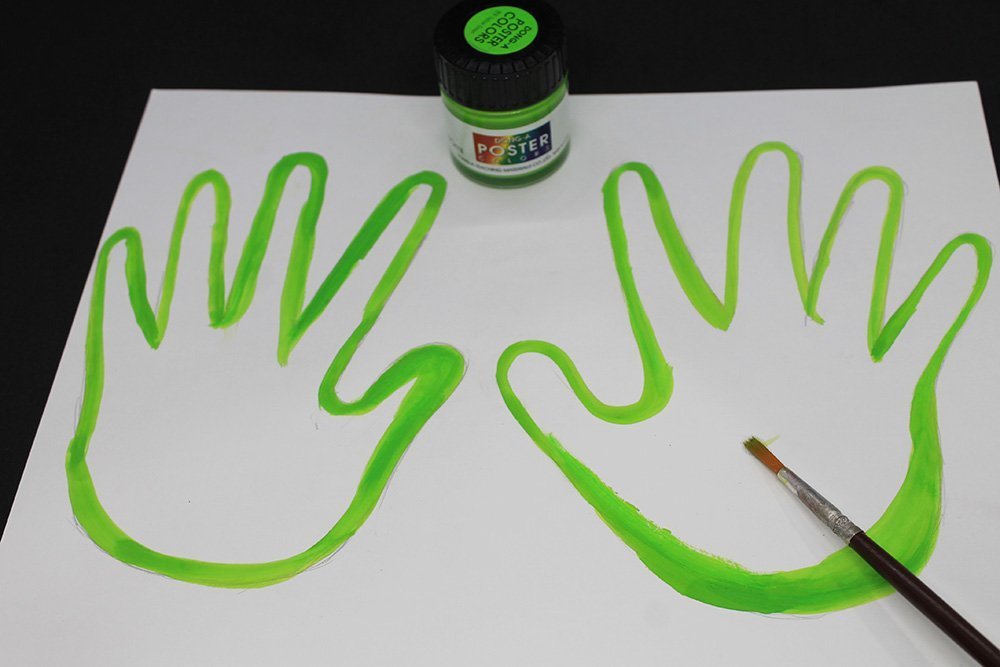
Start painting by outlining the hand first, then painting inside. That way, the painting of the hand looks neater.
The painted hands should look like the picture above.

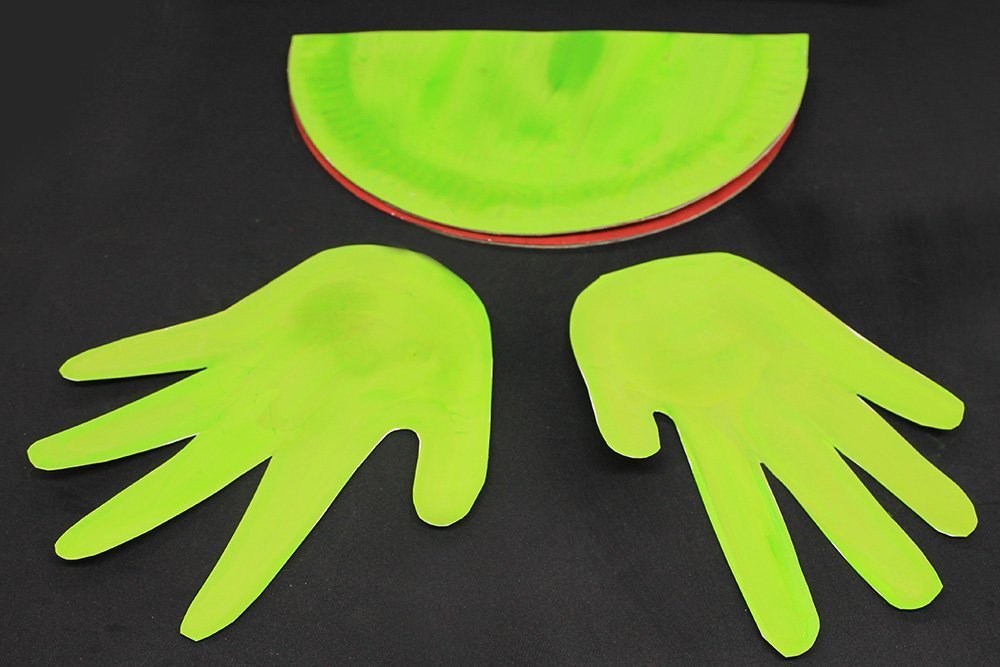
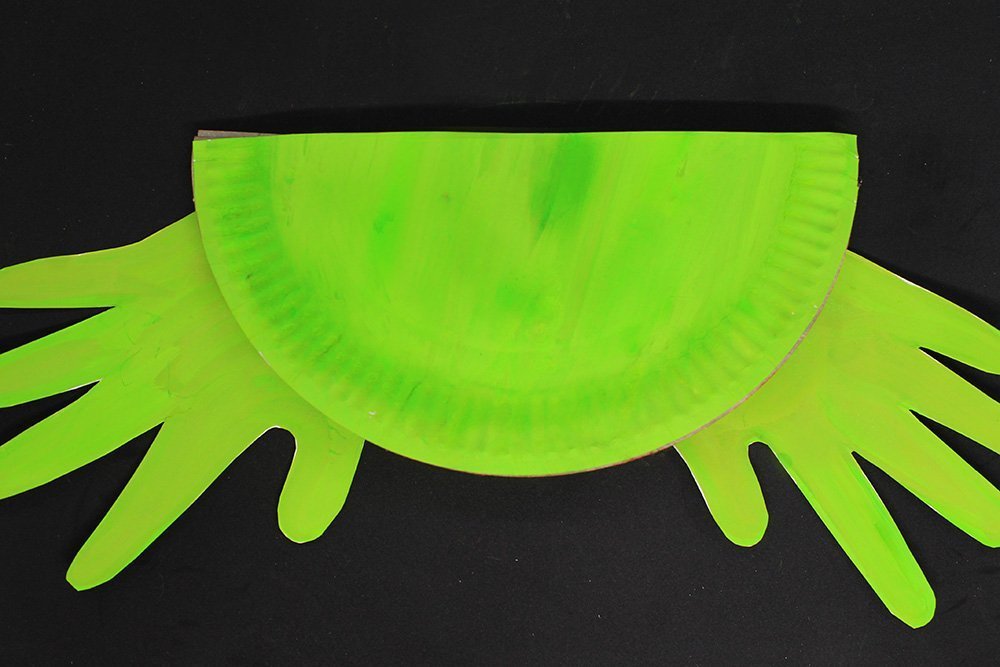
Cut the silhouette of both hands using a pair of scissors.
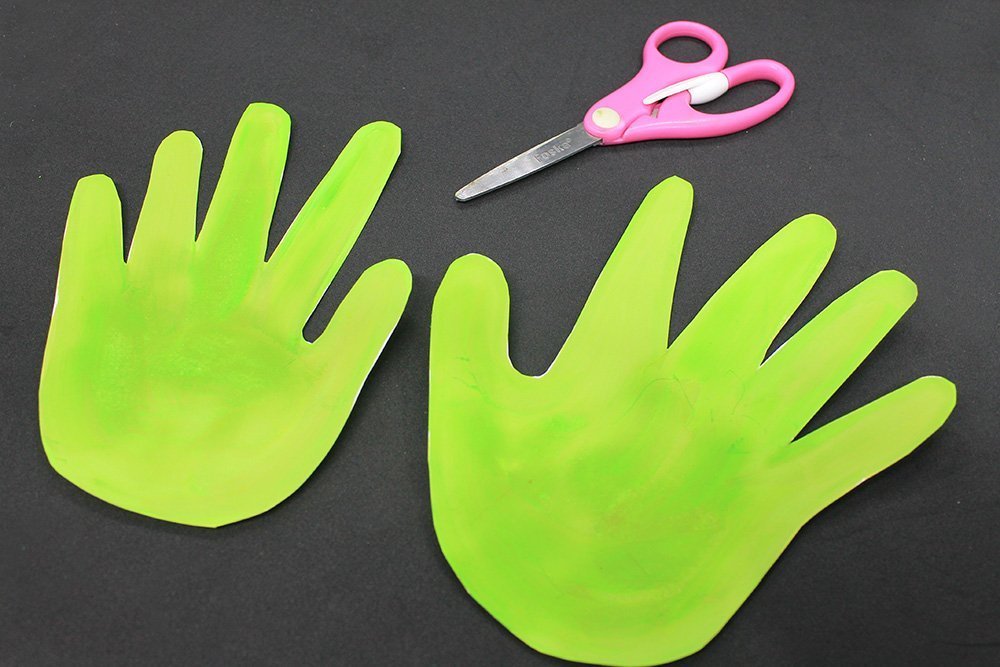
Done! These green-painted hands will be the legs of the paper plate frog.
Paint the body of the frog
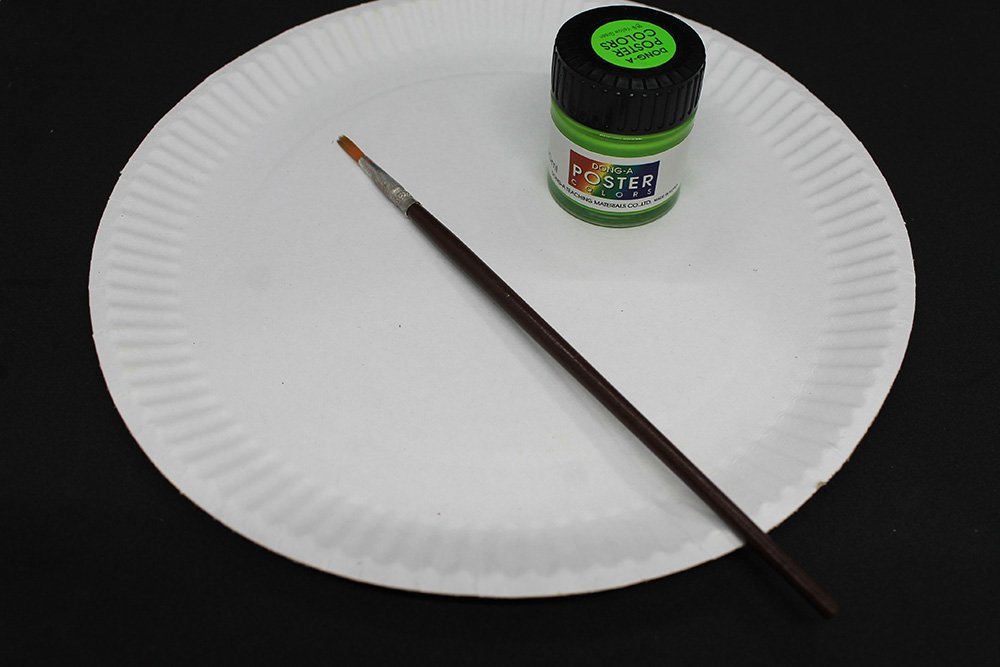
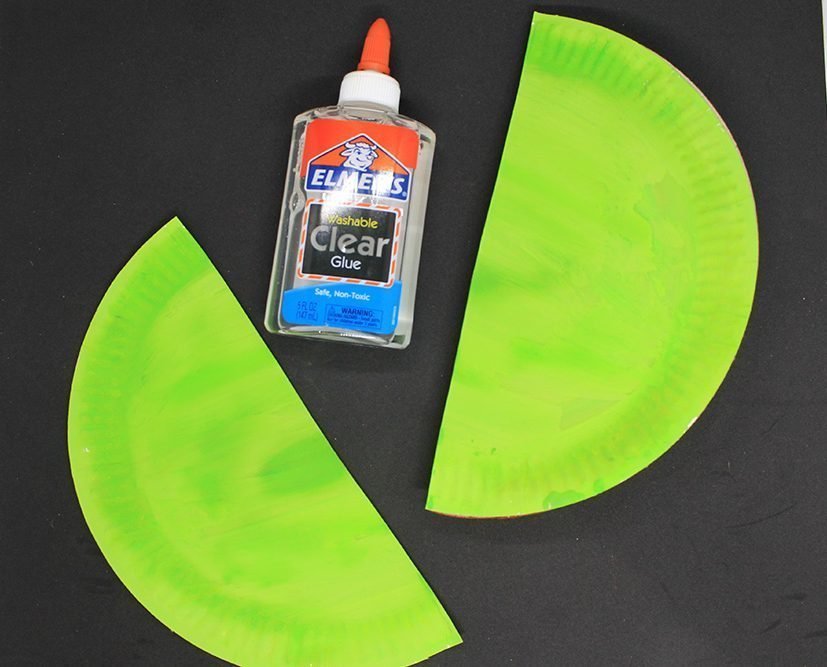
Get another paper plate and paint it with green paint.
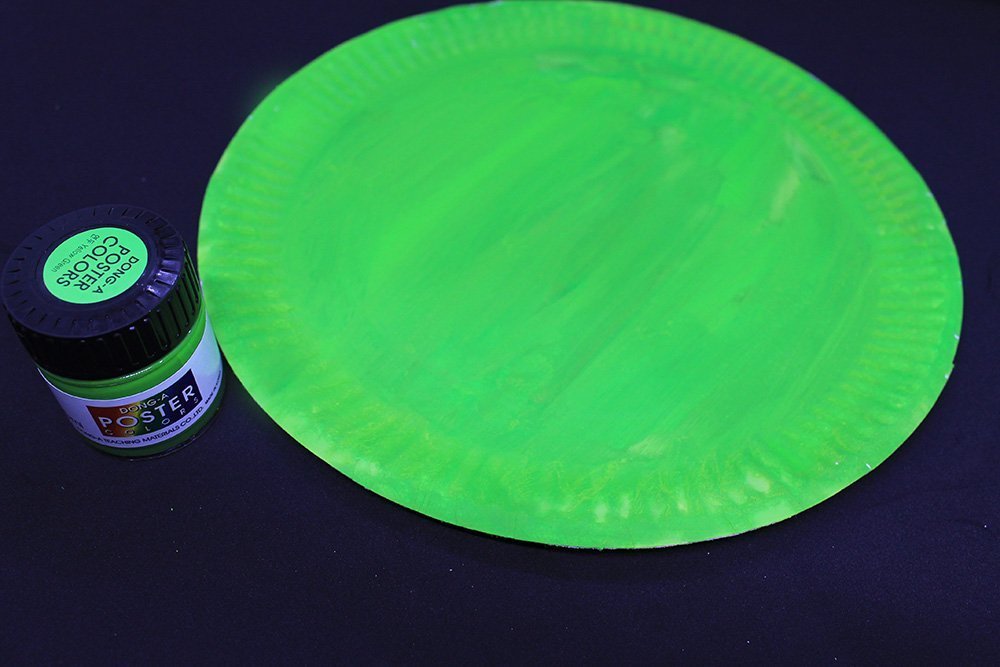
Set aside to dry, then get a new paper plate.
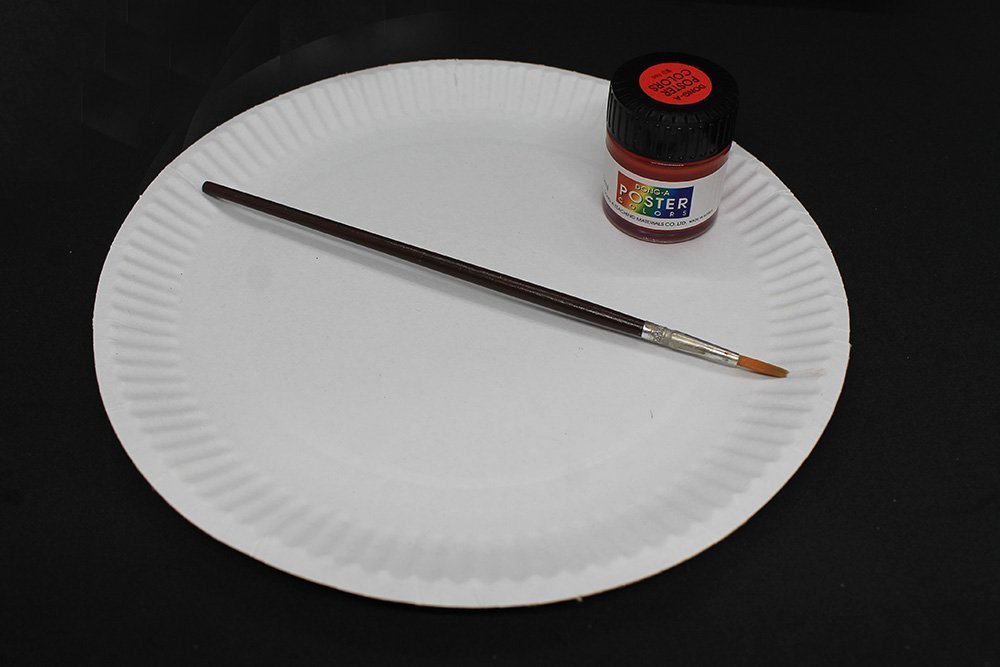
Paint the whole paper plate red.
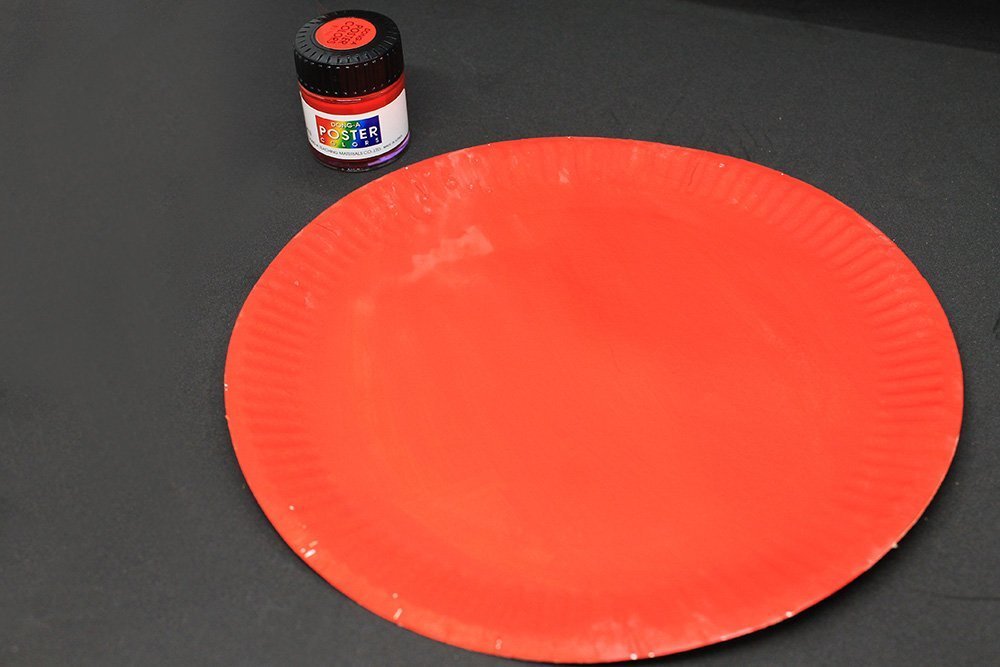
Let it dry as well before proceeding to the next step.
Assemble the frog
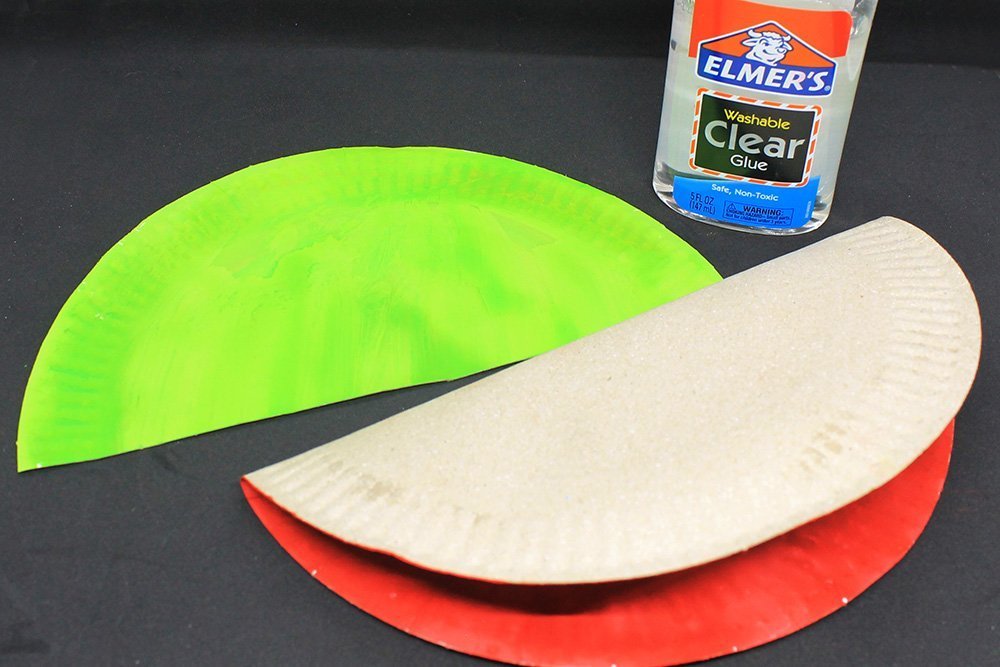
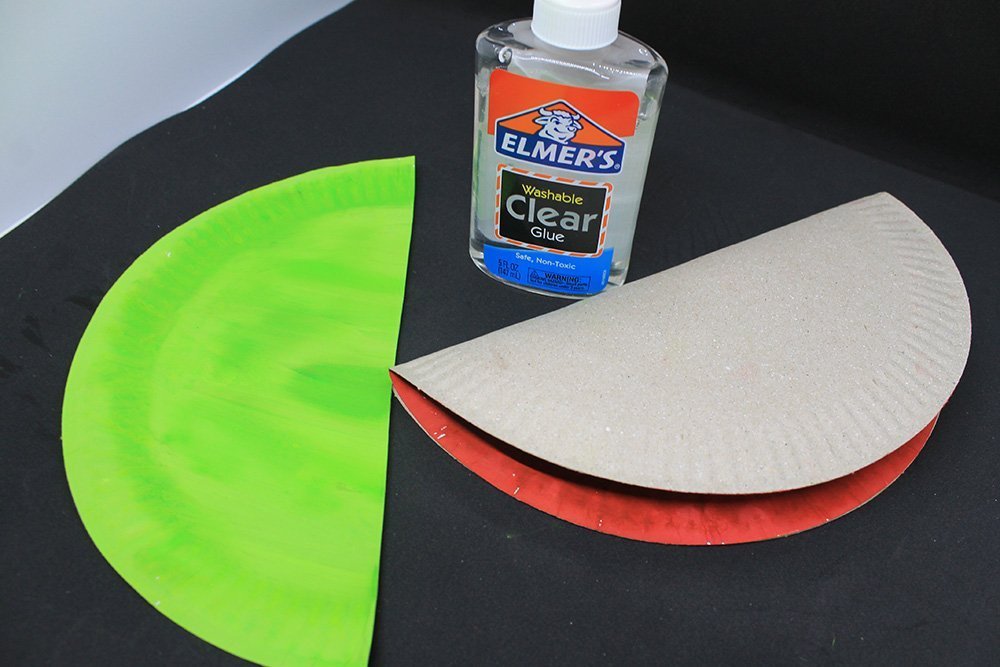
Get the green and red paper plate and glue. It’s time to assemble the body of the frog!
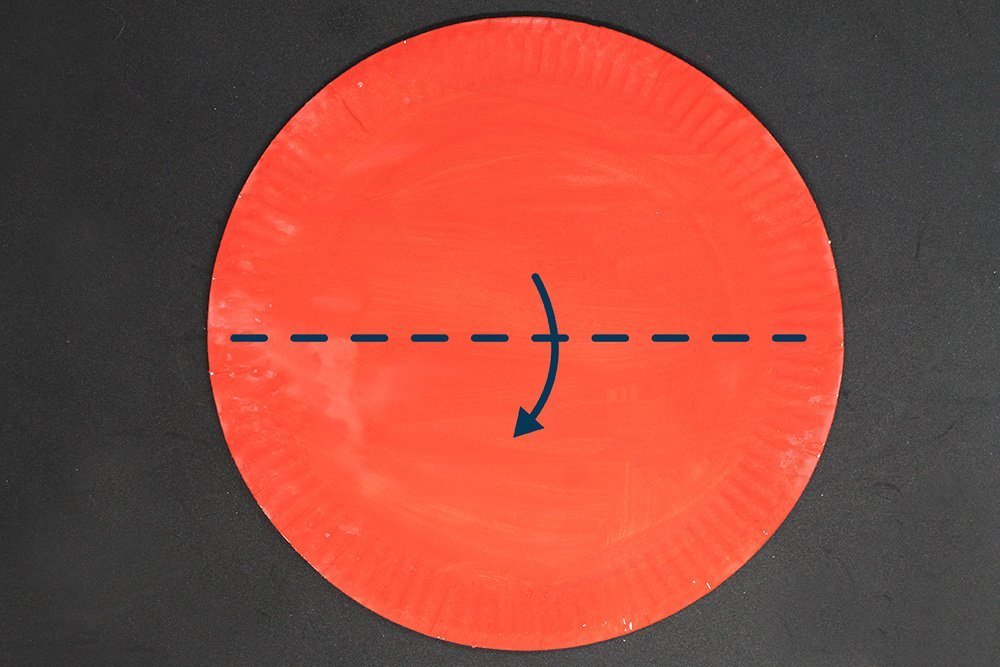
Fold the red plate in half.
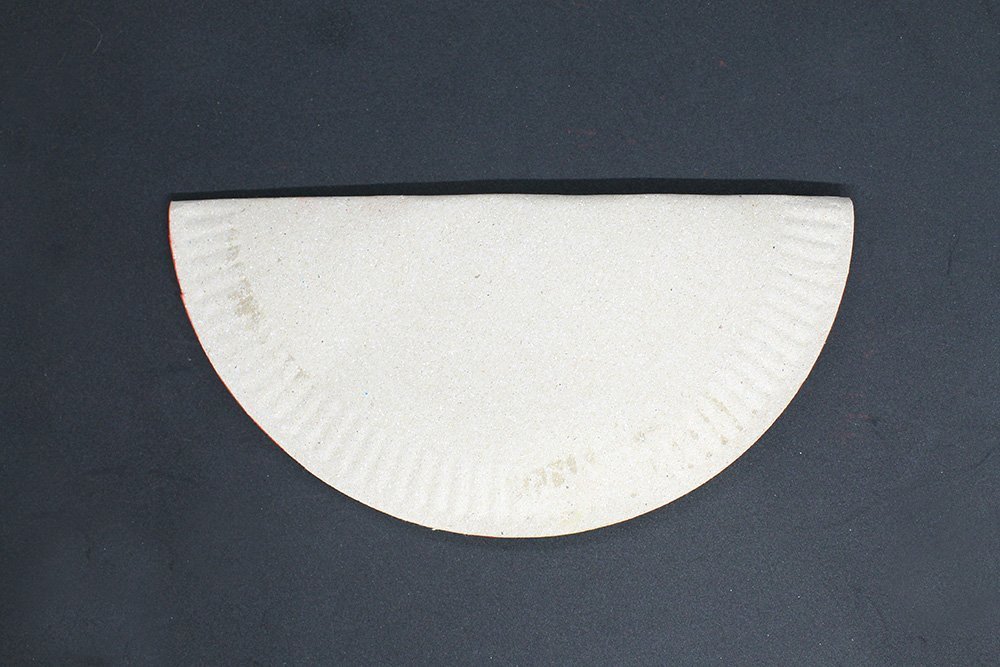
Make sure that the red part is in the inner part.
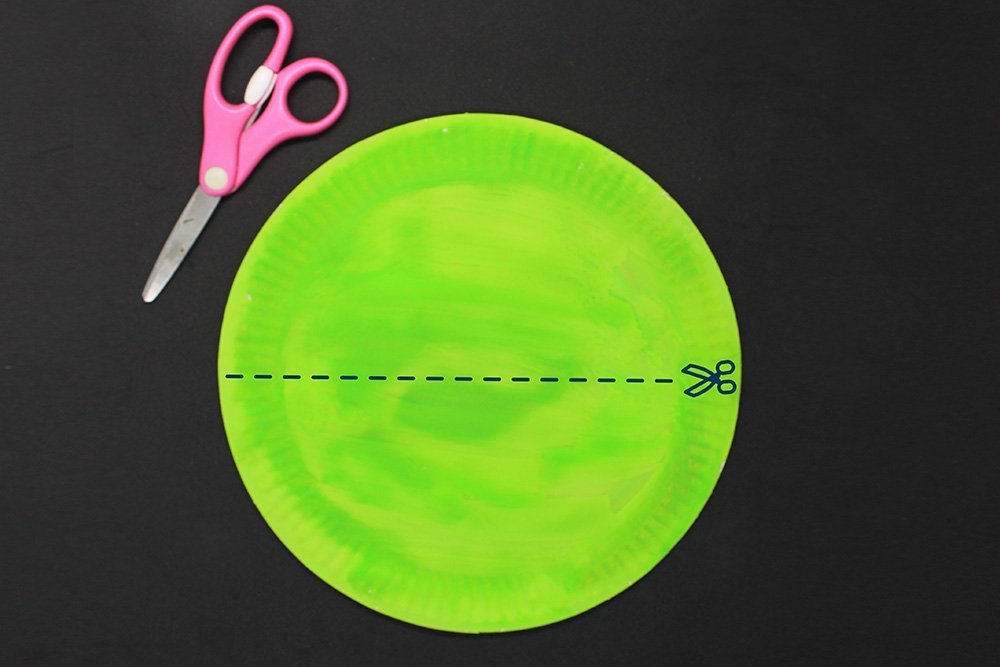
Cut the green paper in half.
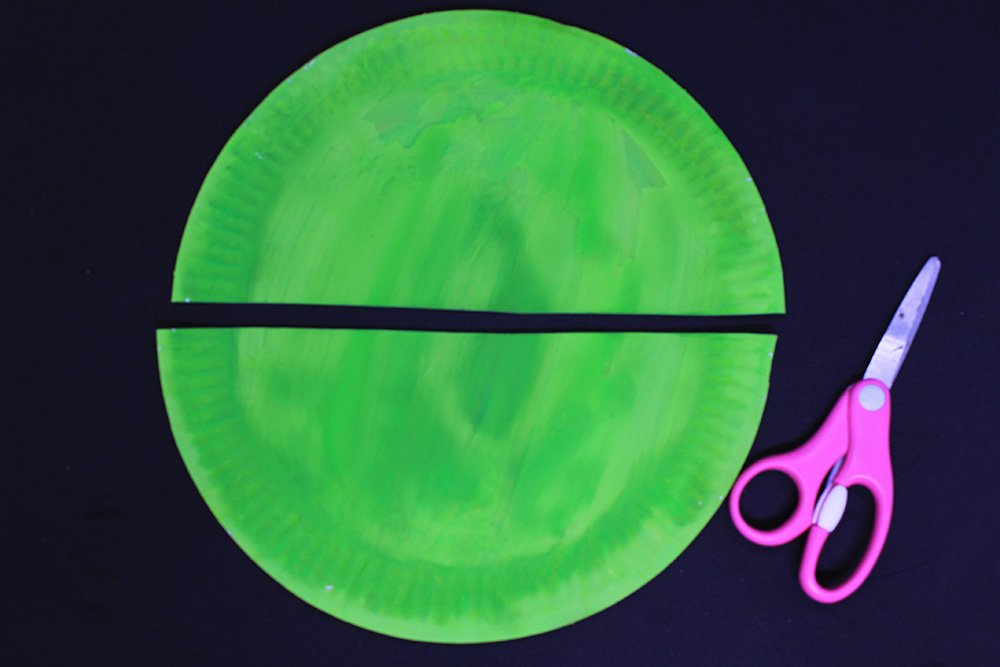
Once cut, it should look like this.
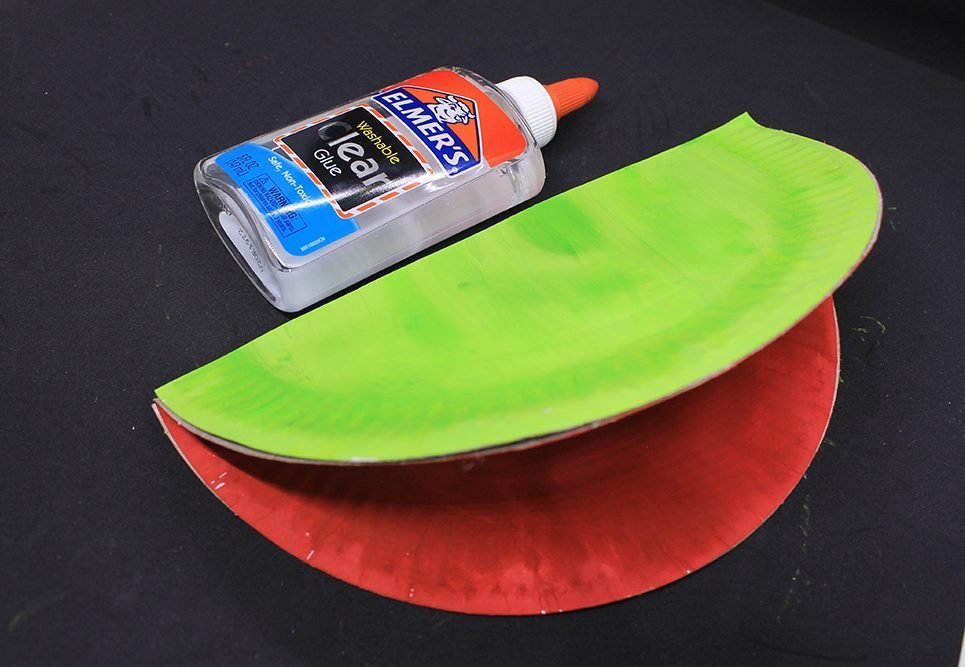
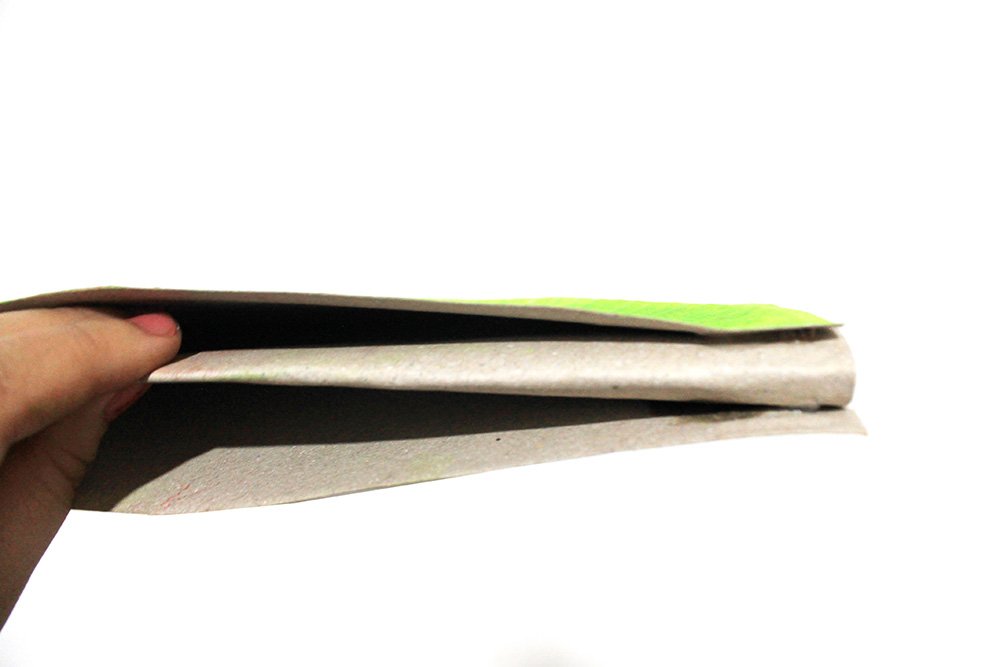
To turn it into a puppet, paste half of the green paper plate on the red plate.
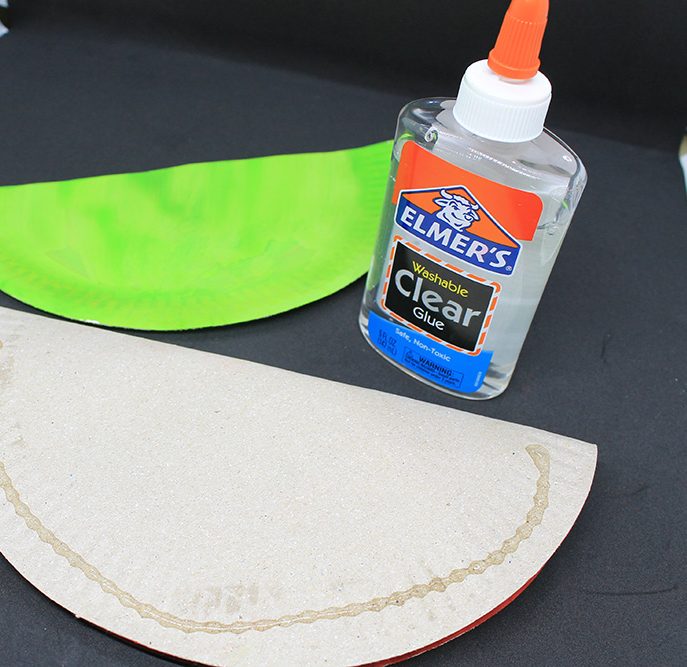
Make sure you place some glue only on the ARCHED side. Do not put any adhesive on the straight side because this is where you will insert your hand.
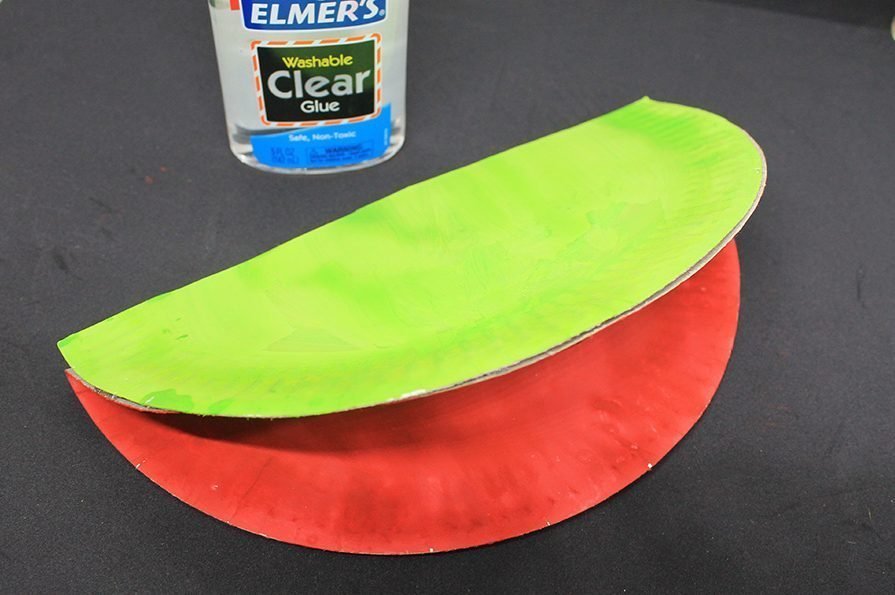
It should now look like this.
Now place the other half of the green paper plate on the other side of the red plate.
Again, Make sure you place some glue only on the ARCHED side. Do not put any adhesive on the straight side because this is where you will insert your hand.
The body part of the paper plate frog is now done.
To assemble the body, stick the legs of the frog to the bottom side of the frog’s body.
It should look like this when you stick the legs to the body.
The body is now completed!
There are two pockets at the back of the frog’s body that you can insert your fingers. Insert your thumb at the bottom pocket and the rest of your fingers at the top pocket to make it move. Move your hands to make the frog talk.
Create the eyes and tongue
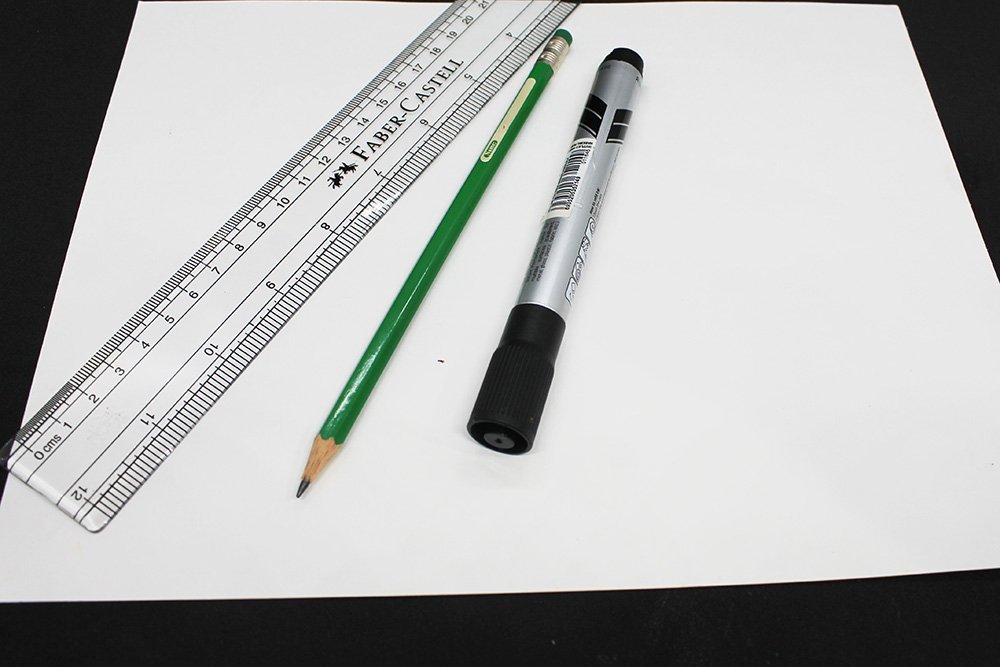
Get another piece of paper, pencil, marker, and ruler.
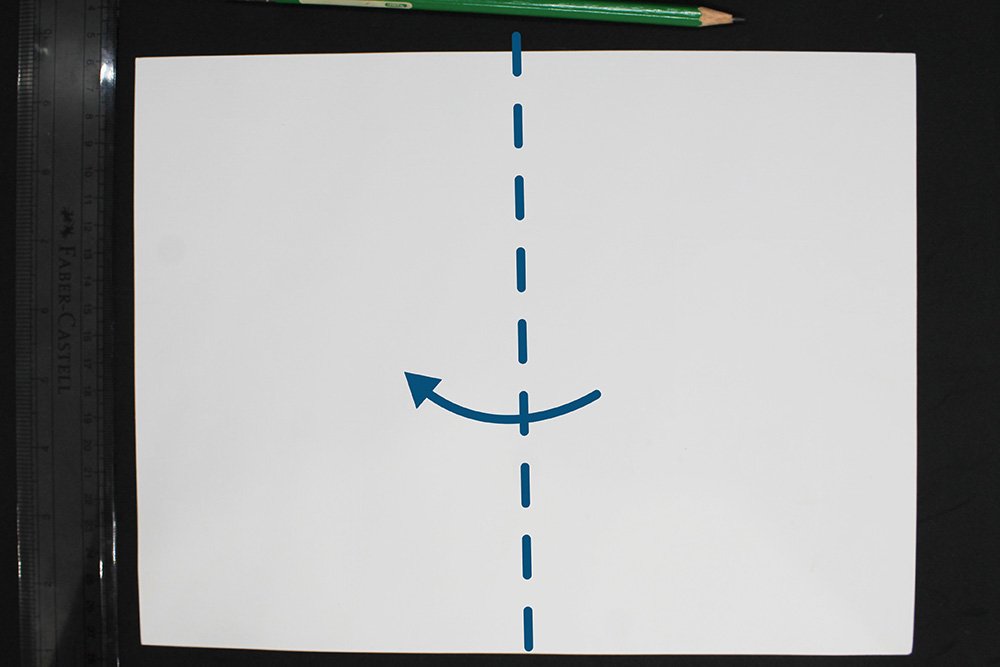
Fold it in half, as illustrated in the picture above.
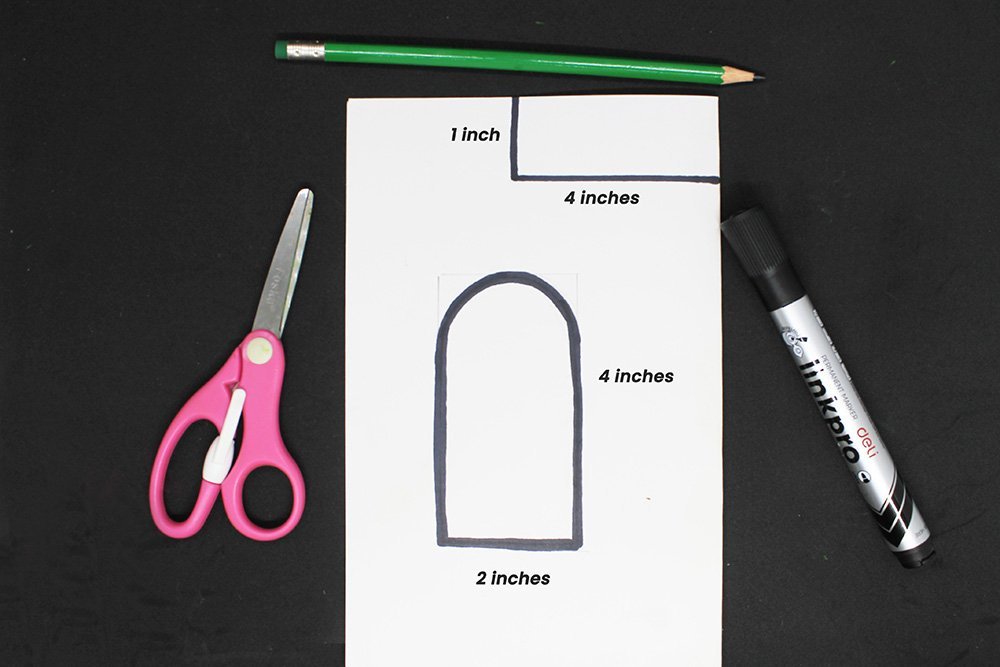
Once folded, follow the illustration above and then cut it.
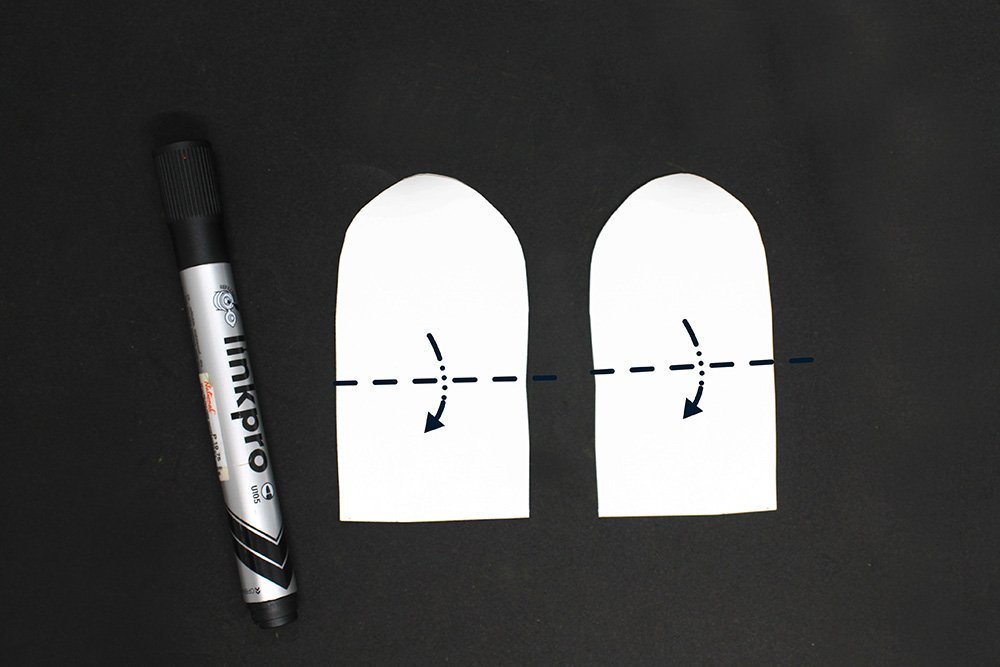
You should have 2 dome shapes like this picture above. Mountain fold both cutouts in half.
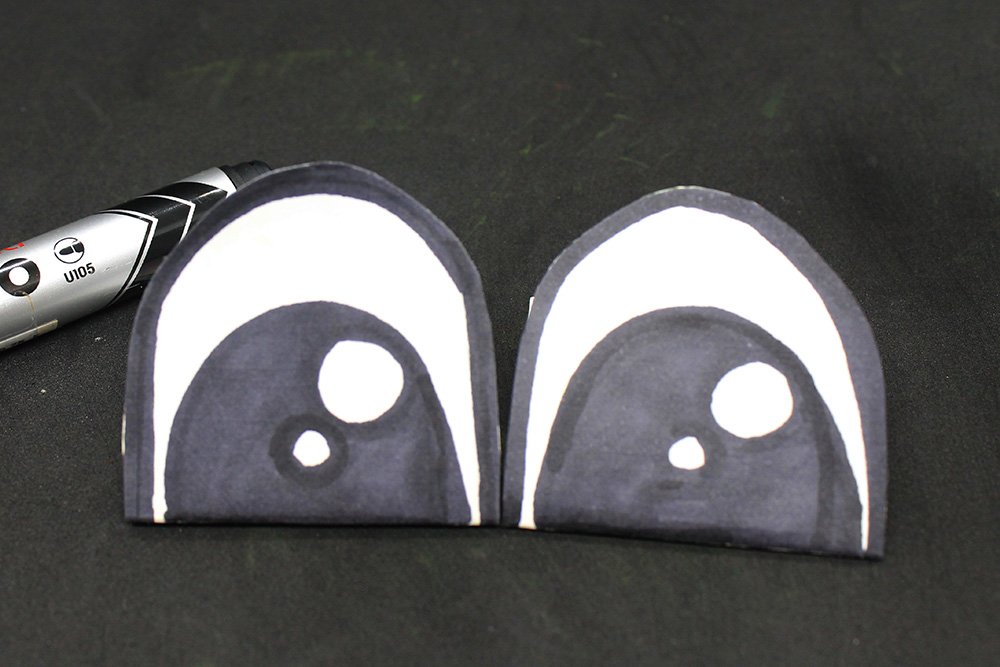
Draw eyes on each cutout. You can copy how we drew this, or you may draw the ey in your style.

For the rectangular piece, paint it red. This will be the tongue of the frog.
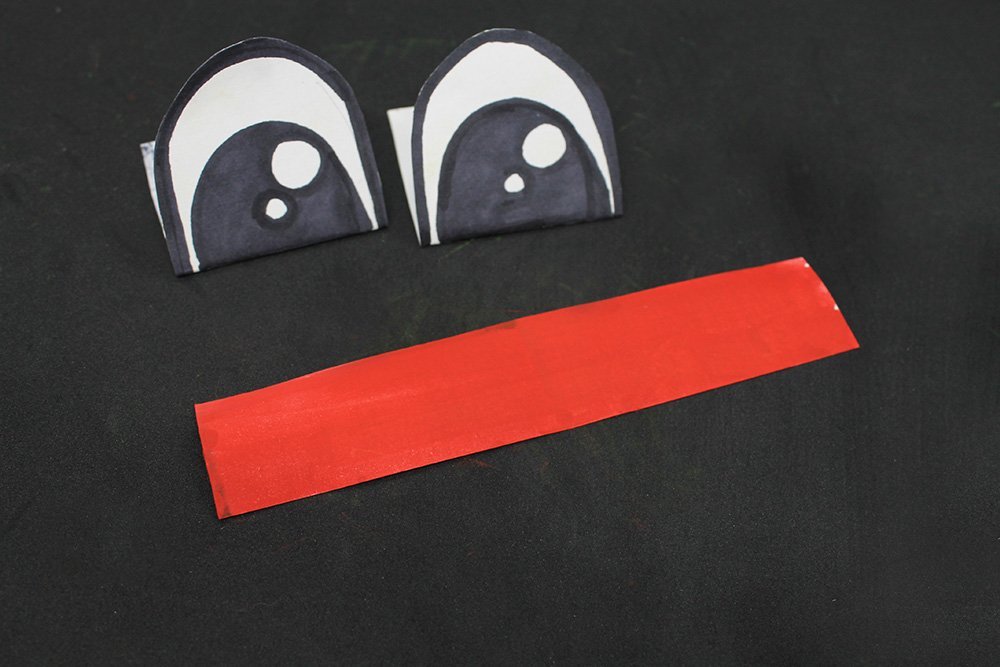
The eyes and tongue are now done! Time to assemble it to the body.
Assemble the paper plate frog
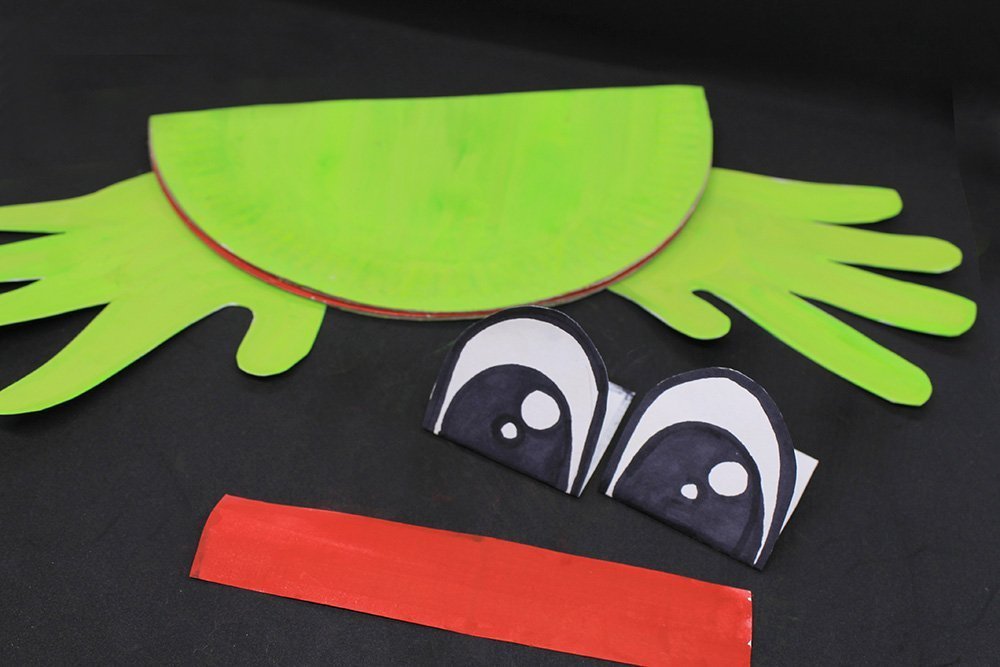
Stick both eyes to the top part of the frog’s body.
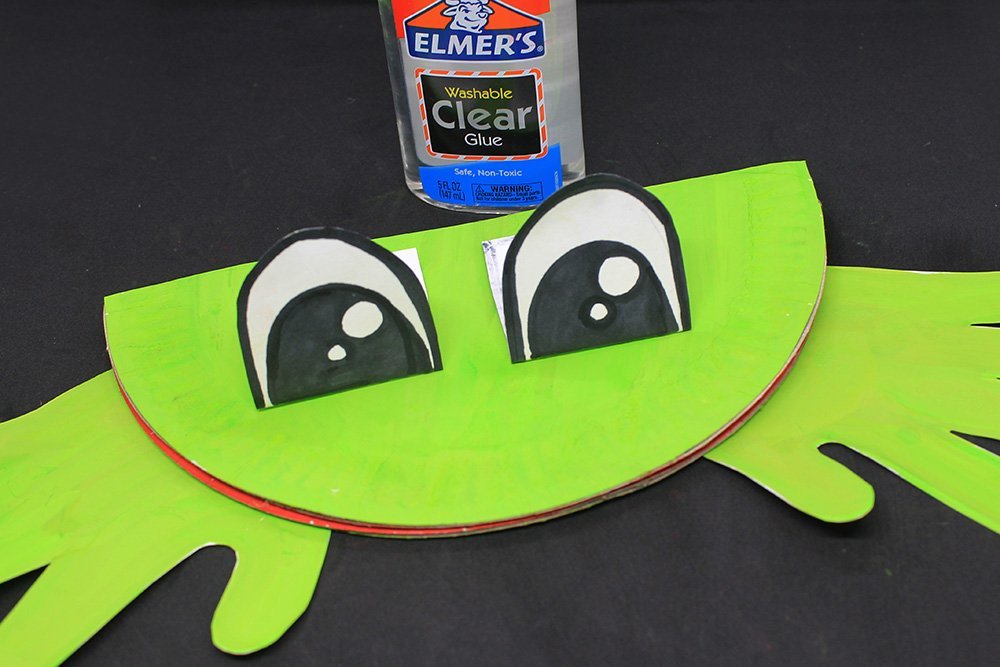
Position the eyes to the body like this before putting some glue.
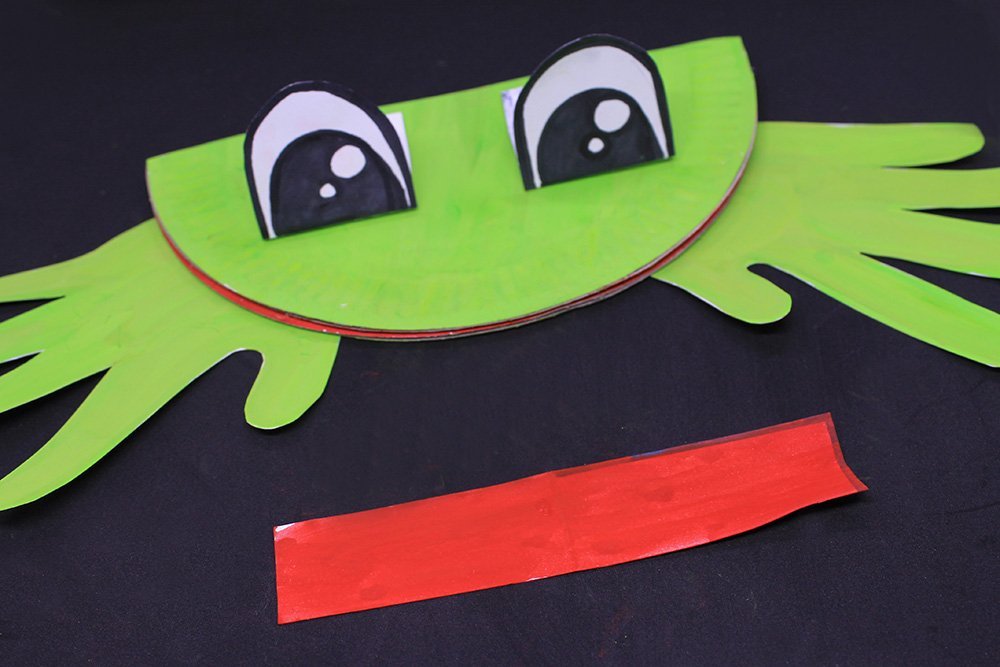
For the tongue, roll one side to the middle.
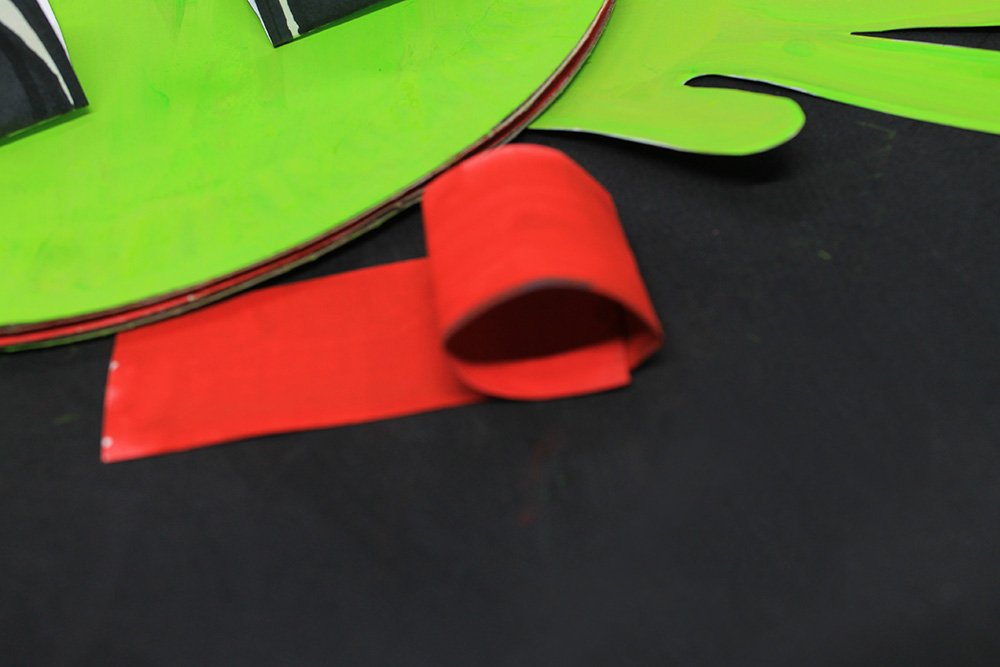
Secure the roll by putting glue on the rolled tip.
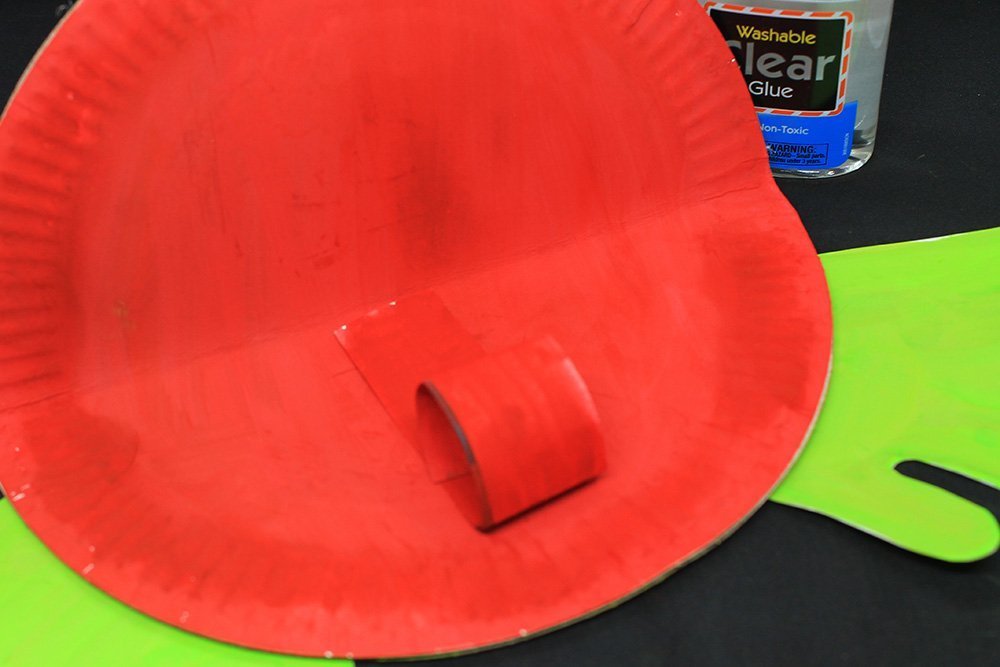
Stick the tongue on the center of the mouth.
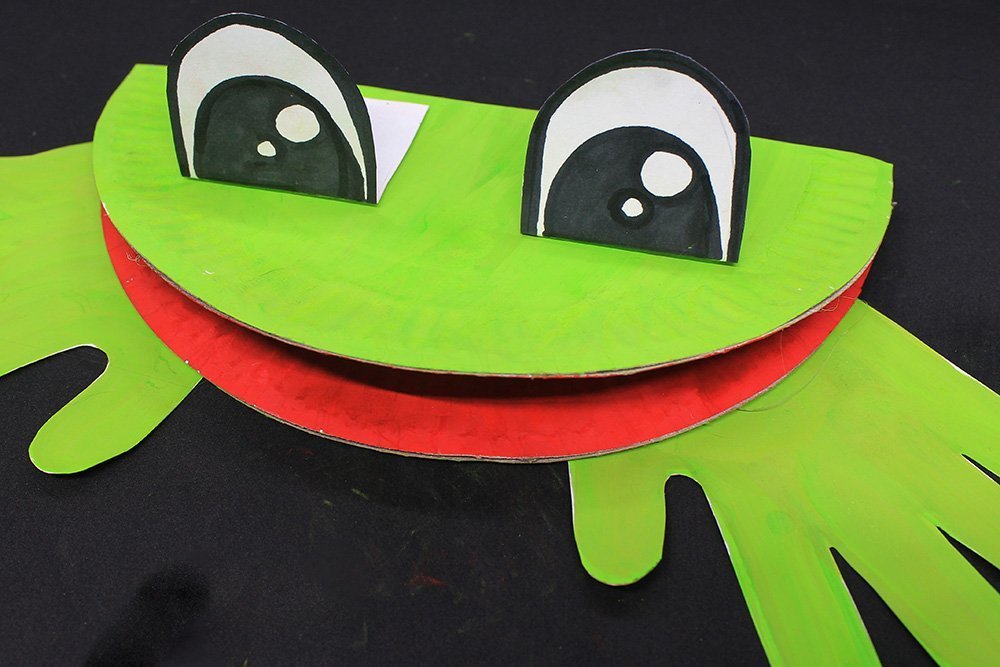
The mouth is now slightly opened because of the attached tongue.
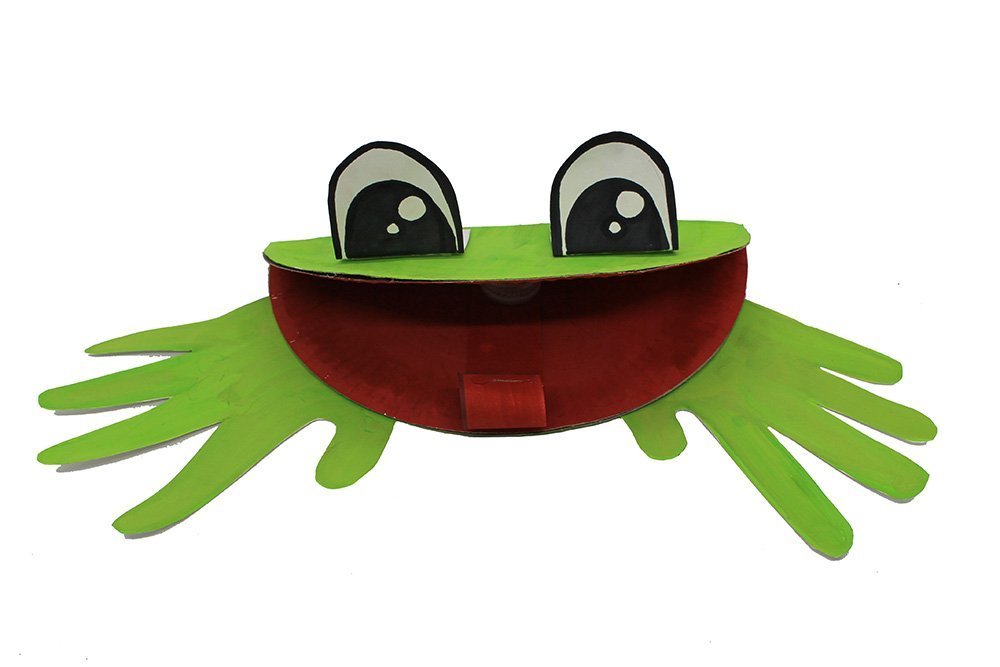
The paper plate frog is now done! Make it talk by inserting your hand at the back pocket.
Extra Tips
- Move the brush lightly in all directions. Use quick strokes.


It’s funny looking 🤣
So was mine but yours definitely needed a do over
Great guide. He put this on his bedside table top. Sweet kid
I made the craft in two days. It was a bit a long but overall I think it’s totally something that can be done in one sitting even for a child. He needs to be competent with the scissors though. My child is only five so he can paint and such but not cut.
Aren’t you supposed to develop his scissors skills? I’m not judging but I am just suggesting. Have a good day mam