DIY Paper Plate Polar Bear Using Cotton Balls

Introduction:
Create your own paper plate polar bear mask using cotton balls. What’s great about this little bear craft is that it is easy to make for kids to enjoy and learn with their parents or guardians. If you’re looking for a quick costume, then you’re at the right place!
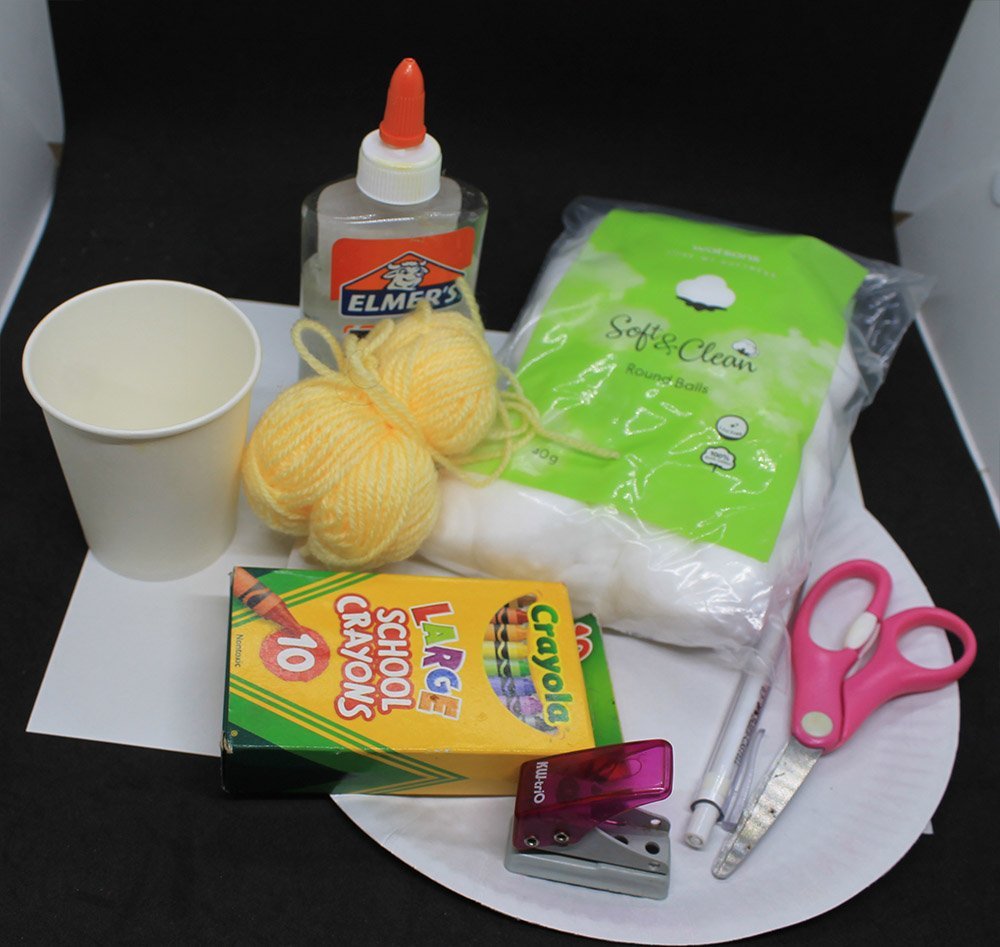
Tools
- Scissors
- Pencil
- Crayons
- Hole puncher
Supplies
- Paper Plate
- Paper cup
- Glue or Hot Glue
- Yarn
- Cotton balls
- Yarn or String
- a piece of white thick paper (vellum board, cardstock or a thick piece of bond paper will do)
Cut out the paper plate polar bear’s ears, nose, and mouth
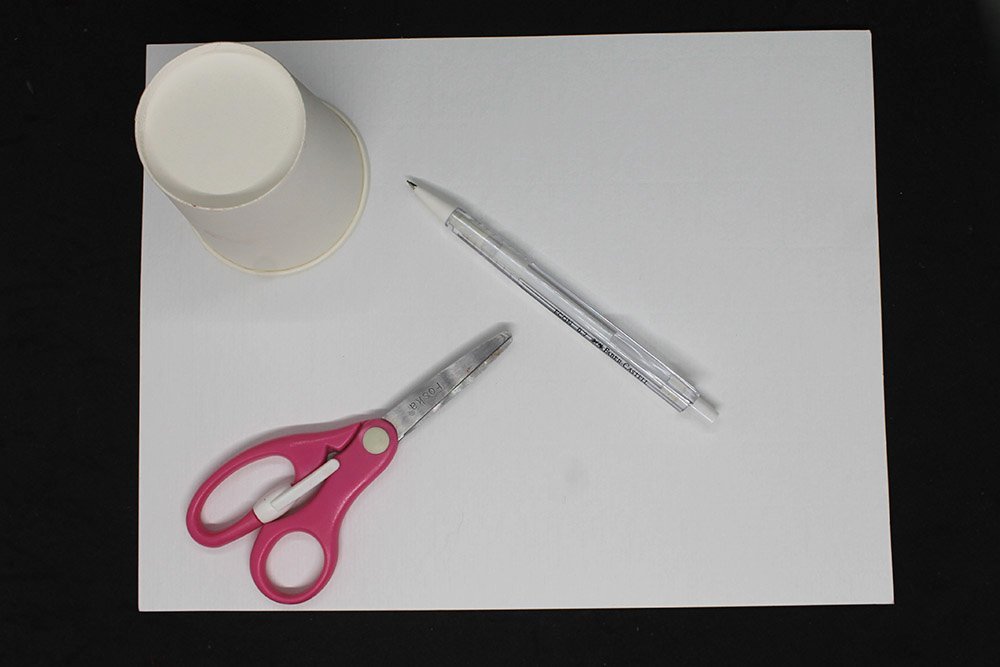
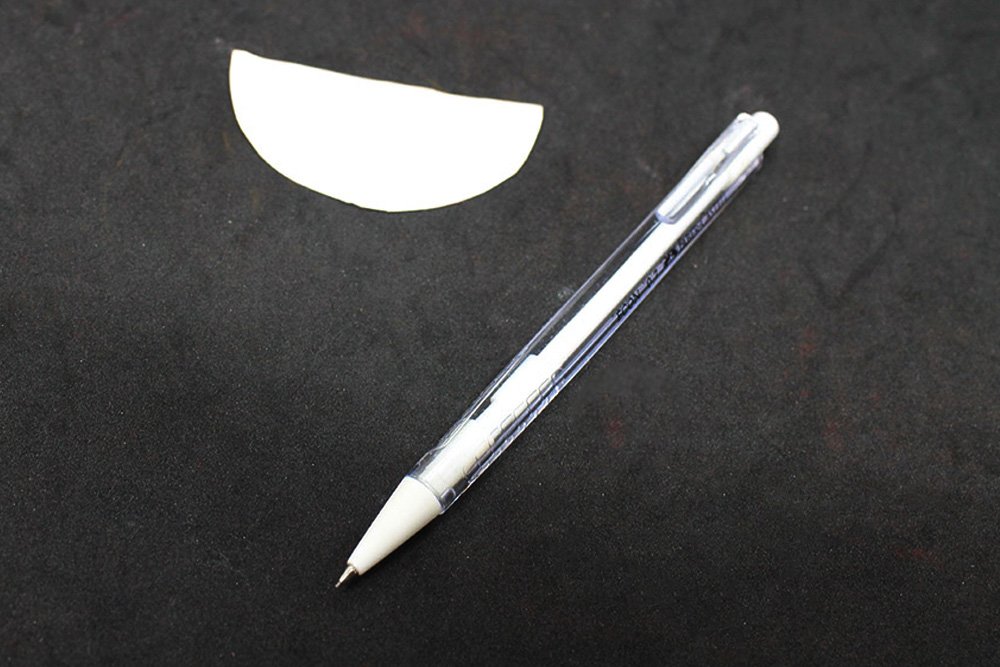
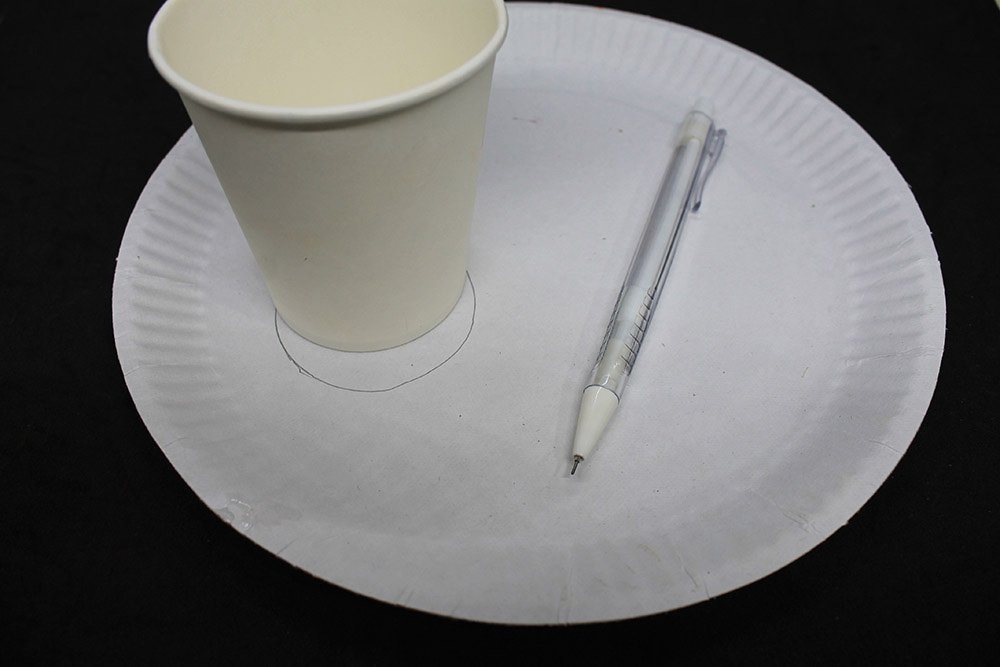
Get a paper cup, pencil and a thick piece of paper.
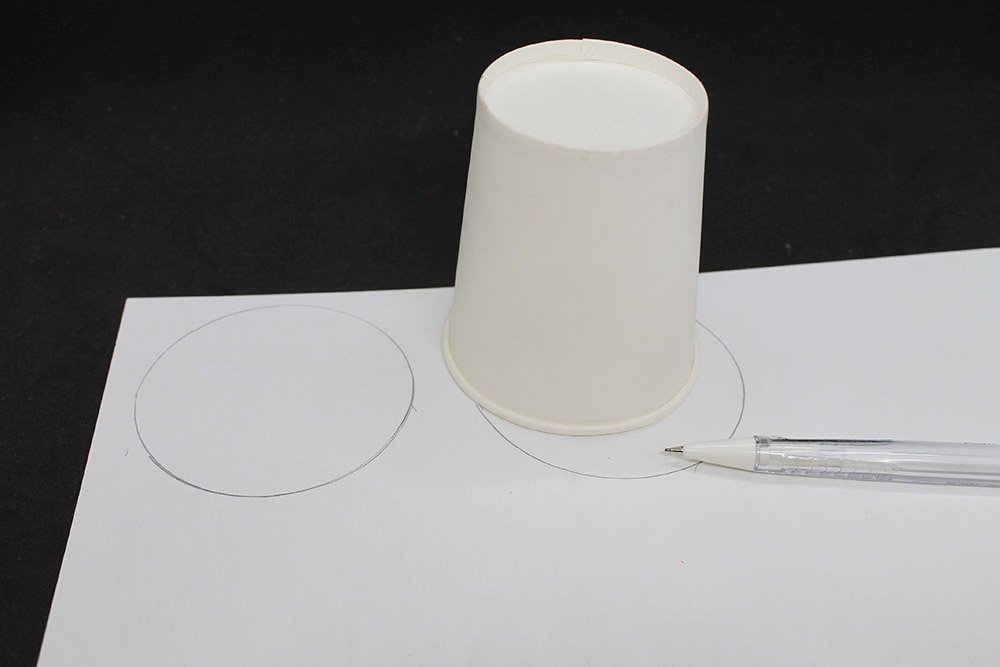
Trace the wider end of the paper cup to make a circle using a pencil. For this project, we need 2 circle cutouts.
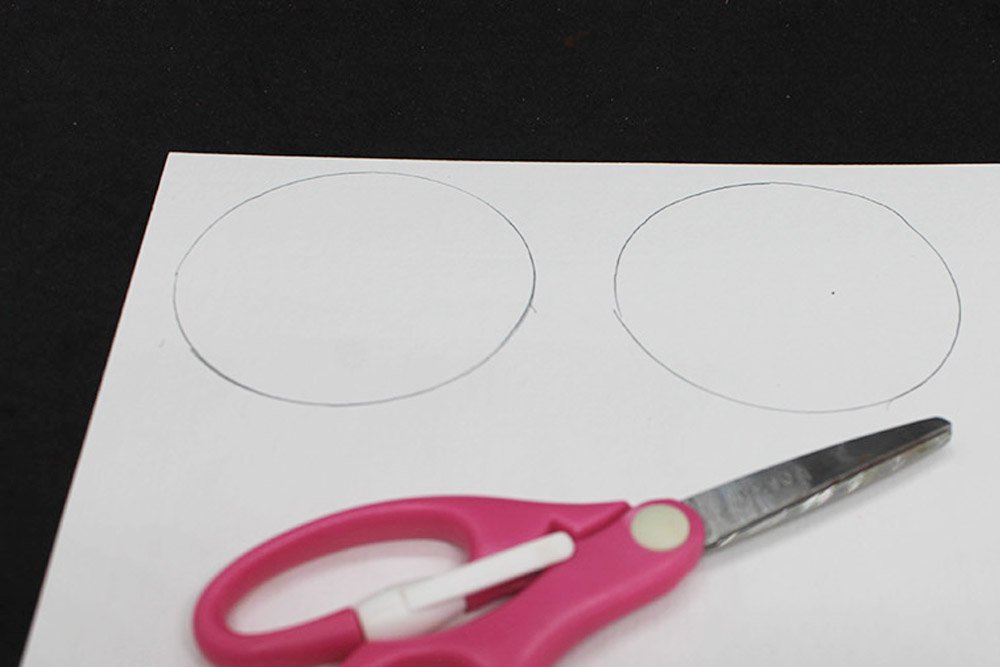
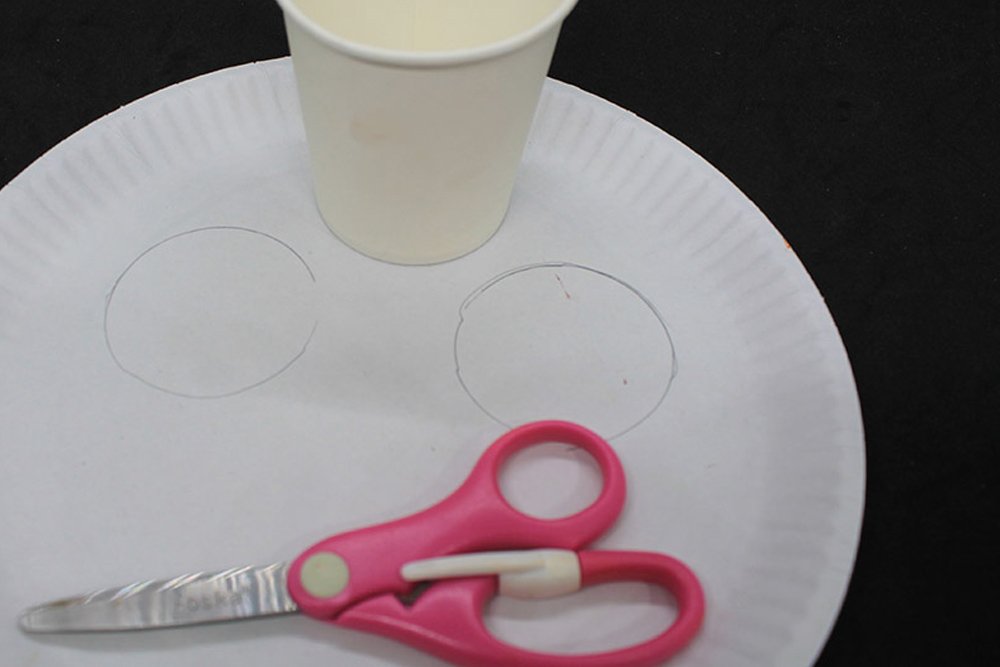
Cut the circle outline made with a pencil. For this craft, we need THREE circle cutouts. Make 3 circle outlines using the cup and pencil.
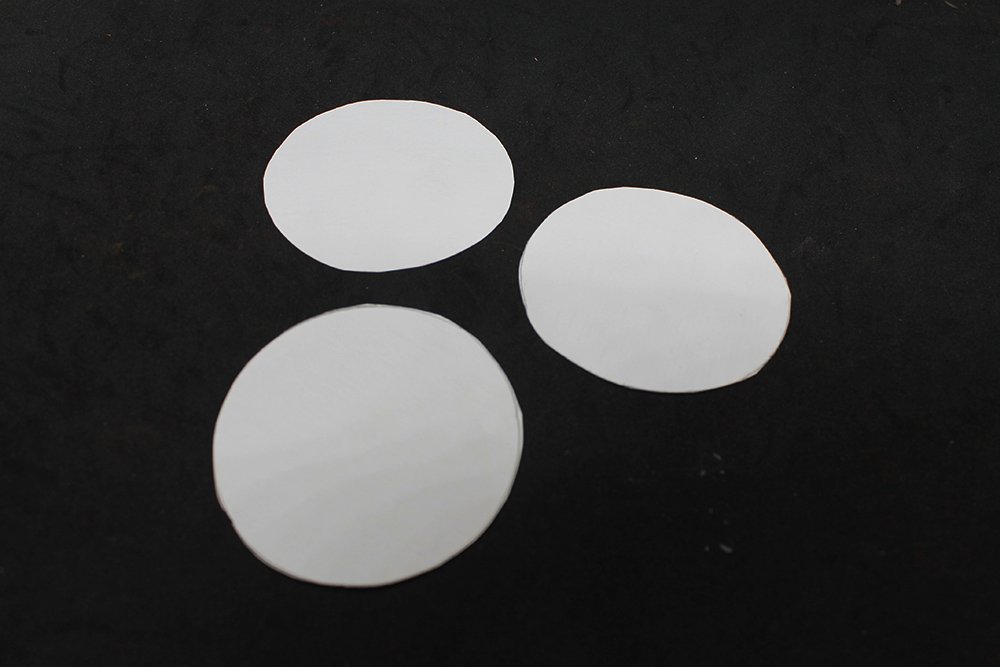
The 2 circle cutout will be the ears of the polar bear. The third one will be the nose and mouth when split in half.
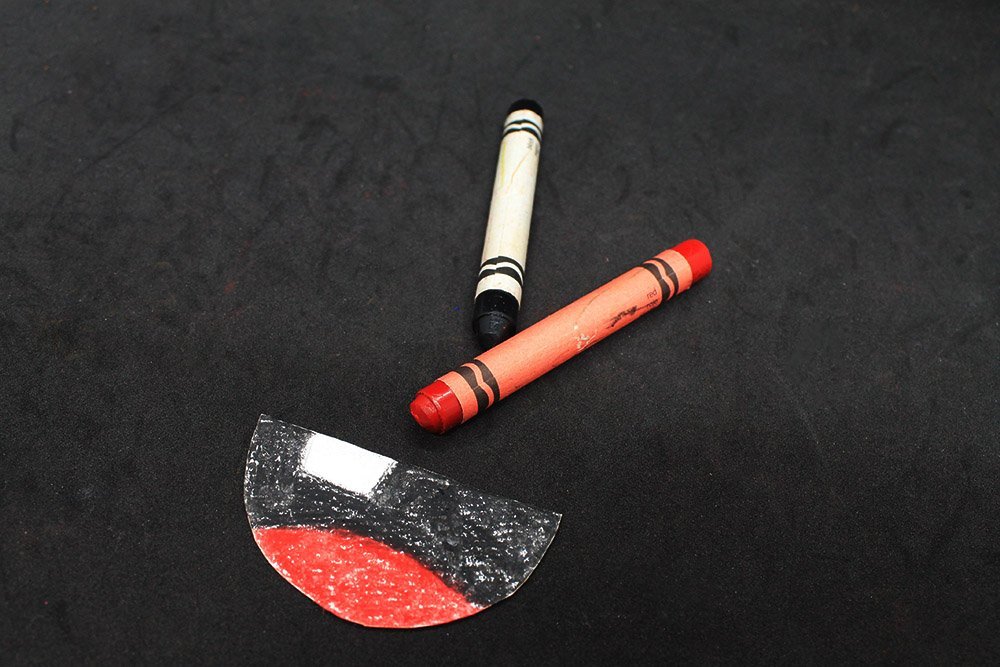
Color the ears of the polar bear
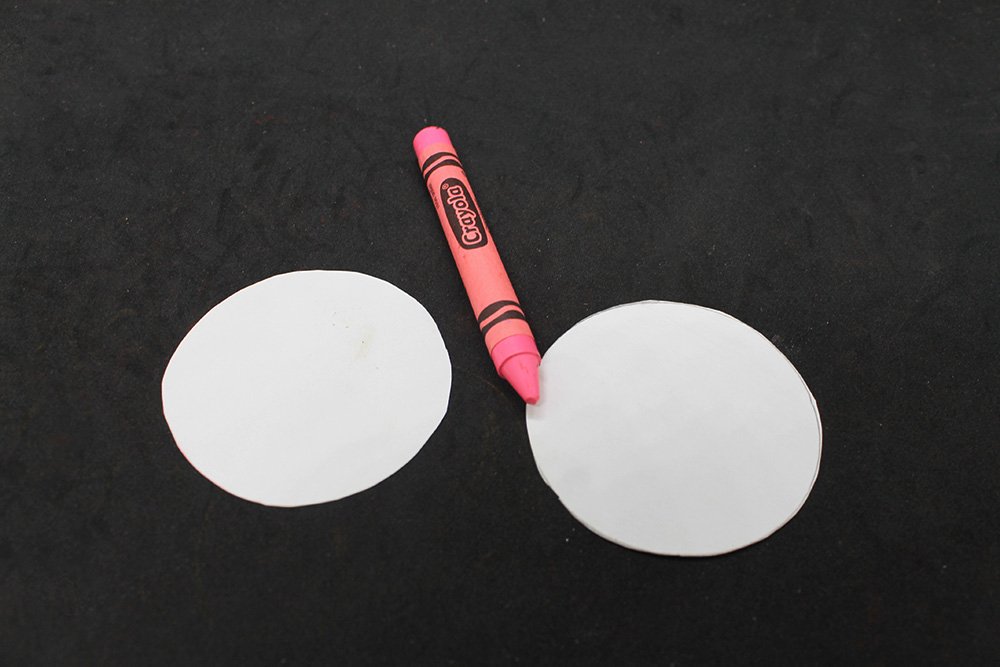
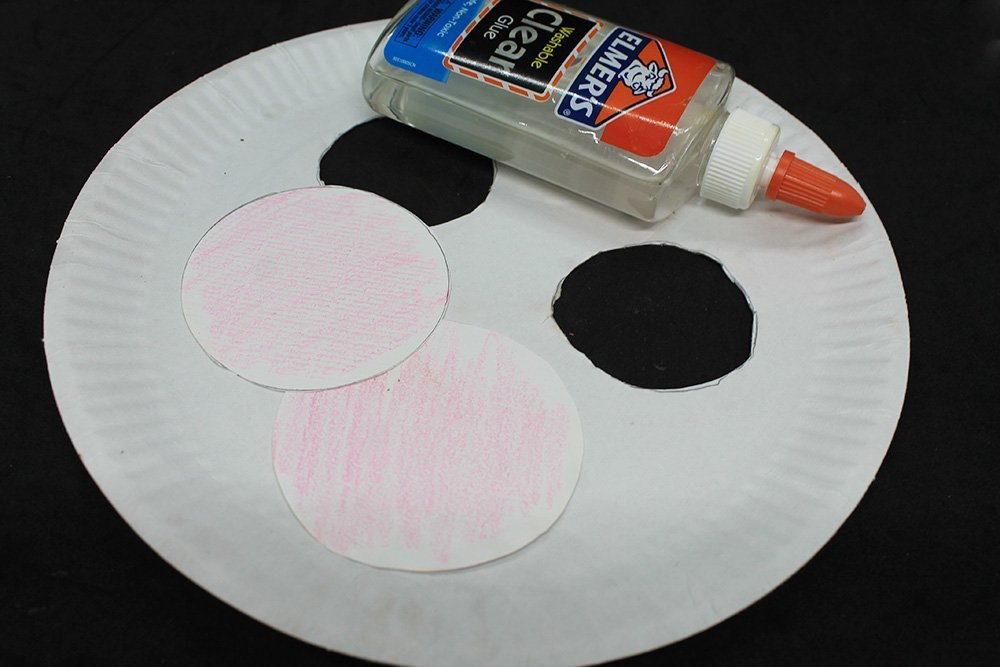
Color the whole area of the 2 circles pink. Once colored, set it aside for now.
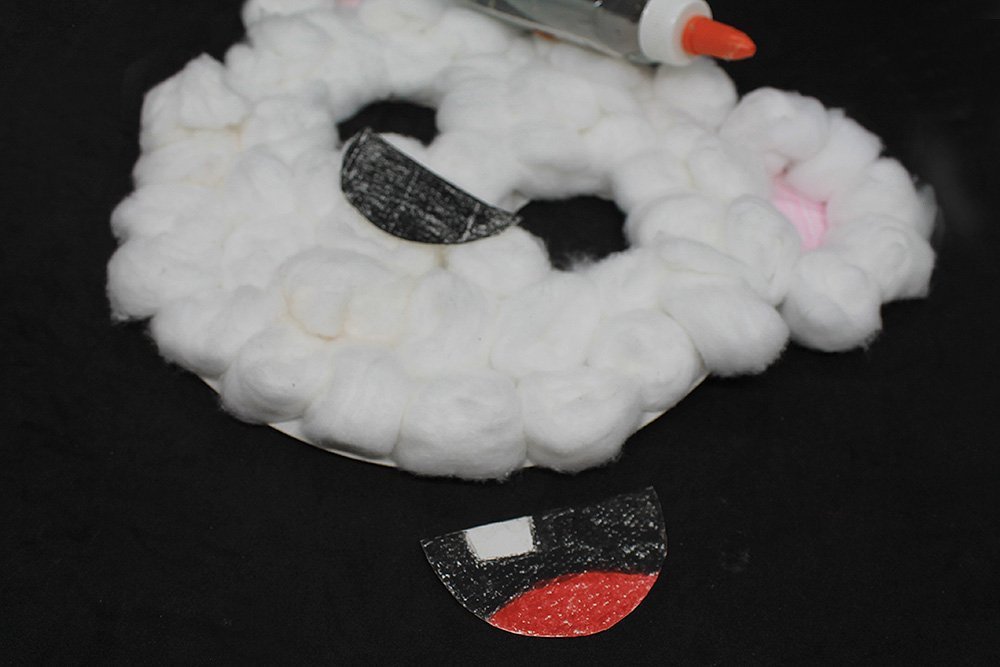
Create the nose of the paper plate polar bear
Split the third circle cutout by cutting it into two.

Set aside the other half for now.
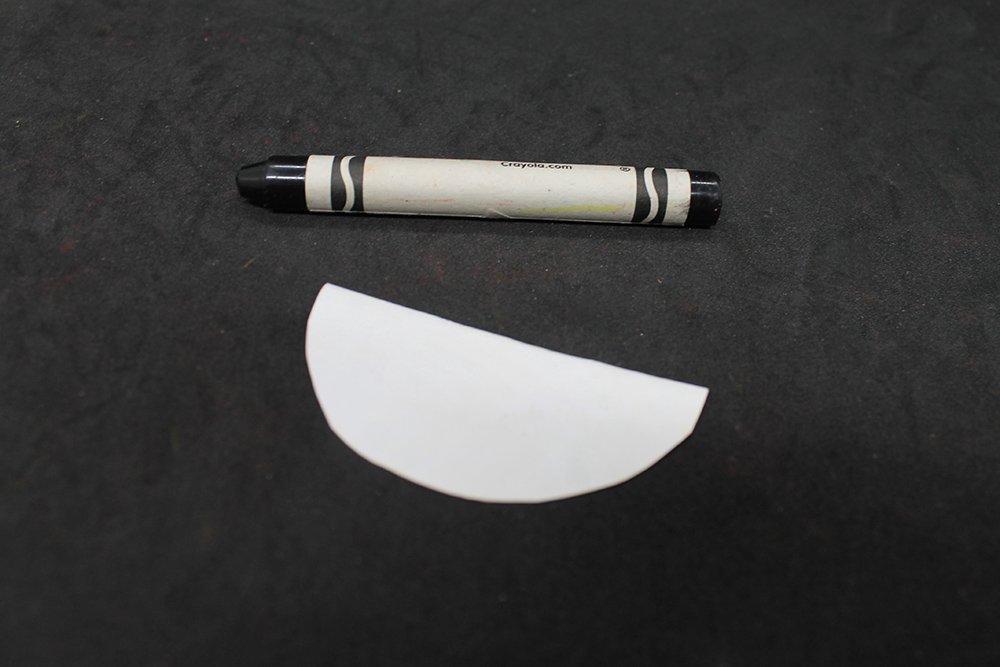
Once split, color with black using a crayon (or a marker).

This will be the nose of the polar bear.
Draw and color the mouth of the paper plate polar bear
Draw a tooth or a set of teeth and a tongue at the other half of the cutout.
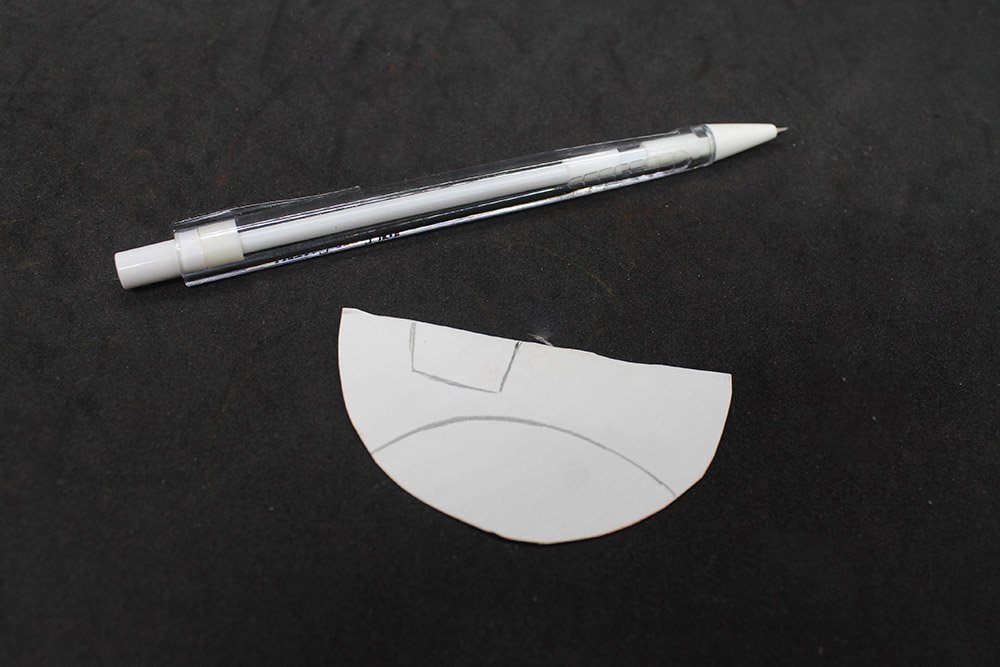
You may follow the sample image above or draw how you think the polar bear’s mouth should look like.

Color the mouth with crayons or markers.
Set the mouth cutout aside for now.
Make the base mask for the paper plate polar bear mask
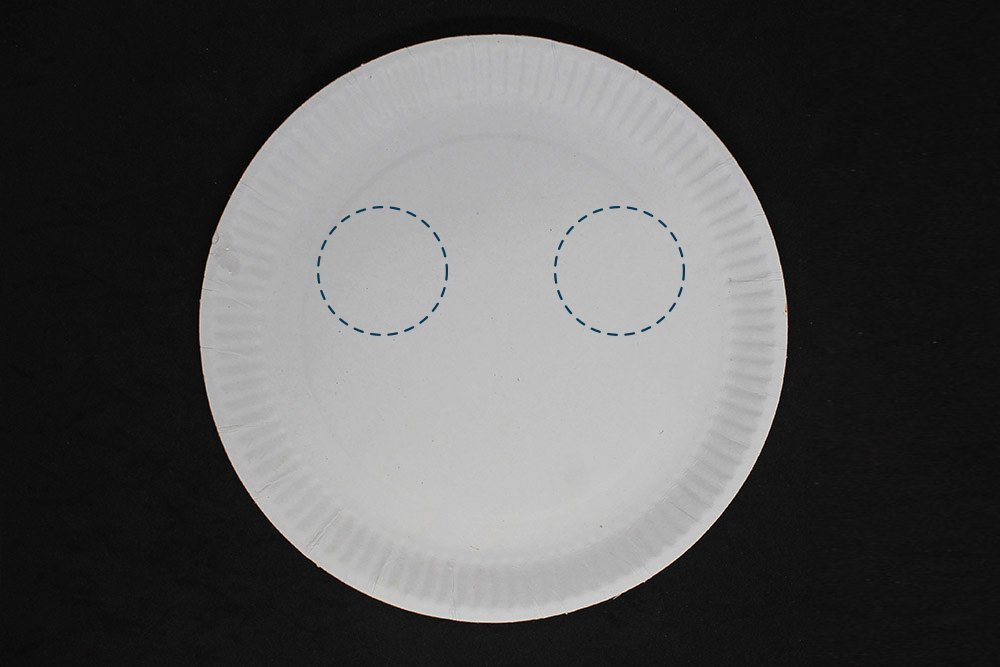
Draw two circles for the peephole of the mask using a cup and pencil.
Use the bottom of a paper cup to trace a circle in the mask with a pencil.
Besides a cup, you may use any circular object to trace.
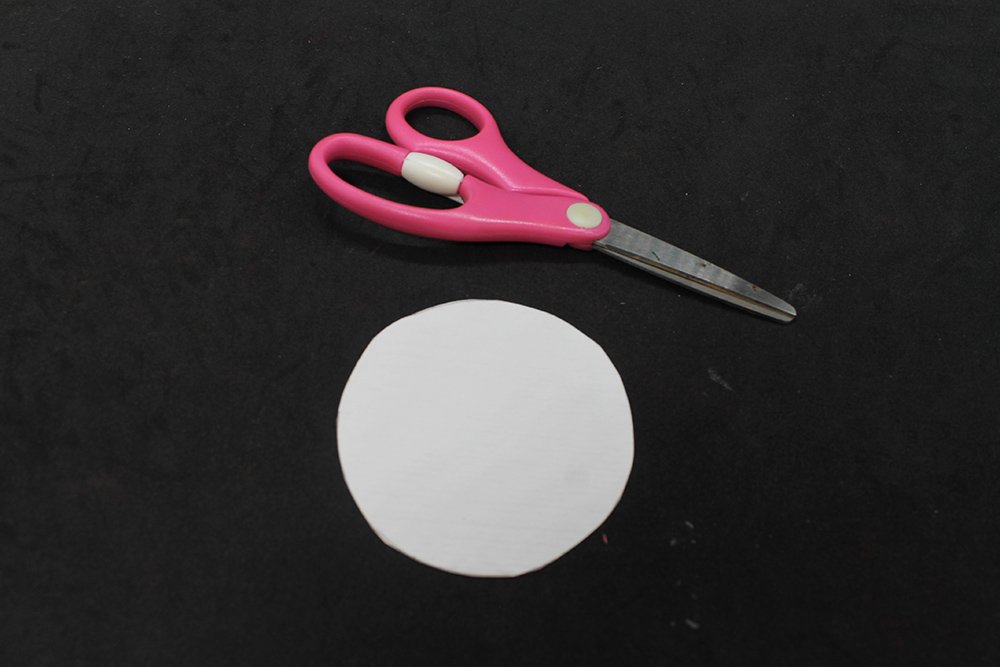
Cut along the outline made to make the peephole.
You may use a cutter if you find it easier. Just be very careful when handling sharp objects. Ask an adult to help, and do not let small children use a cutter on their own.
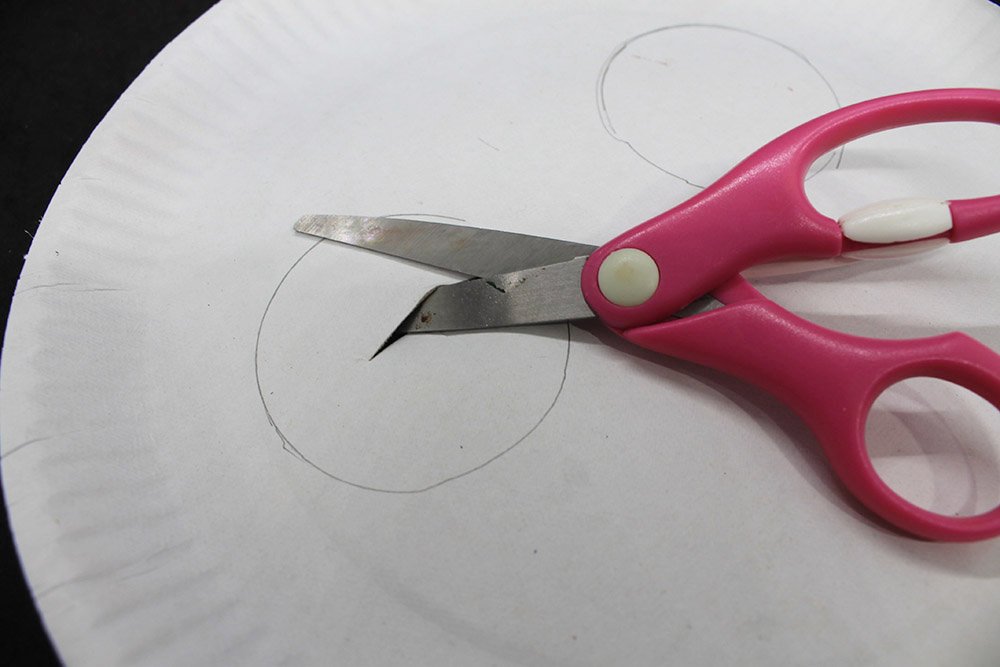
Here’s a tip: Cut a small slit at the center to make it easier to cut. Insert the scissors on the slit, then start cutting along the outline.
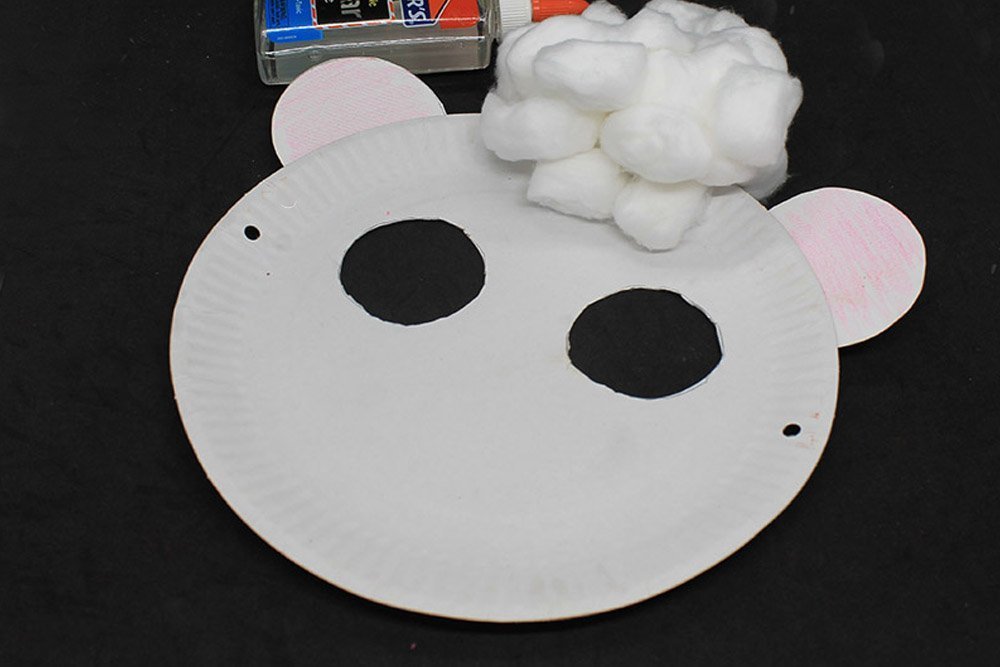
Attach the ears to the paper plate mask
Glue the ear cutouts at the back of the paper plate mask.
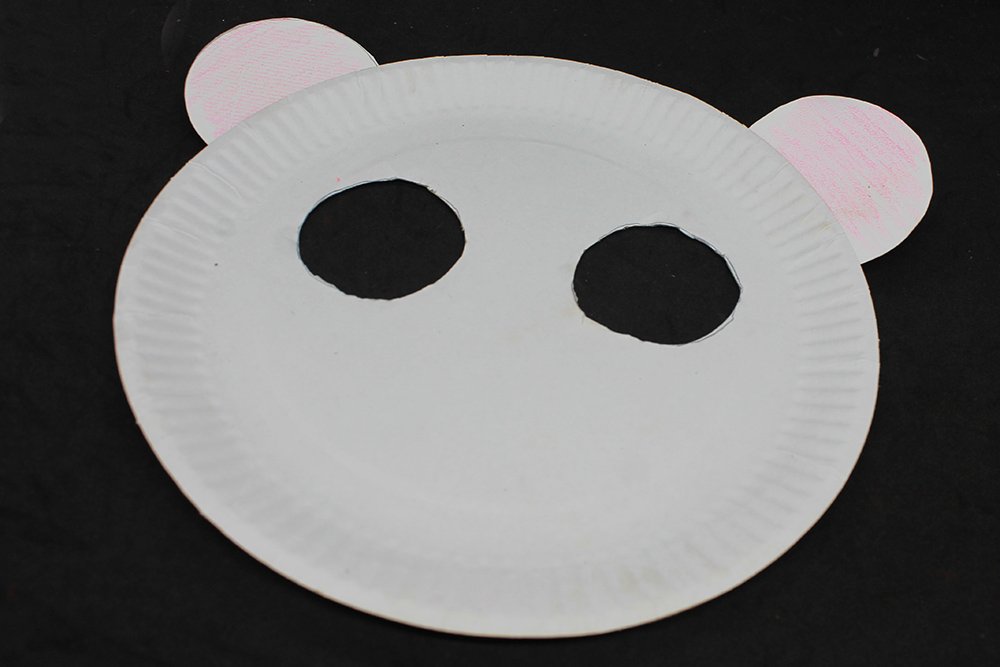
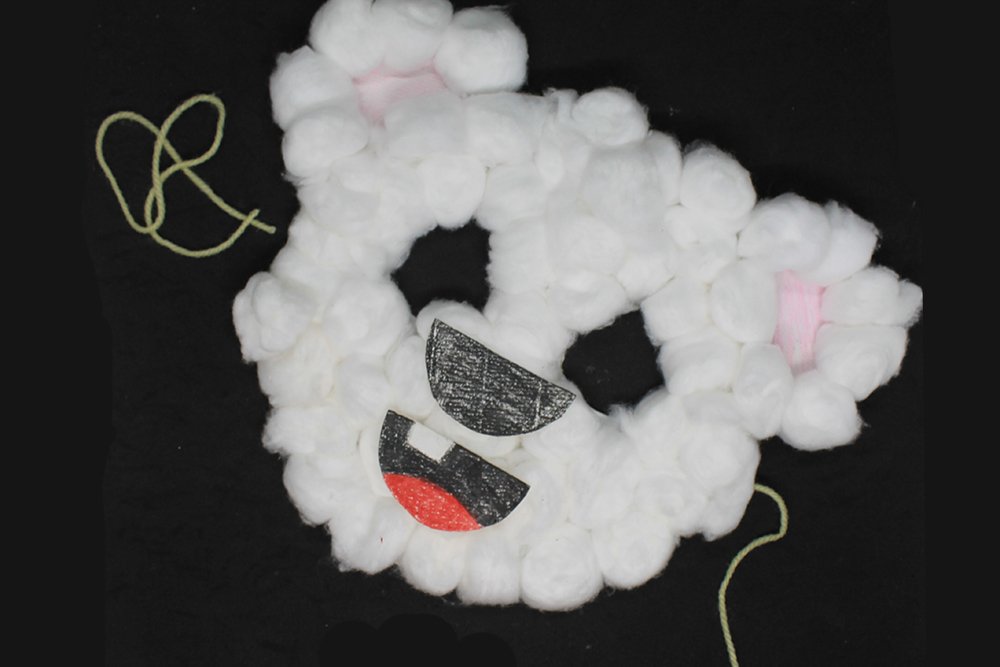
The bear mask should now look something like this!
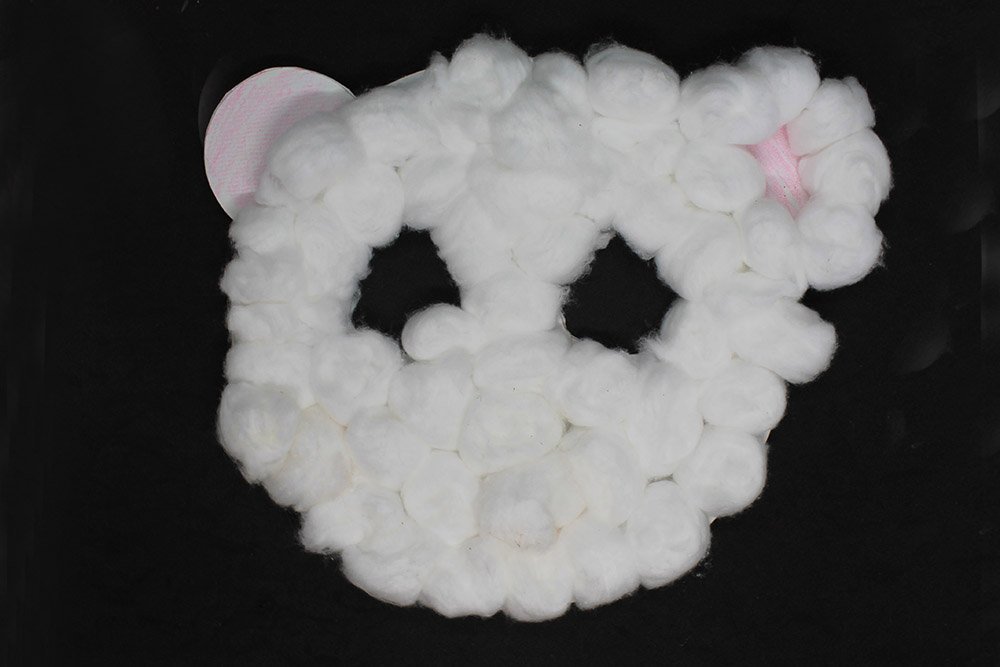
Stick cotton balls on the mask
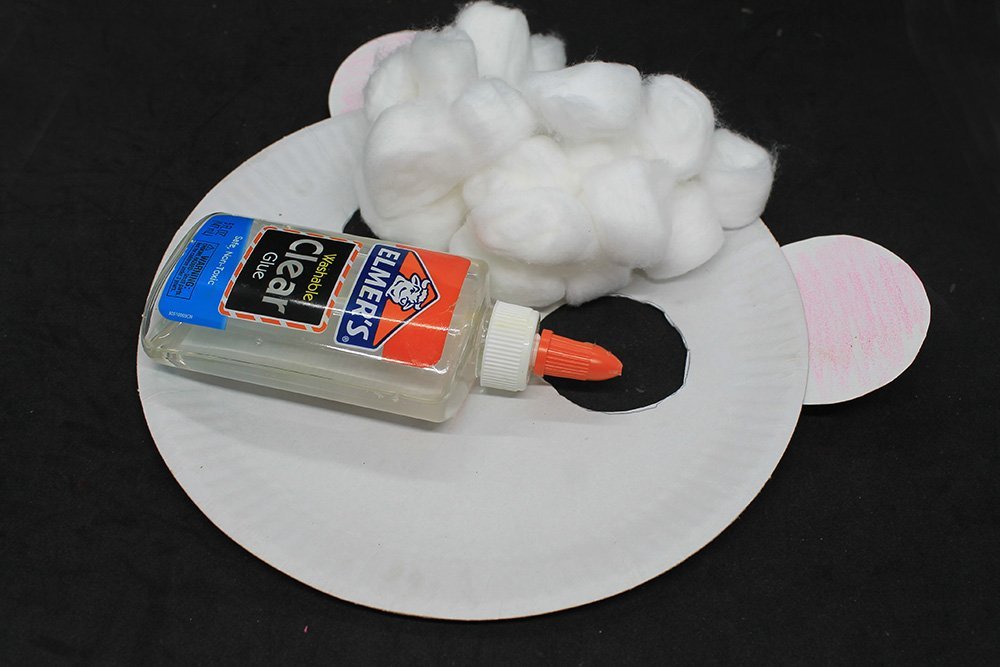
Get some glue and a lot of cotton balls. We’re going to white cotton to mimic the fur of the polar bear.
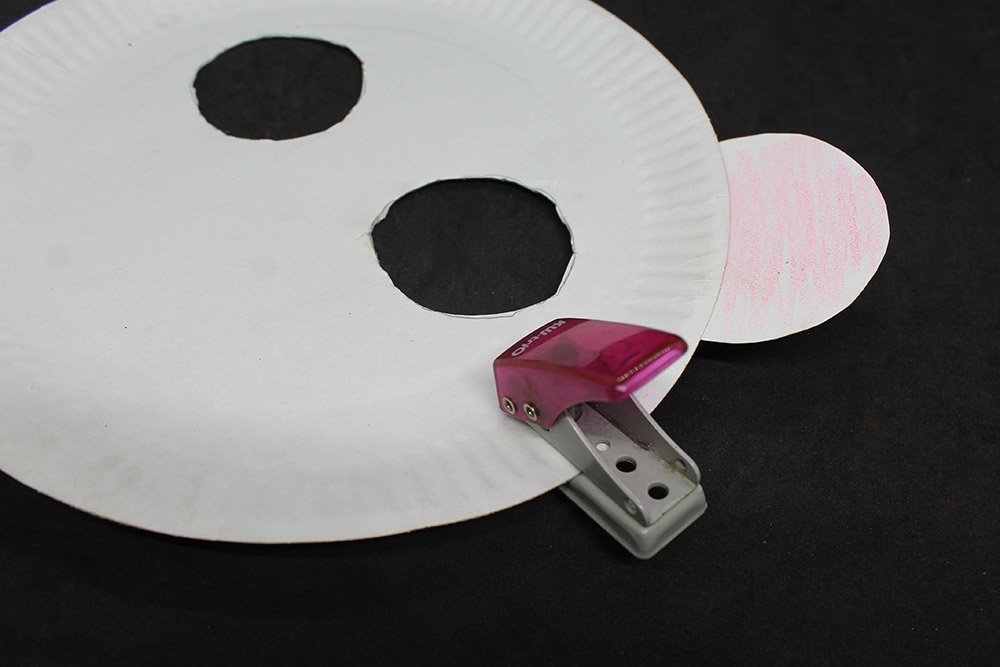
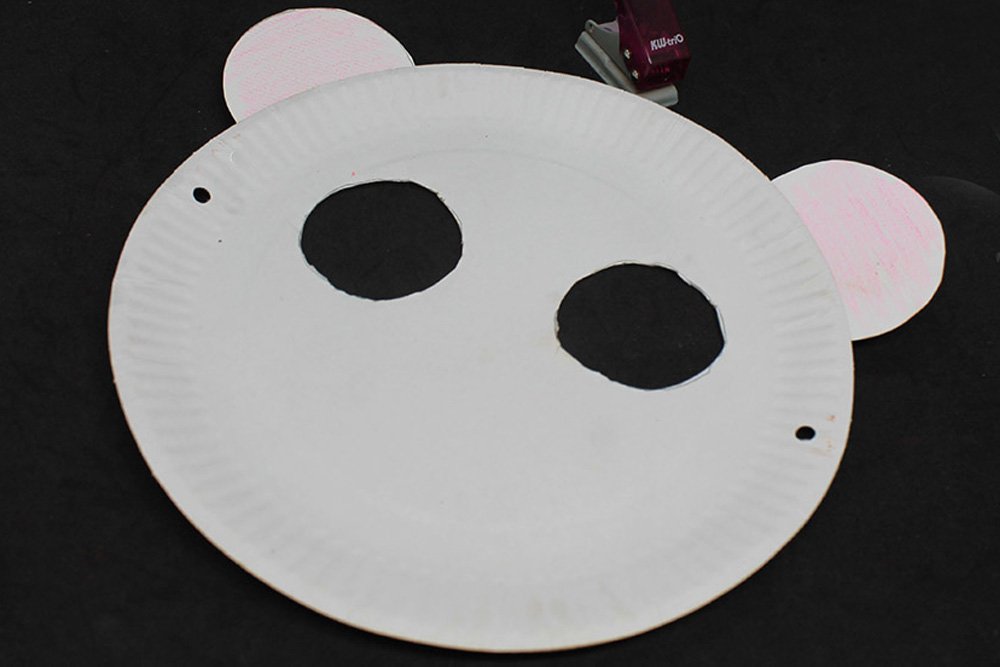
But first, punch a hole on both sides of the paper plate. this is where we’ll attach the strings.
We can now attach the cotton.
Using glue, stick a lot of cotton balls to the bottom part of your mask.
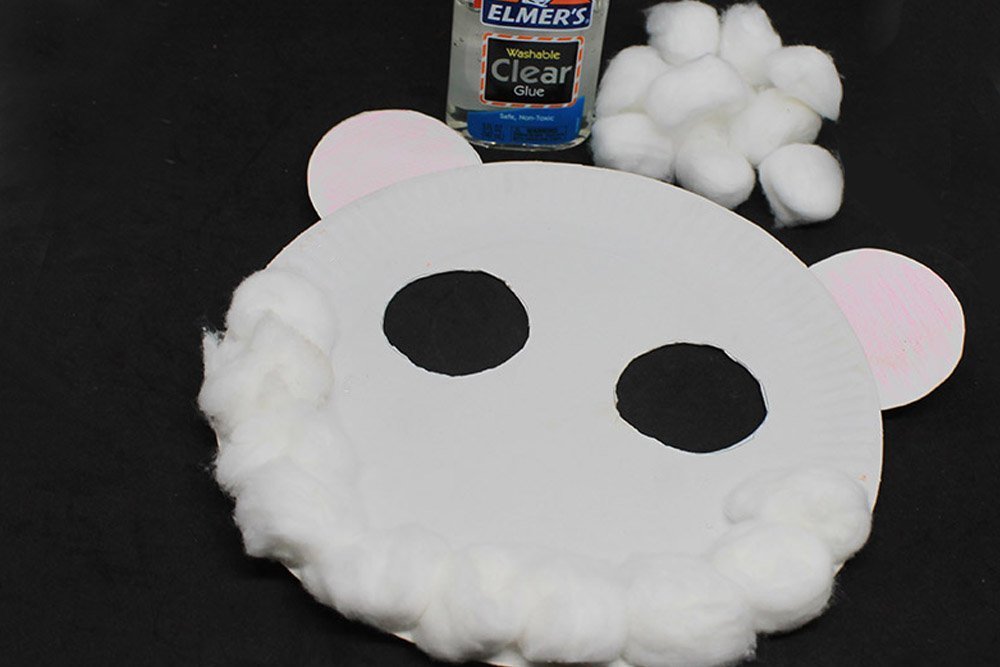
Make sure the cotton balls are close to each other.
Stick some mini cotton if there are still some empty spaces left. Make sure you do not cover the holes with cotton
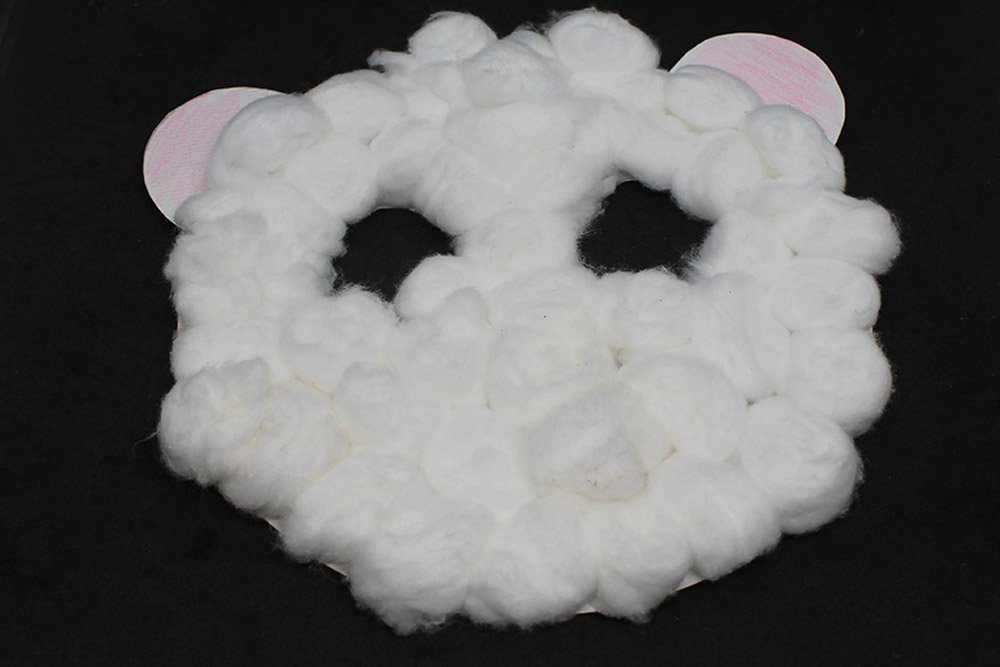
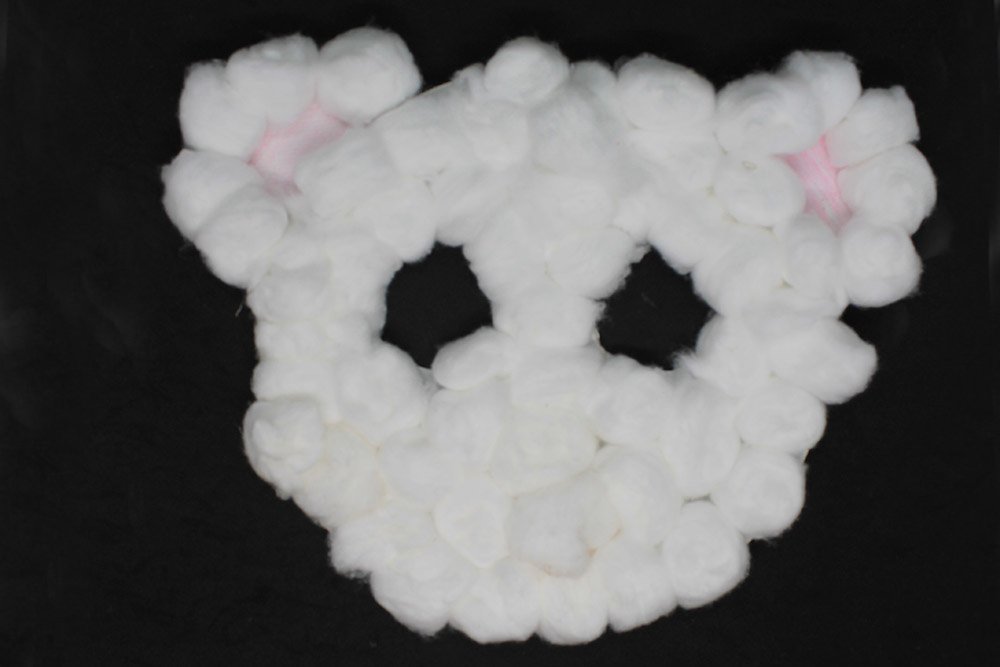
Stick some cotton balls on the ears as well
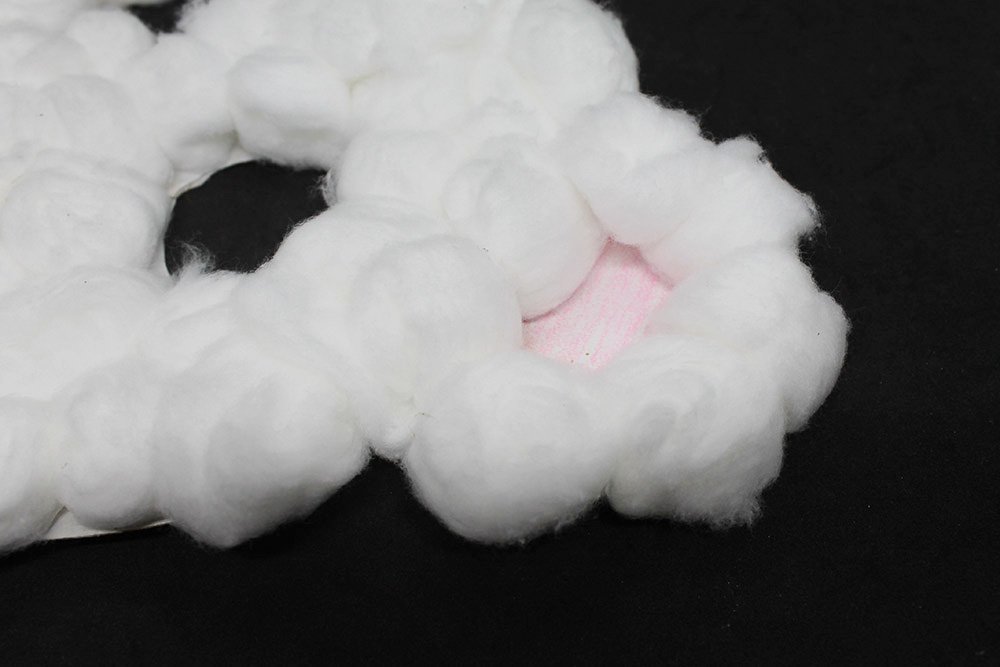
Glue some cotton balls on the edge of the ears.
Do the same on the other ear as well.
We’re almost done! Time to assemble some pieces.
Attach the nose and mouth
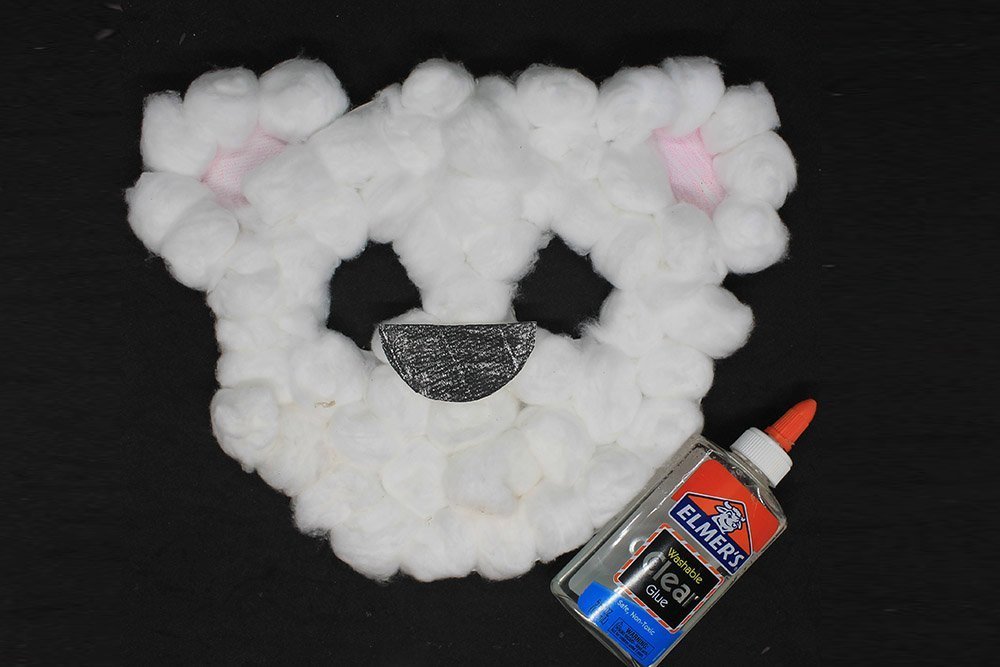
Using glue, attach the nose to the center as shown in the picture above.
Attach the mouth as well below the nose area.
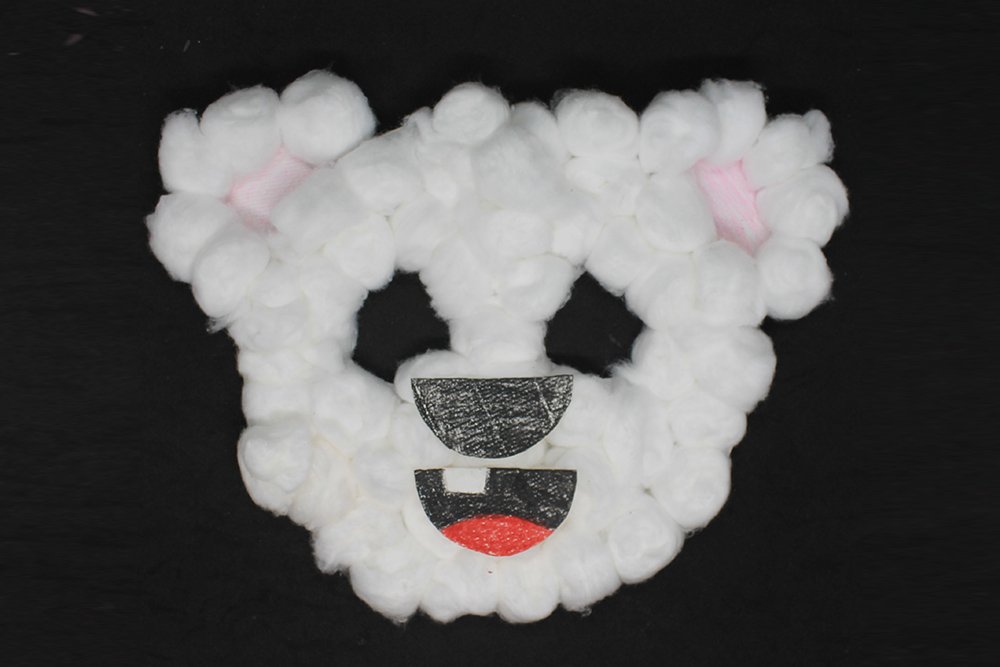
The paper plate polar bear is almost done! attach the string
Attach a string to the paper plate mask
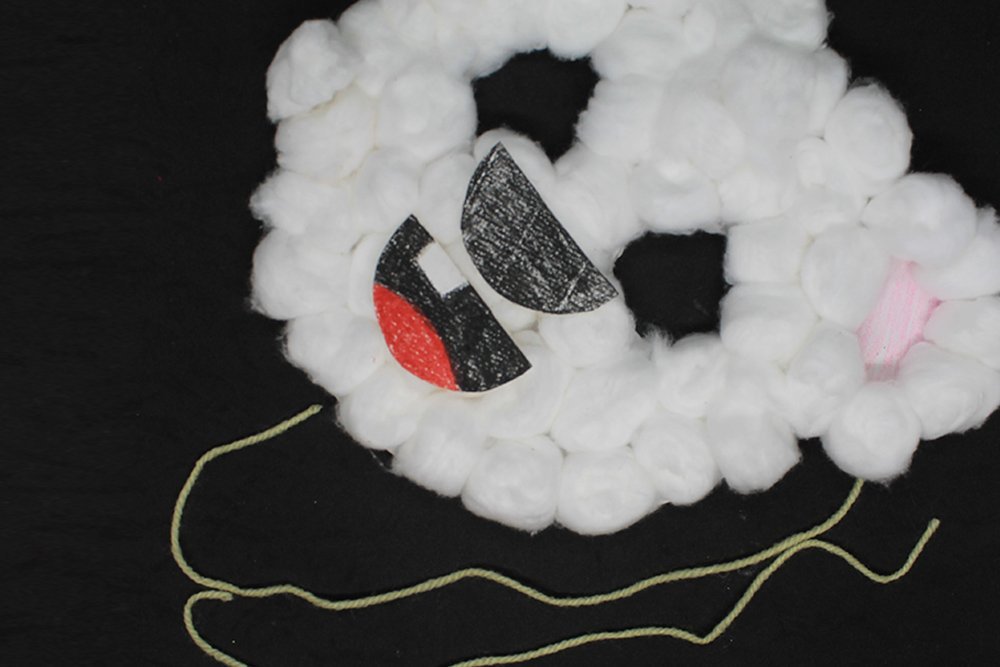
Get two pieces of yarn or string.
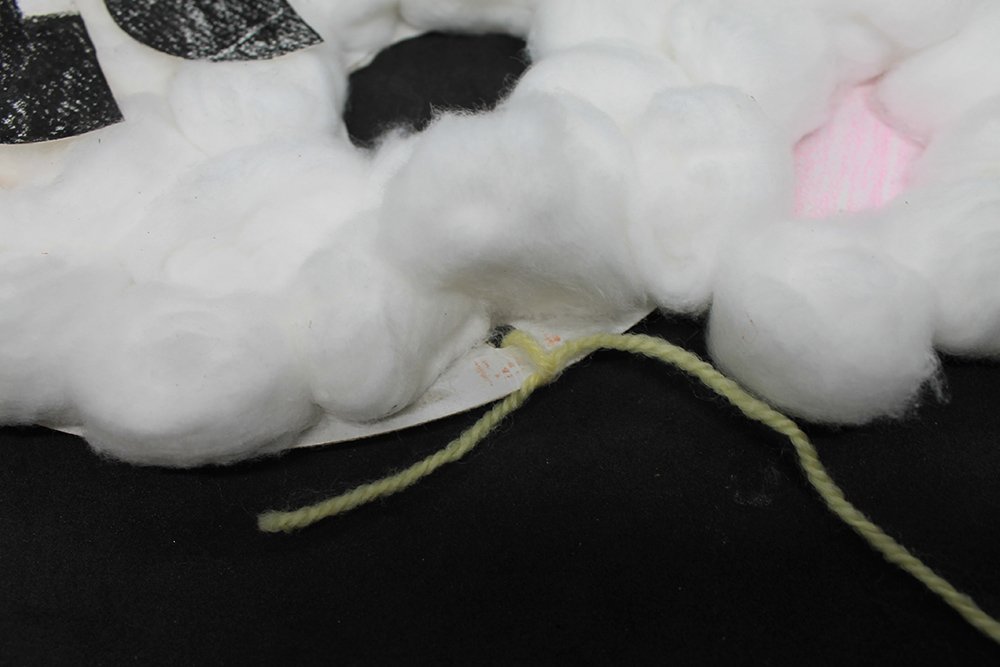
Insert a string on the punched hole. Tie a double knot to secure it.
Attach a string on the other side as well.
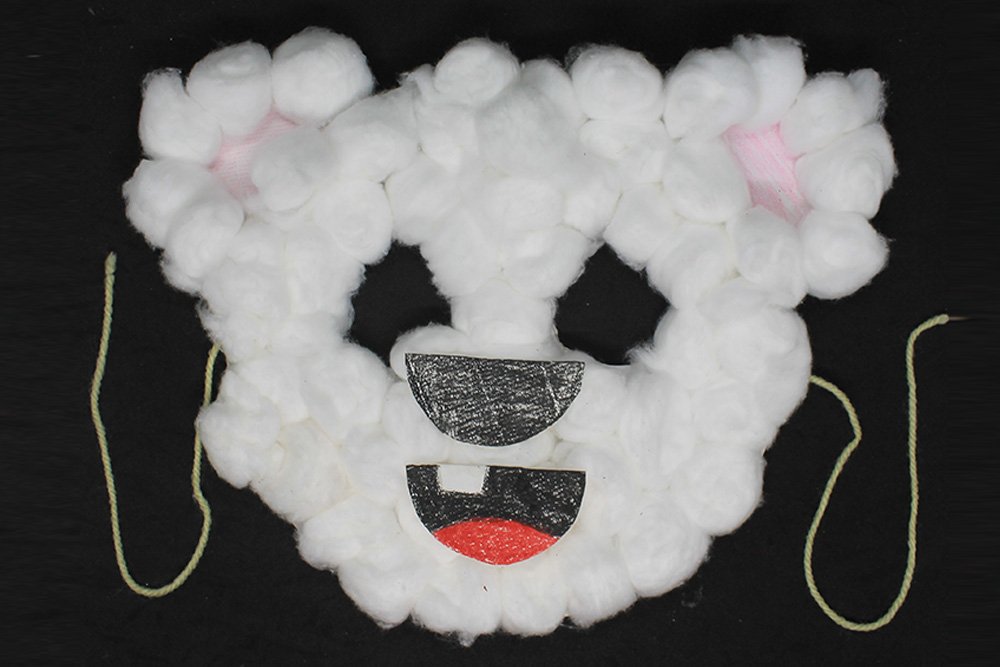
The paper plate polar bear is now done!


Looks like it’s made of clouds. I want just to HUG it then when I was done making mine ahaha
My cotton balls kept falling. Too less glue? Anyways, I think it’s a good use of common art materials. Made this for my kids
Love it <3
Made it with my grandpa 😃😃 he says it reminds him of a cloud he saw in the 60’s when he was young
Dope mask, ran out of cotton balls though ahaha