Easy Paper Plate Snake to Make at Home

Introduction:
One of the simplest and most common arts and crafts that anyone can make is a paper plate snake. There are many tutorials out there but what makes ours extra awesome is that this snake craft can slither in different directions with the help of split rivets. Learn how to make this cool snake with the help of our tutorials below.
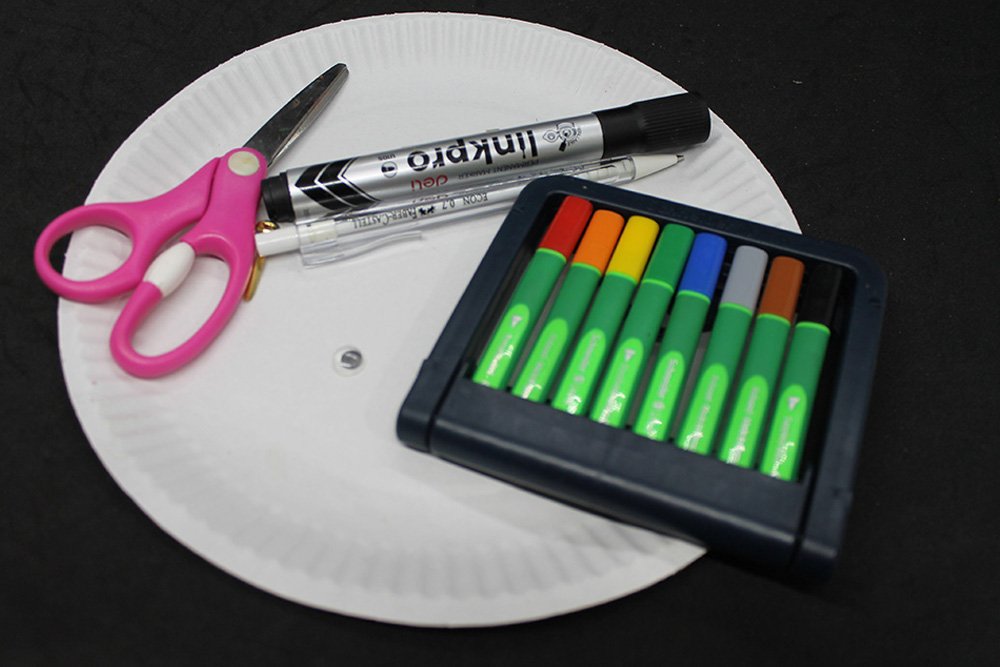
Tools
- Black maker
- Pencil
- scissors
- puncher is optional
Supplies
- A paper plate
- Googly eyes
- 3 pieces of split pins
- Coloring materials such as markers, crayons, or paint.
Create the “segments” of the paper plate snake
For the paper plate to slither, the paper plate needs to be cut into four curved segments.
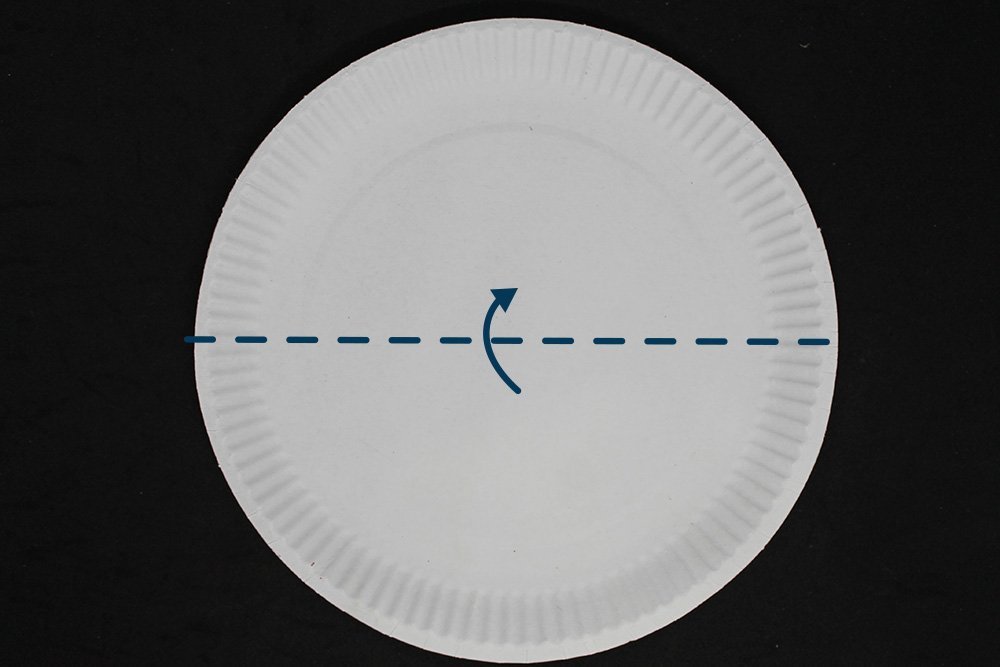
Get a paper plate and fold it in half.
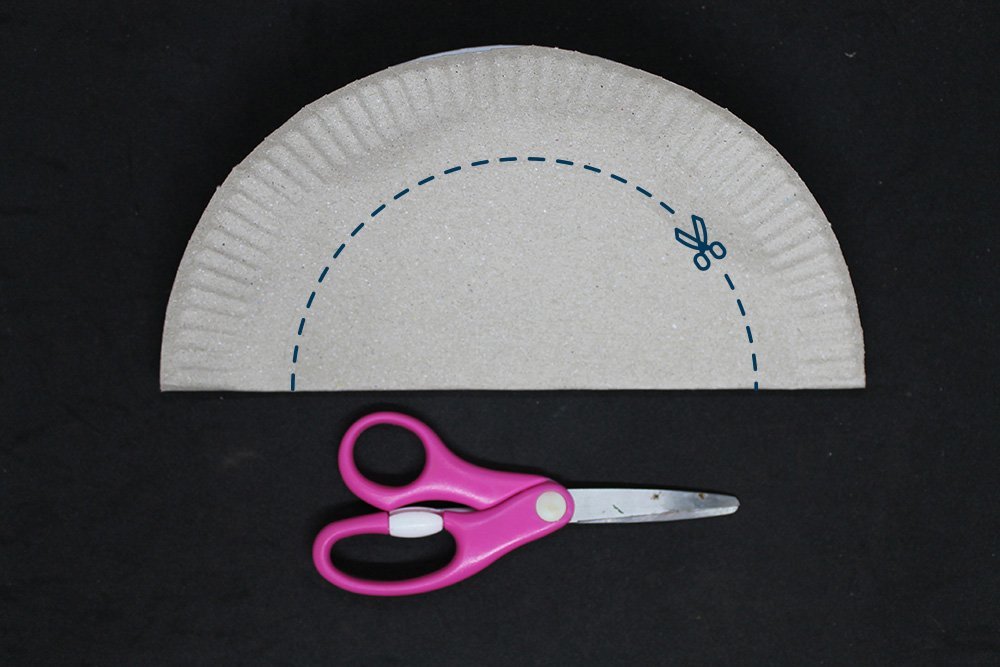
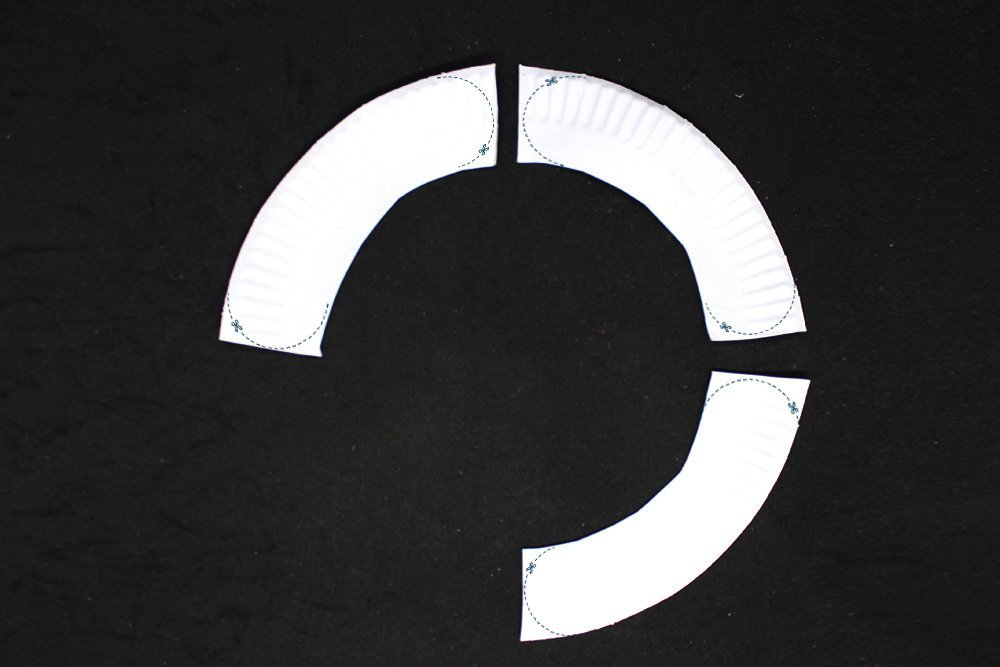
Cut an inner half-moon shape on the folded paper plate. Follow along the dashed lines as illustrated in the picture above.
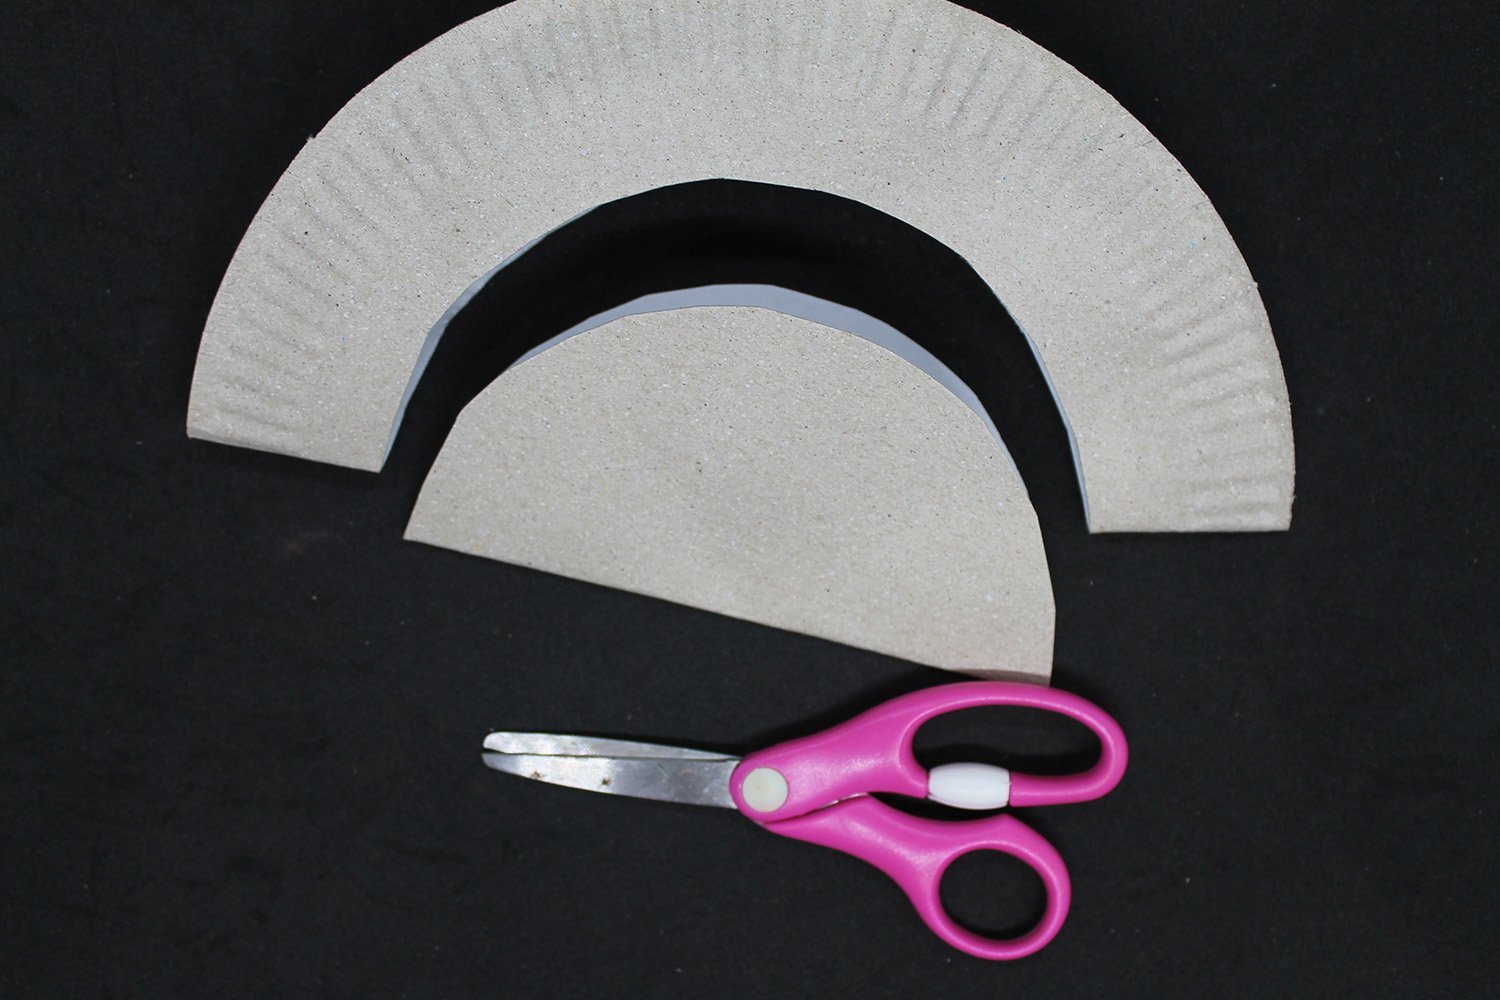
Discard the inner cutout and unfold the paper plate.

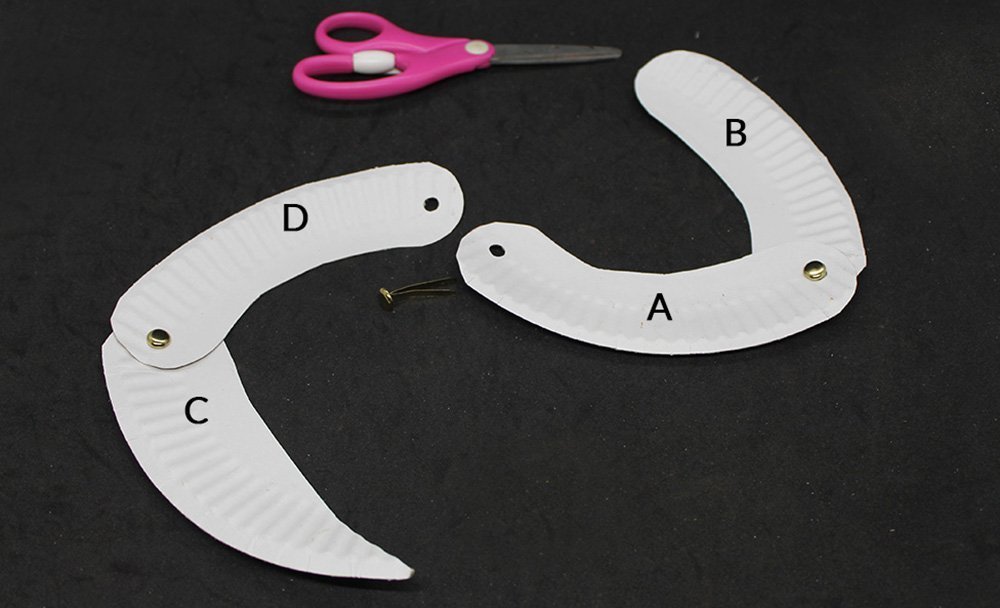
Once unfolded, split the paper plate into 4 parts, as shown in the picture above.
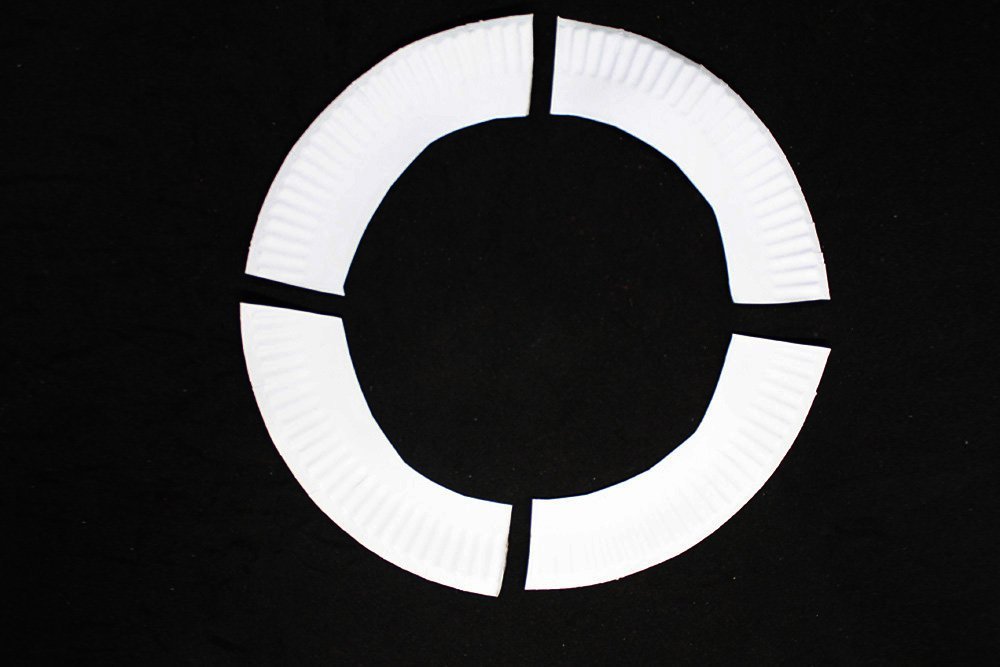
Set aside the bottom left segment for now.
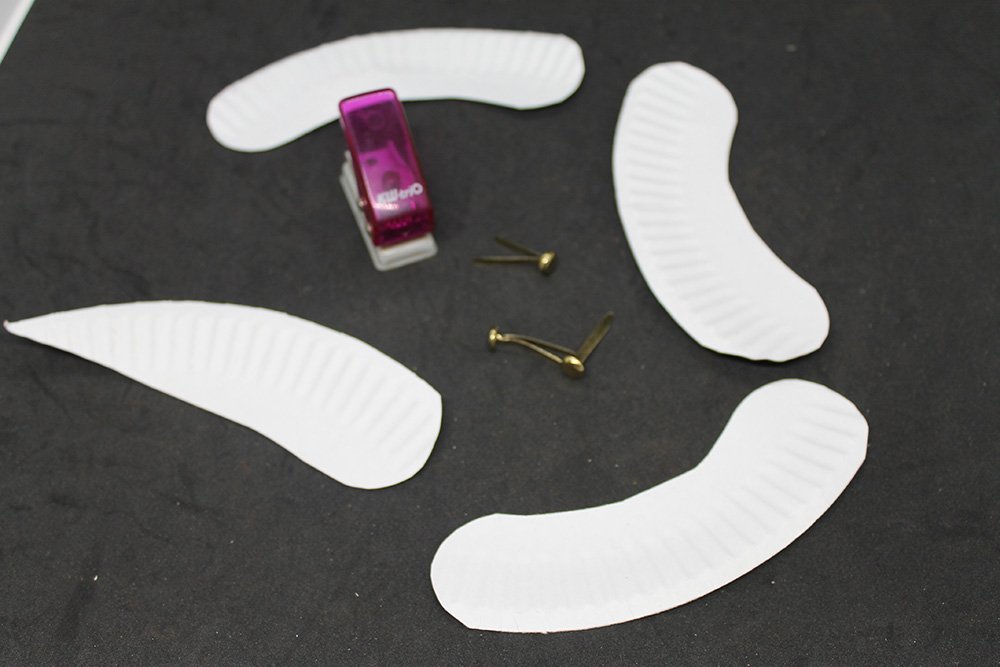
Make the ends of each segment round by cutting along the dashed line, as illustrated in the image above.
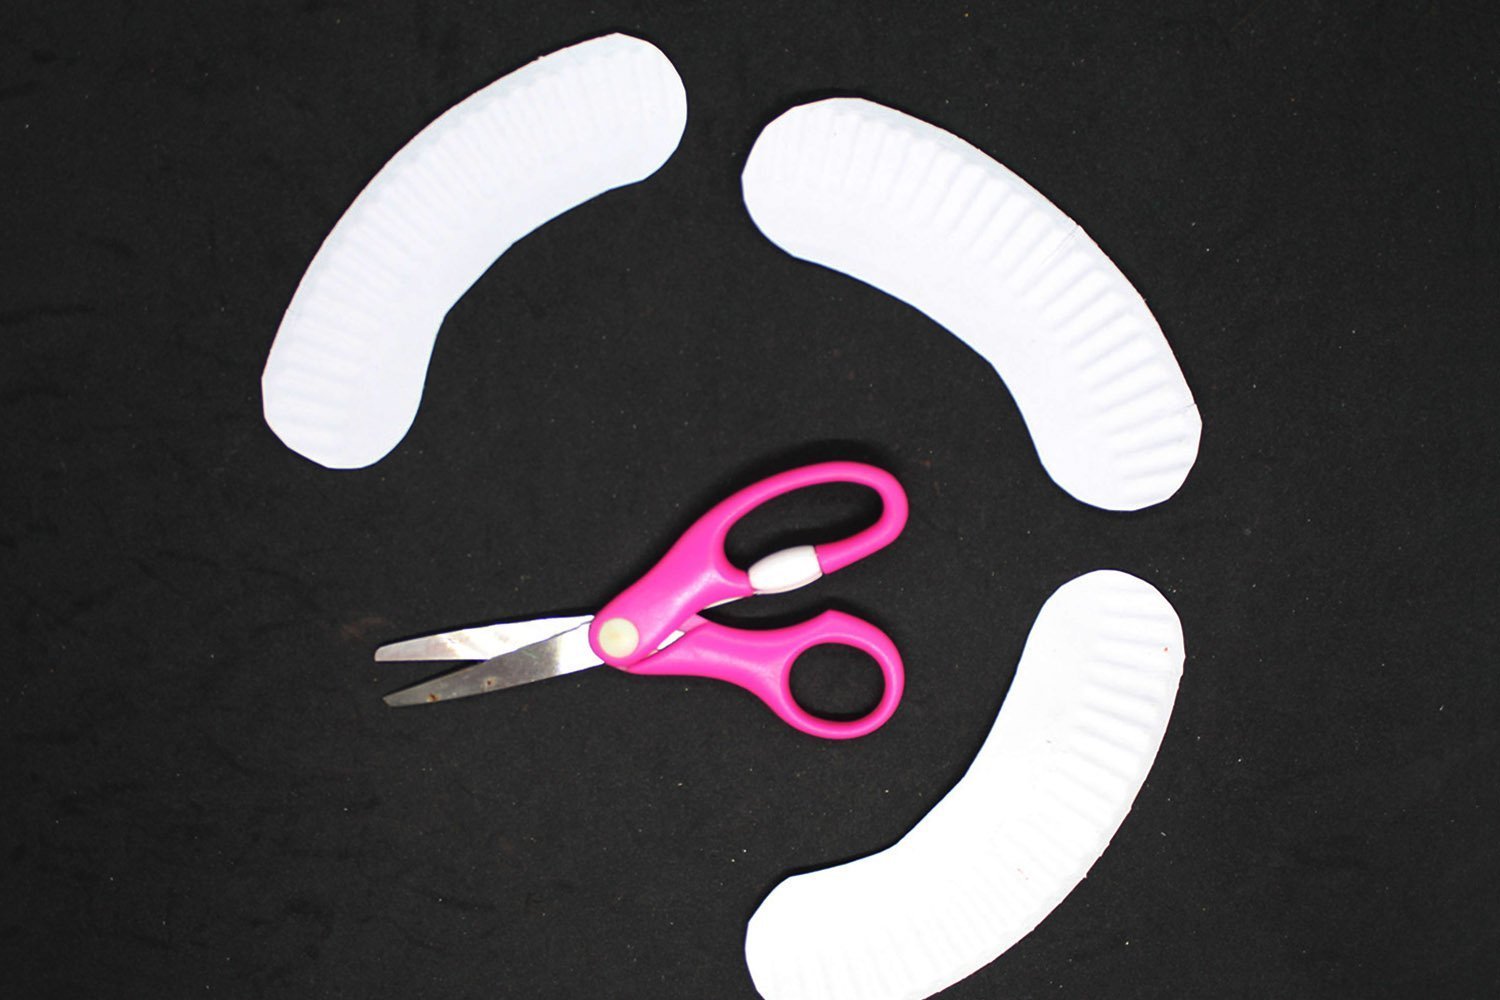
The 3 segments should now look like this.
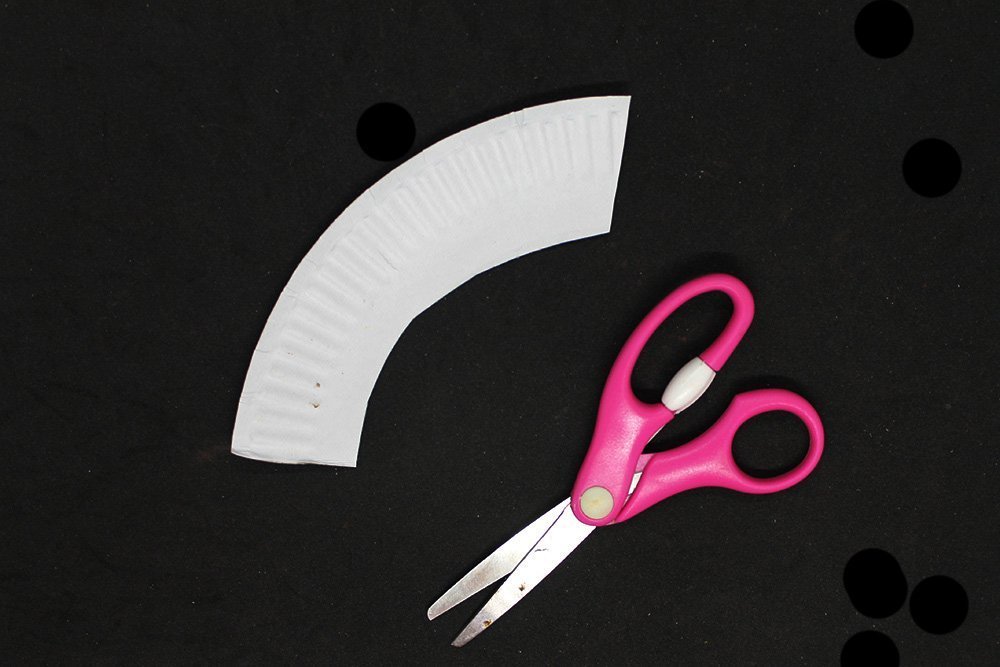
For the 4th piece, shape the right end into a round end, then snip out the right corner of the left end.
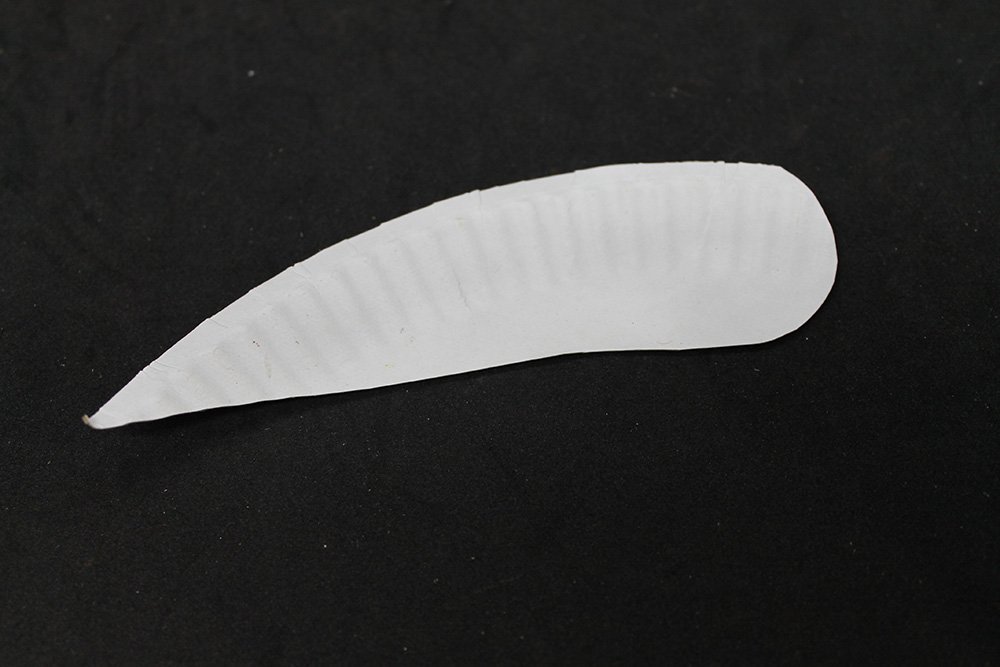
The fourth piece should look like this. This segment will be the tail of the snake.
Assemble the snake
To assemble the segments of the snake, we need to put a split pin in between each end of a segment.
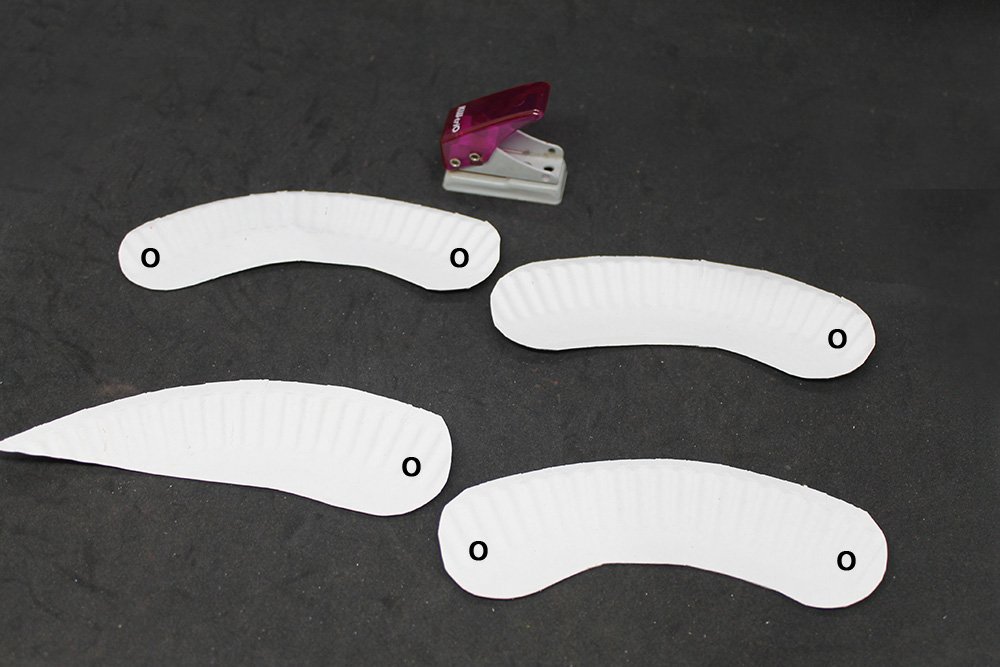
Position each segment like the sample image above. Poke holes or use a puncher on the O mark only.
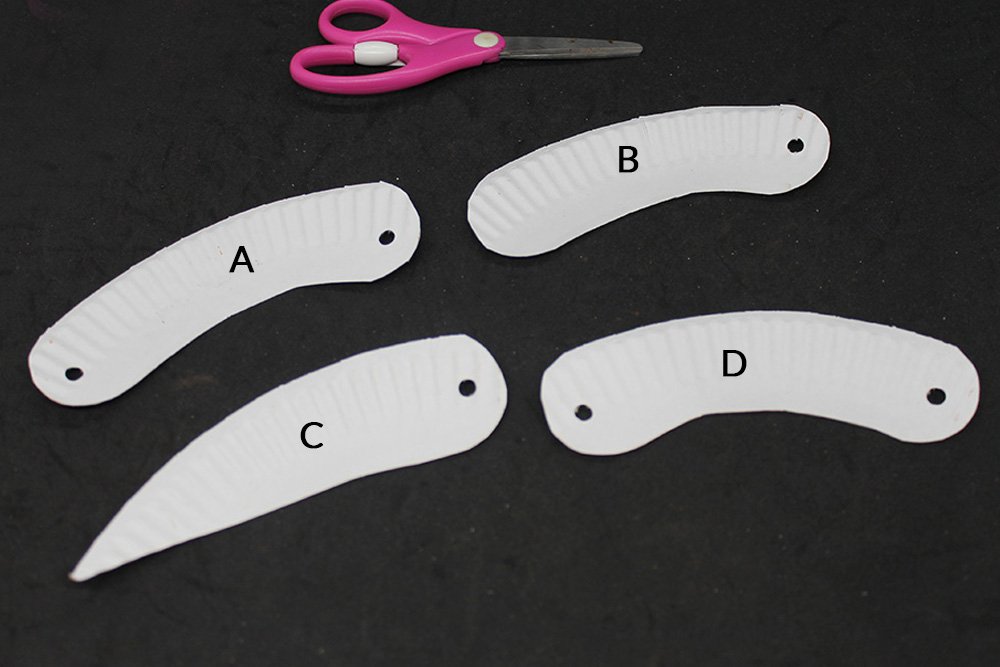
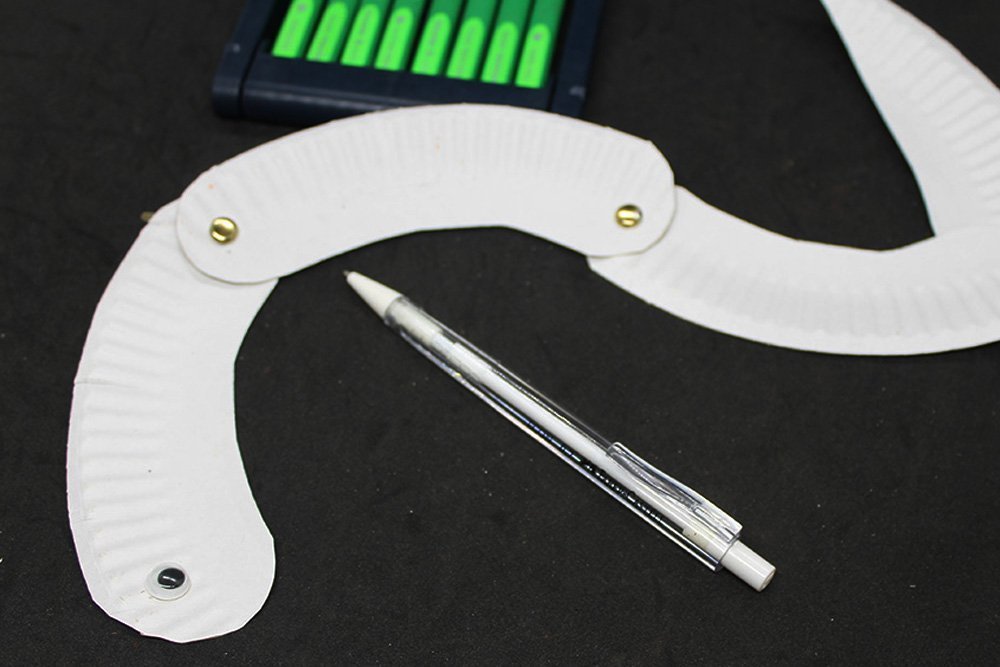
Once holes are already in the ends, attach segments A and B together with a split pin. Then attach C and D with a split pin as well.
Flip segment AB so that the curve is pointing in a different direction. Attach segment CD and segment AB with a split pin.
The base of the paper plate snake is now done! Time to decorate!
Add some finishing touches to the paper plate snake
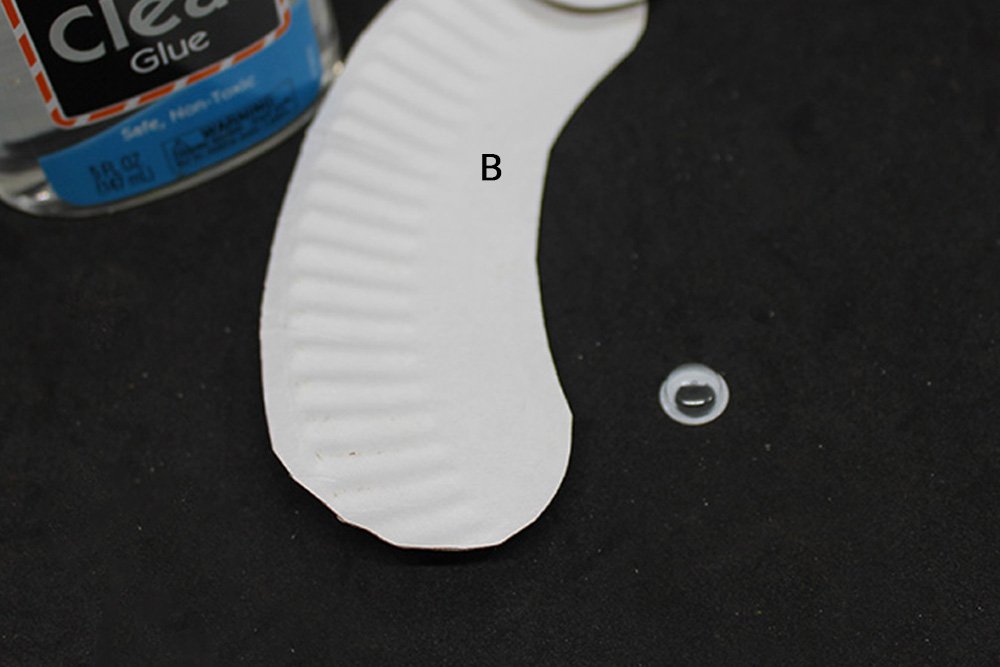
Stick a googly eye on the front end of the paper plate snake.
Draw some details to the paper plate snake.
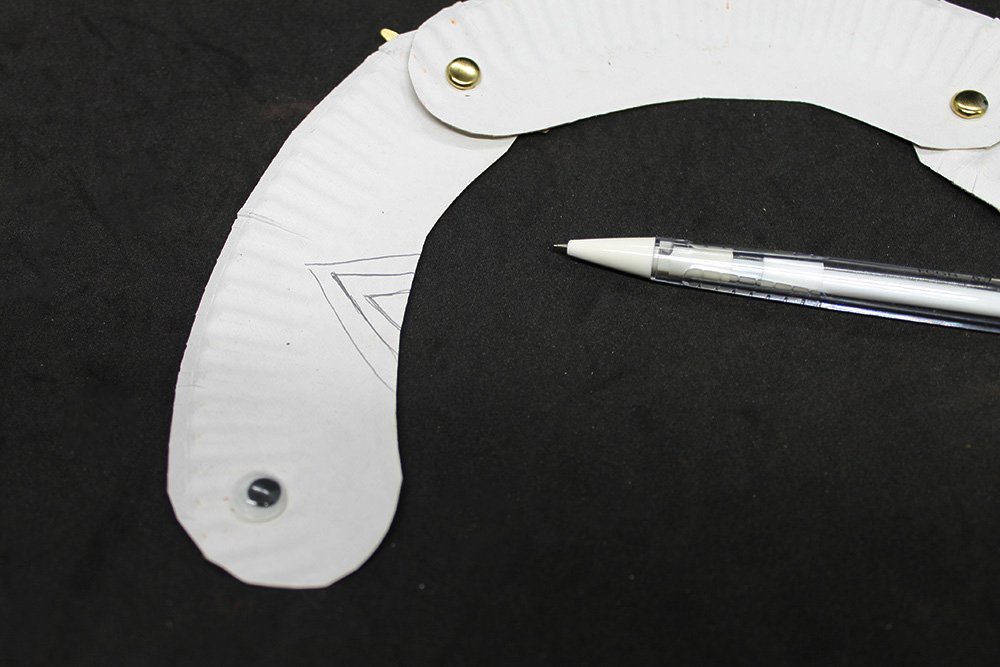
For our snake, we drew triangular tribal patterns on its body. Draw any pattern you fancy for your snake.
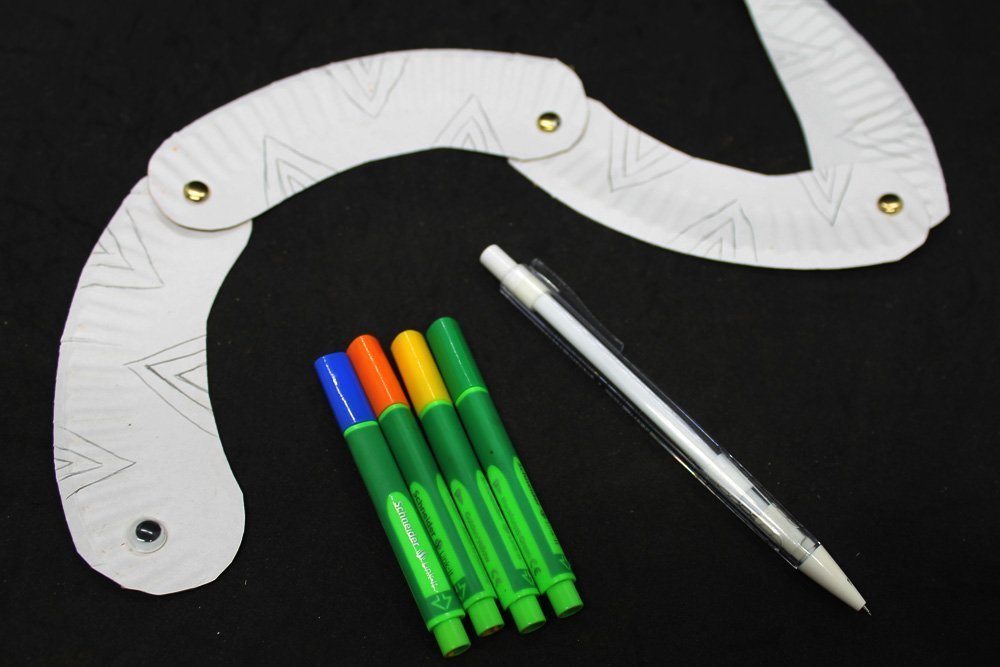
Once you have drawn your chosen pattern, color it using the art materials you have available. Here we used markers to make the snake bright and colorful.
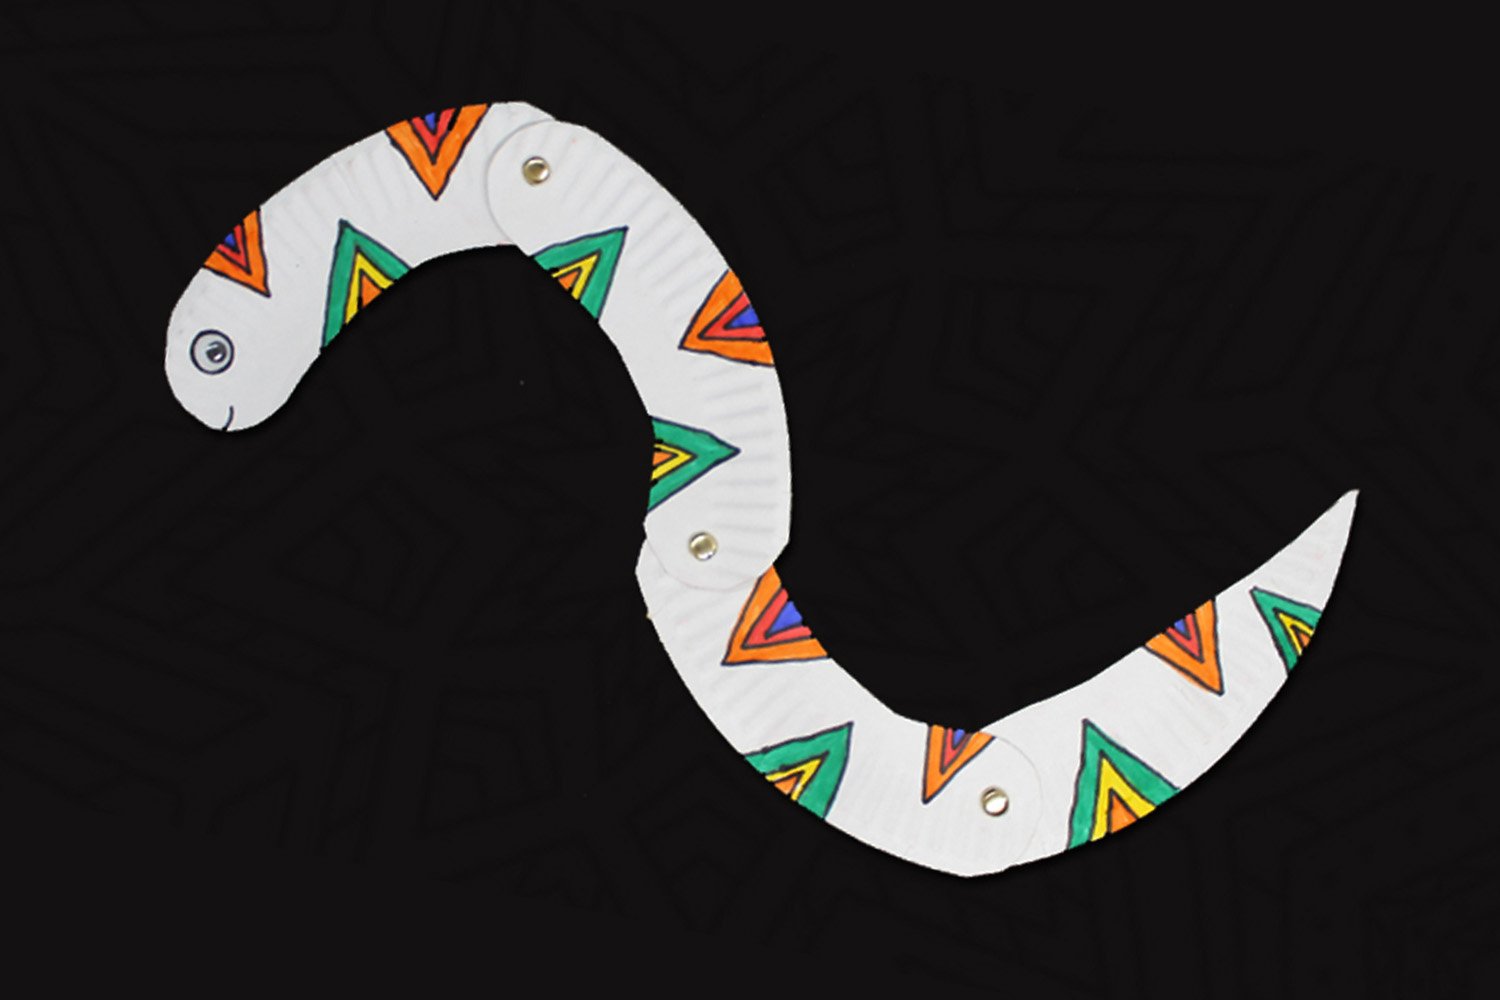
After coloring, outline some details of your snake. Draw him a smile, and it’s done! The paper plate snake is now finished.
Extra Tips
- Take inspiration from the different snakes out there!


There’s so much design I could think of
I decided to go with the coral snake. What u picked?
I made my own design. Oreo styled snake
took me 15 to make the first one. Making a Northern Scarlet Snake was crazy tough – I’d say about 1.5 hours. Mine looks pretty good
I love how it can move