Make a Paper Plate Ice Cream | Mouth-Watering Kids Craft

Introduction:
So you want to create an ice cream cone out of paper plates? You’re in luck as this guide will show you an easy way to create one. We offer a free printable that you can use to add toppings to your ice cream. Wonderful, right?
The process is simple, and it won’t take too long to make. But this is a fun activity for the kids to make, and even for the grown-ups, so even if it takes longer, it’s still worth it. You’ll start by making the cone and then you’ll make the ice cream.
And lastly, combine all the pieces together to make the ice cream paper plate craft. Have fun!
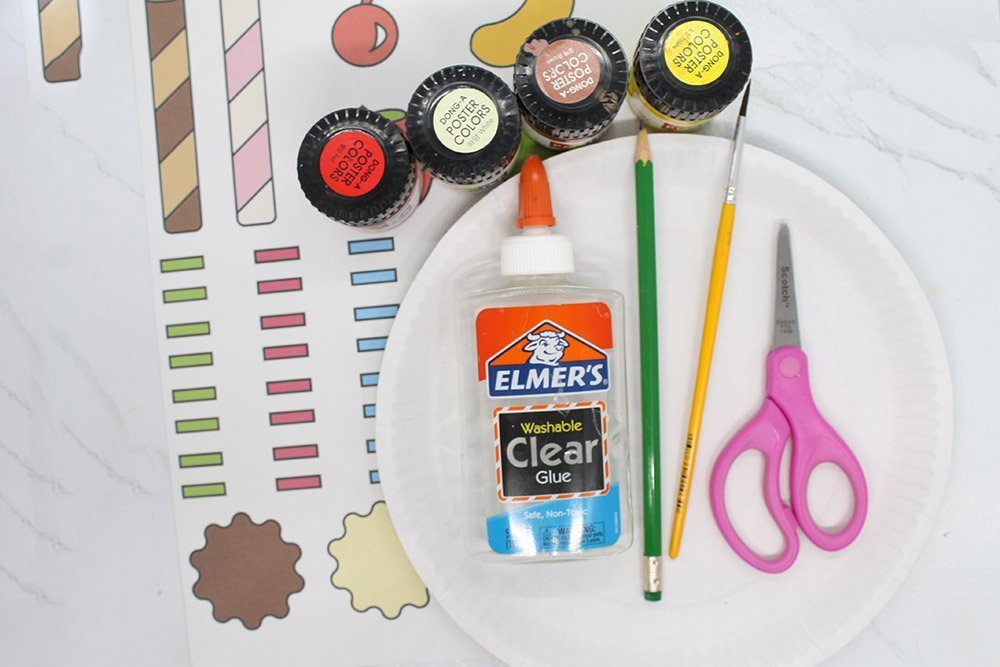
Tools
- Scissors
- Paint brush
- Pencil
Supplies
- 2 Paper plates
- Printable
- Poster paint set
- Glue
Download Area
Download TemplateMake a Cone
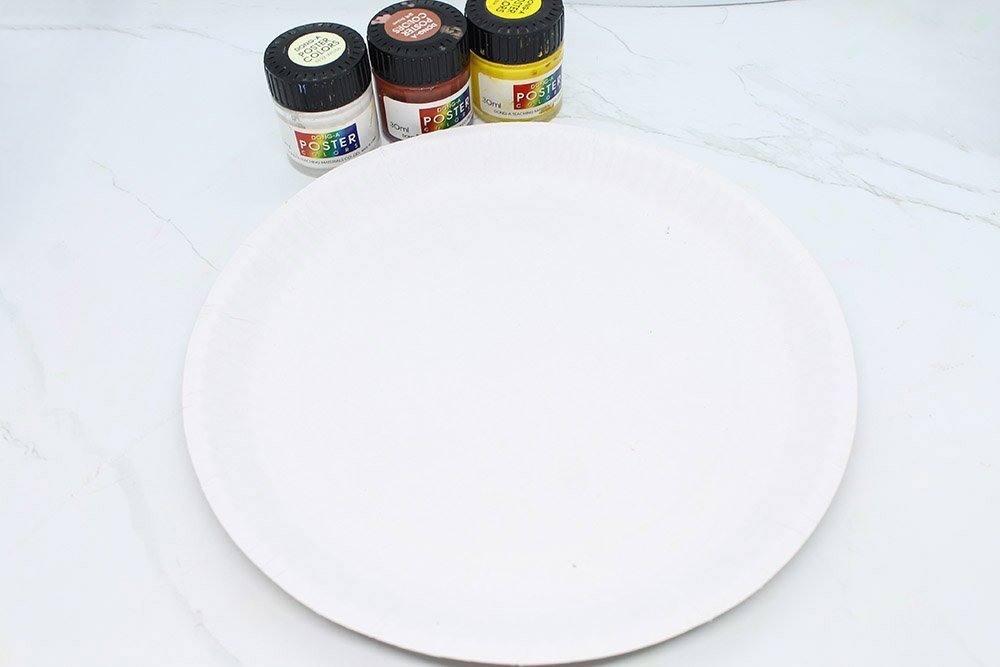
Your first goal is to paint an ice cream cone. You won't exactly make the cone for this step but it's a start. Get your paper plate and paint. You'll need yellow, brown, and white paint.
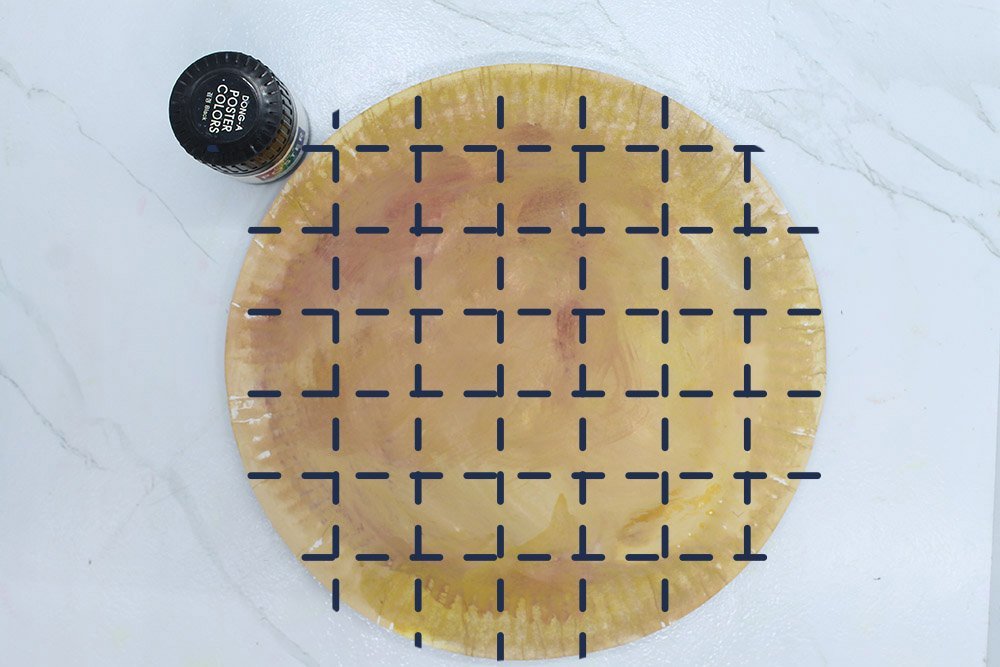
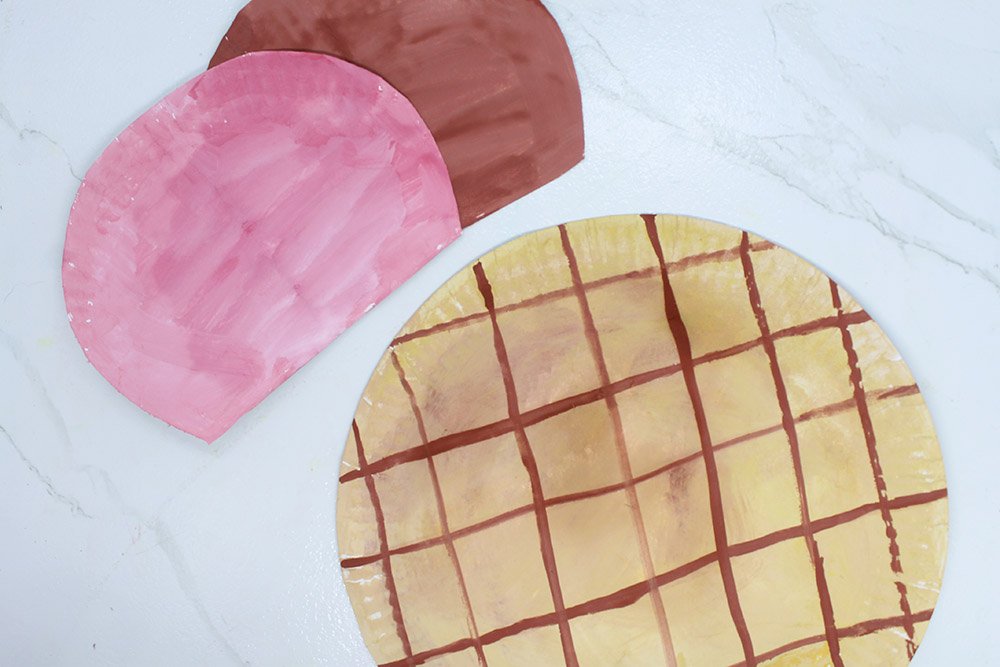
Paint the paper plate a light brown color using a mixture of brown, yellow, and white paint. To make the cone look realistic, paint unevenly. That is, some parts are darker or lighter than another part. Get your brown poster paint and take note of the gridlines in the image above.
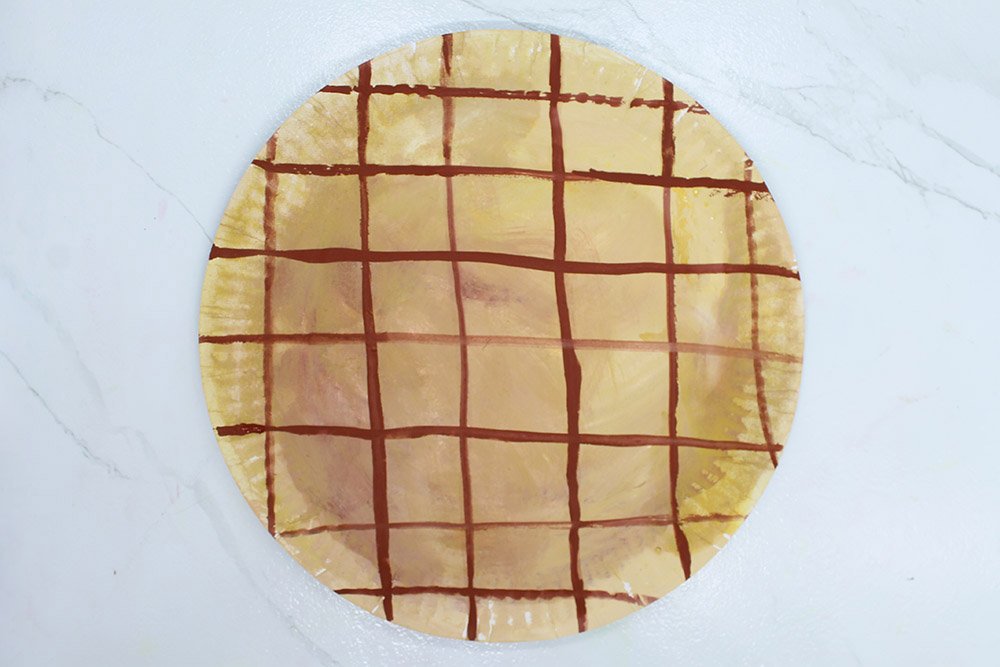
Paint along the gridlines using your brown poster paint. The grid lines have to be different in size and shade. Great job so far! Now it's time to move to the next step.
Cut out the Printable
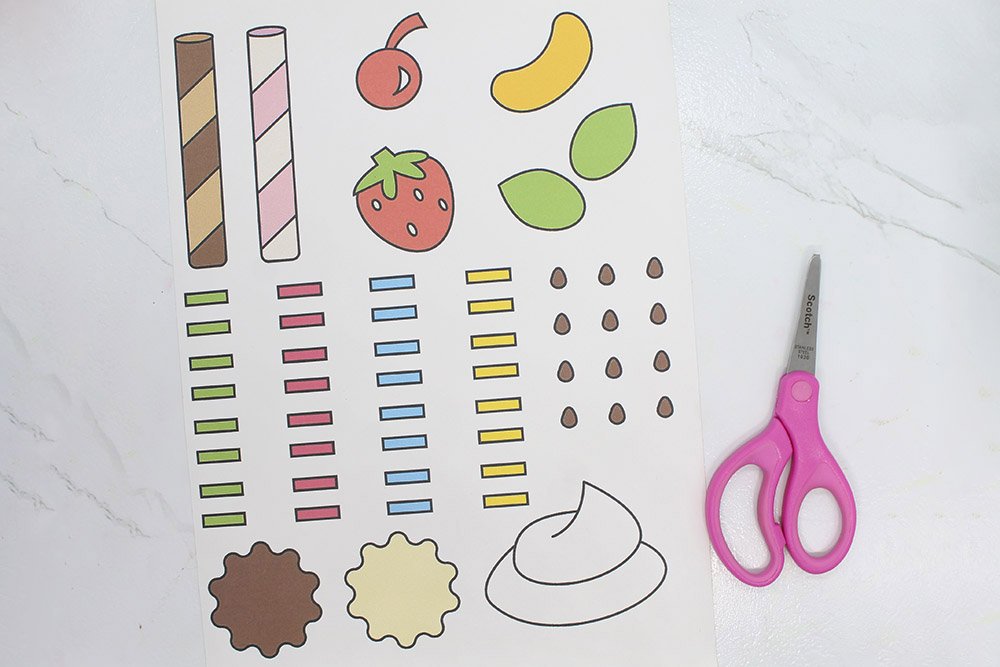
Download and print the downloadable file found above. Then cut the shapes out. This will be the toppings of the ice cream paper plate, awesome right?
Make the Ice Cream
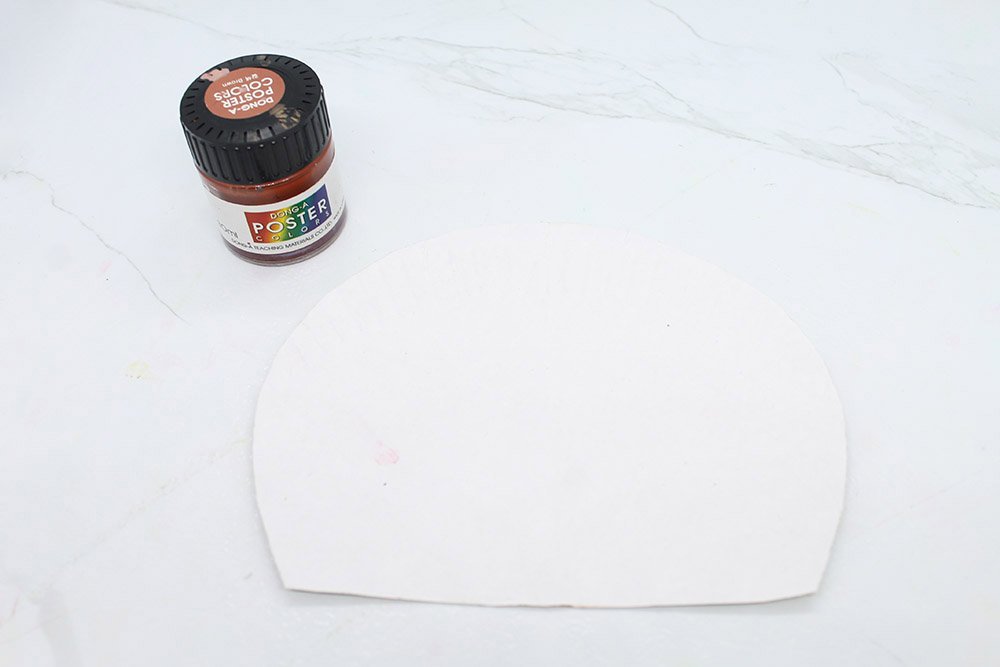
Your goal is to make the shapes of ice cream that have been scooped. In order to do that, you'll have to get another paper plate.
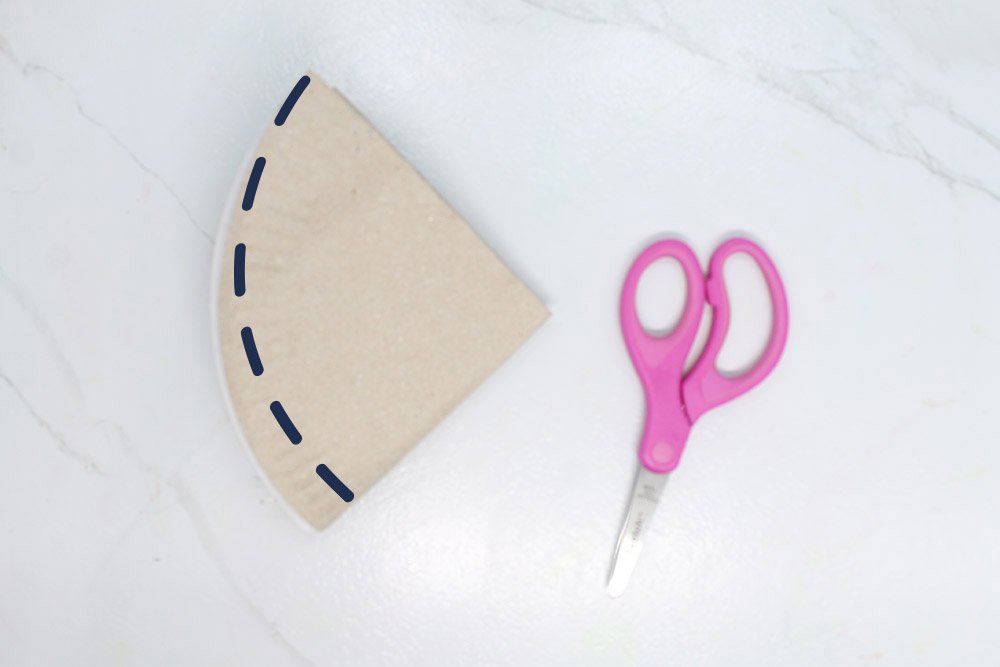
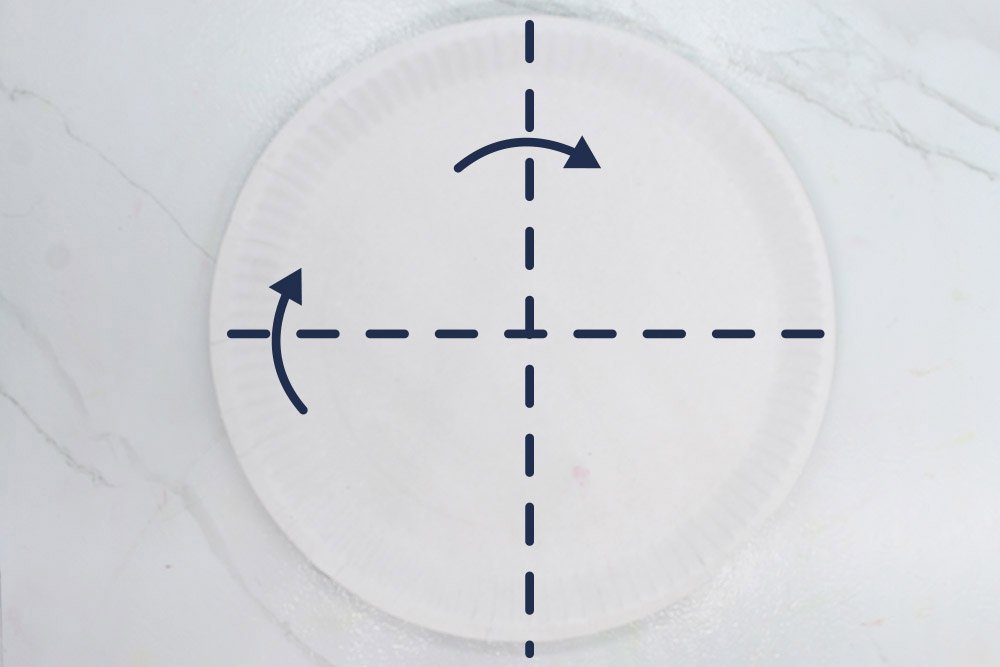
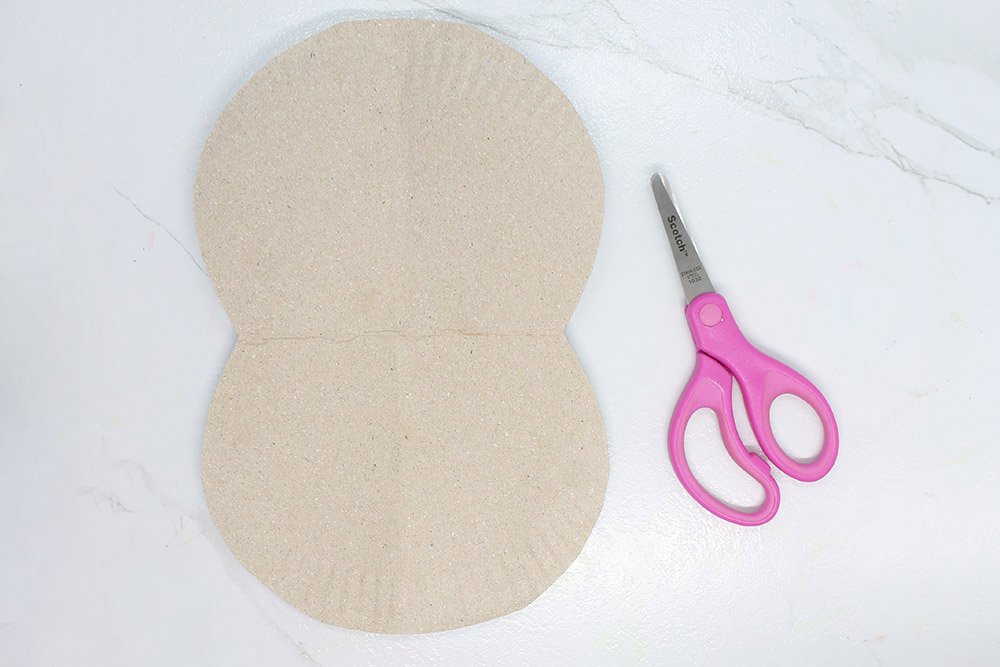
Fold the paper plate in half four times. First, fold it lengthwise and then fold it crosswise in half. You will be making a curved cut as indicated by the dashed lines in the image above.
And cut. This will make your paper plate smaller and also a little different in shape.
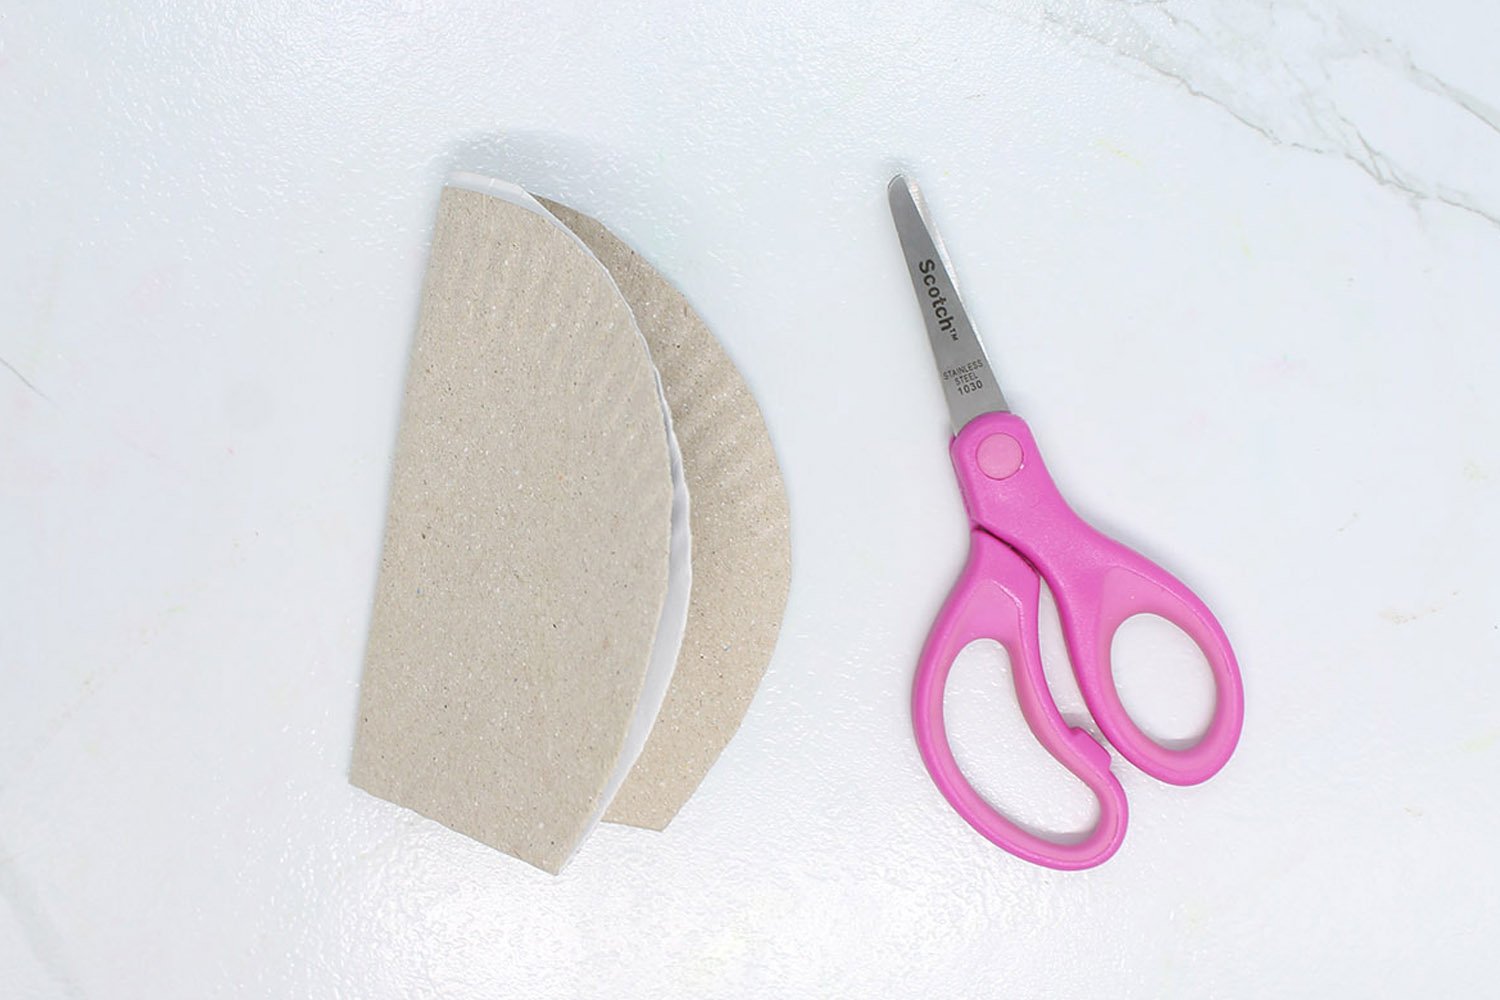
Unfold the paper plate in half. You'll still need to cut it in half so that you'll have two scoops. Of course, you could get another paper plate to make extra ice cream scoops!
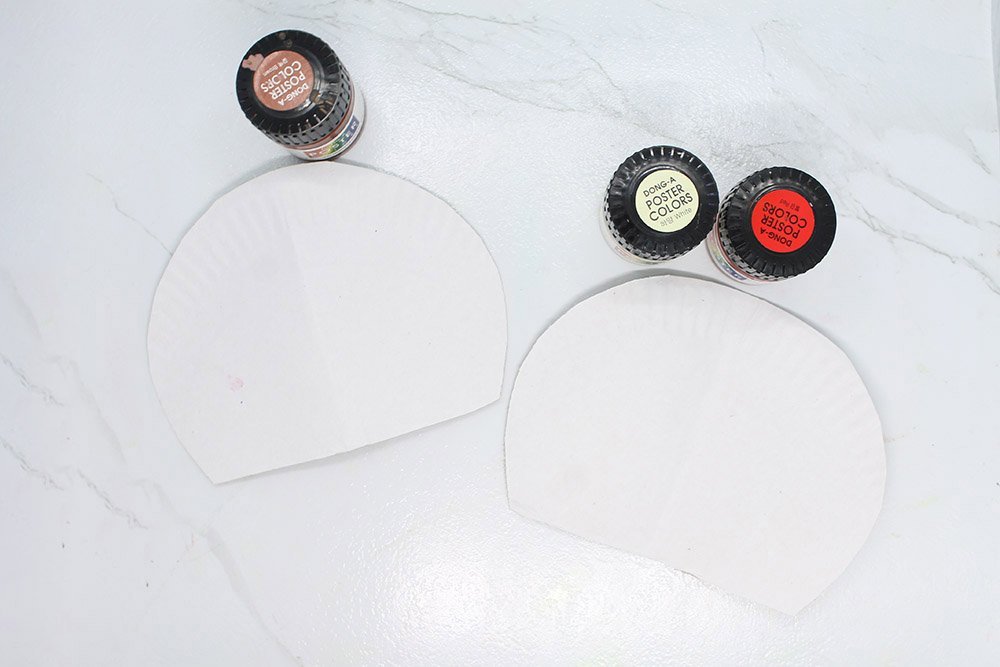
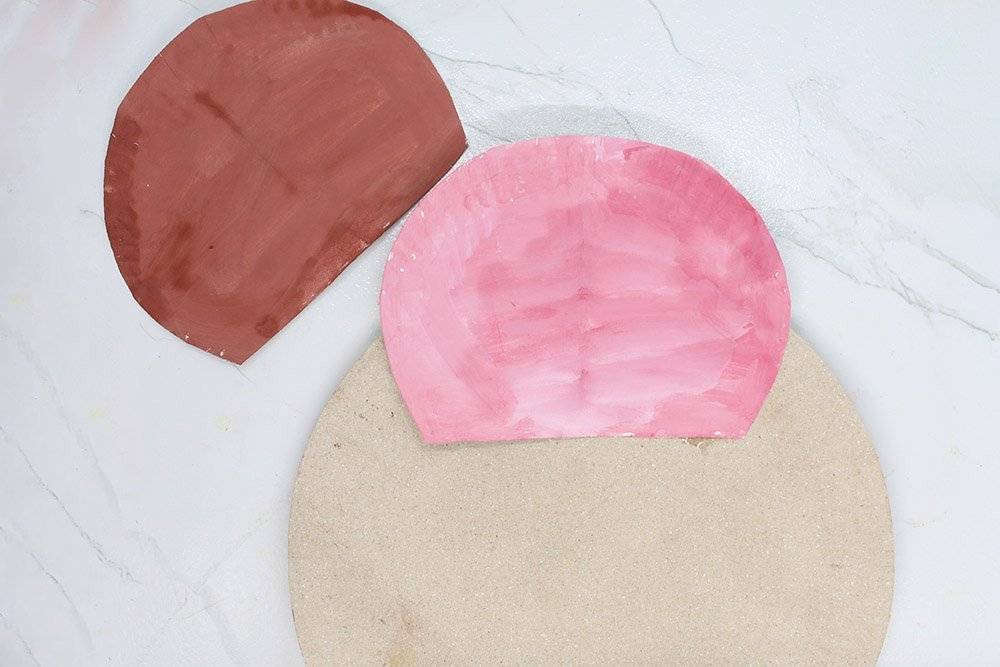
And then cut the paper plate in half! You'll have two ice cream scoops then. Next, get your red, white, and pink poster paint. You are close to finishing this paper plate craft!
Paint the Ice Cream
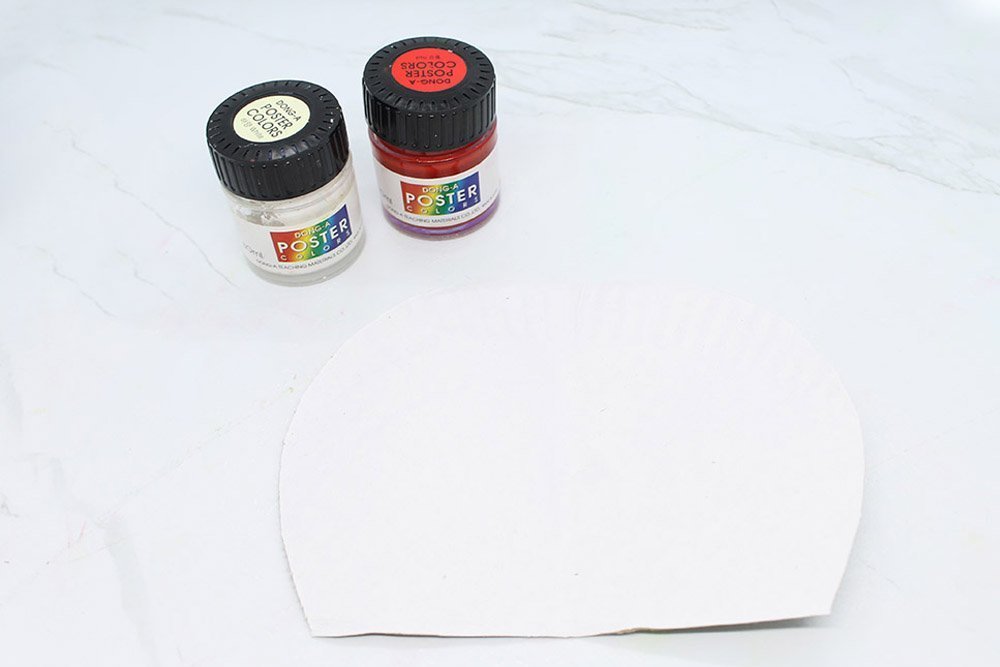
Painting the ice cream doesn't mean you have to follow our color choices. This example will paint the ice cream scoops pink and brown. But yours can be totally different. What are your favorite ice creams?
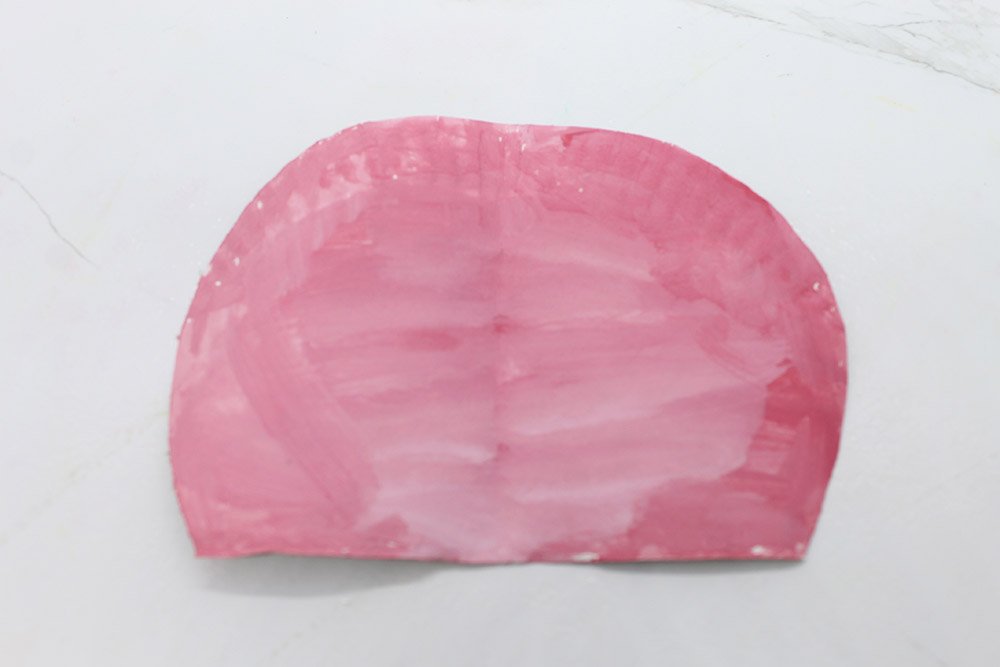
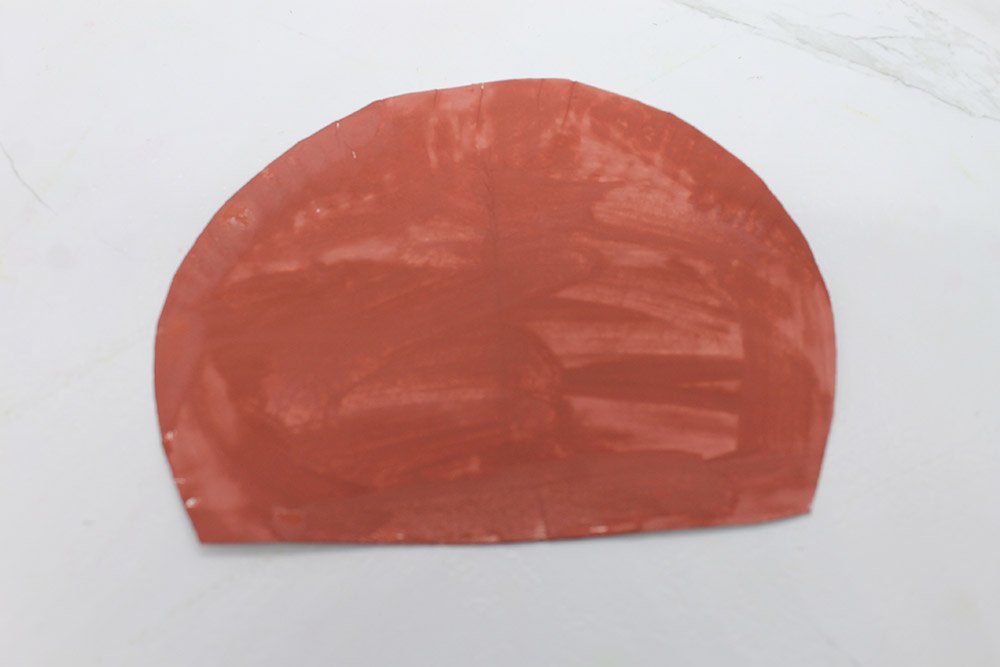
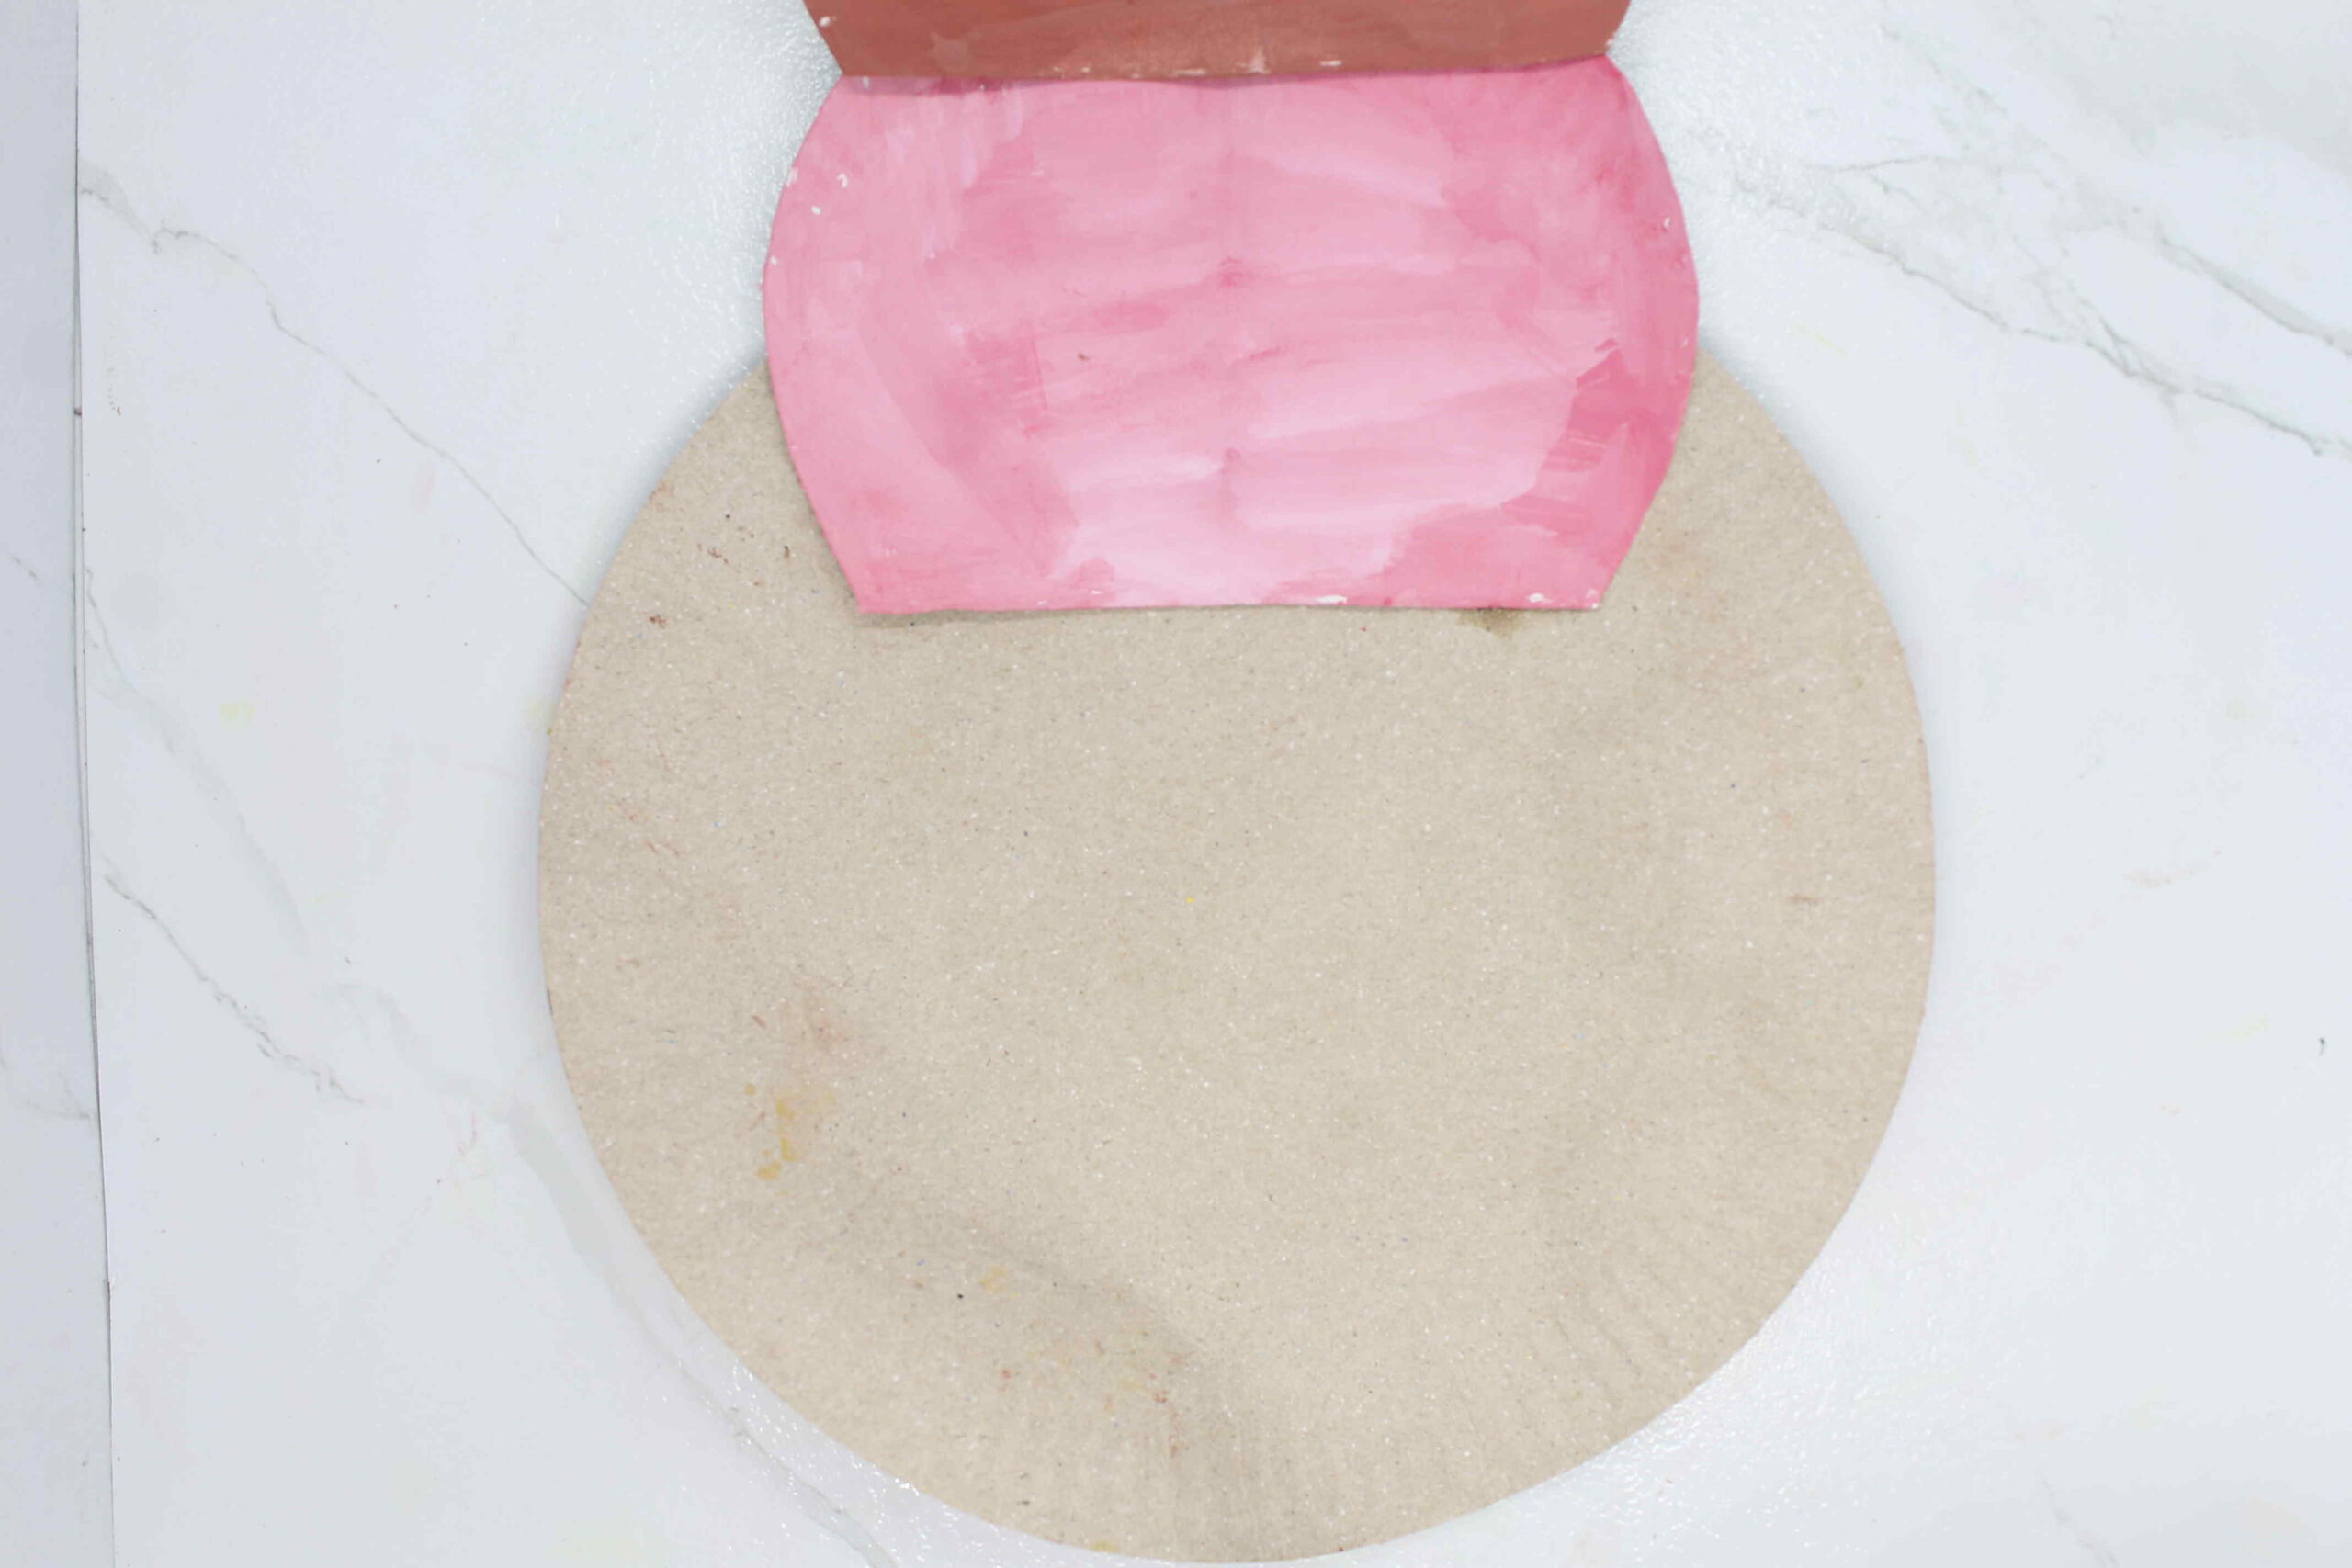
Use the red and white paint to create pink ice cream. Strawberry, yes?
Then get your brown paint as you will be painting the other paper plate scoop.
Paint the paper plate brown. Do you like chocolate?
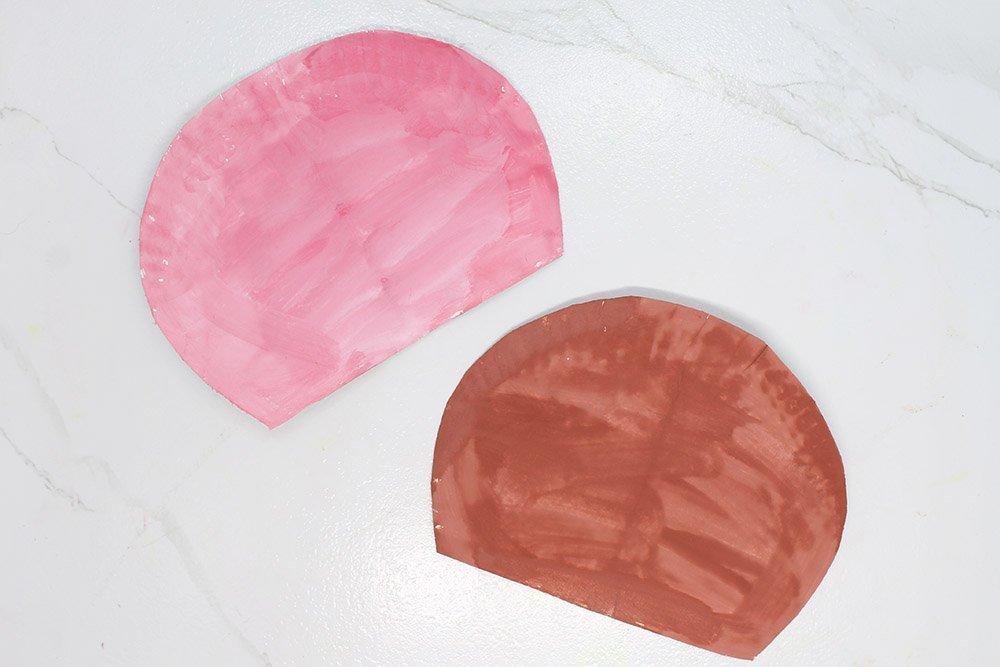
You should have two ice cream scoops ready to be combined with the cone. You could add another scoop. Now it's time to move to the next and final step.
Combine Everything Together
Your last goal is to combine everything that you have made so far. Start by gathering the ice cream scoops and the cone.
Lay the cone flat on the table. Make sure you are facing the plain side of it. Then place one ice cream scoop on top. Make sure that the ice cream is about two to three inches deep into the cone.
Then add the other scoop on top of the other. If you have an extra scoop, just repeat the process one more time.

Diagonally fold the right side of the cone. You can glue to make sure that it retains the desired shape.
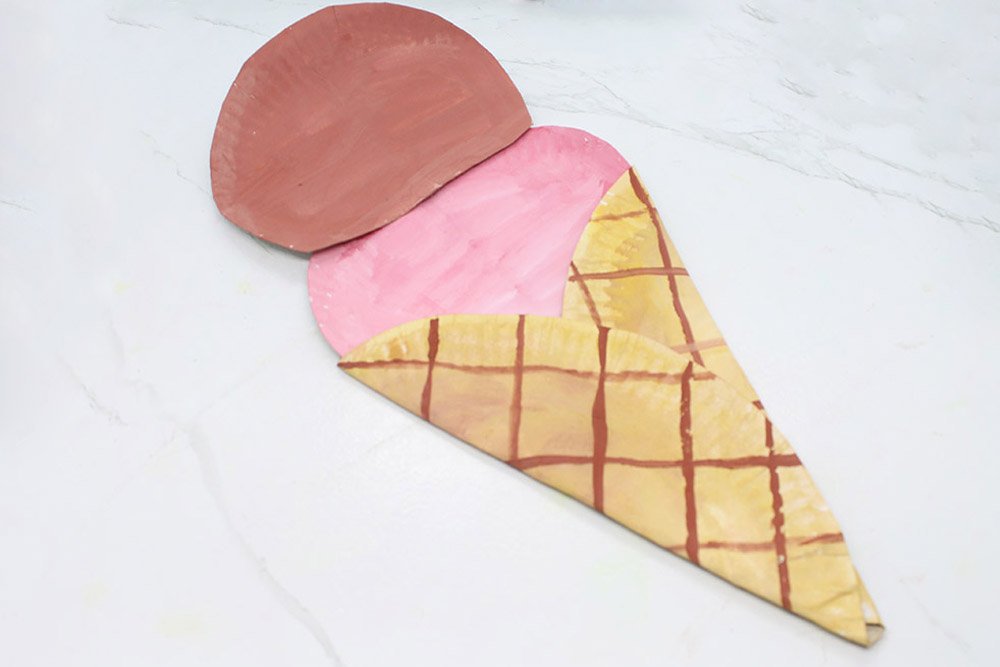
And diagonally fold the left side too. Use glue for added security.
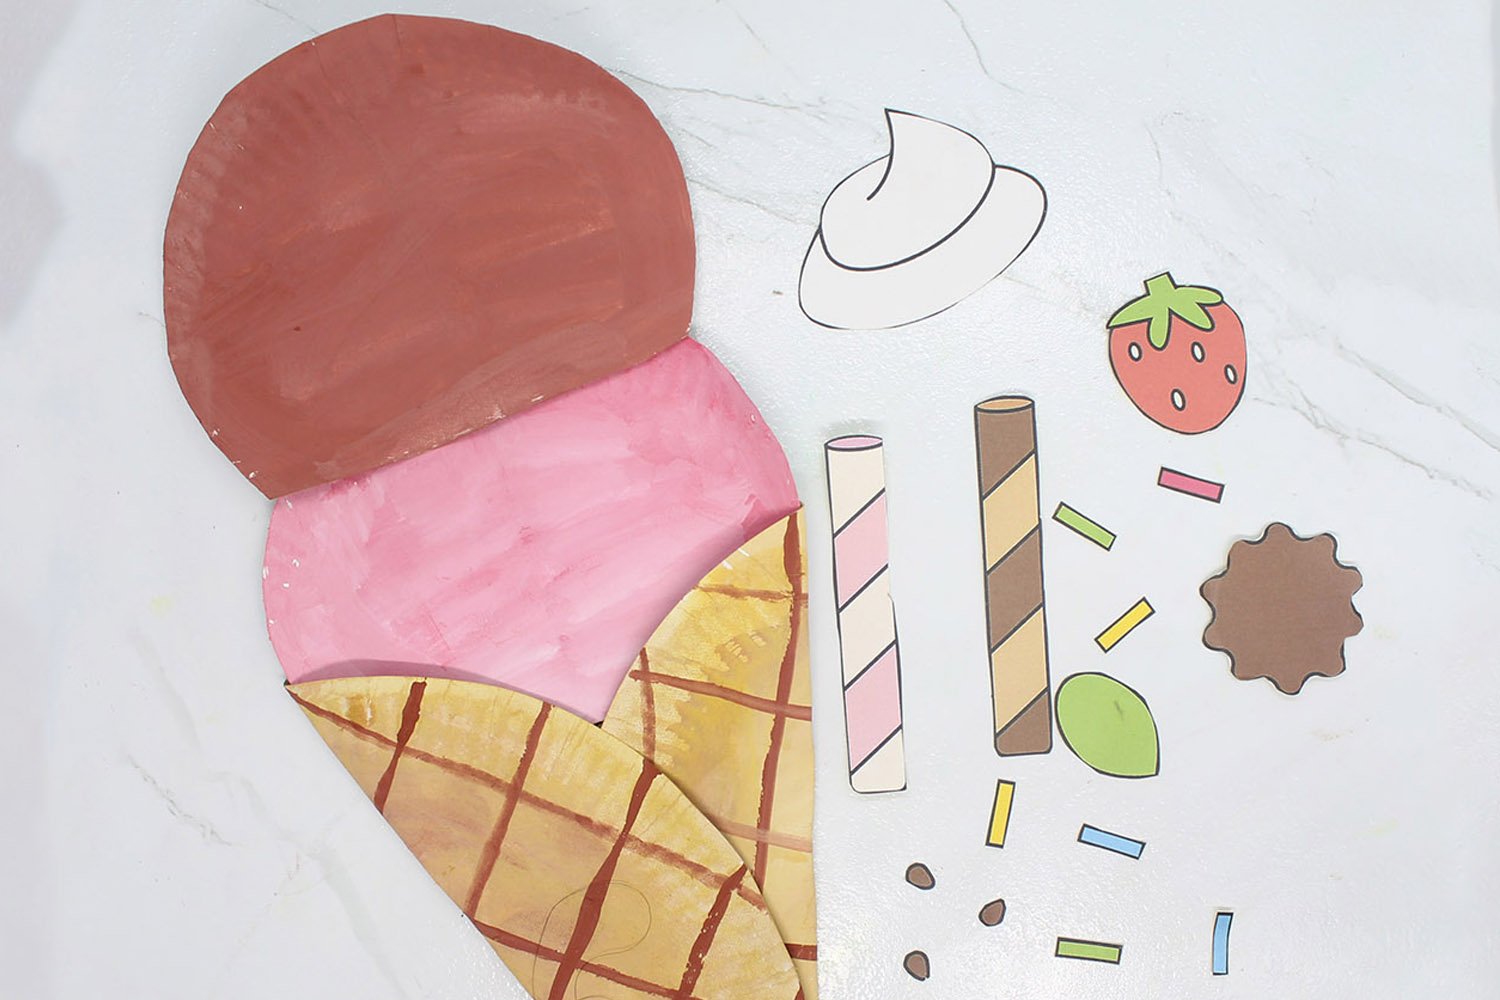
Get your toppings ready! You are about to do the best part.
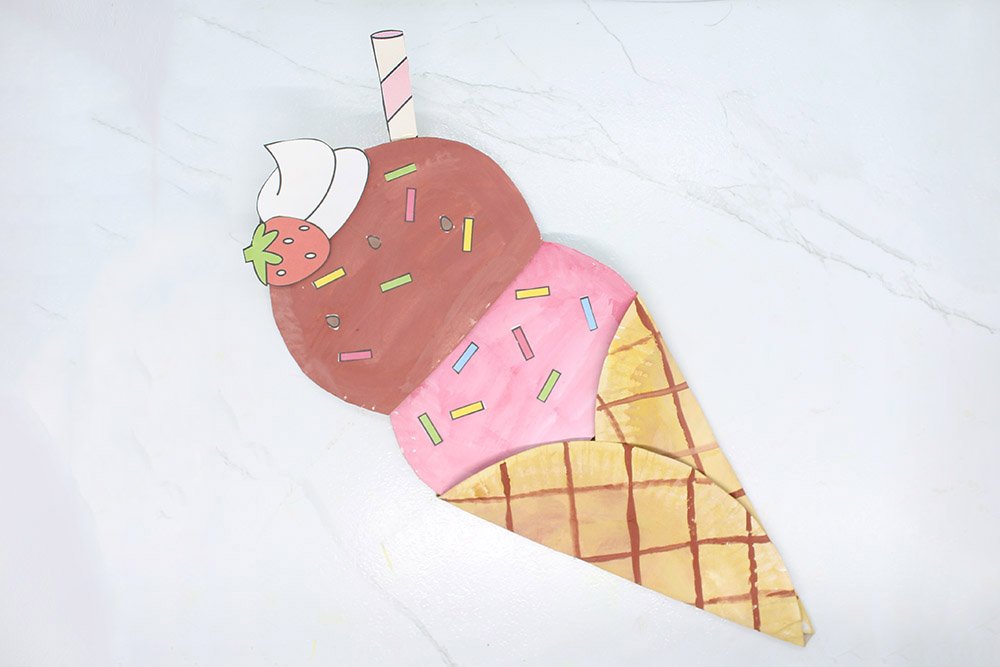
Add the toppings to the ice cream! Enjoy this process, and put the toppings however you want. Congratulations on finishing the craft. Check out our other articles for more fun paper plate crafts for kids!
Extra Tips
- You can be creative with the color of your ice cream. Who says you can't mess around with the paint?
- Children should always be supervised when they are using scissors.
- This is a really fun craft for kids. Let them check out some of our other amazing crafts!


Man that looks tasty ahah
wonderful art project for kid and i like the simple steps it took to make it
thanks for making this funny art
YOu could use black paint to add syrups, and brown paint to add chocolate syrup… just a friendly tips bros
Simple yet there’s a lot of tweaks and changes you could do