Make Dr. Seuss Lorax Paper Plate Craft in 10 Min

You’ve come to right place to create a Dr. Seuss paper plate craft. In this tutorial we’ll share the best method of creating the Lorax with simple steps and affordable materials.
It’s not about what it is, it’s about what it can become
-The Lorax
This will be a fun activity mostly involving cutting and painting. Do your best, and you’ll create a lovable Lorax in no time. Good luck!
Tools
- Scissors
- Pencil
- Paint brush
Supplies
- 2 Paper plates
- 5 Poster colors (Orange, Red, Yellow, Blue, and White)
- Glue

Paint the Face of the Lorax Paper Plate
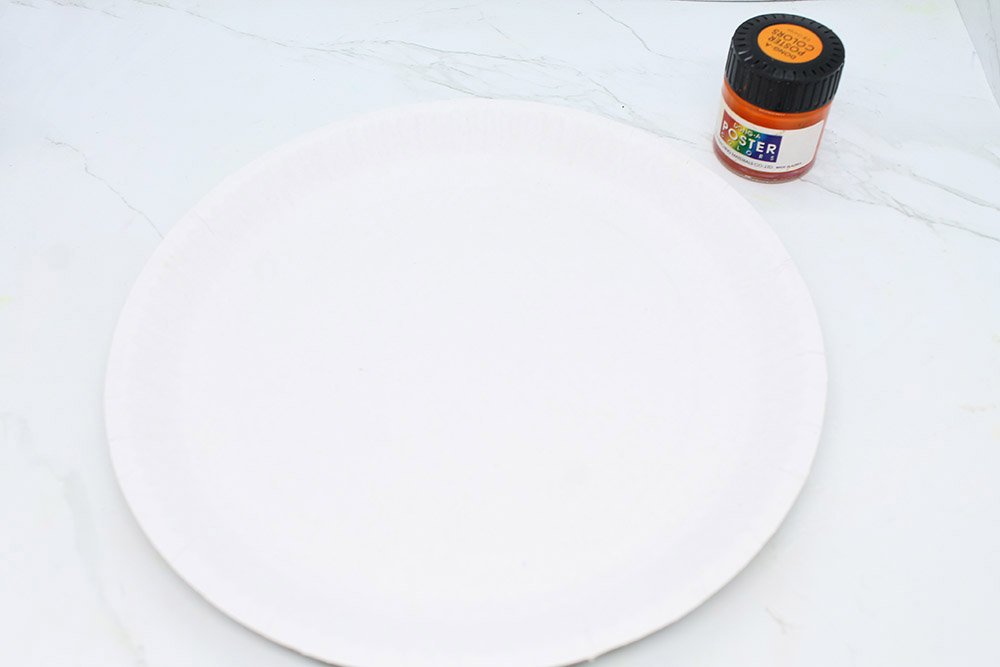
The first step is to pave the way for all the features of the Lorax's face. Begin by evenly painting the paper plate orange.
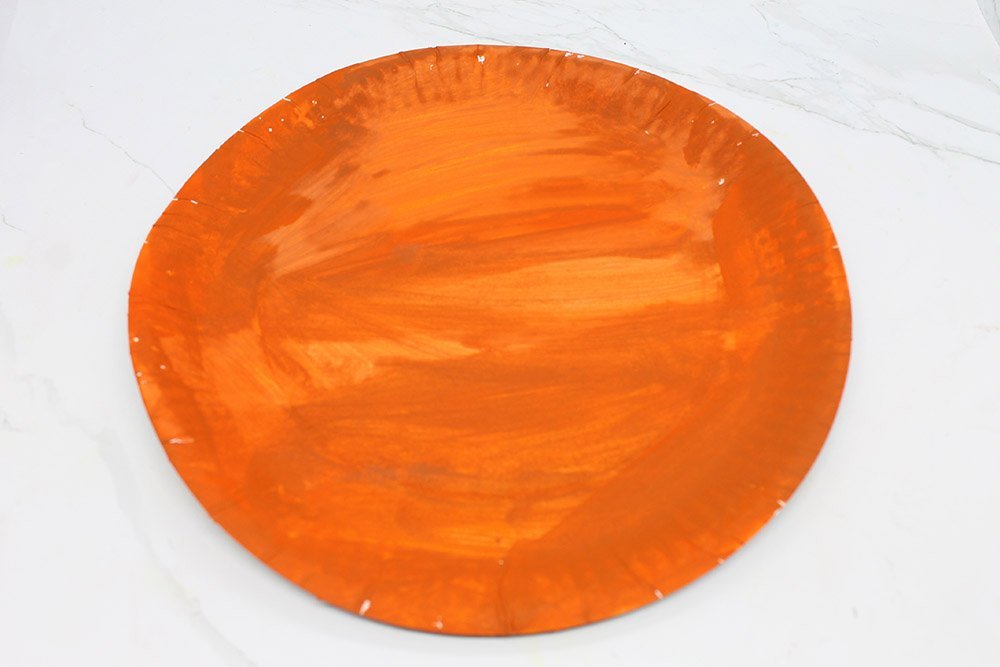
Let's set this aside to dry. Next, we will work on the characteristics of the Lorax's face.
Make the Facial Features of the Lorax
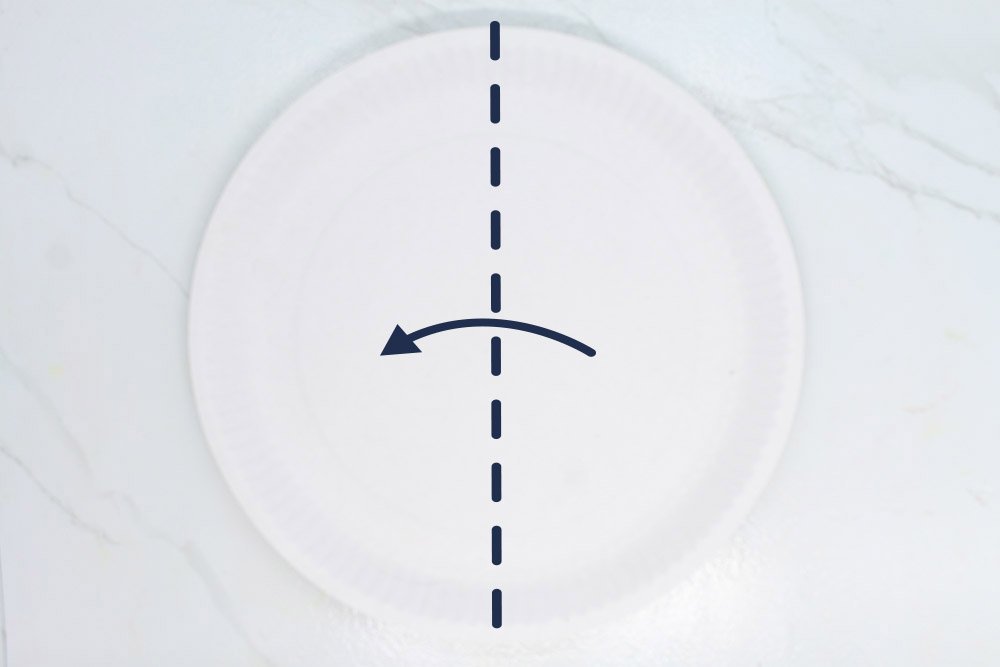
Fold the paper plate vertically. It's easier to draw using the back side of the paper plate.
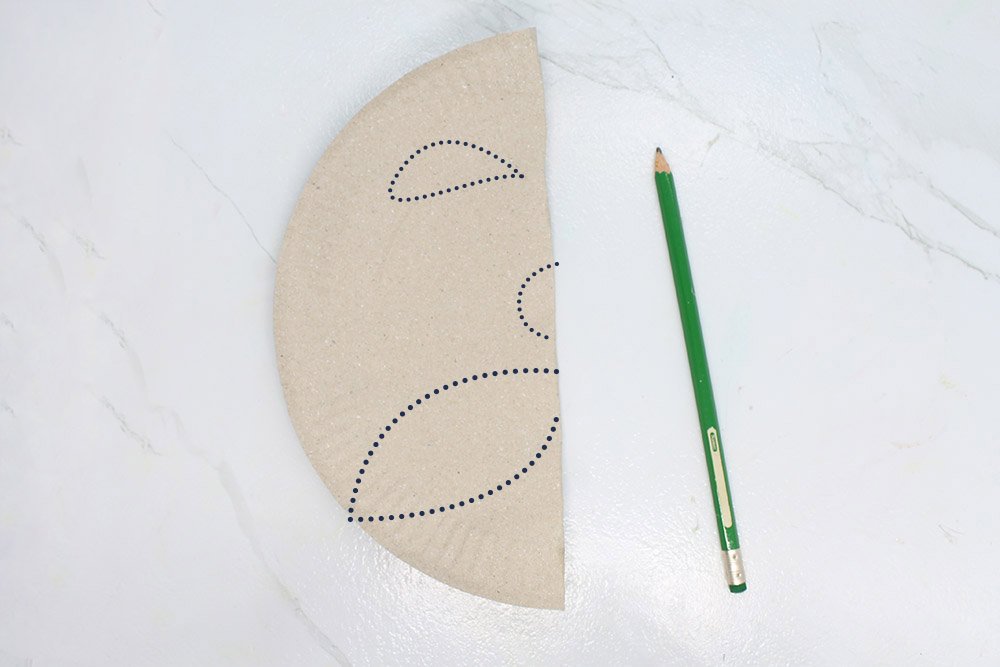
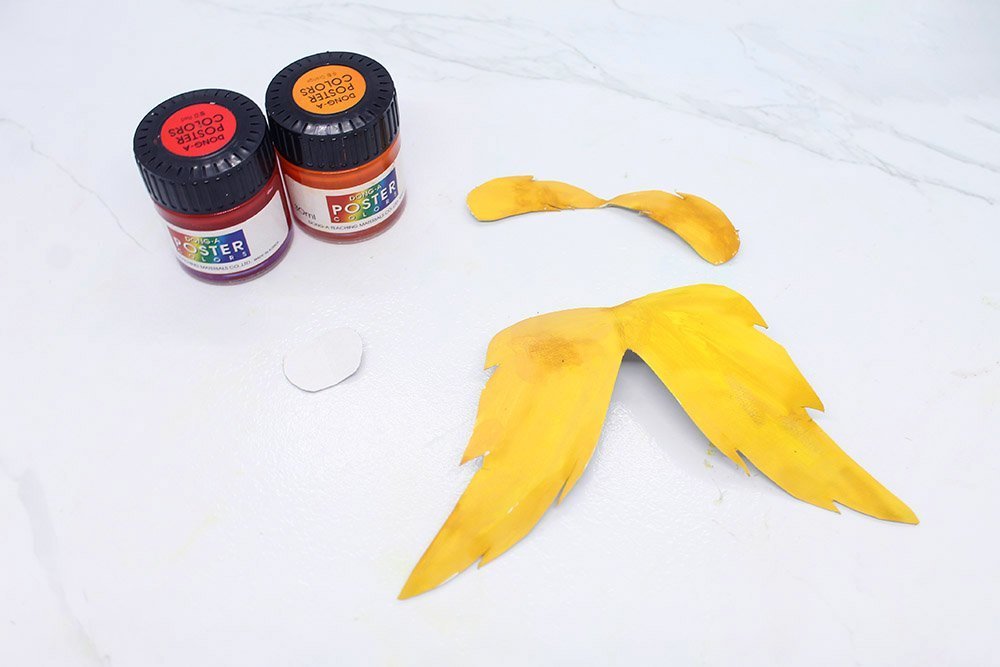
Next, draw the eyebrows, nose, and mustache of the Lorax.
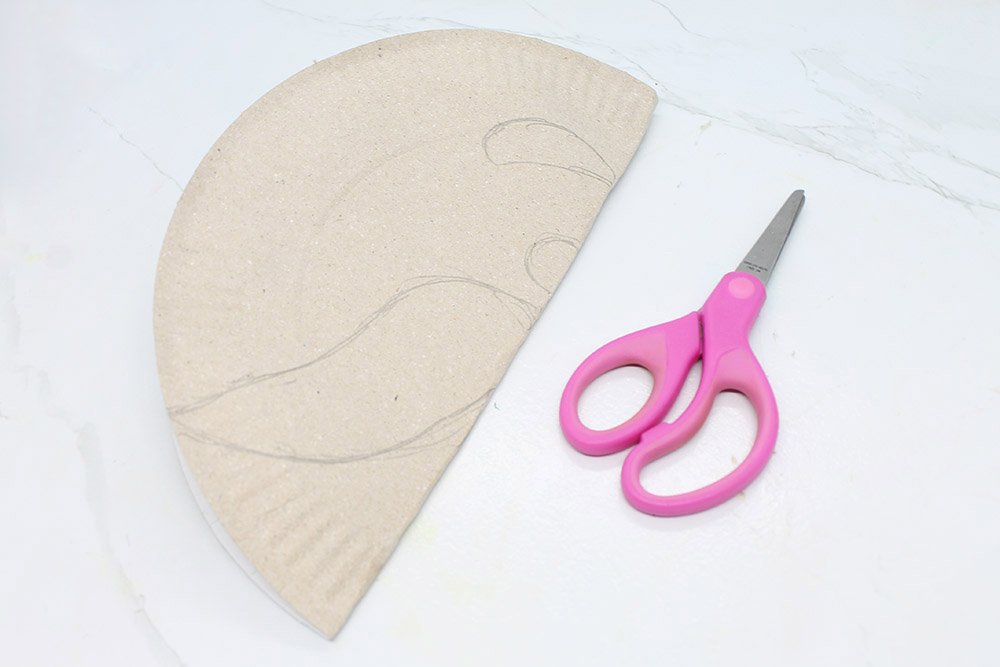
Time to get scissors and start cutting. By folding the paper plate beforehand, we can create symmetrical shapes after we cut those pieces out.
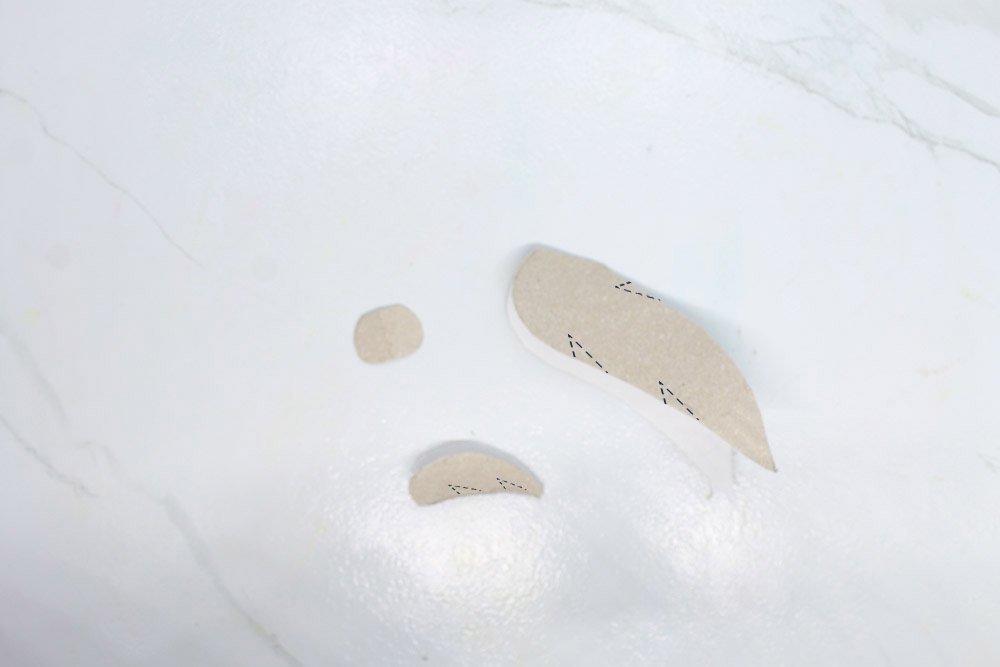
Good job! Then, cut grooves along the eyebrows and mustache. You would your Lorax to appear fuzzy and we do this by adding details on the mustache and eyebrows.
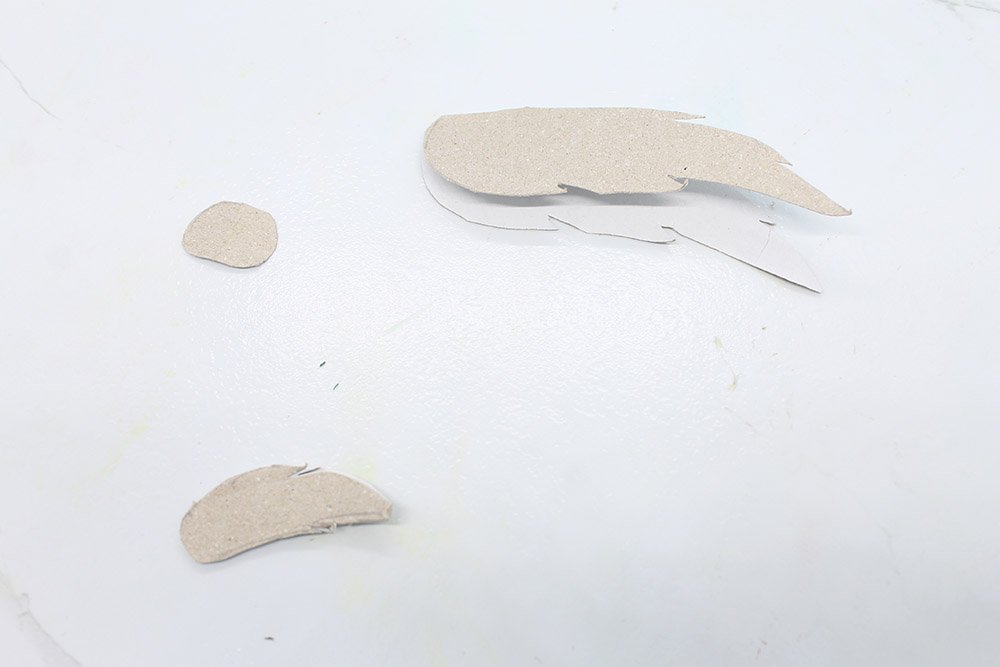
Your eyebrows and mustache should look like the ones above.
If they aren't good enough for you then you could get another paper plate and start over. Remember, making mistakes is part of success.
You're almost there! The next thing to do is to paint the parts of the lorax paper plate's face.
Paint the Cutouts
You want your paper plate Lorax to look like the original so in this article, I focused on the small details.
Paint the furry mustache and eyebrows with yellow.

And paint the nose red.
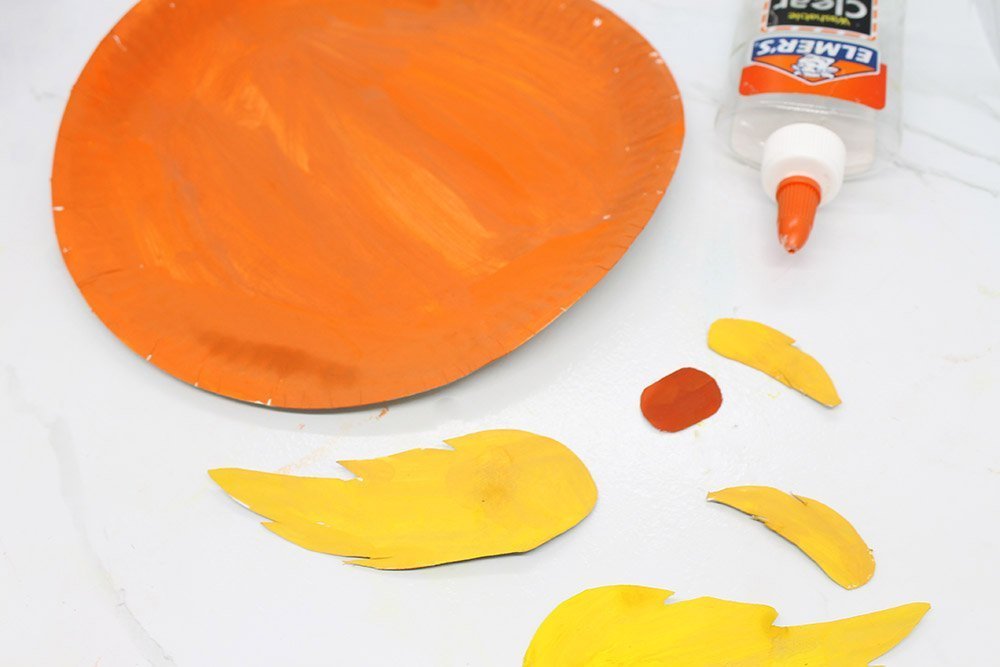
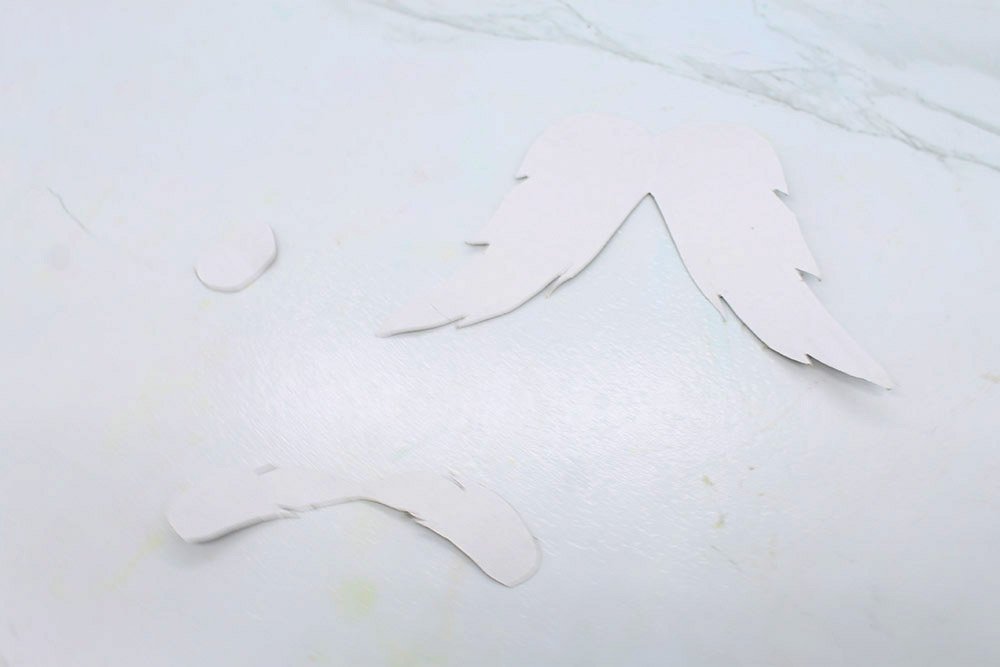
Let the cutouts dry. Then gather the paper plate and cutouts all in one place. We are essentially preparing for the final steps!
Put it All Together to Finish the Lorax Paper Plate
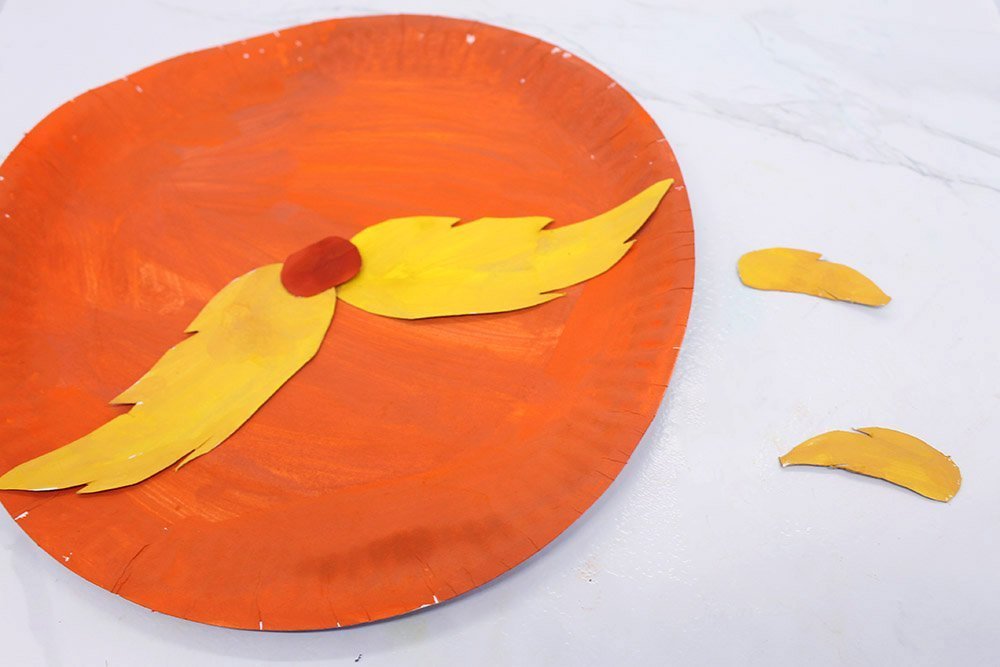
You are almost there, and all you need to do is to put all the parts together. Start by gluing the nose and then stick the mustache to the face.
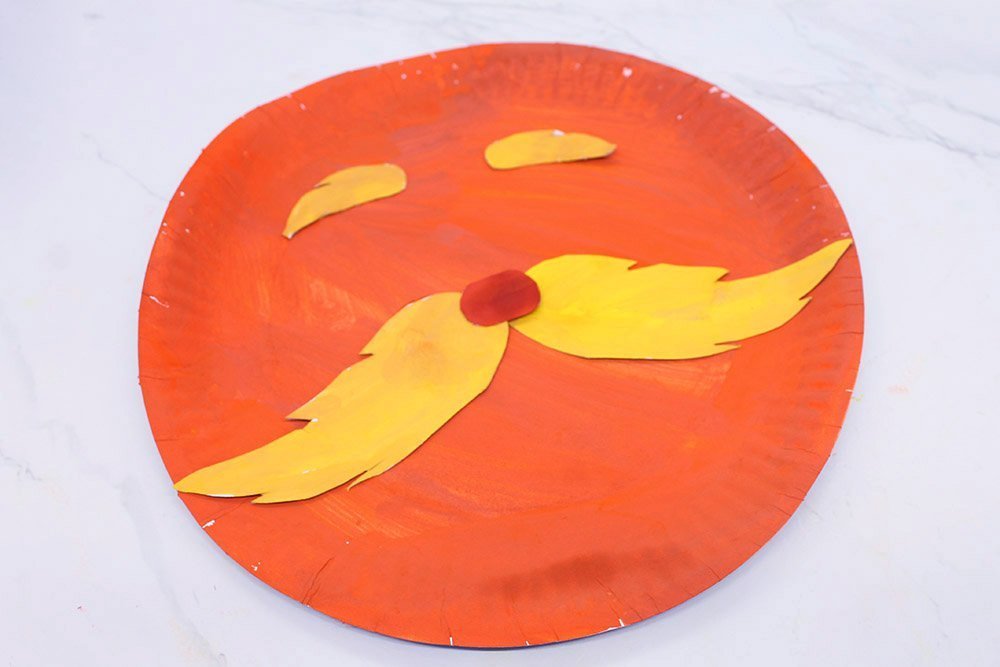
Then add the eyebrows to the face. Make sure to leave ample room for the eyes.
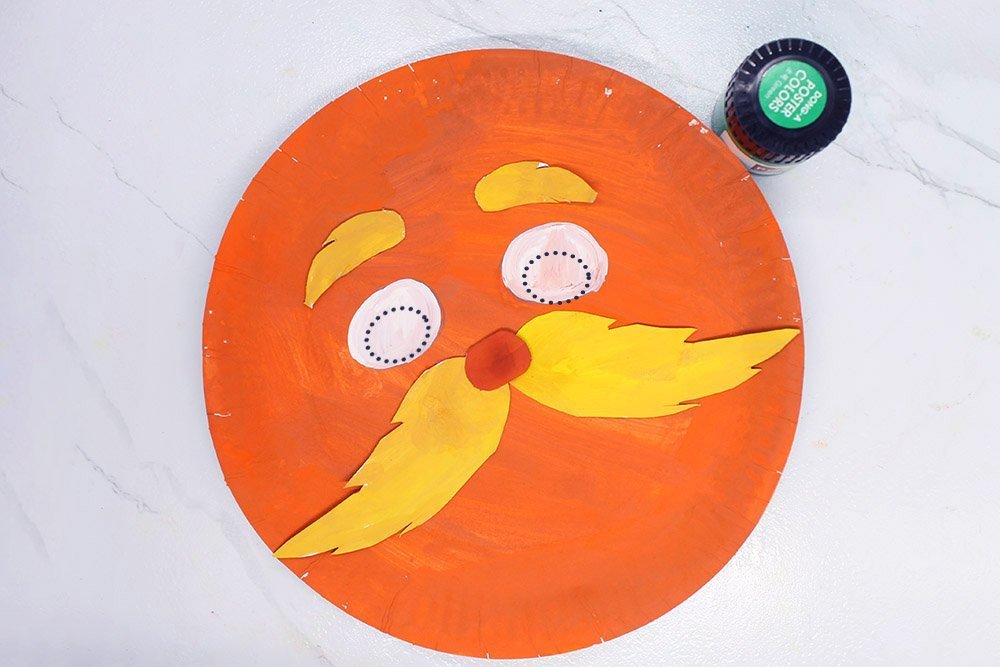
Paint the white part of the eyes between the eyebrows and mustache. Then start working on the iris.
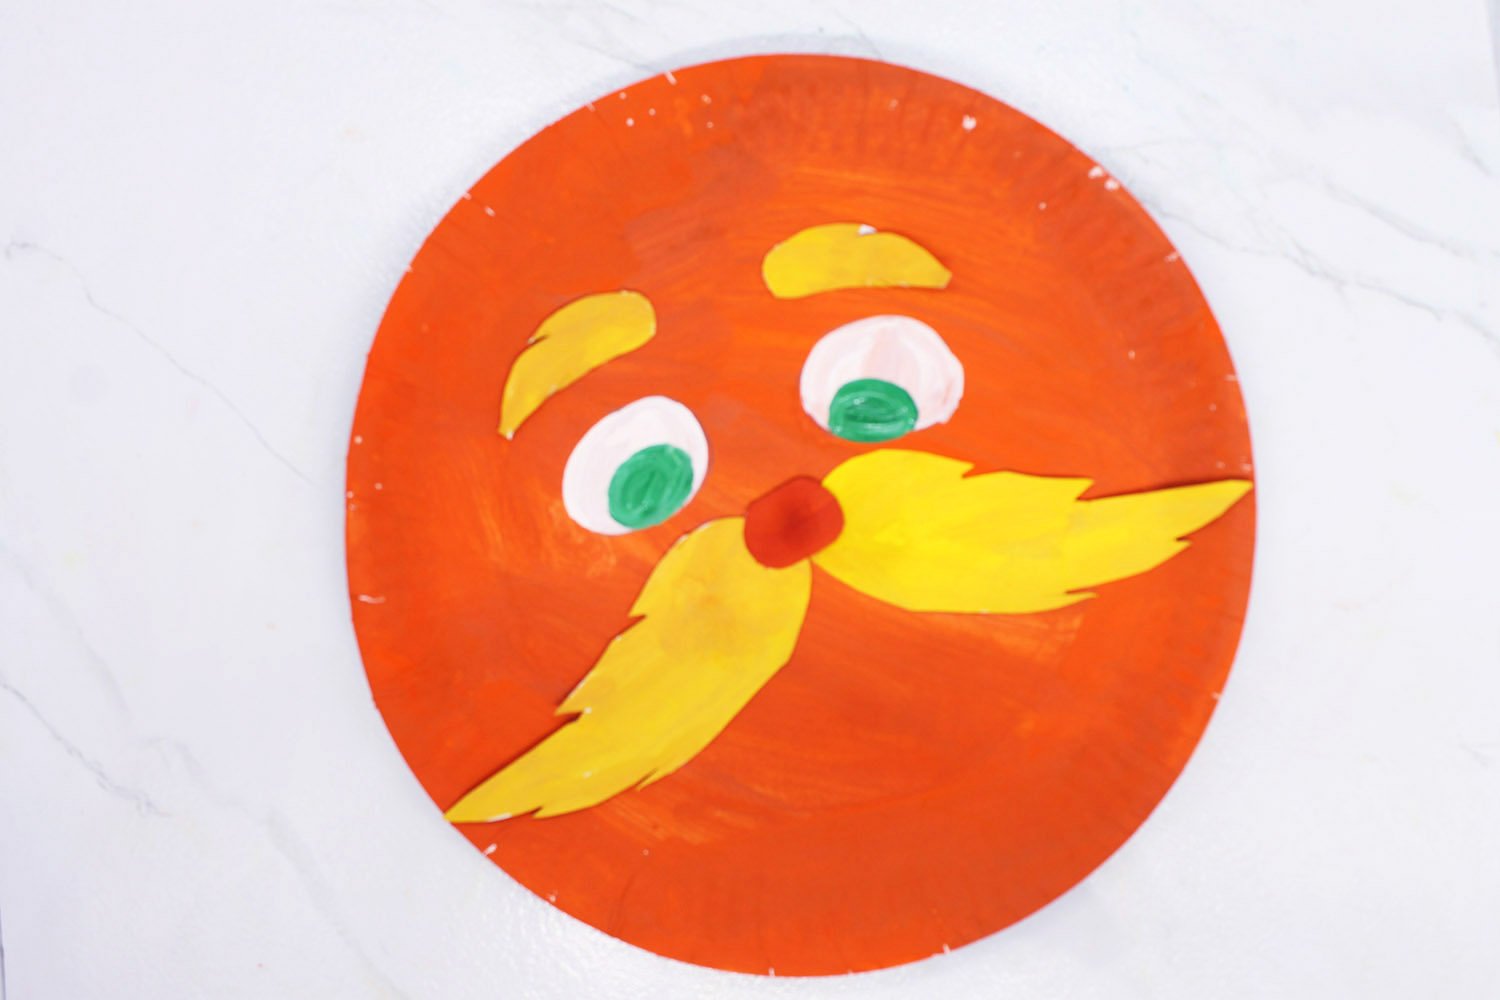
After creating the blue iris of the Lorax you are done. Great job! Be sure to check out our other paper plate crafts.


I like how they try to add details yet still make it simple as possible <3 my thanks
This is what i was just looking for
Please make a harder version of this, My twelve year doesn’t want to make anything with me unless it’s hard
Add in more hair to the mustache! still five stars thouhj 🙂
Made it in less than 10 minutes and it turned out good