Make a Paper Plate Giraffe with Free Printable

Introduction:
Create a paper plate giraffe that you and the kids can color for free. If you or your kids are looking for a craft and coloring activity, then this project might be the one you’re looking for! It’s hard to create a giraffe from scratch, which is why we made it easier with the help of our free-to-color printable.
Tools
- Black marker
- Puncher
- Crayons or your choice of coloring materials
- Pencil
- Scissors
Supplies
- Glue
- 4 pieces split pin/split rivet
- Printable (Click Download button below)

Download Area
Download TemplateColor and cut the printables
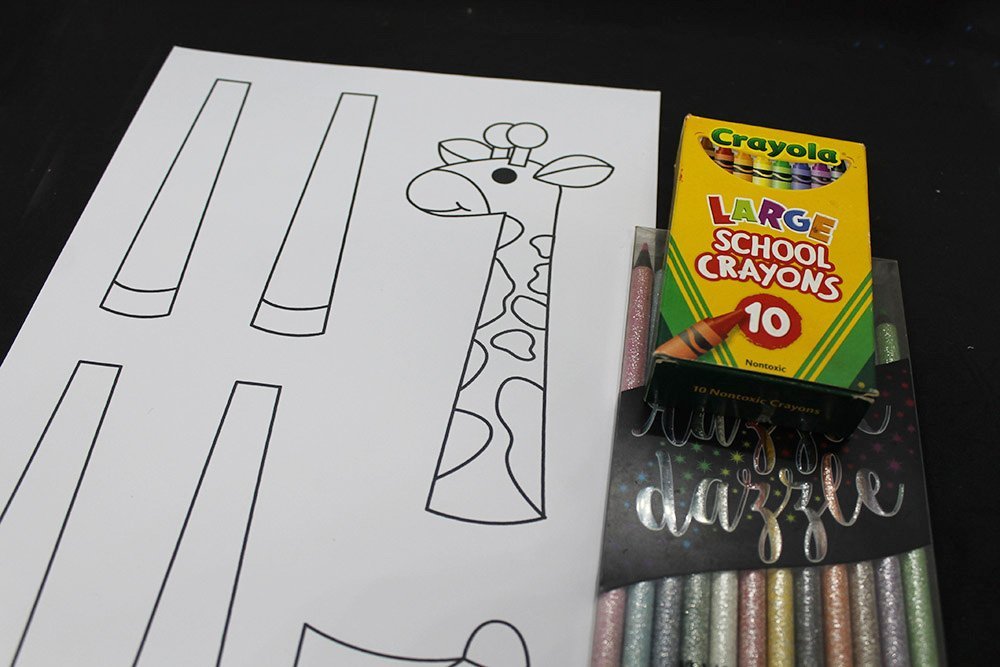
Print the giraffe printable on an a4 piece of paper. The thicker the paper (like cardstock), the better. Just make sure that the paper you’re going to use works well with crayons.
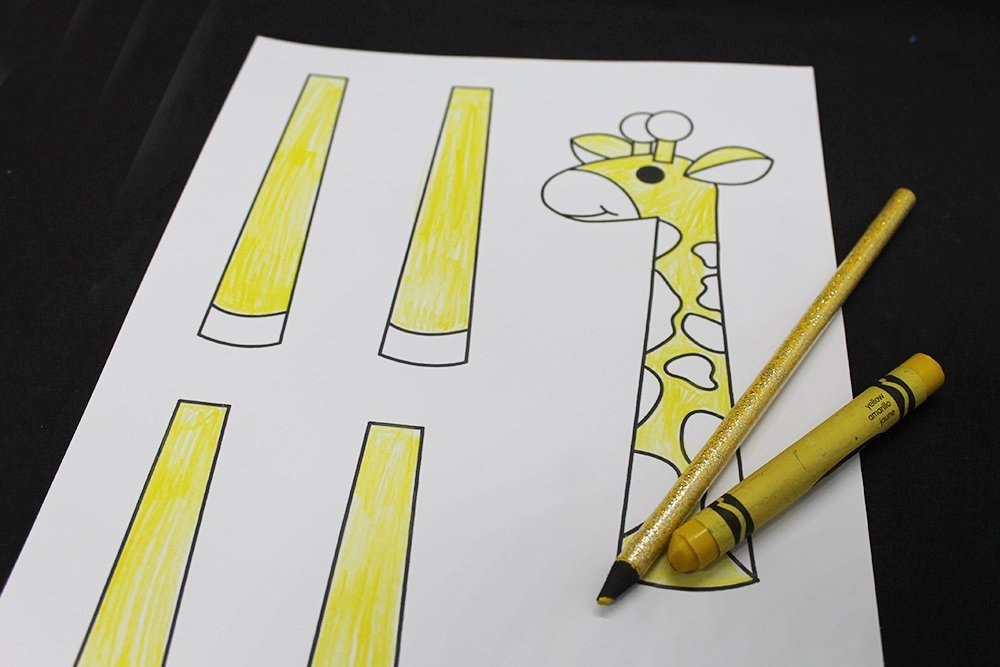
Once printed, color the printable. Use yellow for the fur.
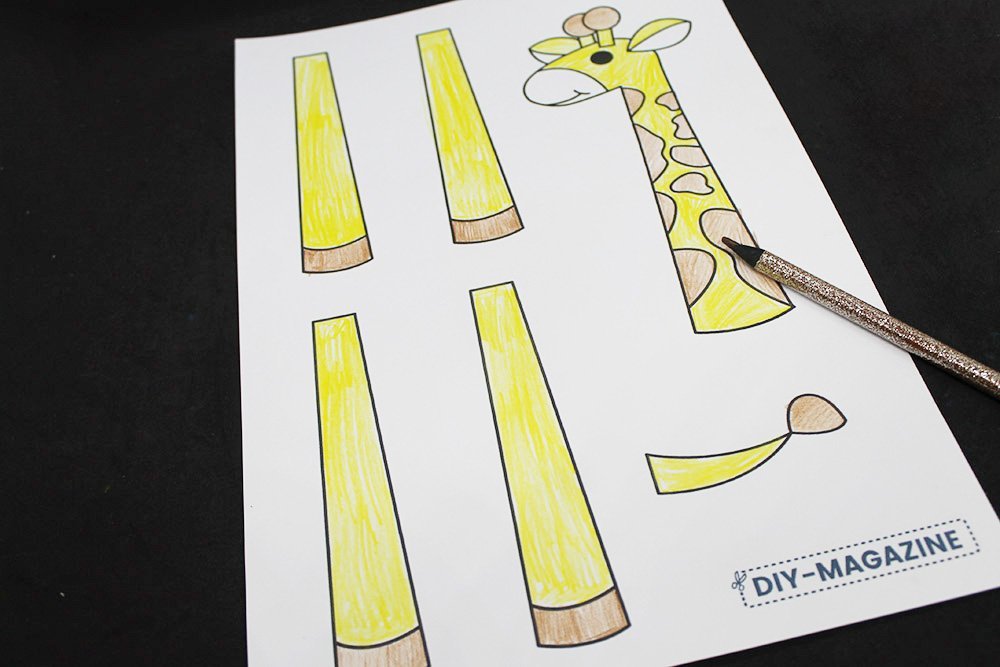
Brown for the fur pattern, hooves, horns, and tail end.

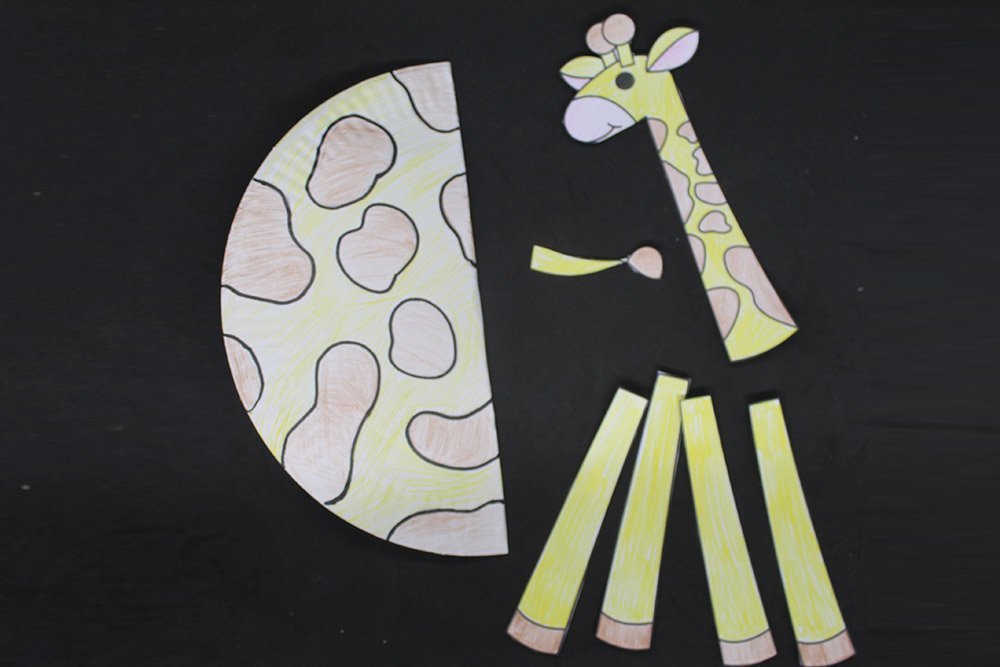
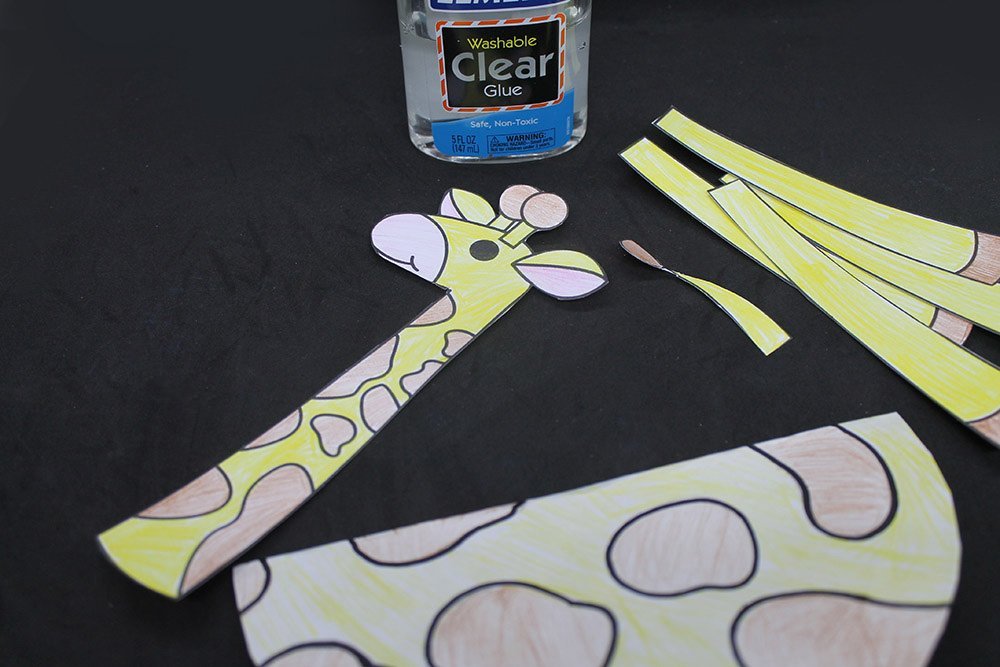
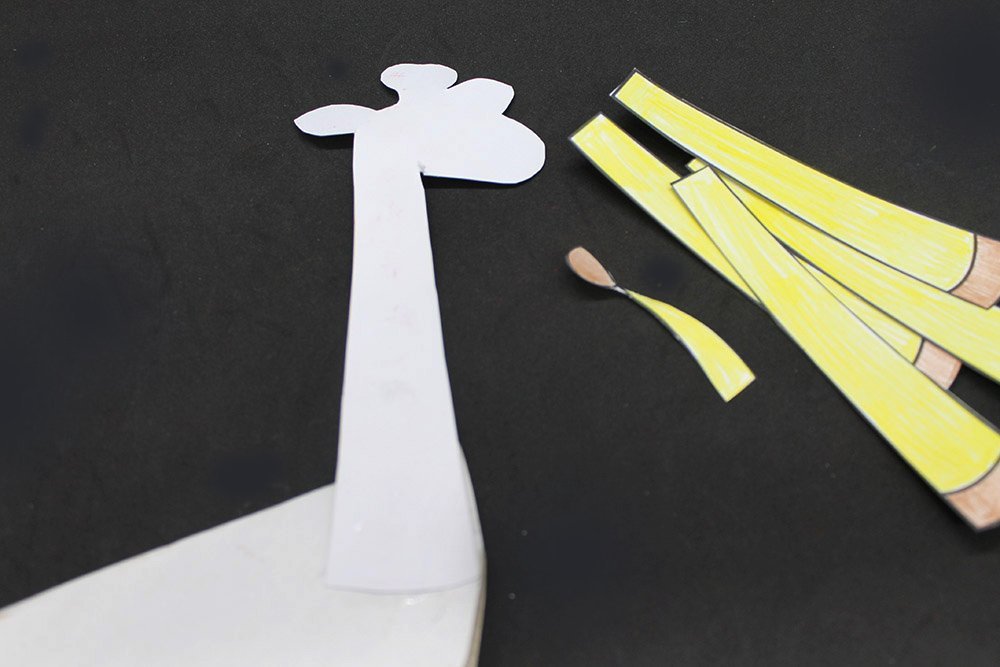
Once colored, cut each element of the printable sheet. Make sure to cut along the outer outline ONLY.
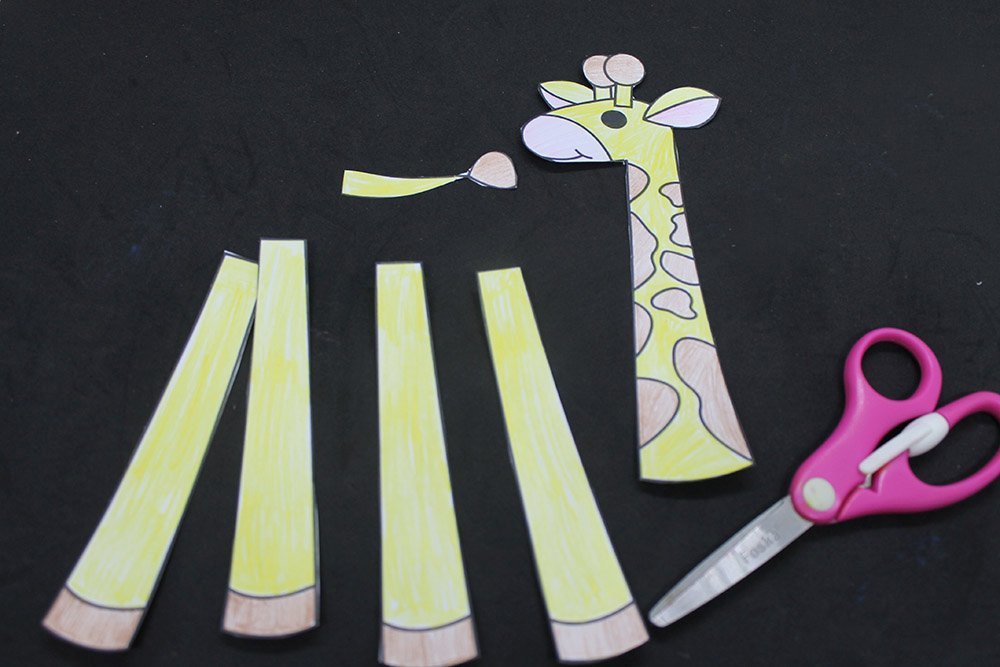
Once cut out, set it aside for now.
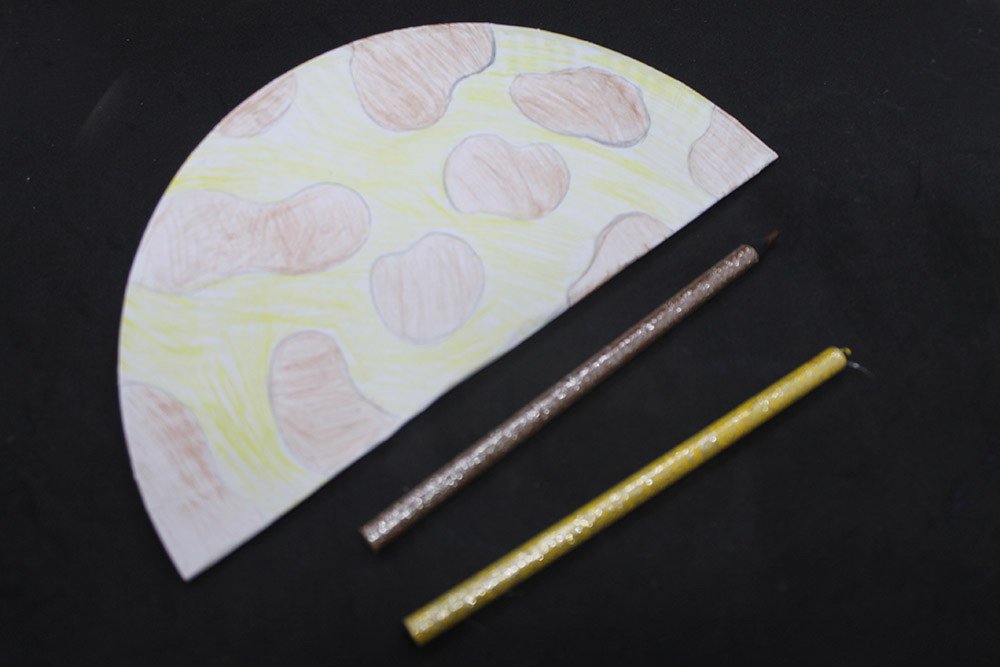
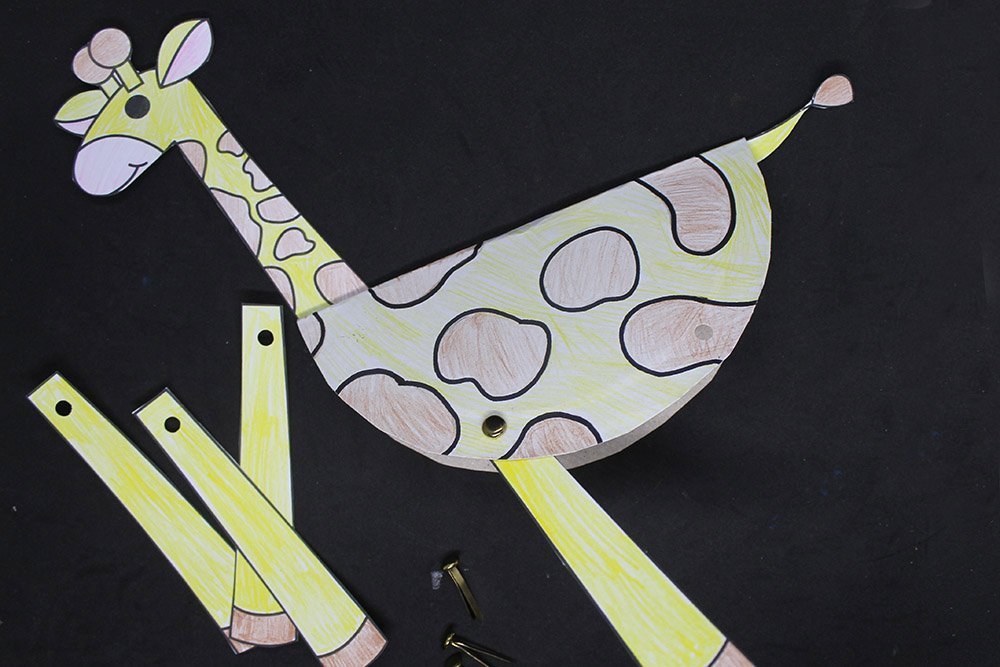
Make the main body of the paper plate giraffe.
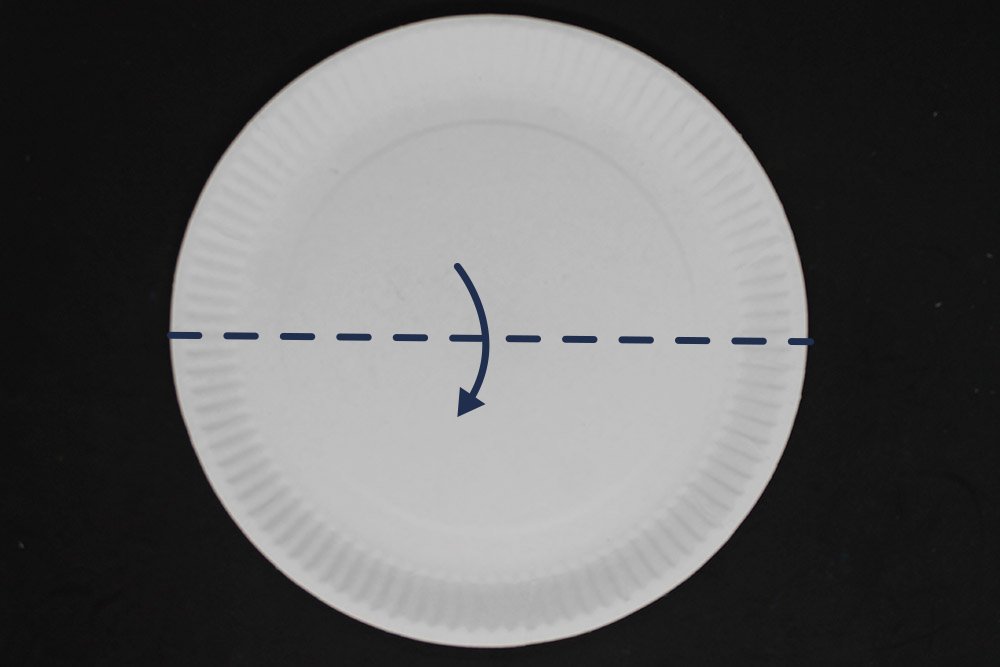
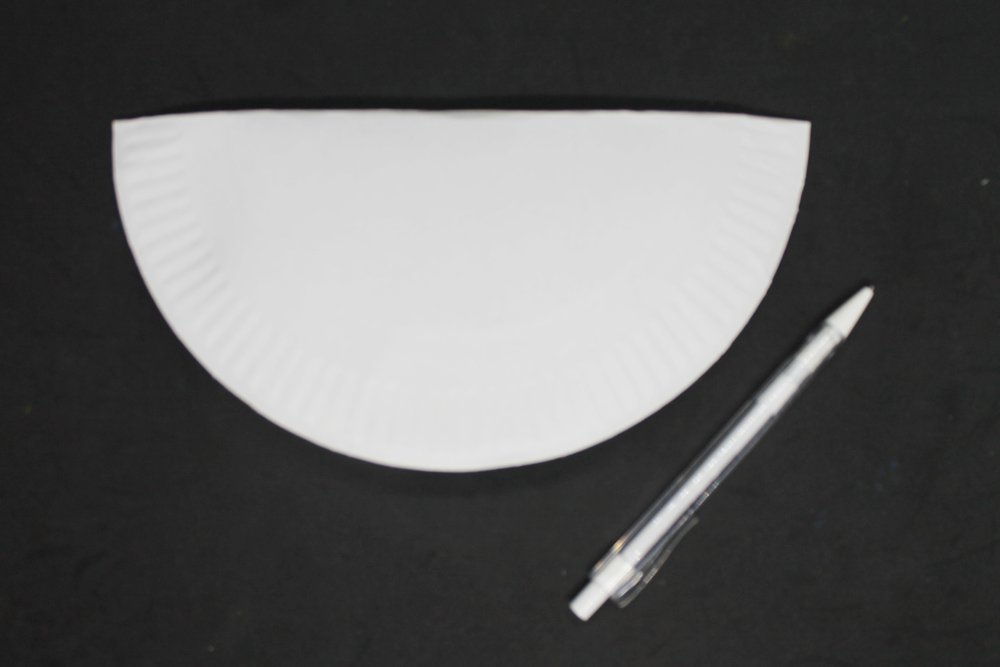
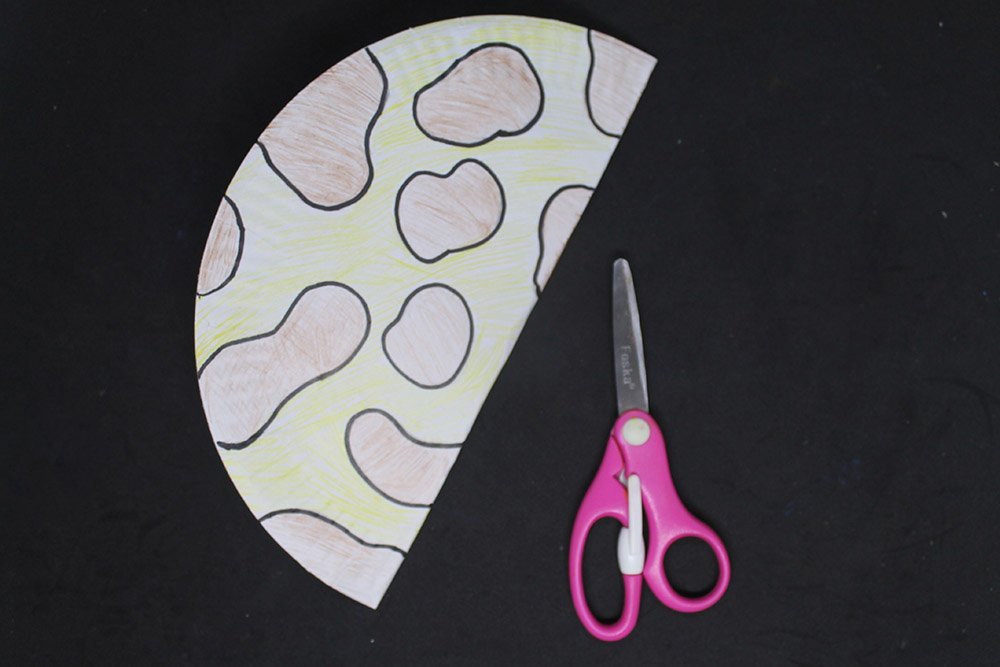
Fold the paper plate in half.
Draw the same patterns of the fur of the giraffe similar to the ones in the printable.
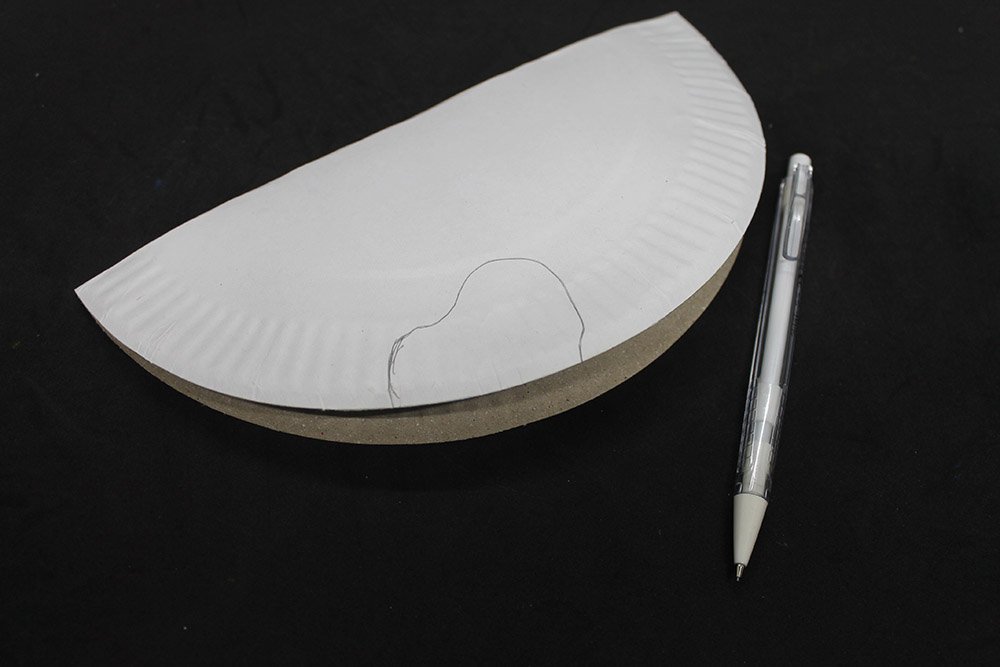
Cover the whole side of the paper plate with a giraffe pattern.
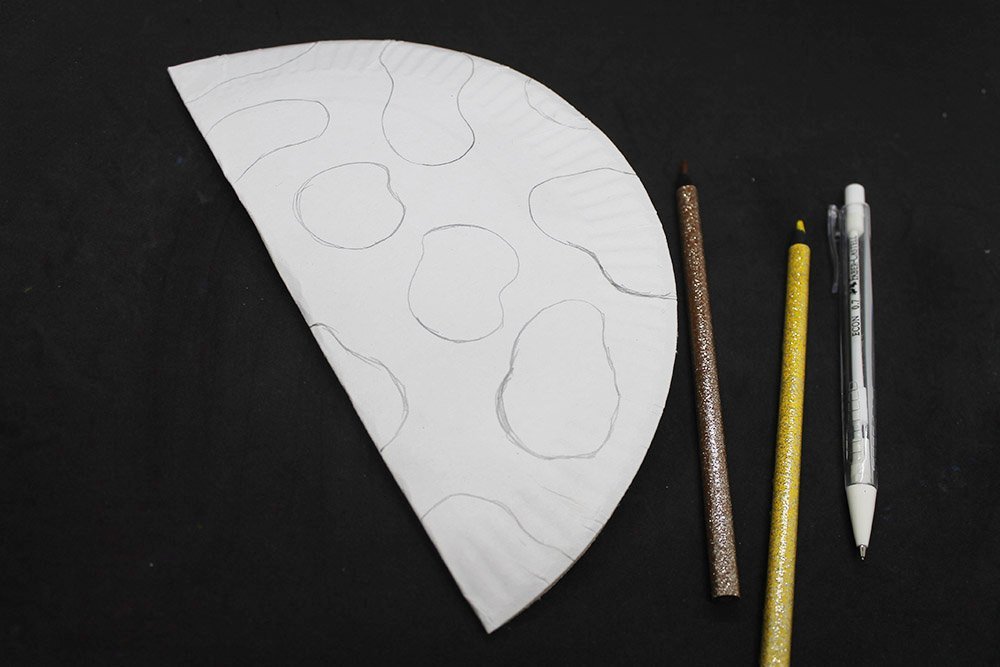
After drawing the pattern, it’s time to color!
Color the body yellow and then color the pattern drawing brown. Use the same coloring materials you used for the printable.
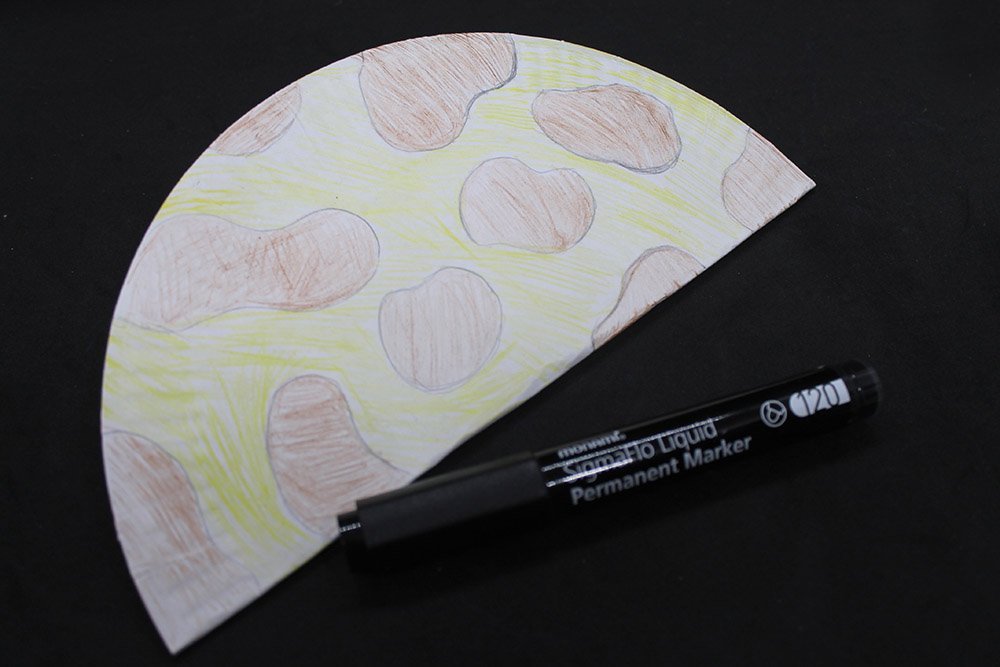
Outline the pattern using a black marker.
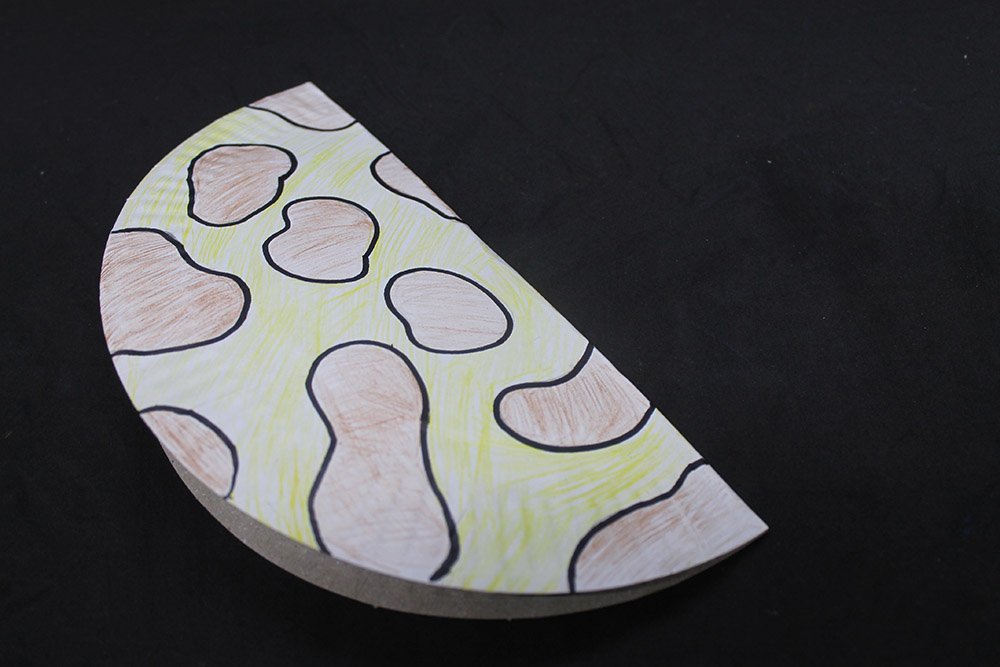
The body of the paper plate is done!
Optional: Trim the body of the giraffe
If the printable is not proportional to the paper plate, then you may trim the edges a bit.
We used a 9-inch paper plate, and it wasn’t that proportional to the printable. What we did is trim an inch off the curved edge.
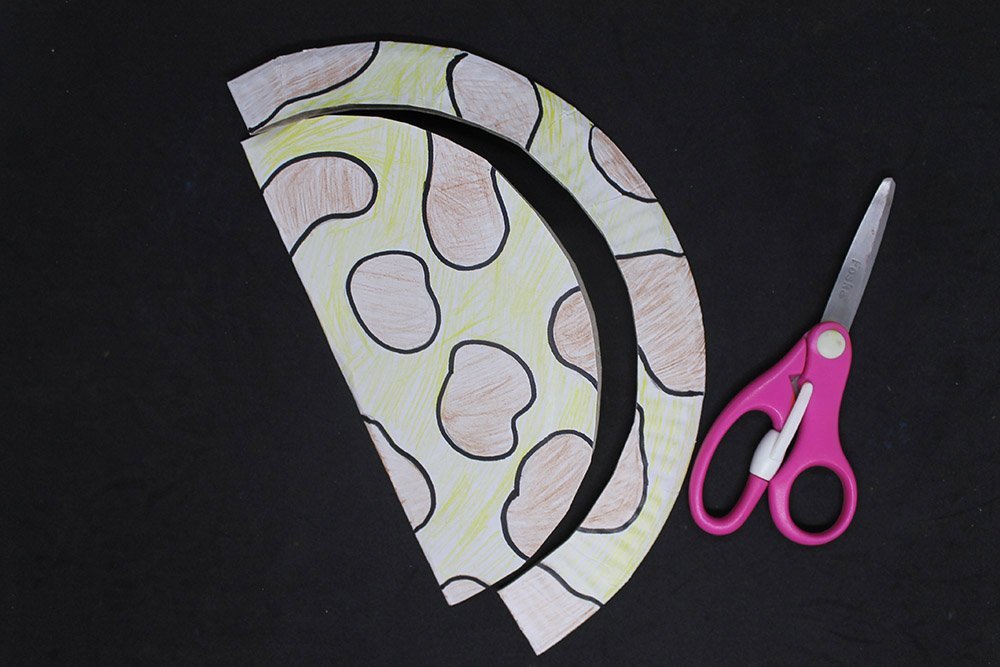
If you’re planning on trimming it, you can trim it like this.
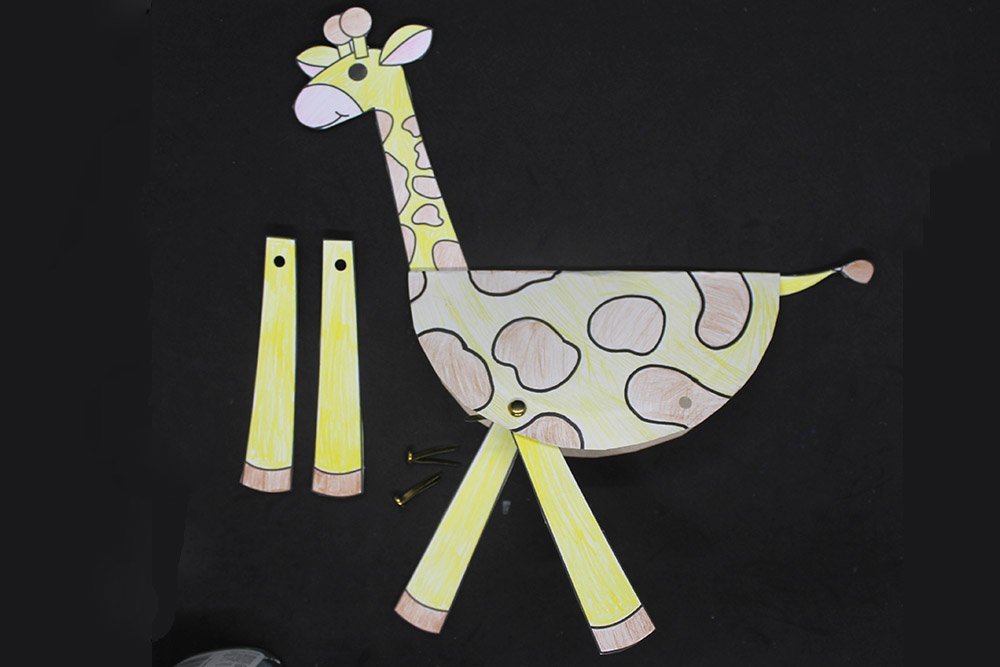
Attach the head of the paper plate giraffe
Stick the head at the back of the paper plate body.
This is what it should look like when the giraffe is flipped. Glue the bottom part of the neck to the back of the paper plate.
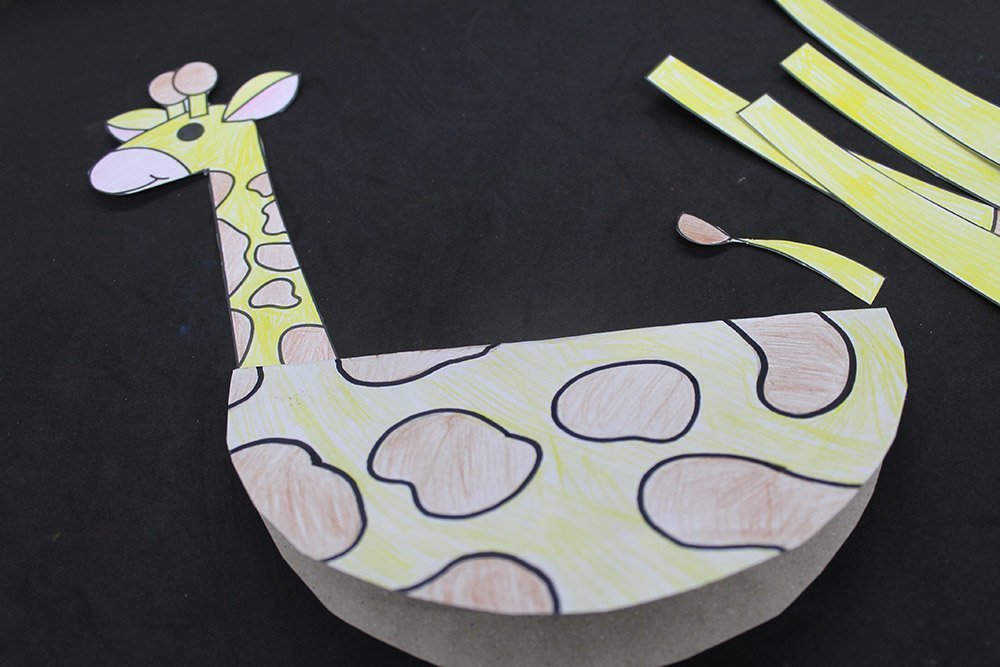
The head is now attached to the body.
Stick the tail of the paper plate giraffe
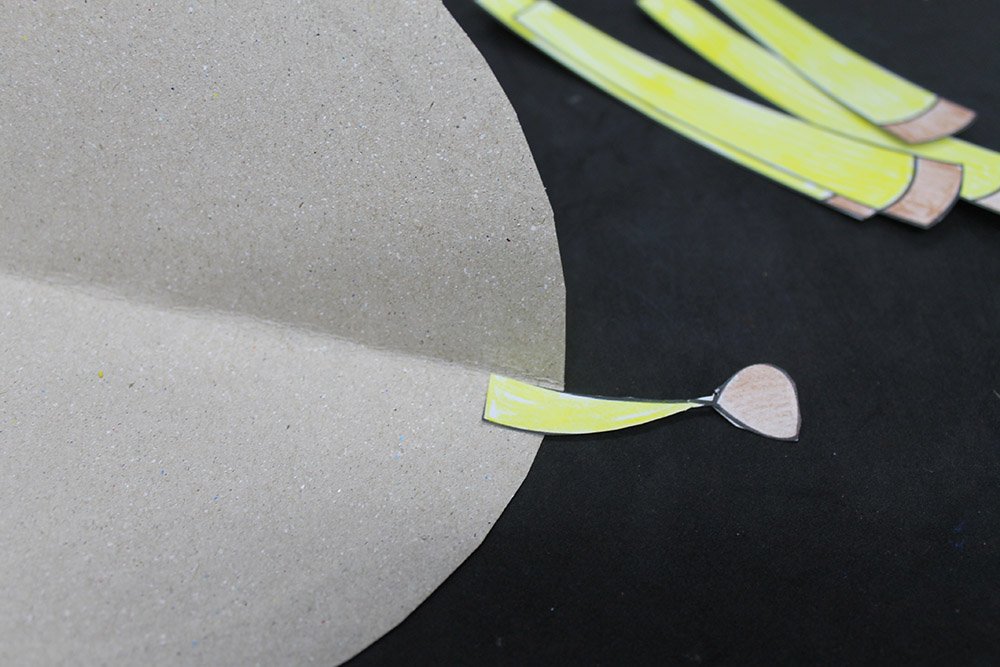
To attach the tail, open up the paper plate, then stick the tail inside.
The tail should look something like this when attached.
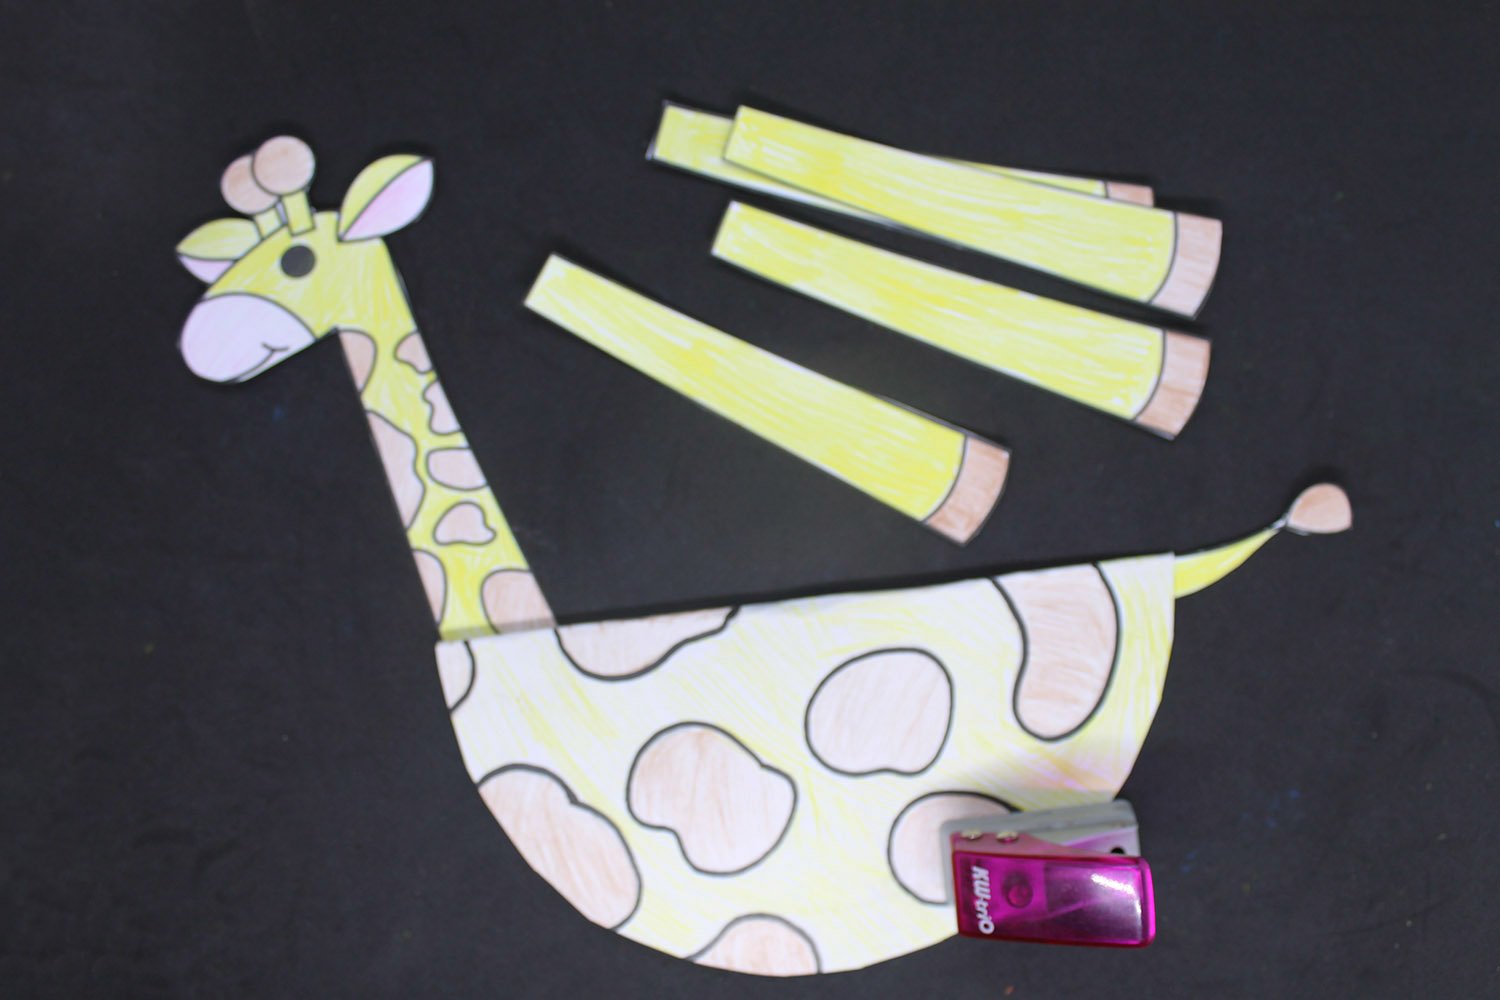
Connect the legs to the paper plate body
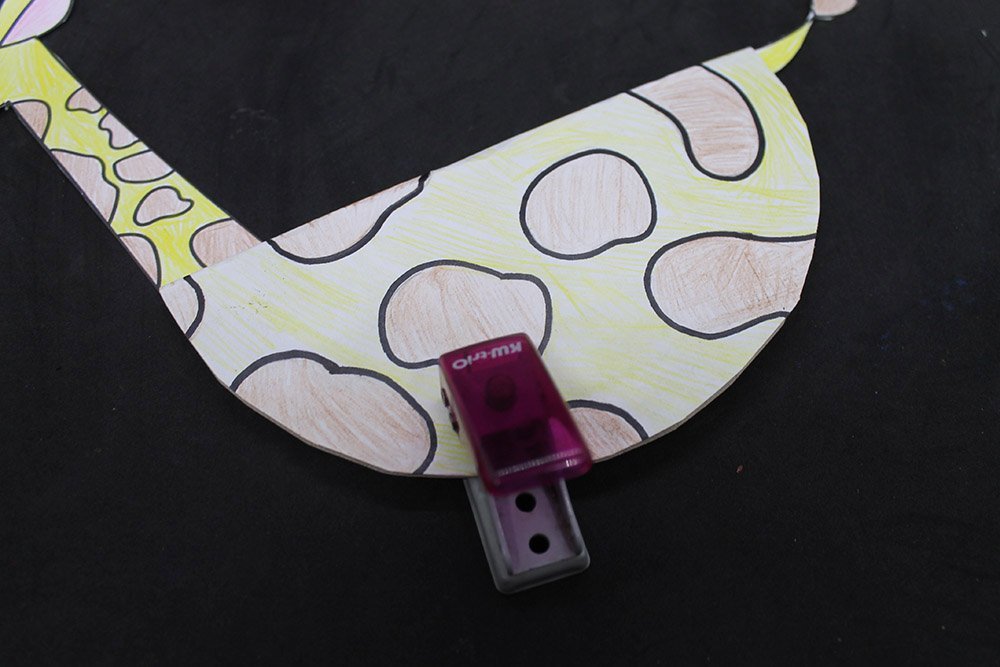
To connect the legs to the body, make 4 holes on the bottom part of the paper plate using a puncher.
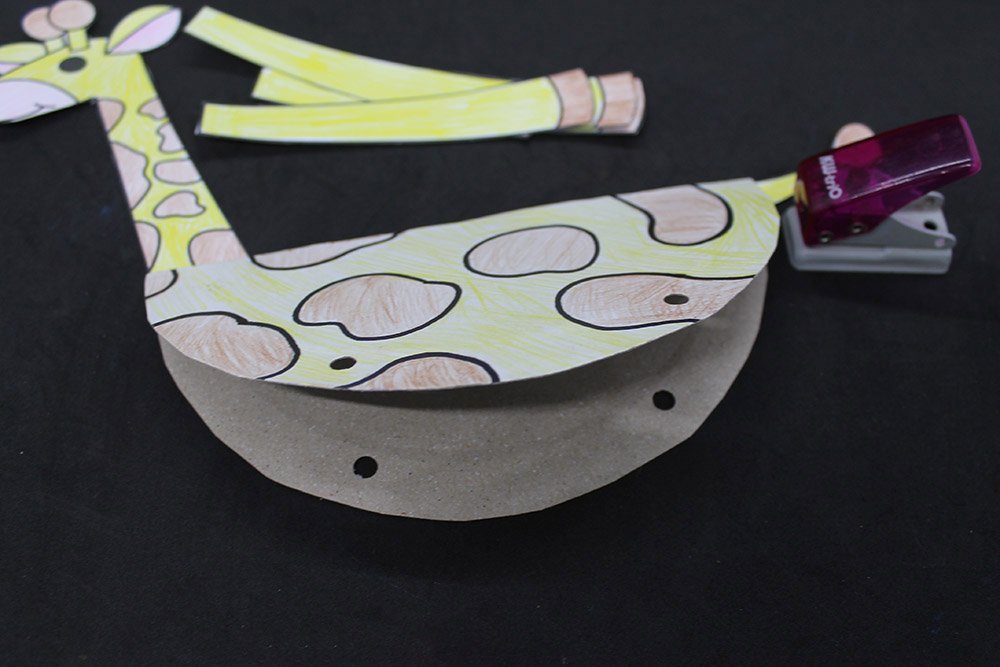
Once punched, the holes should be positioned like this.
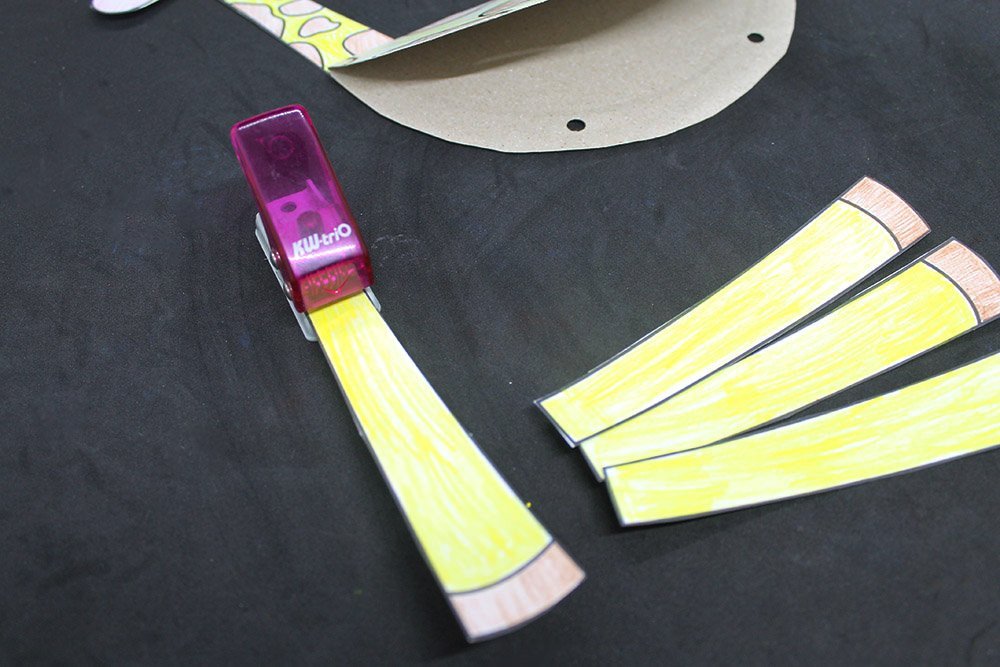
Punch a hole on the top part of a leg of the paper plate giraffe.
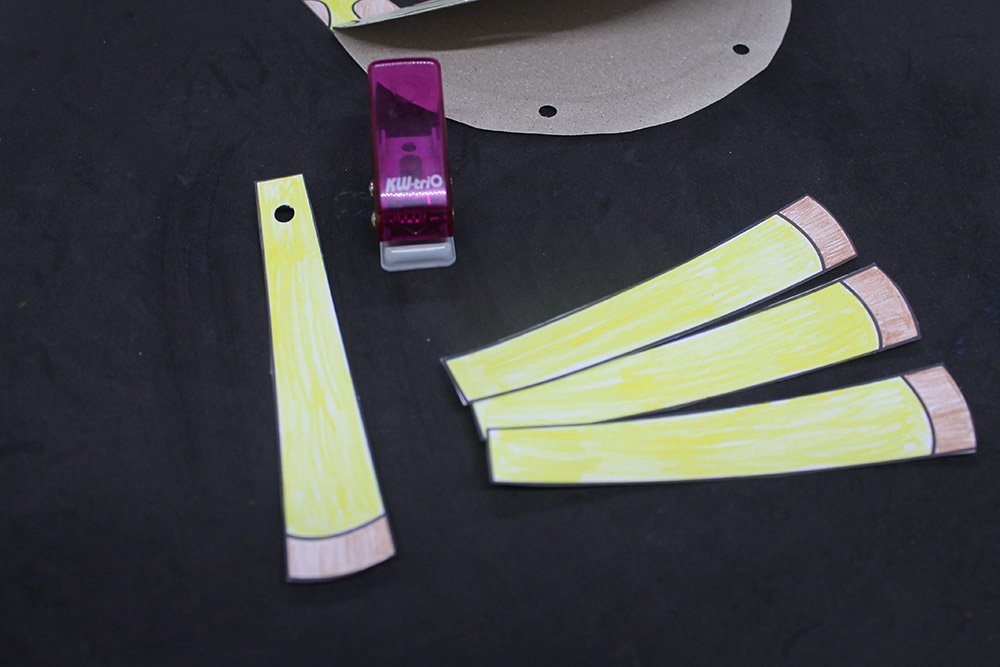
Do the same on all four limbs.
Attach the legs using split pins
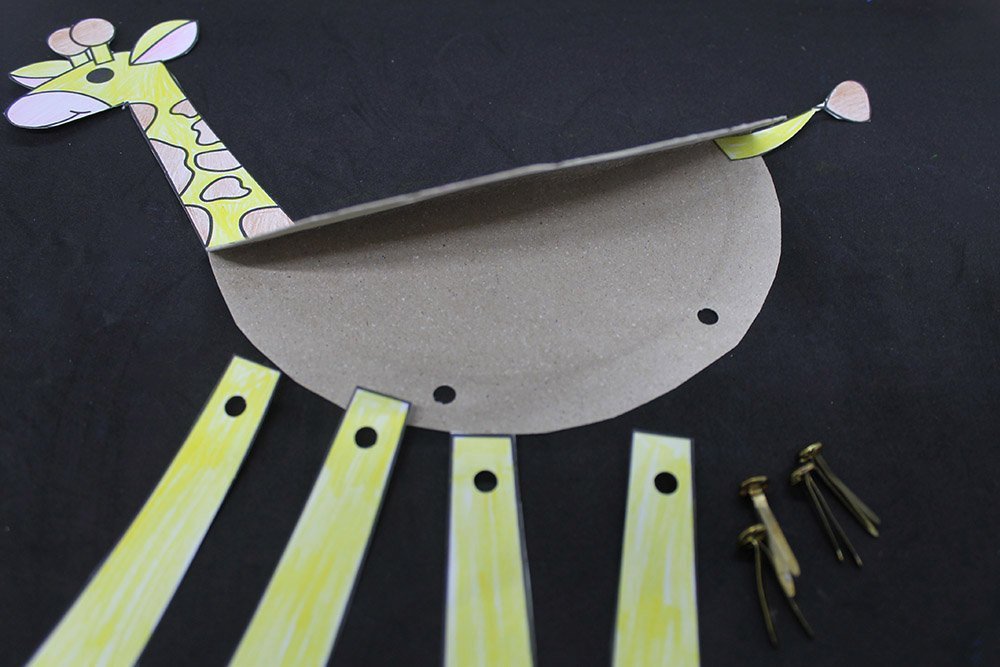
Using split pins, attach each leg to the body.
Attach the top front leg inside using a split pin.

Next, open the paper plate and attach the bottom leg like the sample image above.
The front legs should look similar to the image above. Do the same at the hind legs.
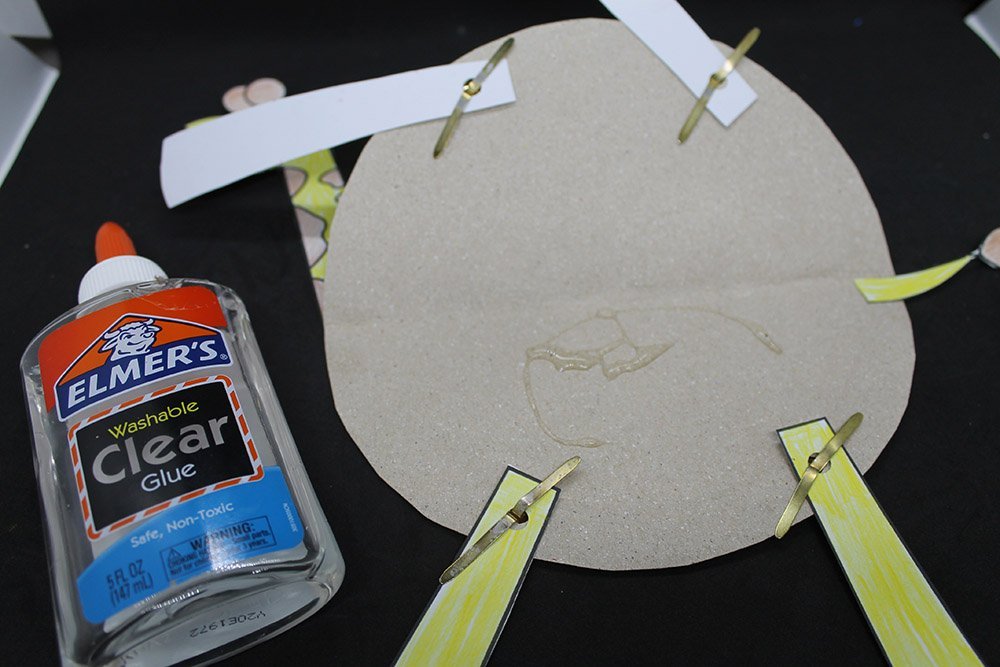
Once all the limbs are attached, put some glue on the center to stick the paper plates together. Do not stick on the edges together of the paper plate. Otherwise, the legs would not move anymore.
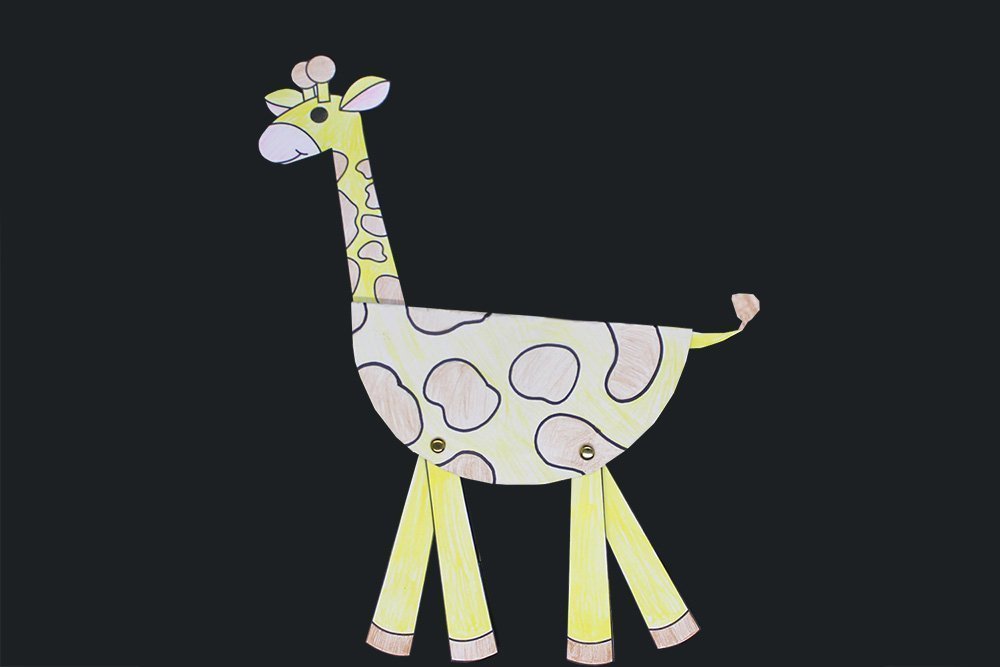
The paper plate giraffe is done!


Thanks for the printable. Mommy did the whole thing aside from coloring the printable😘I recommend this act. for toddlers
Good job, now where can I find other crafts like this with free printables?
Tried other sites for anmal crafts but this is the only that has movalble limbs ahaha
Easy and quite enjoyable. Using a photopaper better
I love it! Other kids my age just face their phone all day nut i want to make crafts; and hopefully sell it.