Make a Paper Plate Hedgehog | Cute Animal Crafts

Introduction:
Making a paper plate hedgehog is easy and fast if you use our awesome guide. All you have to do is follow the simple steps provided and you’ll have a nice hedgehog made with a paper plate!
In order to make the hedge, you must first cut the paper plate multiple times then fold and glue it. You’ll have to paint it of course so that you could create your own hedgehog.
You could modify some steps so that you could up with a unique hedgehog paper plate. And we totally encourage creativity. Anyways, this craft is suited for kids and they’ll surely enjoy making this.
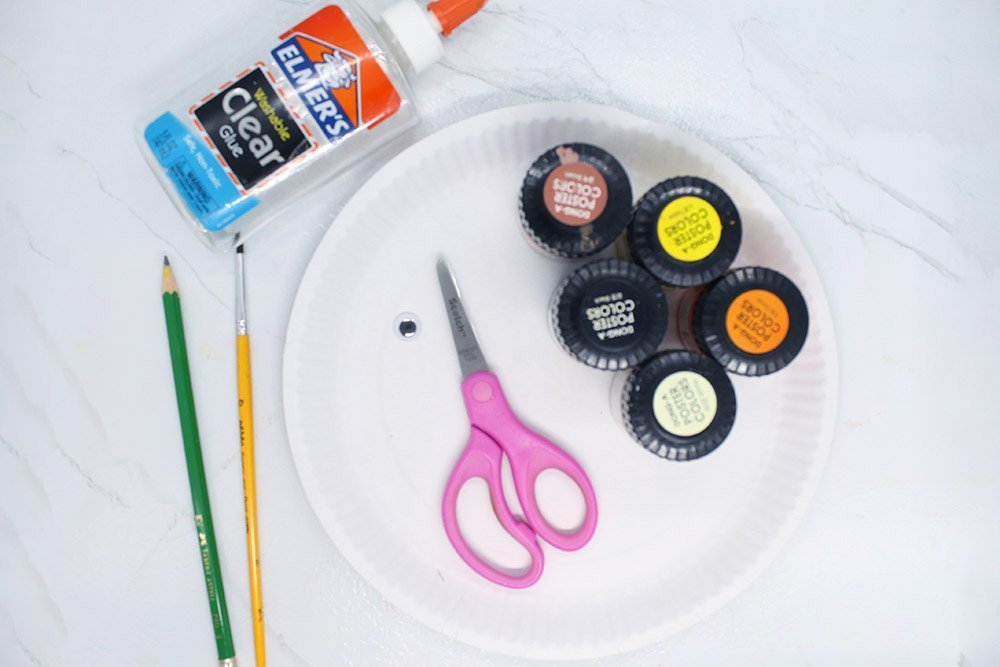
Tools
- Pencil
- Paintbrush
- Scissors
Supplies
- Paper plate
- Glue
- Poster Color
Make the Shape of the Hedgehog

The first thing that you got to do is to get a paper plate. In order to make the hedgehog, you must then fold it so that you could see the brown side of the paper plate.
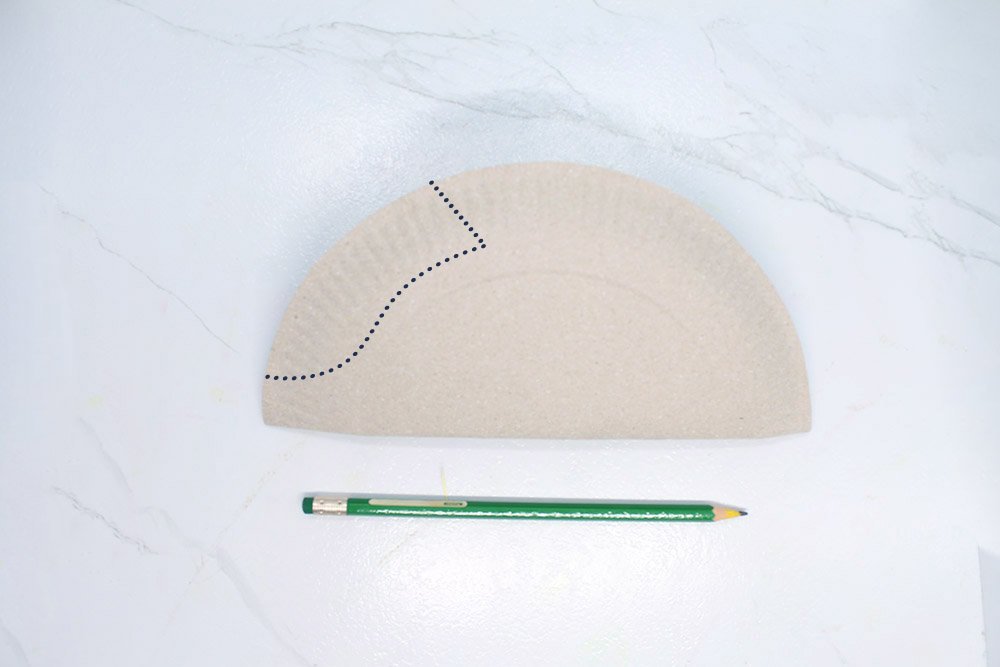
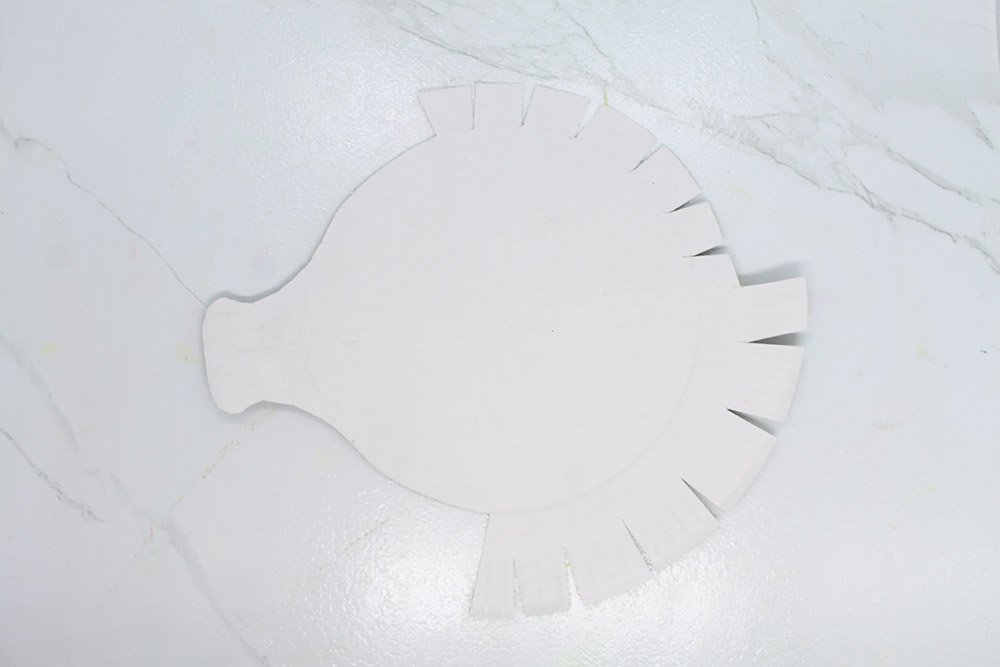
After folding the paper plate, take note of the dotted lines in the image above. The hedgehog requires that the paper plate be cut.
Now, after taking a close look at the dotted lines please draw on your paper plate. You'll need to draw first because it would be easier to cut with lines to follow.
Also, it's important to make a circle at the lower left end of the paper plate.. This will be the nose of the hedgehog later on.

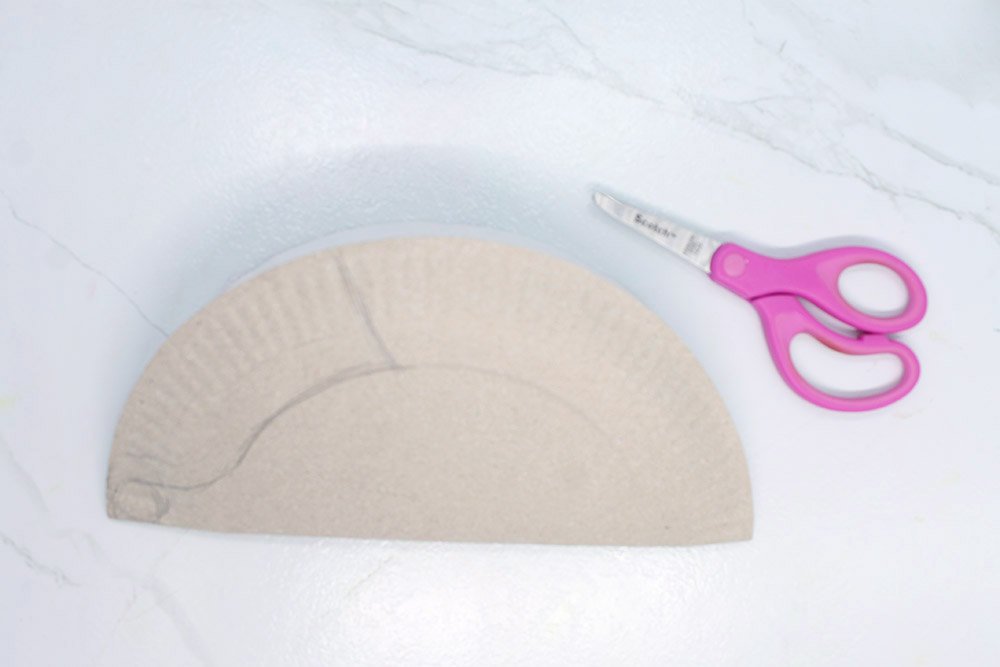
Then, using your drawing as a guide please cut so that your paper plate will resemble a hedgehog.
Make Spines the Spines of the Hedge Hog
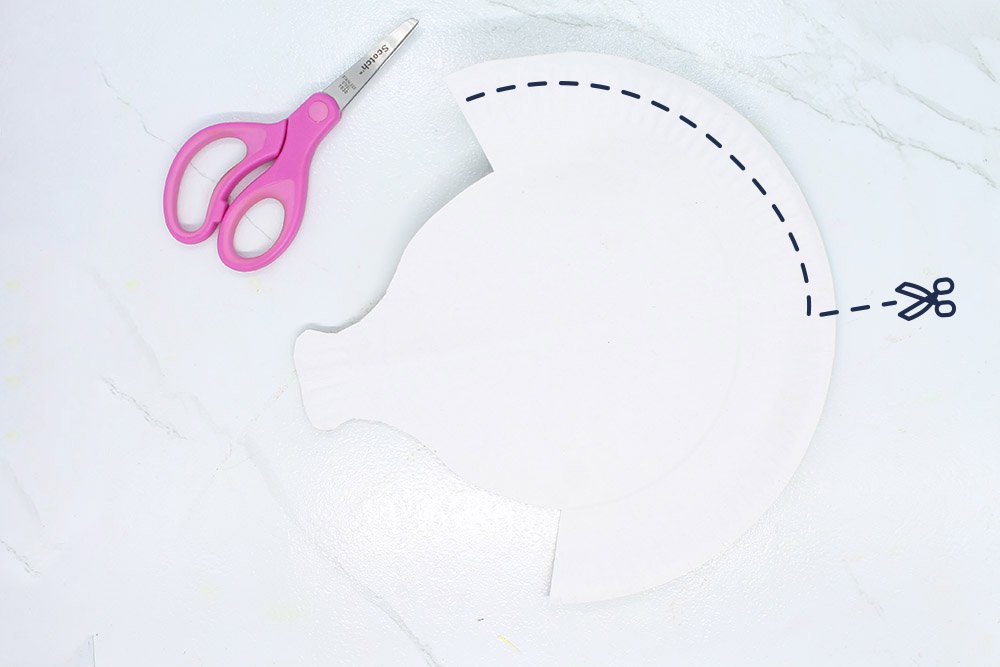
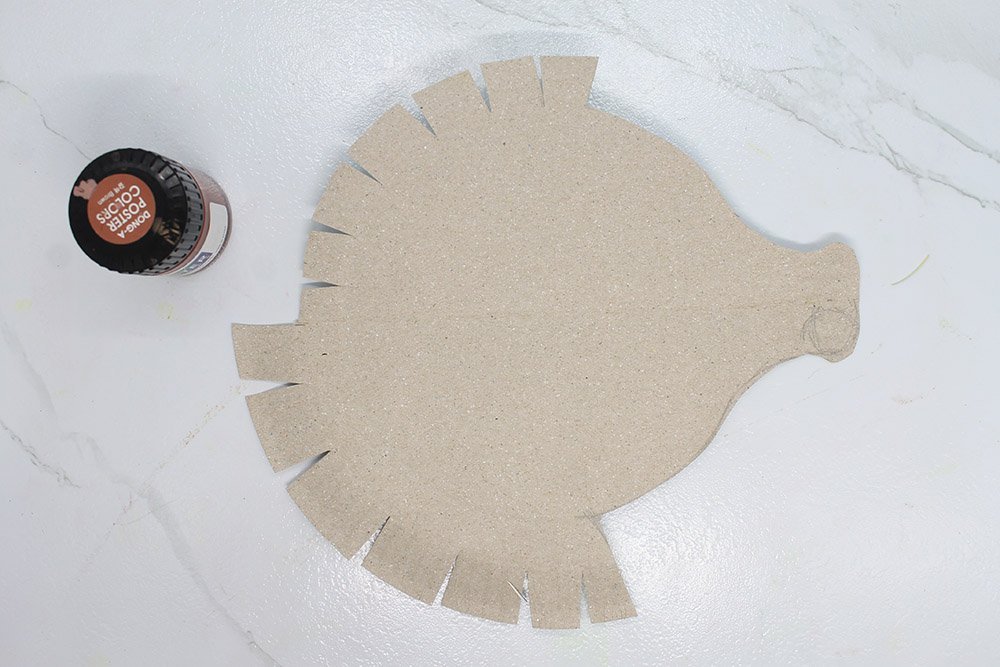
Take a close look at the dashed lines in the picture above. You will be cutting your paper plate along those lines. This step is for aesthetics, as you will see later on.

Then your next goal is to make the spines of the hedgehog. In order to do that, you must first take a close inspection of the image above. To make the spikes, cut triangles out of the paper plate.
Then cut lots of triangles out of the paper plate. Good job so far with the craft! Now it's time to move to the next step.
Fold the Paper Plate
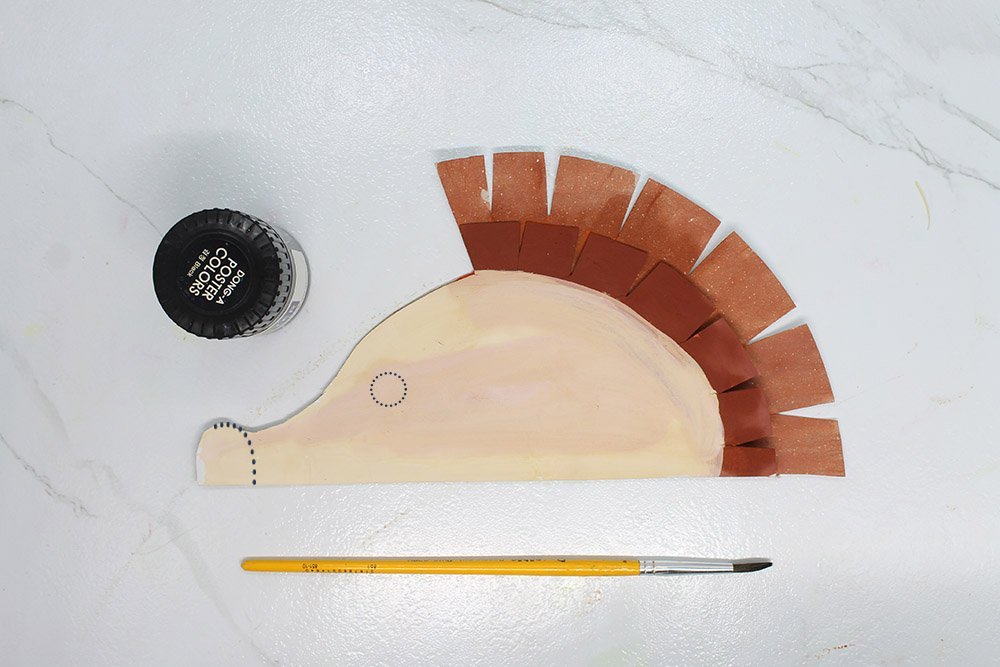
Right now you should open the brown side of the paper plate. And get your brown paint.

Paint the larger spine brown but leave the other group of spikes alone. Then begin to fold it in half after putting glue around the middle of the plate.
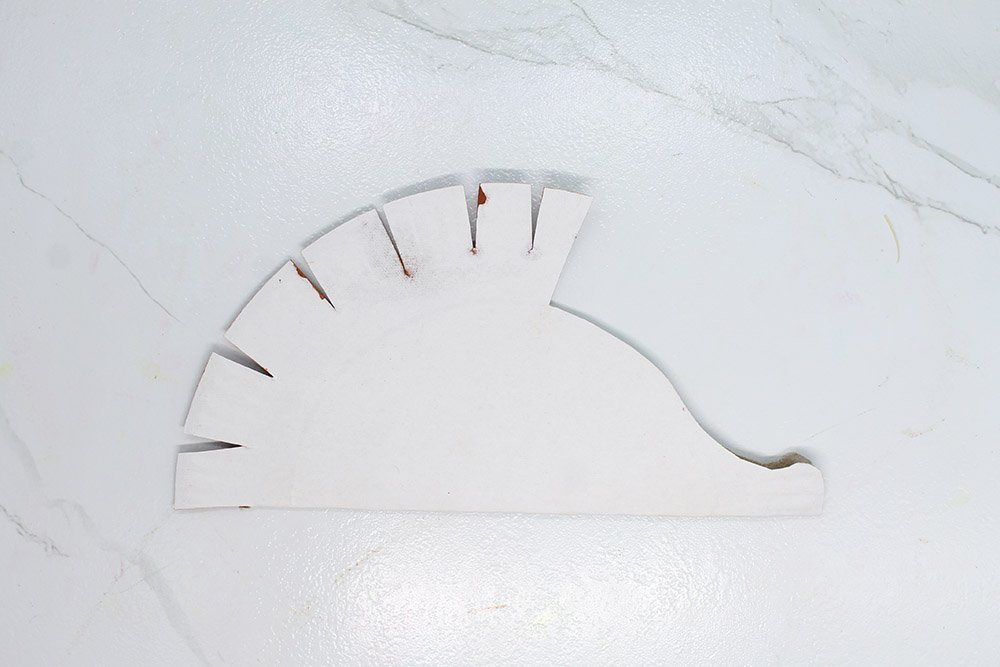
The glue would need time to harden so apply pressure on the folded plate for a short time. After that, you should have something like in the image above.
Paint the Hedgehog Paper Plate

Flip the hedgehog so that you could see the other side. You will be working on this side only from now on. Paint the spines, or hair, of the hedgehog dark brown.
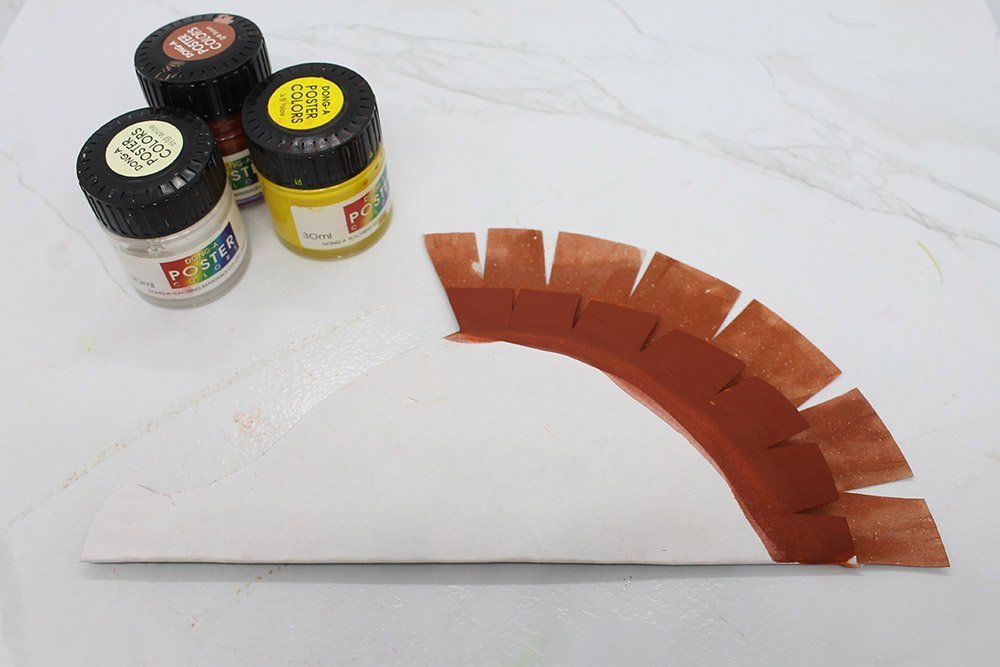
Next, let the paint dry for a bit. Then get three poster paints - yellow, brown, and white. You are almost finished with the craft.
Your next step would be to paint the hedgehog a light brown. In order to do that, you could combine your brown and white paint together first. You would be painting the nose, eyes, and ears next.
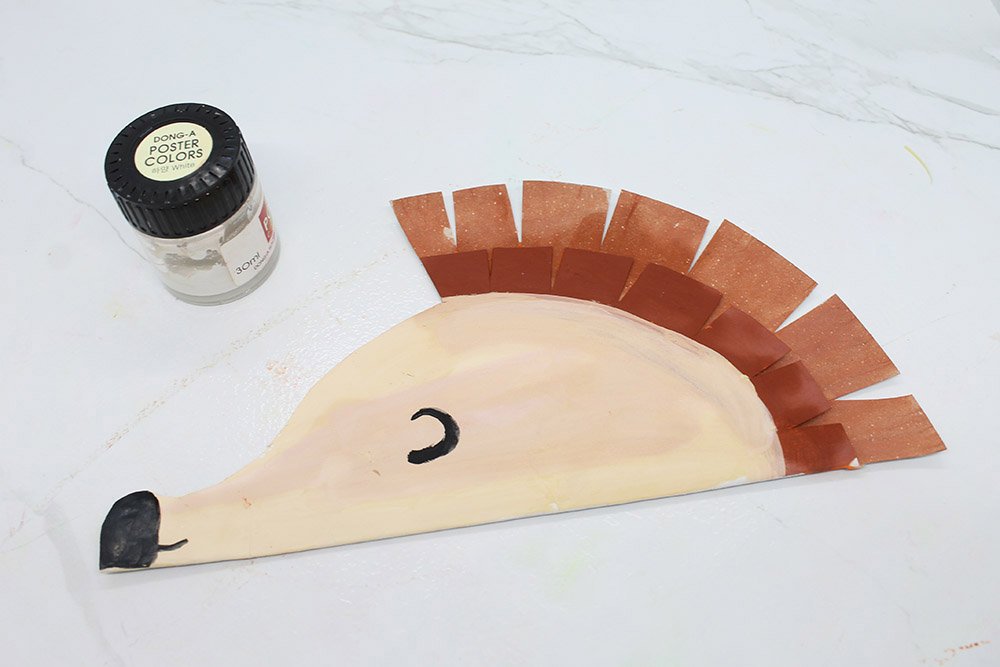
And then, with the use of your black paint, make the nose and ears of the hedgehog.
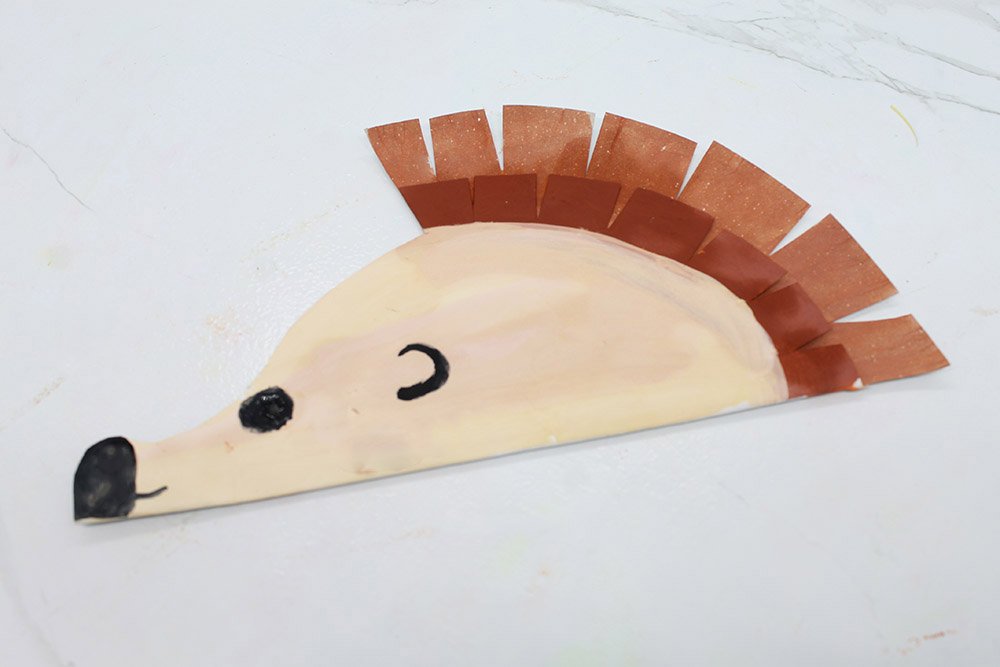
Don't forget to add the eyes of the hedgehog.

This time, you will be using white paint to add details to the eyes and noes.
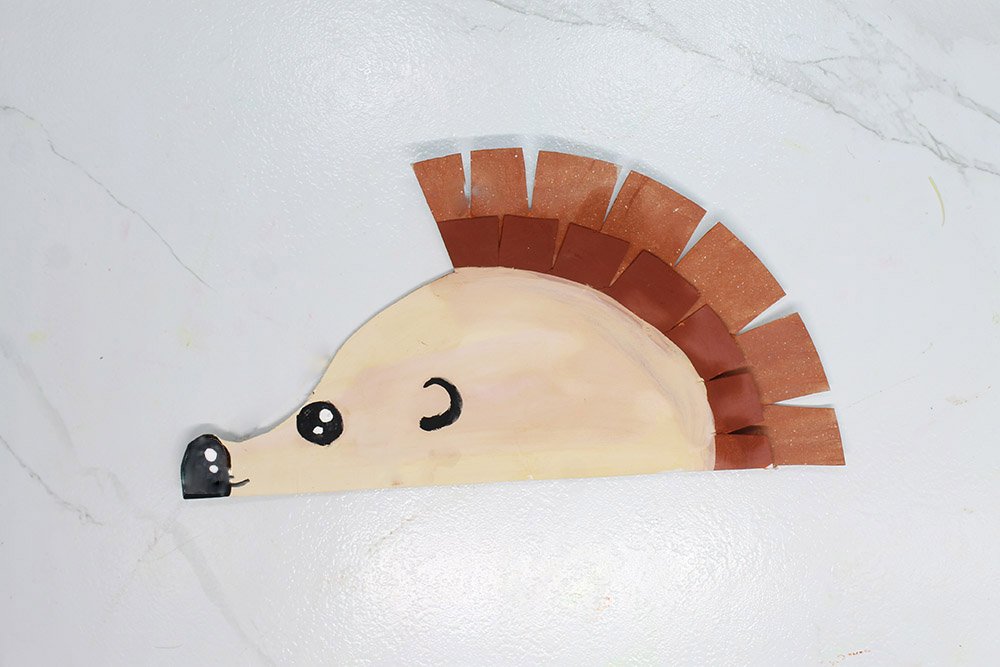
Make the hedgehog paper plate cuter by adding white circles in the eyes and nose of the hedgehog. Congratulations for making the craft - we hope you had fun!
For more cool paper plate crafts for kids, check out our guides below. Also, don't forget to drop a comment below.
Extra Tips
- Scissors are tools that must be used with training if kids are involved.
- If you don't have poster paint you can use poster colors or other coloring materials instead.
- One thing you can modify in this craft is the back of the hedgehog. Plus, you can add more details to your hedgehog.


Awesome guide, didn’t think it was possible to make it… now i think u can create everything with paper plates ahaha
Yup, they got it all! ahaha
I tried making the spines triangular. Bsically i had to make the cuts larger on the hog’s back and it looked more cartoonish. It looks great for me
🤩 thanks for sharing this guide – my baby wanted a more realistic hedgehog but i convinced him that the one i made was perfect. and he fell for it ahaahh
I like the simplicity among other thigns. mine turned out good
darn it’s so cute