Paper Plate Clock | Rainbow Flower Craft

Introduction:
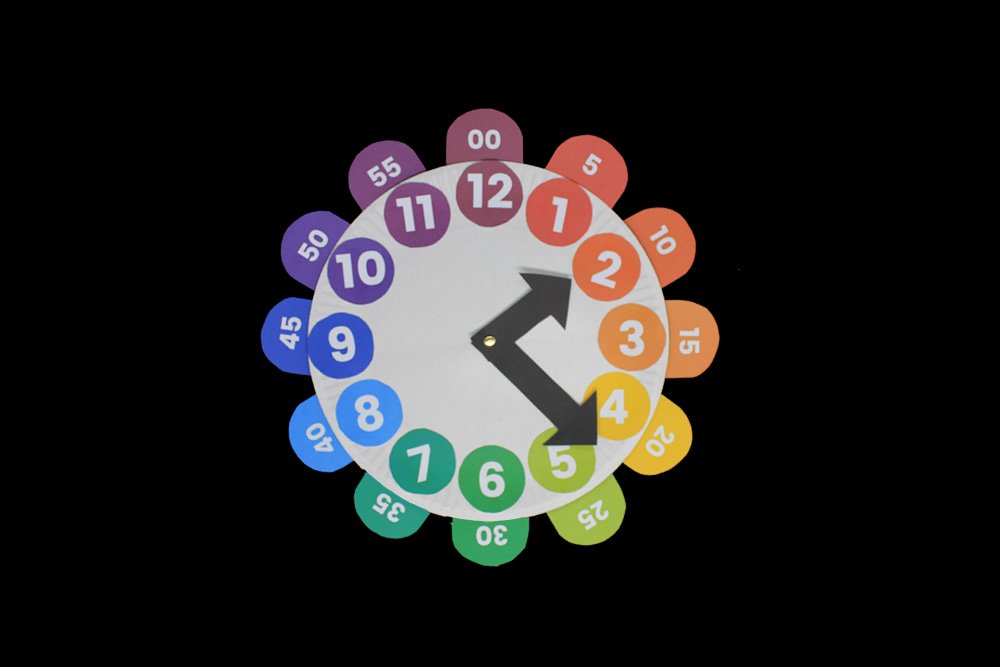
Create a beautiful paper plate clock that looks like a rainbow-colored flower! One of the most important lessons a developing child must learn is how to read the time. For kids to learn how to read time, they must be familiar first with the analog clock. The analog clock is the best way for kids to understand time because of the “moving hands”. Familiarizing an analog clock can help children understand how the hours and minutes are sectioned and how the 5 mins are divided into an hour.
For this craft project, we have come up with an activity that helps parents, teachers, or guardians teach the kids how to read the time. With this DIY paper plate clock, they’ll be able to interact and learn how the clock works and how it is read (with the help of a guardian/teacher). The free printable available will also help them familiarize the hour and minutes because the colors of each minute match the color of the hours it corresponds to.
What’s also great about this activity is that once finished, it also serves as a lovely flower decoration that makes any room beautiful.
Tools
- Scissors
- A pen or something sharp to puncture the paper plate
- Any analog Clock for reference
Supplies
- Paper Plate
- Slit pin or split rivet
- Glue
- Printable – A4 Size (download by clicking the green download button below)

Download Area
Download TemplatePrint and cut out the HOUR printable of the paper plate clock
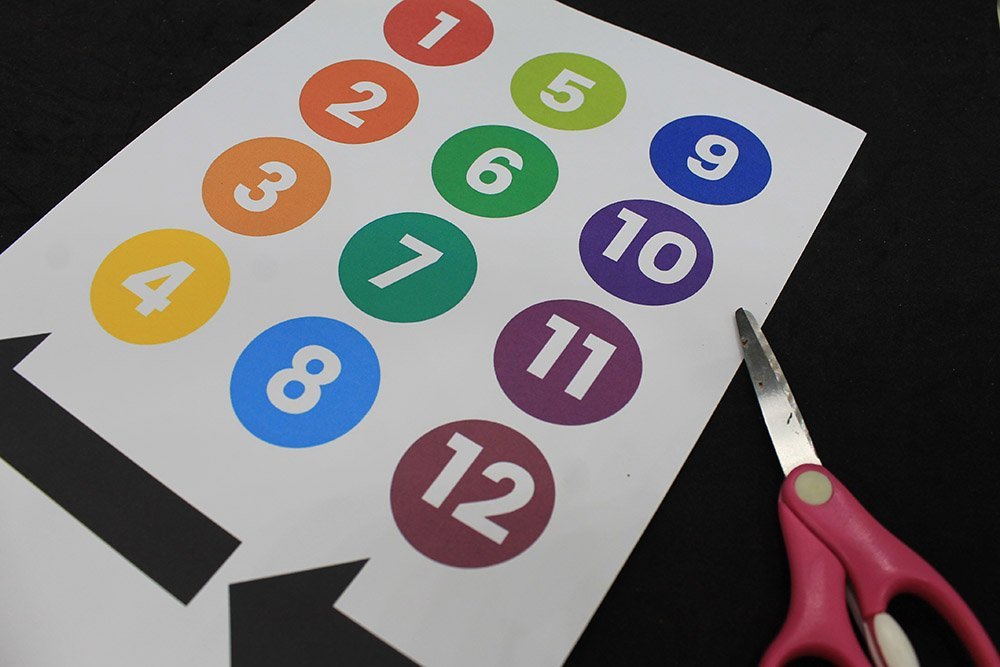
The first page of the printable is the hours of the analog clock as well as the hands for the hours and minutes. Cut each of the circles and arrows using a pair of scissors.
Each number follows the sequence color of the rainbow. When doing this activity with kids, you may use these printable as a way for them to familiarize various colors.
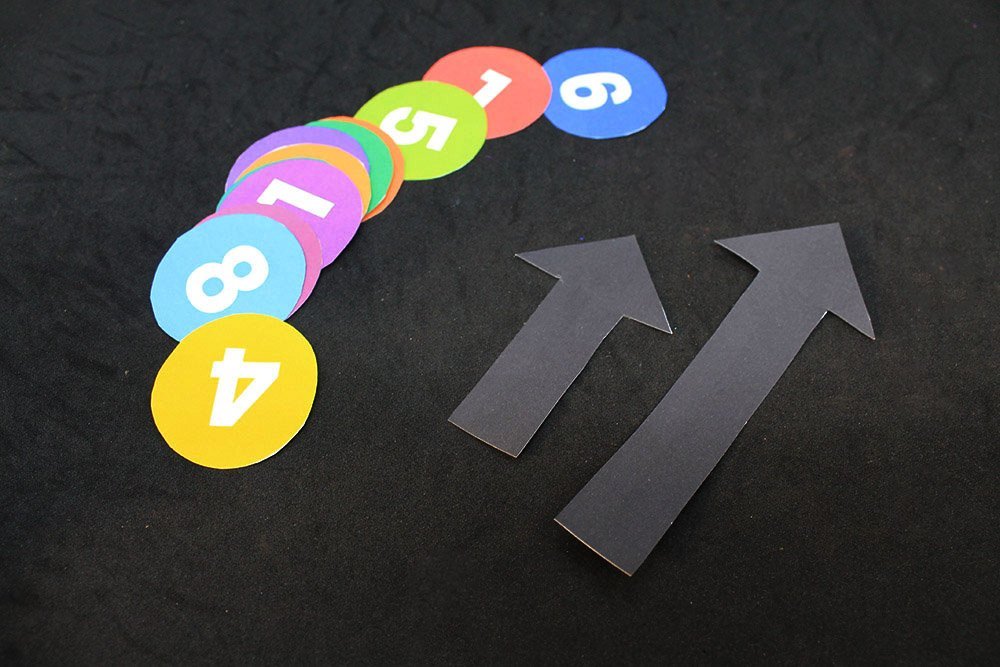
Once cut, it should look like the sample image above. Set it aside for now.
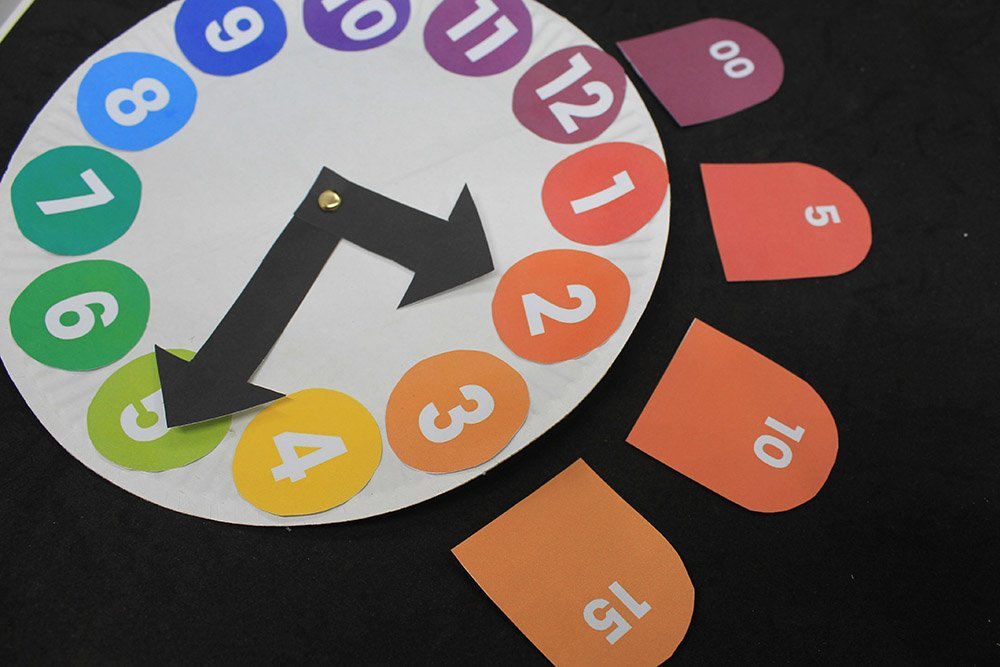
Print and cut out the MINUTE printable of the paper plate clock
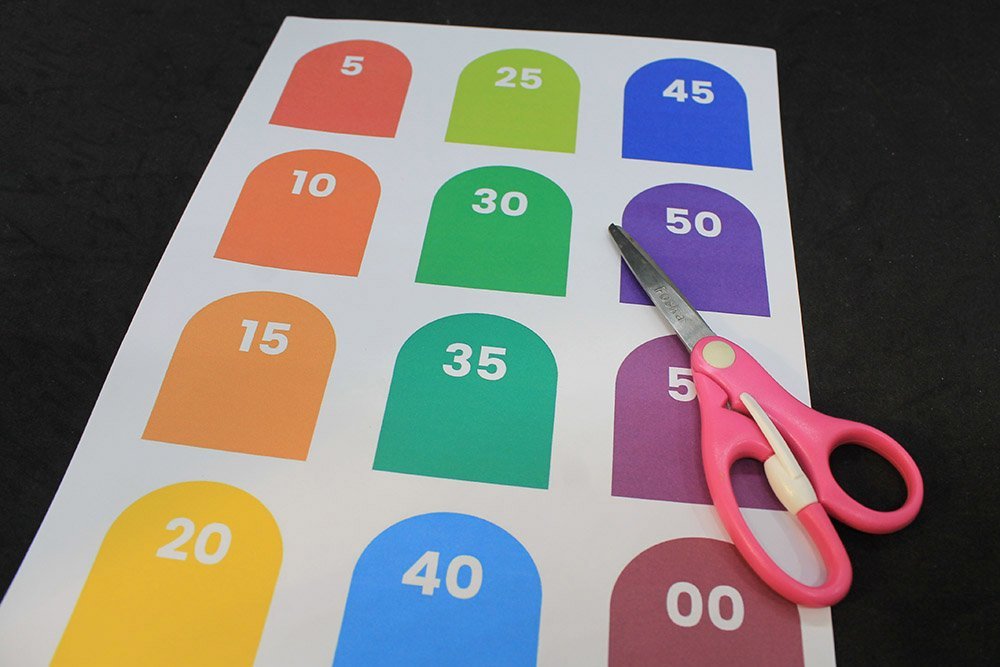
The second page of the downloadable printable is the minutes. They have the same color as the HOURS they match with from the 1st page. Cut it as well. using a pair of scissors.
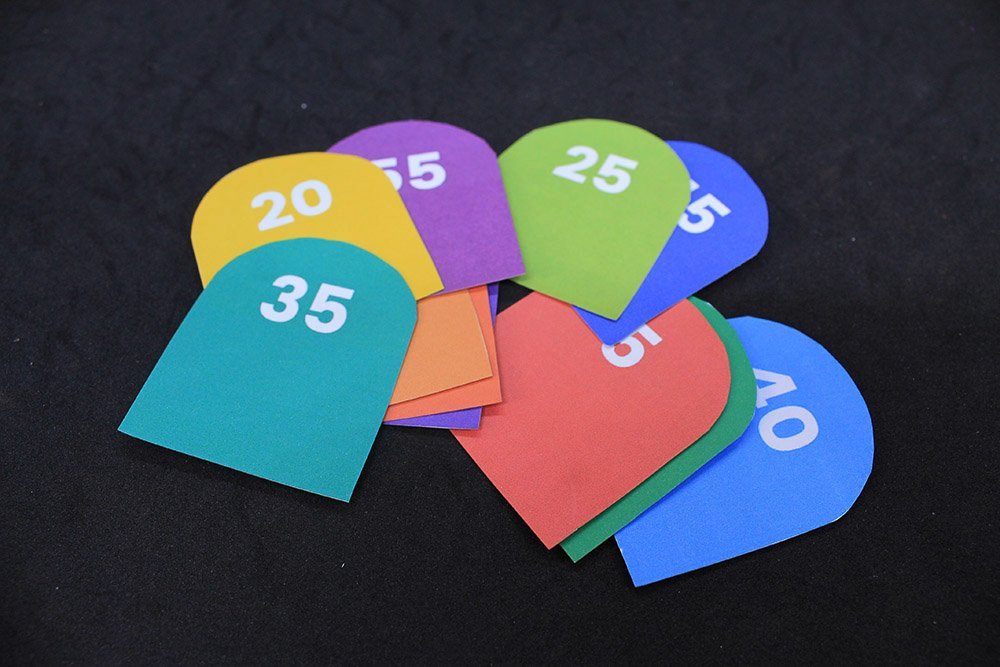
Once cut, it should look like this. They are meant to be shaped like flowers petals so that the finished product looks like a pretty paper plater flower. Set it aside for now.
Attach the hands of the analog clock to the paper plate
Now grab a paper plate. This will be the base of the clock and where the printable will be glued.
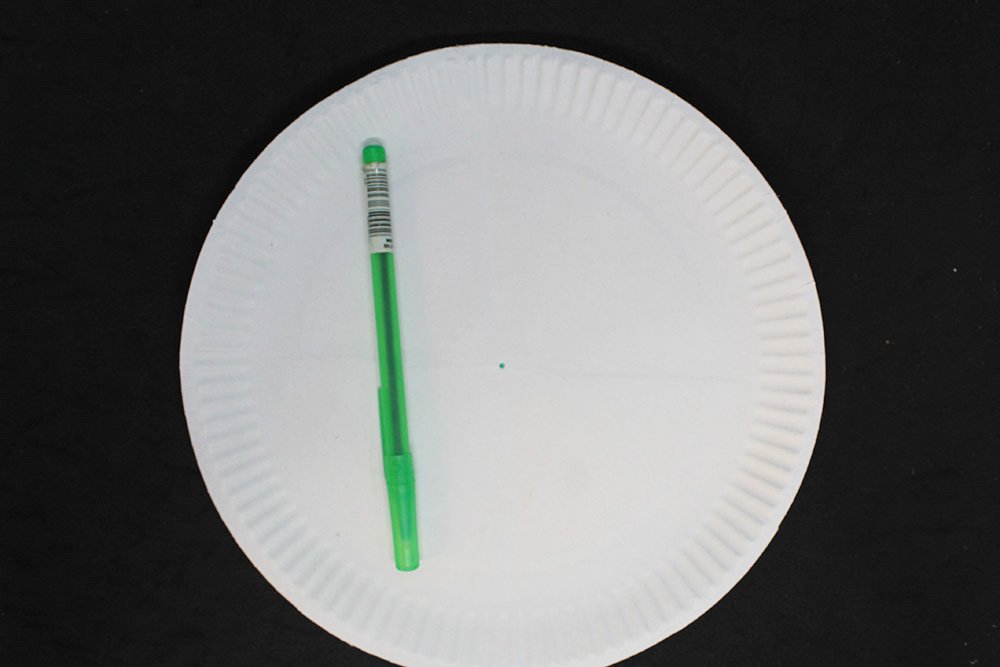
Puncture the center of the paper plate with a sharp object like a pen.
To find the center you may fold and unfold the paper plate in half to find where the crease intersects or you may use a ruler.
Make a small hole by running through the sharp tip of a pen.
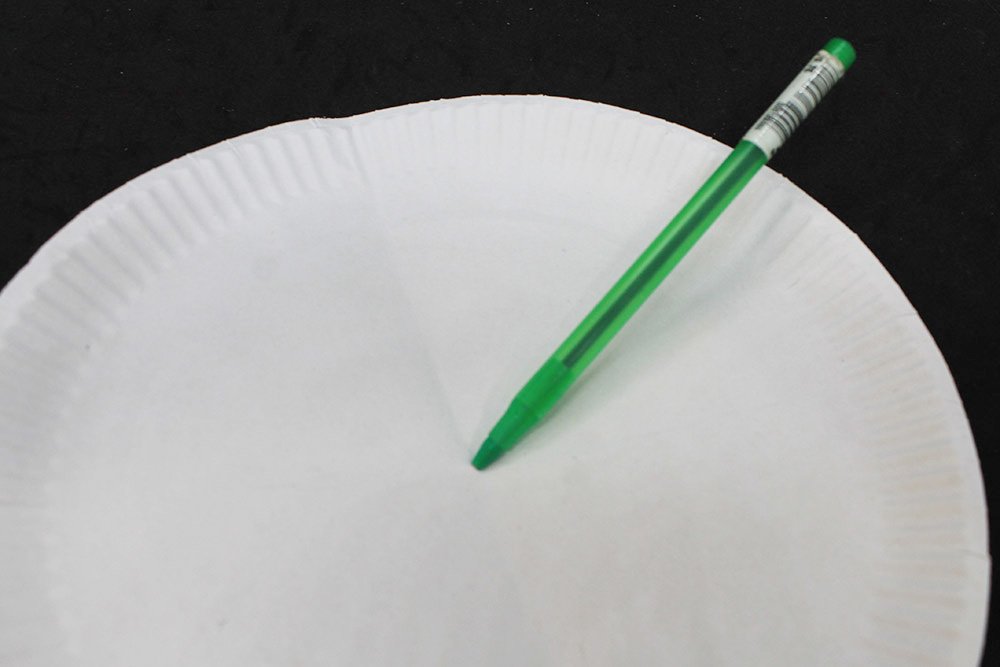
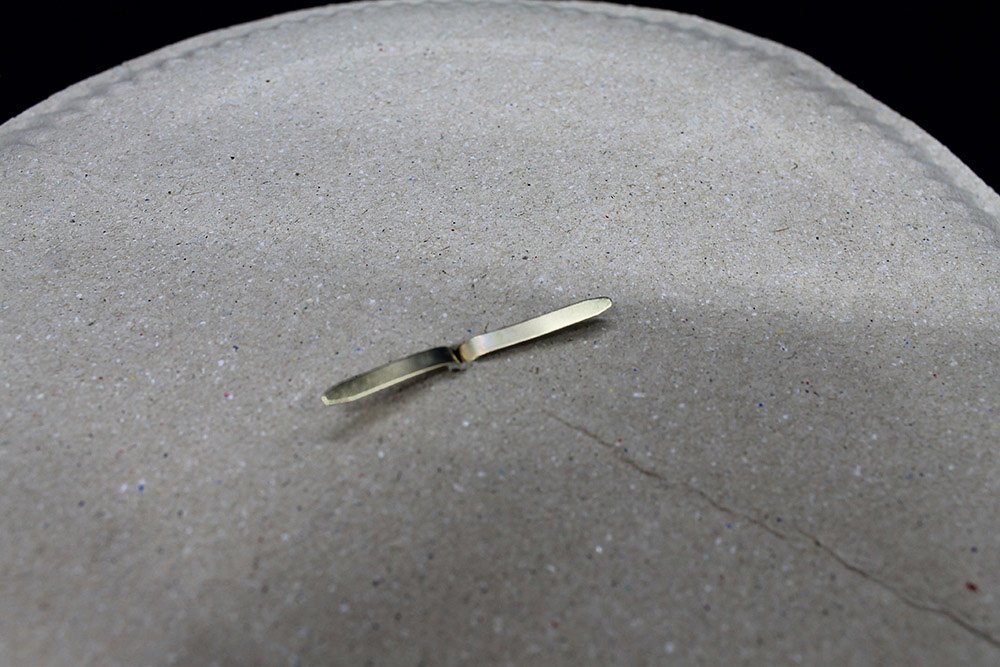
Once you have punctured a small hole in the center, get the arrows and a piece of split pin.
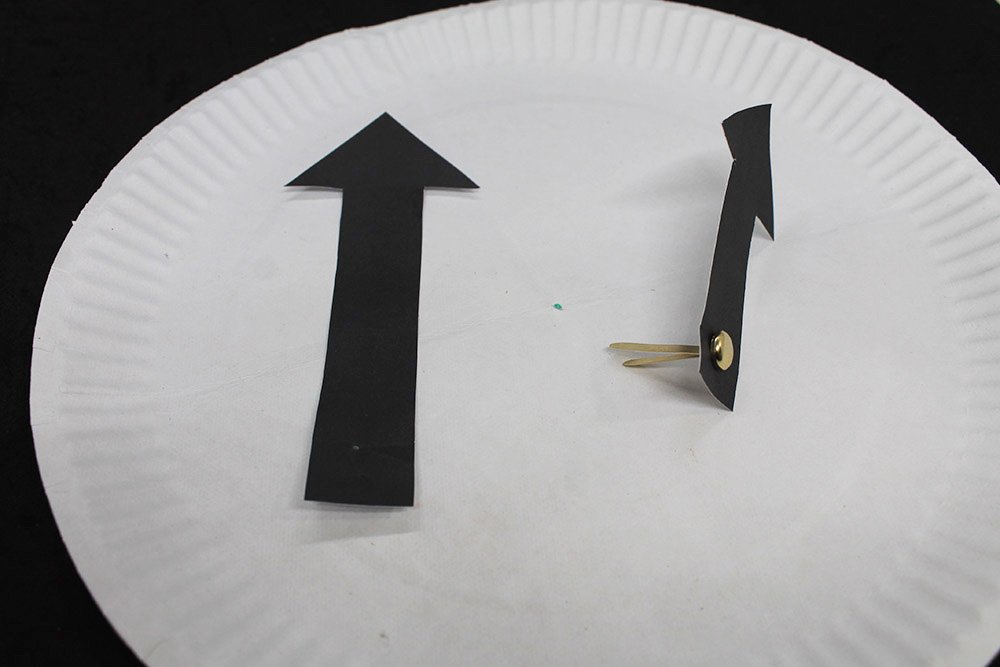
Run through the split pin to the end of the shorter arrow. You may use the pen to puncture a hole in the arrow if the split pin cannot pass through the arrow cutout well.

Next, run through the end of the longer arrow with the same split pin.
Now run it through the paper plate.
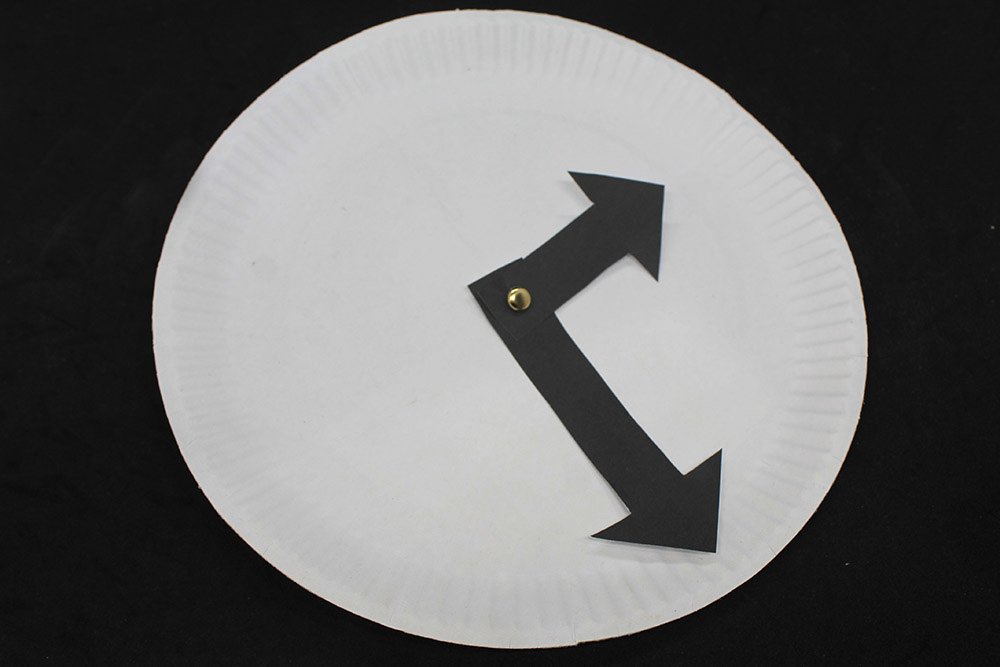
It should now look similar to the image above. Flip the paper plate over.
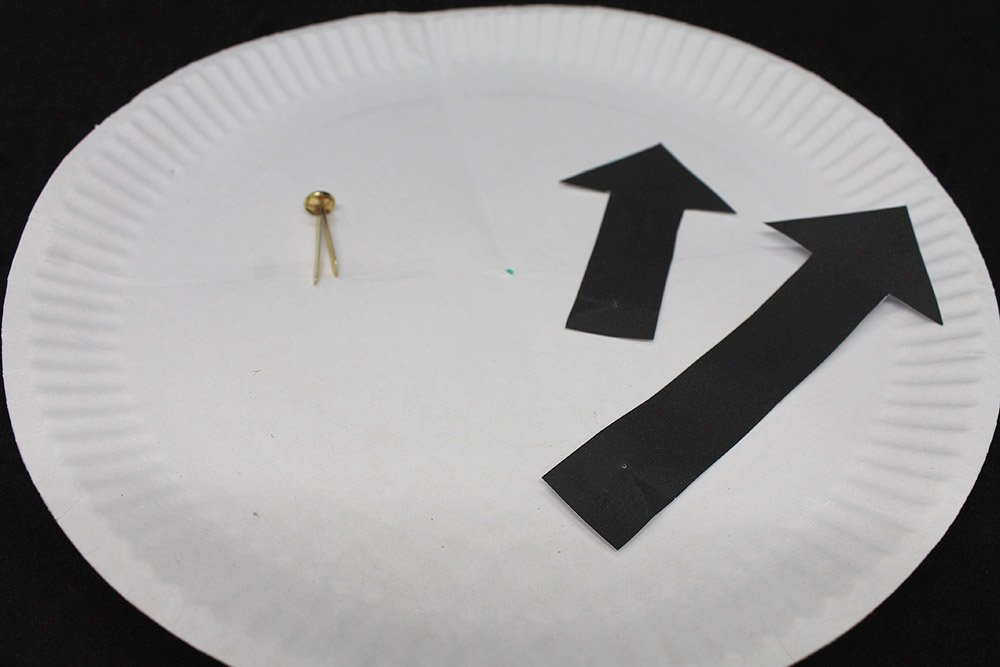
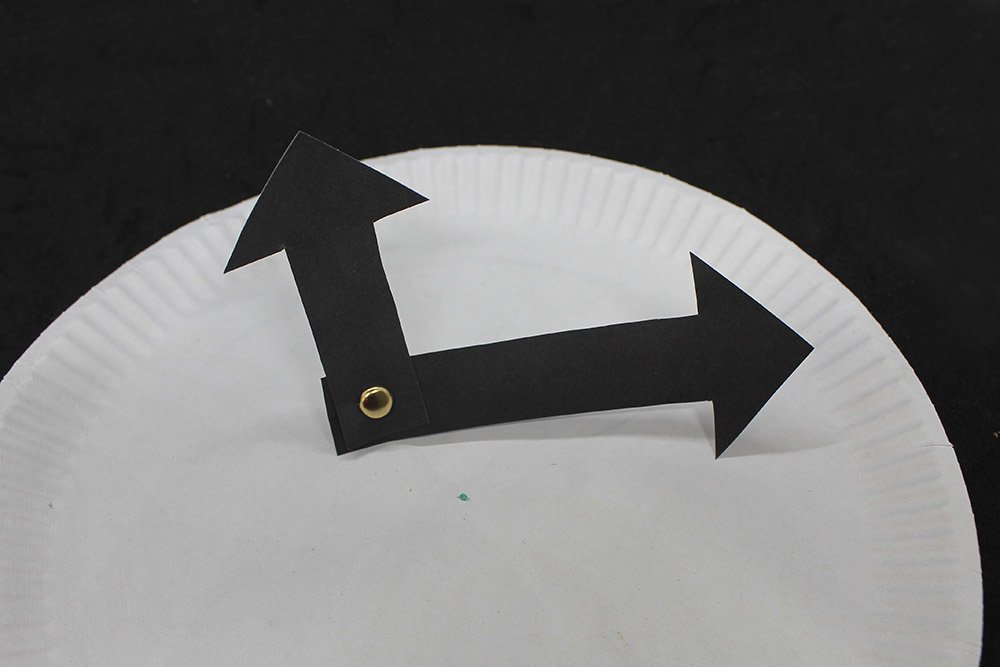
If the arrows are too long, you may trim the end so that it fits the paper plate.
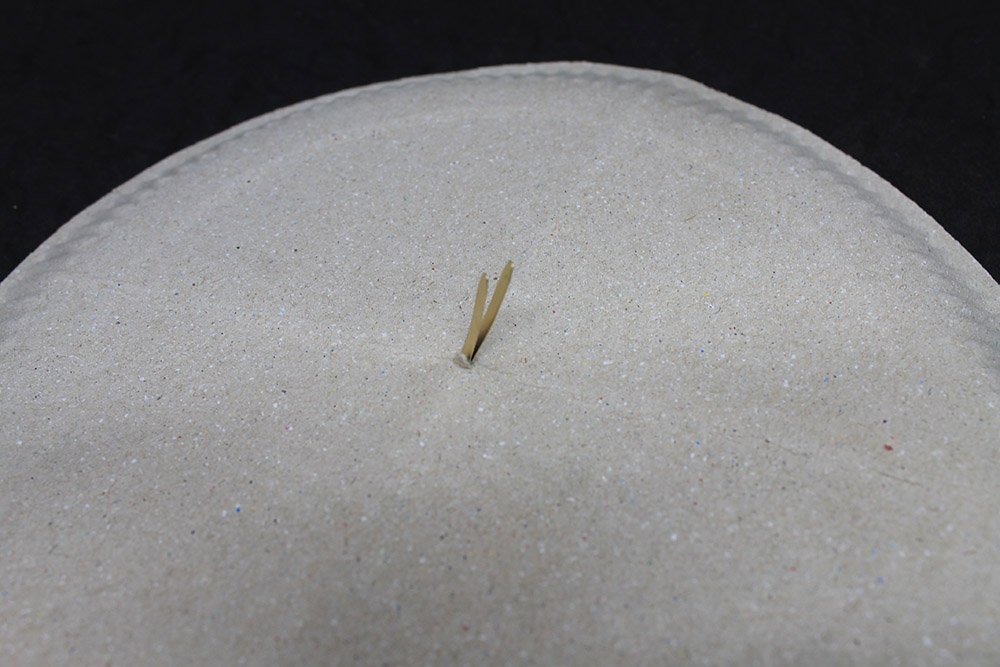
IF you notice, the pin has 2 legs. Split the legs apart from each other.
Once the legs are split, flip the paper plate to the other side.
Assemble the HOUR cutouts.

Grab the HOUR cutouts and glue.

Assemble the 6, 3, 9, and 12 cutouts as shown in the image above. Doing this will help position the numbers symmetrically.
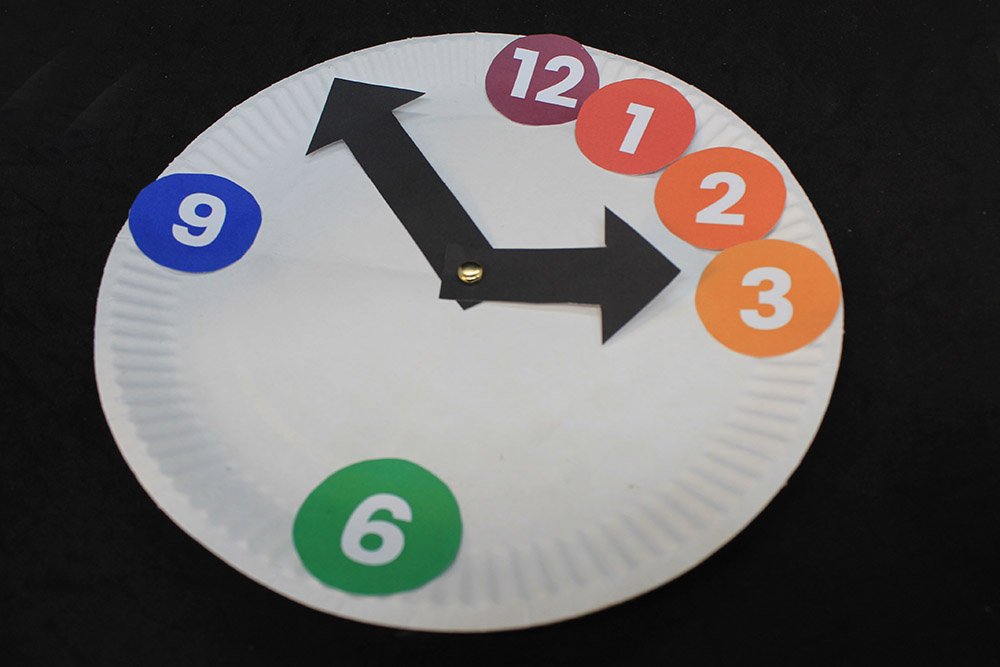
Now assemble the other number cutouts. Use an analog clock for reference.
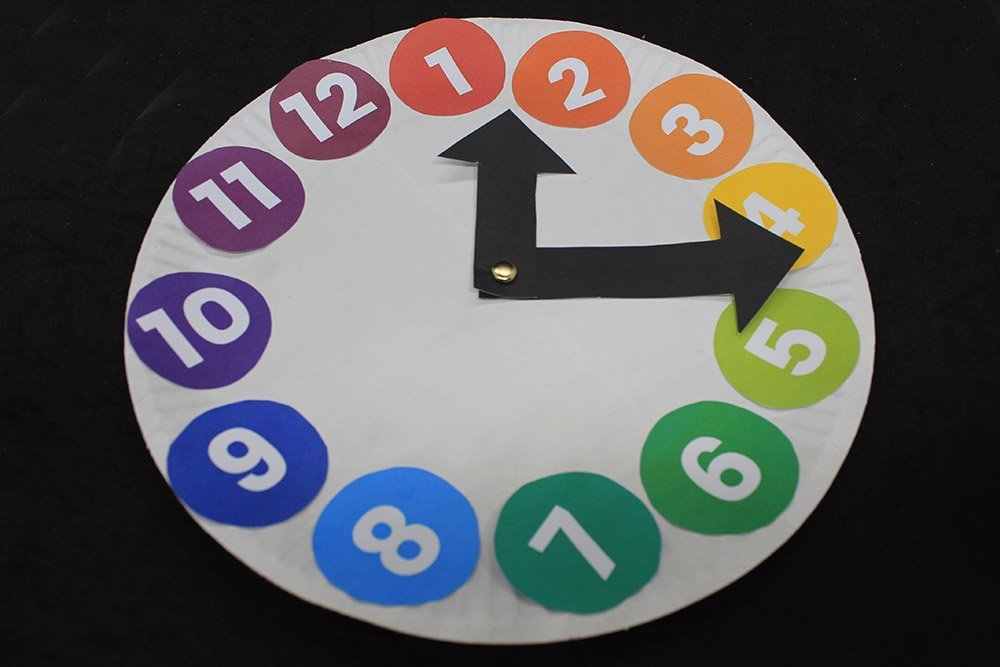
Once each cutout is positioned and glue to the plate, it should look like this!
Paste the hours of the printable
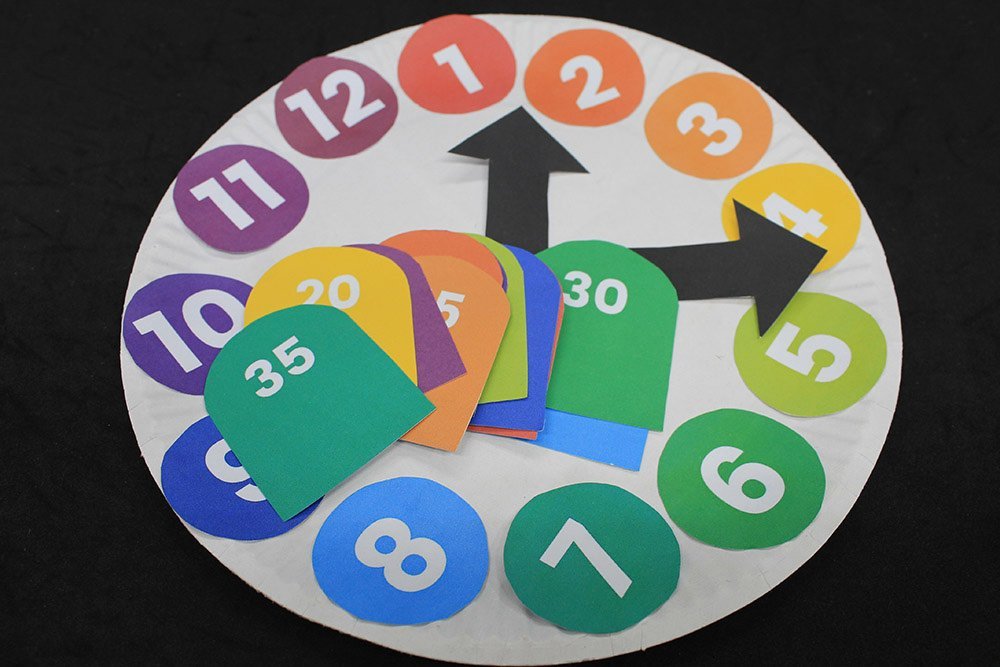
Stick each “petal” at the back of the paper plate.
Paste each petal to the back of the color they match exactly.
Color has a strong impact on kids. This will help them memorize better the hours and minutes that match together.
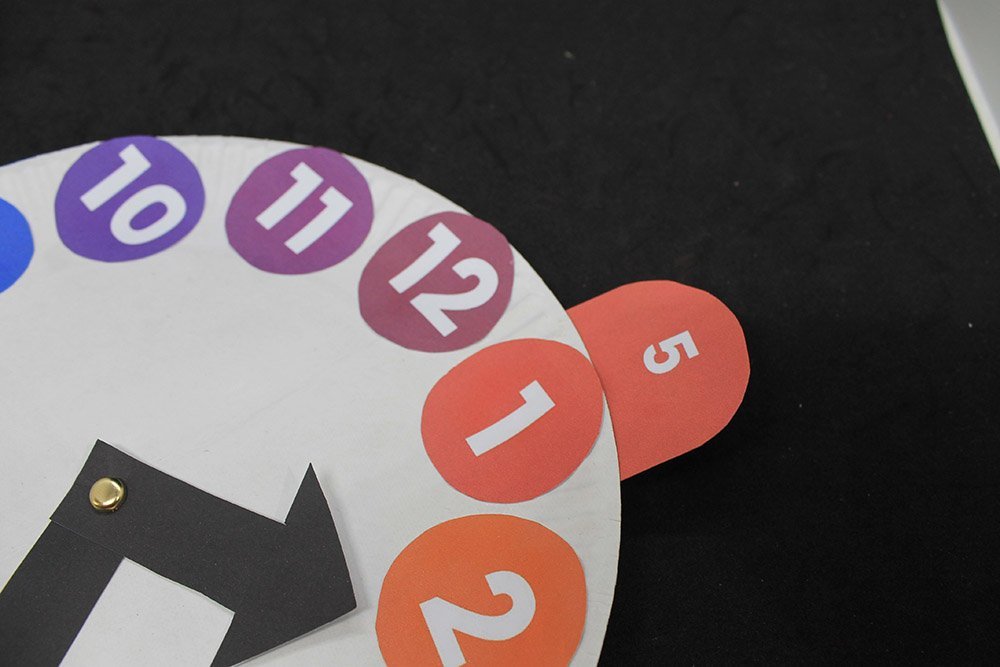
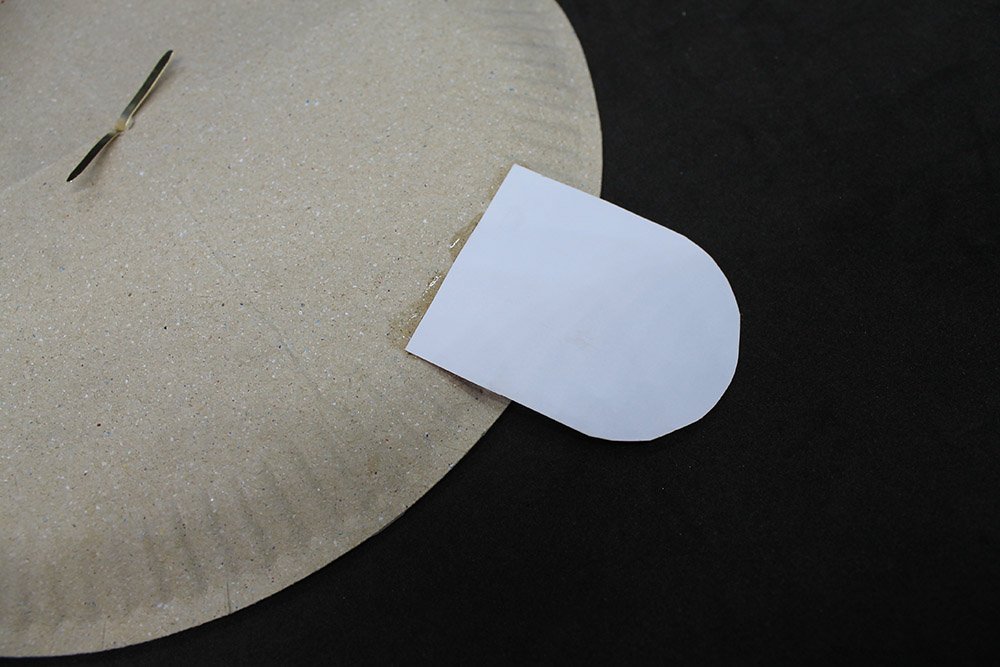
Glue each petal as shown in the sample image above.

Halfway it should look something like this.
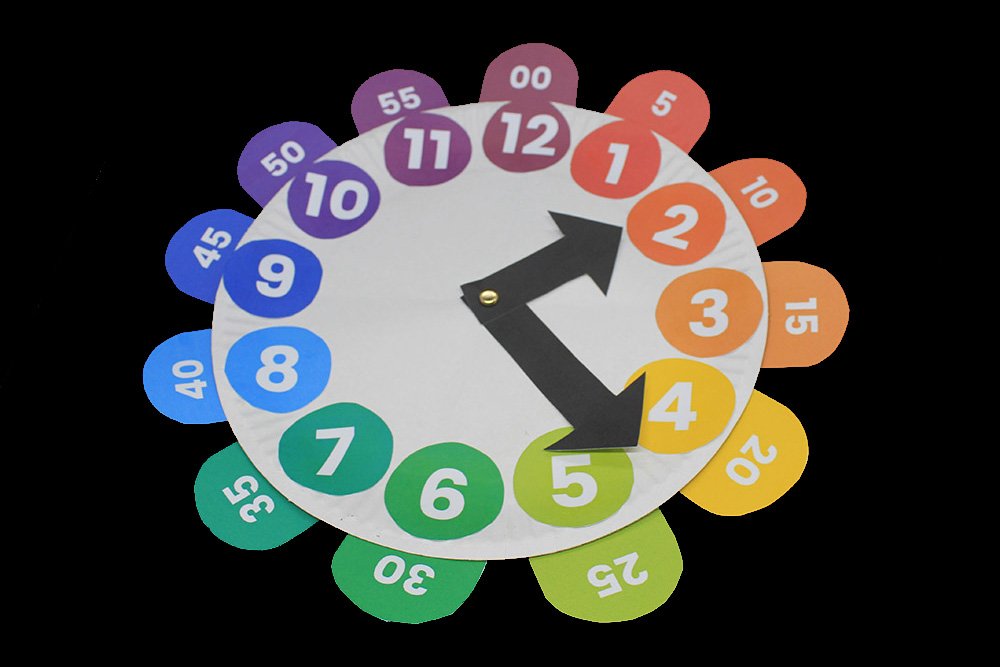
It now looks like a flower.
The paper plate clock is done!


Made this for my kindergarten classroom. Nice guide guyss
I like how there’s representations of the minutes hands!
Pretty and simple = elegance
As soon as I saw the picture, the tools and supplies. I didn’t even needed to read the guide ahaha
Good guide