Introduction
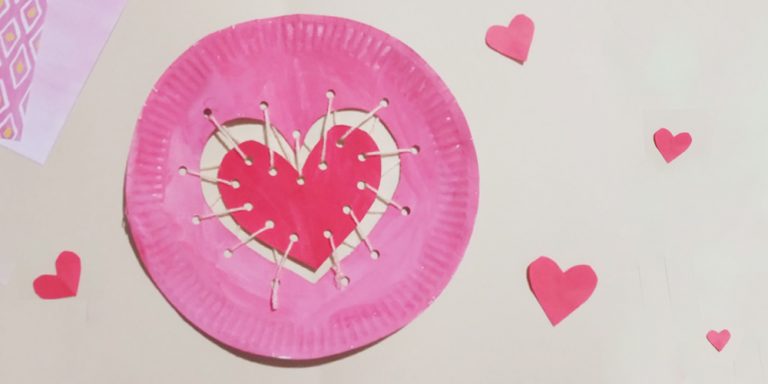
This article will show you how to make a beautiful paper plate heart craft easily and quickly. This is a perfect DIY craft come Valentine’s or Mother’s day.
Making this project involves a bit of yarn and some sewing. So, if you love working with yarn then you have come to the perfect place to begin.

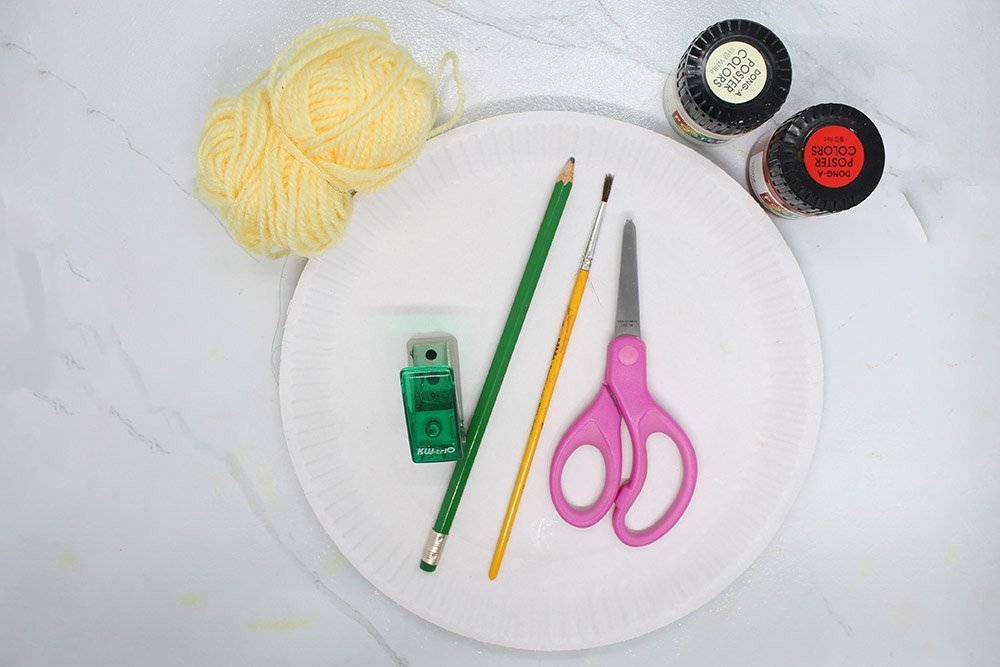
Tools
- Scissors
- Pencil
- Paint brush
Supplies
- Paper plate
- Poster color (Red, and White)
- Yarn

Make a Heart Shape Out of the Paper Plate
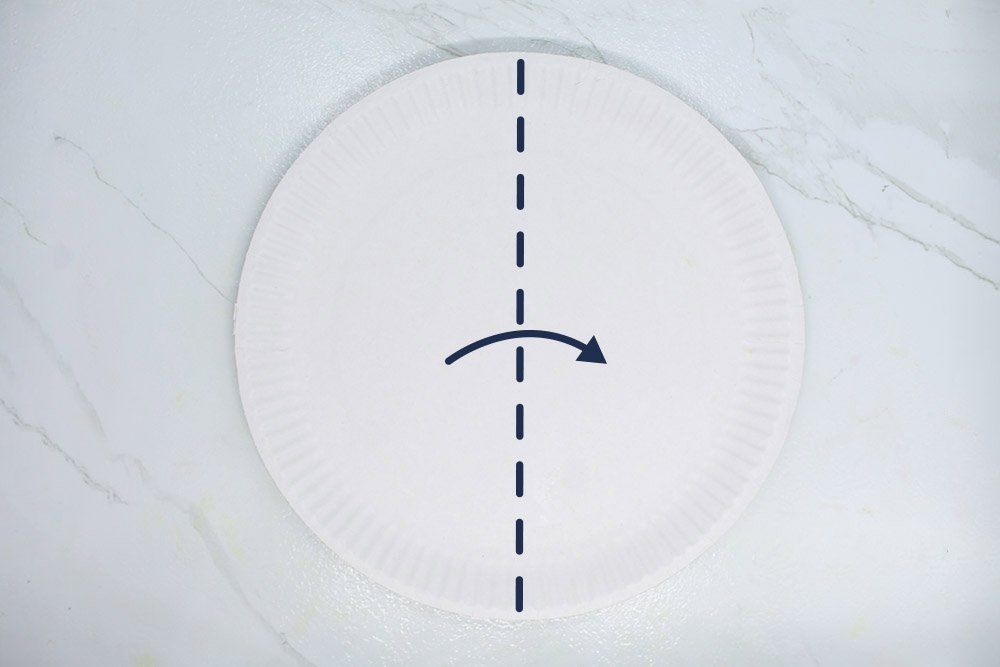
Follow the dashed line and fold the paper plate vertically.
Then decide the shape of your heart. It doesn't have to be exactly like the image below, and if you want you can make a slight variation.
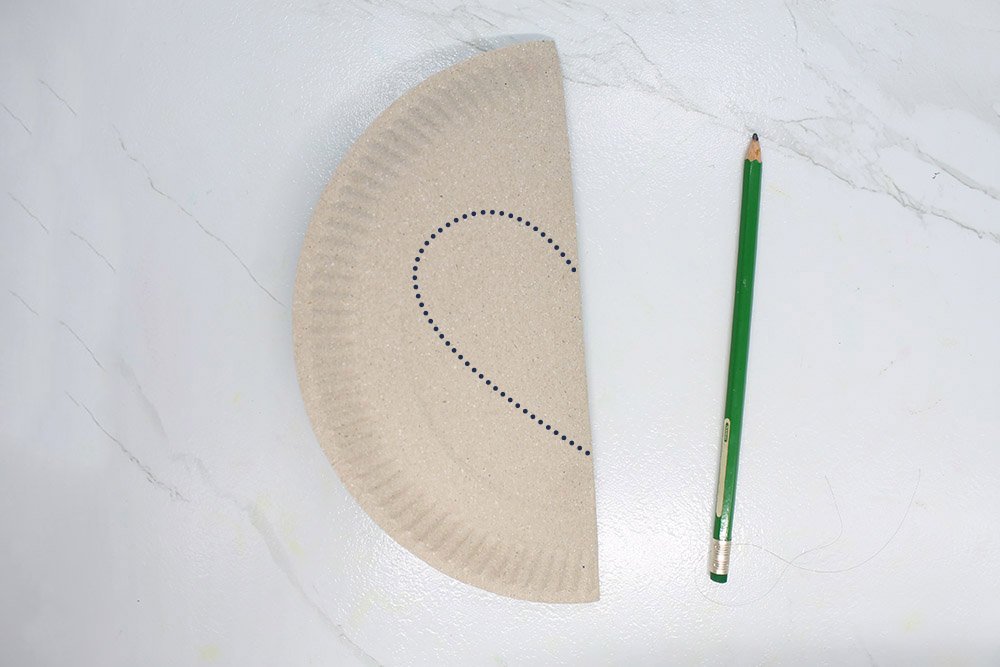
After visualizing how you want to draw the shape, draw with a pencil.
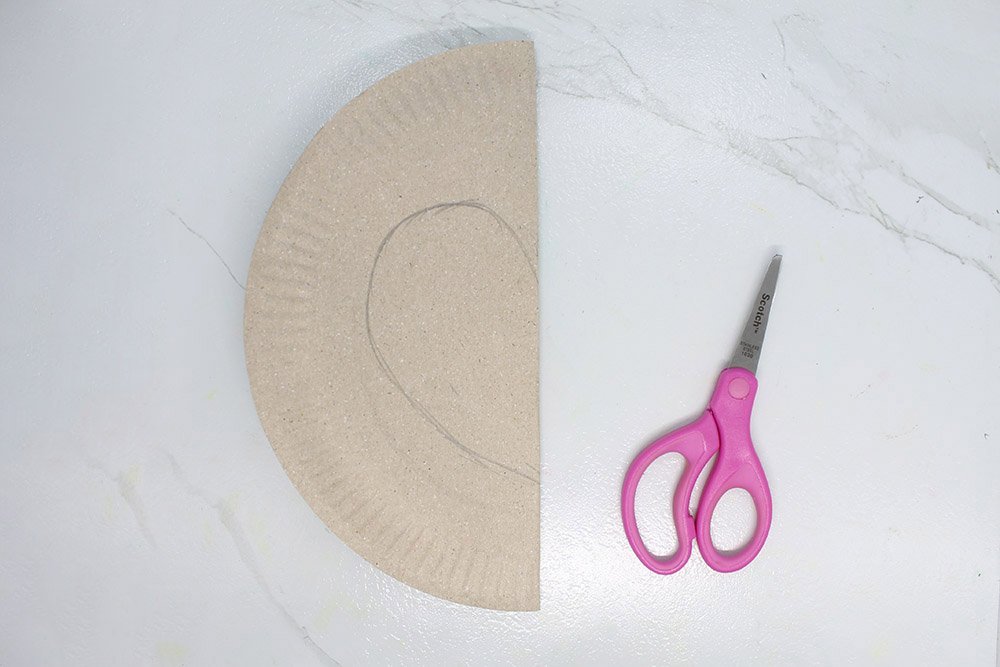
Follow the outline of the shape you just made and cut smoothly.
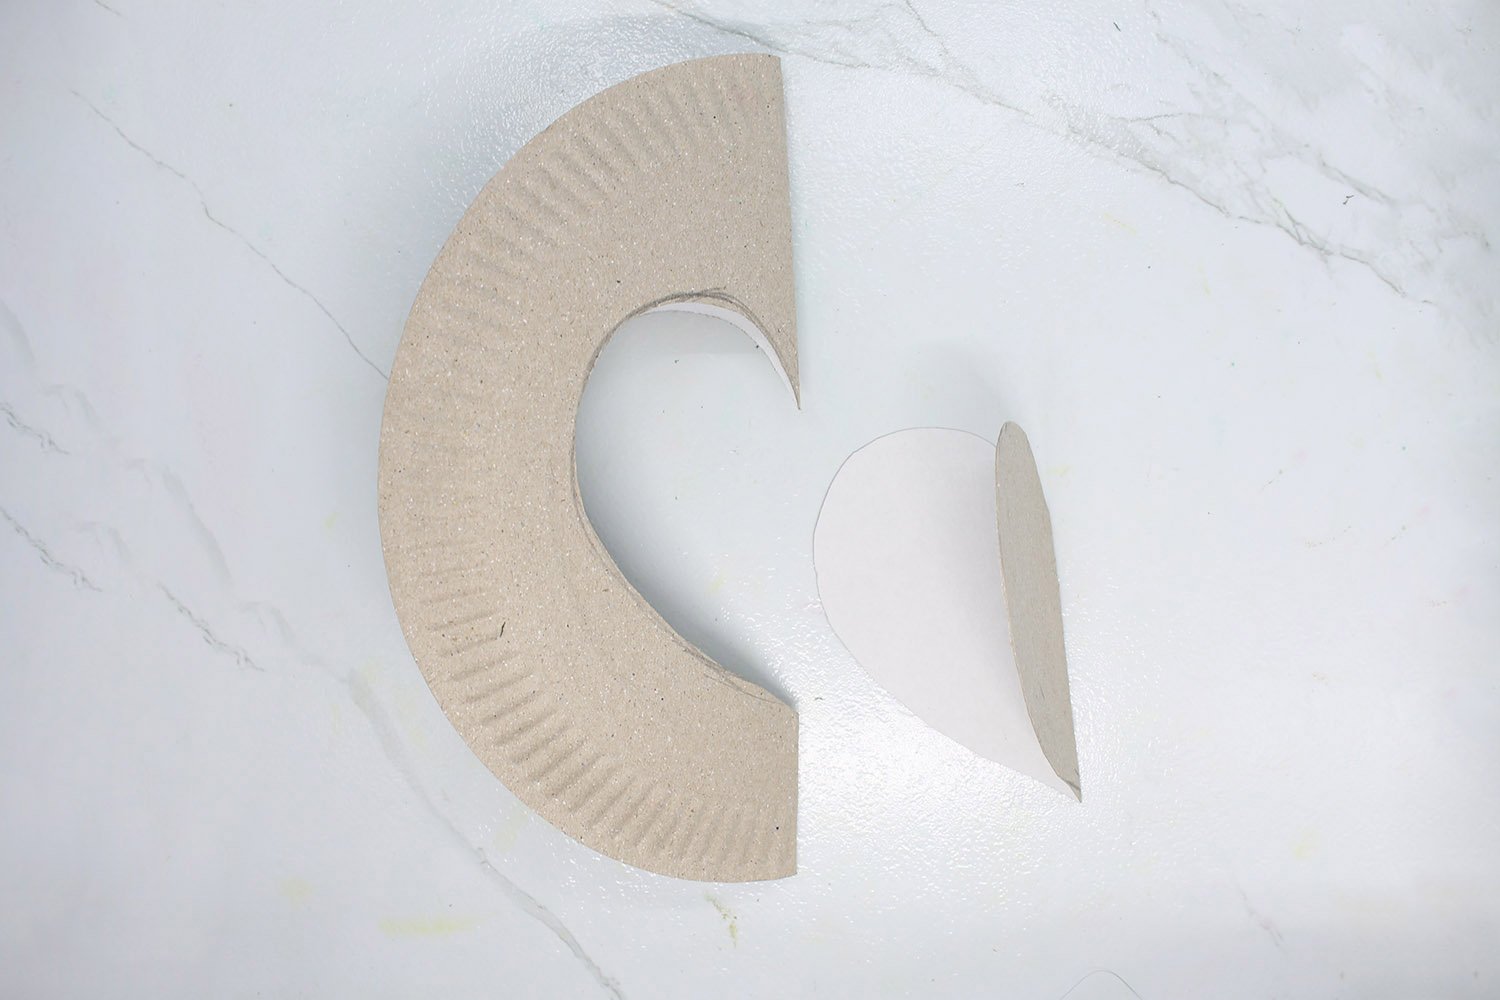
Unfold the paper plate. This will reveal a lovely heart shape hole in the center.
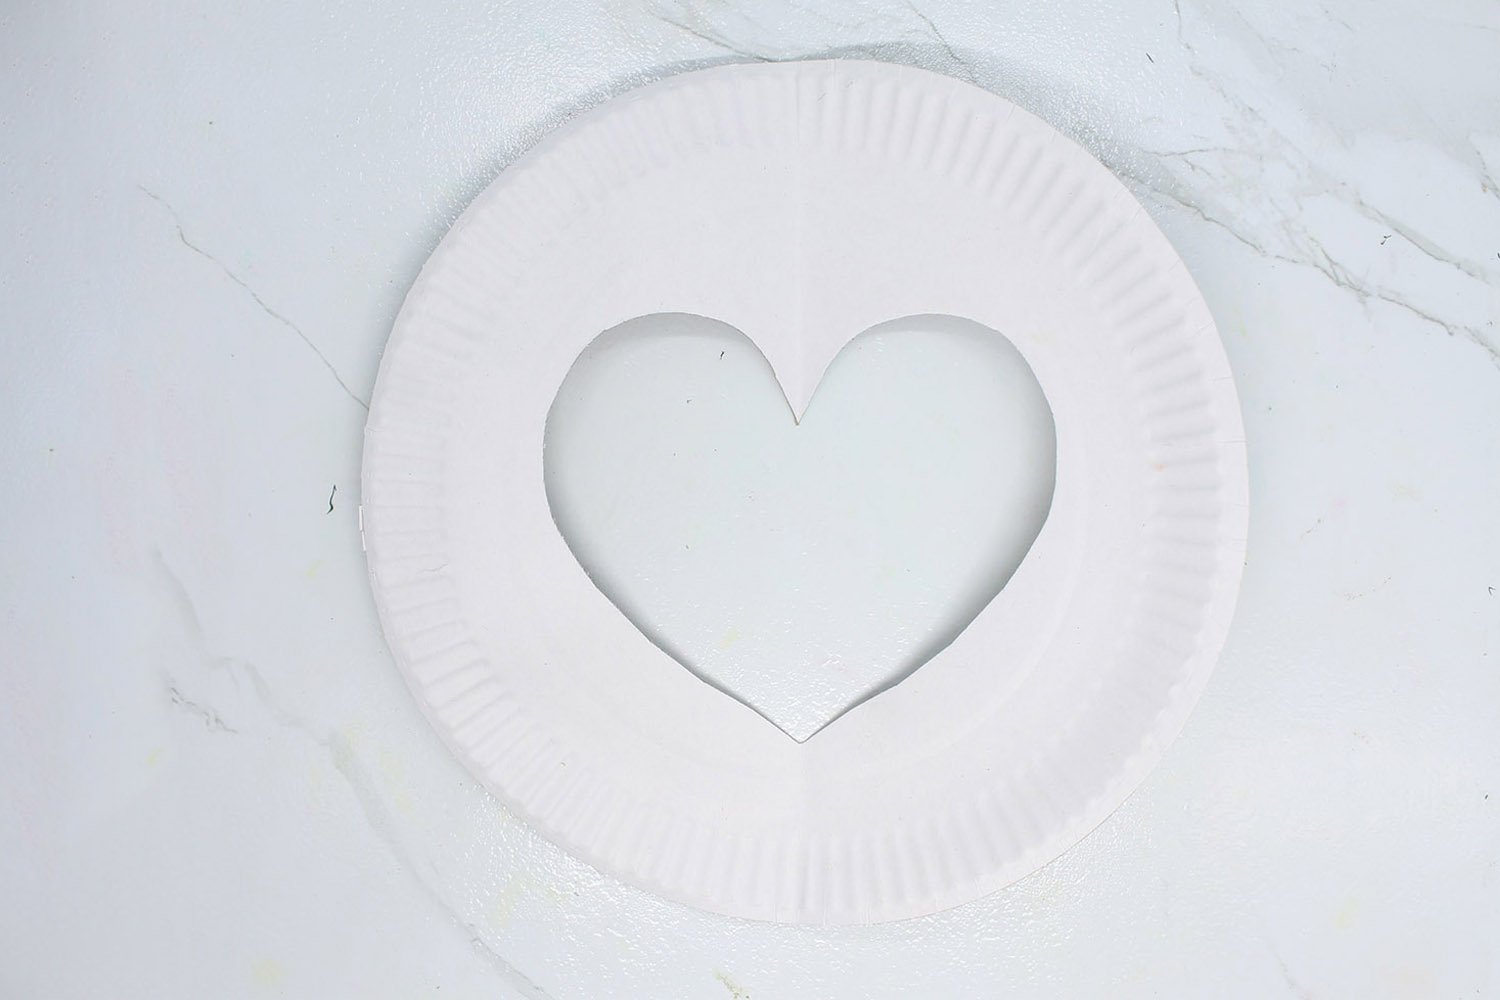
You should have a nice heart now in the center of the paper plate. Get the heart-shaped cut out.
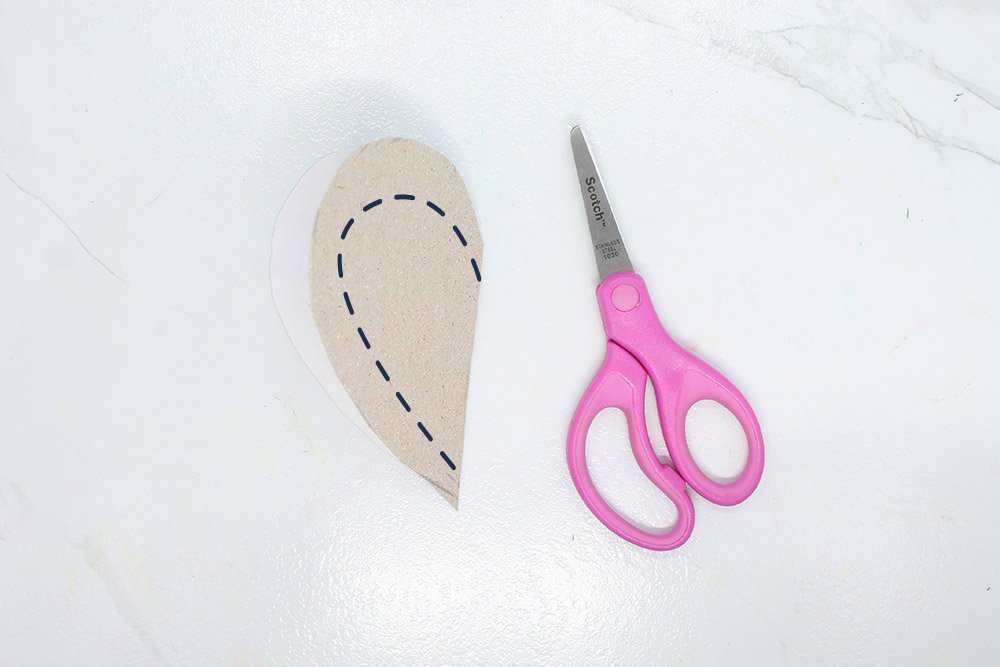
And cut the heart-shaped cut out by following the dashed line. If your shape is slightly different then try to mimic the shape of the previous outline you made.
Visualizing, drawing, and then cutting is a sure way to go. This activity is also a good opportunity to introduce to kids the idea of planning.
Paint the Paper Plate Heart Craft
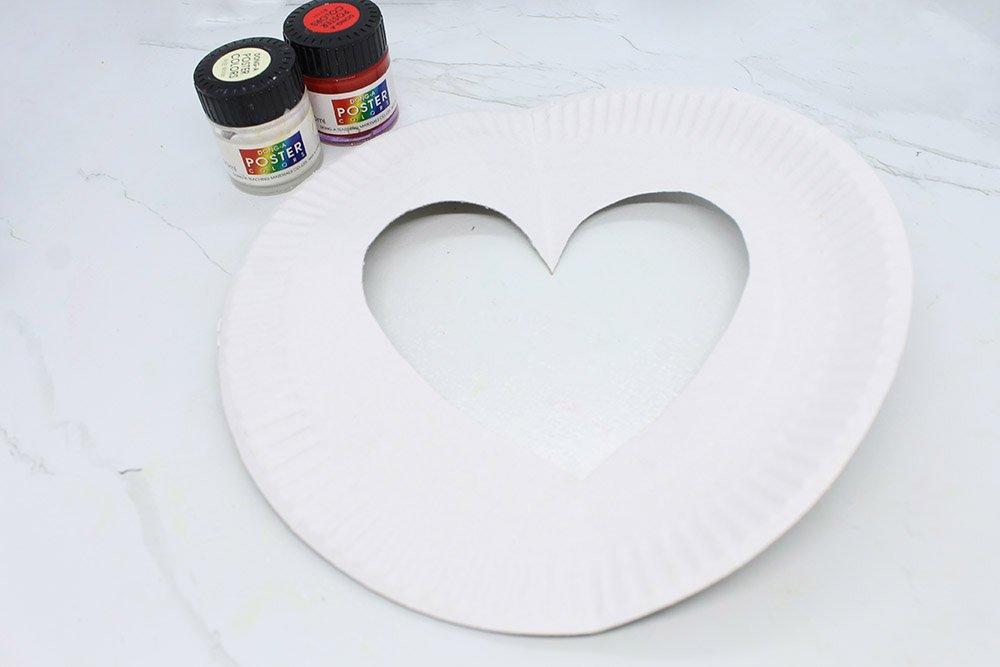
I choose pink and red to be my color for this paper plate heart. Other color combinations are a perfect match as well such as lavender and purple.
After gathering pink and white poster colors plus a brush, paint the paper plate pink.
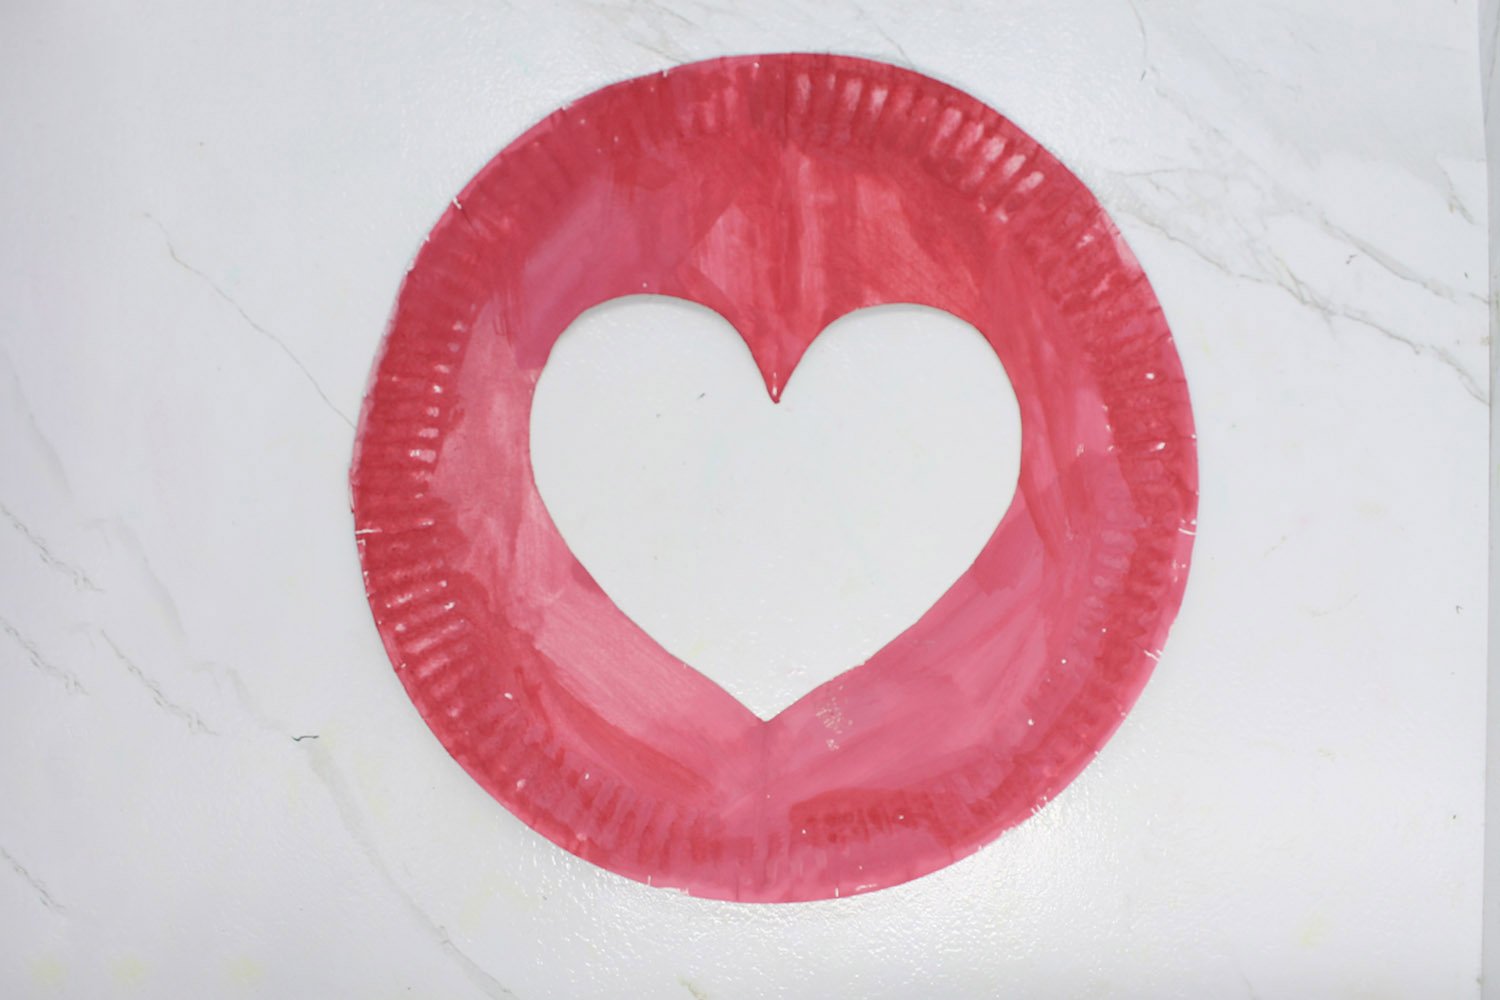
Mark fifteen spots to where you will place the holes using a puncher.
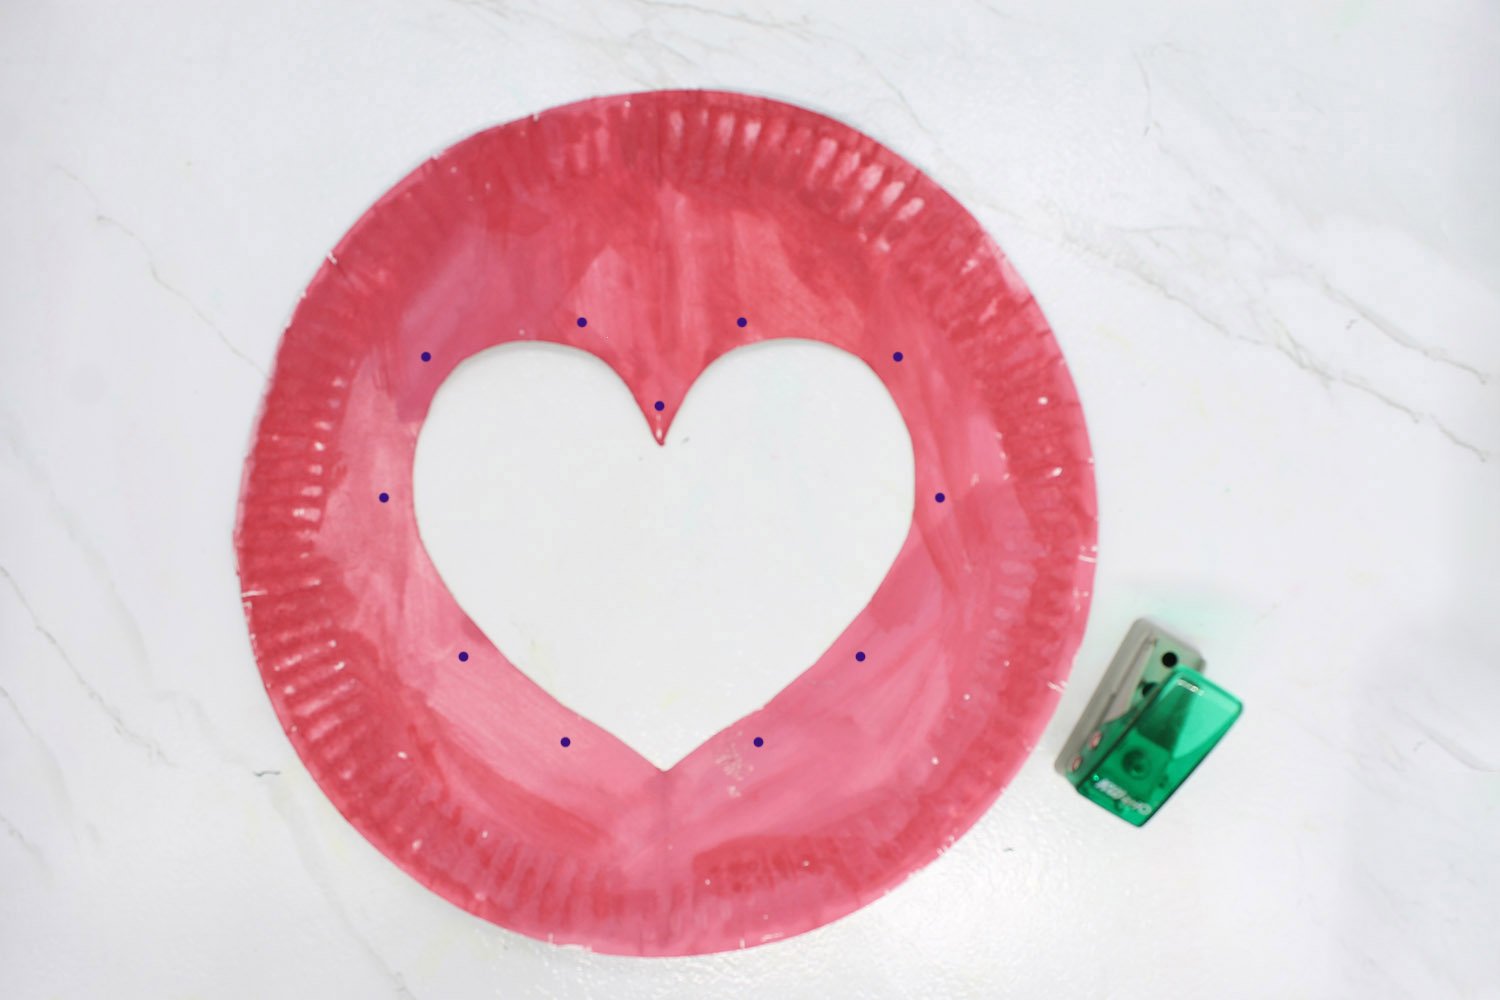
You should have well-spaced holes and symmetry along the center vertical line. You can proceed to use the puncher.
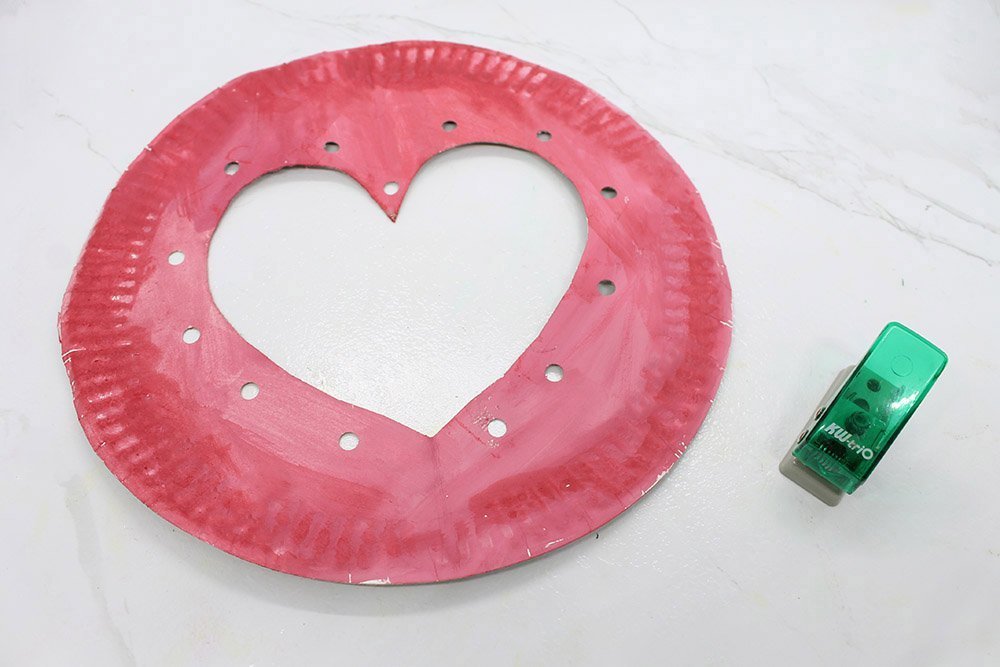
Good job! You are close to finishing the paper plate heart.
Paint the Heart-Shaped Cutout
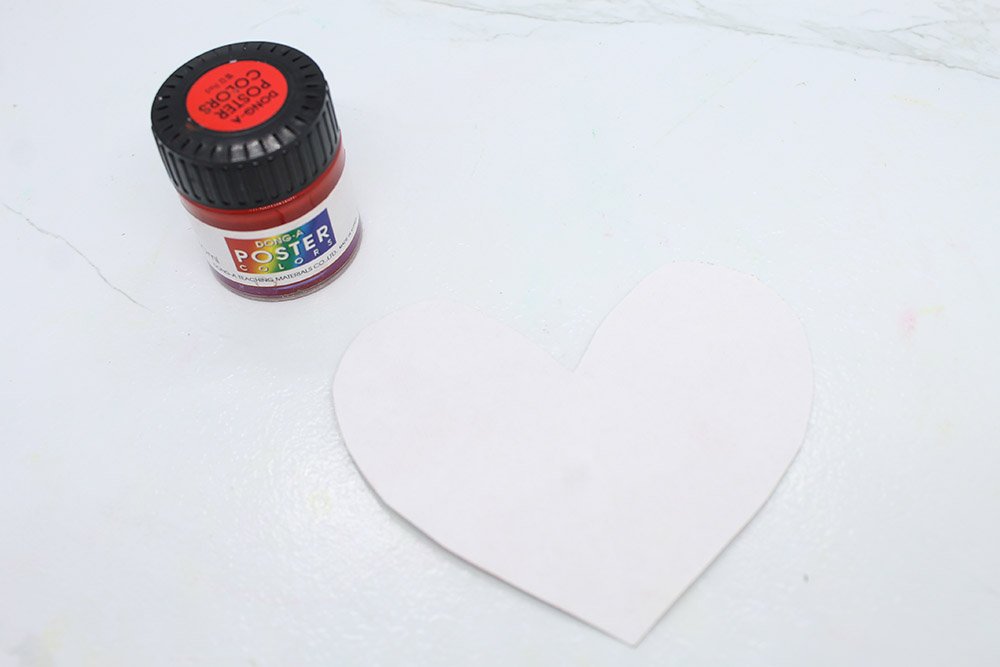
After getting the smaller heart and red poster color, paint the heart red. Use even strokes.
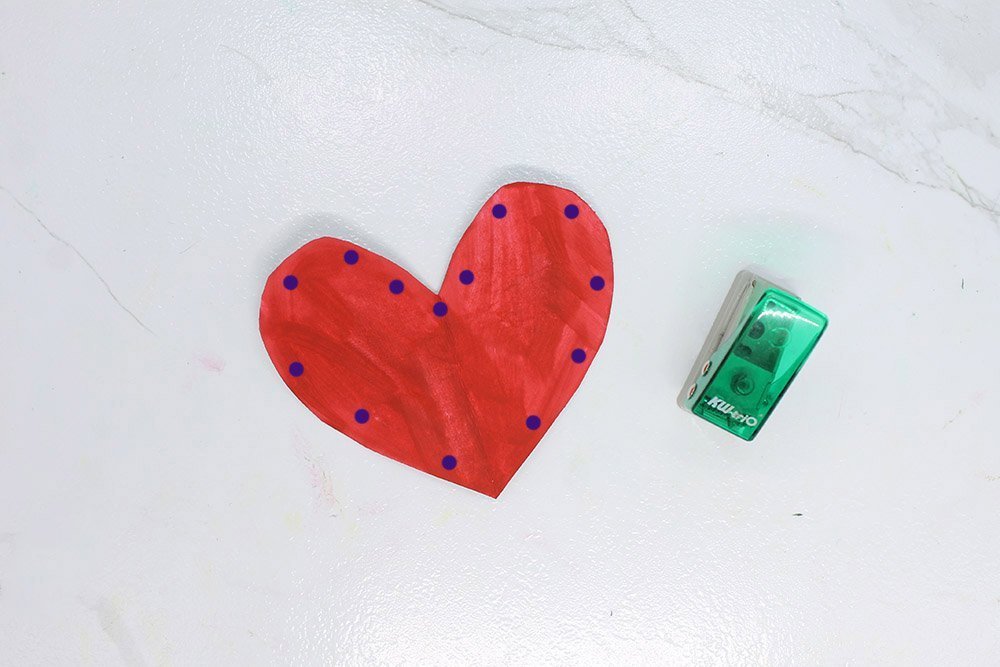
You want to make eleven holes like you did previously with the bigger heart. The placement of the holes should be similar to the ones made before.
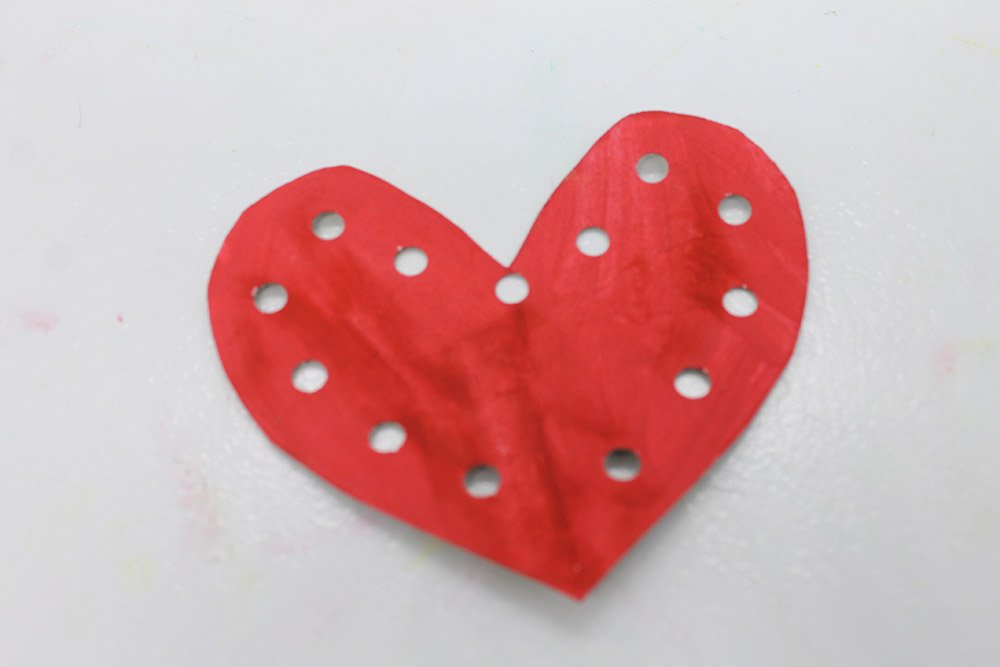
After using the puncher we should have a heart with thirteen holes like the one above. If you are not sure to proceed, take a closer look at the image and mark yours with a pencil.
Complete the Paper Plate Heart by Sewing
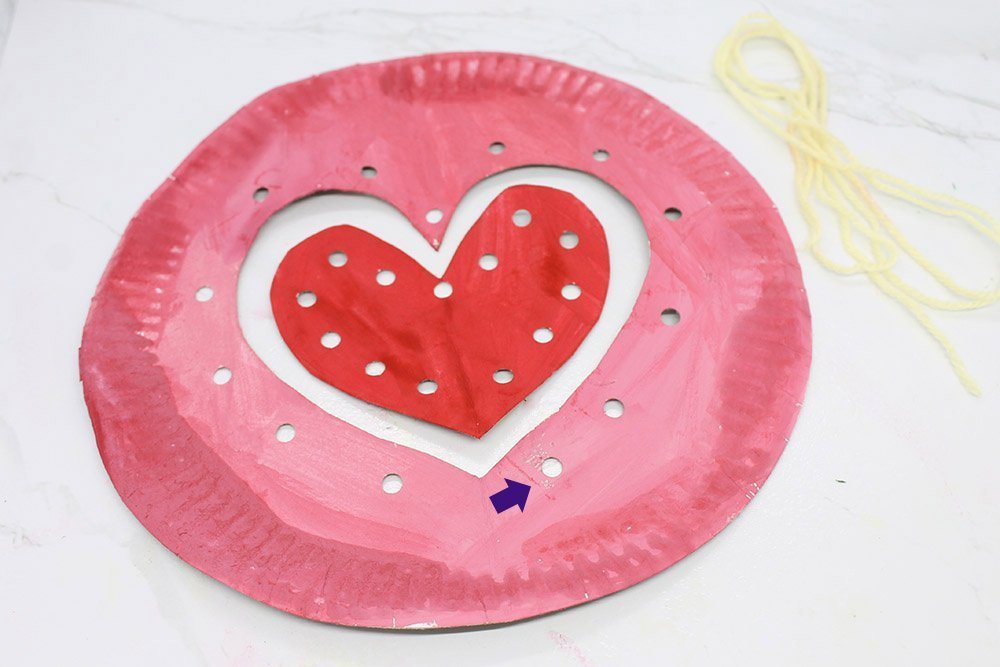
We first arrange the two pieces together. Place the smaller heart in the center of the hole of the paper plate. Then insert the yarn into the bottom right hole as indicated by the arrow.
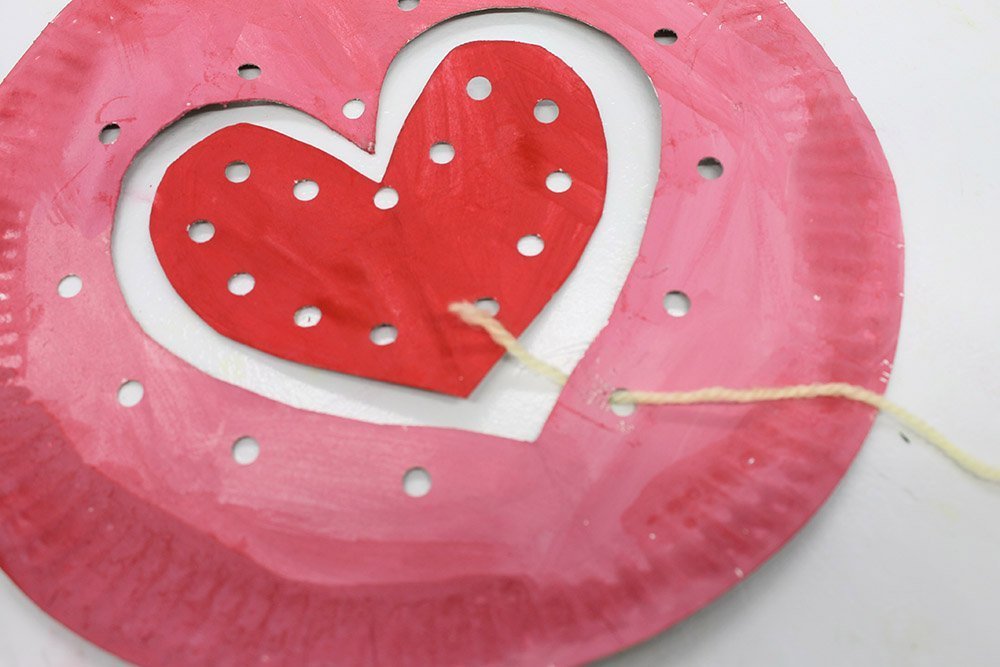
In sewing this paper plate heart, you want the first knot to be secure but we do want to damage the plate. Gentleness is required in this step.
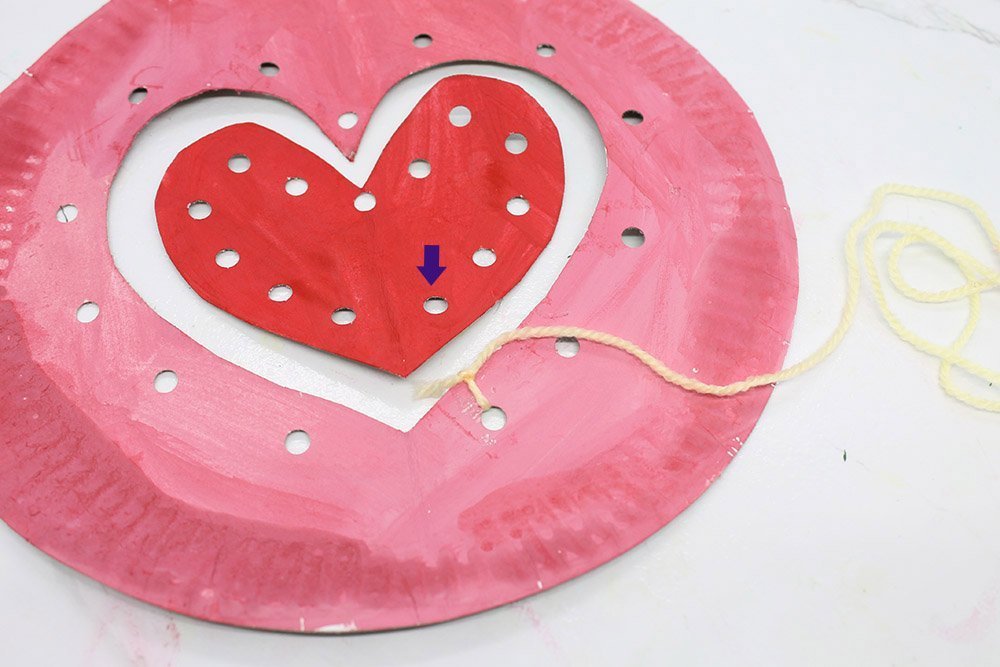
The next step is to insert the yarn into the bottom right hole of the smaller heart.
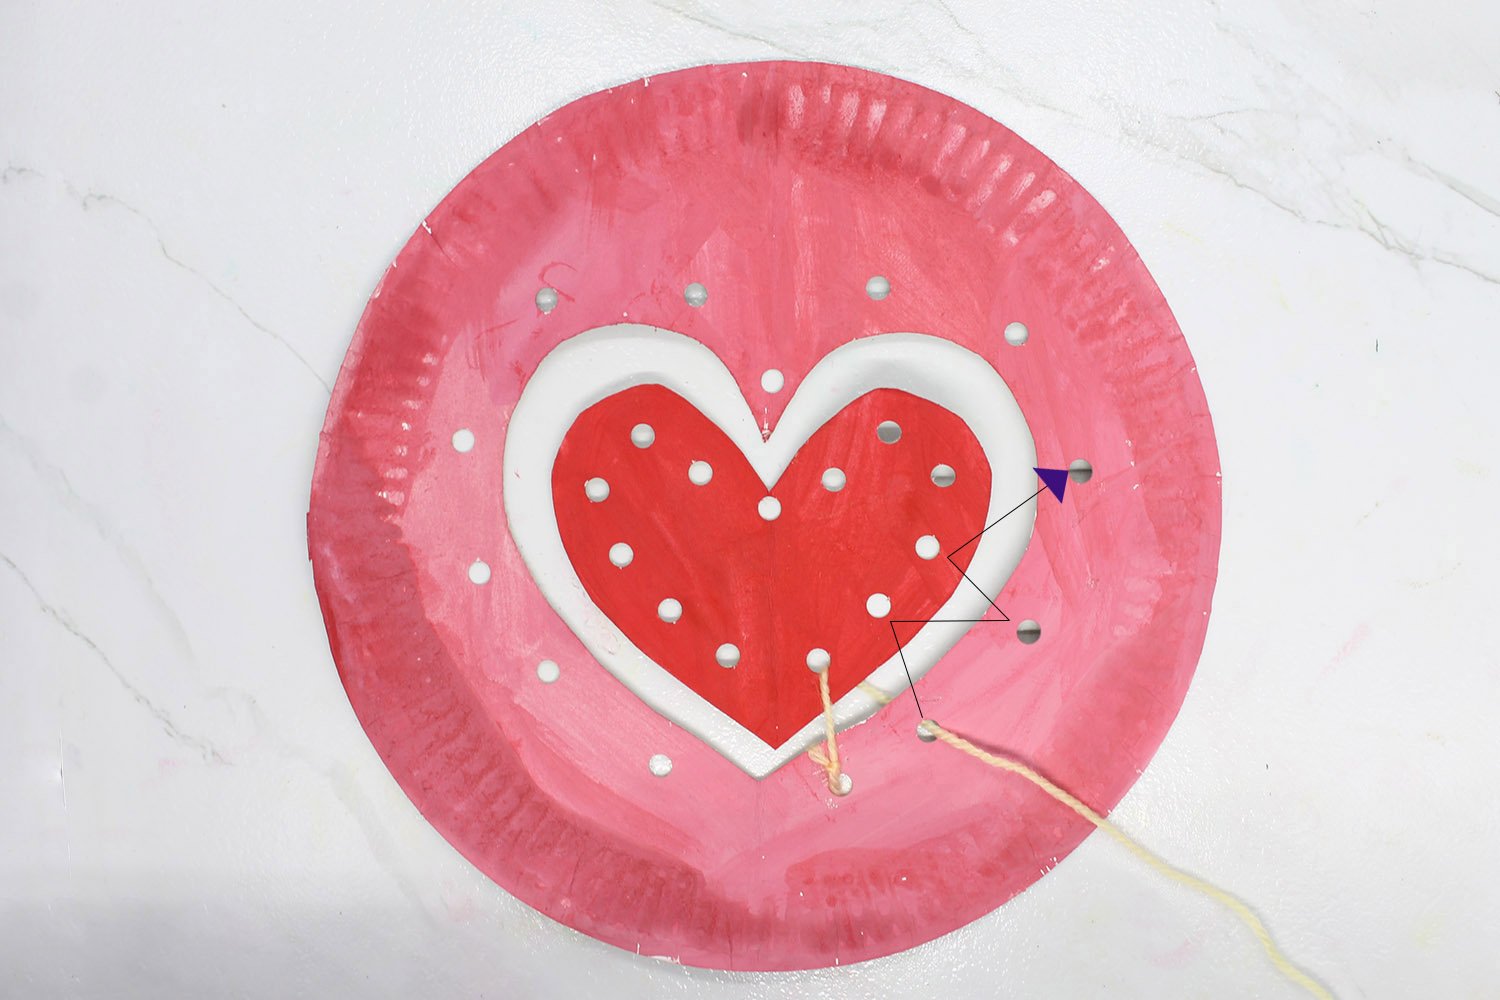
Sew the yarn. Follow the pattern indicated by the zig-zag arrow.
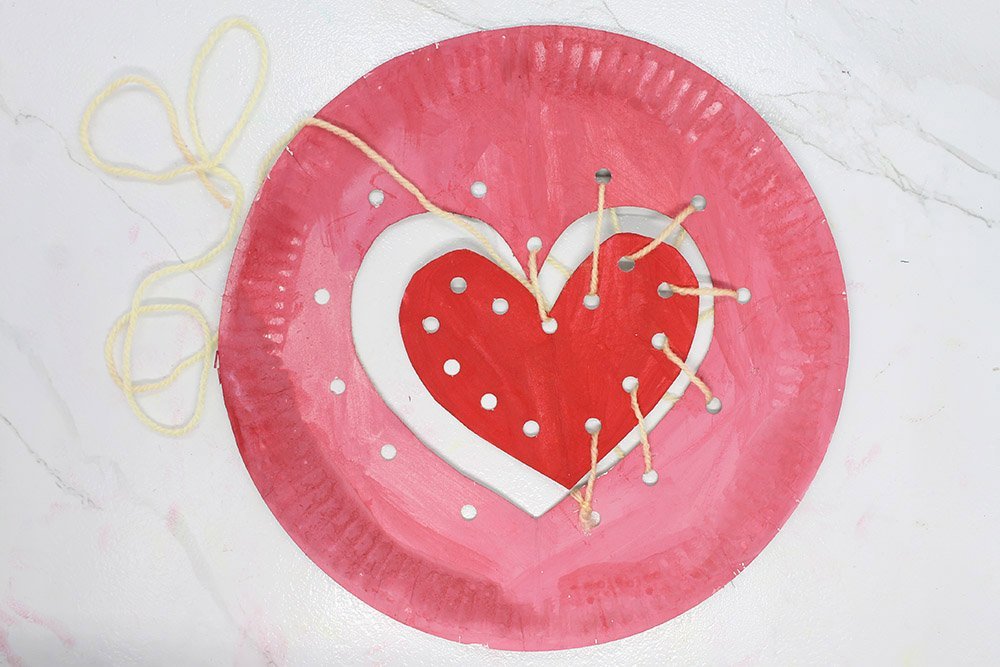
Follow the pattern and continue sewing until you reach the last hole.
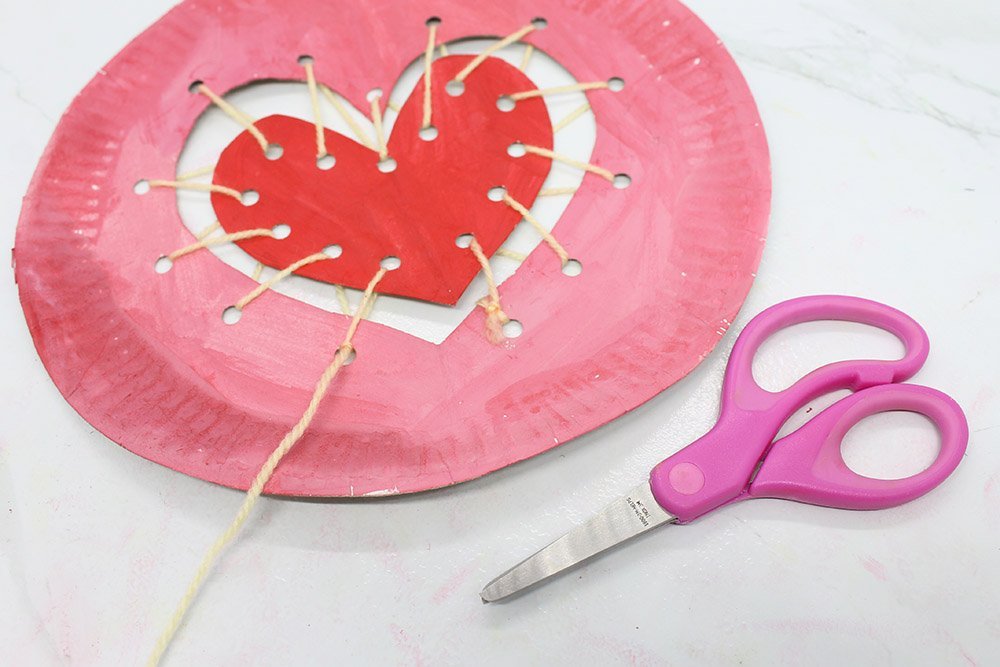
Tie the yarn one final time in the last hole. This should secure the red heart.

Cut any excess length.
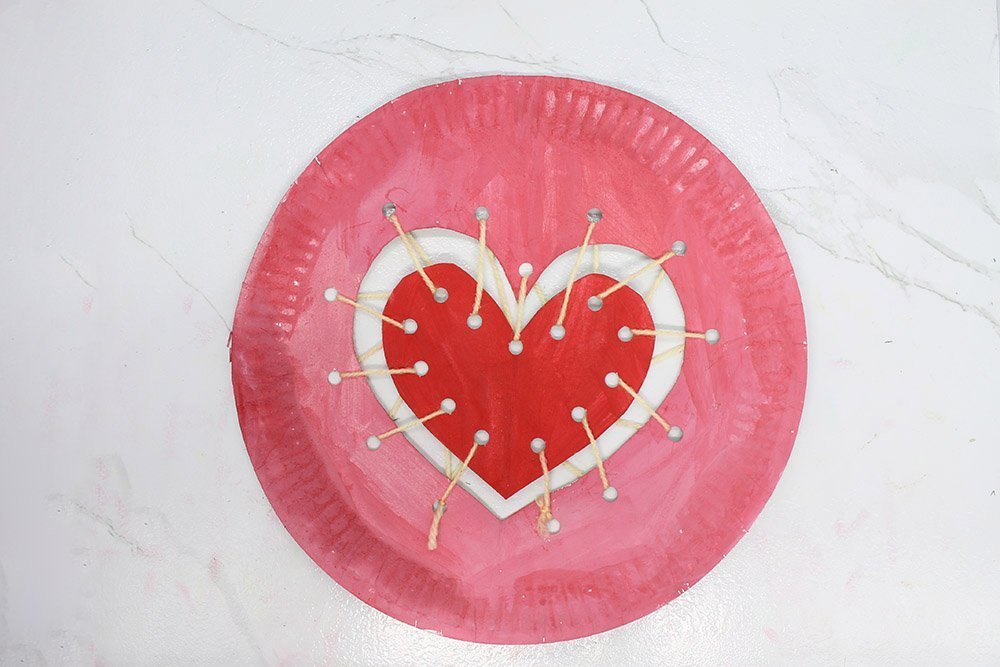
You have successfully made a lovely paper plate heart craft! Now, you can give this art piece to your family or friends. Or even use it as a display in your room. With just a bit of sewing and painting, a beautiful piece of art was created.
Extra Tips
- The paper plate heart looks great already but you could add your personal touch to it. Try thinking of other ways you could decorate your heart craft.
- Make sure that the yarn is spaced correctly in all holes. You would want the heart to be in the center because it would look better if it is.


